1st Gen 05 build (1 Viewer)

This site may earn a commission from merchant affiliate
links, including eBay, Amazon, Skimlinks, and others.

The gas tank IS plastic so.... If you plan on dragging it over rocks, may want to consider a metal one

Yeahh it has this plastic shield on it, but I'm going to have to look and measure it to see if I can mount an additional skid easily without adding holes into the frame, or welding new points onto the frame itself.

I'll most likely install the skid plates tonight after I change my driver side fender / door.
 
Last edited:
Hmm, I realized that I'm just editing previous posts, My intention on this was to keep one single type of project in one or two posts, so it's all in one place. Maybe I'm doing this forum / build log wrong. Oh well.

For now, I'll be posting updates, and I'll link in the update posts in the previous posts to try and keep it all together in one place.

3/31 Updates.

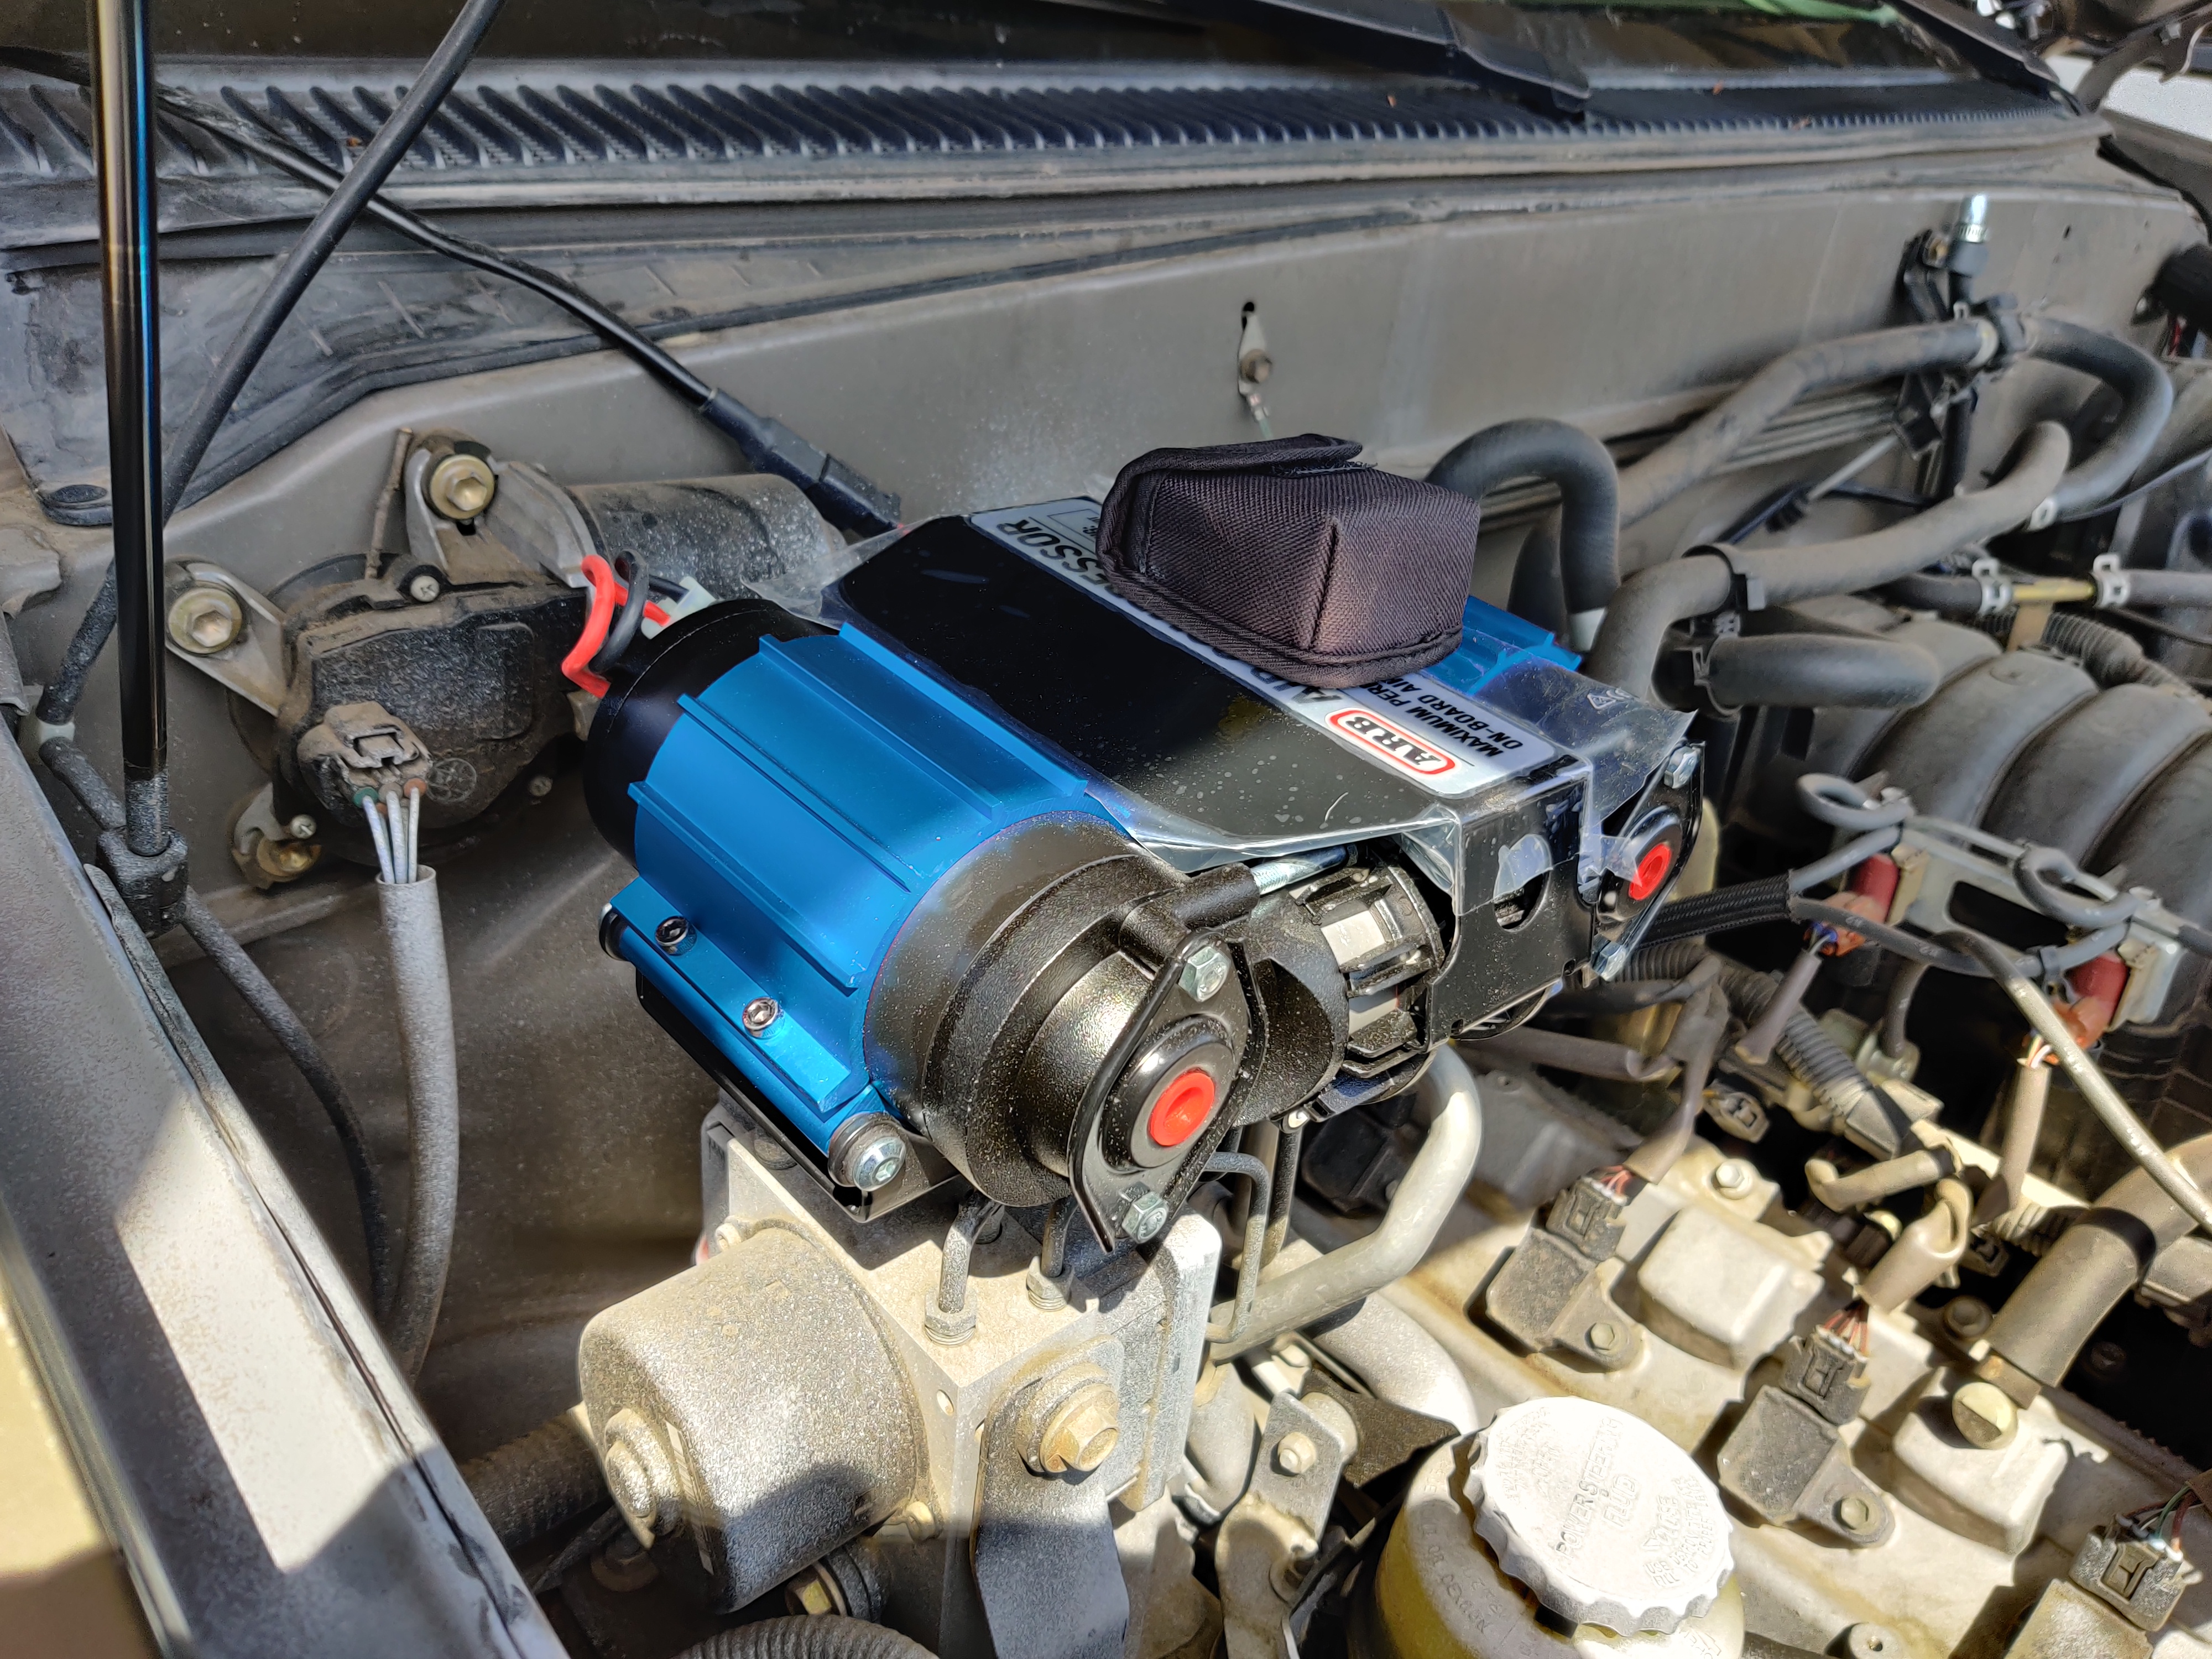
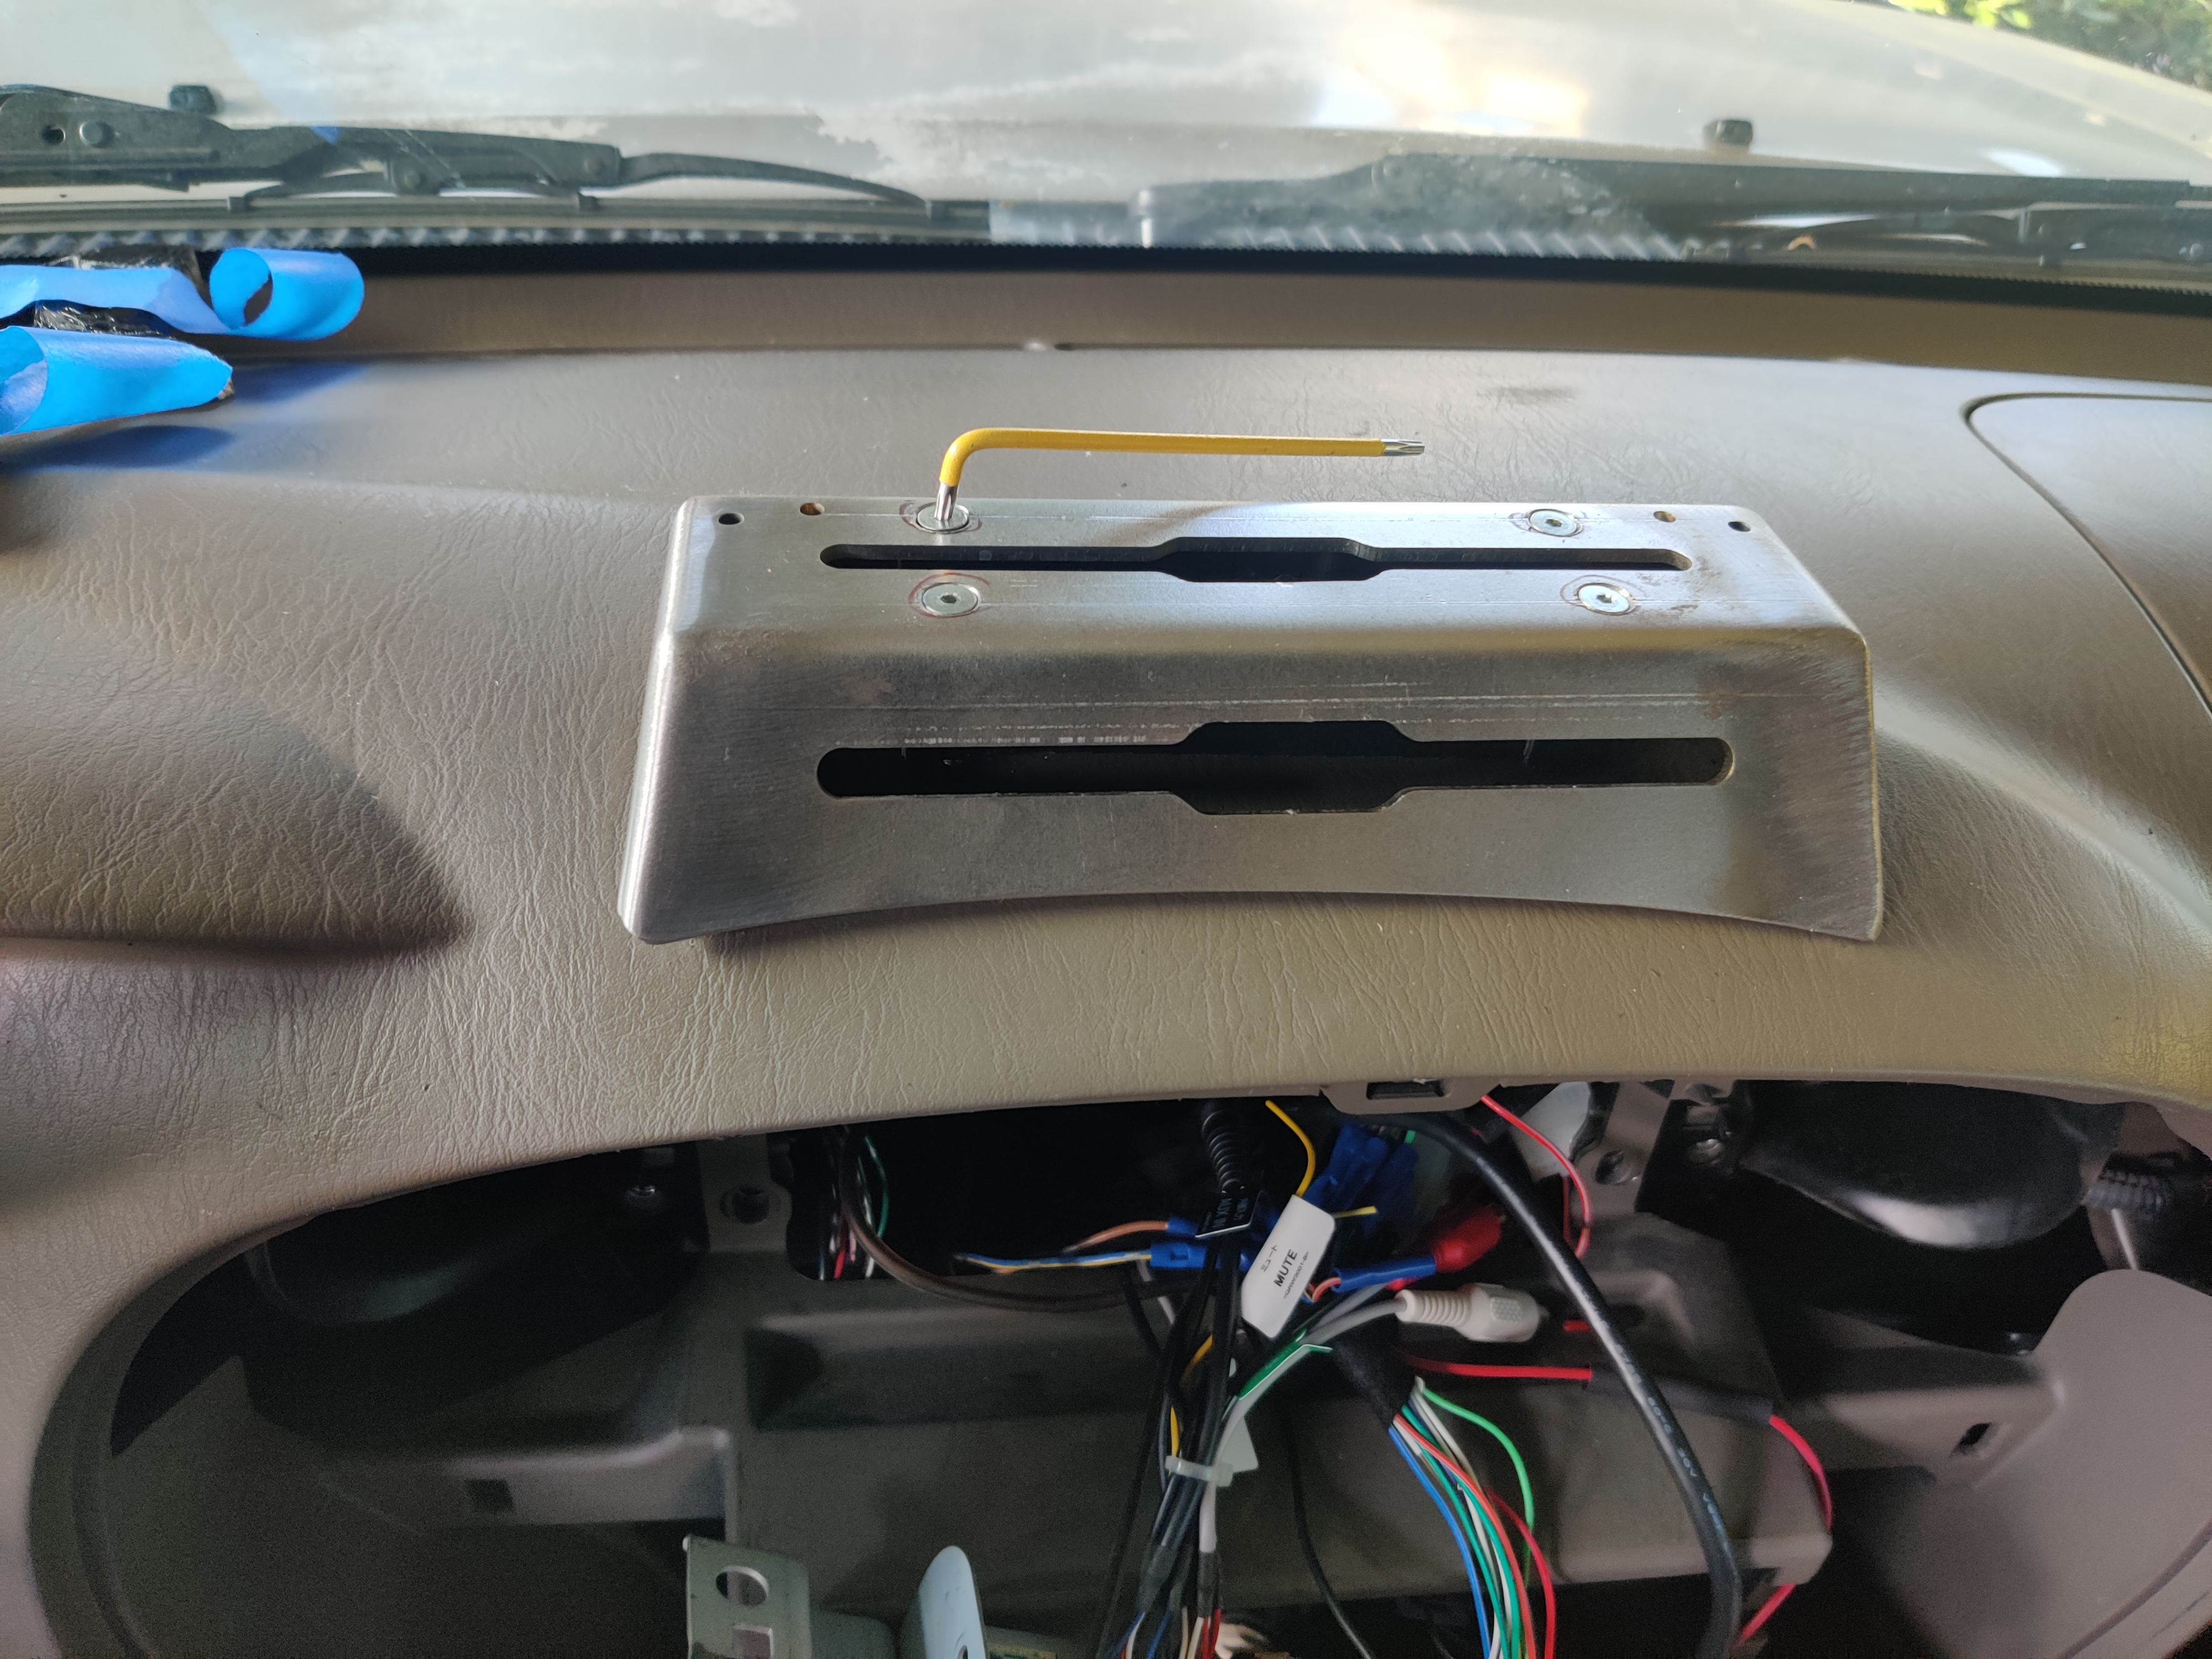
ARB / Electrical Mount -
Link to Post

Messaged Richard but didn't get a response unfortunately. I'll be pursuing this on my own then 🤷‍♂️
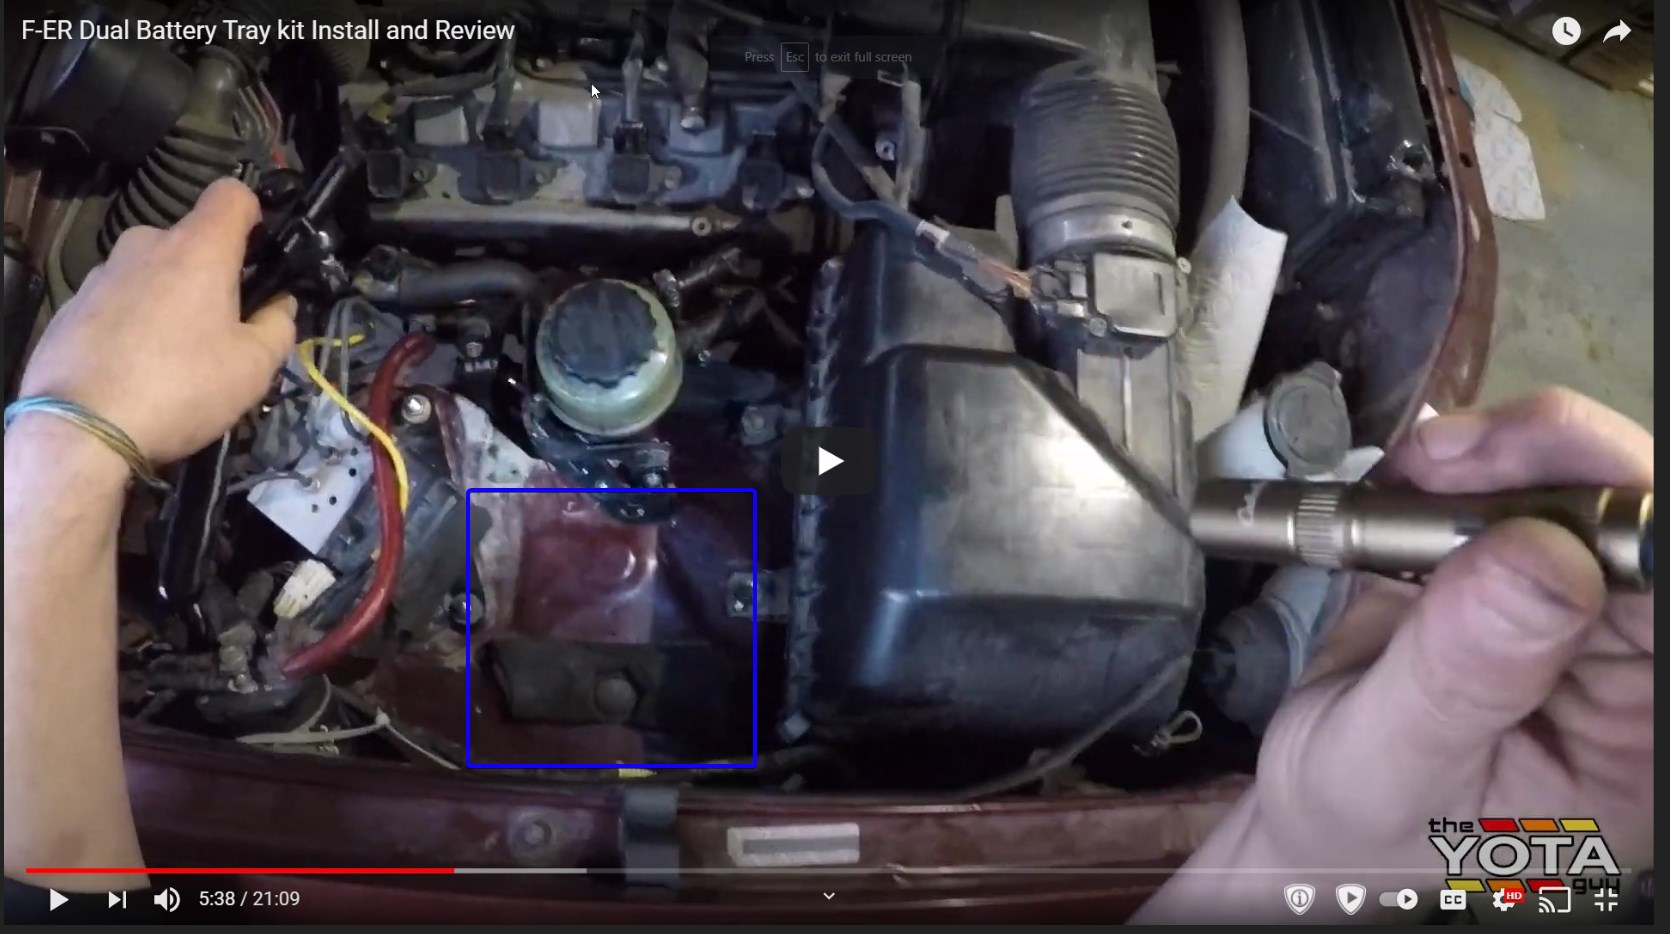
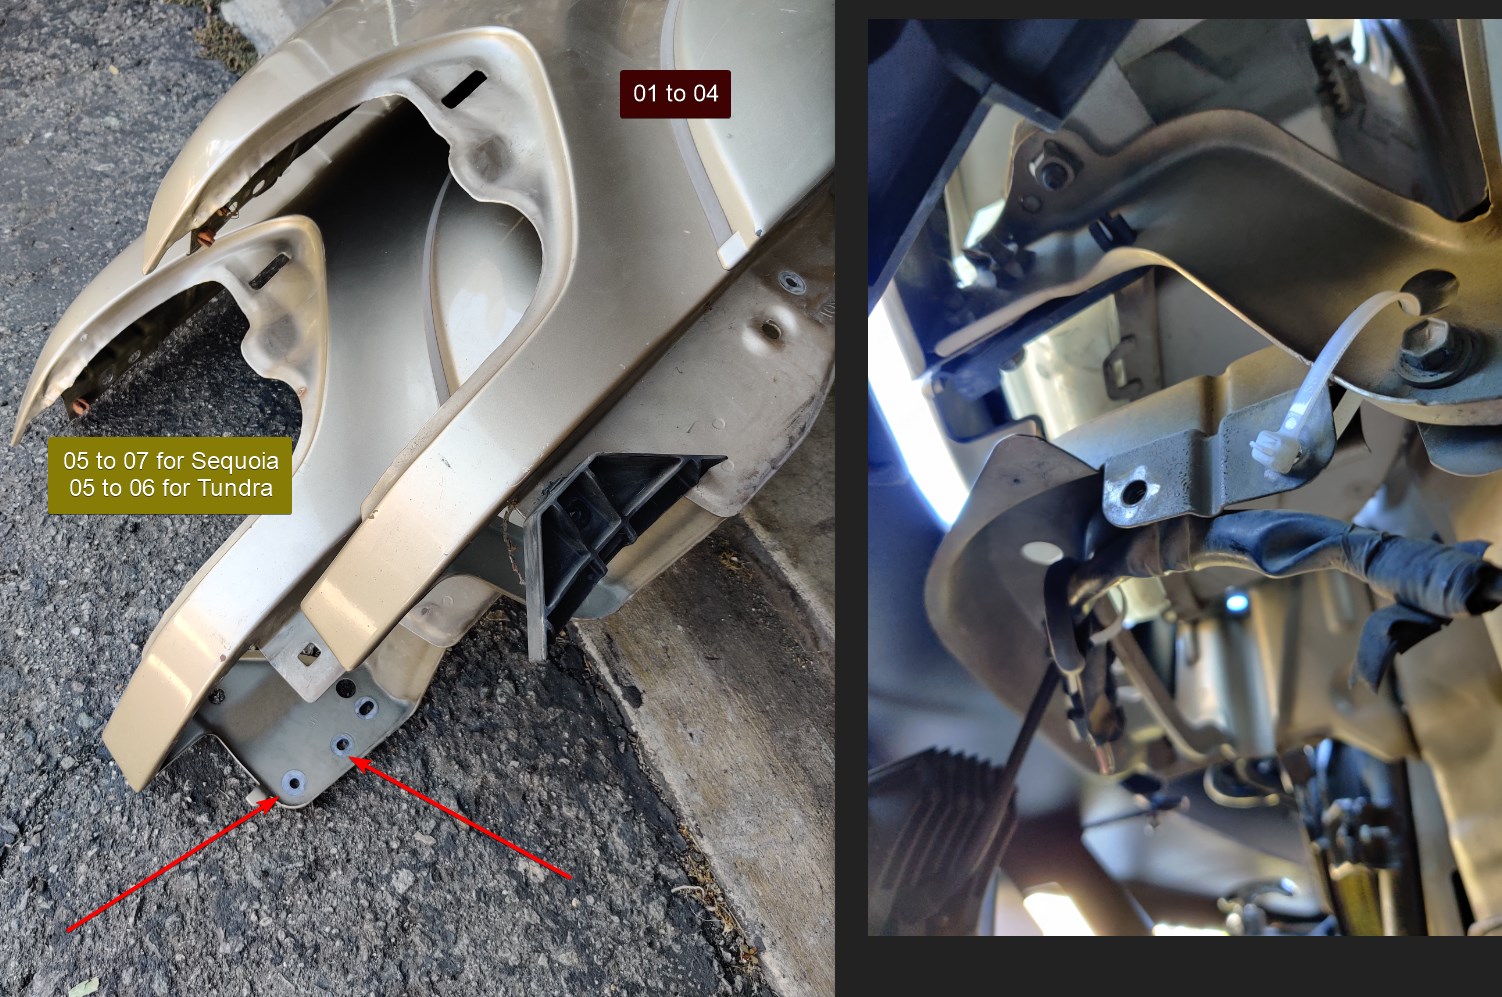
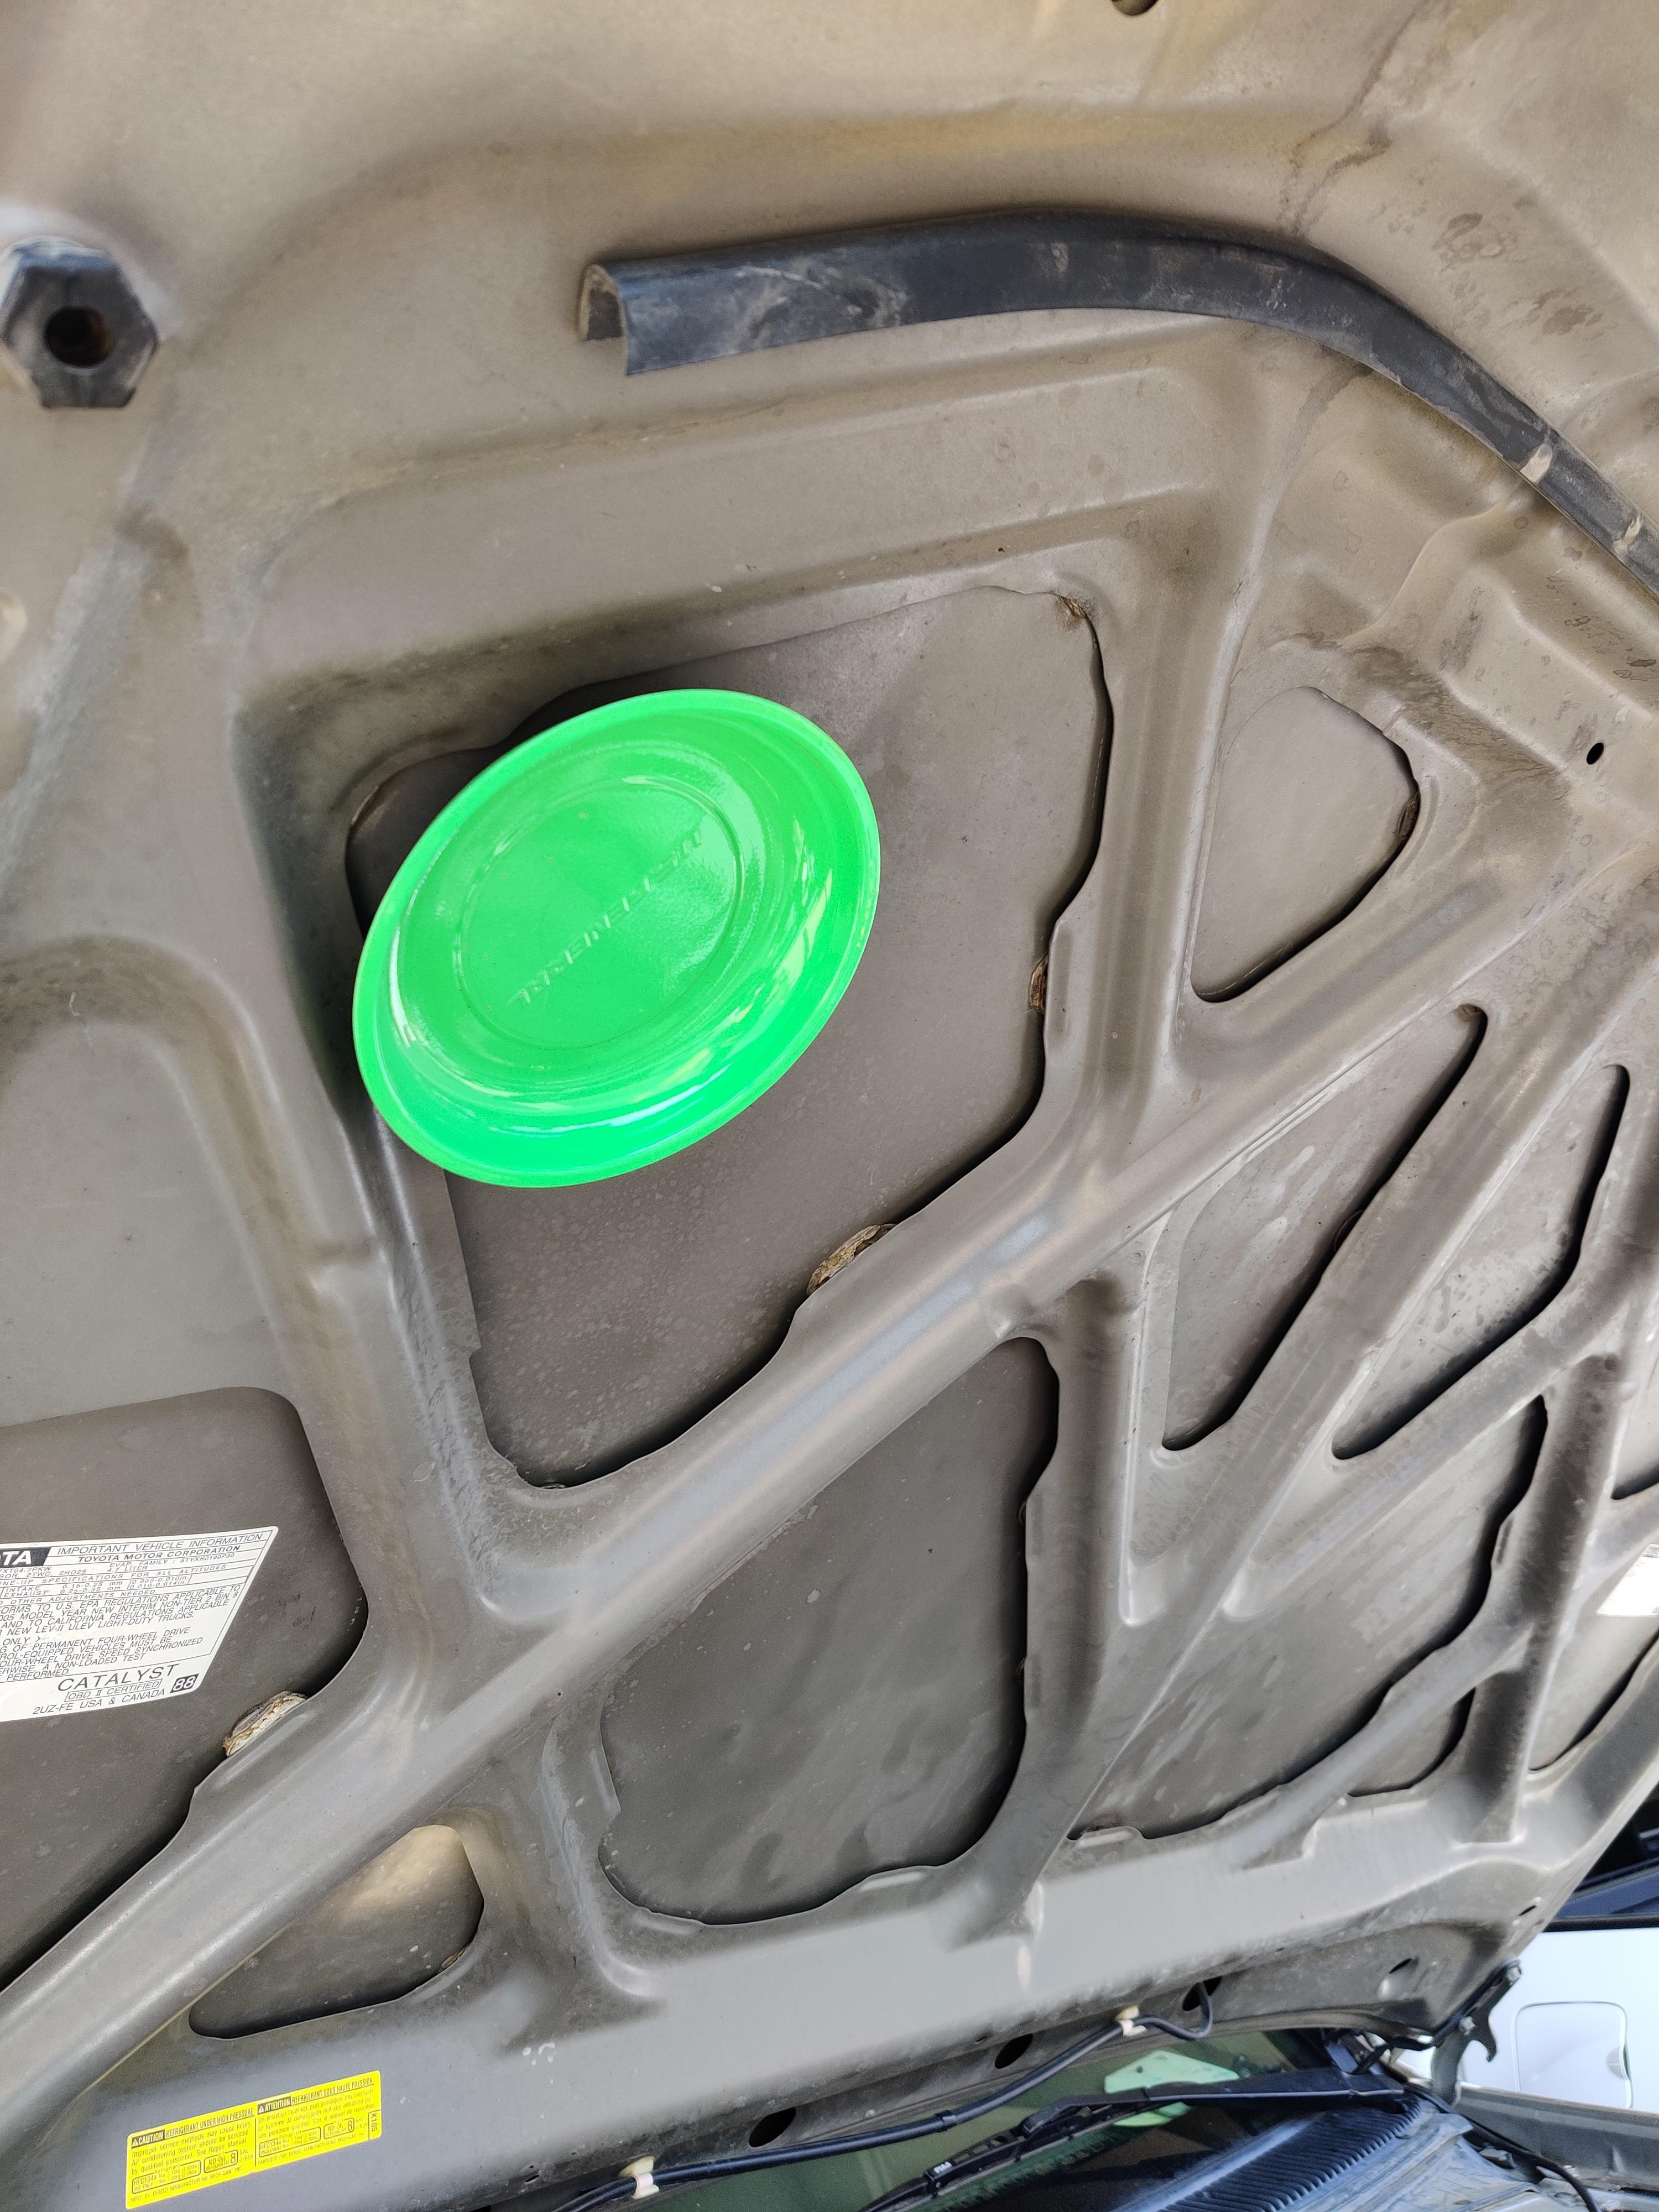
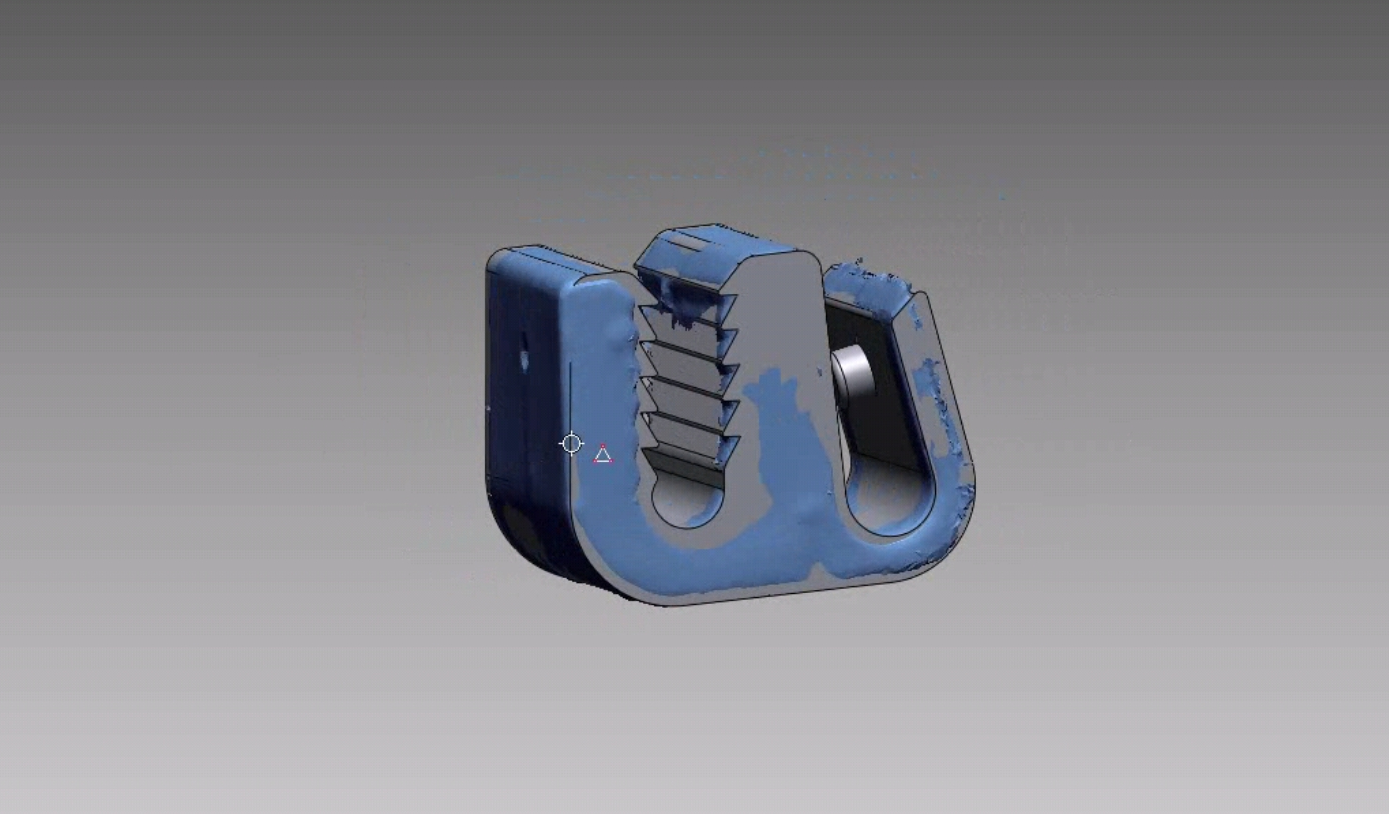
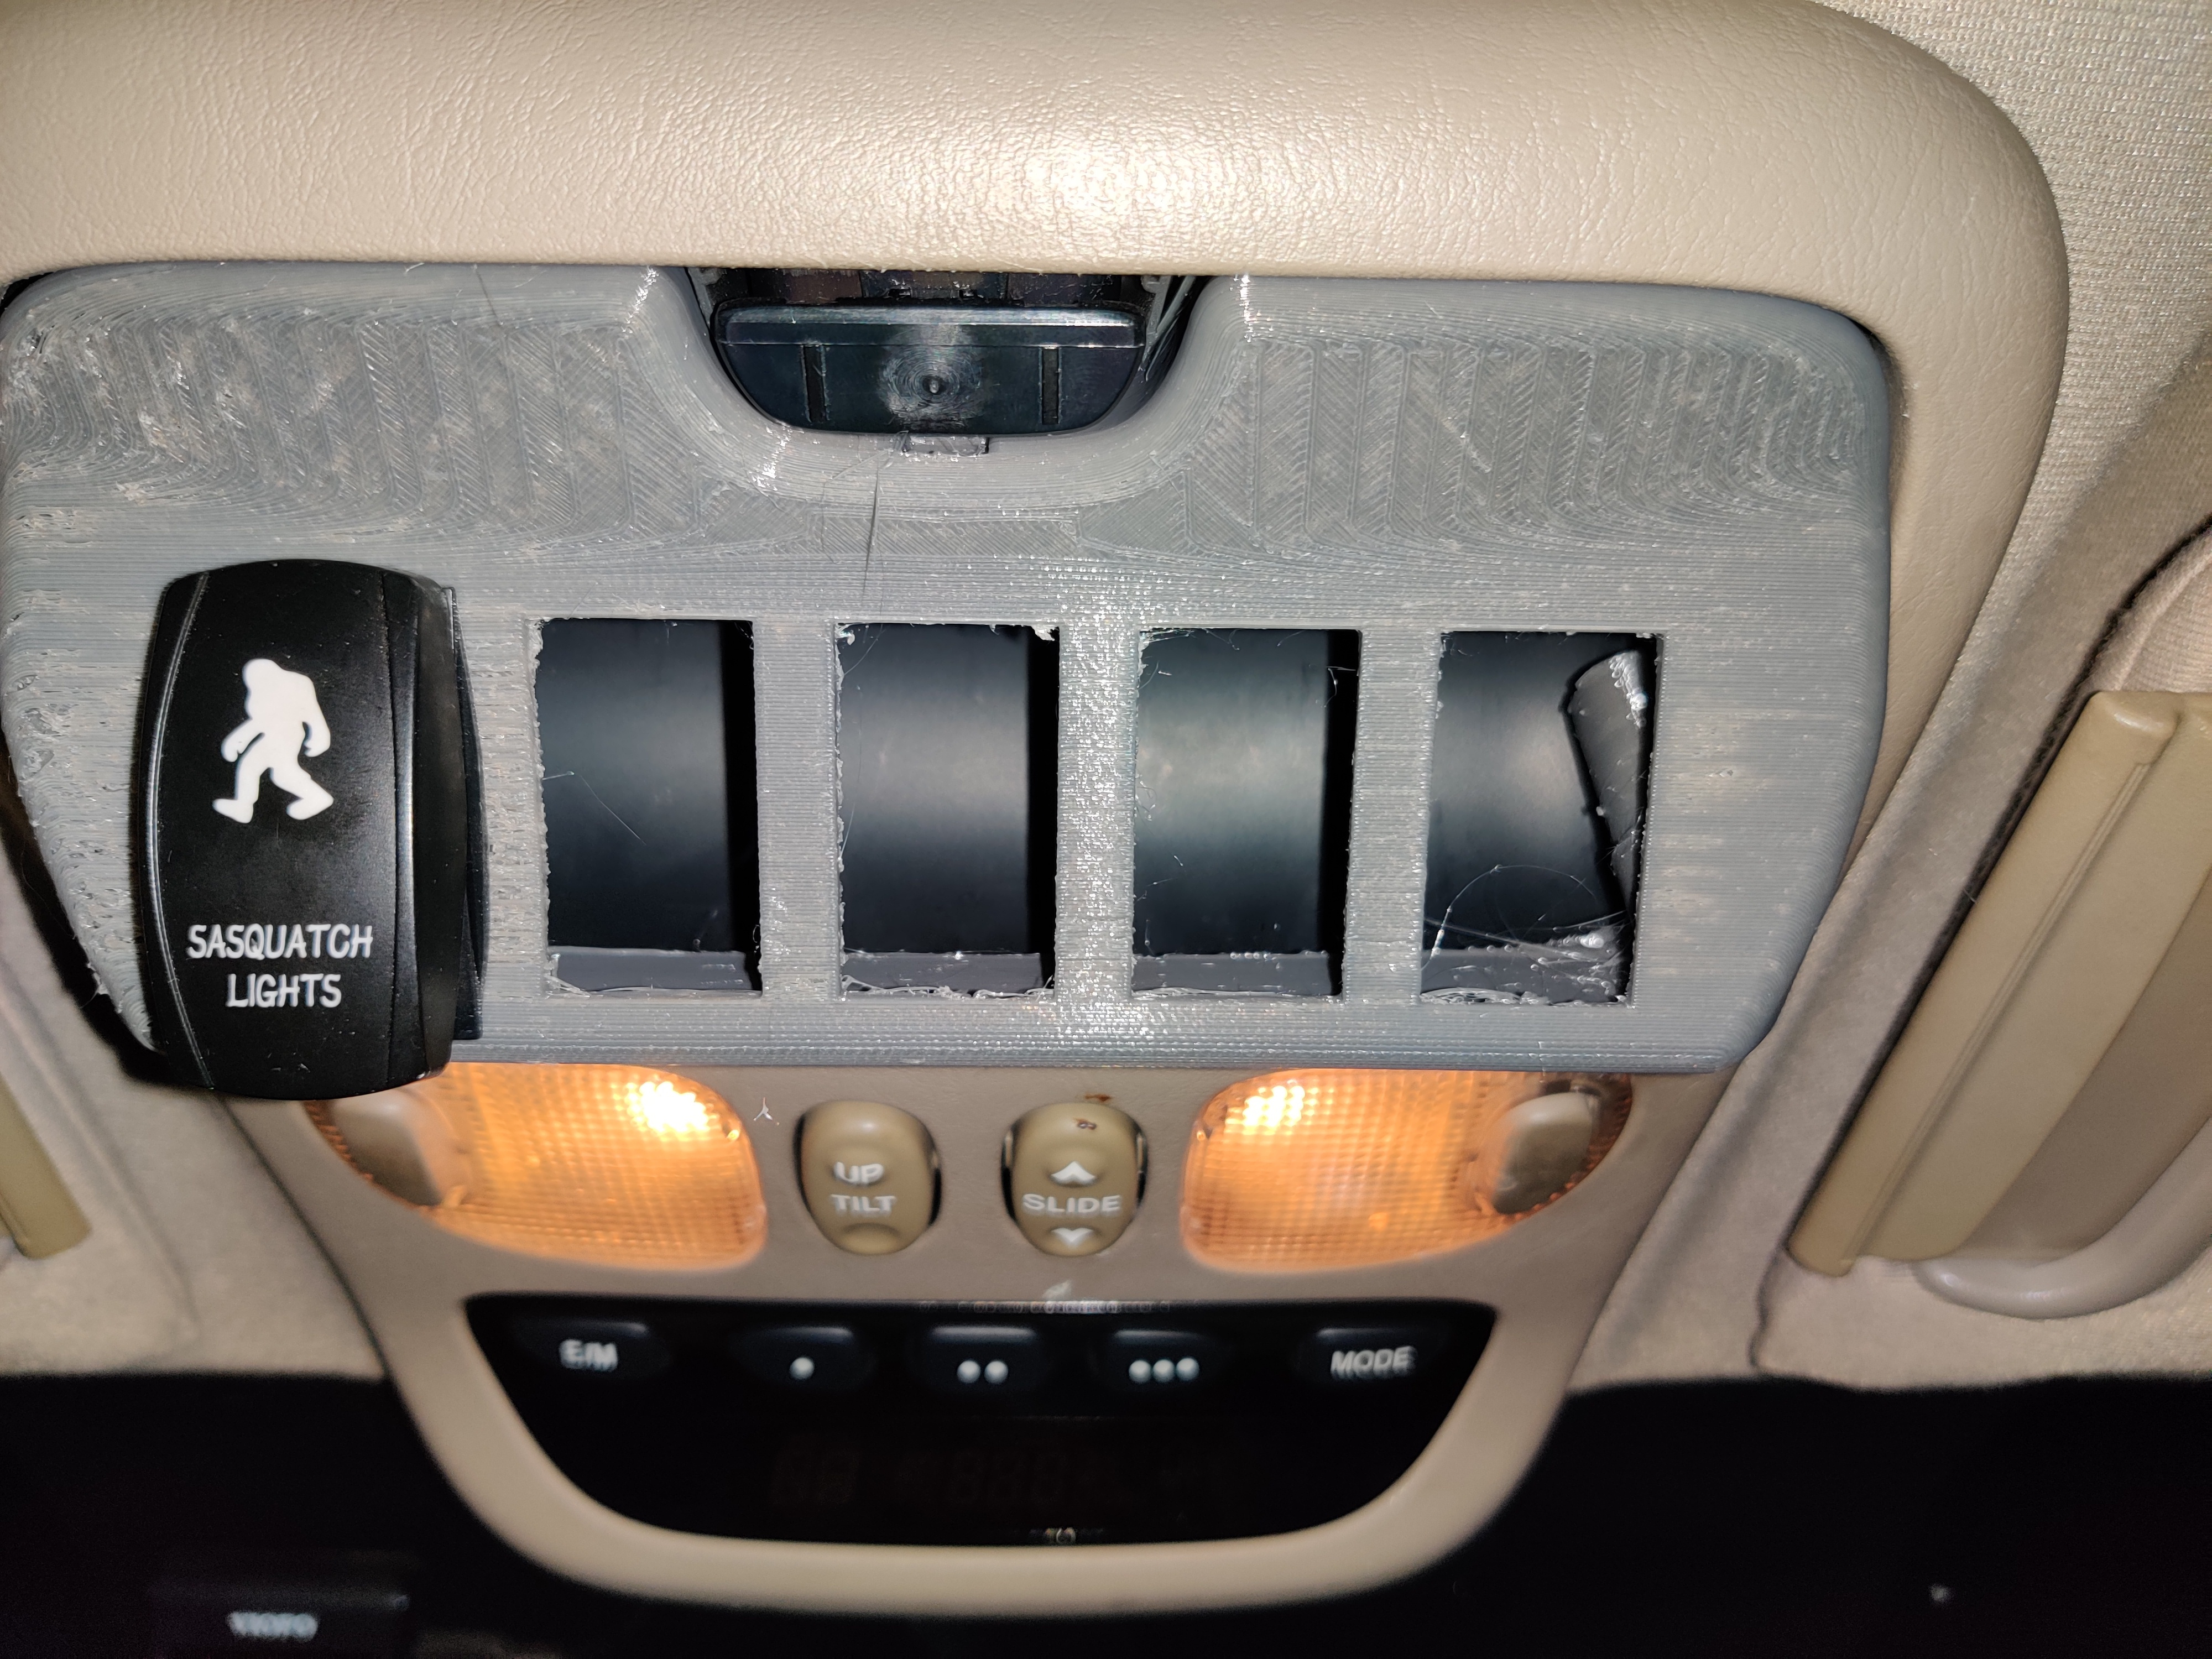
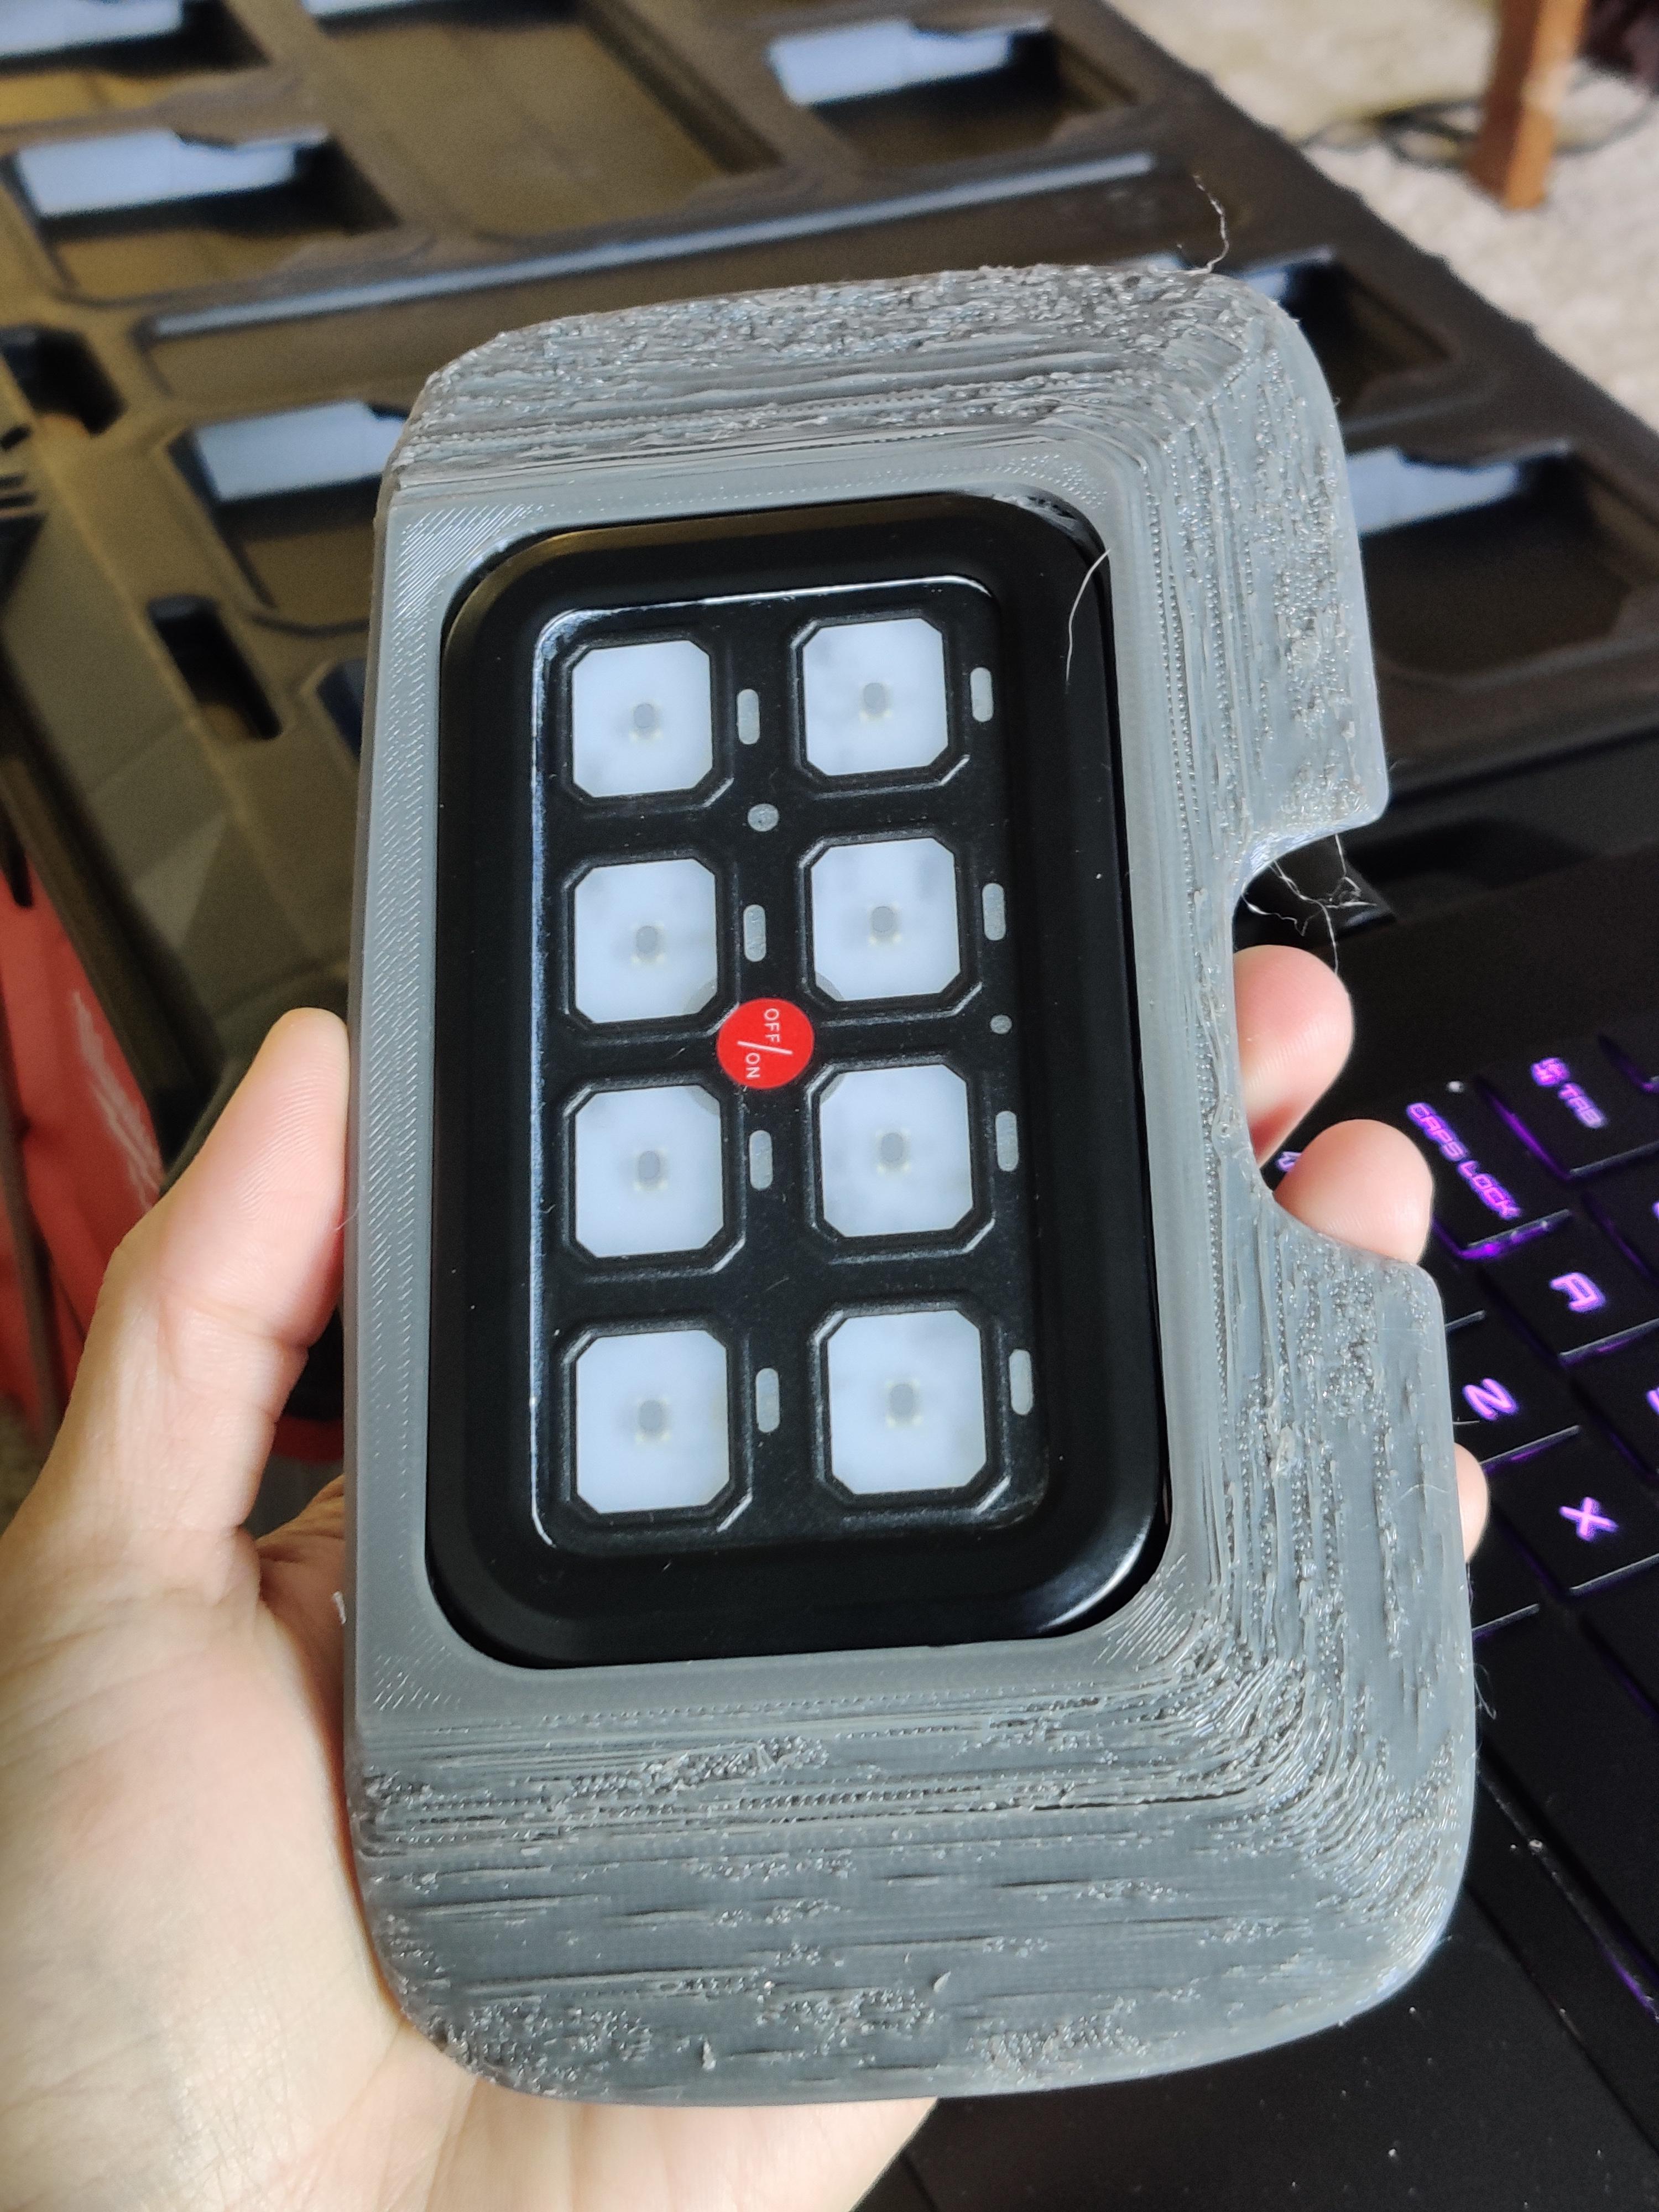
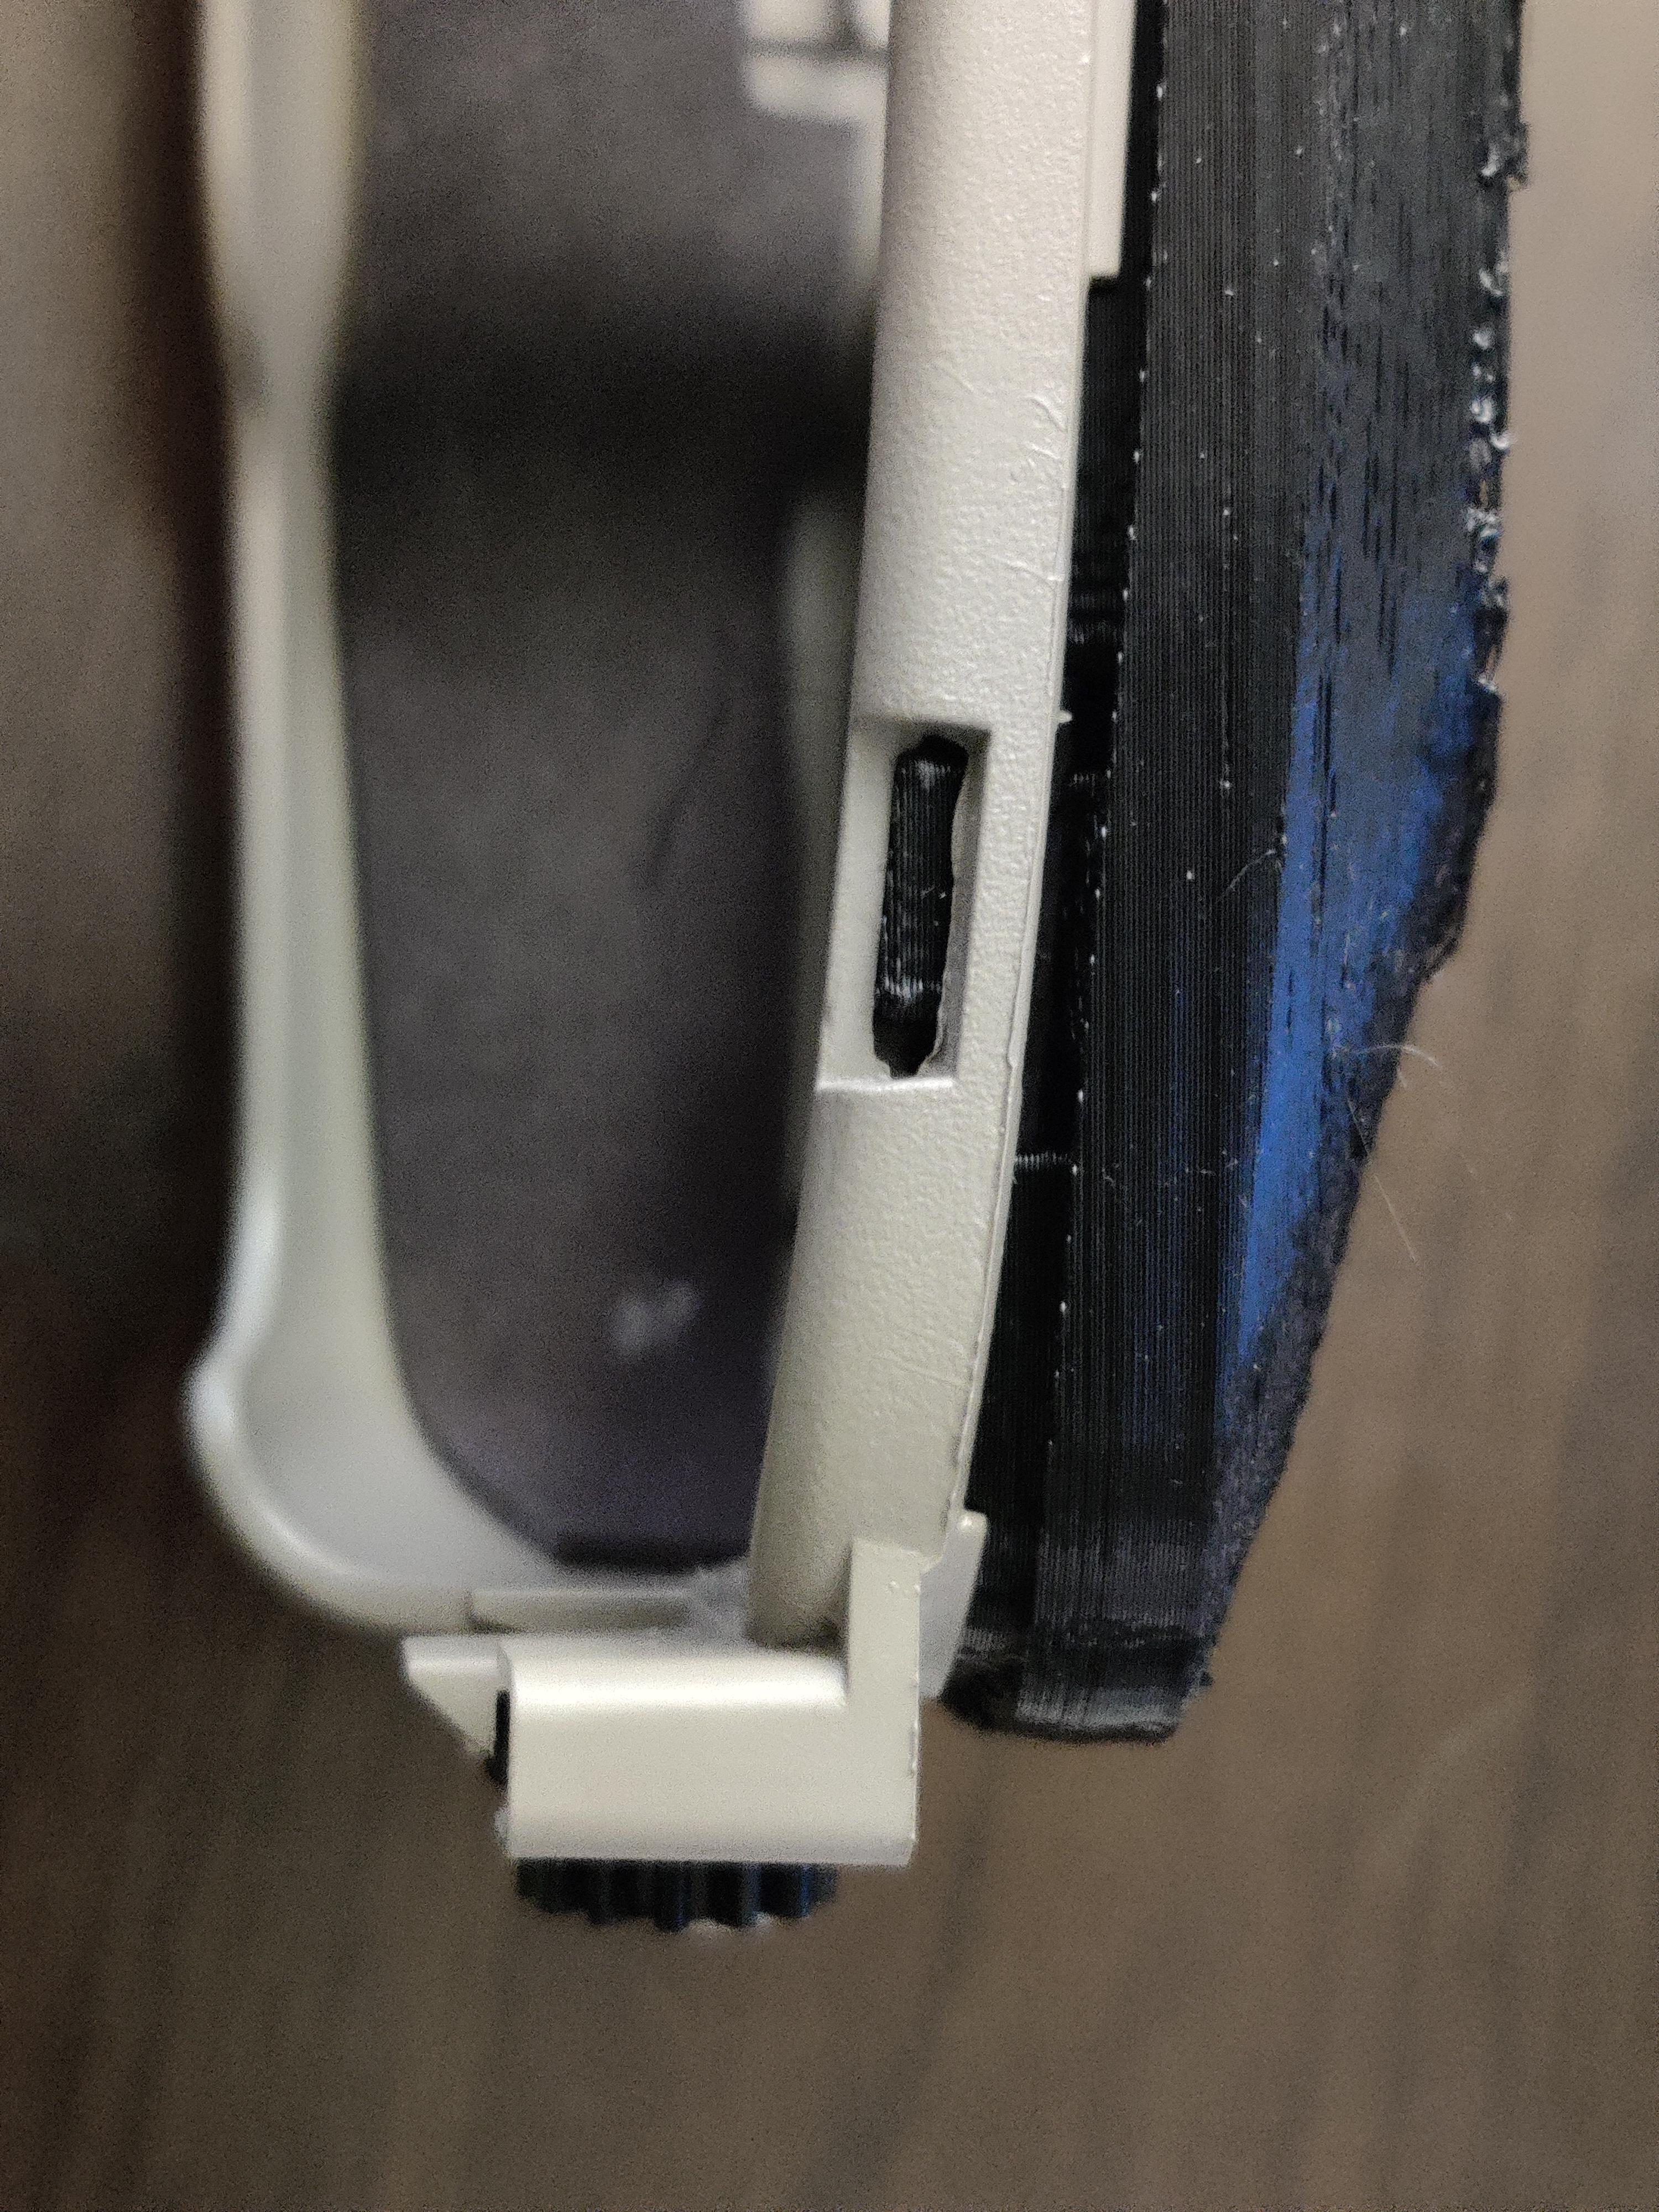
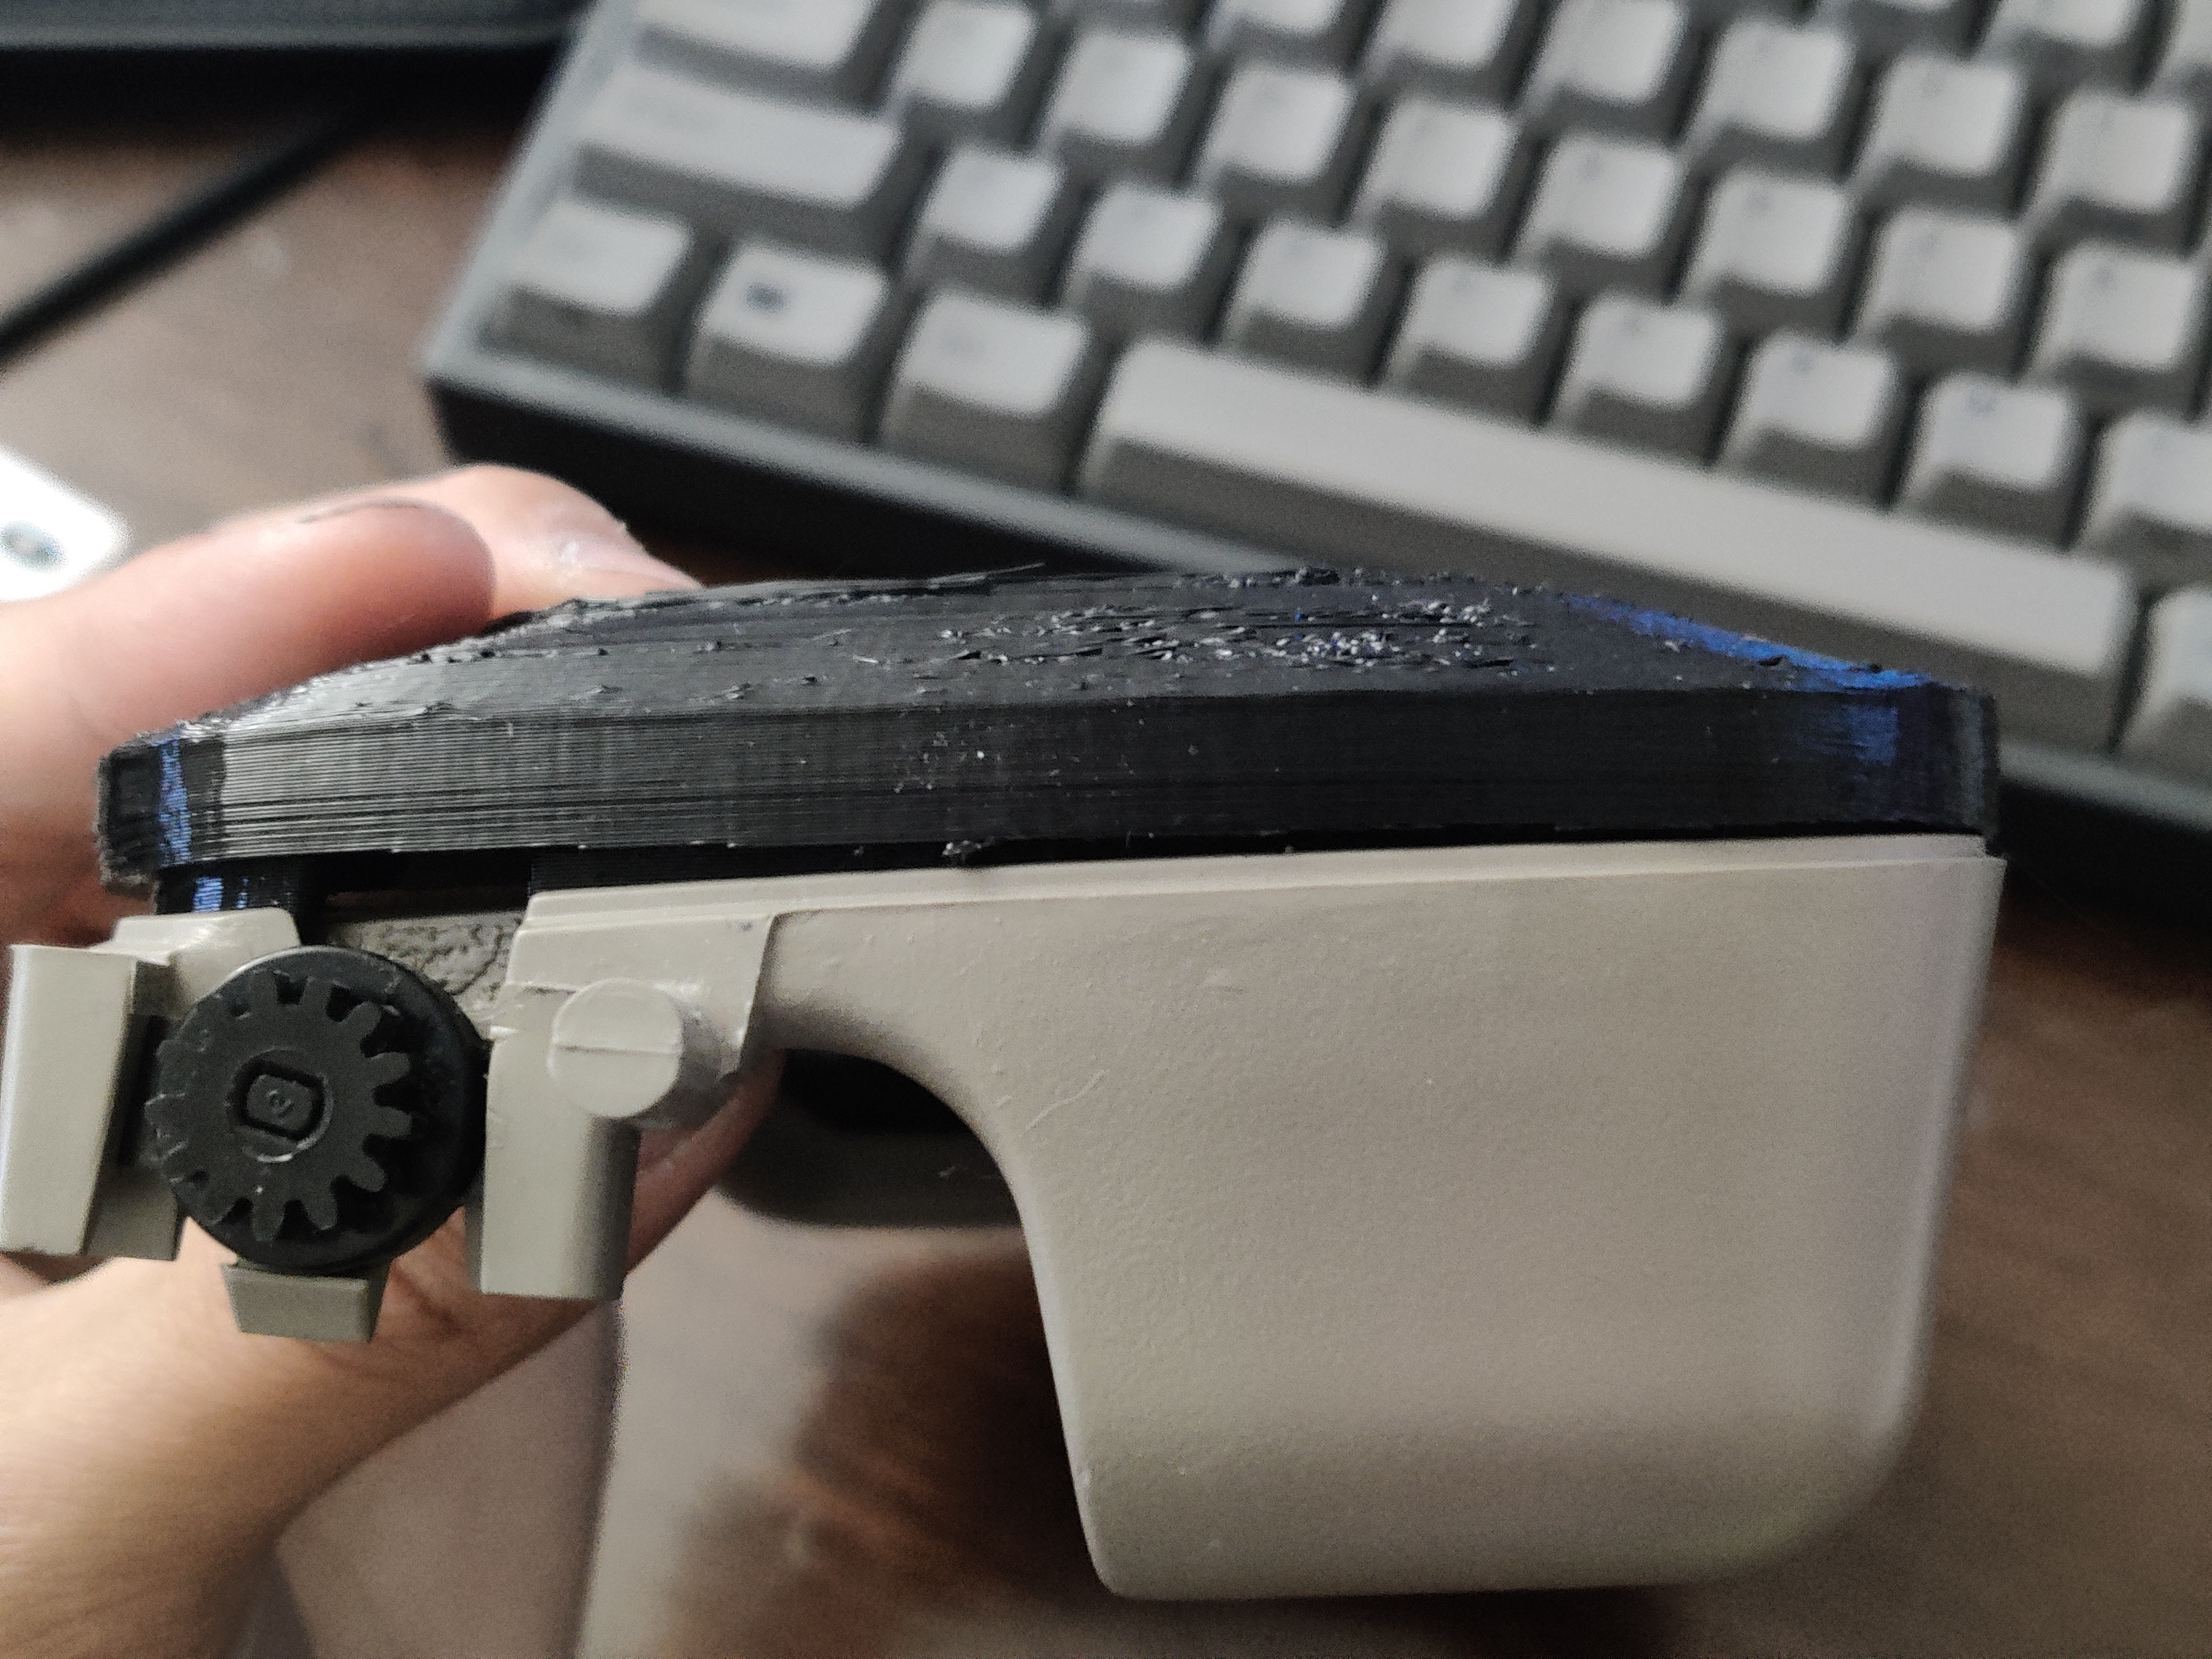
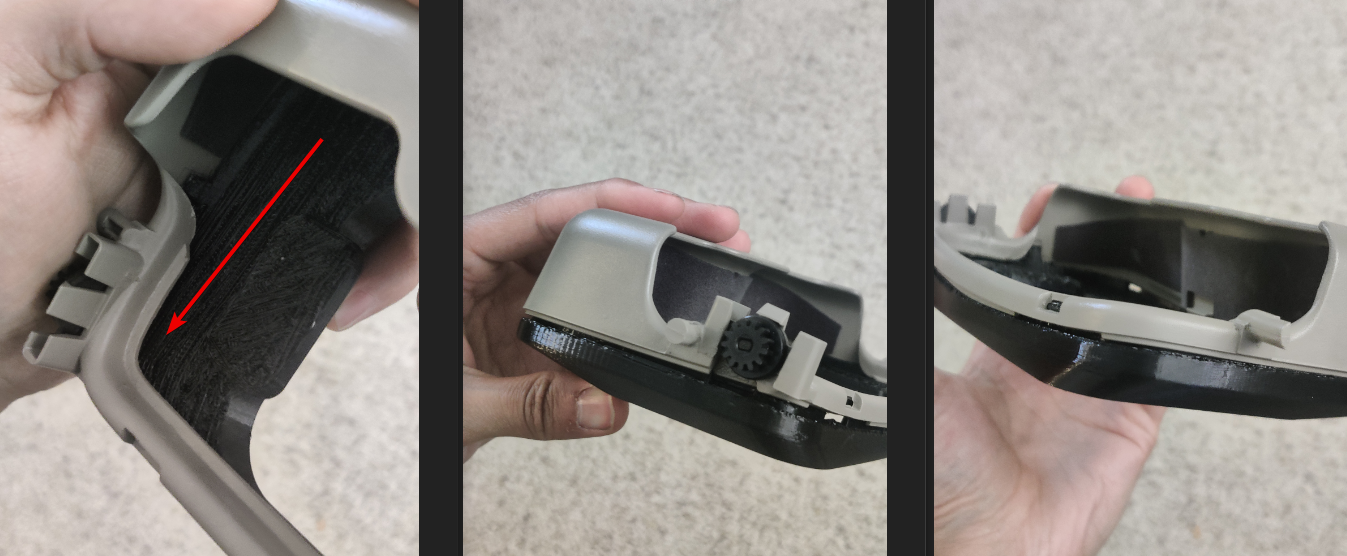
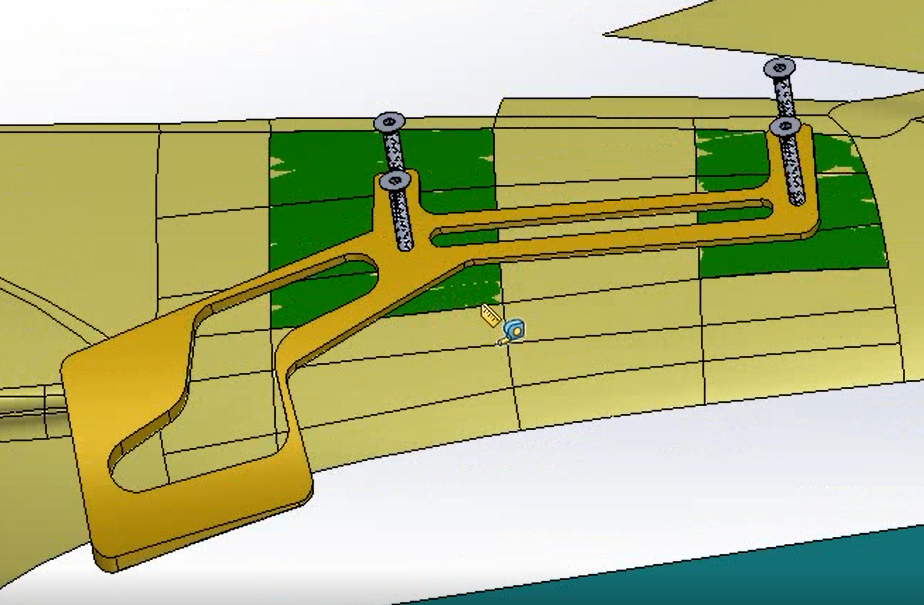
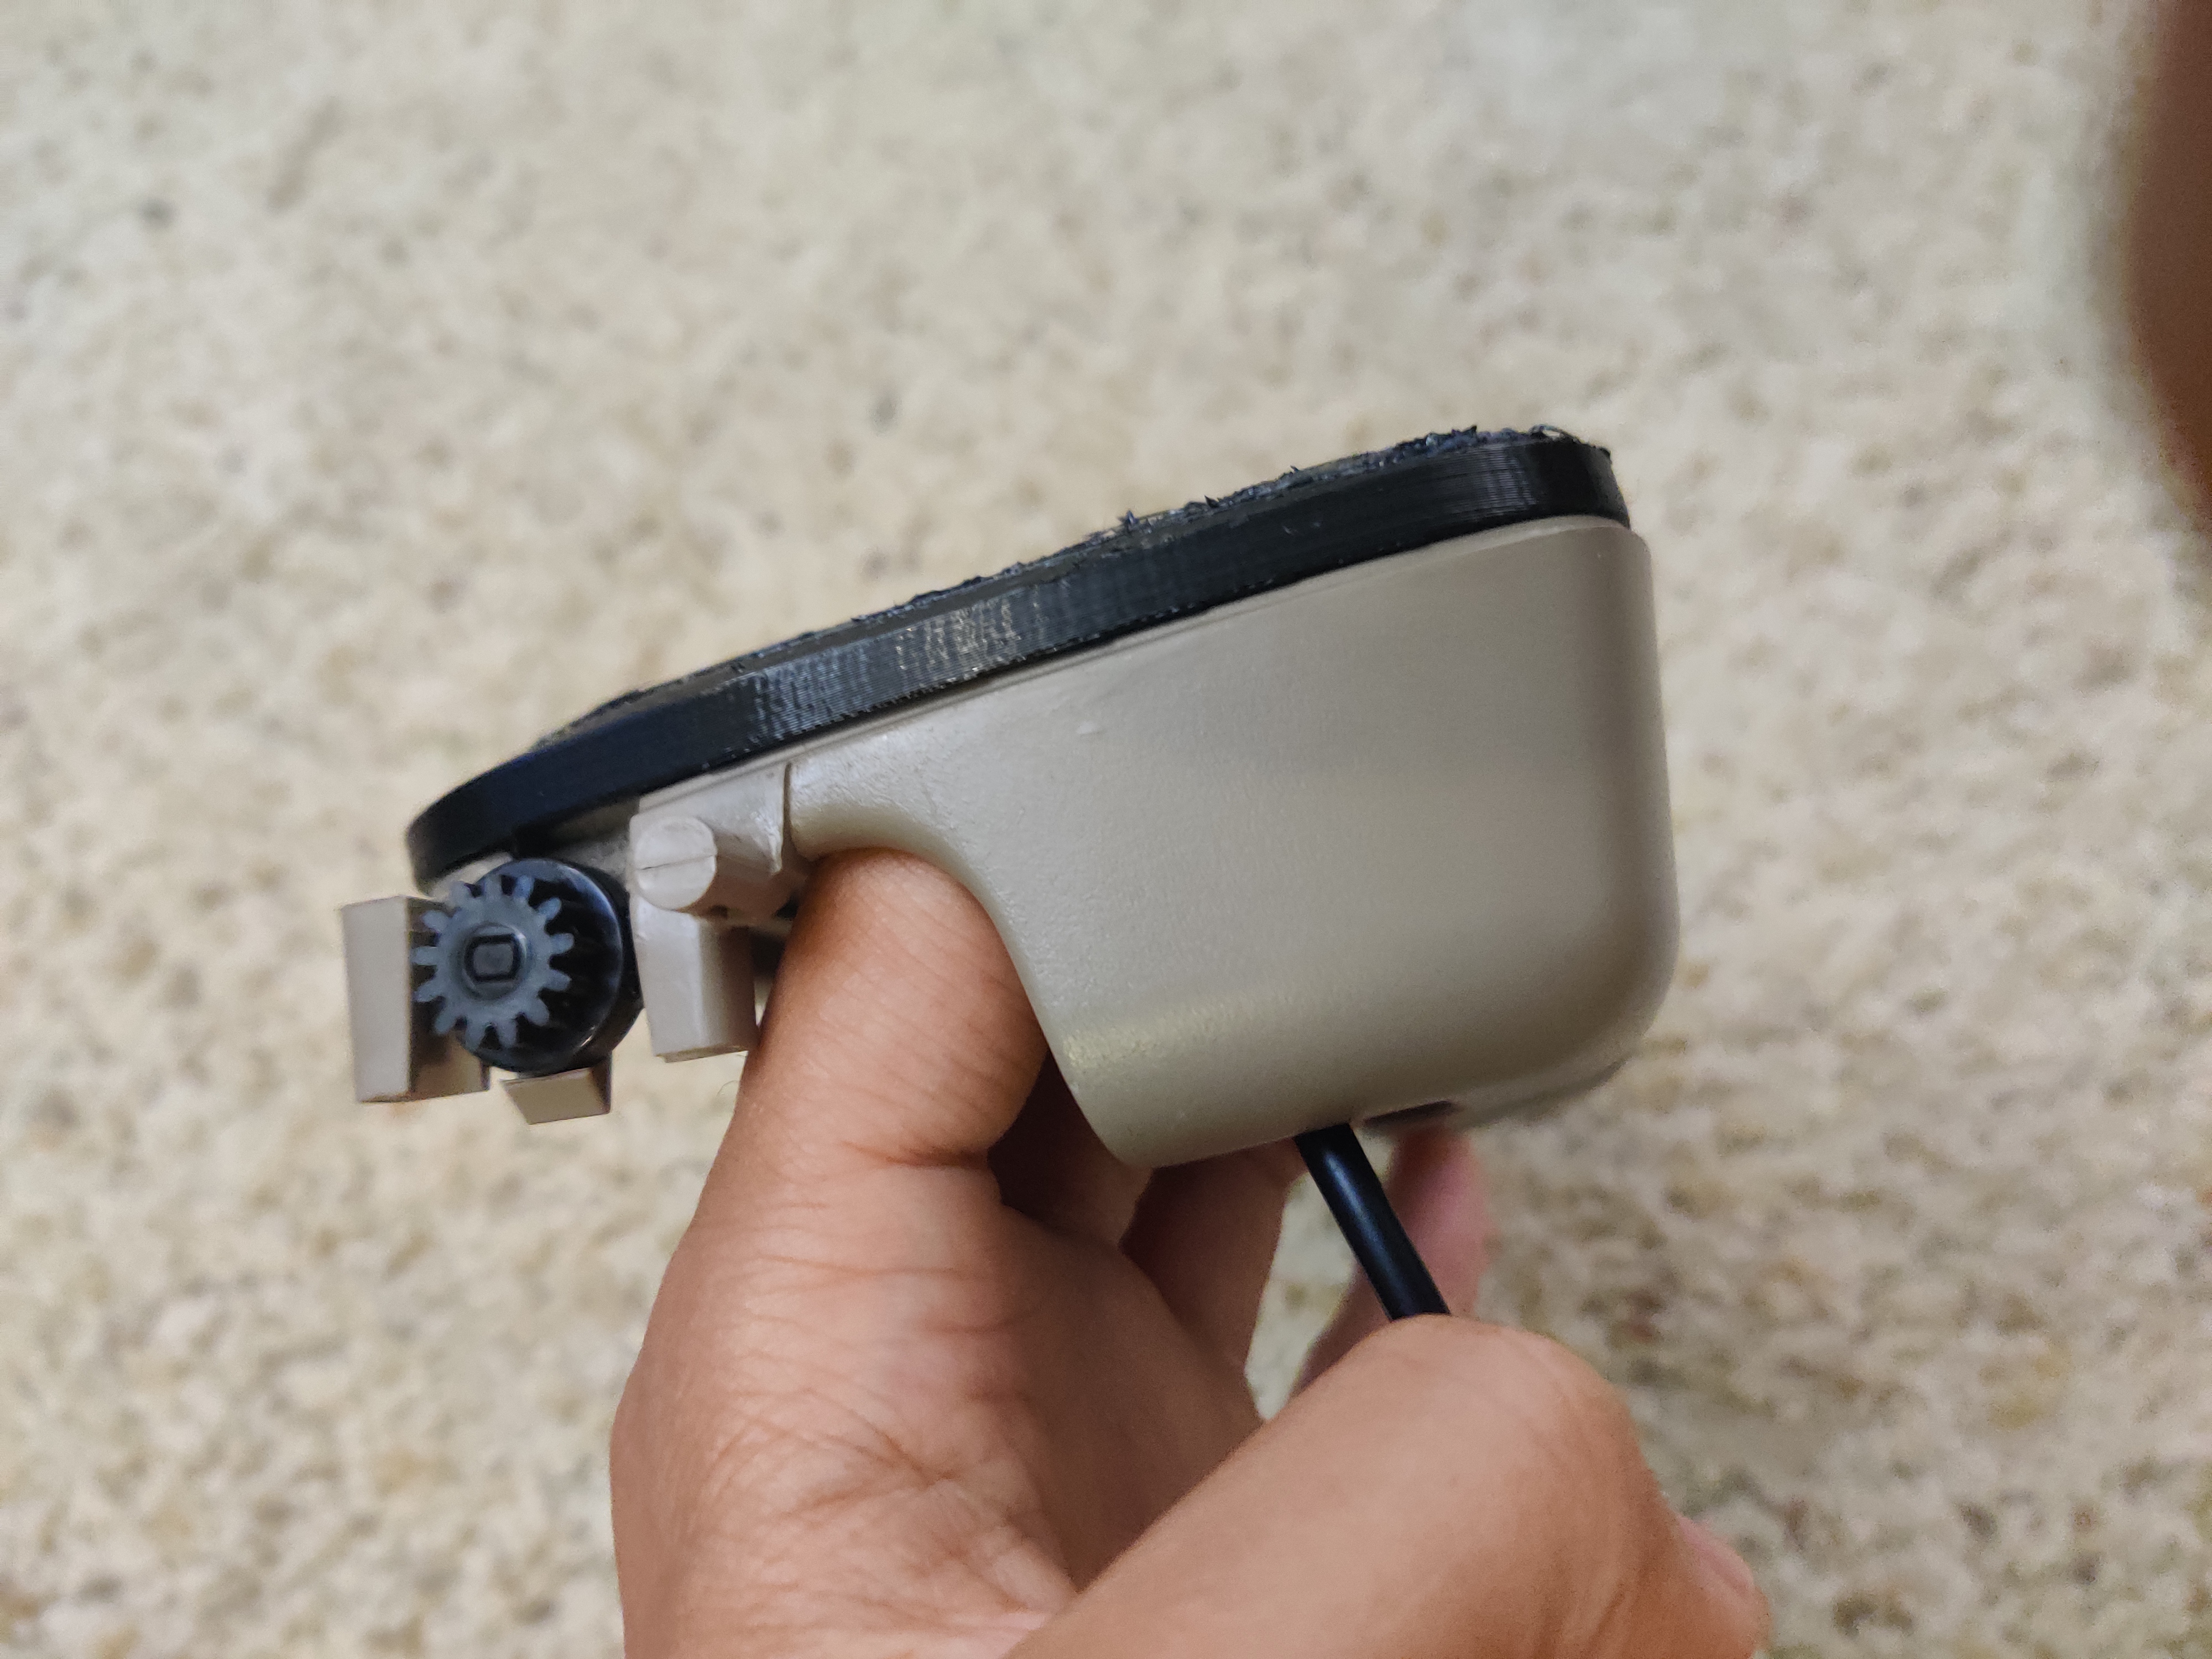
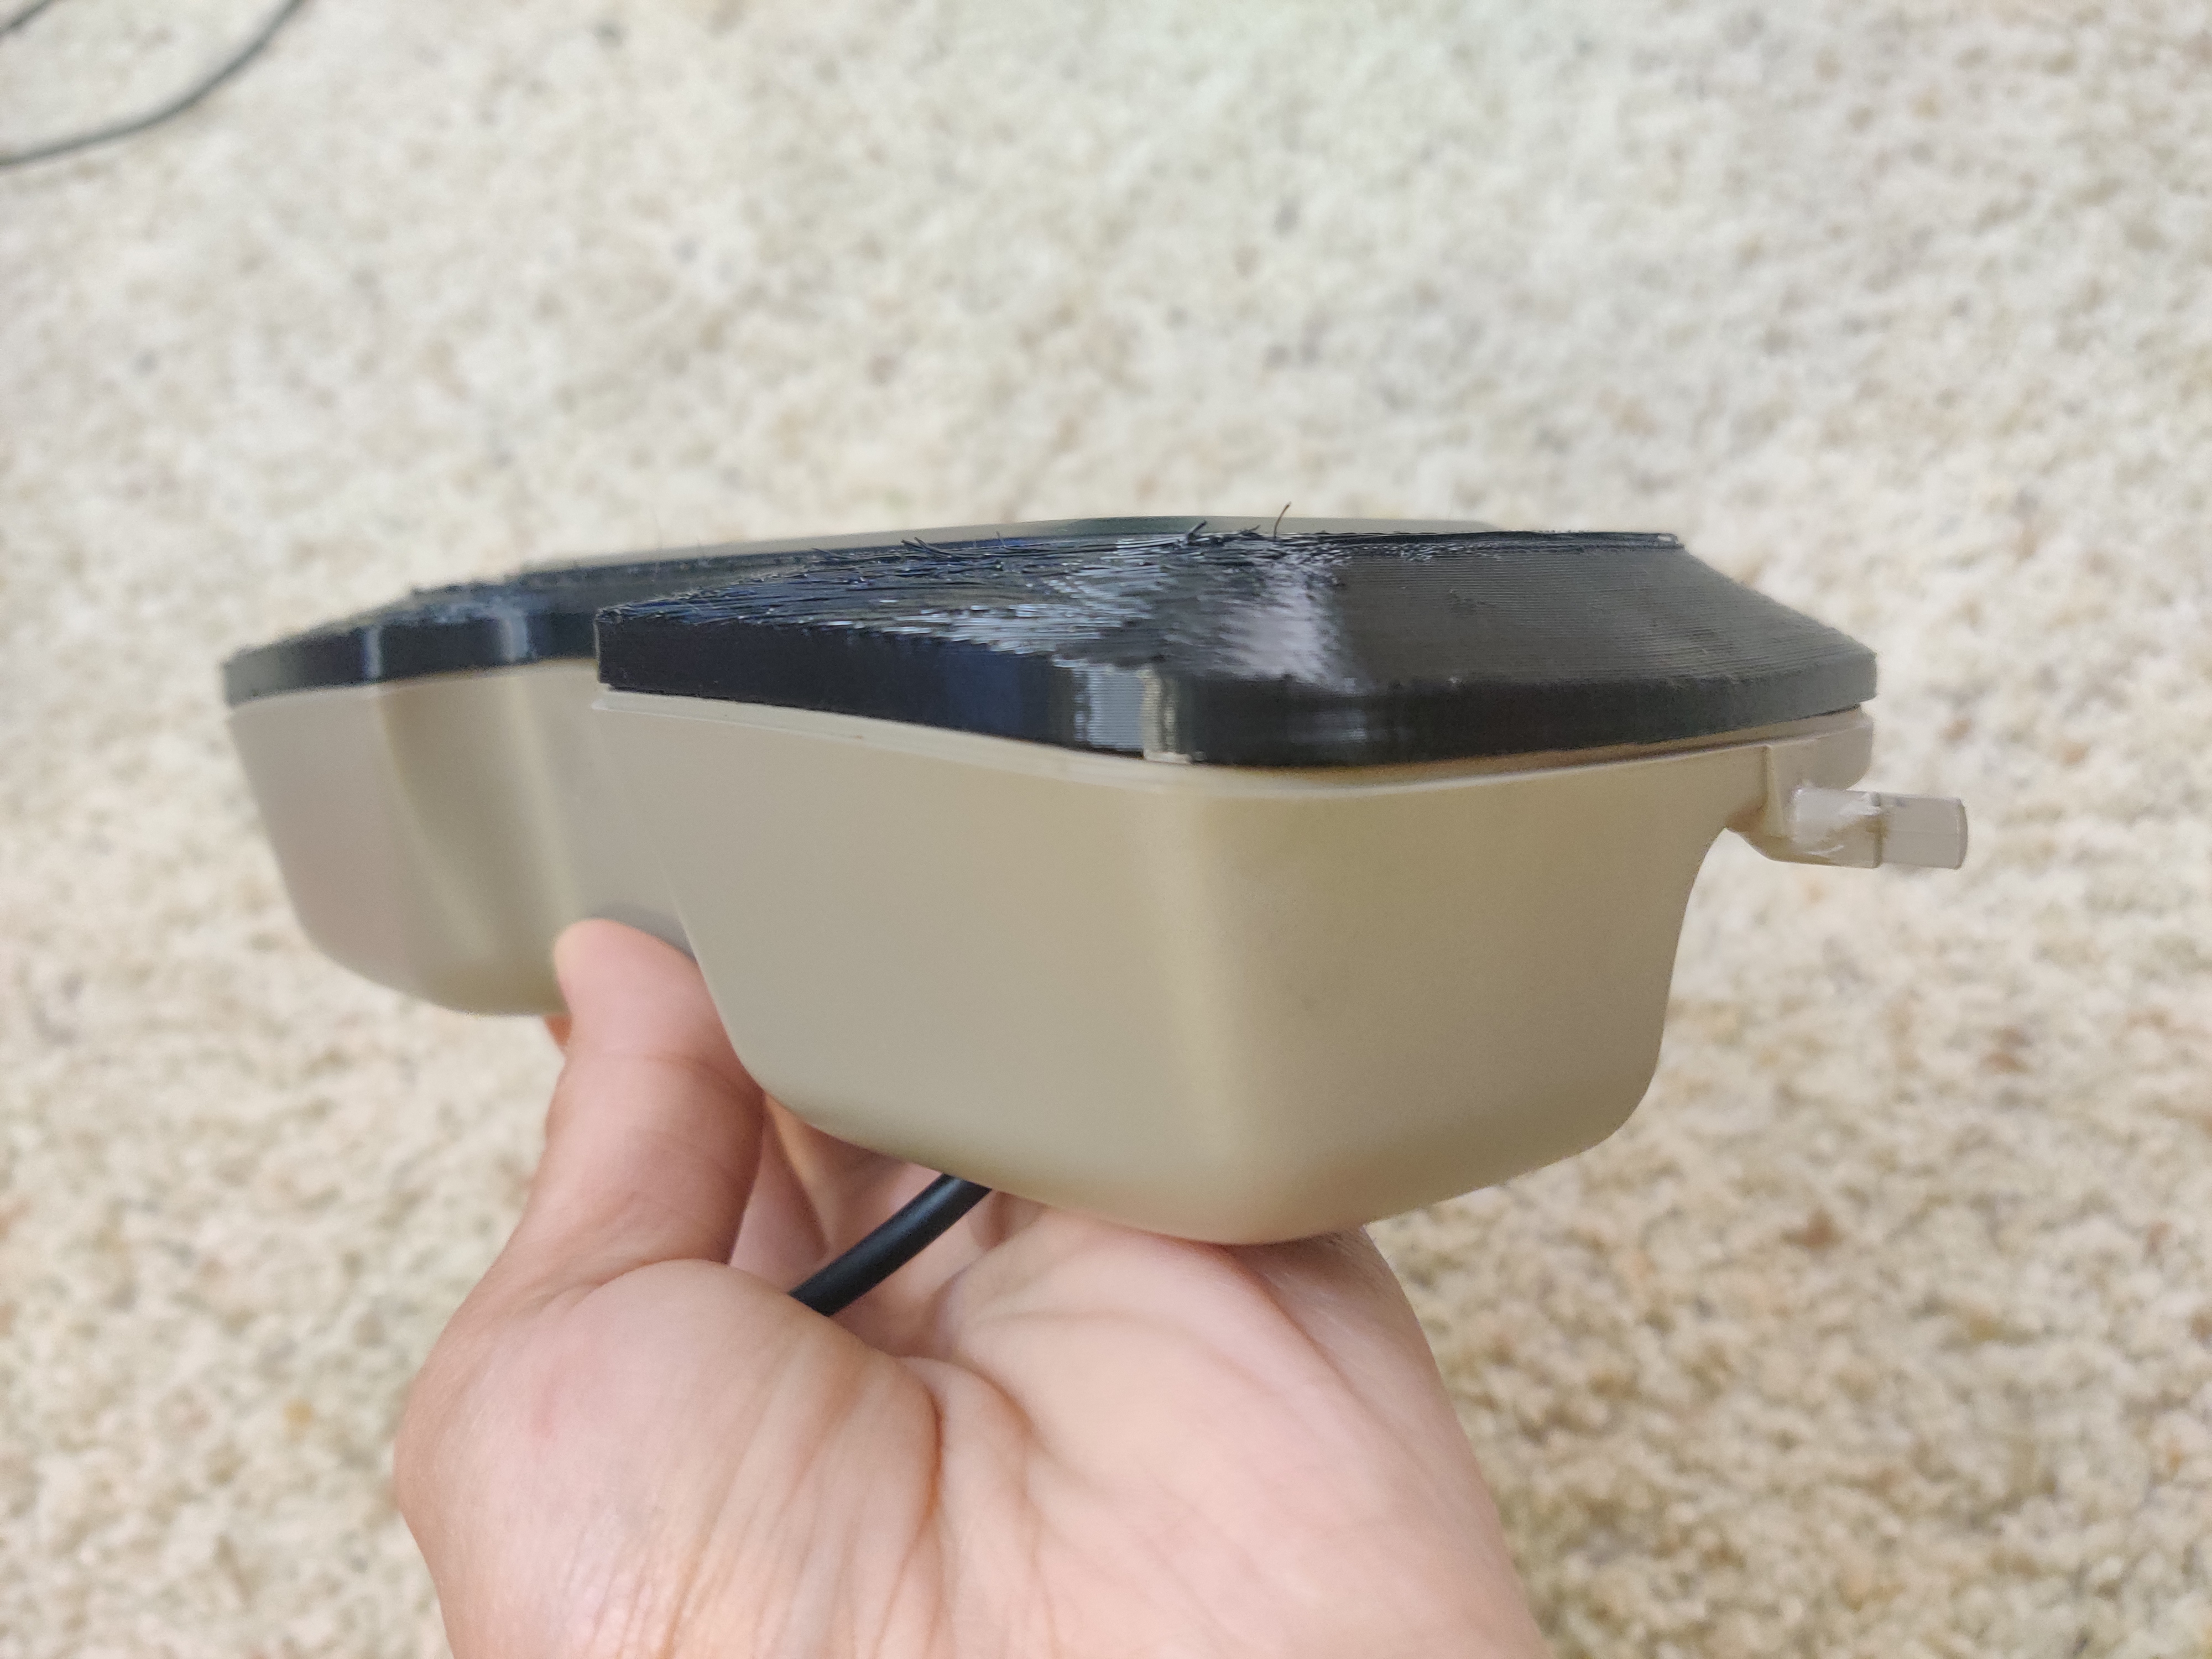
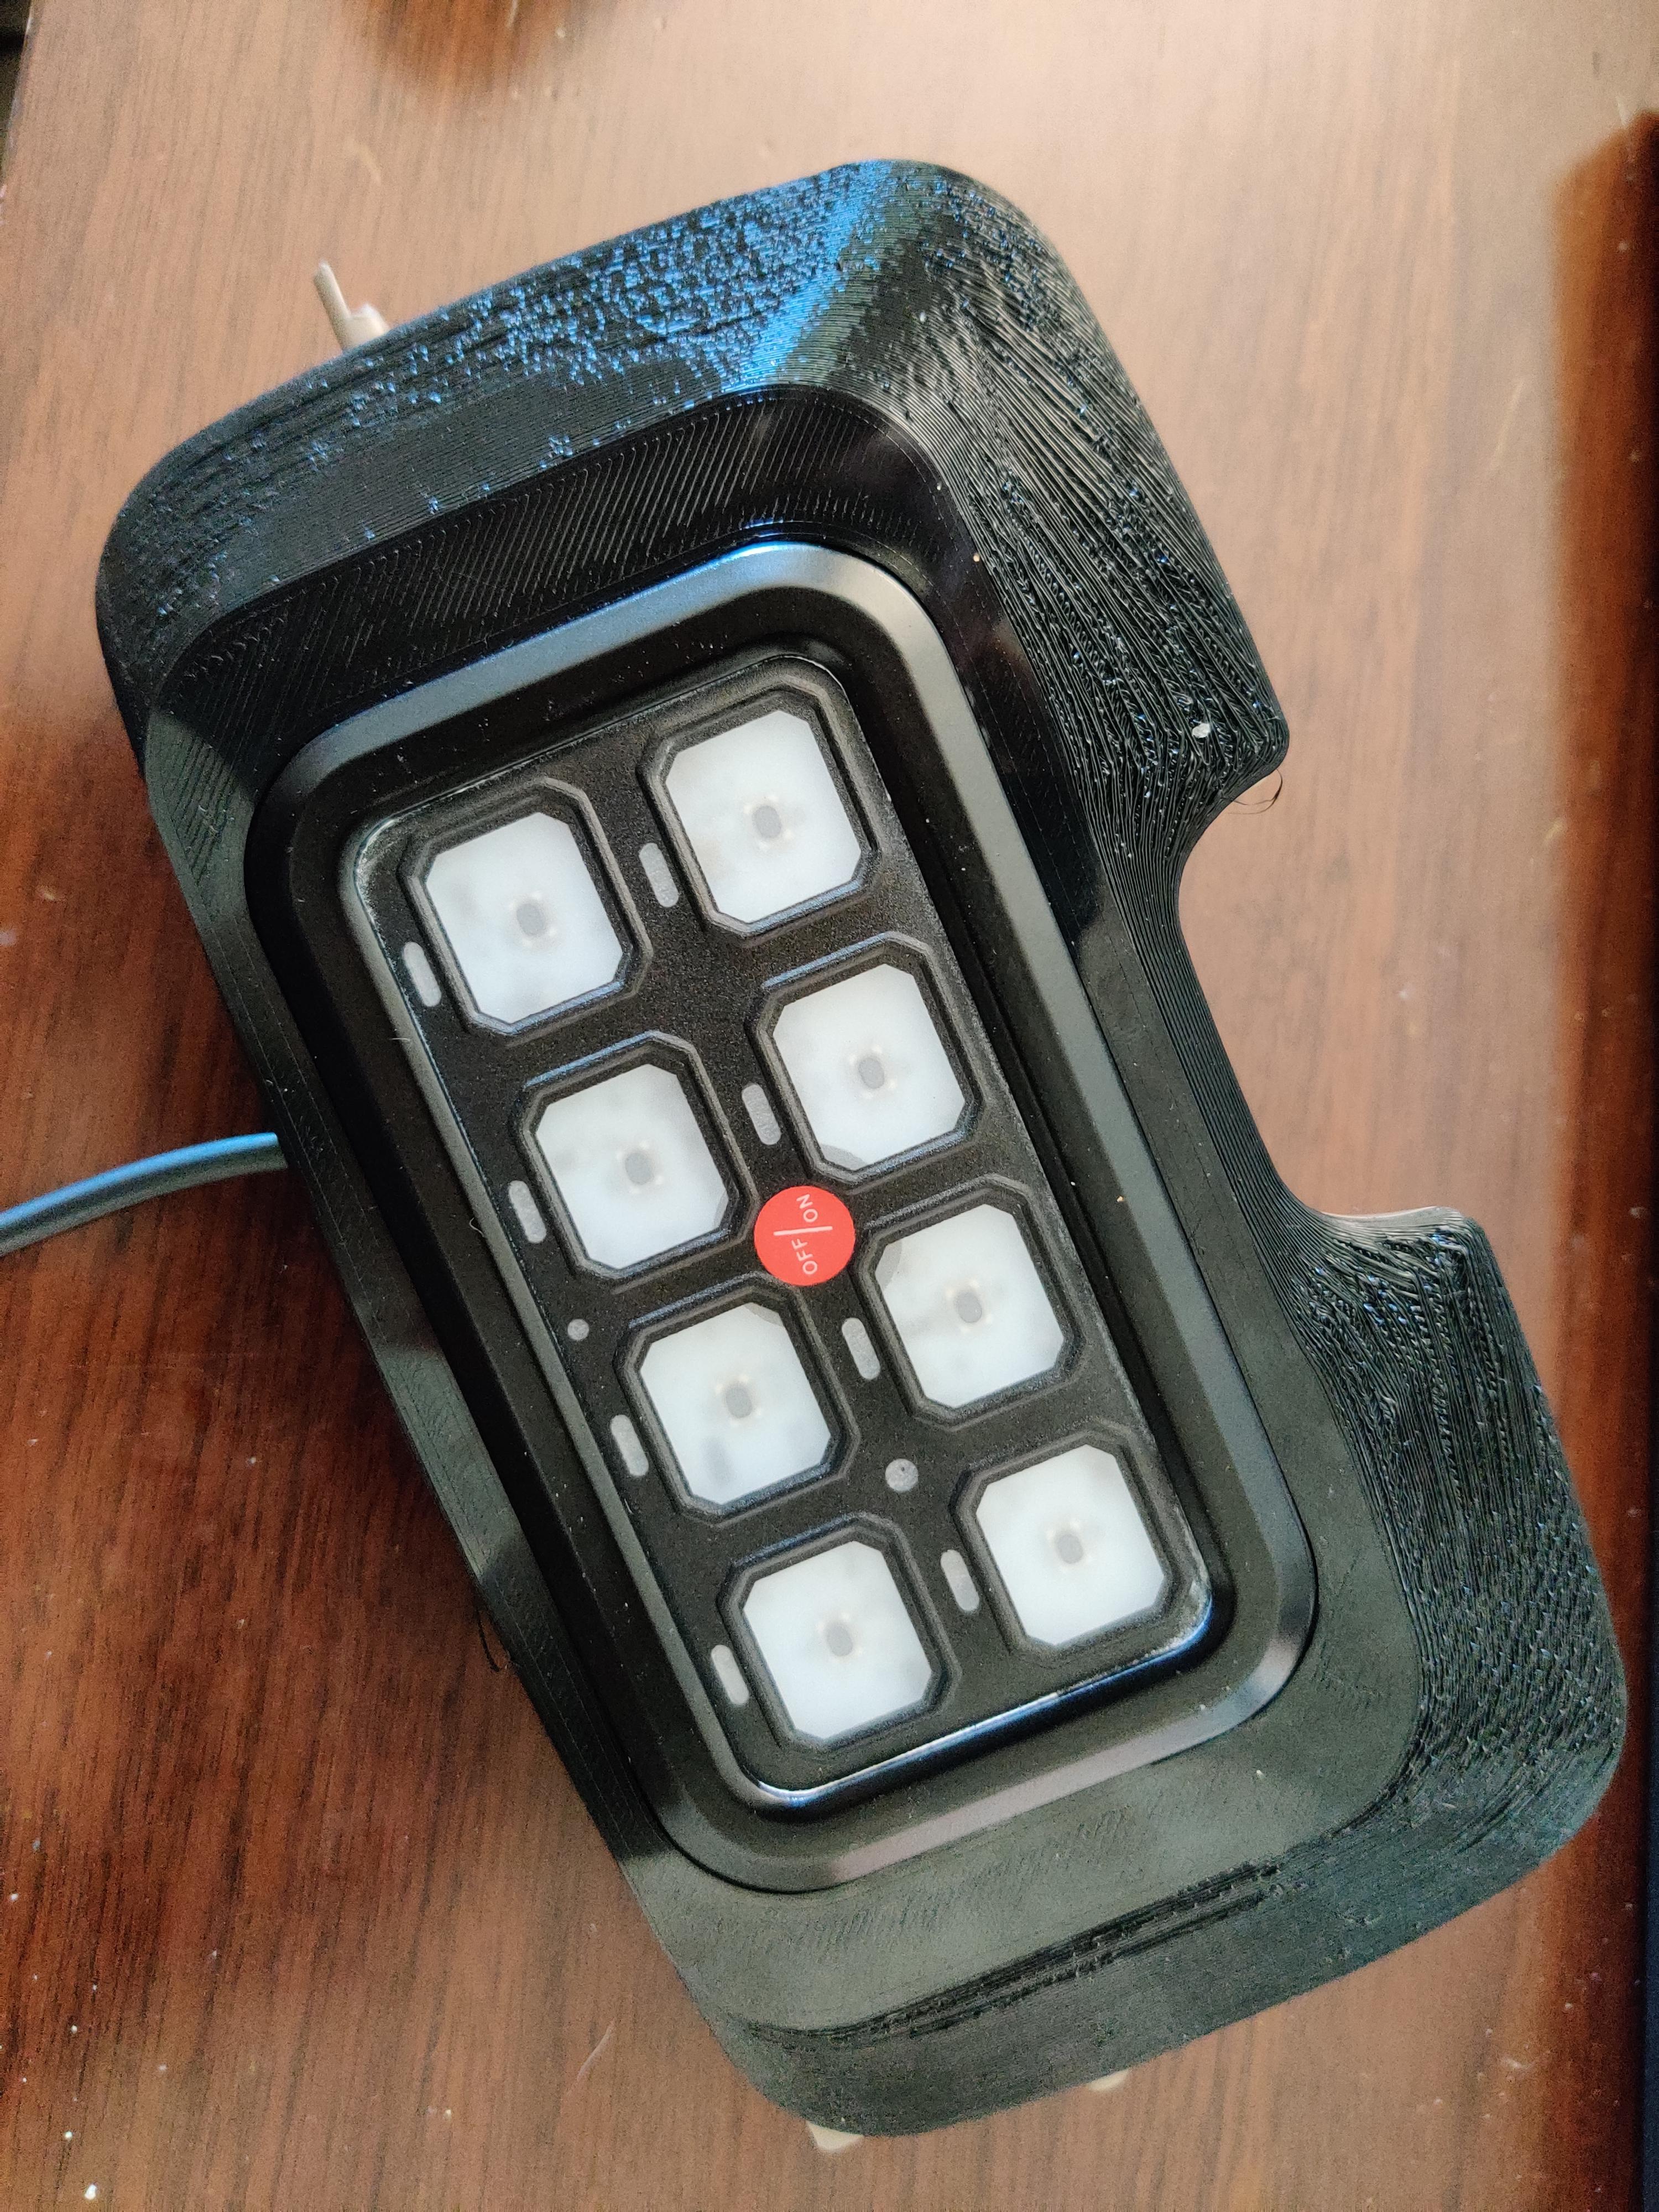
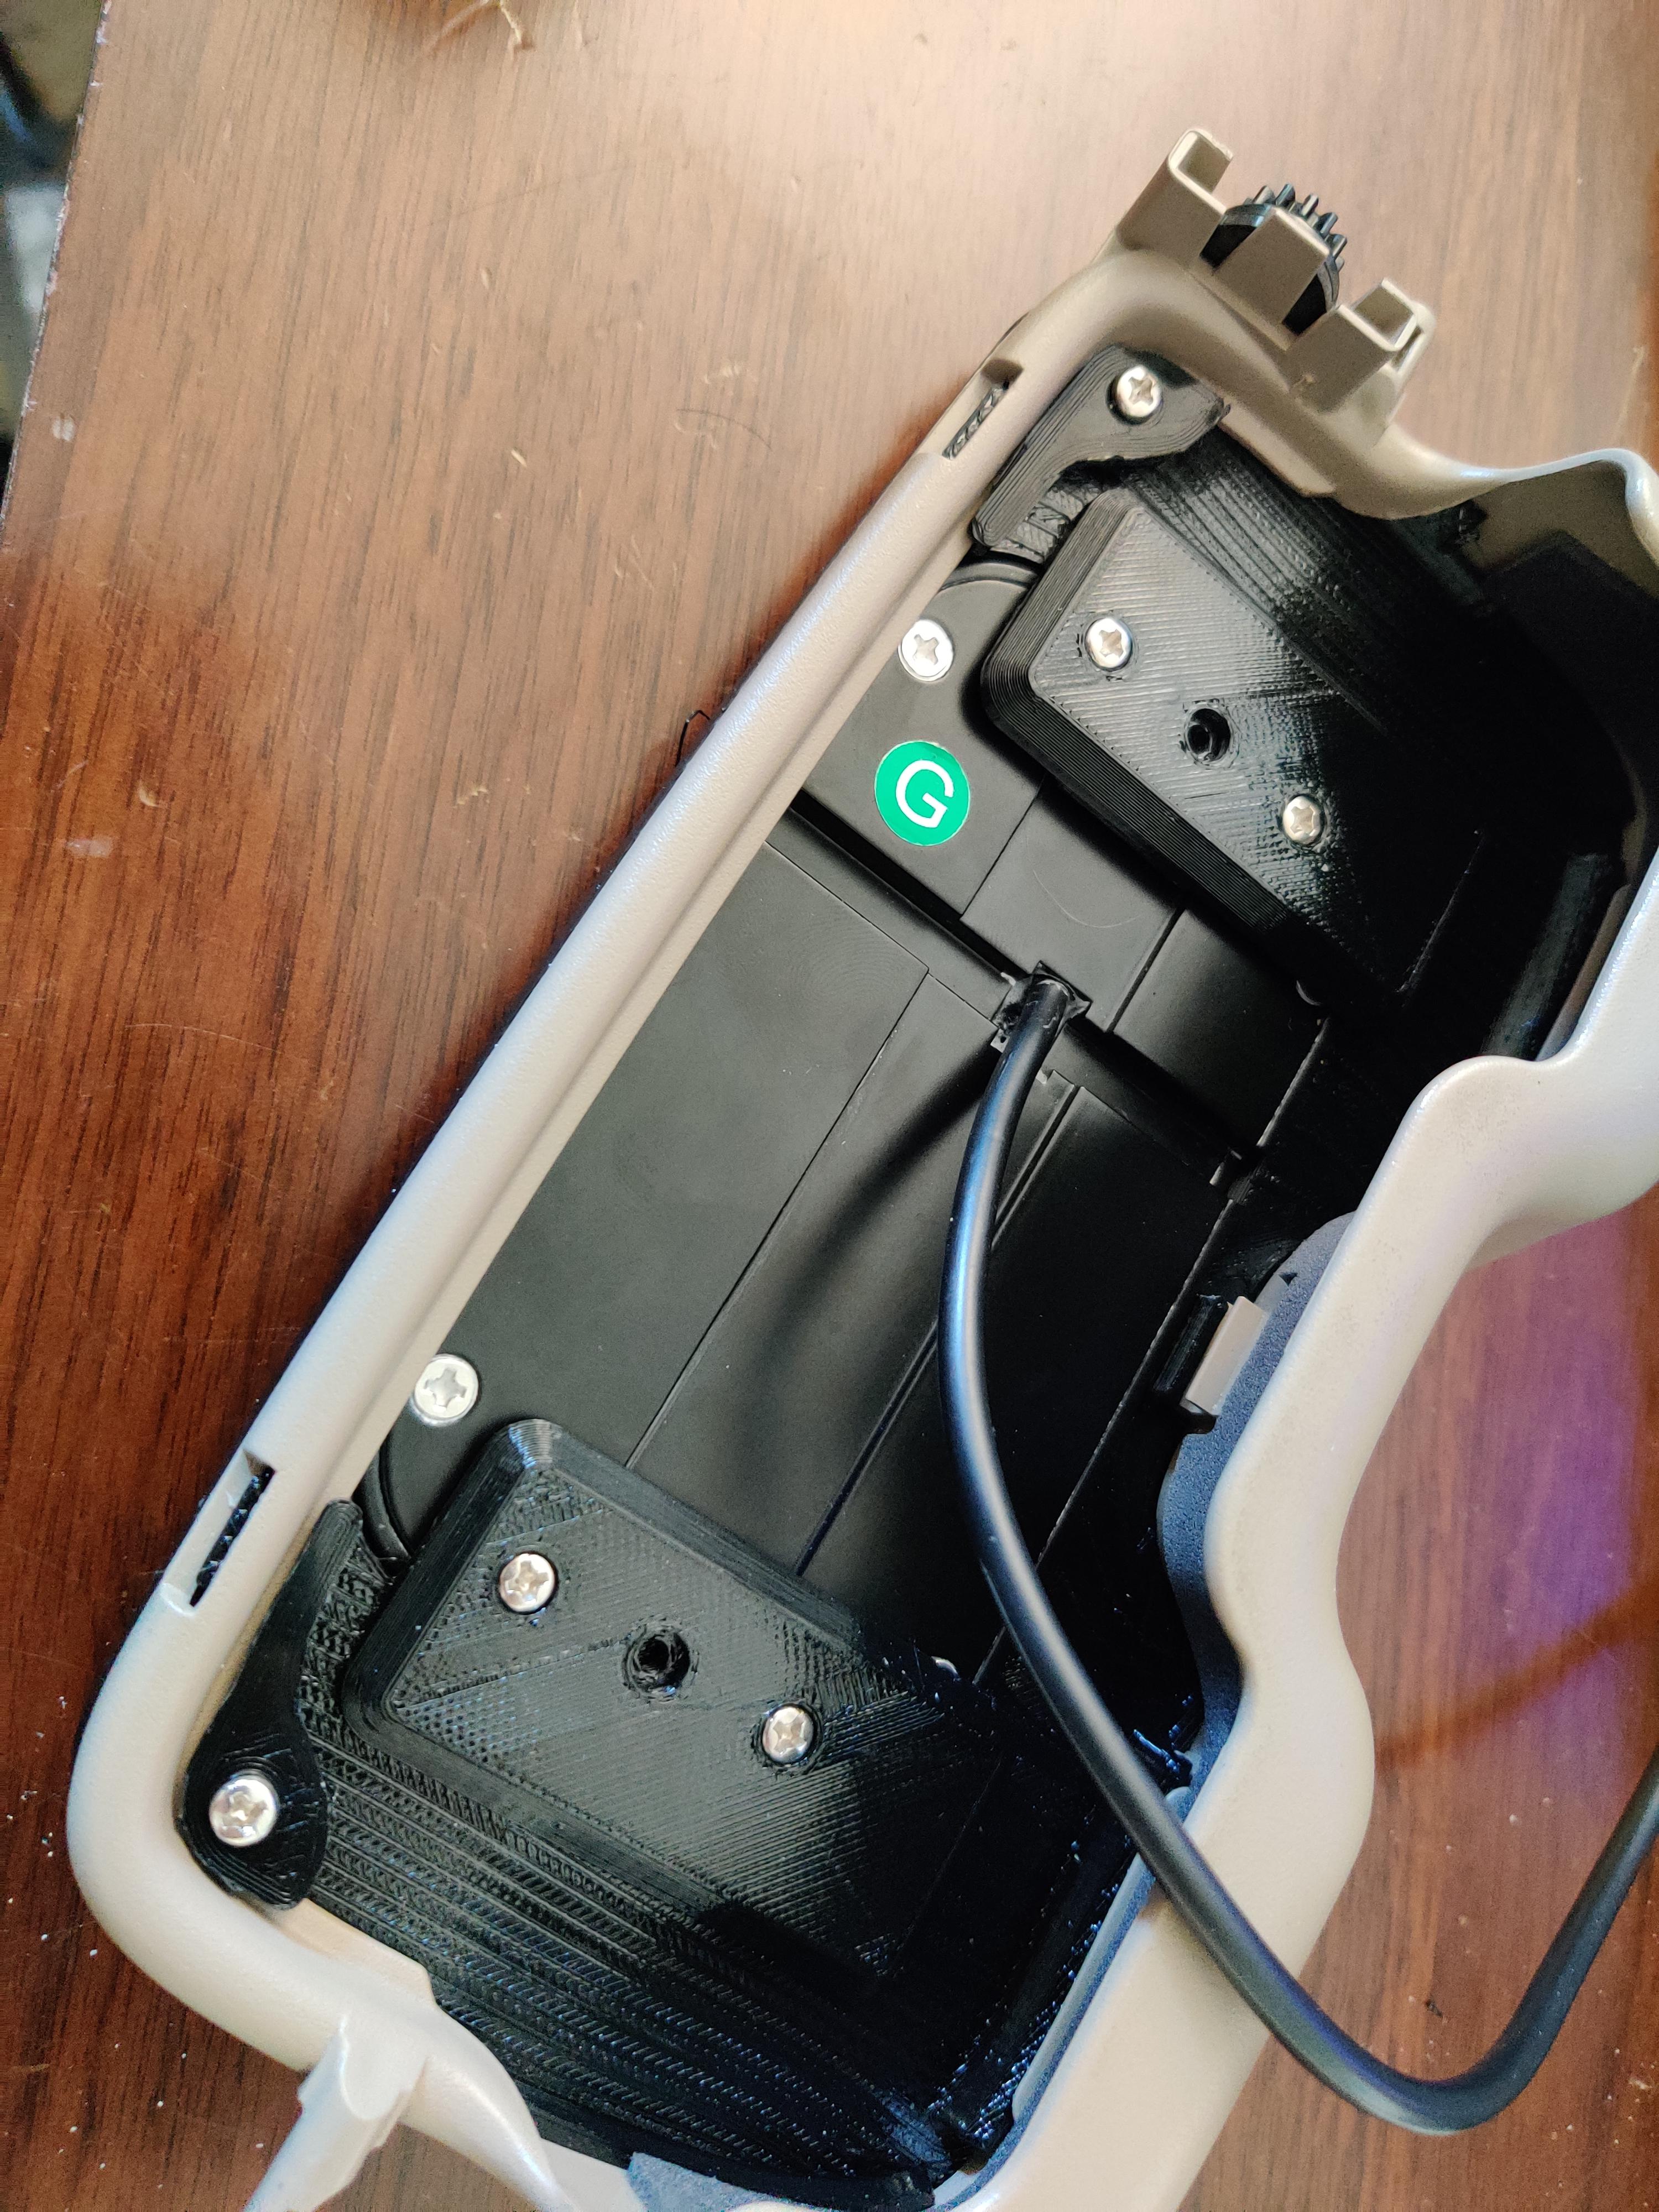
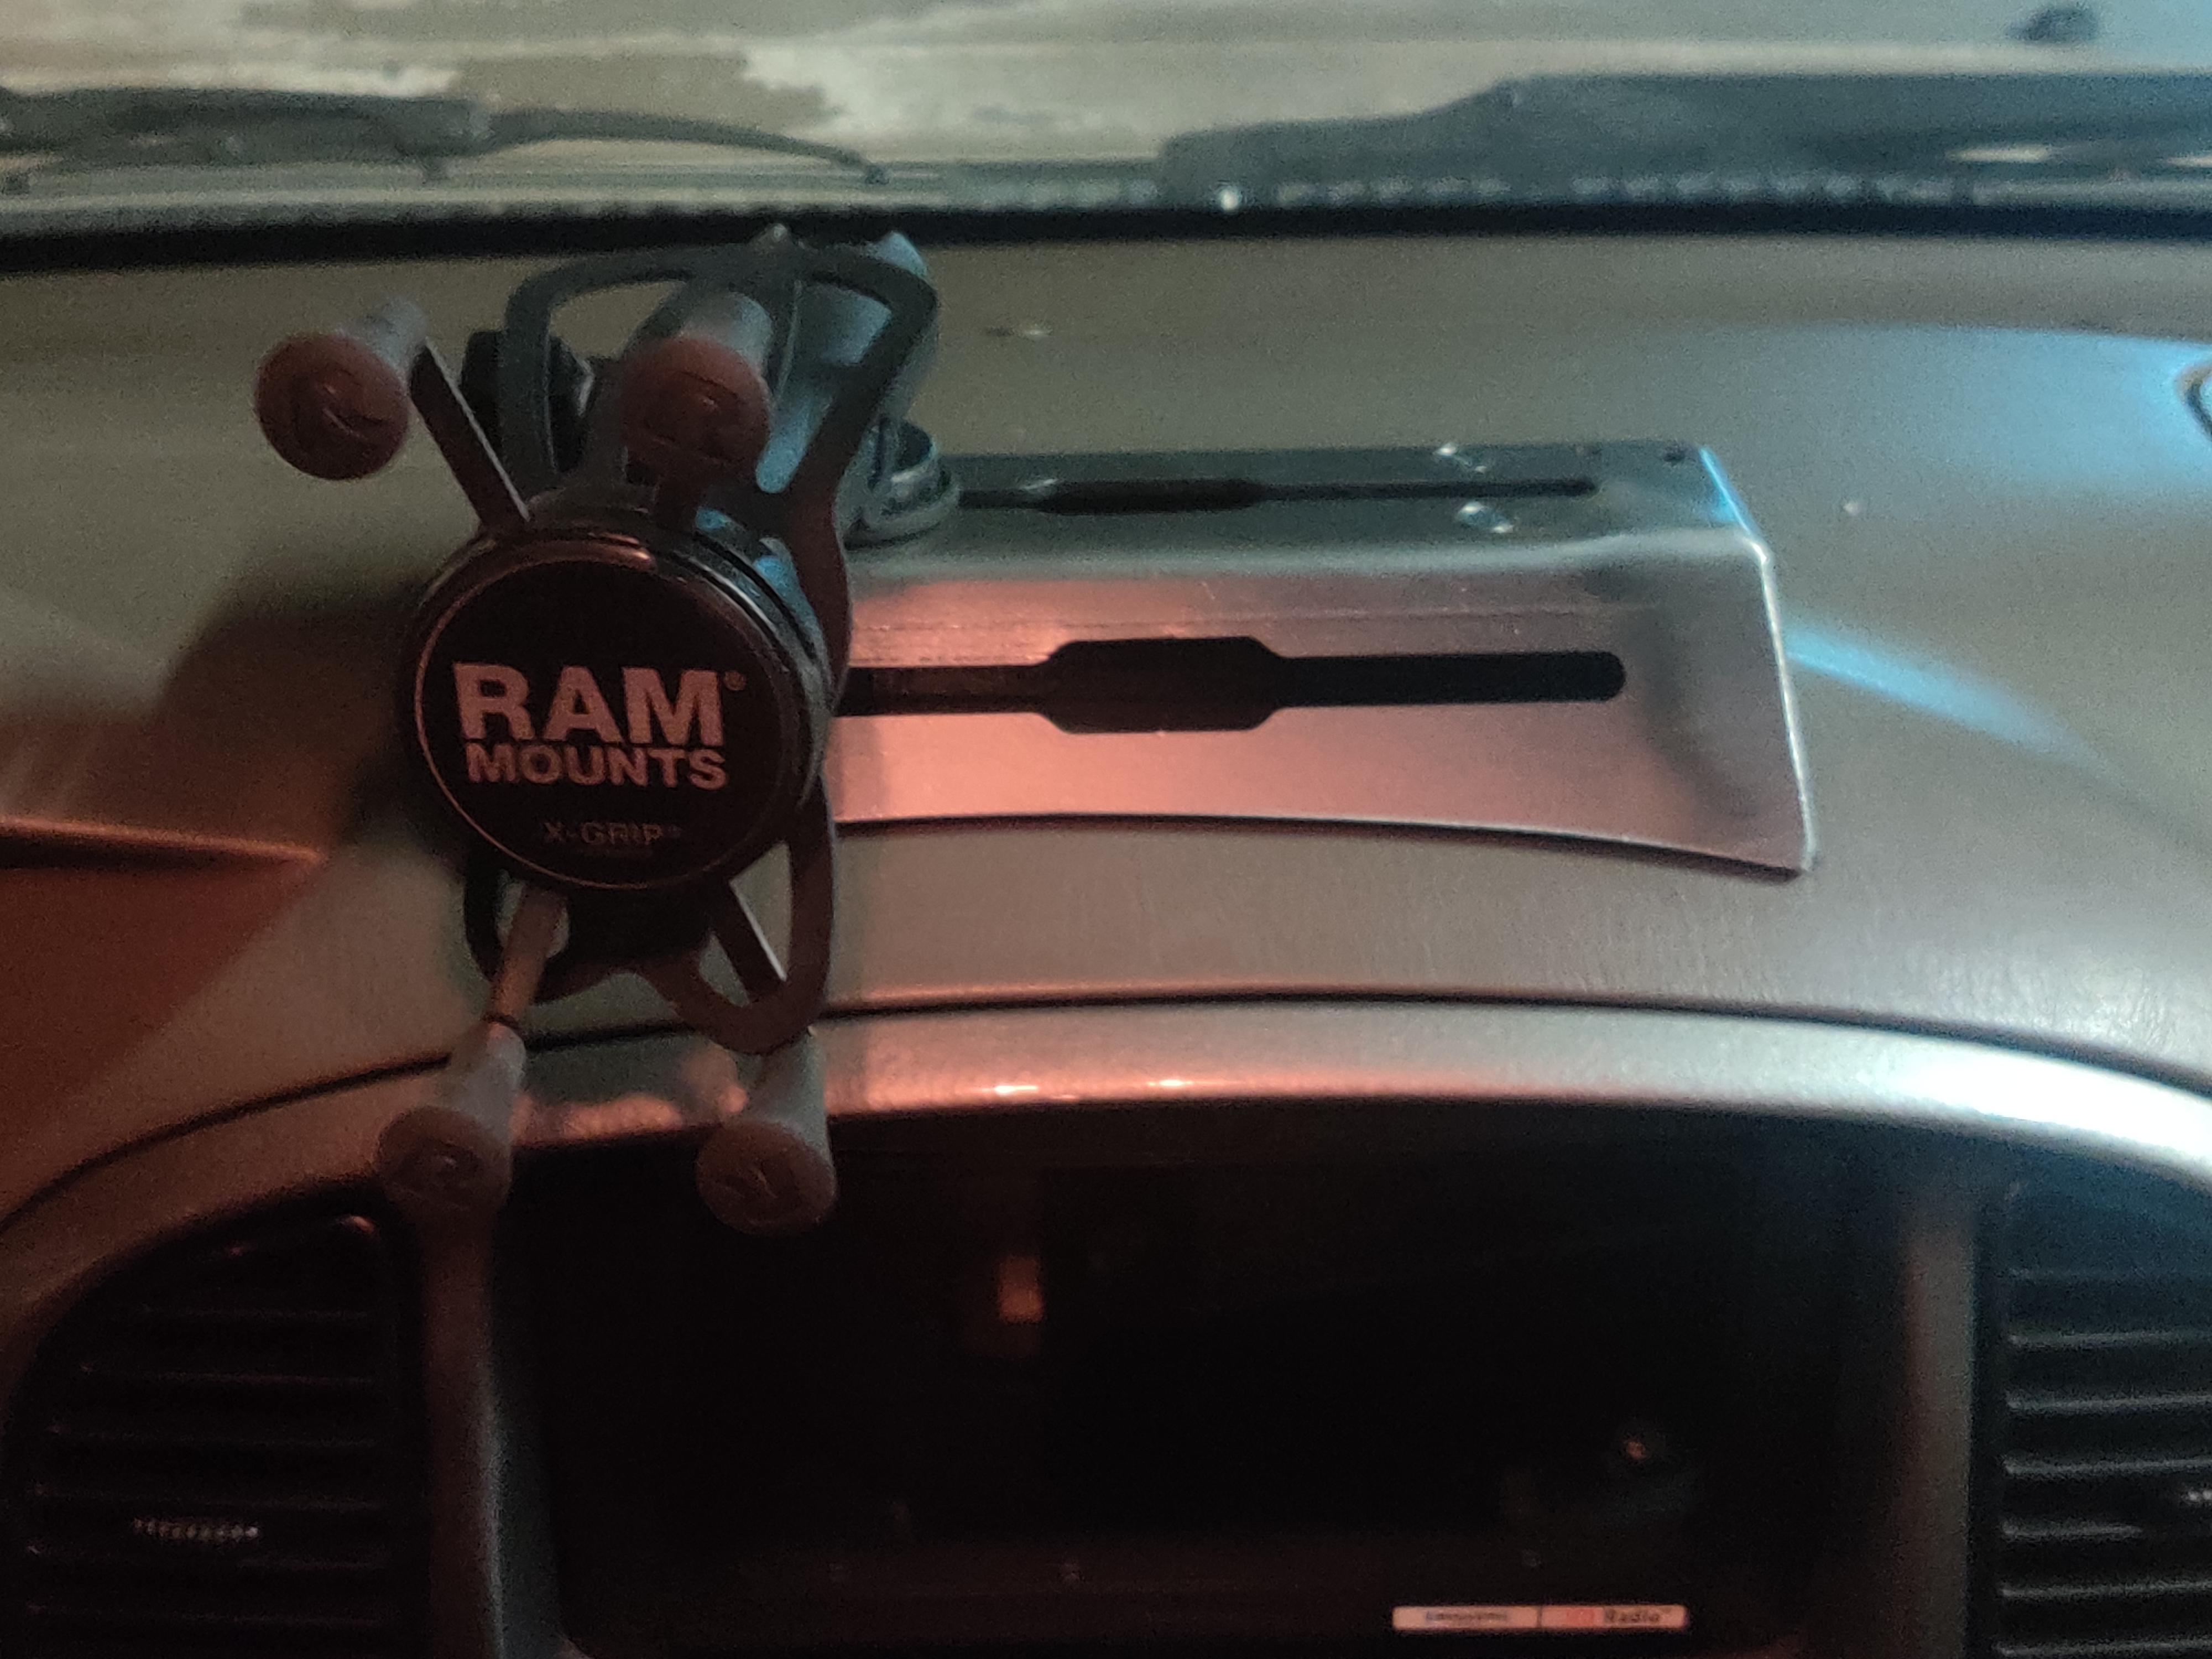
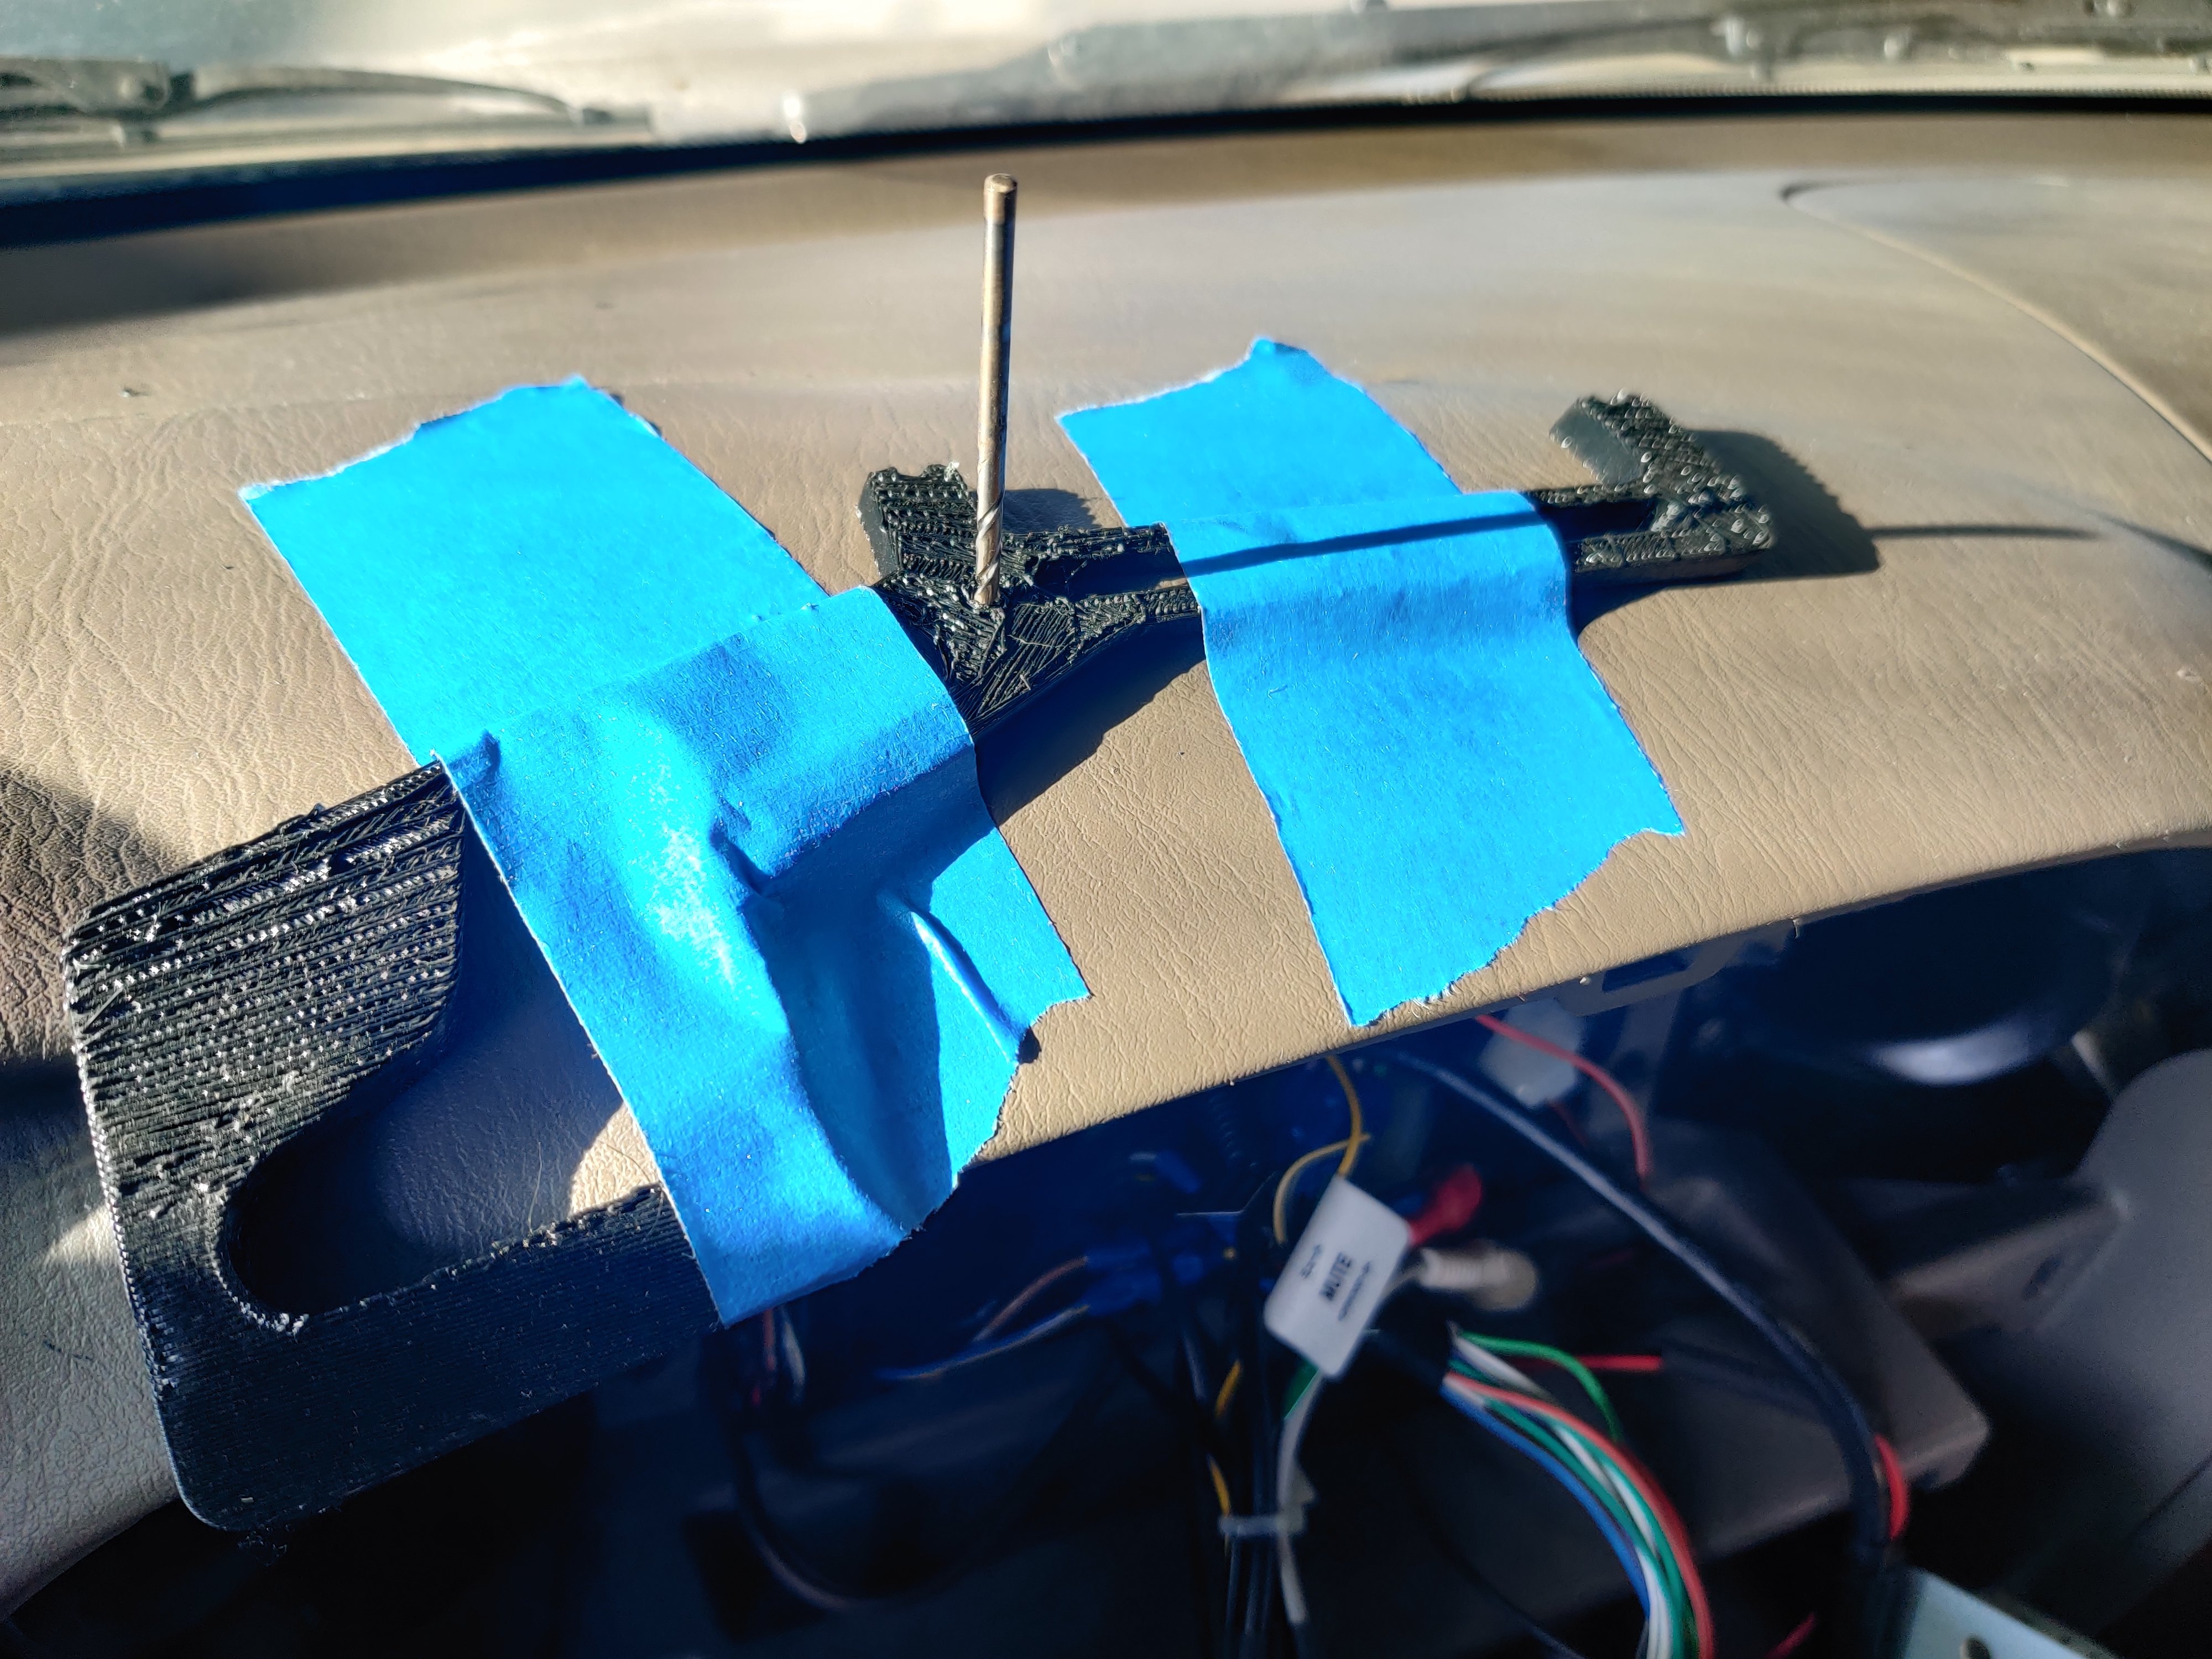
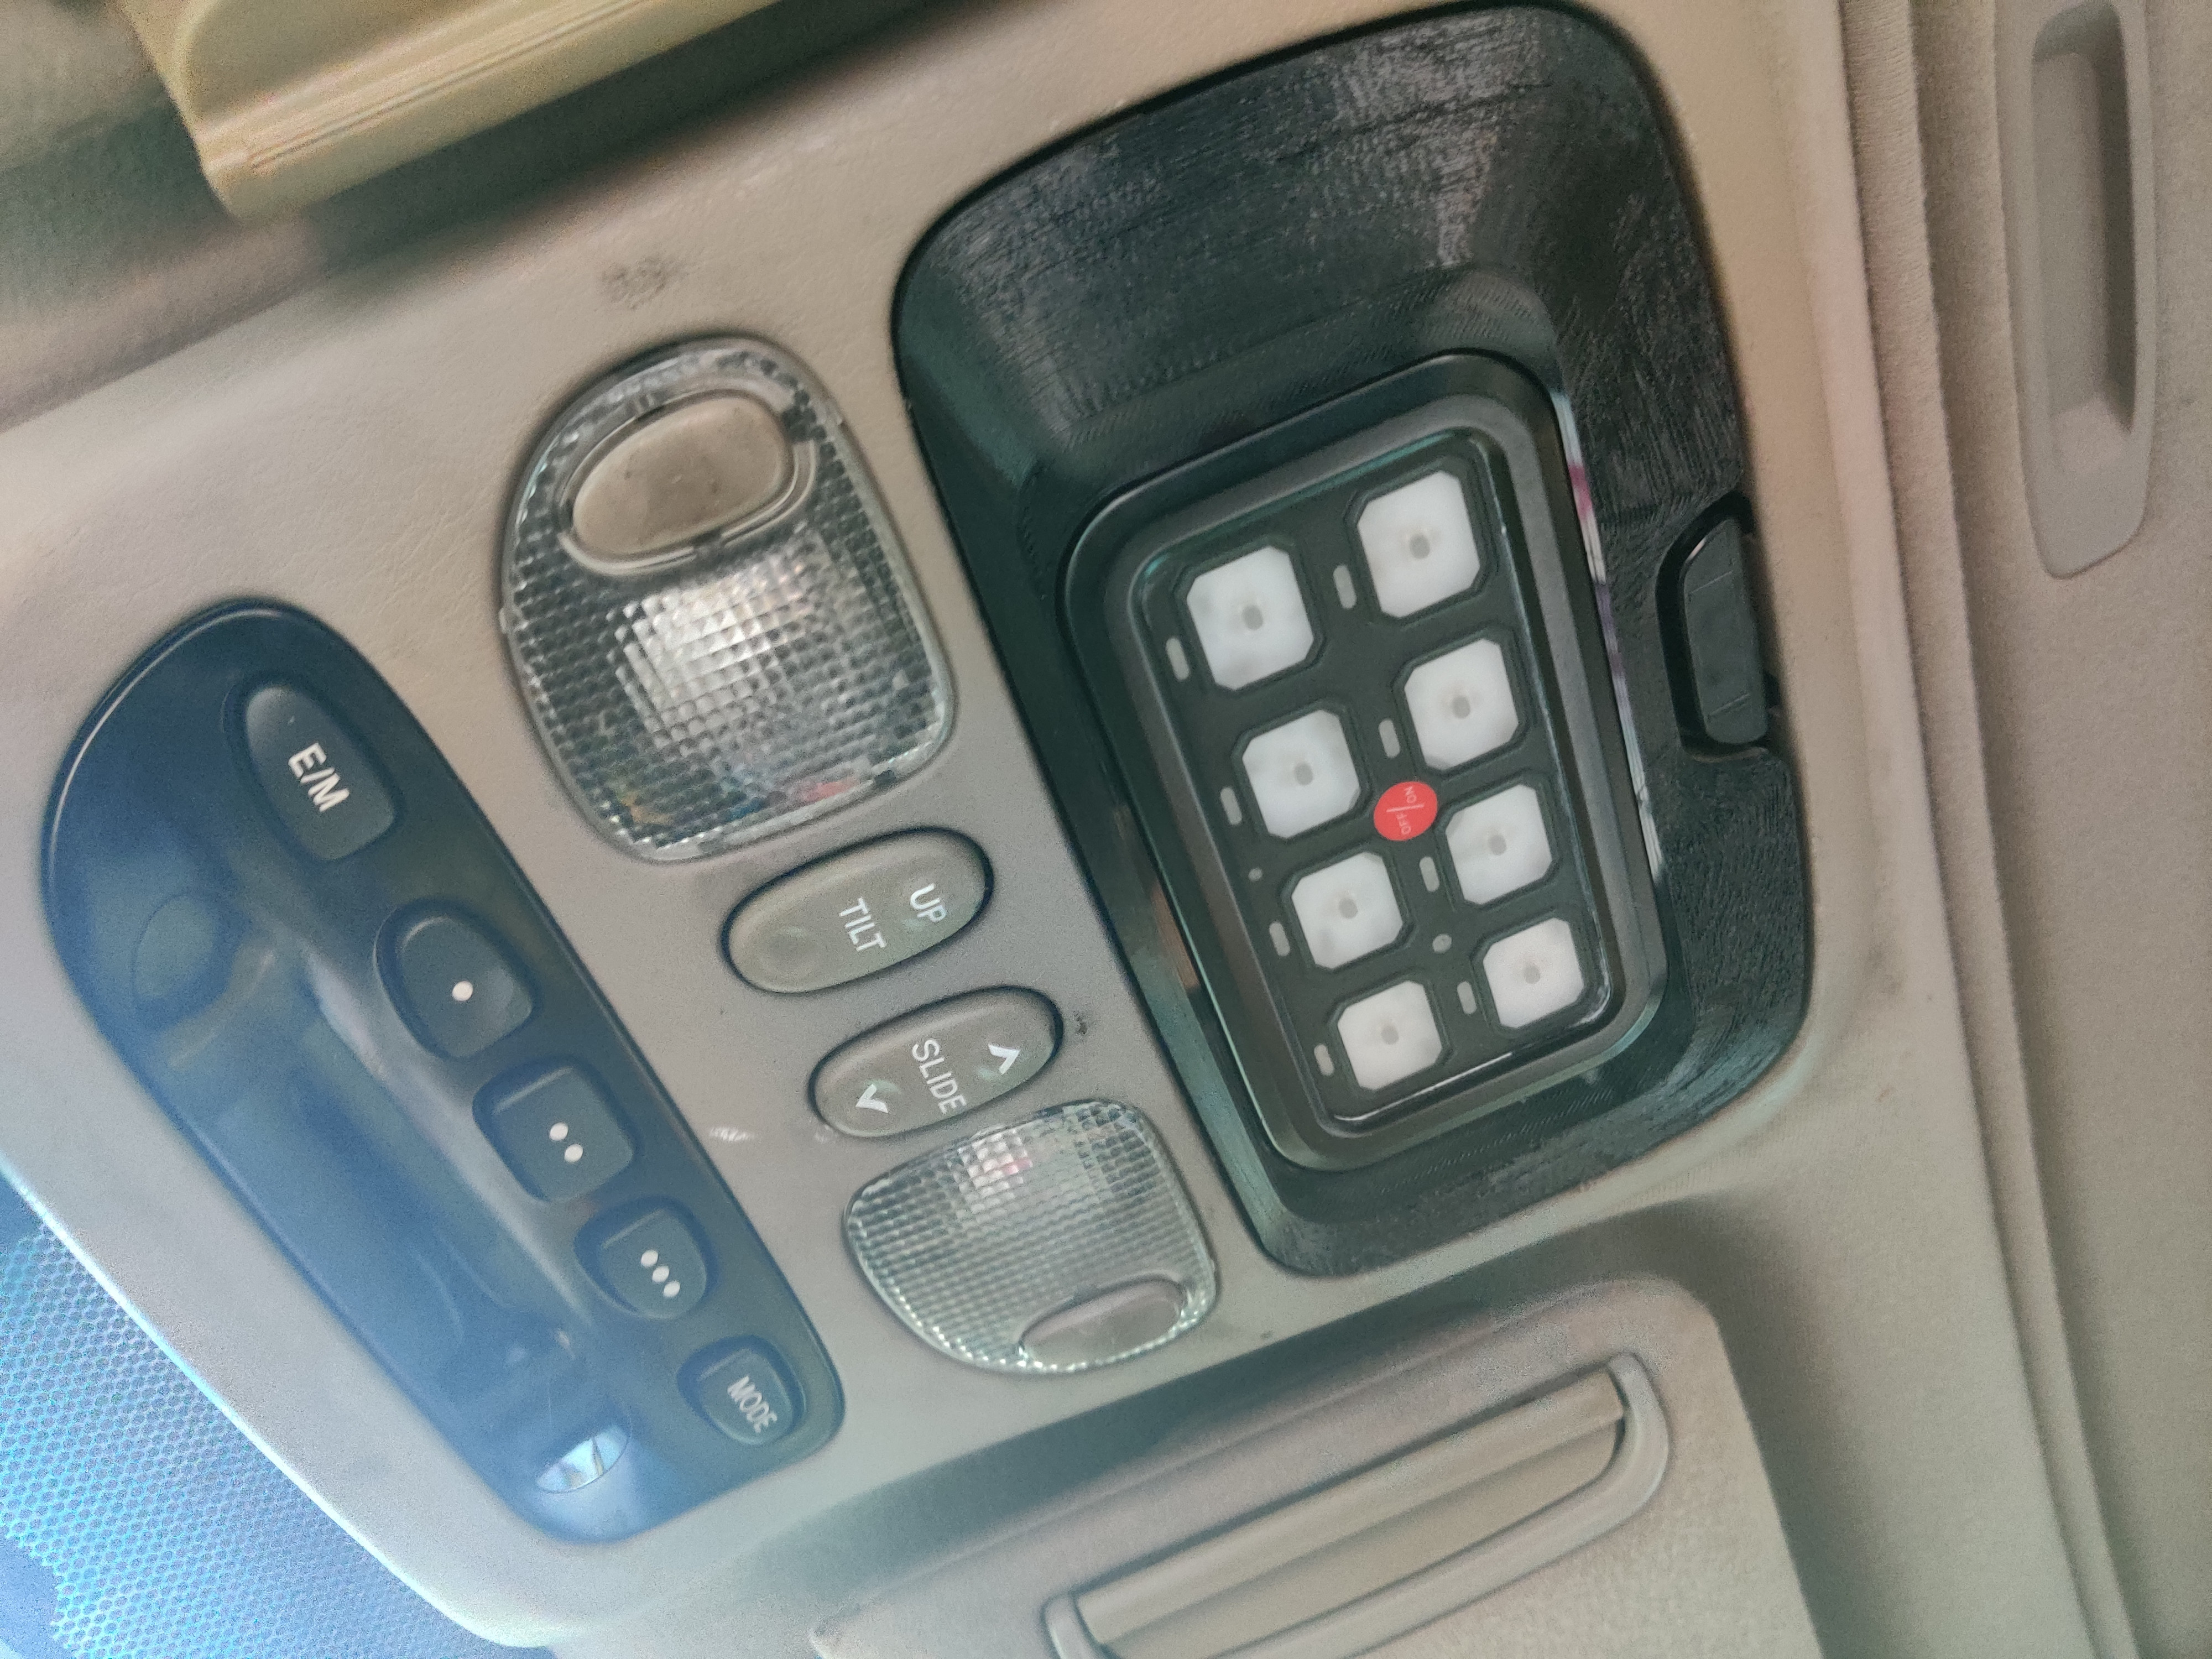
. I don't think I would have been able to use his tray in any case because I have this additional module next to the PS res that the 1st gen tundra doesn't have (AFAIK). I realized this when I saw Geoffrey install it on his video (
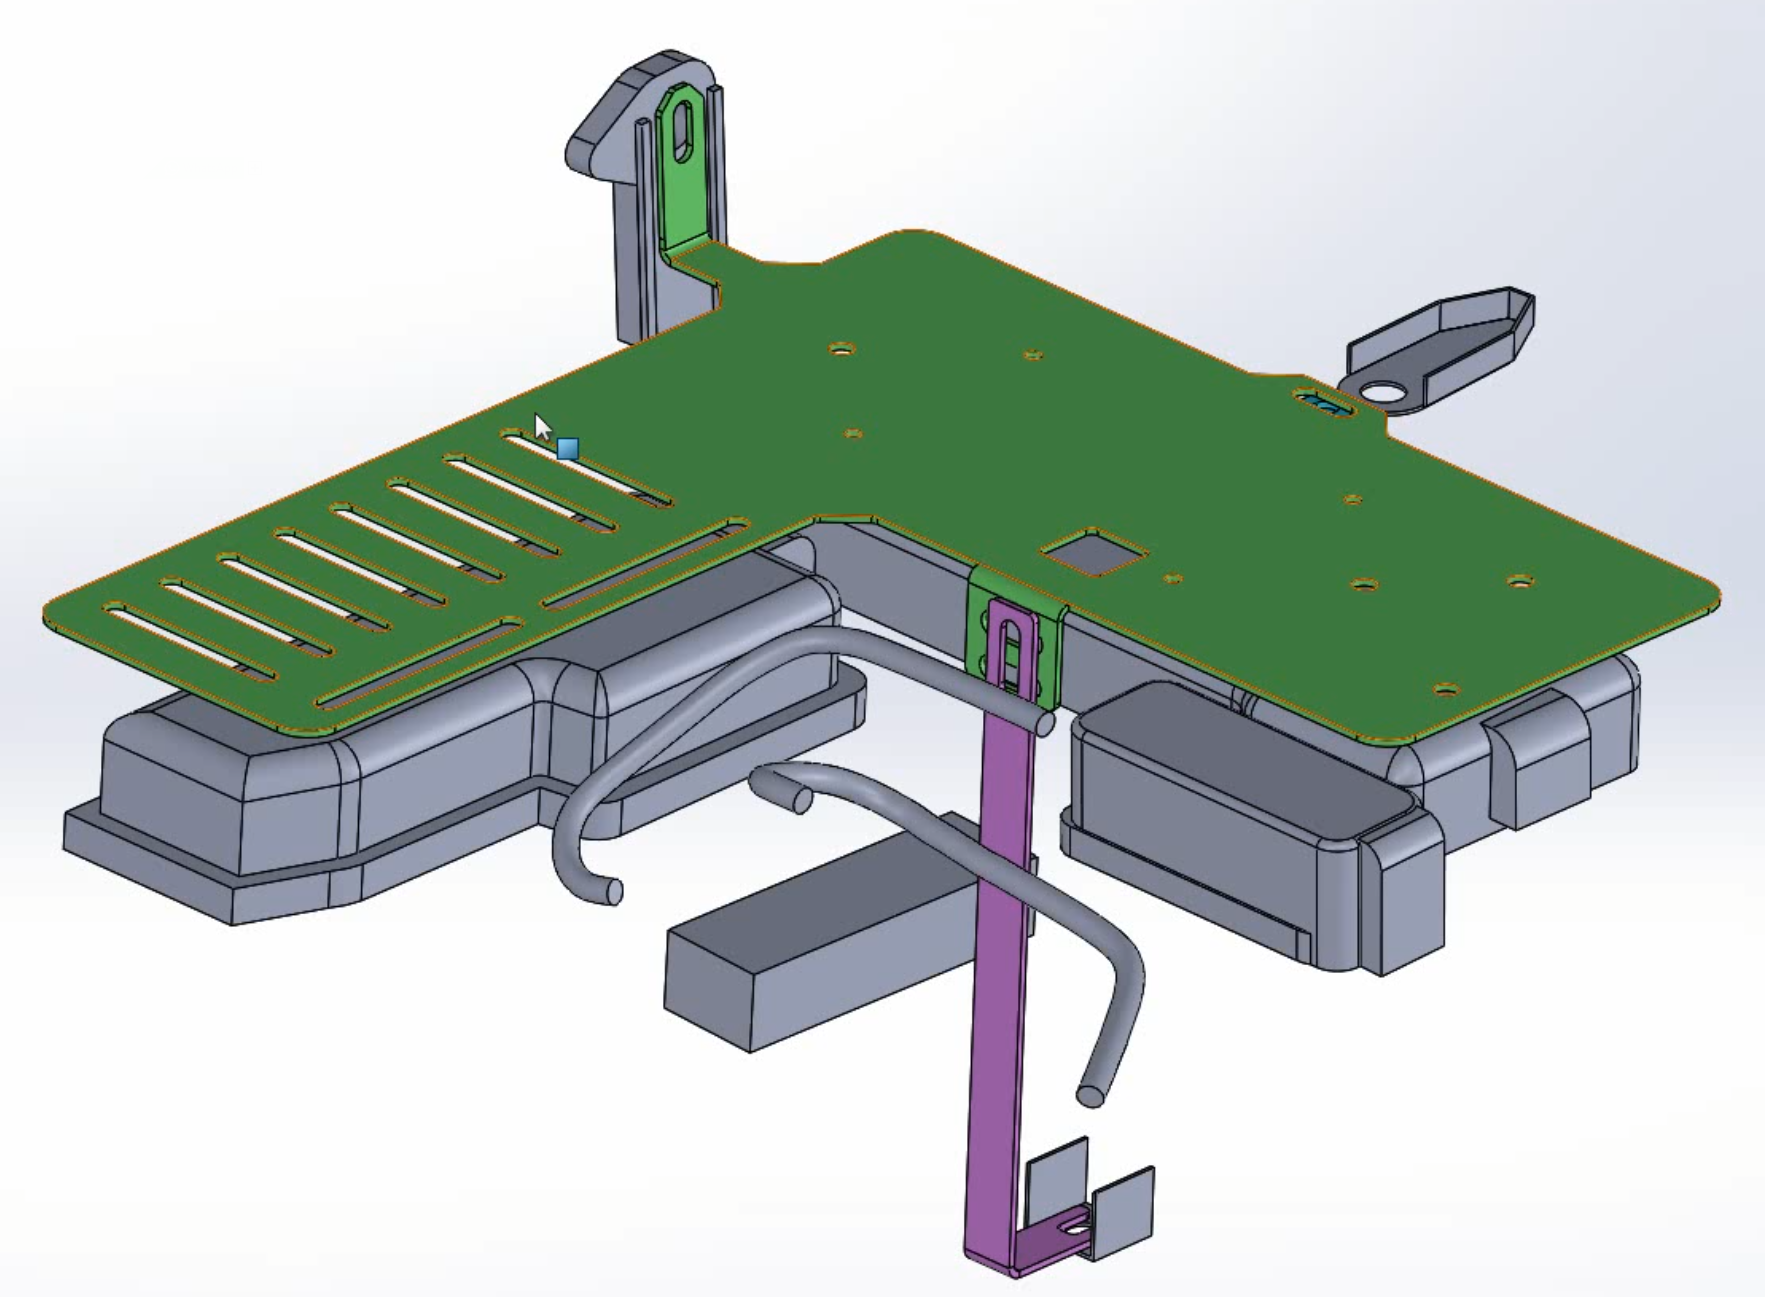
link to video, Blue Square in photo below indicates where the additional module is).

xj81WSb.png


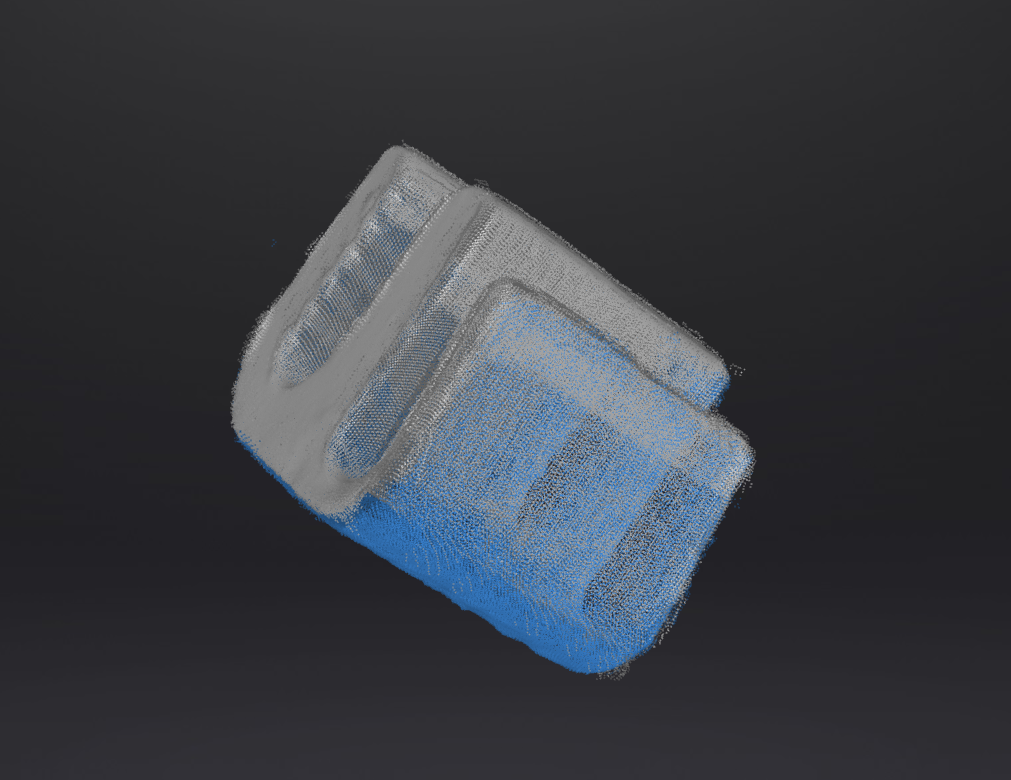
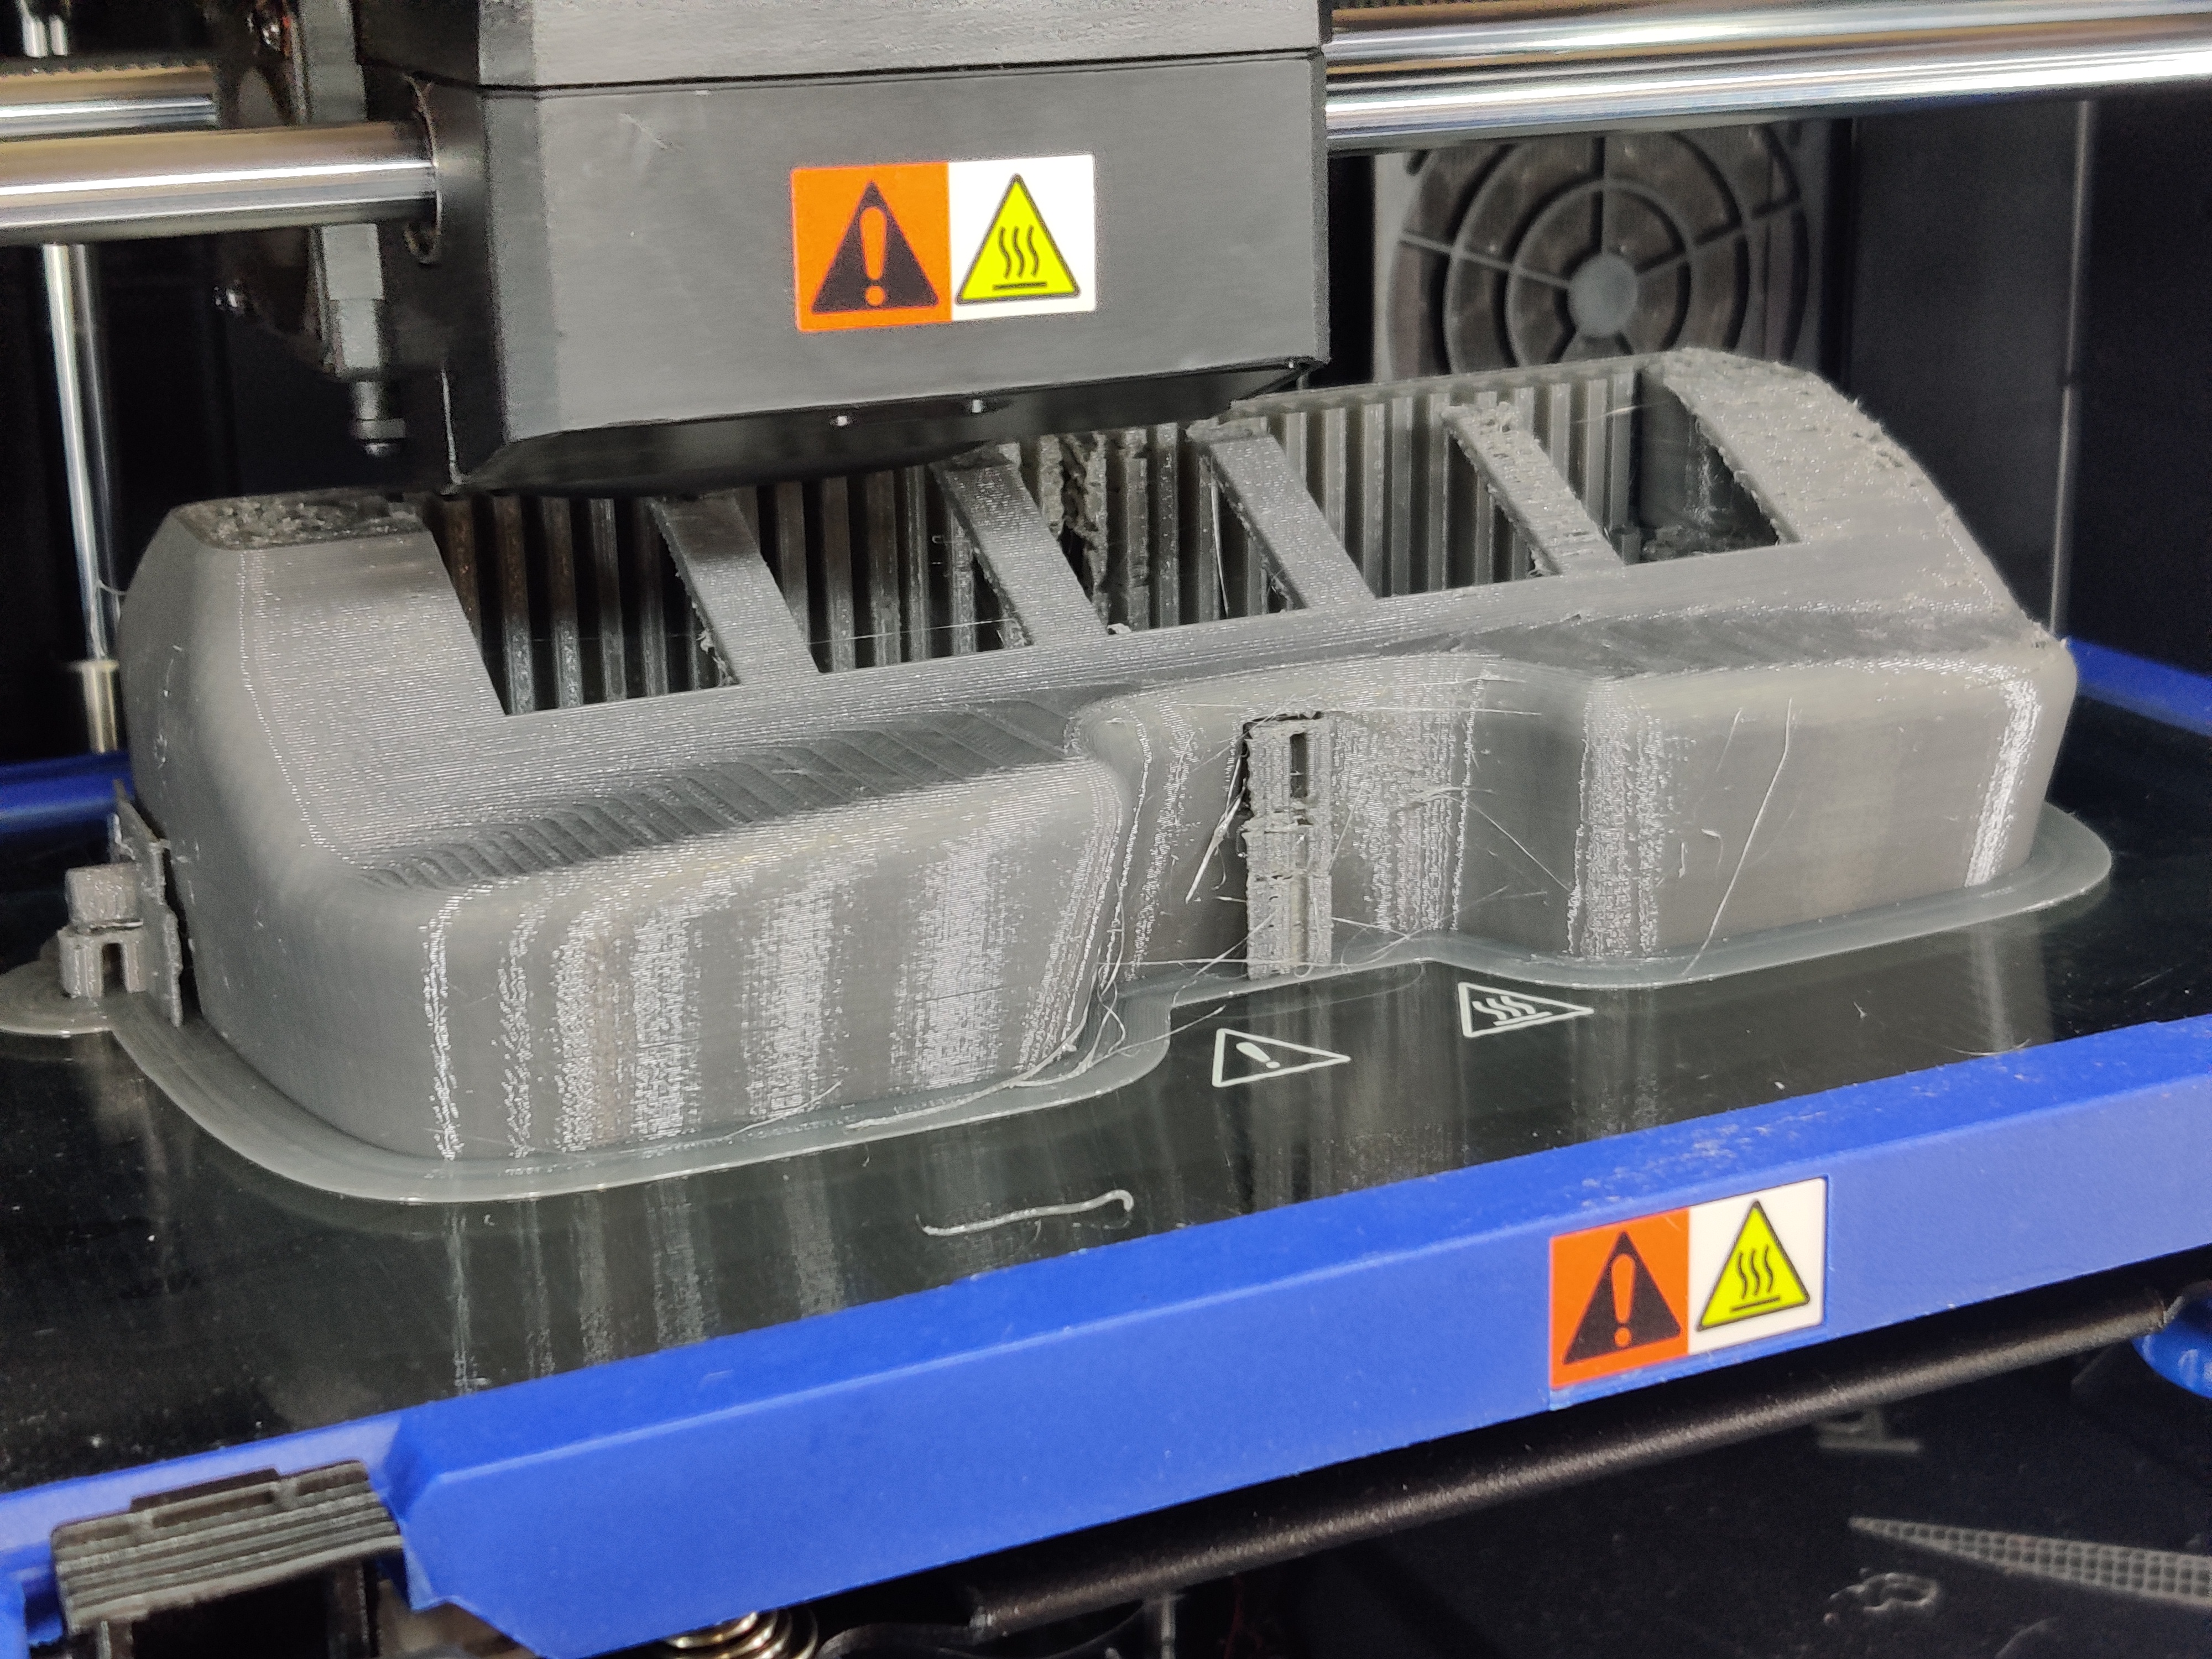
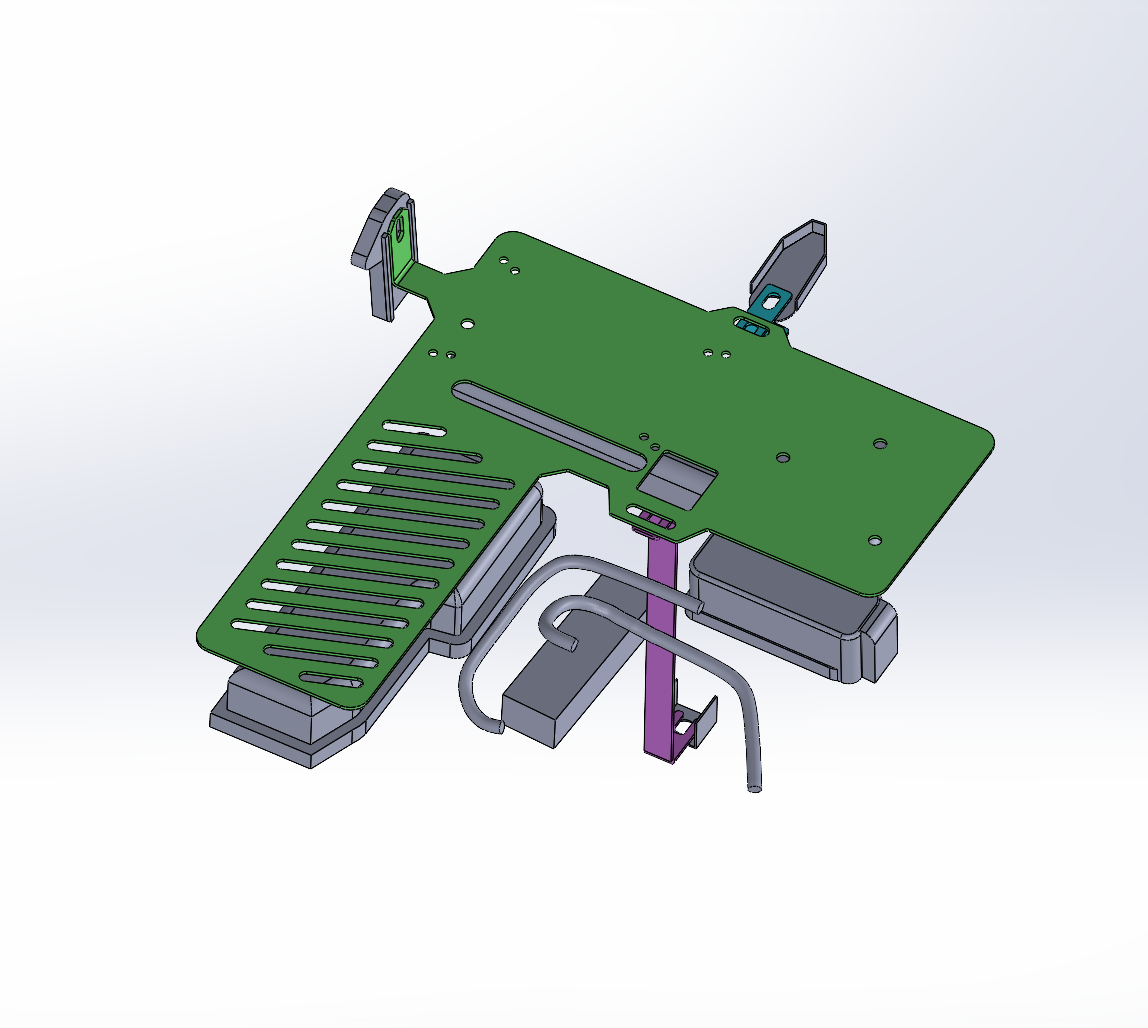
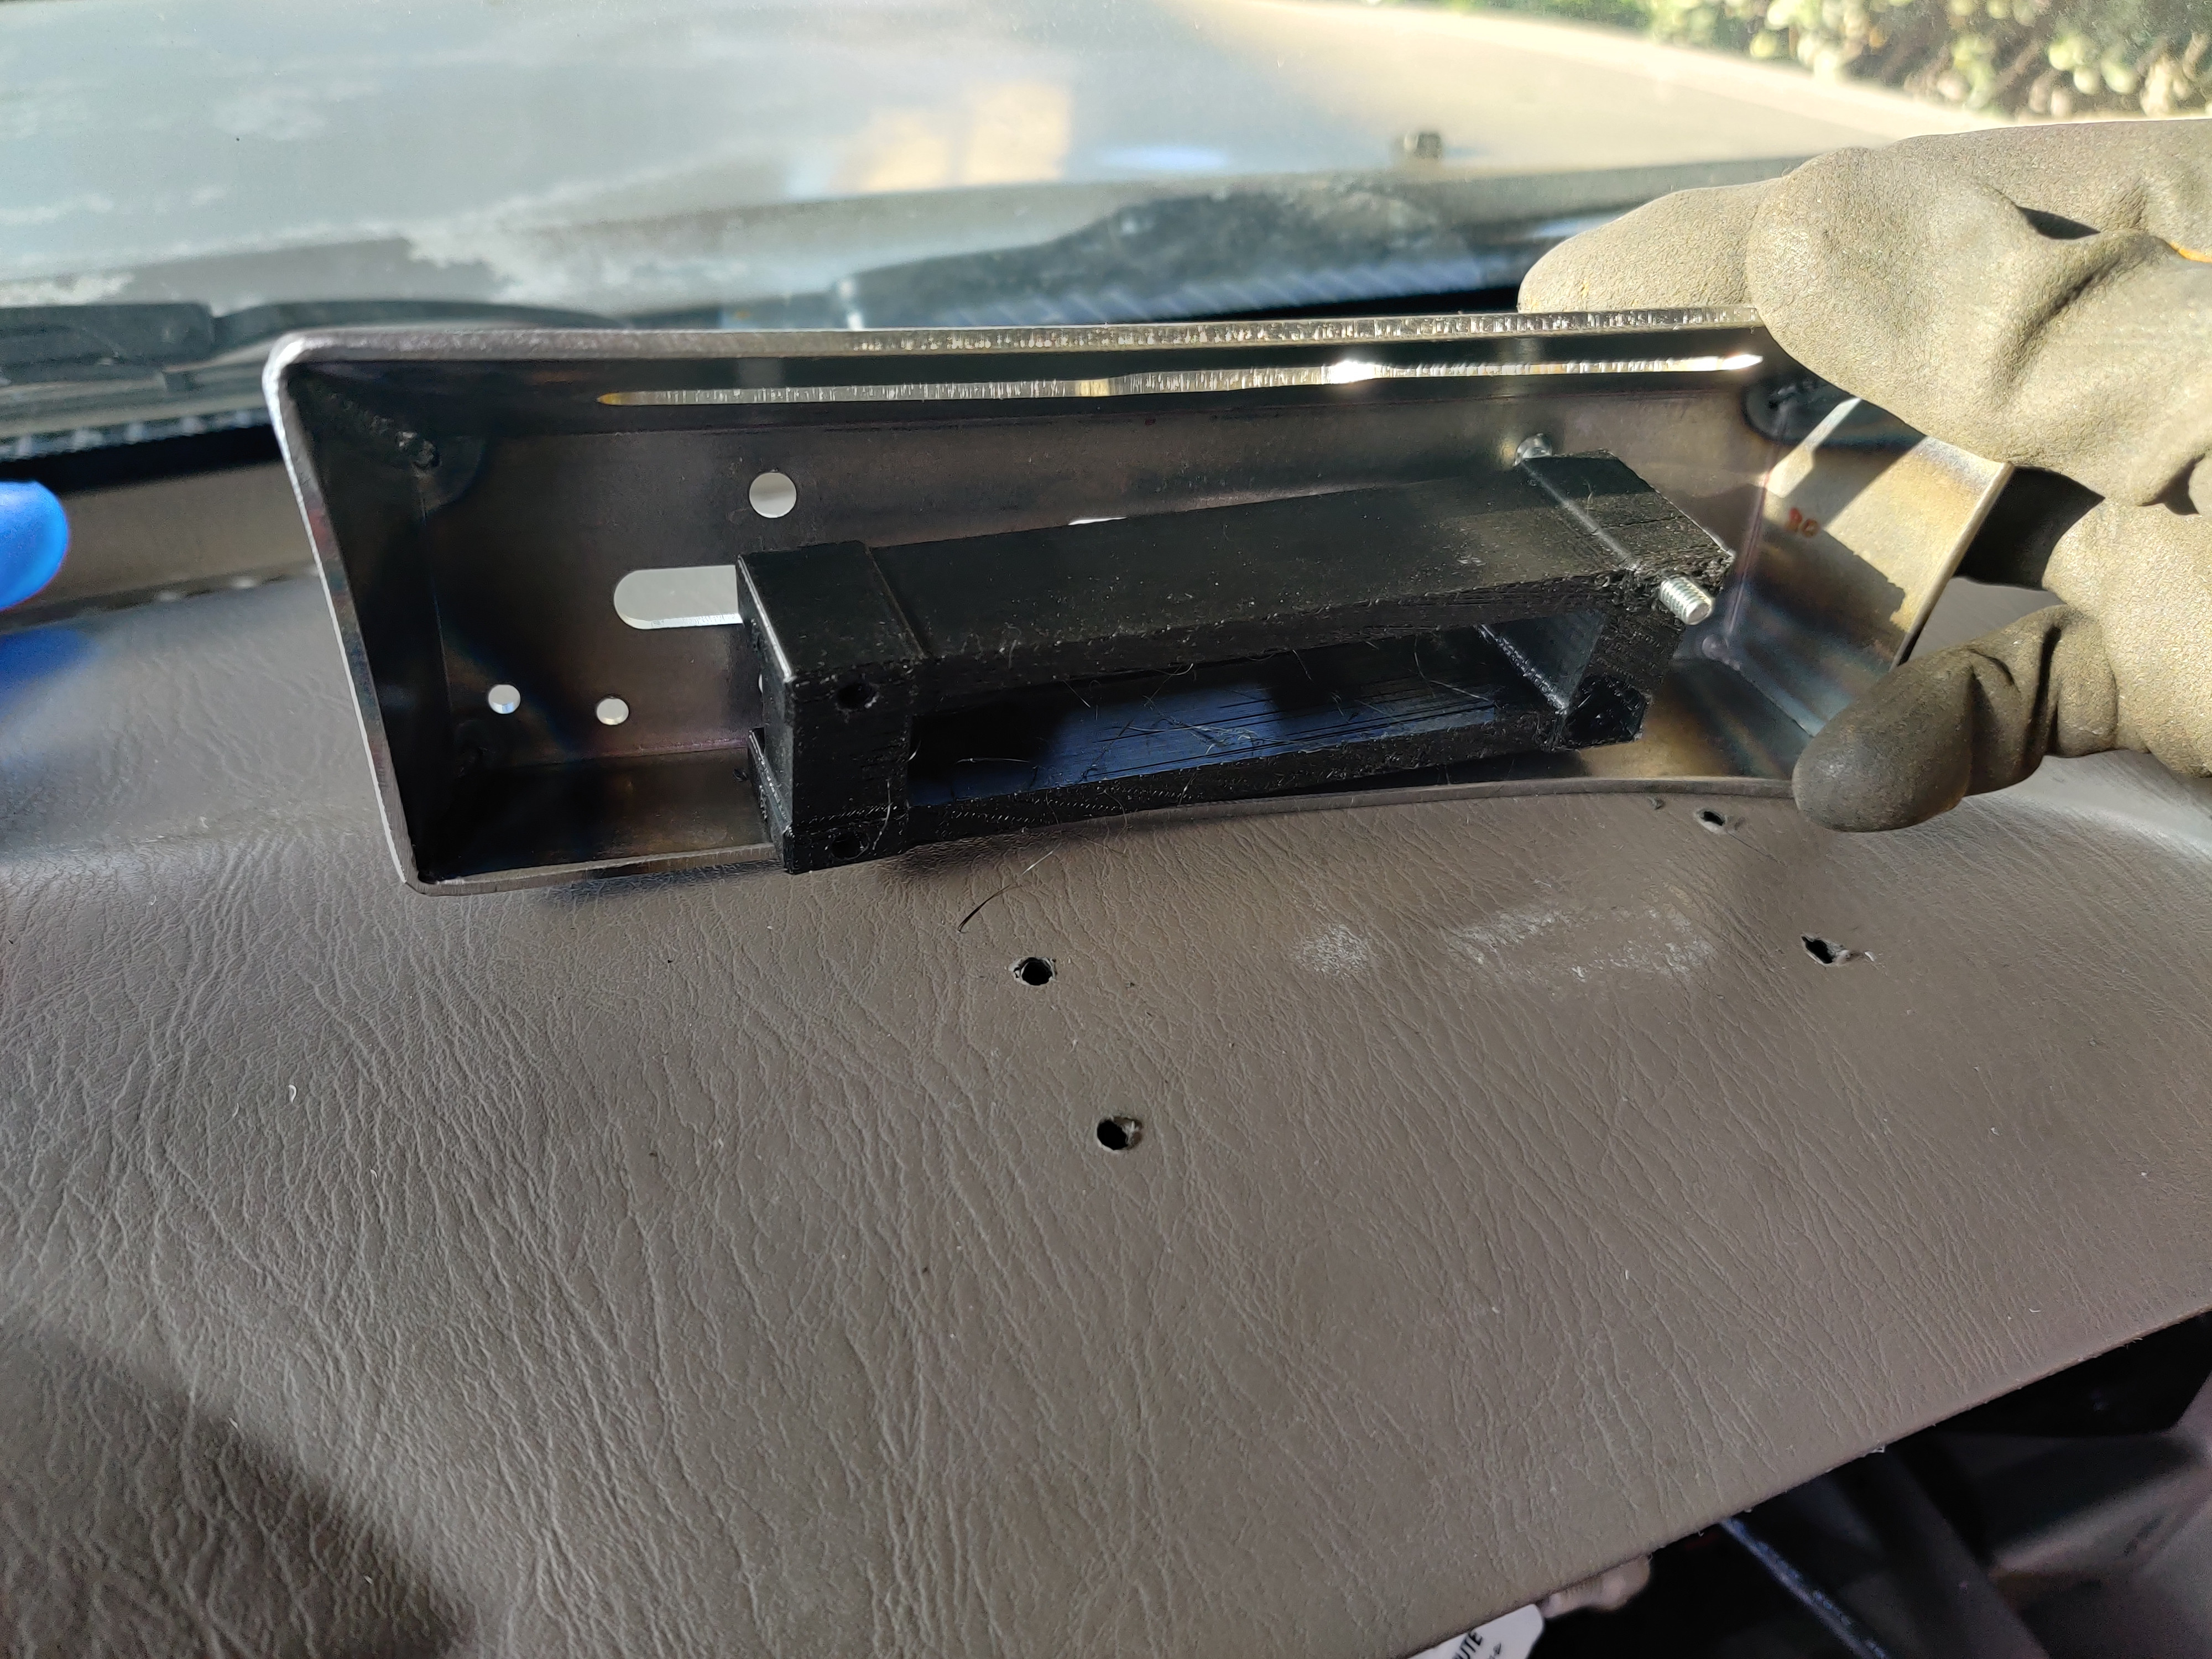
For the time being, I'll be making a mock up that works, and then scanning that in to finalize the design and layout. I think this will be an easier path rather than scanning in, then reverse engineering the bay, then making a mount. If I have a mount that works, then I can have it placed inside the bay, and then make final adjustments with only having to reverse engineer some of the engine bay.

Battery Update #2- Link to Post

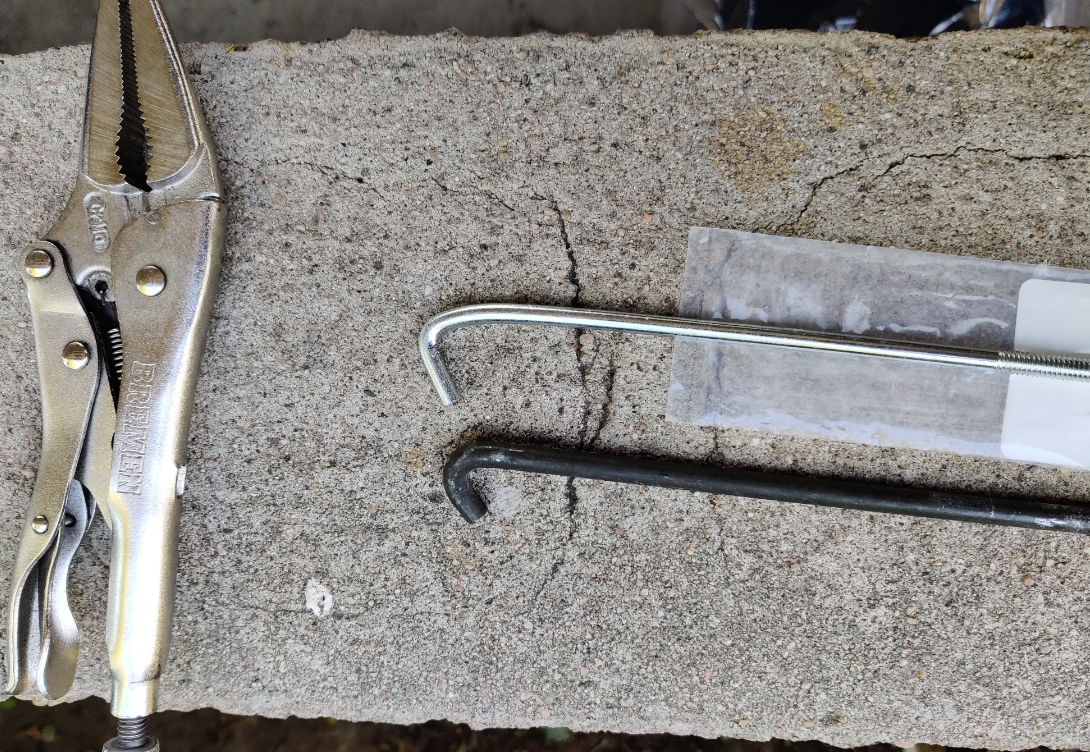
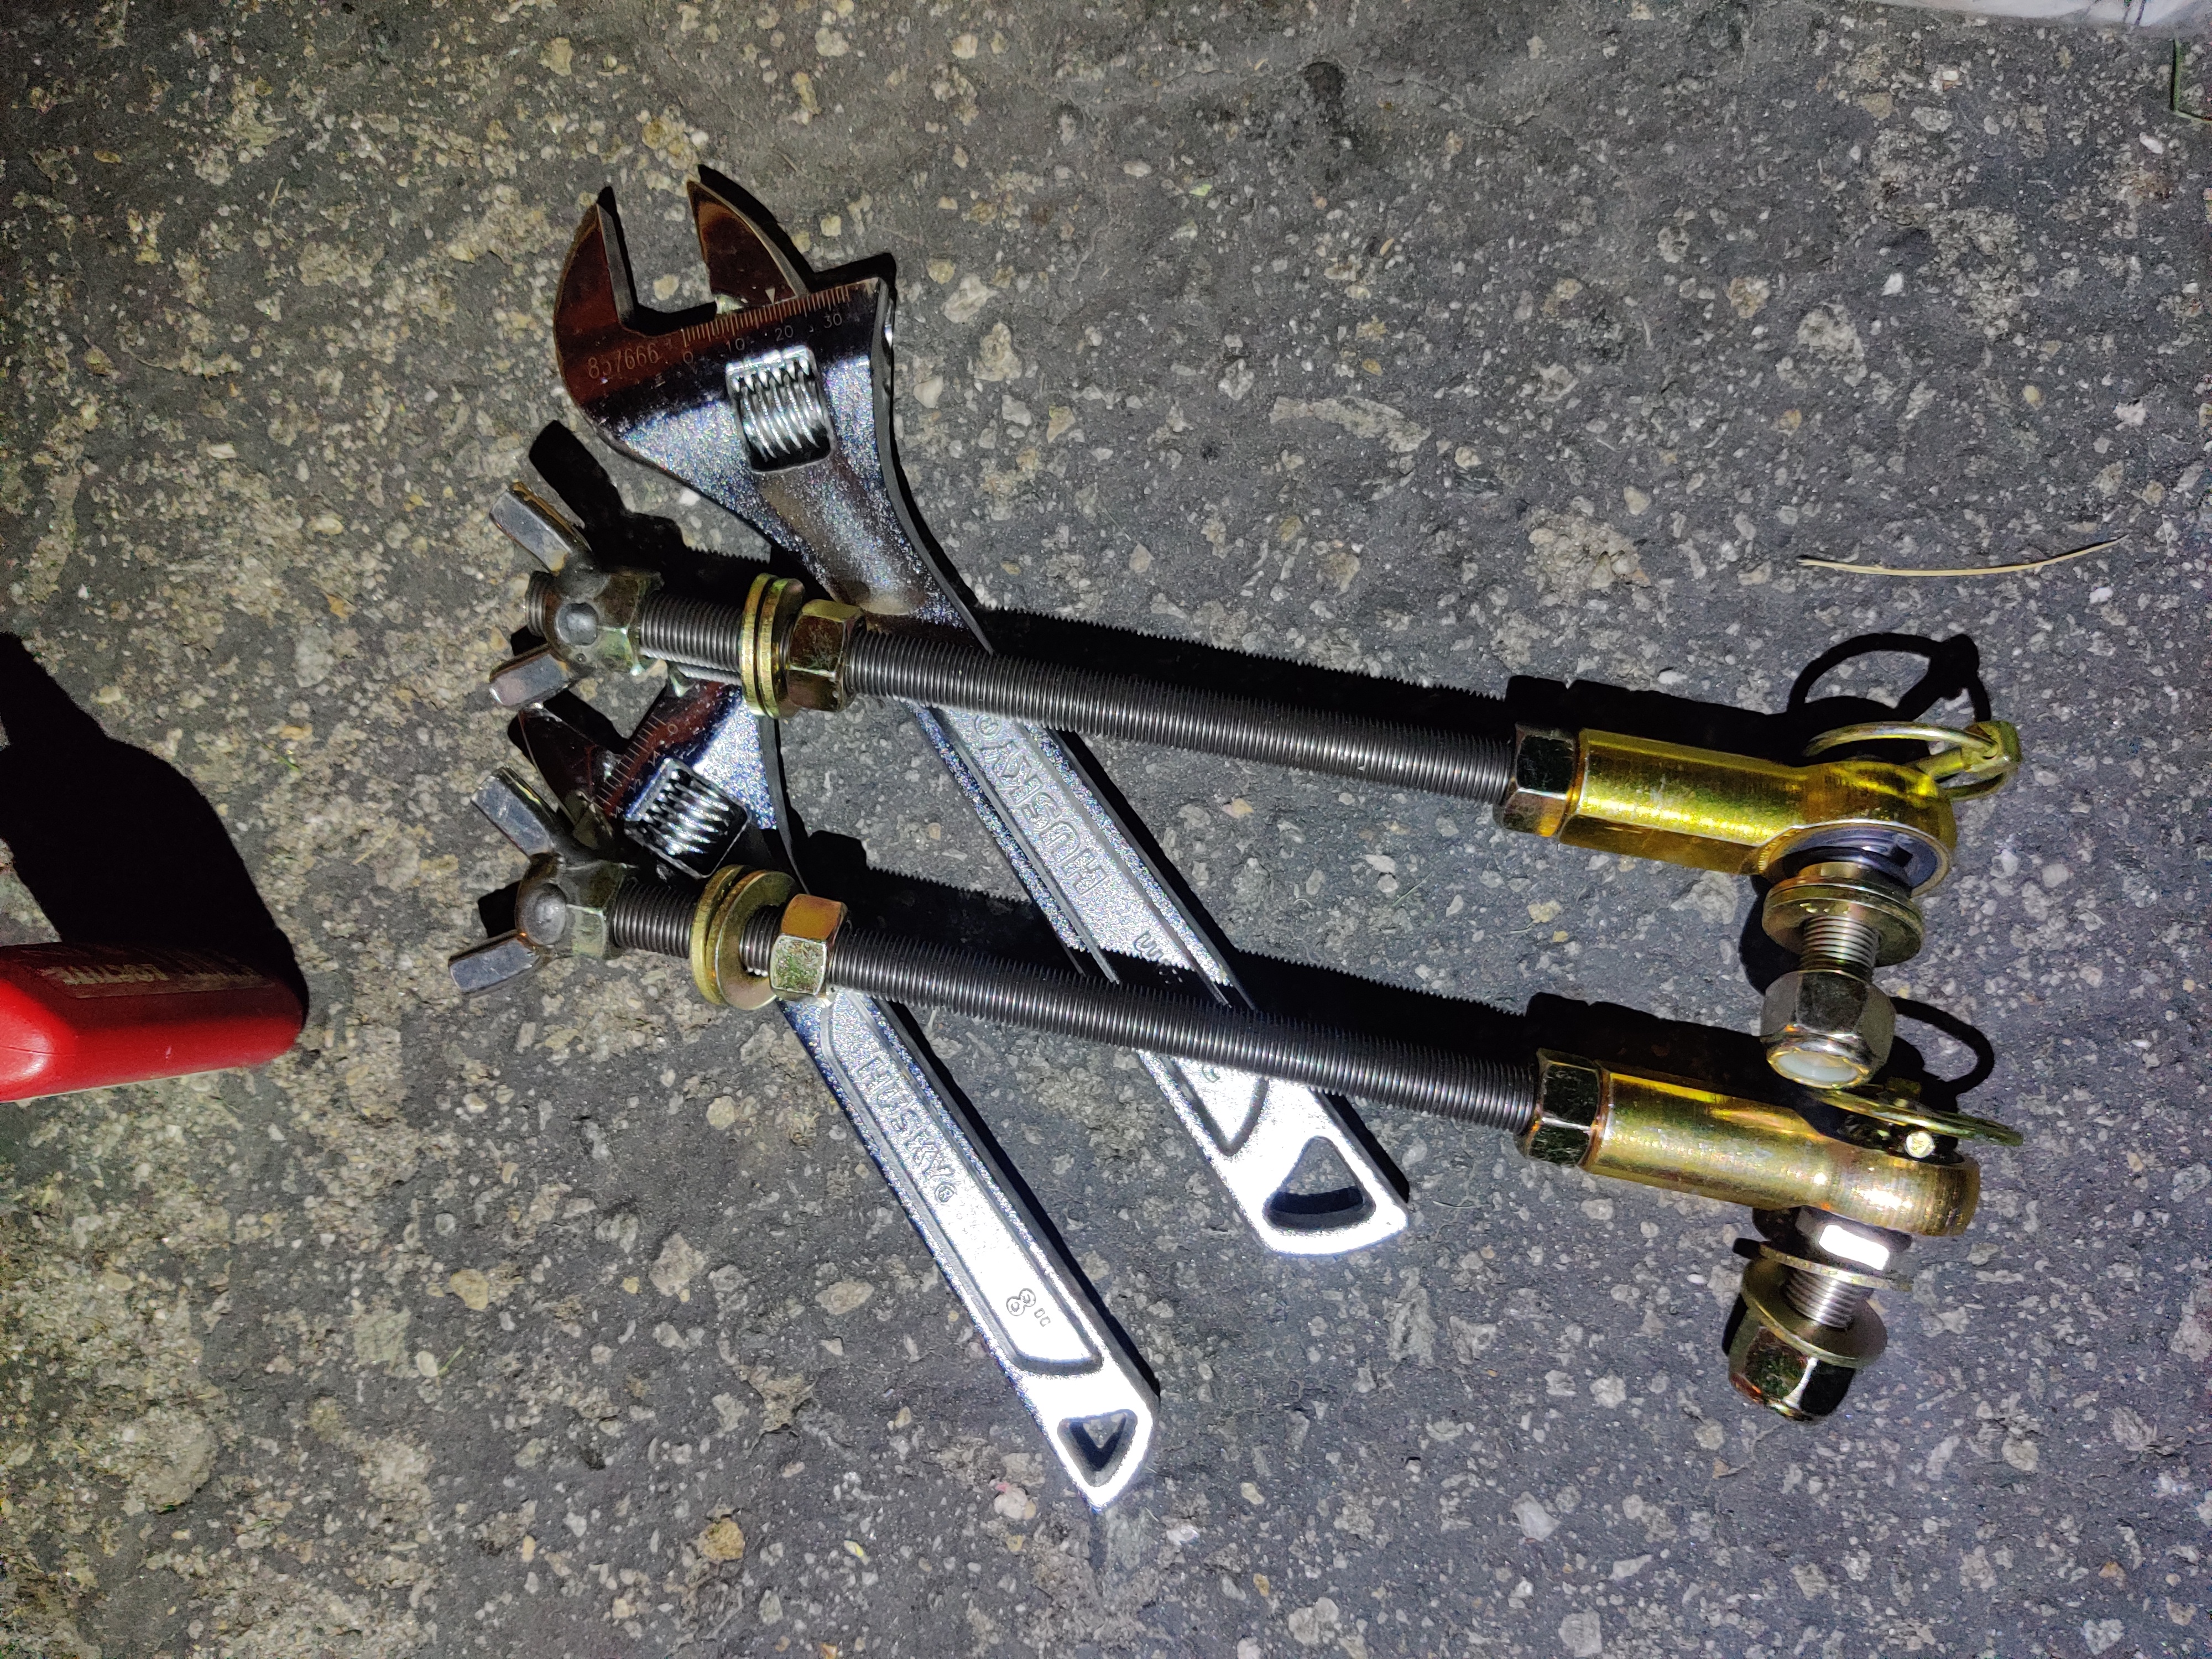
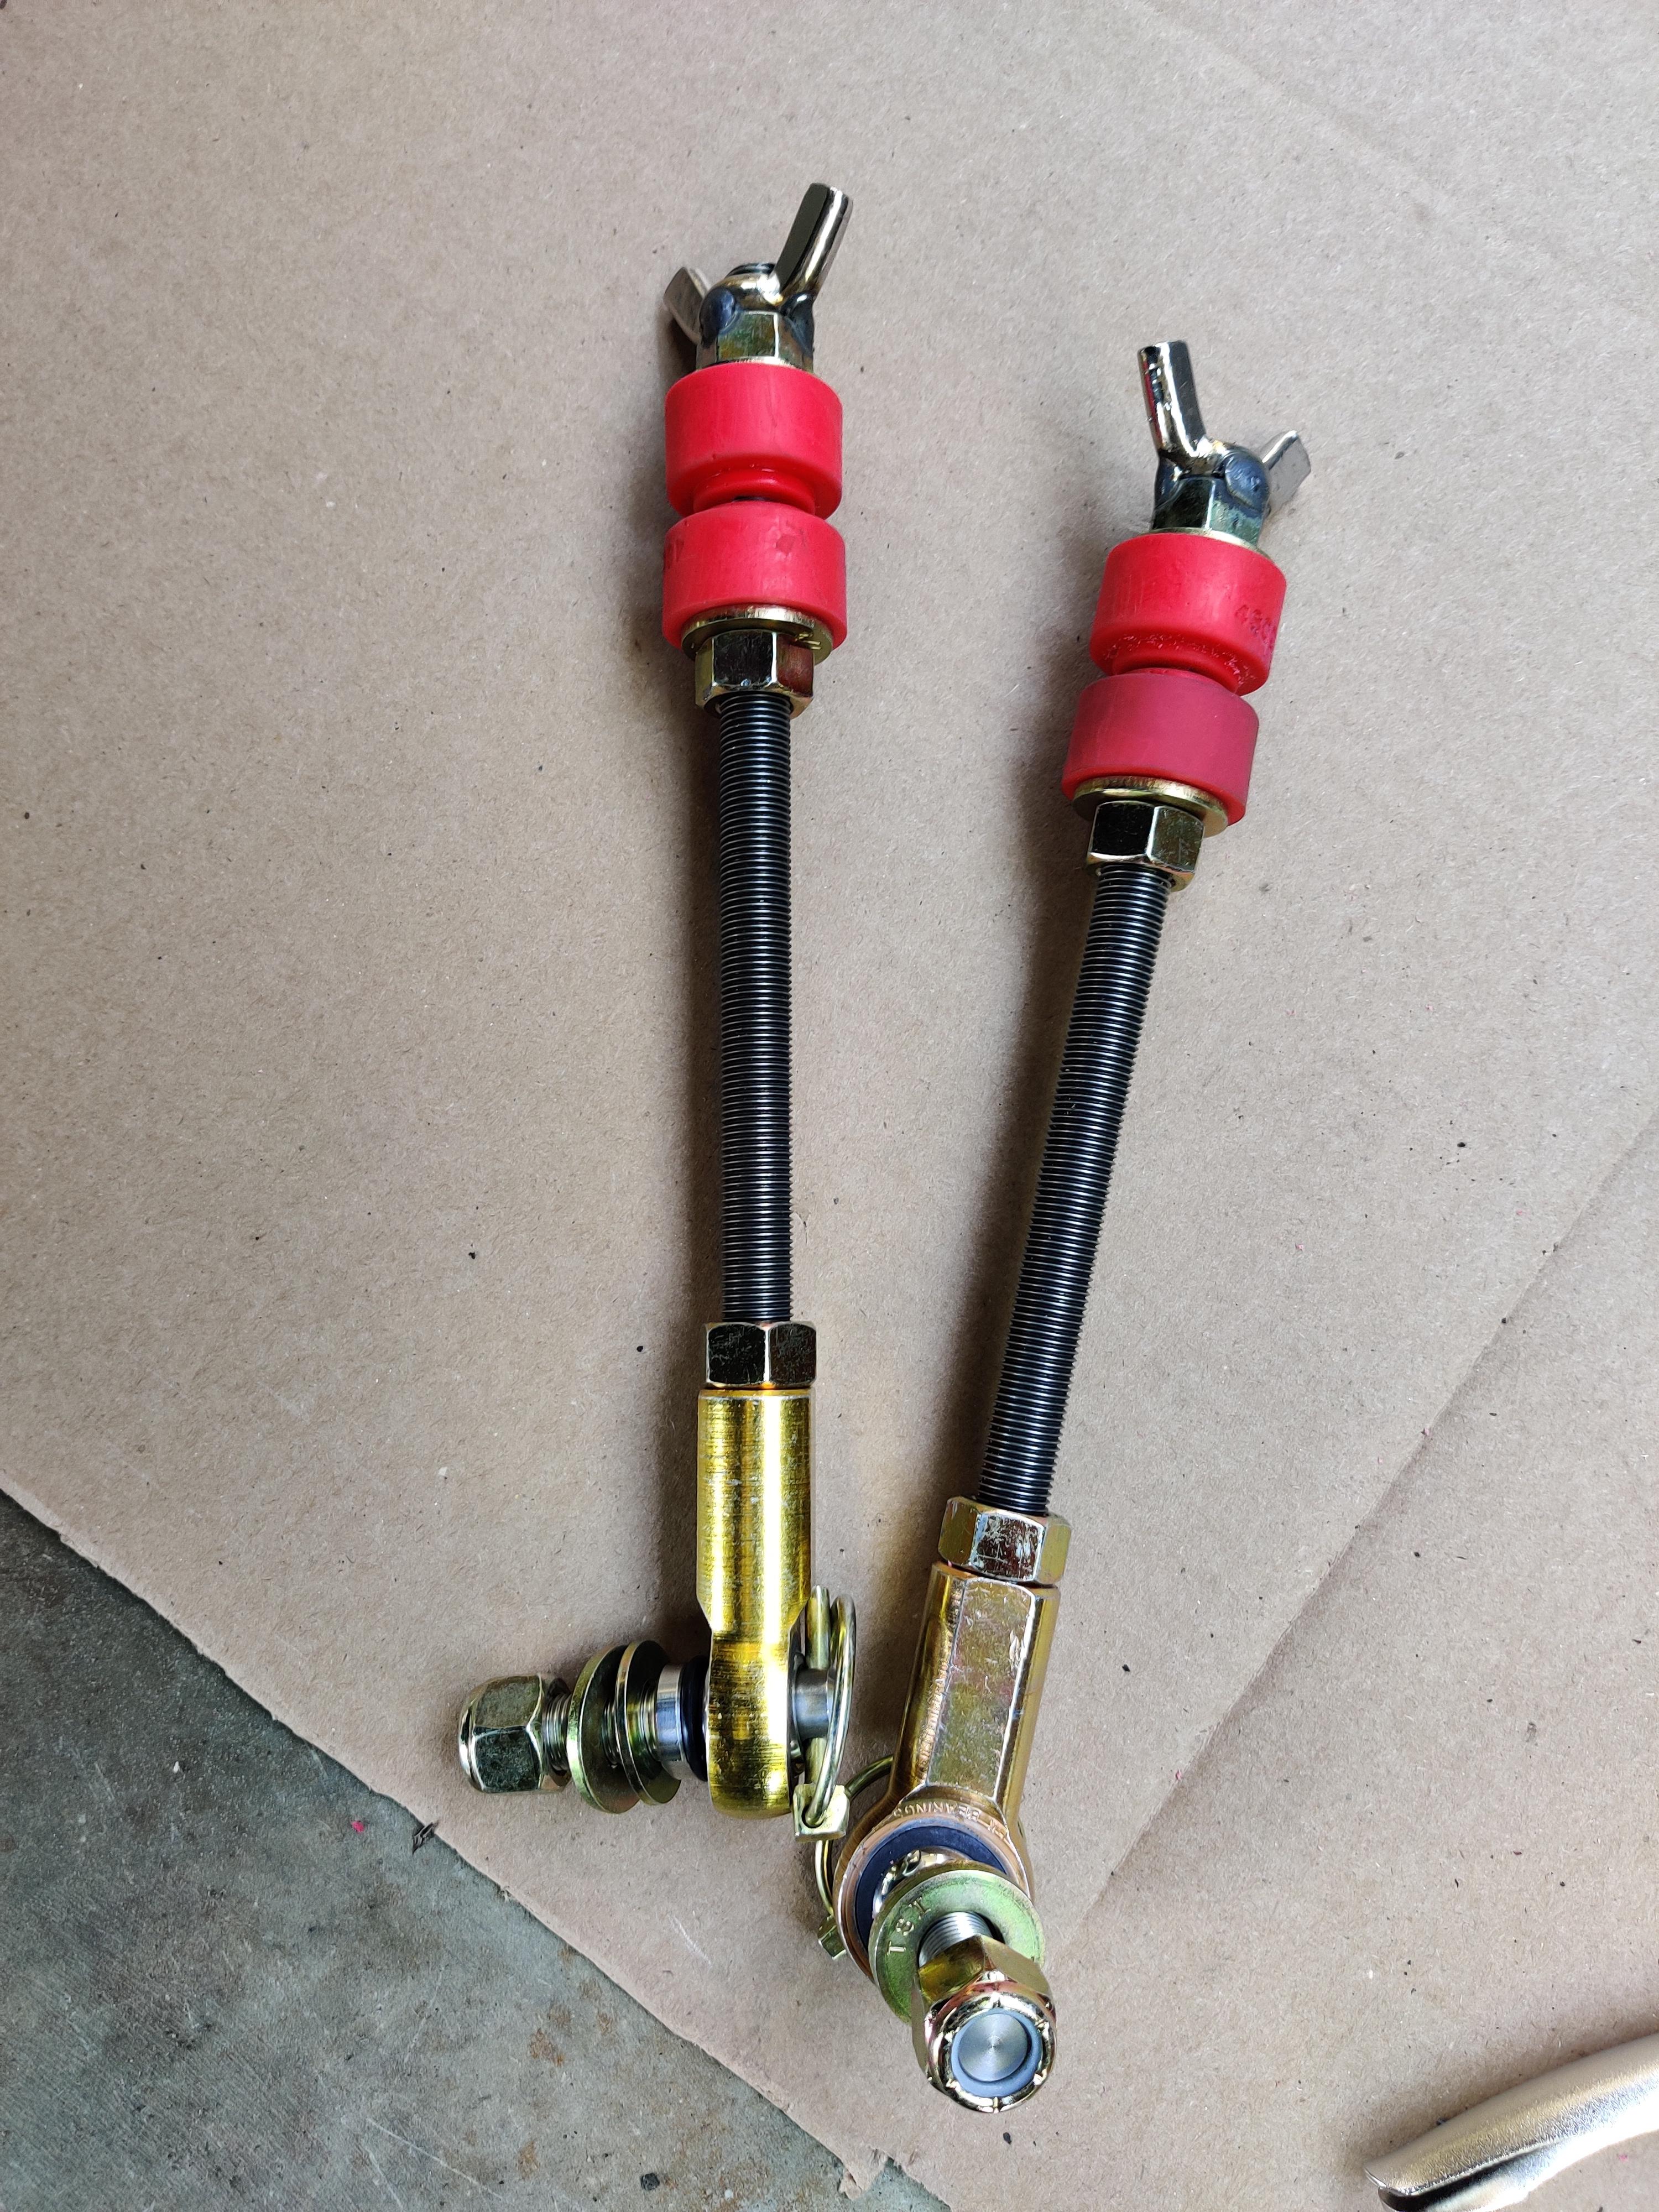
The factory L bolt is too short. It's about 8 inches long and it's barely fitting the group 31 with factory battery retention bracket. I decided to get a 10 inch one from McMaster-Carr. Link to part. I should have gotten a "J" hook that's 9" such as this part.

This is after the bending of the L bolt.
a814c62e5401acef7bc4bd639ddf698e.jpg


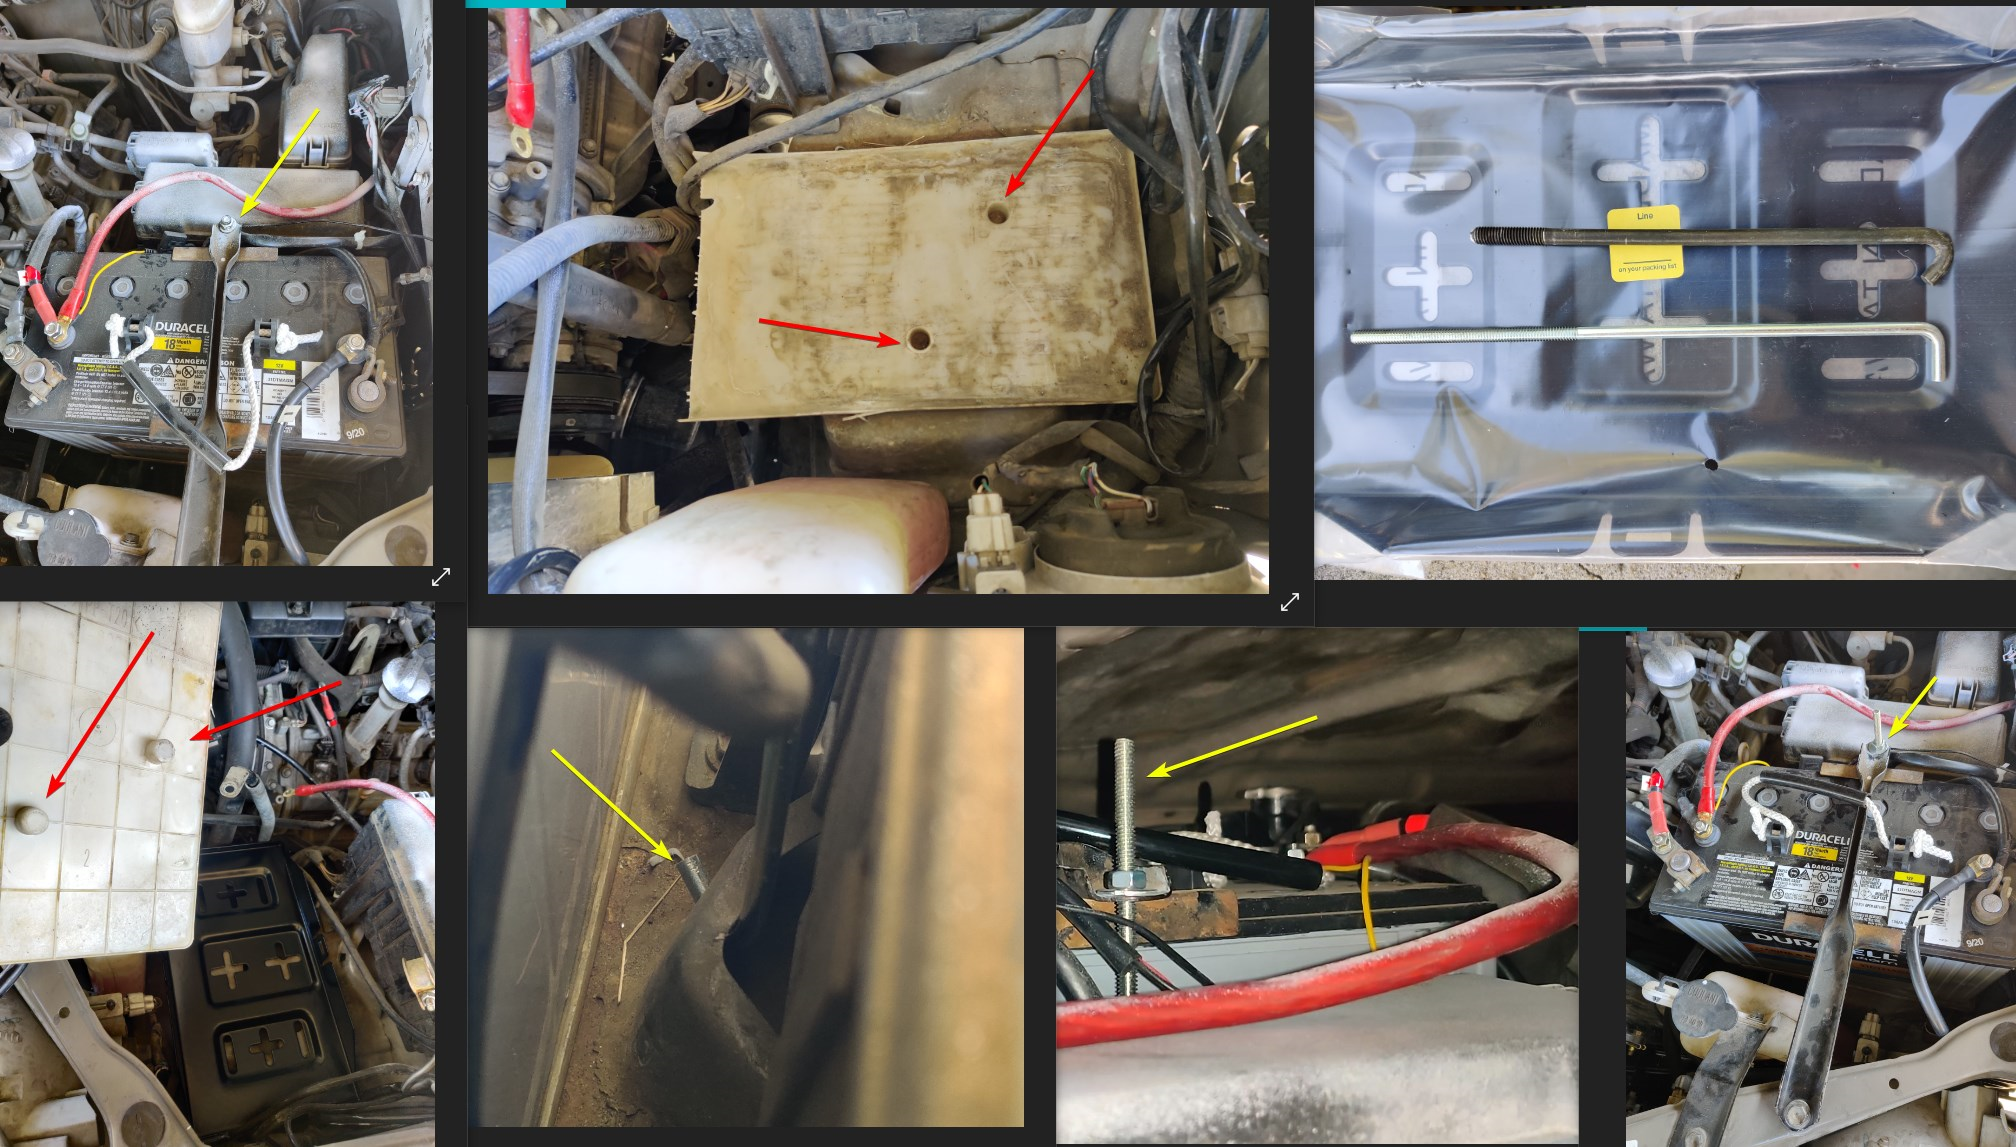
I had to cut the factory tray in order to fit the group 31 Duracell battery on one edge. I found a tray from McMaster-Carr that fits in the engine bay, but it doesn't have the inserts that the original tray has in order to stay put. Even though the battery hold down is tight, the tray helps keep it in place with those stubs. Link to part. I ended up not using the metal tray I purchased. The new bolt also clears the hood just fine as well.

There's potential to chop this into a battery tray for the abs module area as it's roughly the size of a group 31 and thick / sturdy enough despite being stamped metal. Unfortunately, I can't do that as I have an extra module. I may be inclined to go with a group 24 for a 2nd battery, or exploring lithium batteries stored in the 3rd row plastic molding on the passenger side. But these are just thoughts that I'll have to consider as I build out more electrical. I think all that's left for this portion is to get a new battery terminal so it isn't a jumbled mess, but this is something I need to think about later.

QwpeywE.png


Skid Plate Project Update #2 - Link to Post

KWbxkSh.jpg


I tried to installed the 3x skid plates - oil, transfer, transmission, but since I bought the skid plates used, I was missing the oil skid hardware. I tried to install the transmission skid, but the plate was not compatible and didn't line up properly on the transmission support bracket due to the angled support brackets. It has a little extra material, and that's blocking it.

Lf3rQXc.png


I'll have to grind it off later and then respray this. I also have to drill a hole into the support bracket on the driver side. It's unfortunate is that these parts are said to be compatible with this model year sequoia but aren't plug and play.

I have part of the under body scanned in and I'll be going to a fab to make a cat shield & gas tank shield. Cat theft has been up 400% and it'll take 2 minutes for this to be stolen. Unfortunately, only a few fab shops have the equipment to bend 3/16 steel but I found one that can. More to come!

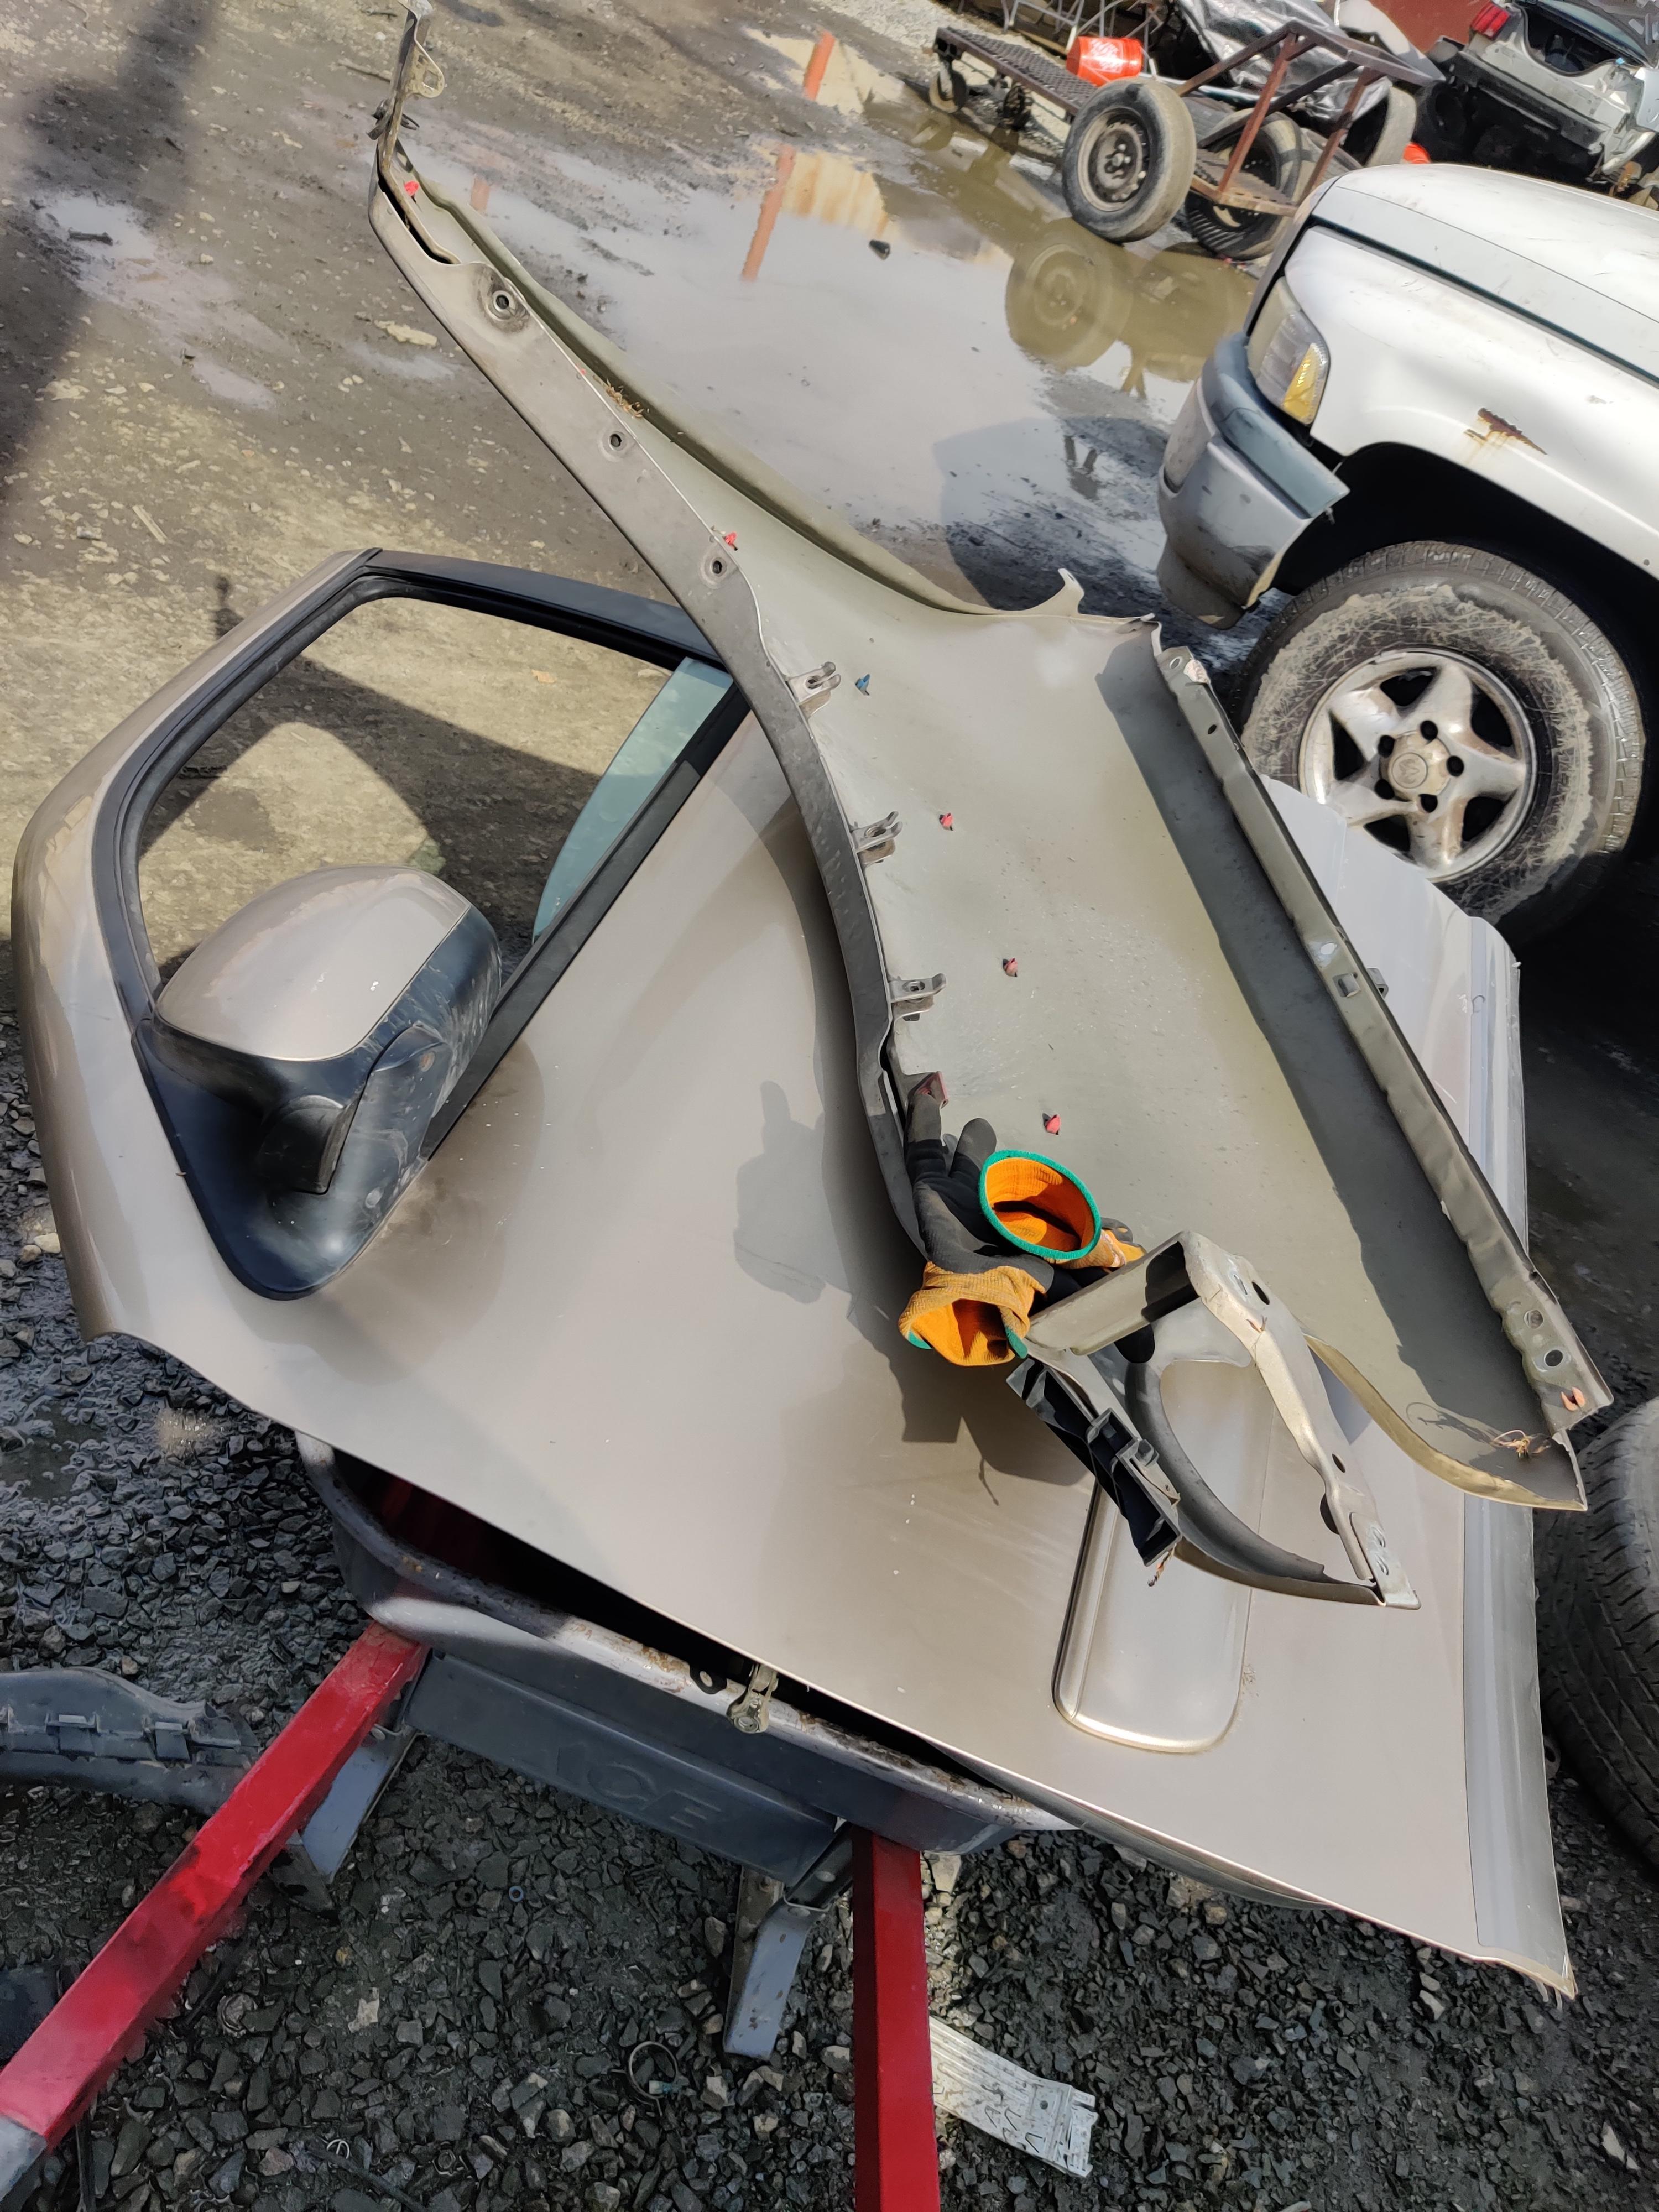
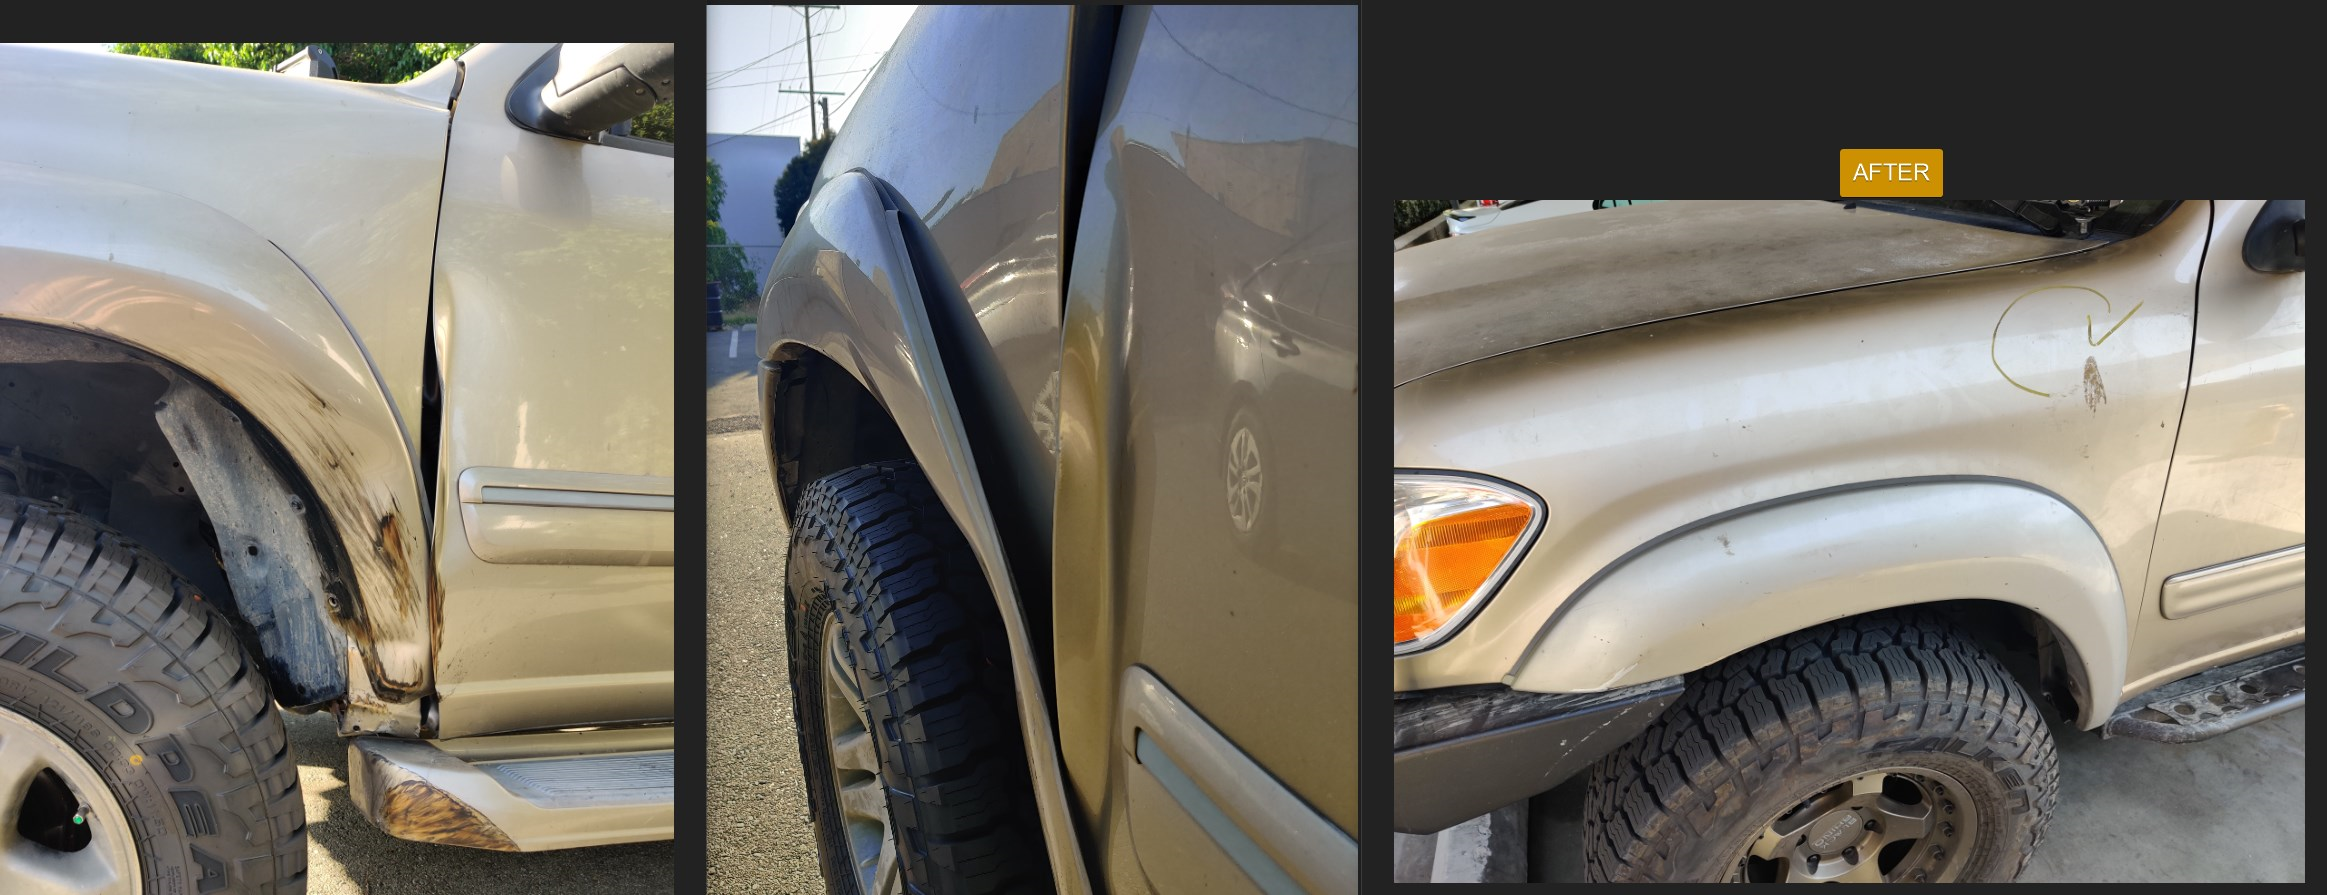
Door / Fender Replacement!

ttPejqX.jpg


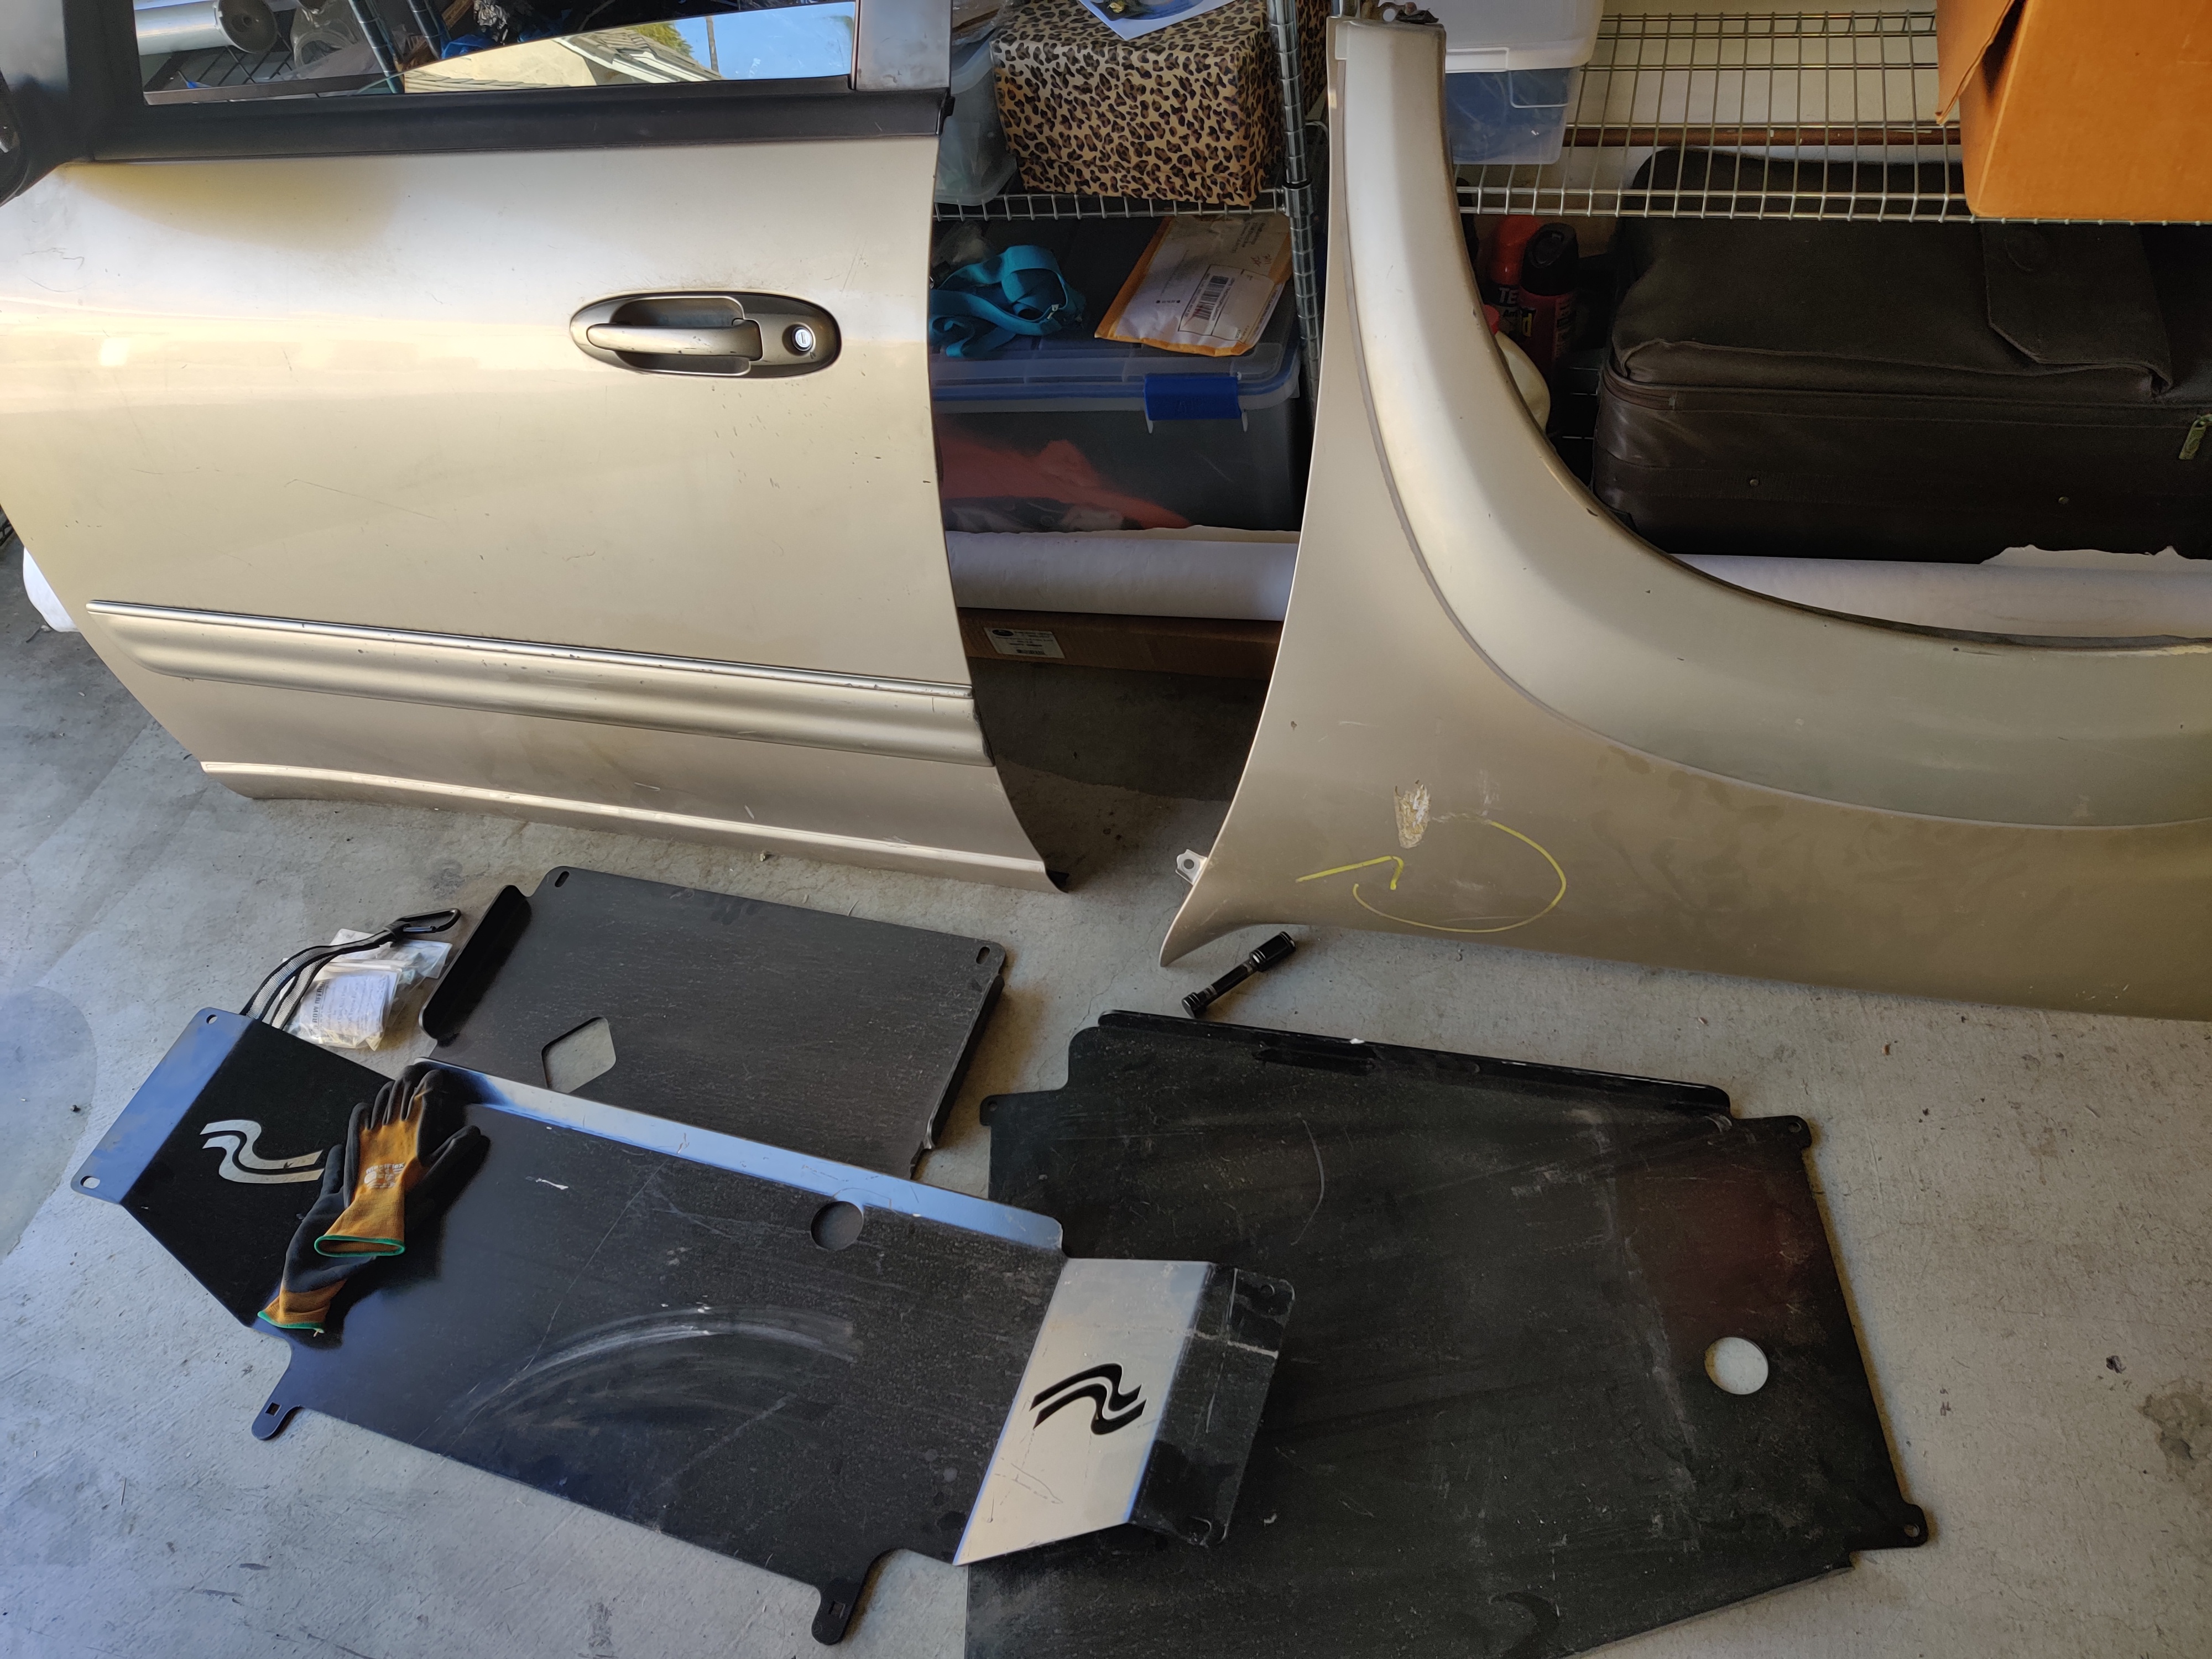
I've had damage on my fender where it lines up with the driver door. After 10+ months of searching, I found a gold replacement off an 01-04 gold sequoia. The part # for the door is the same, but the fender was different. I went ahead and went and bought it because it looks identical. Turns out it's only off by 2 extra bolts (pointed to in red arrows below). Nothing zip ties can't fix, of course.

Difference between the 01 to 04 and 05+ Fender
a44QBkk.jpg


The only things left to swap over is the exterior door molding, my original door lock (so my key works) the sticker with the VIN, my door check (that I replaced with a new one so I want that 😂) and the window assembly. The new used door has a weaker and more worn power window motor. I also had tint on my window so I'll be wanting that so I don't have to pay for it. This will have to wait for another day as it's basically taking all the parts from my old door and installing into the new used one.

uUMEjDL.png


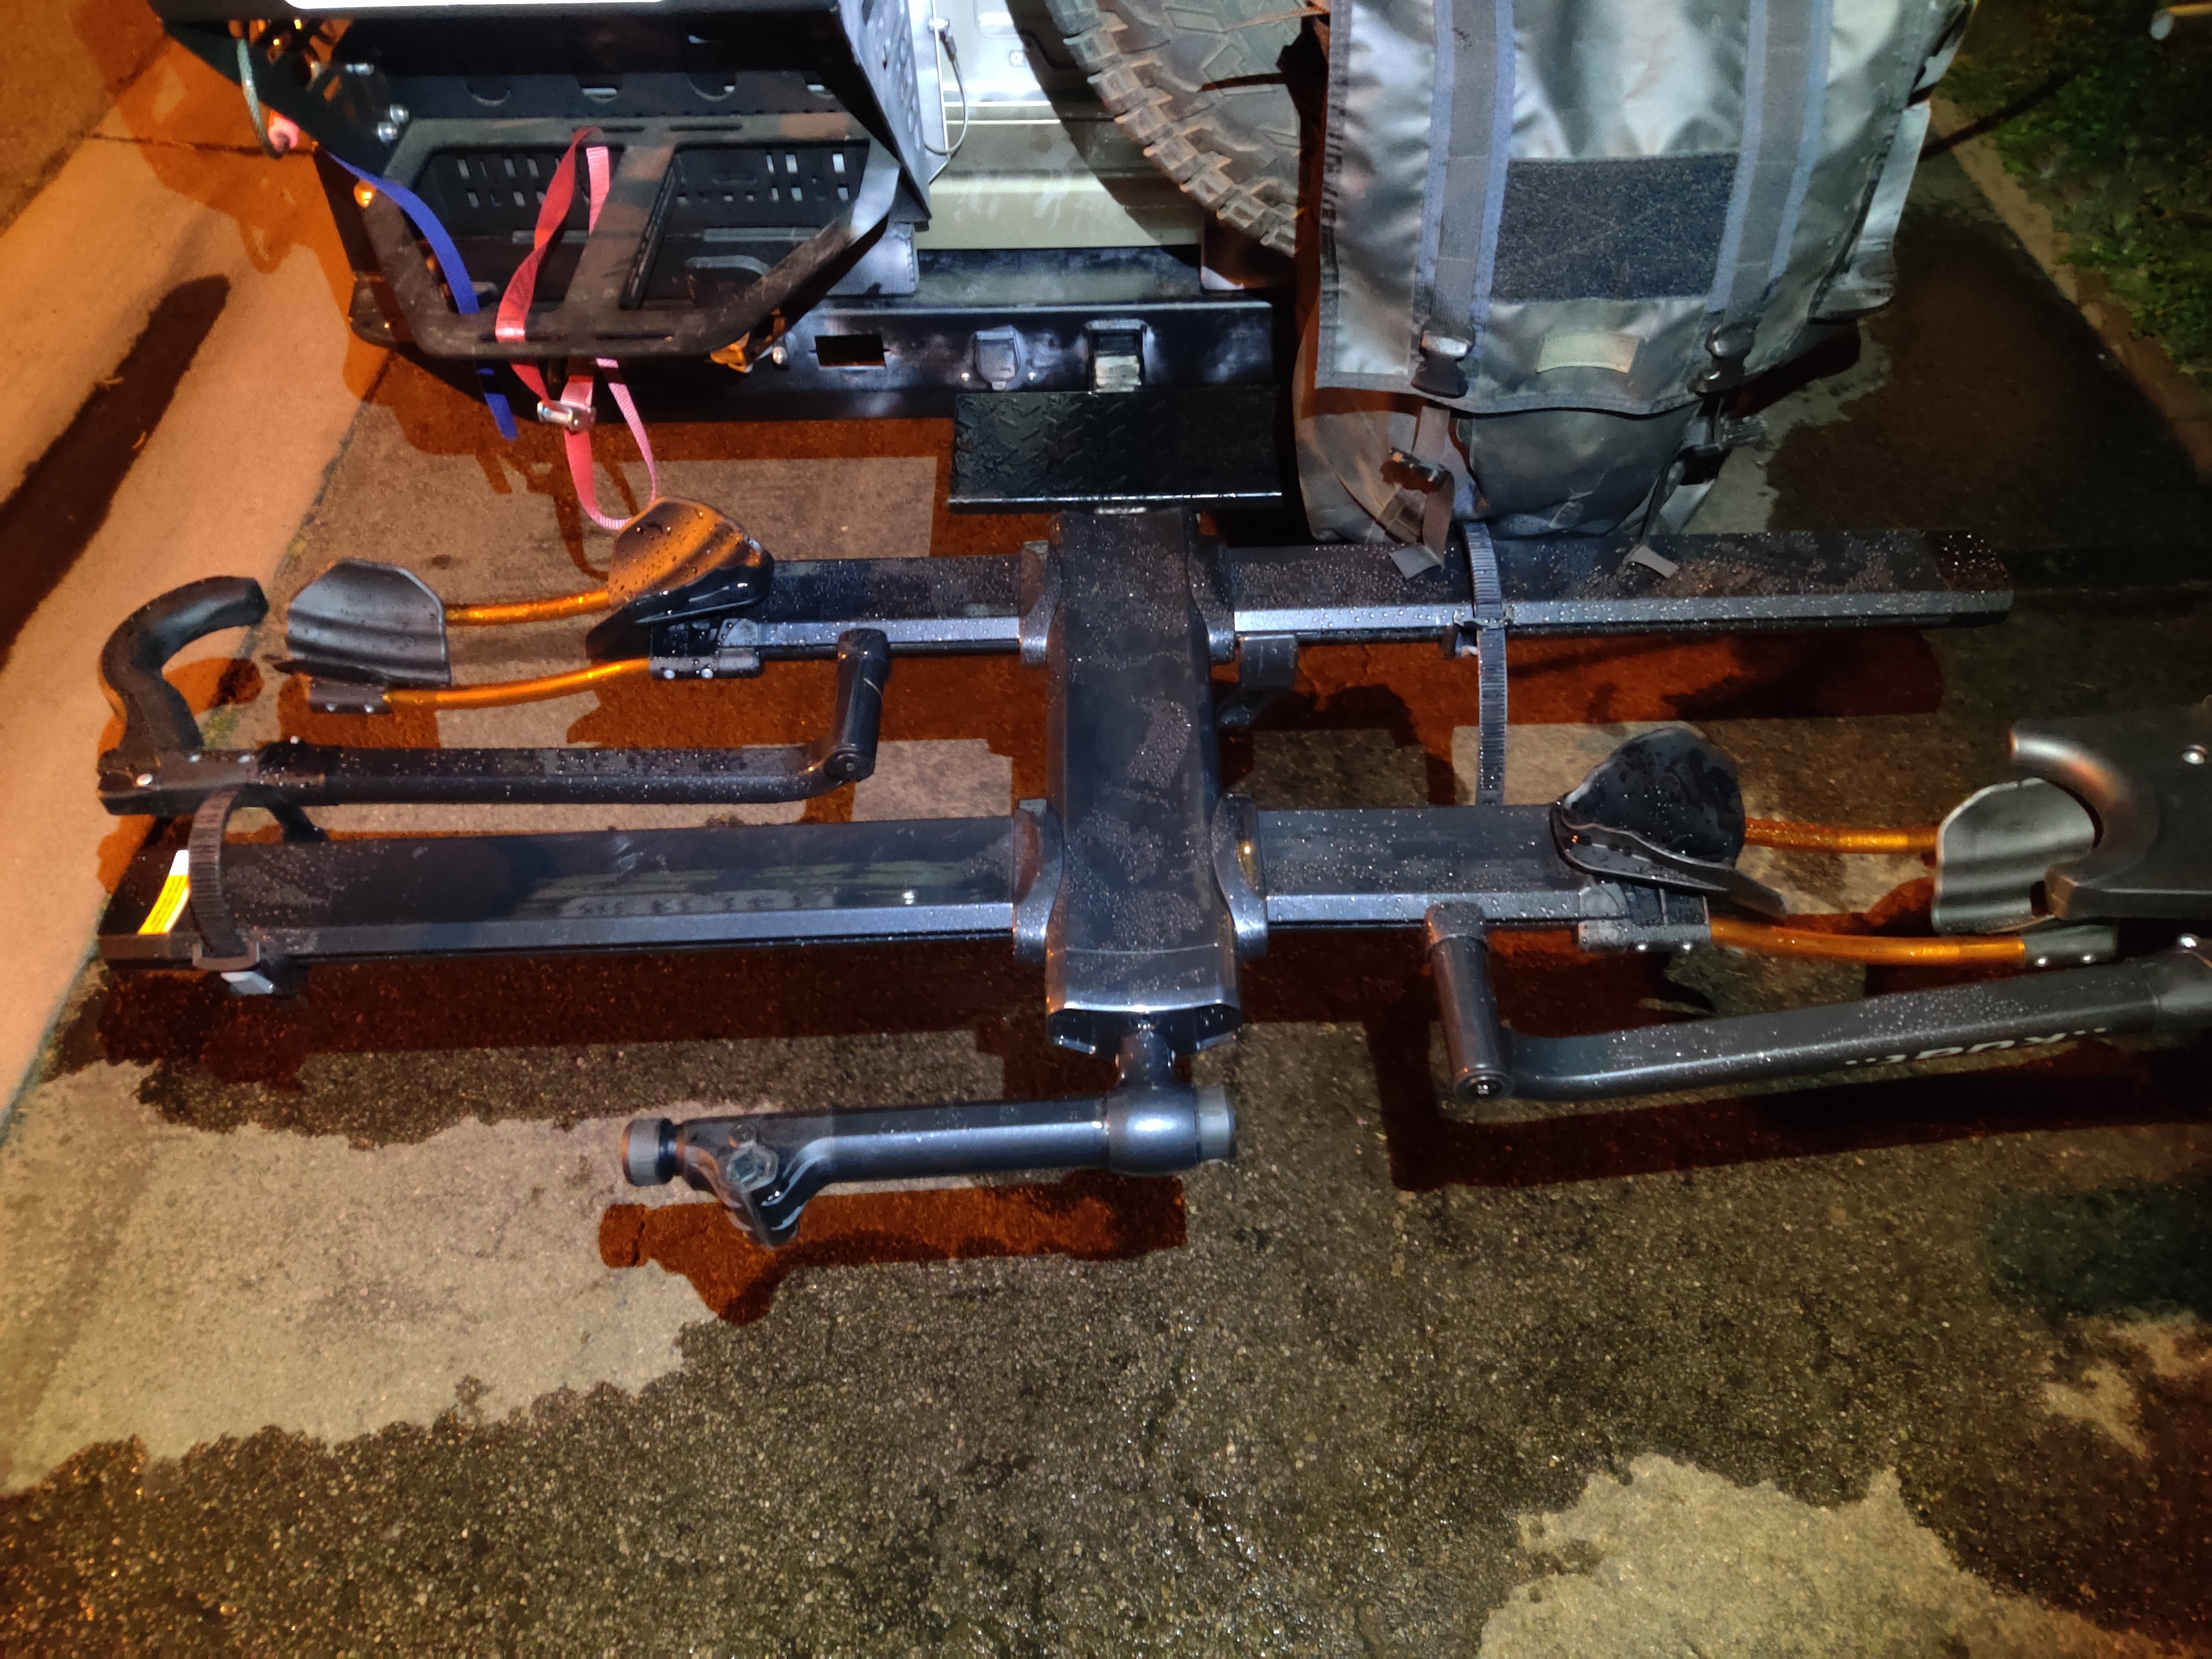
Misc Installs on the Roof Rack // Link to Post

Added photos to the post for the bolts and such. Tldr: 1/4-20 is the best for this application. I'd advise on getting the SS ones, and also getting a box of them from McMaster-Carr with the hex drive. Maximum surface to tighten is best.
 
Last edited:
Rear Trunk Organization & Fridge things

One of the main reasons I got the Sequoia was to bring my family & friends out. With this, trunk space is sacrificed for passenger space. At times it's 4, and other times, we're loaded up with 8. Unfortunately, a trailer isn't in sight, but being organized is very important. With the fridge always in the car, I had to figure out a way to use to use the space above it for my long board, but also maximize the space so I can pull things out to get things on the bottom.

I made a janky slider for the fridge, and it's been working fine since, but I have to get it finished up. This is a black hole project as I'm not a craftsman.

Luckily for the other side, it perfectly fit a Milwaukee Packout Drawer system. I have a 2 drawer system for it so far, but will be adding the 3 drawer system above it when it arrives next week. Great use of space, and has very unexciting dividers. Regardless, having the sliding drawers is all I really wanted out of it, and with the weight of plastic vs wood, it's a huge win.

0Xdpk2G.jpg
 
The Headrest Nobody Wants

Finally found a newer seat of 3rd chairs with the center headrest. Sometimes I have 8 people in the vehicle, and the center headrest is the rarest of the rare. I'm unsure if it came standard with the vehicle or if everyone just threw it away, but I haven't been able to find one at the junkyard, offerup, CL, or Marketplace for 1.5 years. I found one on Ebay for $70 but that's outrageous. I finally found it on Offerup, including the seats for $60, and went for it. The seats were in better condition than mine, and had some plastic bits that weren't broken.

AJZAG8q.jpg


Misc Things

Moved the OVS awning closer the passenger side by inch so it hugs the vehicle more.

Moved the Pelican case closer to the outer edge of the pelican case. This helped with this wind channel that was made from the gap between the Pelican & Thule Skybox.

Skid Plate Update #3

Tried to install the OIL SKID PLATE from SKIDROW with the OEM skid plate, but it didn't line up. The OEM skid plate bolt holes needs a longer hole to line up with the skid row plate.

Someone on Facebook also confirmed that they had to strip parts of the transmission support angled brackets in order to make the skid plate work.

Will add photos some other time.
 
Last edited:
Dash Mount Project Update

Made some progress on the dash mount project.

Refined the curvature of the sides to have a better fitment with the dash.

Next, I need to adjust the spacers so that they're flush and have a strong mounting surface area with the dash itself to maximize clamping force with the nuts and such.

Currently, the goal is to make this out of 3.0mm or 1/8" mild steel. Can't wait to get the radio set up & the new phone mount!

Current Plan for Accessories
- RAM Mount phone mount
- Handheld radio holder
- GMRS Radio holder
- MAYBE, a custom phone holder (cup style) for the Passenger so they can just put their phone down, but it won't actually hold onto the phone.

Dremel3DSlicer_L5ubmPsMSp.png

Dremel3DSlicer_1QxIRFnljx.png
 
Last edited:
PROJECT END LINK DISCONNECTS

Made from 1/2-20 threaded rod at a B7 rating. Just need bushings, and we're good to go.

Here's the parts list & some info! MAKE AT YOUR OWN RISK.

Bushings: ENERGY SUSPENSION 9.8103r
Washers: https://www.mcmaster.com/catalog/98023A033
Nuts: https://www.mcmaster.com/catalog/94895A825
HEIM JOINTS: https://www.mcmaster.com/catalog/2458K36
SS WING NUTS: https://www.mcmaster.com/catalog/92001A333
ROD: https://www.mcmaster.com/98957A158/
Quick Disconnects: https://www.ruffstuffspecialties.com/R2460.html
RED LOCTITE.

Here's some last bit of info on every part.
  • BUILDING TIPS: Use red loctite on everything. There's no reason to cheap out! Tighten everything down with your longest wrench.
  • BUSHINGS will need to make bigger as well. ID is 3/8" & I built this all on 1/2".
  • WING NUTS are welded onto nuts to remove and tighten on trail. make sure to tighten it down. I may even use a lock washer for this actually.
  • SWAY BAR DRILLING: You'll have to also drill into the sway bar to make it bigger. It's about a 10mm ID hole for the sway bar, and you need 12.7mm (or 1/2").
  • ROD LENGTH: Add 6.5" to your lift amount & you'll have the length needed. The thread length of the heim joint is 1.5" so you have 7.5" left of rod to use for adjustment.
    • I believe the OEM rod is 6.5" and 6" center to center.
    • The rod length I chose is 9"
Yes, you can totally go with 3/8", but I was like "welp I only live once, so I might as well make sure I don't die from this and make it thicker".

l2tXB4E.jpg


Updates
4/15/21 - Link to Post //Added bushings to sway bar links. Also found better bushings


New Bike Rack

Lastly, I finally got a new bike rack. It's a Kuat system, . It will have to do until I modify the box on the left swing out to have a 2 inch receiver. This will help with clearance, but also help with the annoyance of trying to access the trunk and all.

xhwuPjd.jpg
 
Last edited:
Added parts list for the DIY Sway bar links in the post above just now. Enjoy & be safe when using these, if you actually make it.
 
Kuat Bike Rack FTW.

This is how it all looks set up. Unfortunately, haven't had the chance to go out too much other than day trips with the family. My niece and mom enjoy biking so it'll have to be urban bike routes and such. But I am planning a West coast drive up to Oregon in May & will be borrowing a RTT.

I actually don't really bike - I use an electric longboard. It's just a lot easier to use when running / walking my dog during these trips.

If anyone is considering the kuat I'd spring for it over the Thule or Yakima systems. It's way more sturdy & thought out. There's also 1up bikes.

Ignore the white - it's developer spray that comes off.

3D2EWSp.jpg


DASH MOUNT UPDATE #3

1618458667358.png
IMG_20210414_154445.jpg


1618479930283.png


I've also finished the dash mount and sent it for cutting in 3.0mm or 1/8" steel. Very excited for this as it's been a long time coming.

Going to have to get another dash to test it out or just go for it and pay for it later 😂.

1618479912501.png


1618479591793.png
 
Last edited:
SWAY BAR UPDATE

Much hype. Just drilled the bushing ID to 1/2". Will be installing them this week!

I also found Siberian Bushings, with 13mm ID (which is more than 1/2" by 0.3mm, so these are perfect.

7CJ66QN.jpg


Small Engine Bay Mod

Added a Harbor Freight magnetic tray. Will help with projects when I need to put things down!.

Q0pkYnS.jpg


ARB Twin Mount Update

Mocking up locations for this right now. Currently, with the klein digital level (in place of the actual air port) , it clears the hood right above the ABS module.

I'm still considering if I should just put it above the intake manifold since there's so much room there....

24iR2gy.jpg


Bug Deflector


I was able to find a set of rear taillight guards & the bug deflector. Unfortunately, the bug deflector was missing a clip, so I had to remake it.

ZQGeOmN.png
5b642976f41c8166303a534b0dd8d079.png
gH6r979.jpg


Then I discovered that the OEM clip falls off easily (prob due to age) so I'm going to reprint a regular one.

If anyone is interested in looking at them attach / detach onto the hood -

OEM:


3D PRINTED:


Finally, this is it installed. Unsure how I feel about it. I'll have to see after I sell the hilift jack (I think it's too dangerous and prefer to use bottle).


cWLseMw.jpg
 
Last edited:
Sunglasses 8Gang Mount

Originally, I found on the T100 page, that someone had made a mount for a few rocker switches for the sunglasses holder in the Tundra 1st gen. This one looked like an older model, but I decided to try and create a similar one for mine.

I've hated the rocker switch panel that came stock with the Sequoia since day 1 of installing lights. It's out of reach, but also it sometimes gets pressed by random things.

Version 1 // Late January

I originally started this around early January, but didn't get to this stage until late January.

I decided to change this due to the cost of rockers + the size of it. The number of wires that I had to run was way too thick combined, so I decided against this.

LERCBdr.jpg


8emwUZL.jpg


Version 2 // Early March

Overall, the idea was there, but it had some fitment issues with latching onto the topside of the sunglasses mount. It worked, but was not perfect.

I decided to scan it in, and do it properly.

TfpE1Fu.jpg


Version 3


Finally had some time to work on the mount. Going to be 3D printing a prototype today, and then seeing how it fits up.

I wanted to make sure it mates perfectly with the top half of the sunglasses holding case (pictured in blue in 2nd image).

Finishing this up will be a bulk of the work now. Sanding it down to make sure that the texture is nice and smooth.

1619060014679.png


1619060028588.png


Updates
4/28/21 - Updated design to V4 + printed it. Not good enough.
5/04/21 - Update design to V5. Finalized the fit. Just need to sand it down.
 
Last edited:
Sunglasses 8Gang Mount Update

Printed out version 3, and it was good, but not perfect. Exterior edges needed some adjustment.

IpsAUEE.jpg
1zVkonQ.jpg


Here's a version 4 with some adjustment.

xylH8pu.png


It's good, but NOT good enough. These snaps indicated in blue (below), are horrifically weak when 3D printed. With a small amount of force, they pulled apart and snapped off the part - making a 14 hour print basically useless. Where the red arrow is above, I'll be adding a 3D printed clamp. This will help with holding it to the sunglasses holder.

1619673108775.png


Dash Mount Update

I made a template for install. It aligns to where the dash starts changing shape for the cluster. Then you just need to take it down after alignment to that corner, and tape it down to the dash because it will be a little flexible due to being 3D printed and trying to save on material x print time.

Here's a good production sample of the dash mount. Much excite!! Also made a 3D printed template for aligning.

IMG_20210428_135521.jpg
IIDZb0q.png


This is where it'll go. Will be testing it this weekend!

img_20210414_154445-jpg.2645697
 
Sunglasses 8Gang Mount Update

Here is basically the finalized version of it. I decided to print it upside down, so that the mounting parts are pristine on top.

The bottom side of it is made on top of supports, so the the surface finish isn't great. I'll have to go at it with a die grinder & sand it down then spray paint it.

The fit is perfect. Only took 10 prototypes @ 14 hour prints & $40 worth of filament.

NKNYRKq.jpg
p2BFw3V.jpg

7kceAJF.jpg
rQvqWw6.jpg
 
Last edited:
Compressor Mount Update

Just got some parts mocked up. Trying to finalize it ASAP.

1620549686358.png
1620549723685.png
 
Misc Updates

Scanned the undercarriage of the Sequoia.

1620760644767.png


Updated Compressor Mount with some adjustments to the brackets for strength.

1620760655223.png

  • Added a bigger hole for the side bracket.
  • Changed the rear bracket dimension so the bolt is easier to access
  • Increased viair bracket surface mating.
  • Changed the side bolt hole style to make it little easier to assemble.
Custom Electrical Fuse Panel Bracket Update // 05.11.21

3VnMEgm.png


8 Gang Switch Holder Update // 05.11.21

Z4RlPjd.jpg
oyPek75.jpg

  • Reprinted with a slightly better finish
  • Using the new custom washers
It feels really firm now and doesn't feel like it will just fall apart.
 
Misc Updates

Scanned the undercarriage of the Sequoia.

View attachment 2671633

Updated Compressor Mount with some adjustments to the brackets for strength.

View attachment 2671634
  • Added a bigger hole for the side bracket.
  • Changed the rear bracket dimension so the bolt is easier to access
  • Increased viair bracket surface mating.
  • Changed the side bolt hole style to make it little easier to assemble.
Custom Electrical Fuse Panel Bracket Update // 05.11.21

3VnMEgm.png


8 Gang Switch Holder Update // 05.11.21

Z4RlPjd.jpg
oyPek75.jpg

  • Reprinted with a slightly better finish
  • Using the new custom washers
It feels really firm now and doesn't feel like it will just fall apart.
Have you done any calibration prints?
 
Have you done any calibration prints?

I normally print out of this, and it isn't this bad. It's mainly on the slope, which is caused from the supports. So that curve is printed onto supports which results in the bad finish on top.

But I'd prefer this, over printing the other half that mates, as that's more structural / integral.

This one is an improvement over the previous which was printed on a full raft. I think I may just pay the $$ for one made from HP Fusion....
 
Update to Dash Mount - 5/13/21

1620947648271.png


Updated the spacer, to help it fill up more space & increase surface area. This helps with install & alignment of the whole assembly.
Unfortunately, the bottom spacer was not necessary as there isn't enough clearance to use it on install.

The print took 3 hours vs the previous spacers, which took like 40 minutes. Overall, this makes it easier for install.

varhxTw.jpg


eBwCROi.jpg


lD9SA9M.jpg


Here's the result!. The install template helped, but I think a right angle drill is necessary for install. I think a paper template will also help with install, or at least knowing the distance between the 4 holes so that everything is measured twice and then drilled once.

Some install photos:

o1jYFrq.jpg


qiTODQA.jpg


CZxEPVj.jpg


JppgN3n.jpg


Sunglasses Holder Update!

UYeCJAt.jpg


Here's the final sunglasses holder. It has enough room to rotate. Install with a thin screw driver recommended.
I did drill the hole prematurely, and it would be better to be closer to final position of the pivot.

G4pGZb7.png


Update to Dash Mount - 5/13/21

View attachment 2673443


Updated the spacer, to help it fill up more space & increase surface area. This helps with install & alignment of the whole assembly.
Unfortunately, the bottom spacer was not necessary as there isn't enough clearance to use it on install.

The print took 3 hours vs the previous spacers, which took like 40 minutes. Overall, this makes it easier for install.

varhxTw.jpg


eBwCROi.jpg


lD9SA9M.jpg


Here's the result!. The install template helped, but I think a right angle drill is necessary for install. I think a paper template will also help with install, or at least knowing the distance between the 4 holes so that everything is measured twice and then drilled once.

Some install photos:

o1jYFrq.jpg


qiTODQA.jpg


CZxEPVj.jpg


JppgN3n.jpg


Sunglasses Holder Update!

UYeCJAt.jpg


Here's the final sunglasses holder. It has enough room to rotate. Install with a thin screw driver recommended.
I did drill the hole prematurely, and it would be better to be closer to final position of the pivot.

G4pGZb7.png


Very nice!
 
Didn't finish the install, but here is with the compressor. I'll try and finish it up, but will take a little while as I think I'm missing some stuff for the compressor.

I also need to update the support bracket to make it better .

IMG_20210515_010325.jpg


Lastly, I'm on a West Coast trip, and here's the dash unit working perfectly!

received_444452980317461.jpeg


The sights have been amazing!

IMG_20210516_172450.jpg
 

Users who are viewing this thread

Back
Top Bottom