Hmm, I realized that I'm just editing previous posts, My intention on this was to keep one single type of project in one or two posts, so it's all in one place. Maybe I'm doing this forum / build log wrong. Oh well.
For now, I'll be posting updates, and I'll link in the update posts in the previous posts to try and keep it all together in one place.
3/31 Updates.
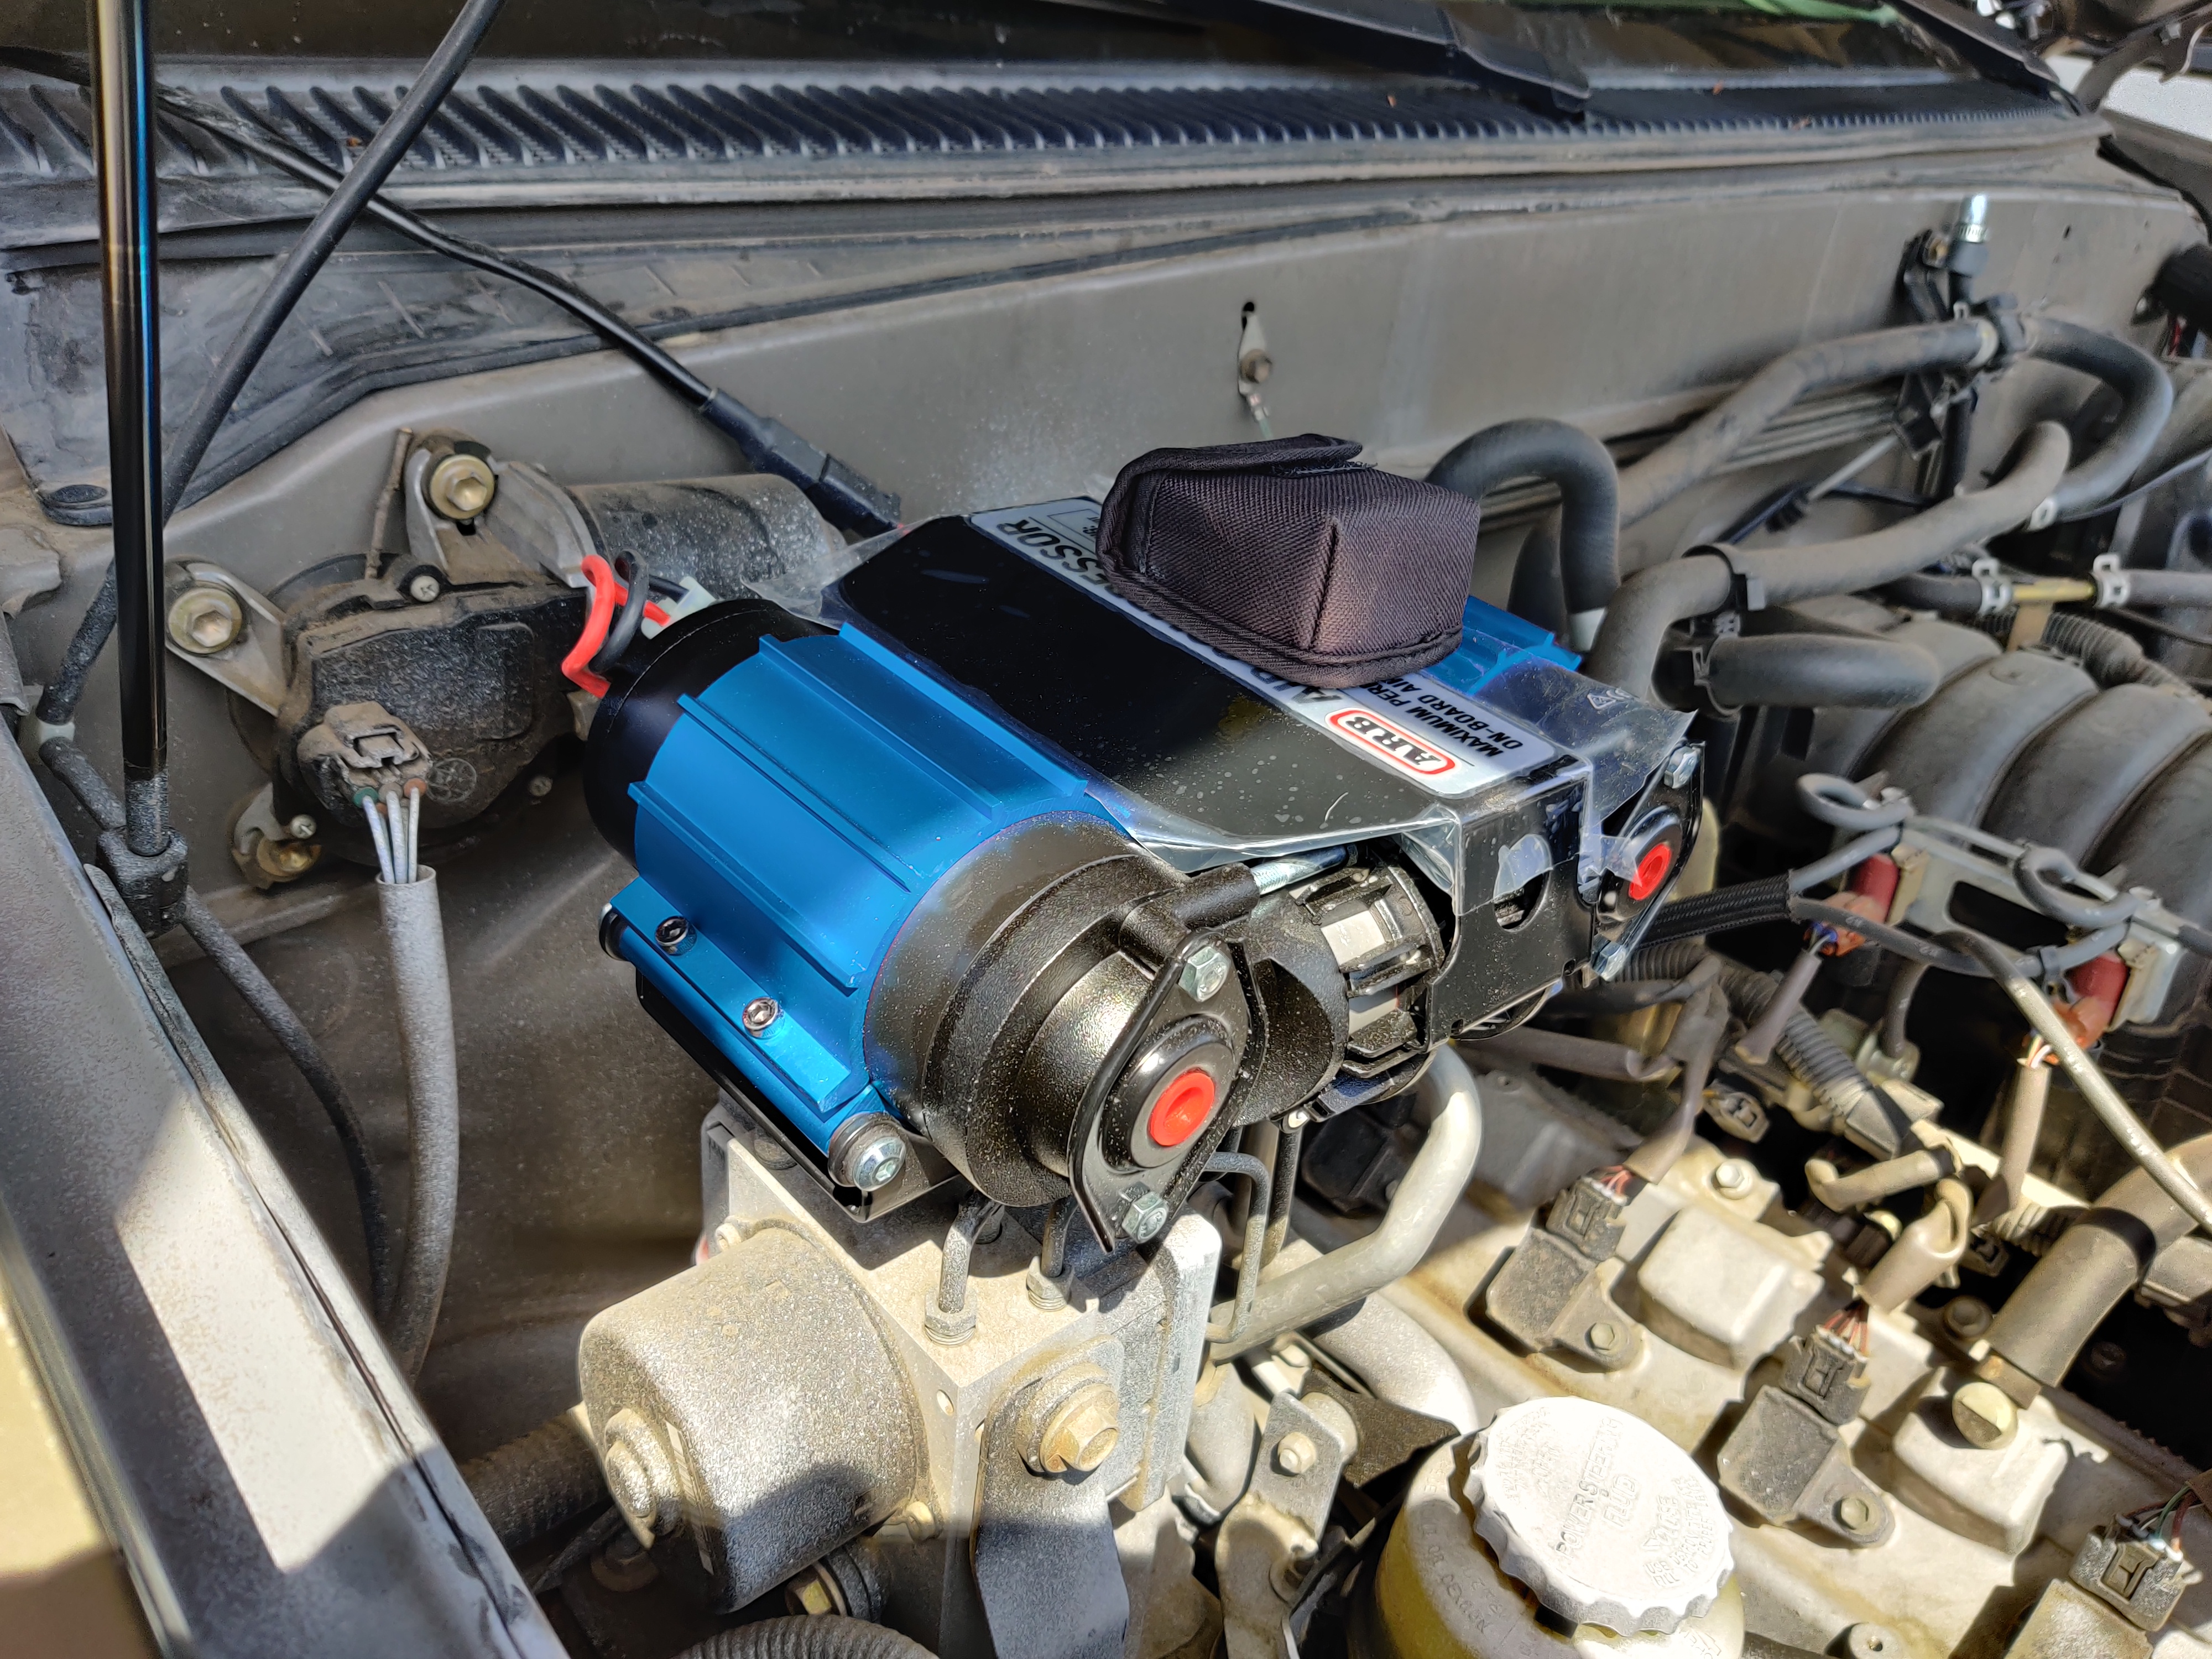
ARB / Electrical Mount - Link to Post
Messaged Richard but didn't get a response unfortunately. I'll be pursuing this on my own then

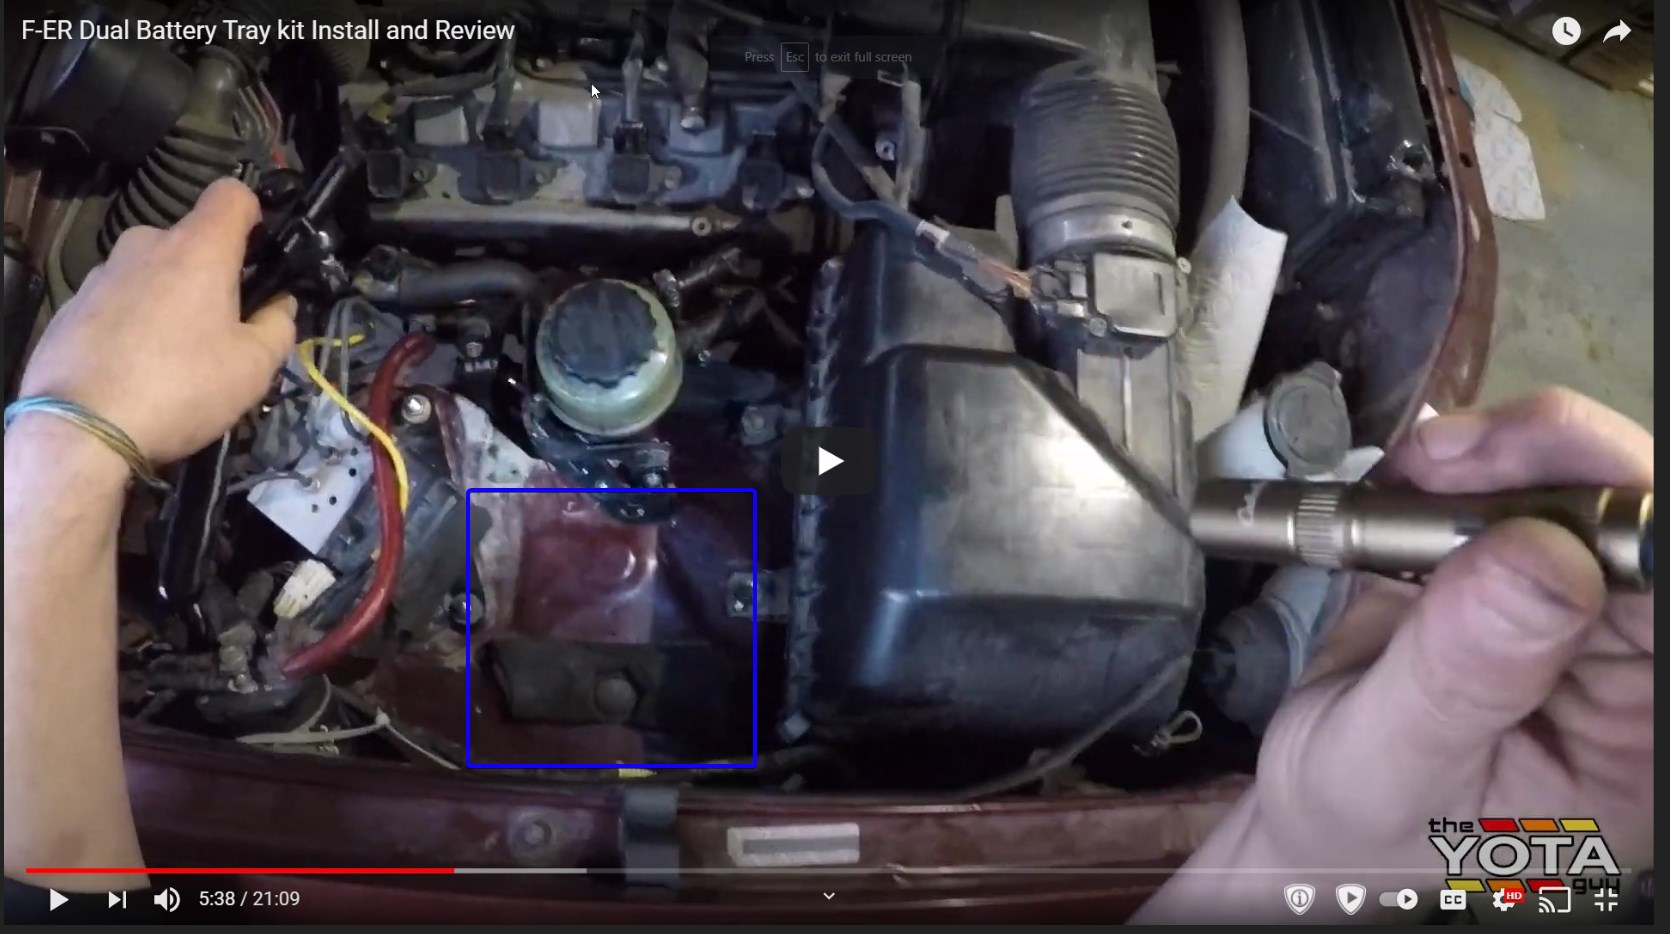
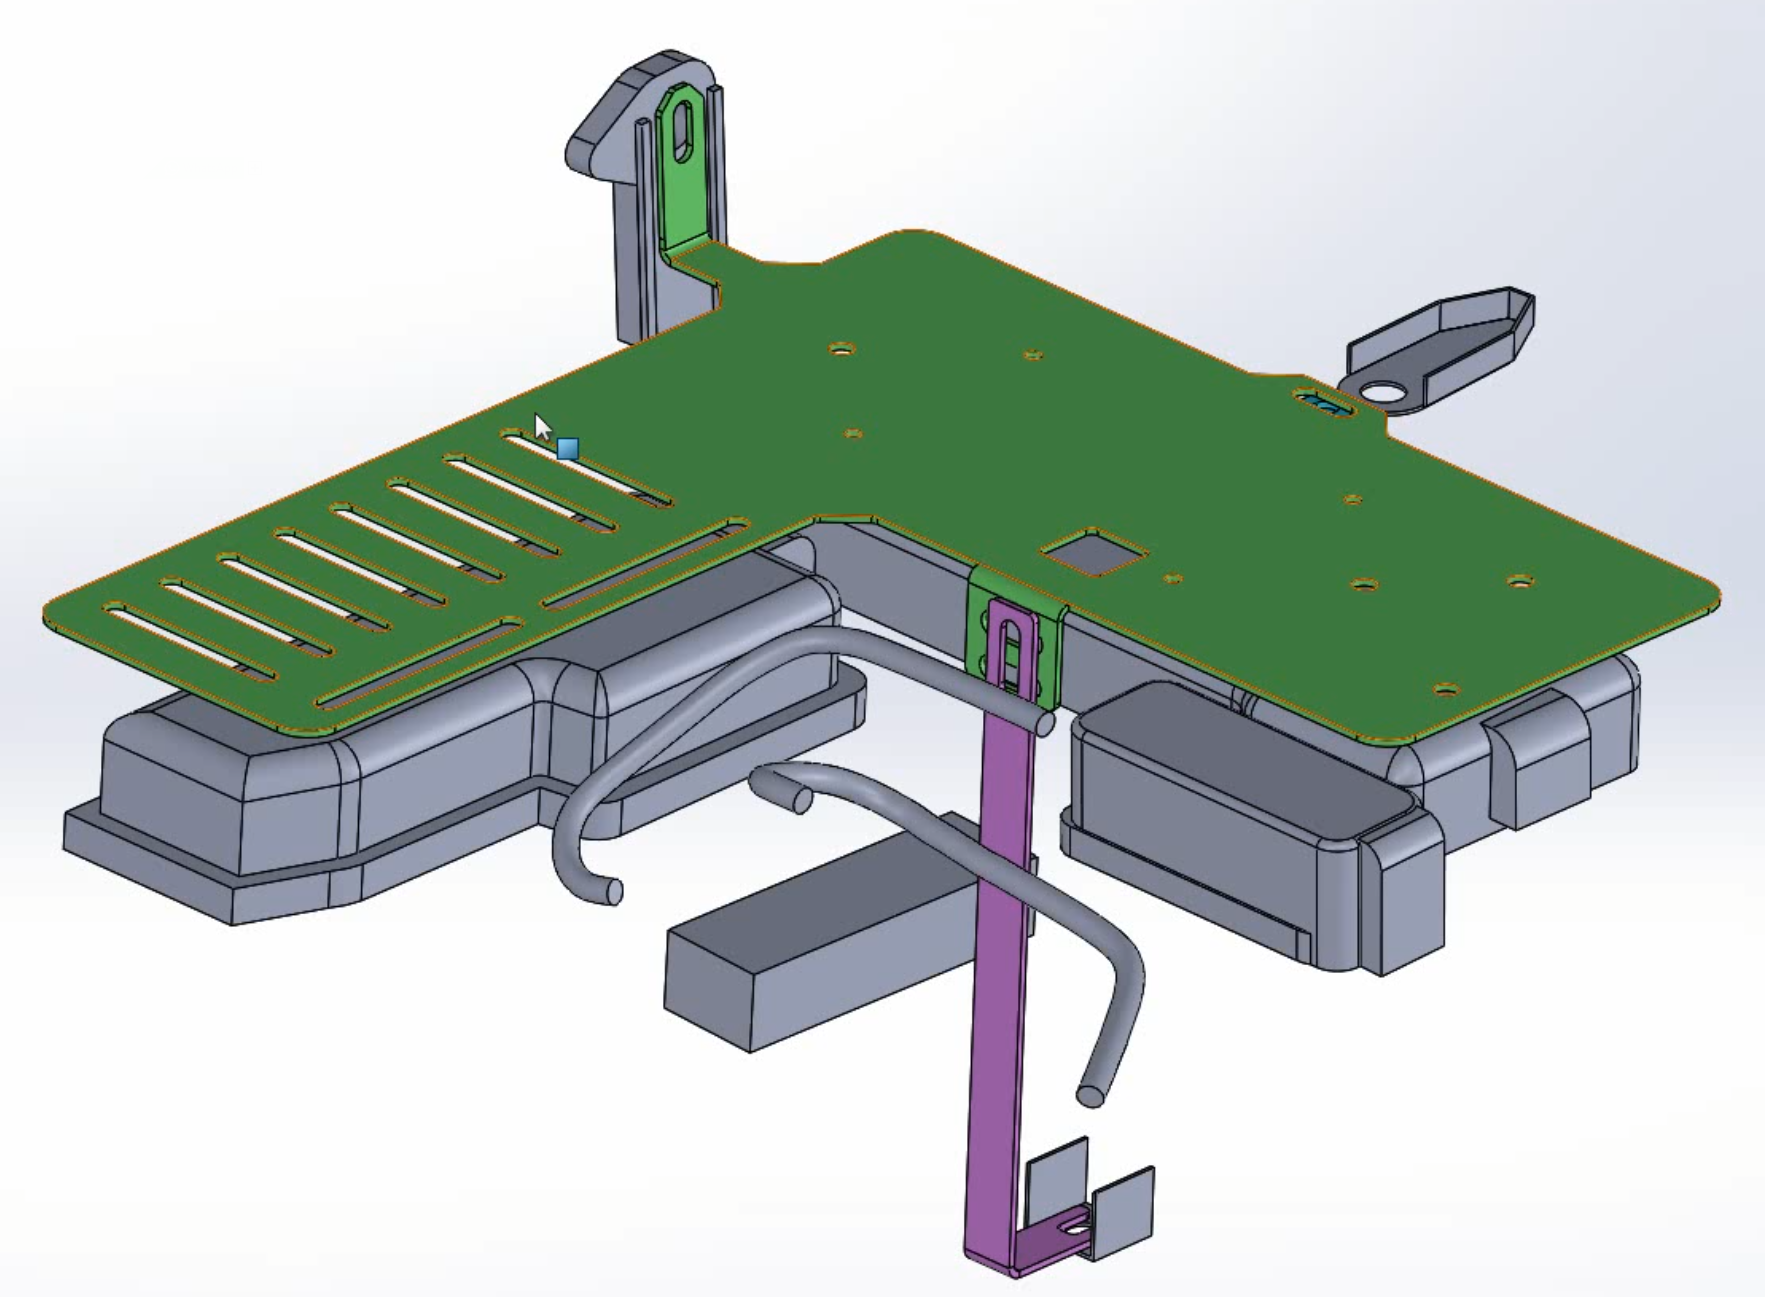
. I don't think I would have been able to use his tray in any case because I have this additional module next to the PS res that the 1st gen tundra doesn't have (AFAIK). I realized this when I saw Geoffrey install it on his video (
link to video, Blue Square in photo below indicates where the additional module is).
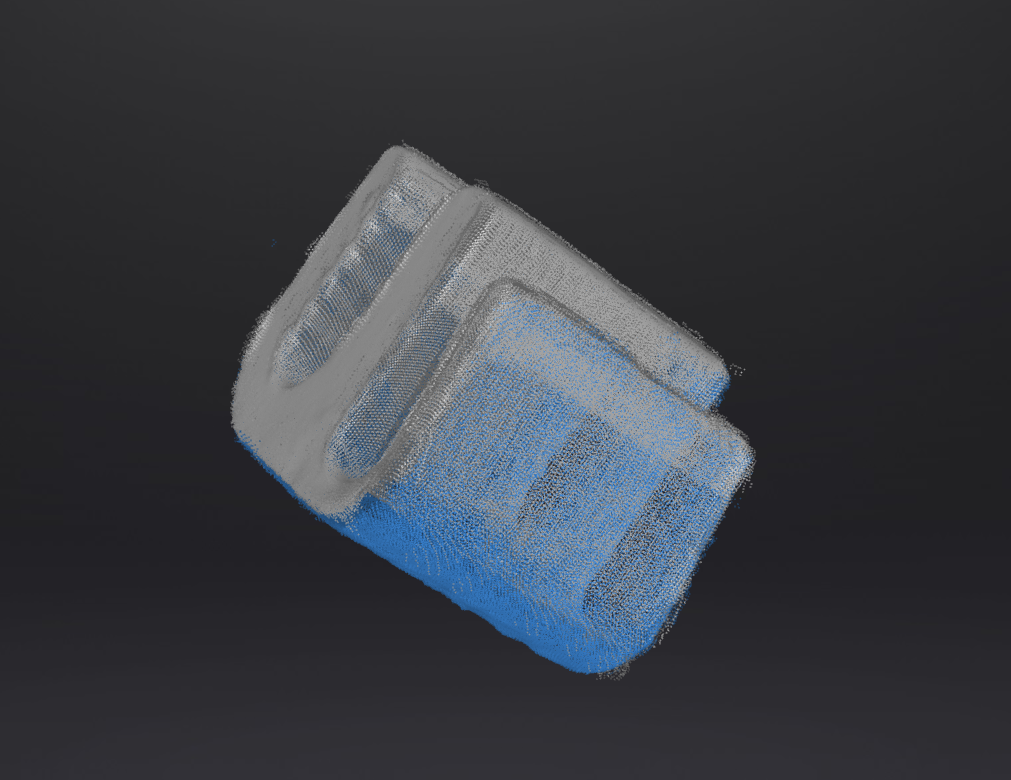
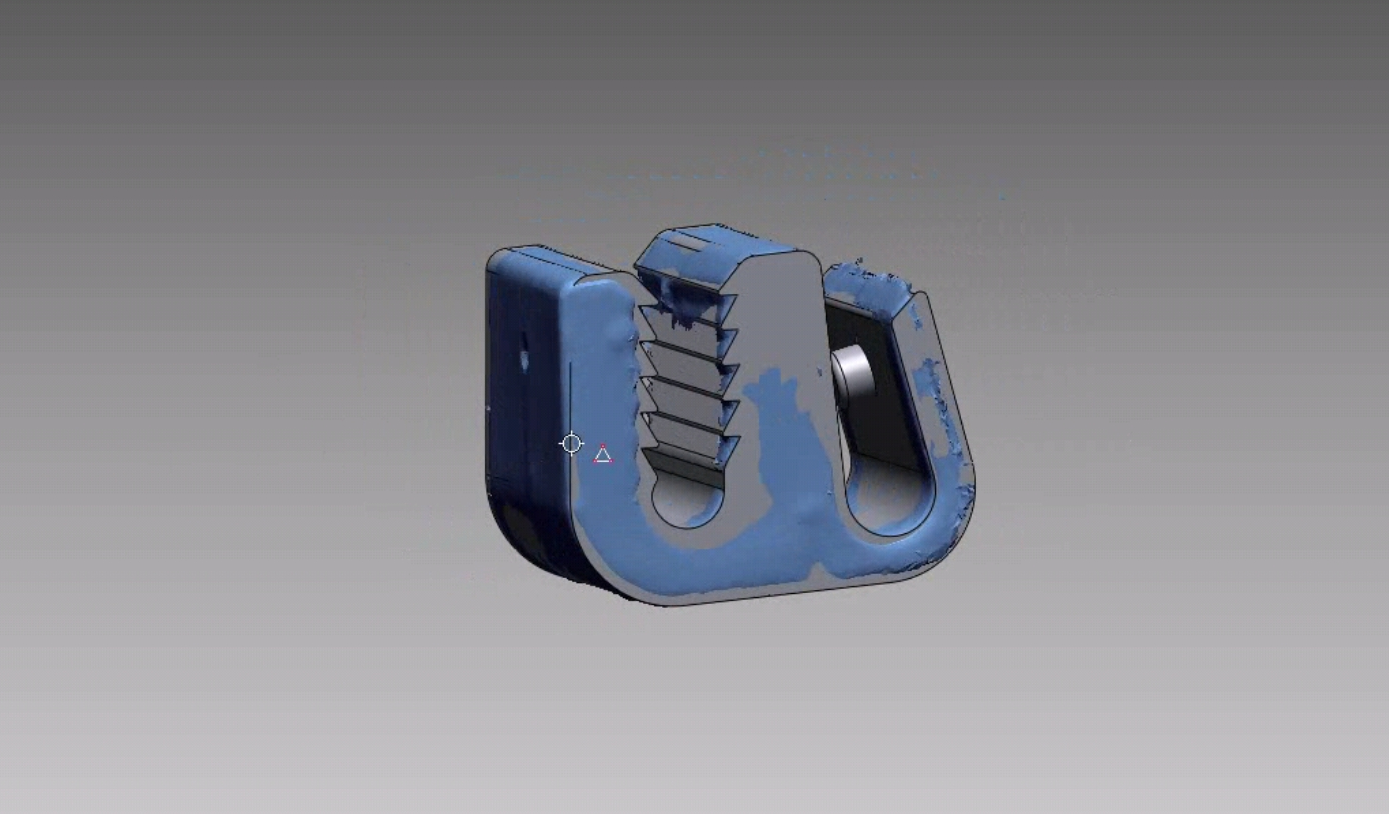
For the time being, I'll be making a mock up that works, and then scanning that in to finalize the design and layout. I think this will be an easier path rather than scanning in, then reverse engineering the bay, then making a mount. If I have a mount that works, then I can have it placed inside the bay, and then make final adjustments with only having to reverse engineer some of the engine bay.
Battery Update #2-
Link to Post
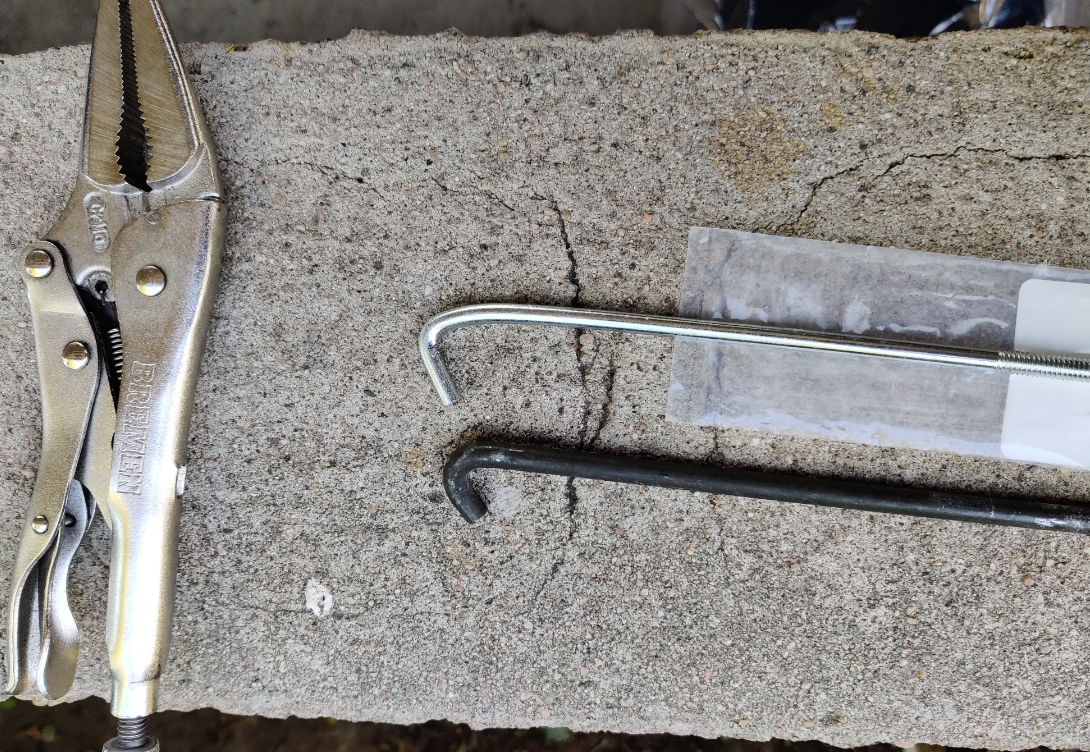
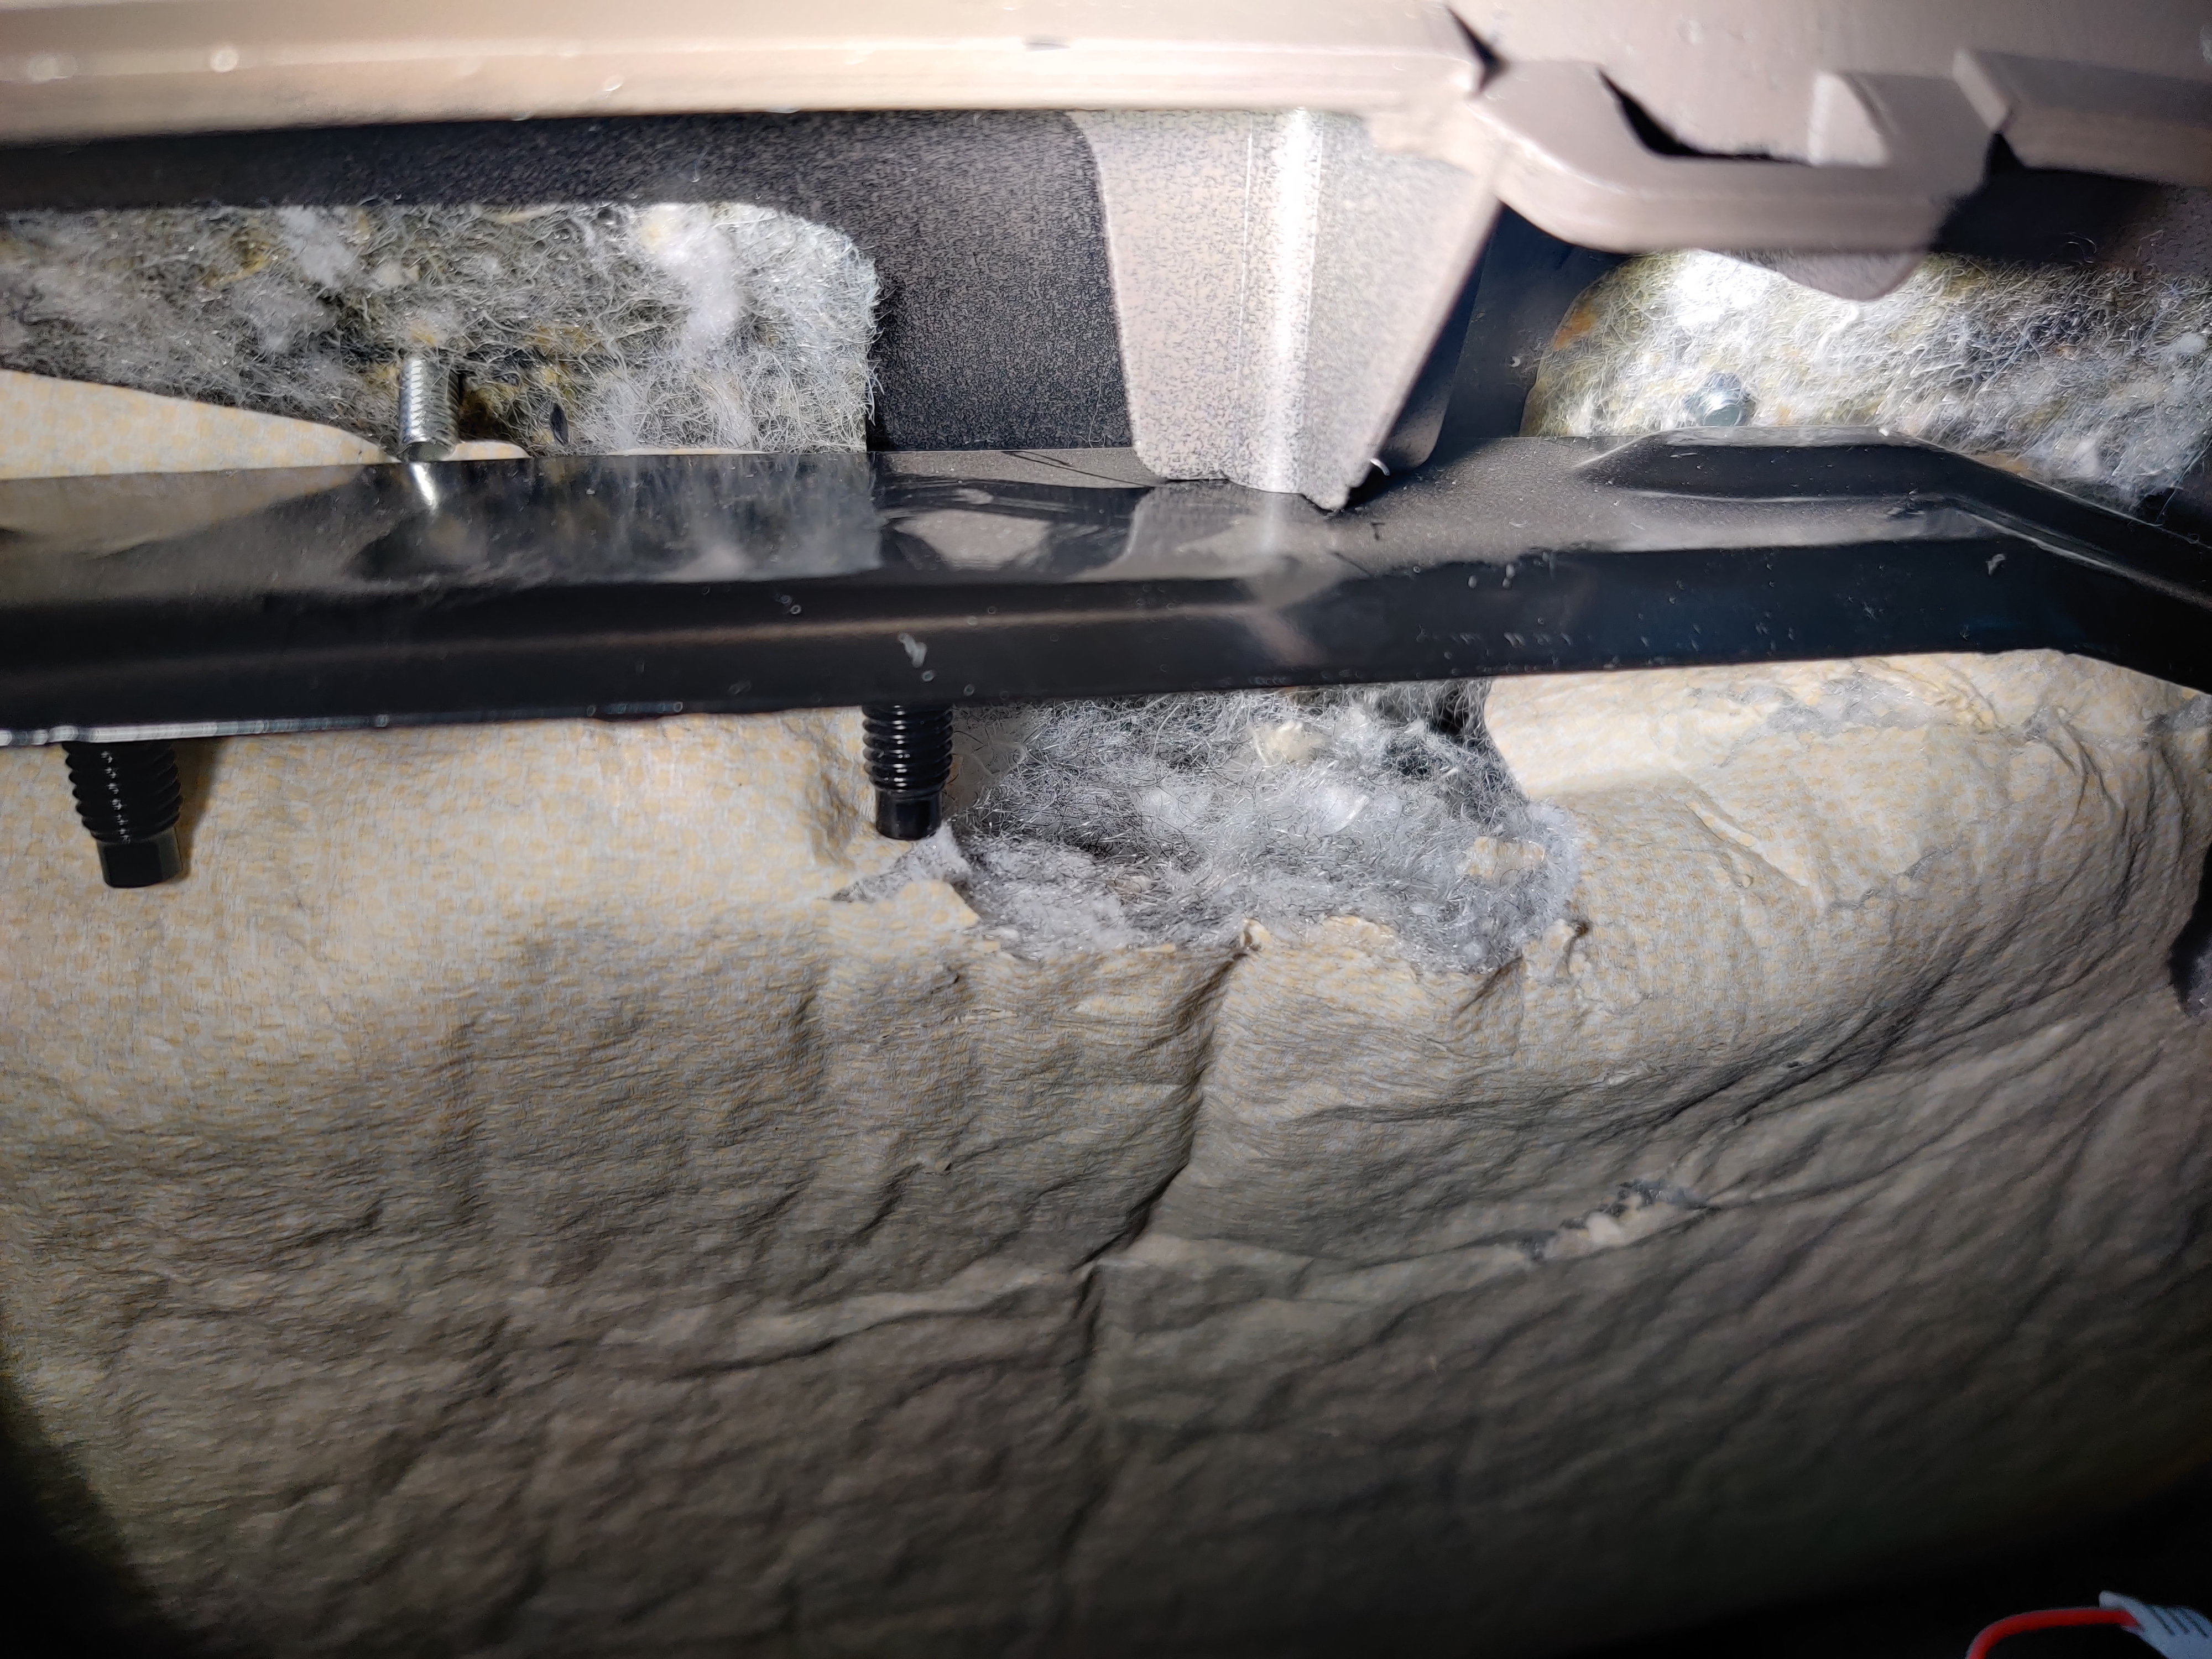
The factory L bolt is too short. It's about 8 inches long and it's barely fitting the group 31 with factory battery retention bracket. I decided to get a 10 inch one from McMaster-Carr.
Link to part. I should have gotten a "J" hook that's 9" such
as this part.
This is after the bending of the L bolt.
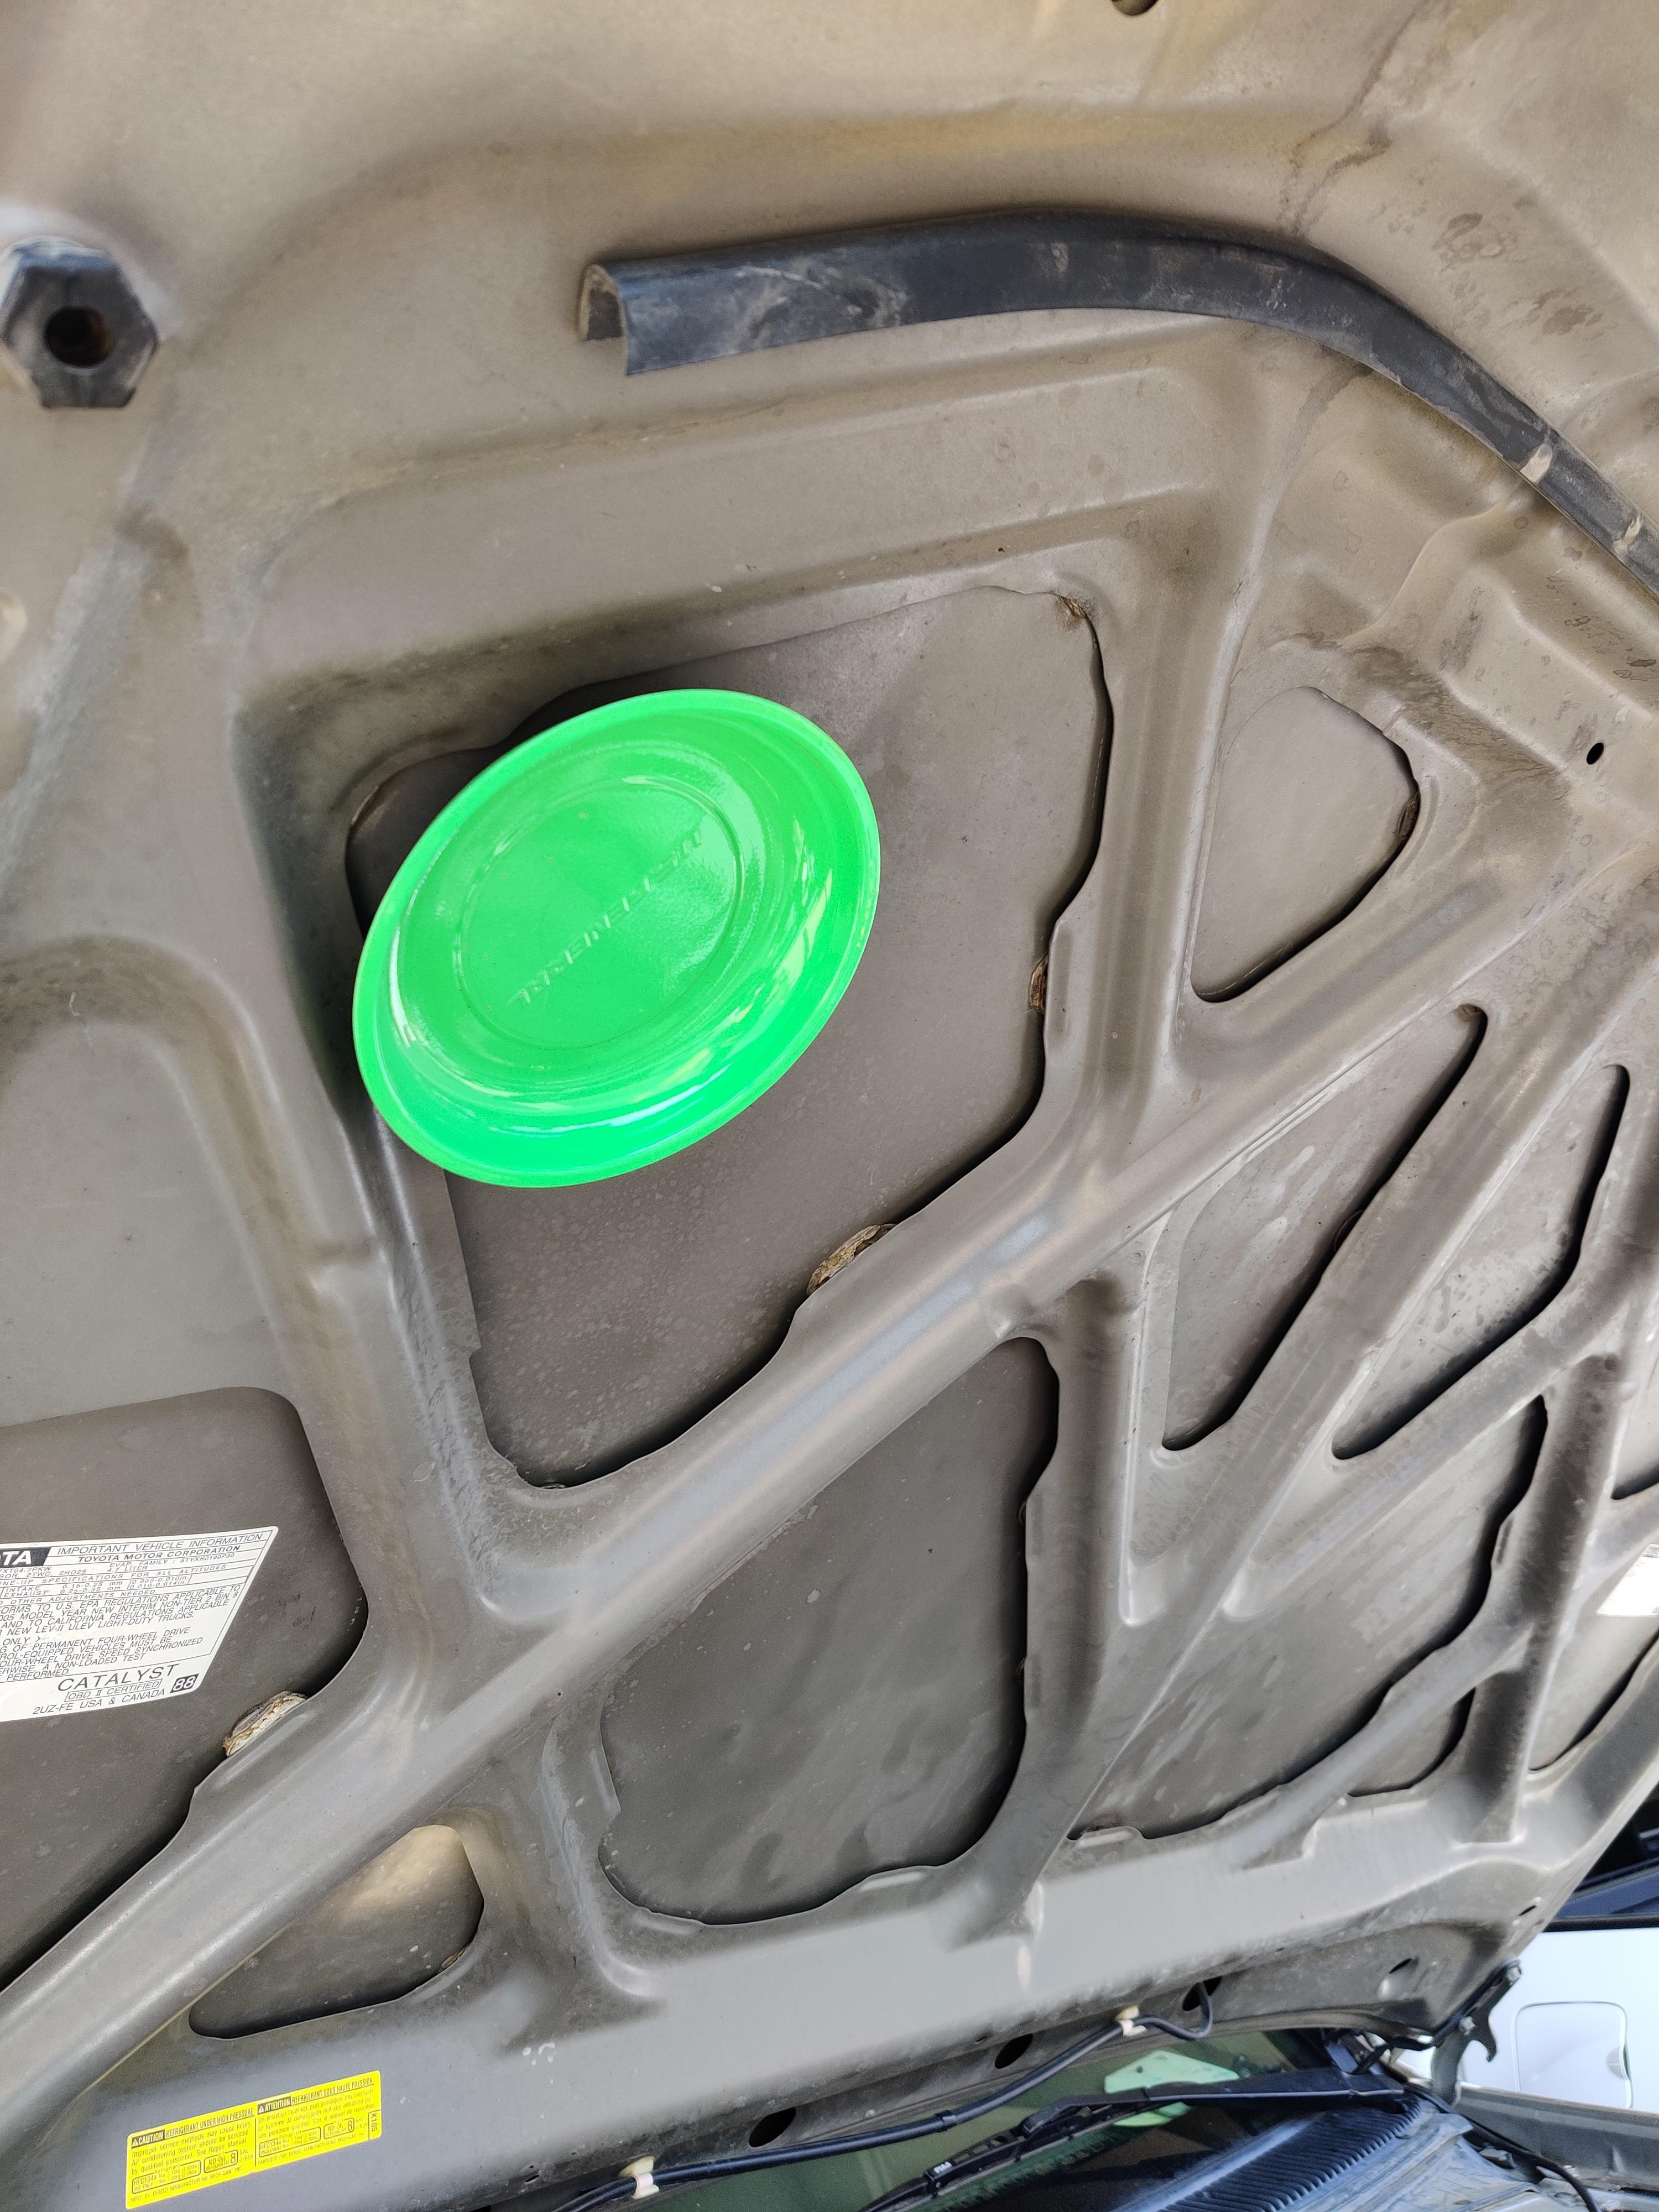
I had to cut the factory tray in order to fit the group 31 Duracell battery on one edge. I found a tray from McMaster-Carr that fits in the engine bay, but it doesn't have the inserts that the original tray has in order to stay put. Even though the battery hold down is tight, the tray helps keep it in place with those stubs.
Link to part. I ended up not using the metal tray I purchased. The new bolt also clears the hood just fine as well.
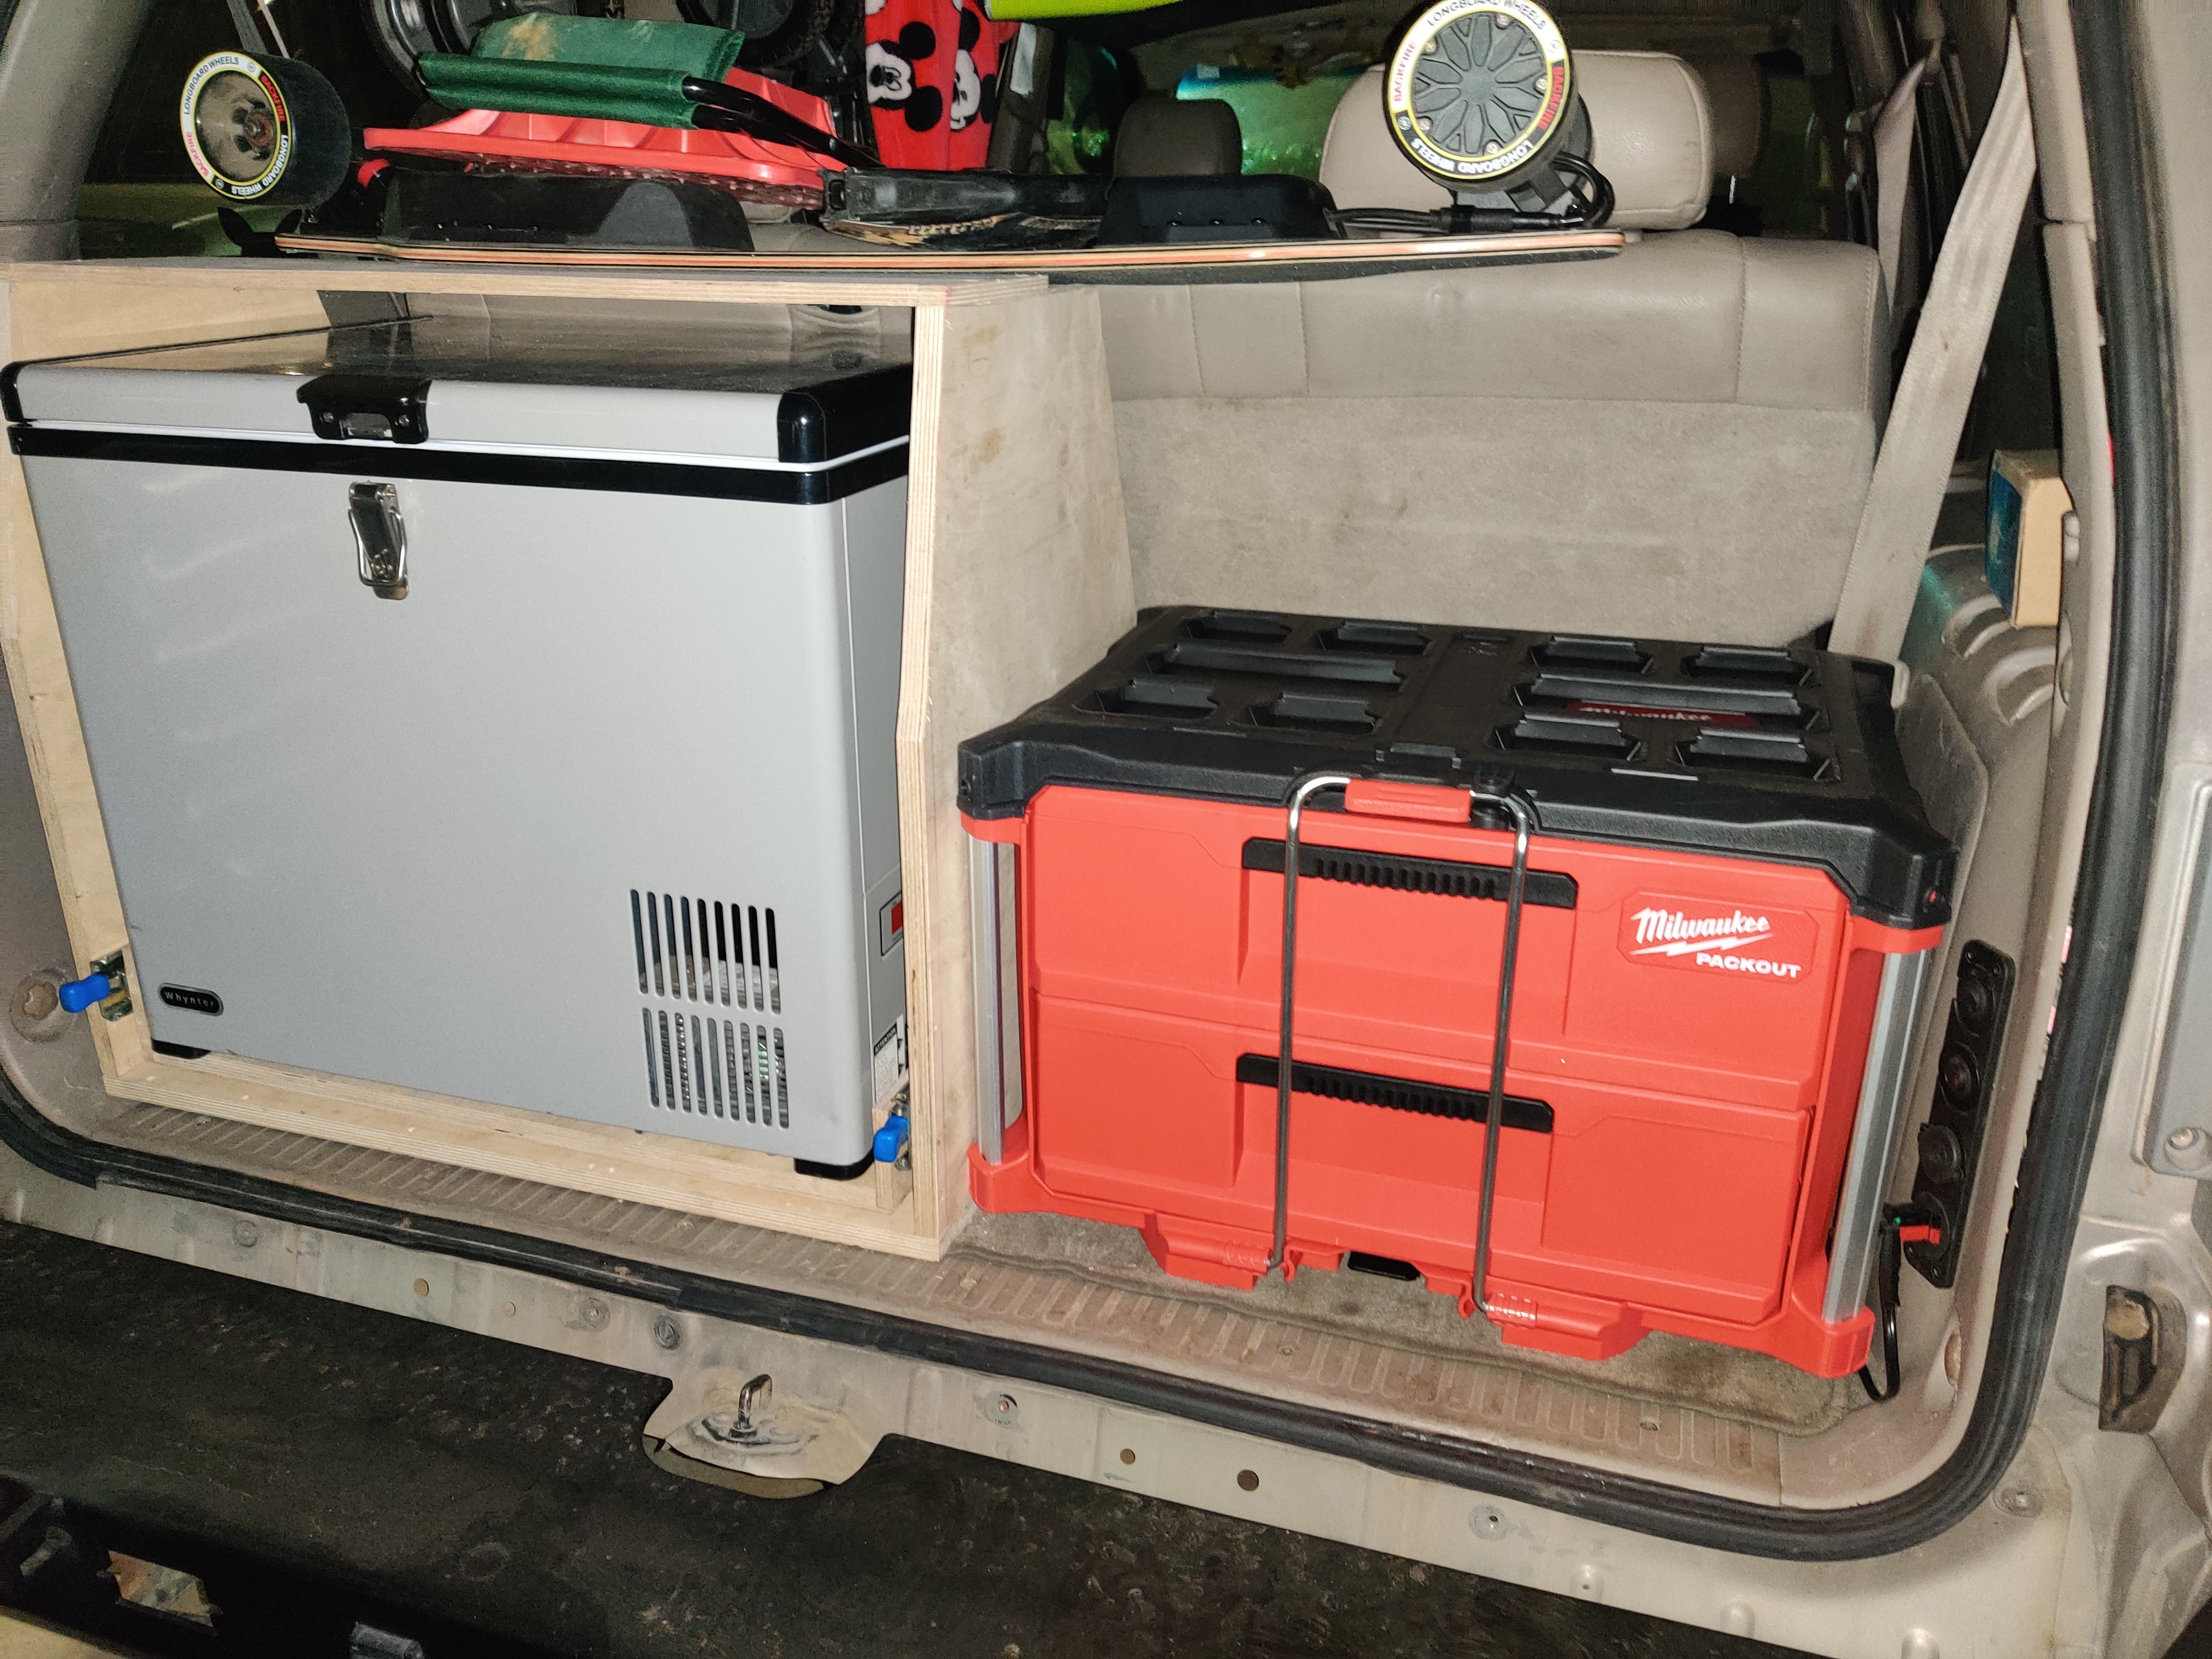
There's potential to chop this into a battery tray for the abs module area as it's roughly the size of a group 31 and thick / sturdy enough despite being stamped metal. Unfortunately, I can't do that as I have an extra module. I may be inclined to go with a group 24 for a 2nd battery, or exploring lithium batteries stored in the 3rd row plastic molding on the passenger side. But these are just thoughts that I'll have to consider as I build out more electrical. I think all that's left for this portion is to get a new battery terminal so it isn't a jumbled mess, but this is something I need to think about later.
Skid Plate Project Update #2 - Link to Post
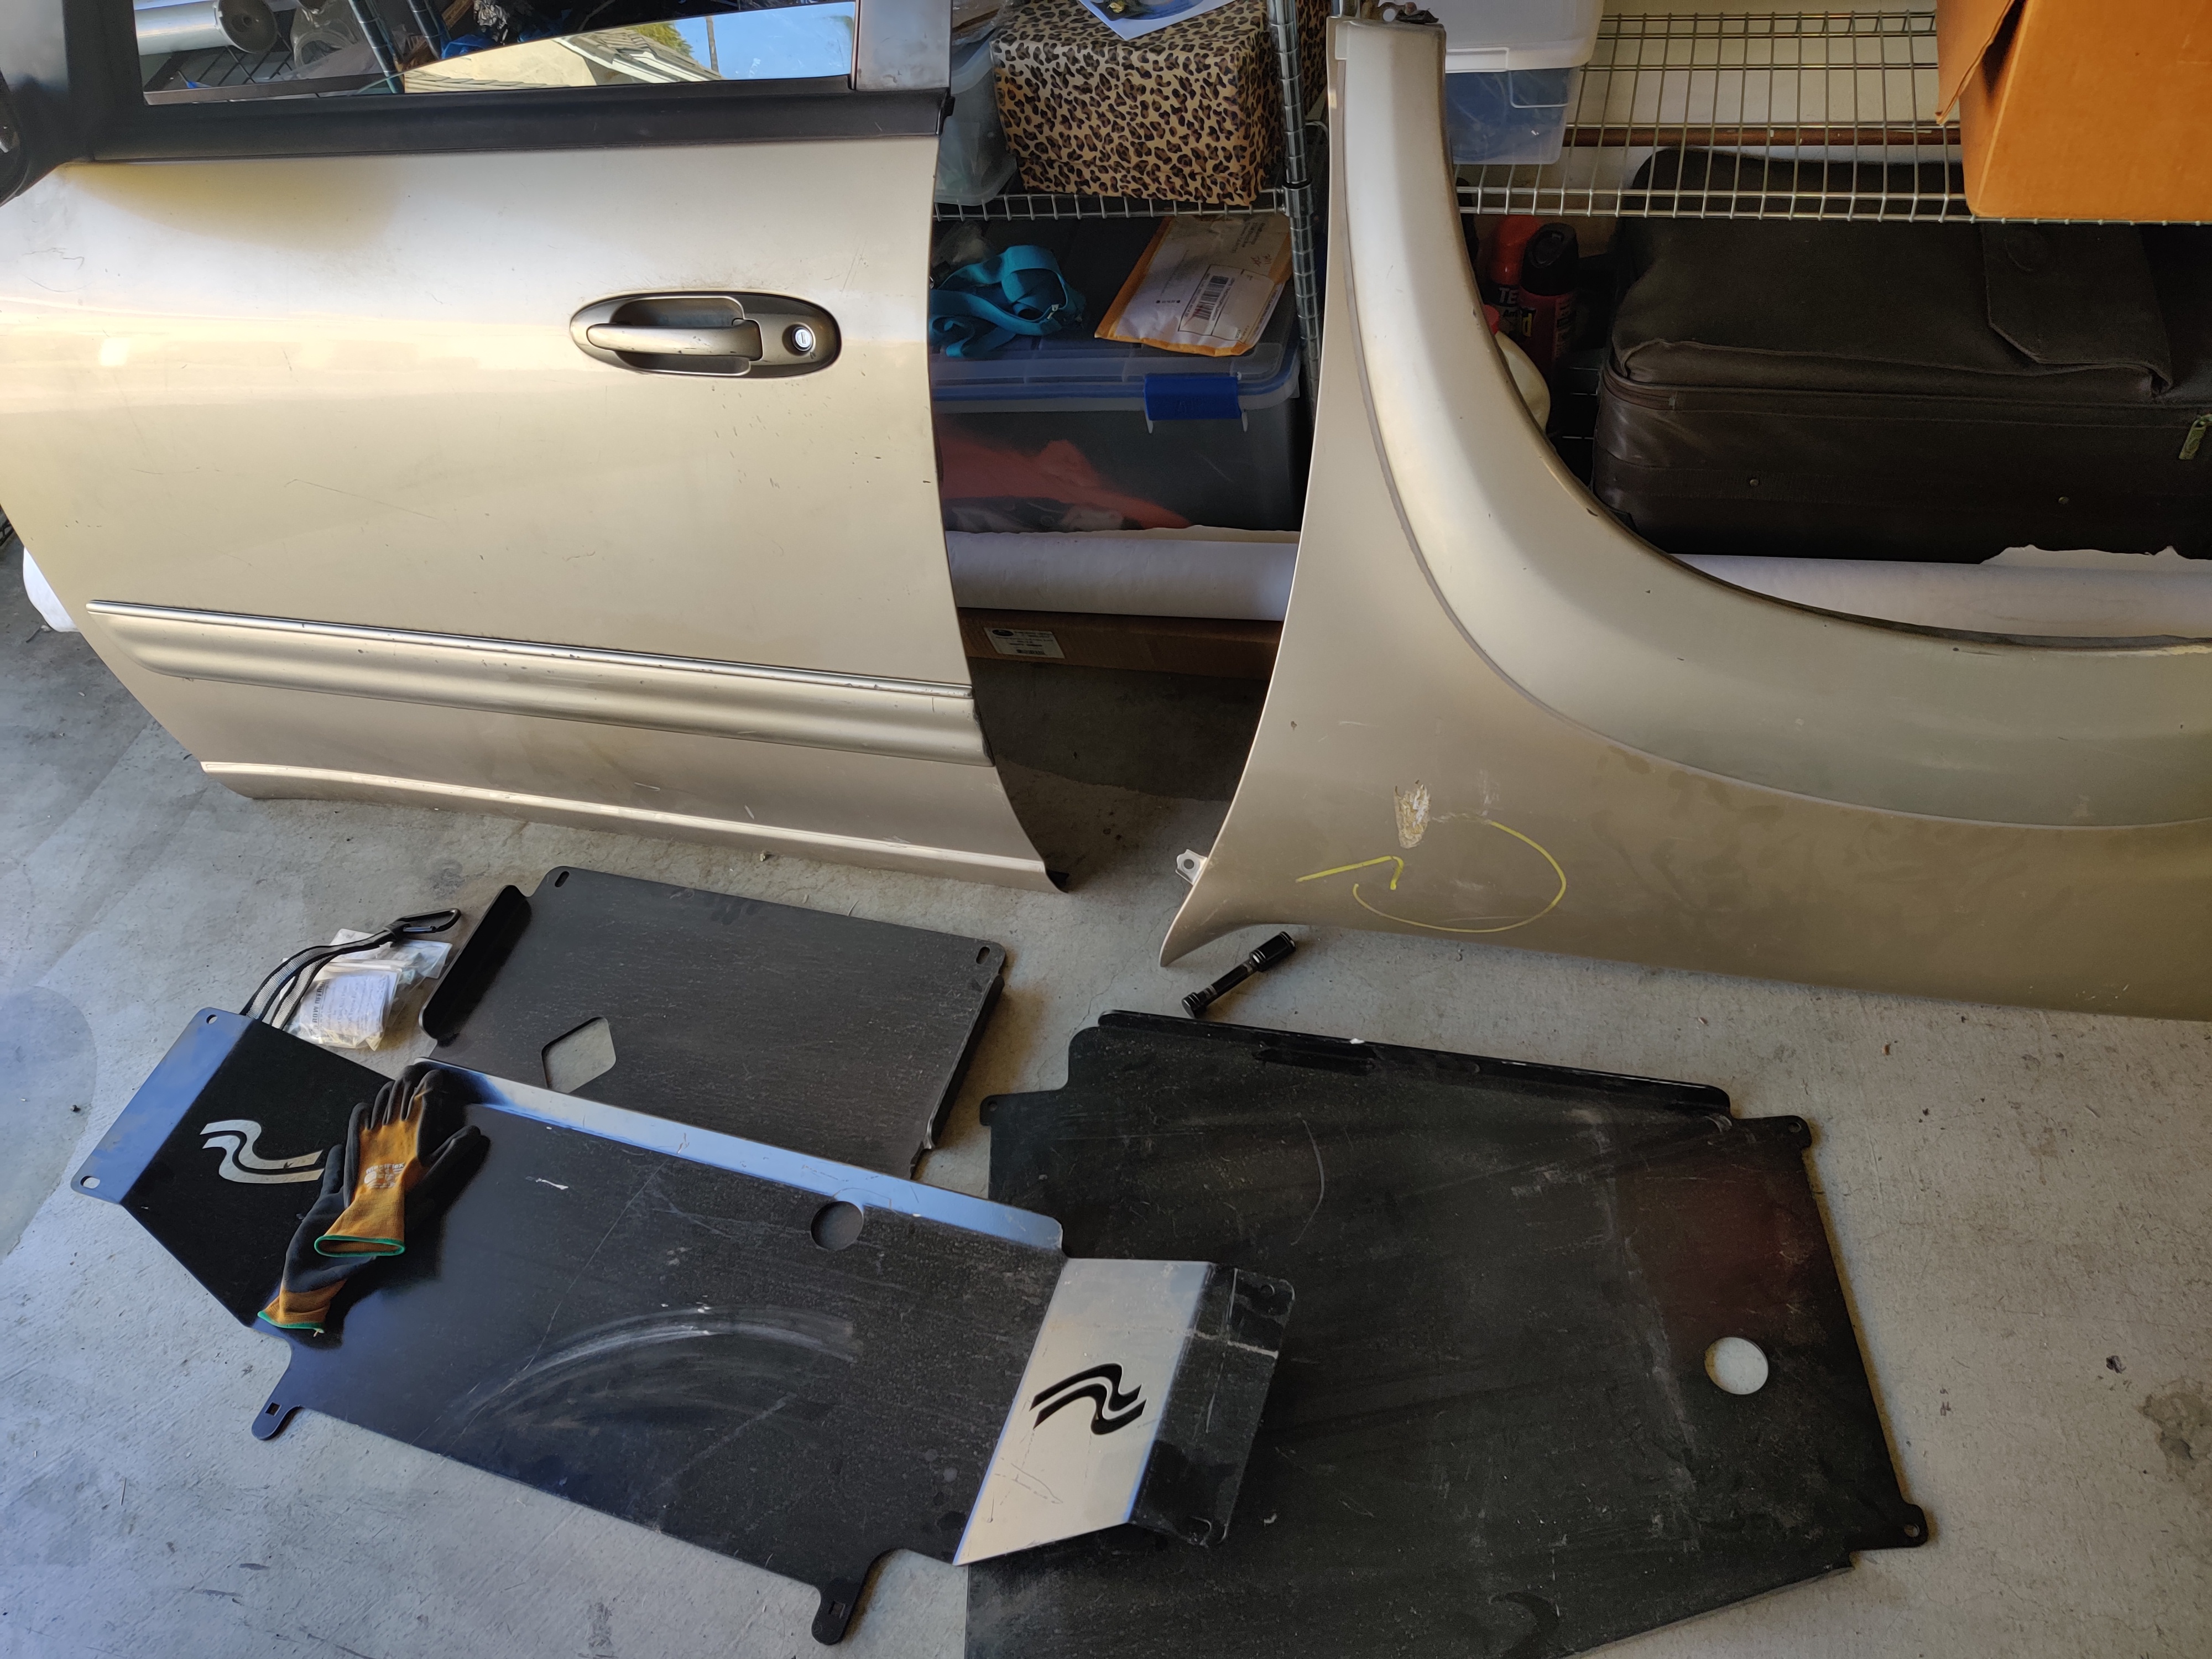
I tried to installed the 3x skid plates - oil, transfer, transmission, but since I bought the skid plates used, I was missing the oil skid hardware. I tried to install the transmission skid, but the plate was not compatible and didn't line up properly on the transmission support bracket due to the angled support brackets. It has a little extra material, and that's blocking it.
I'll have to grind it off later and then respray this. I also have to drill a hole into the support bracket on the driver side. It's unfortunate is that these parts are said to be compatible with this model year sequoia but aren't plug and play.
I have part of the under body scanned in and I'll be going to a fab to make a cat shield & gas tank shield. Cat theft has been up 400% and it'll take 2 minutes for this to be stolen. Unfortunately, only a few fab shops have the equipment to bend 3/16 steel but I found one that can. More to come!
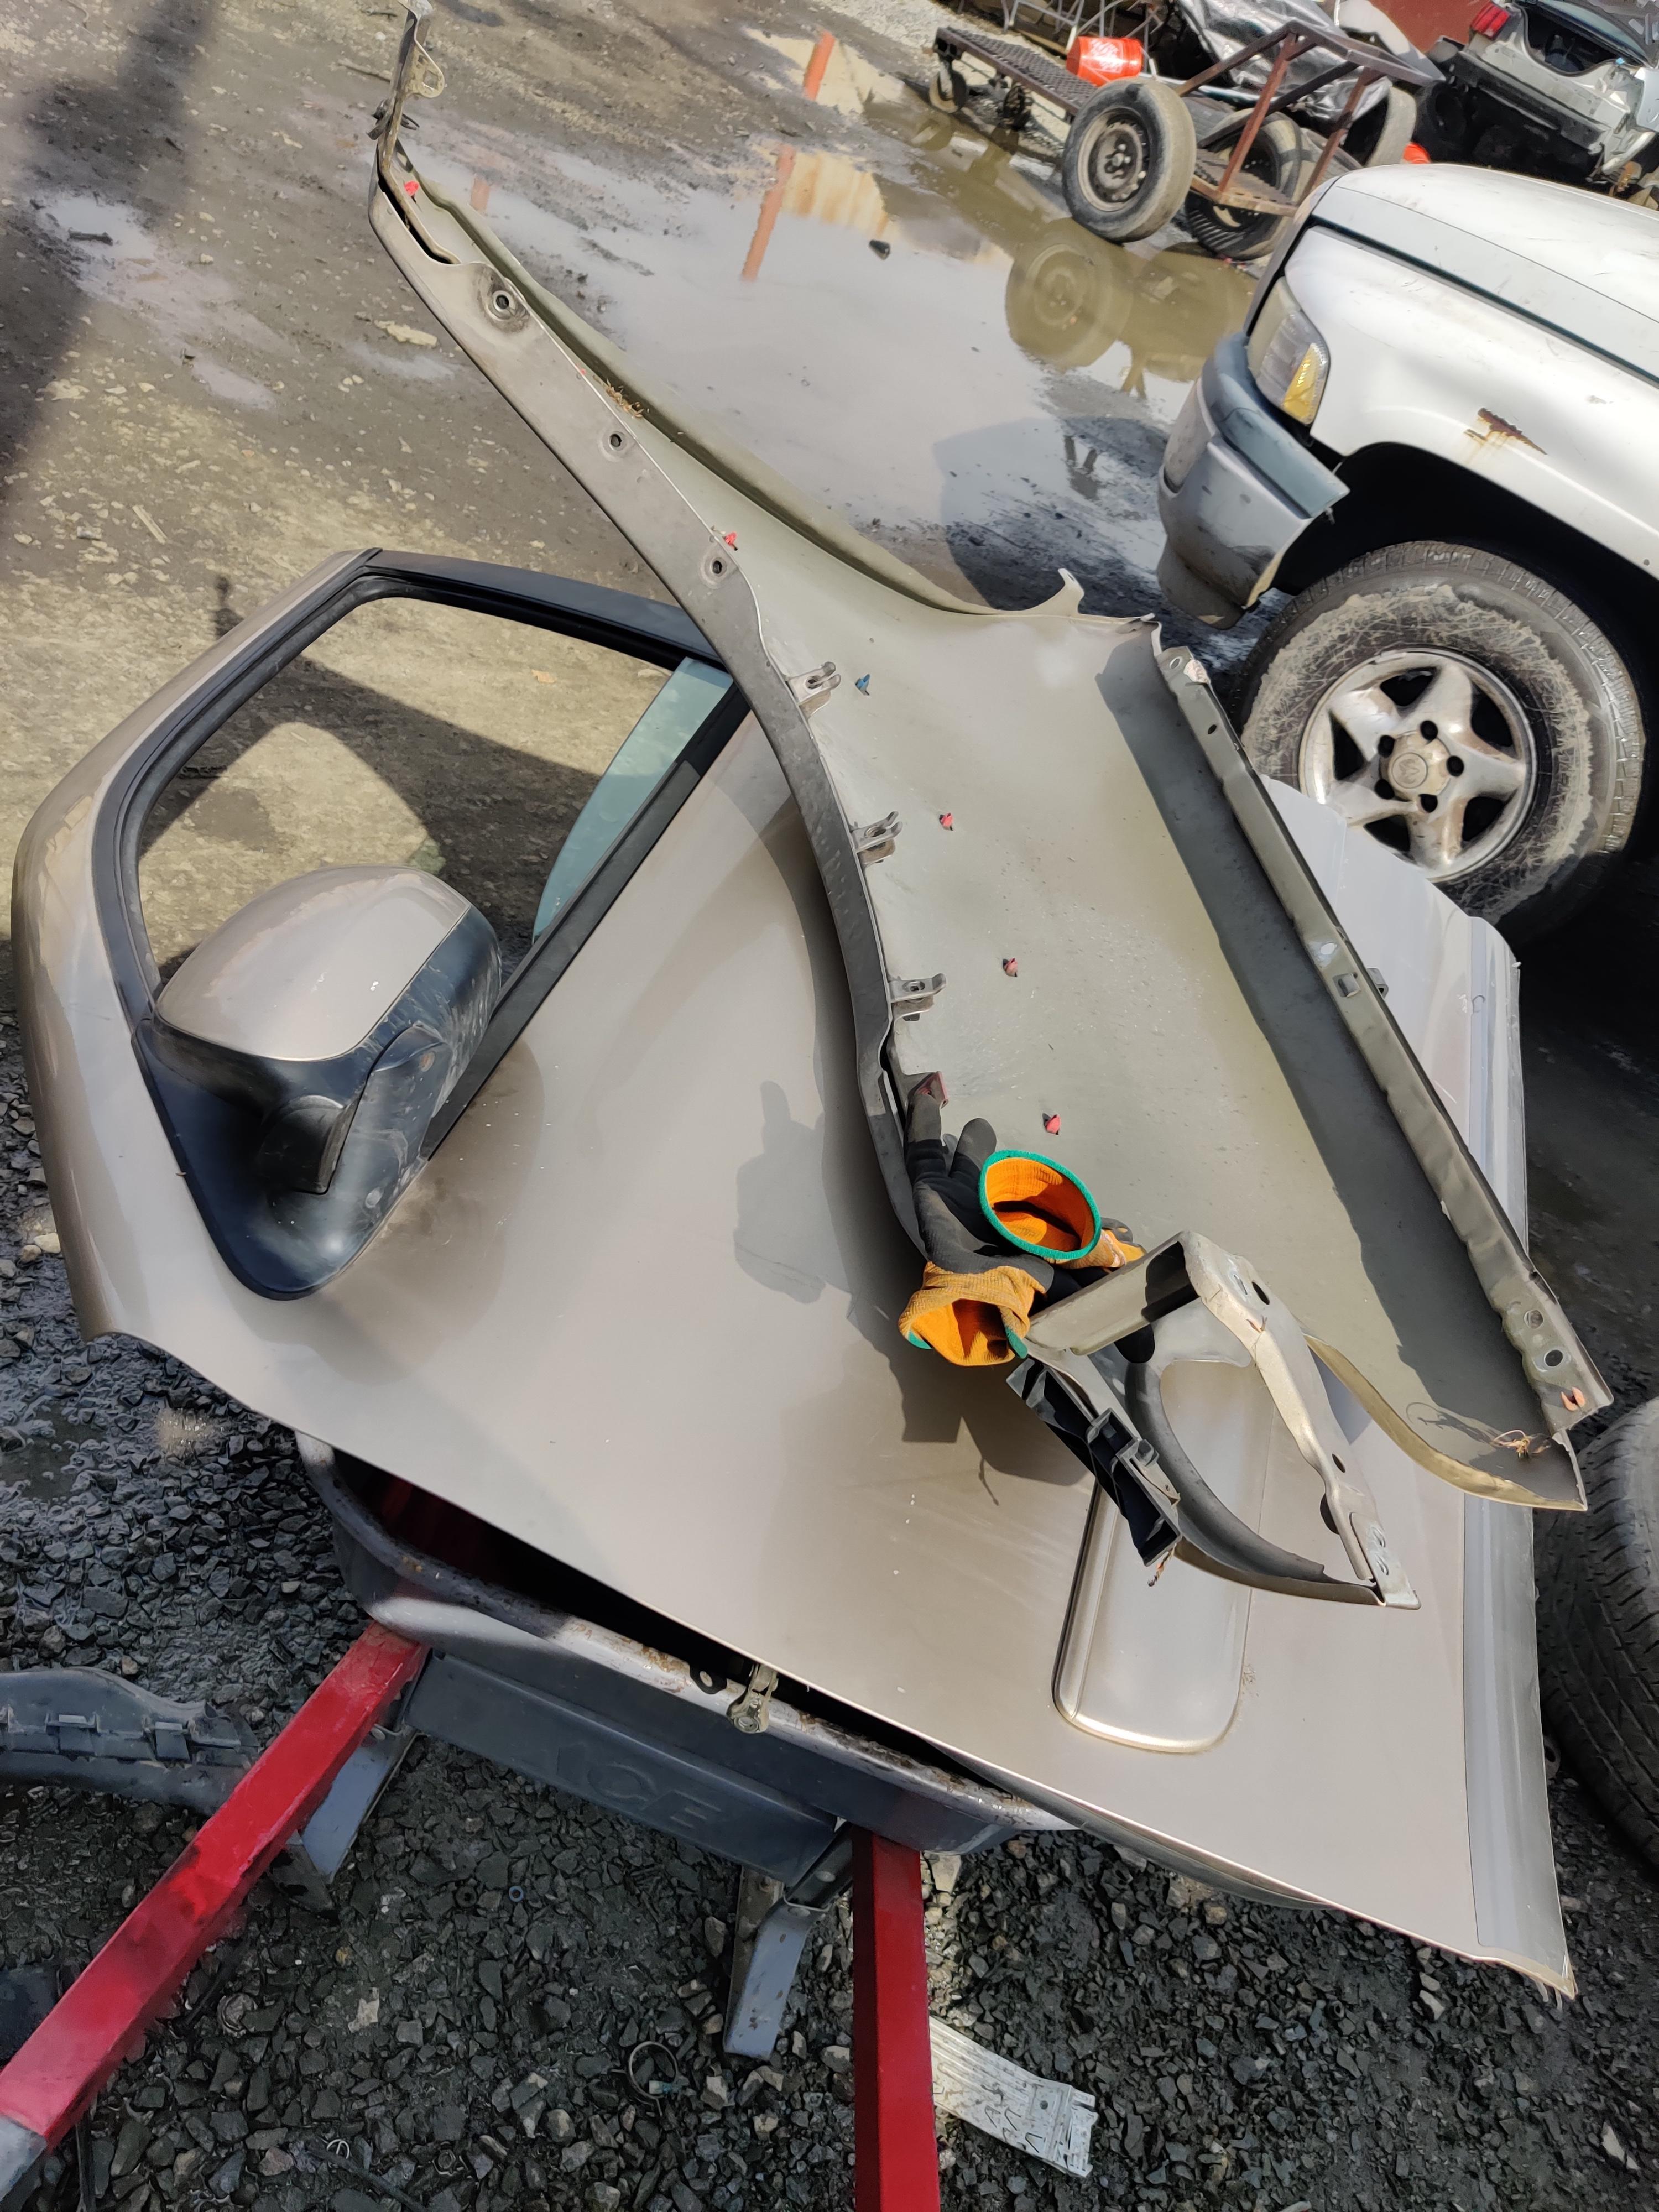
Door / Fender Replacement!
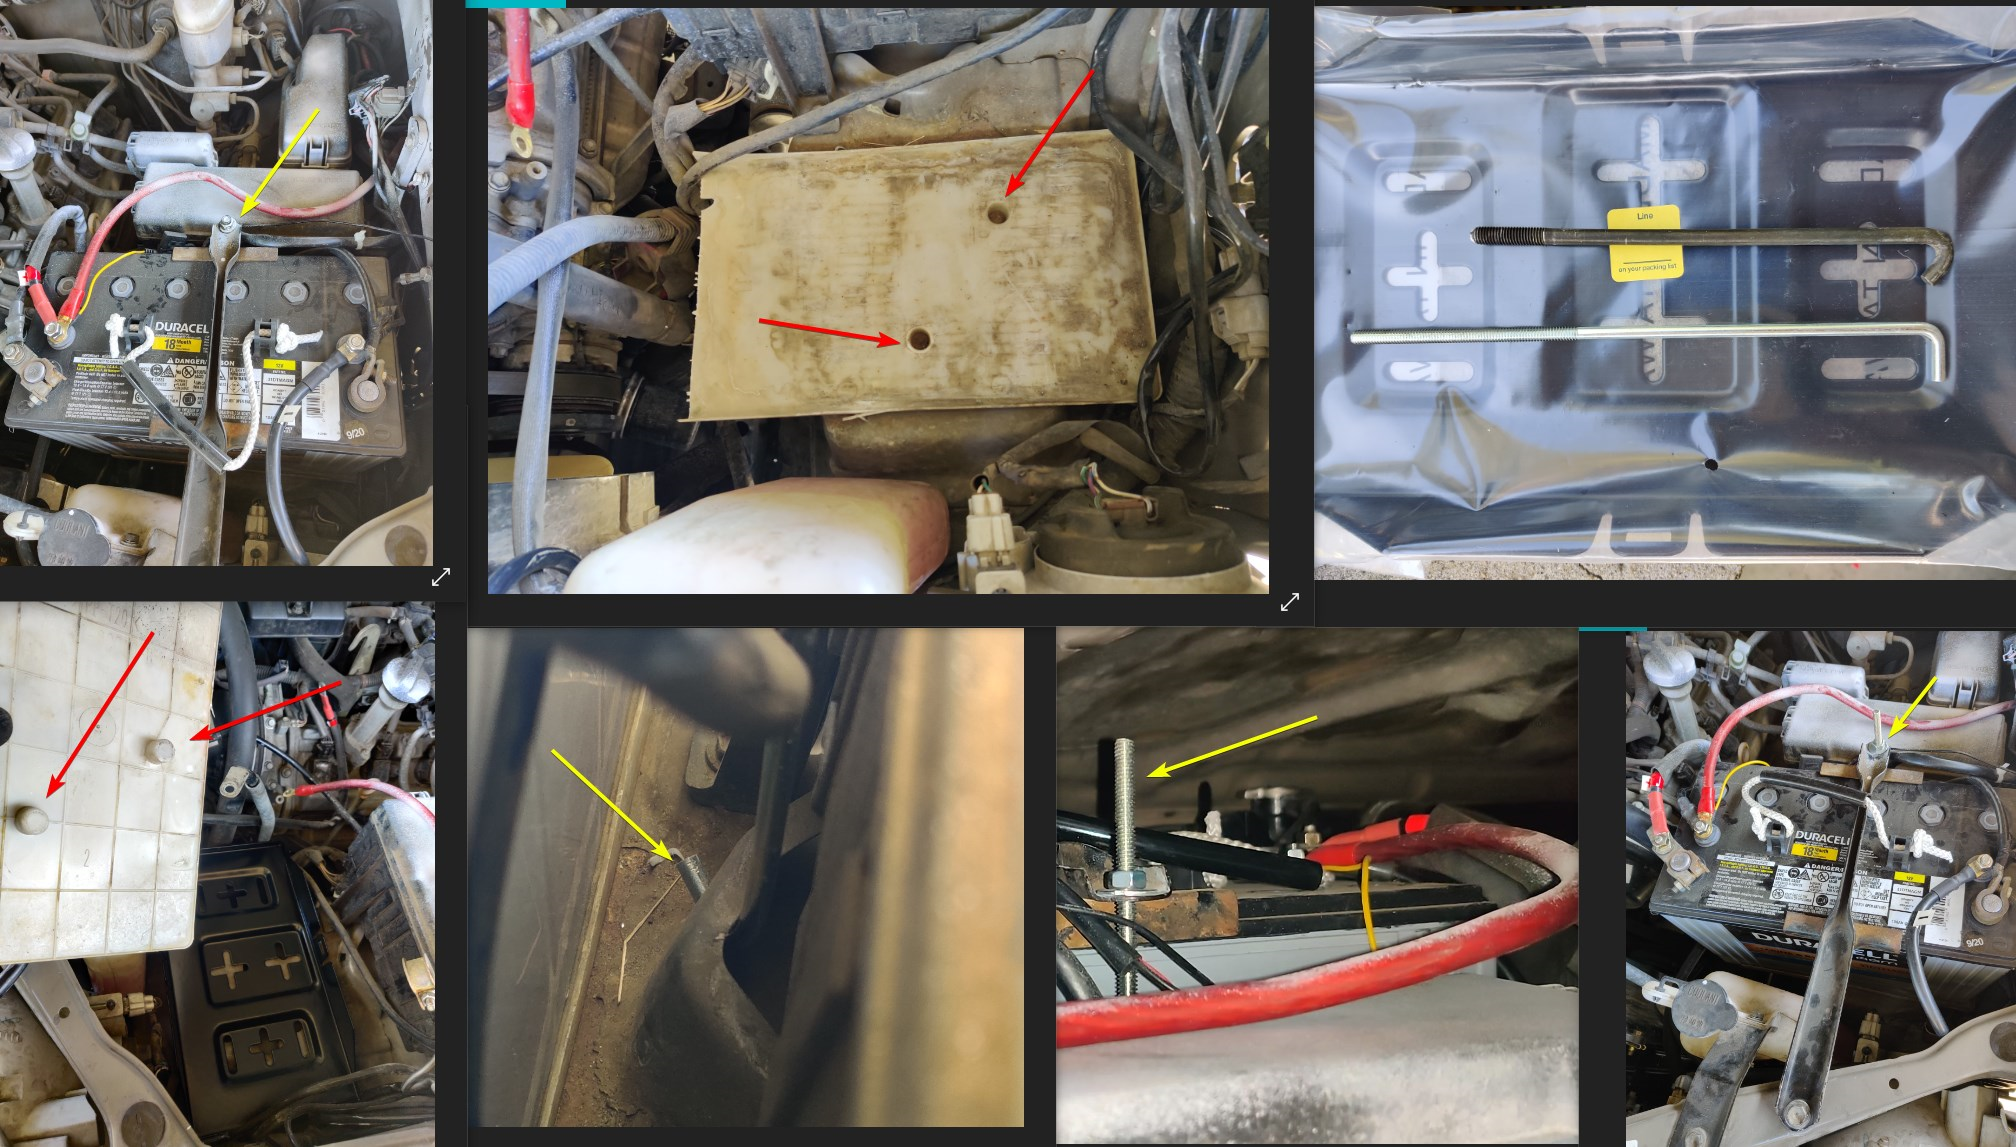
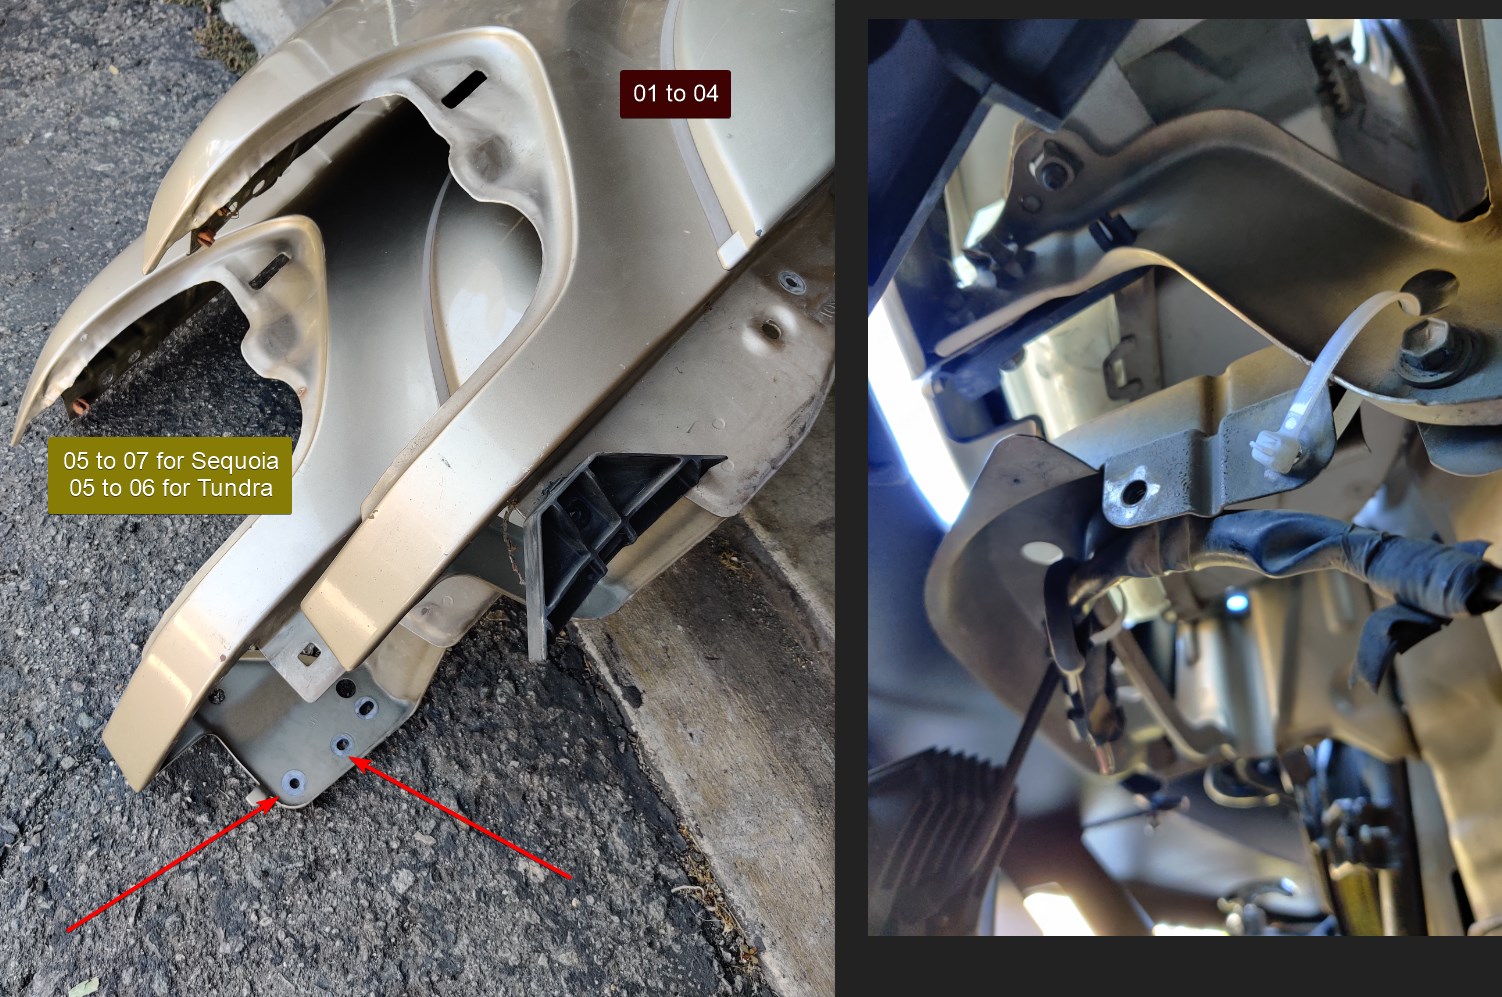
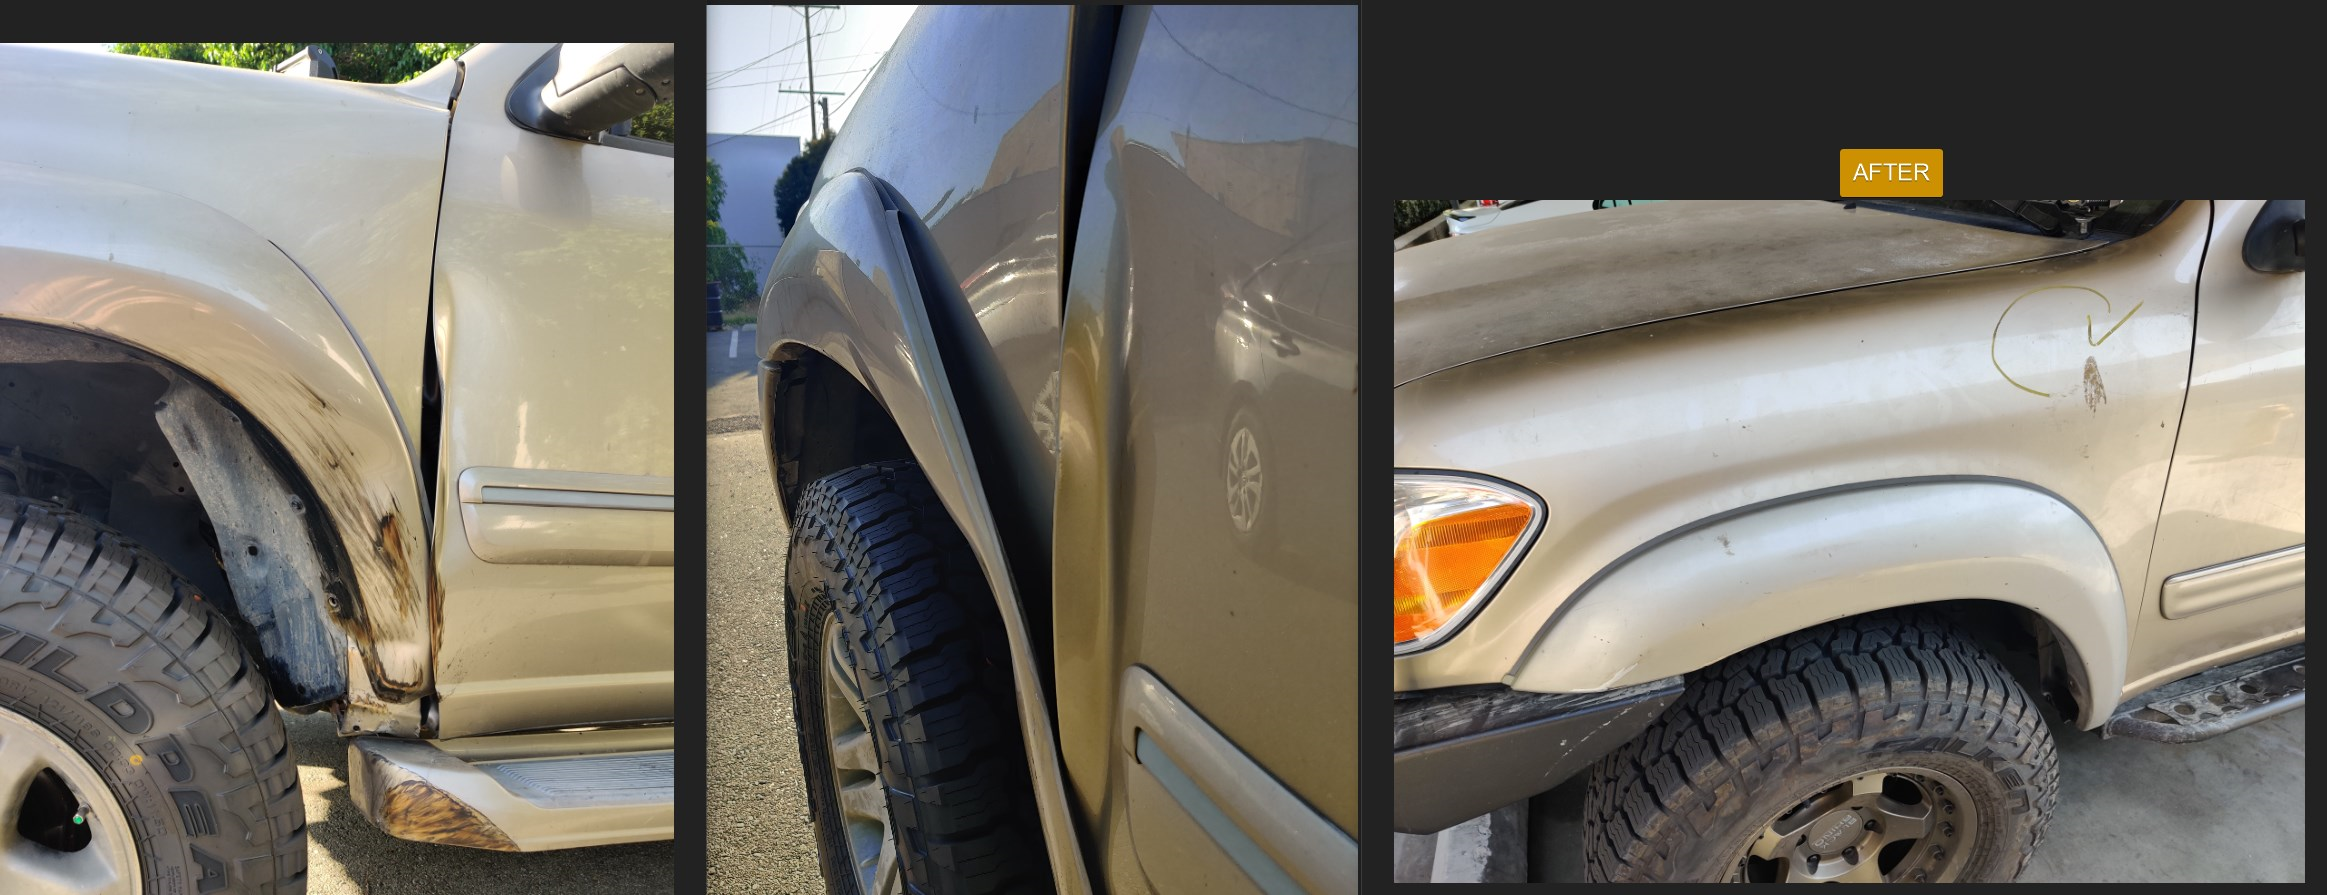
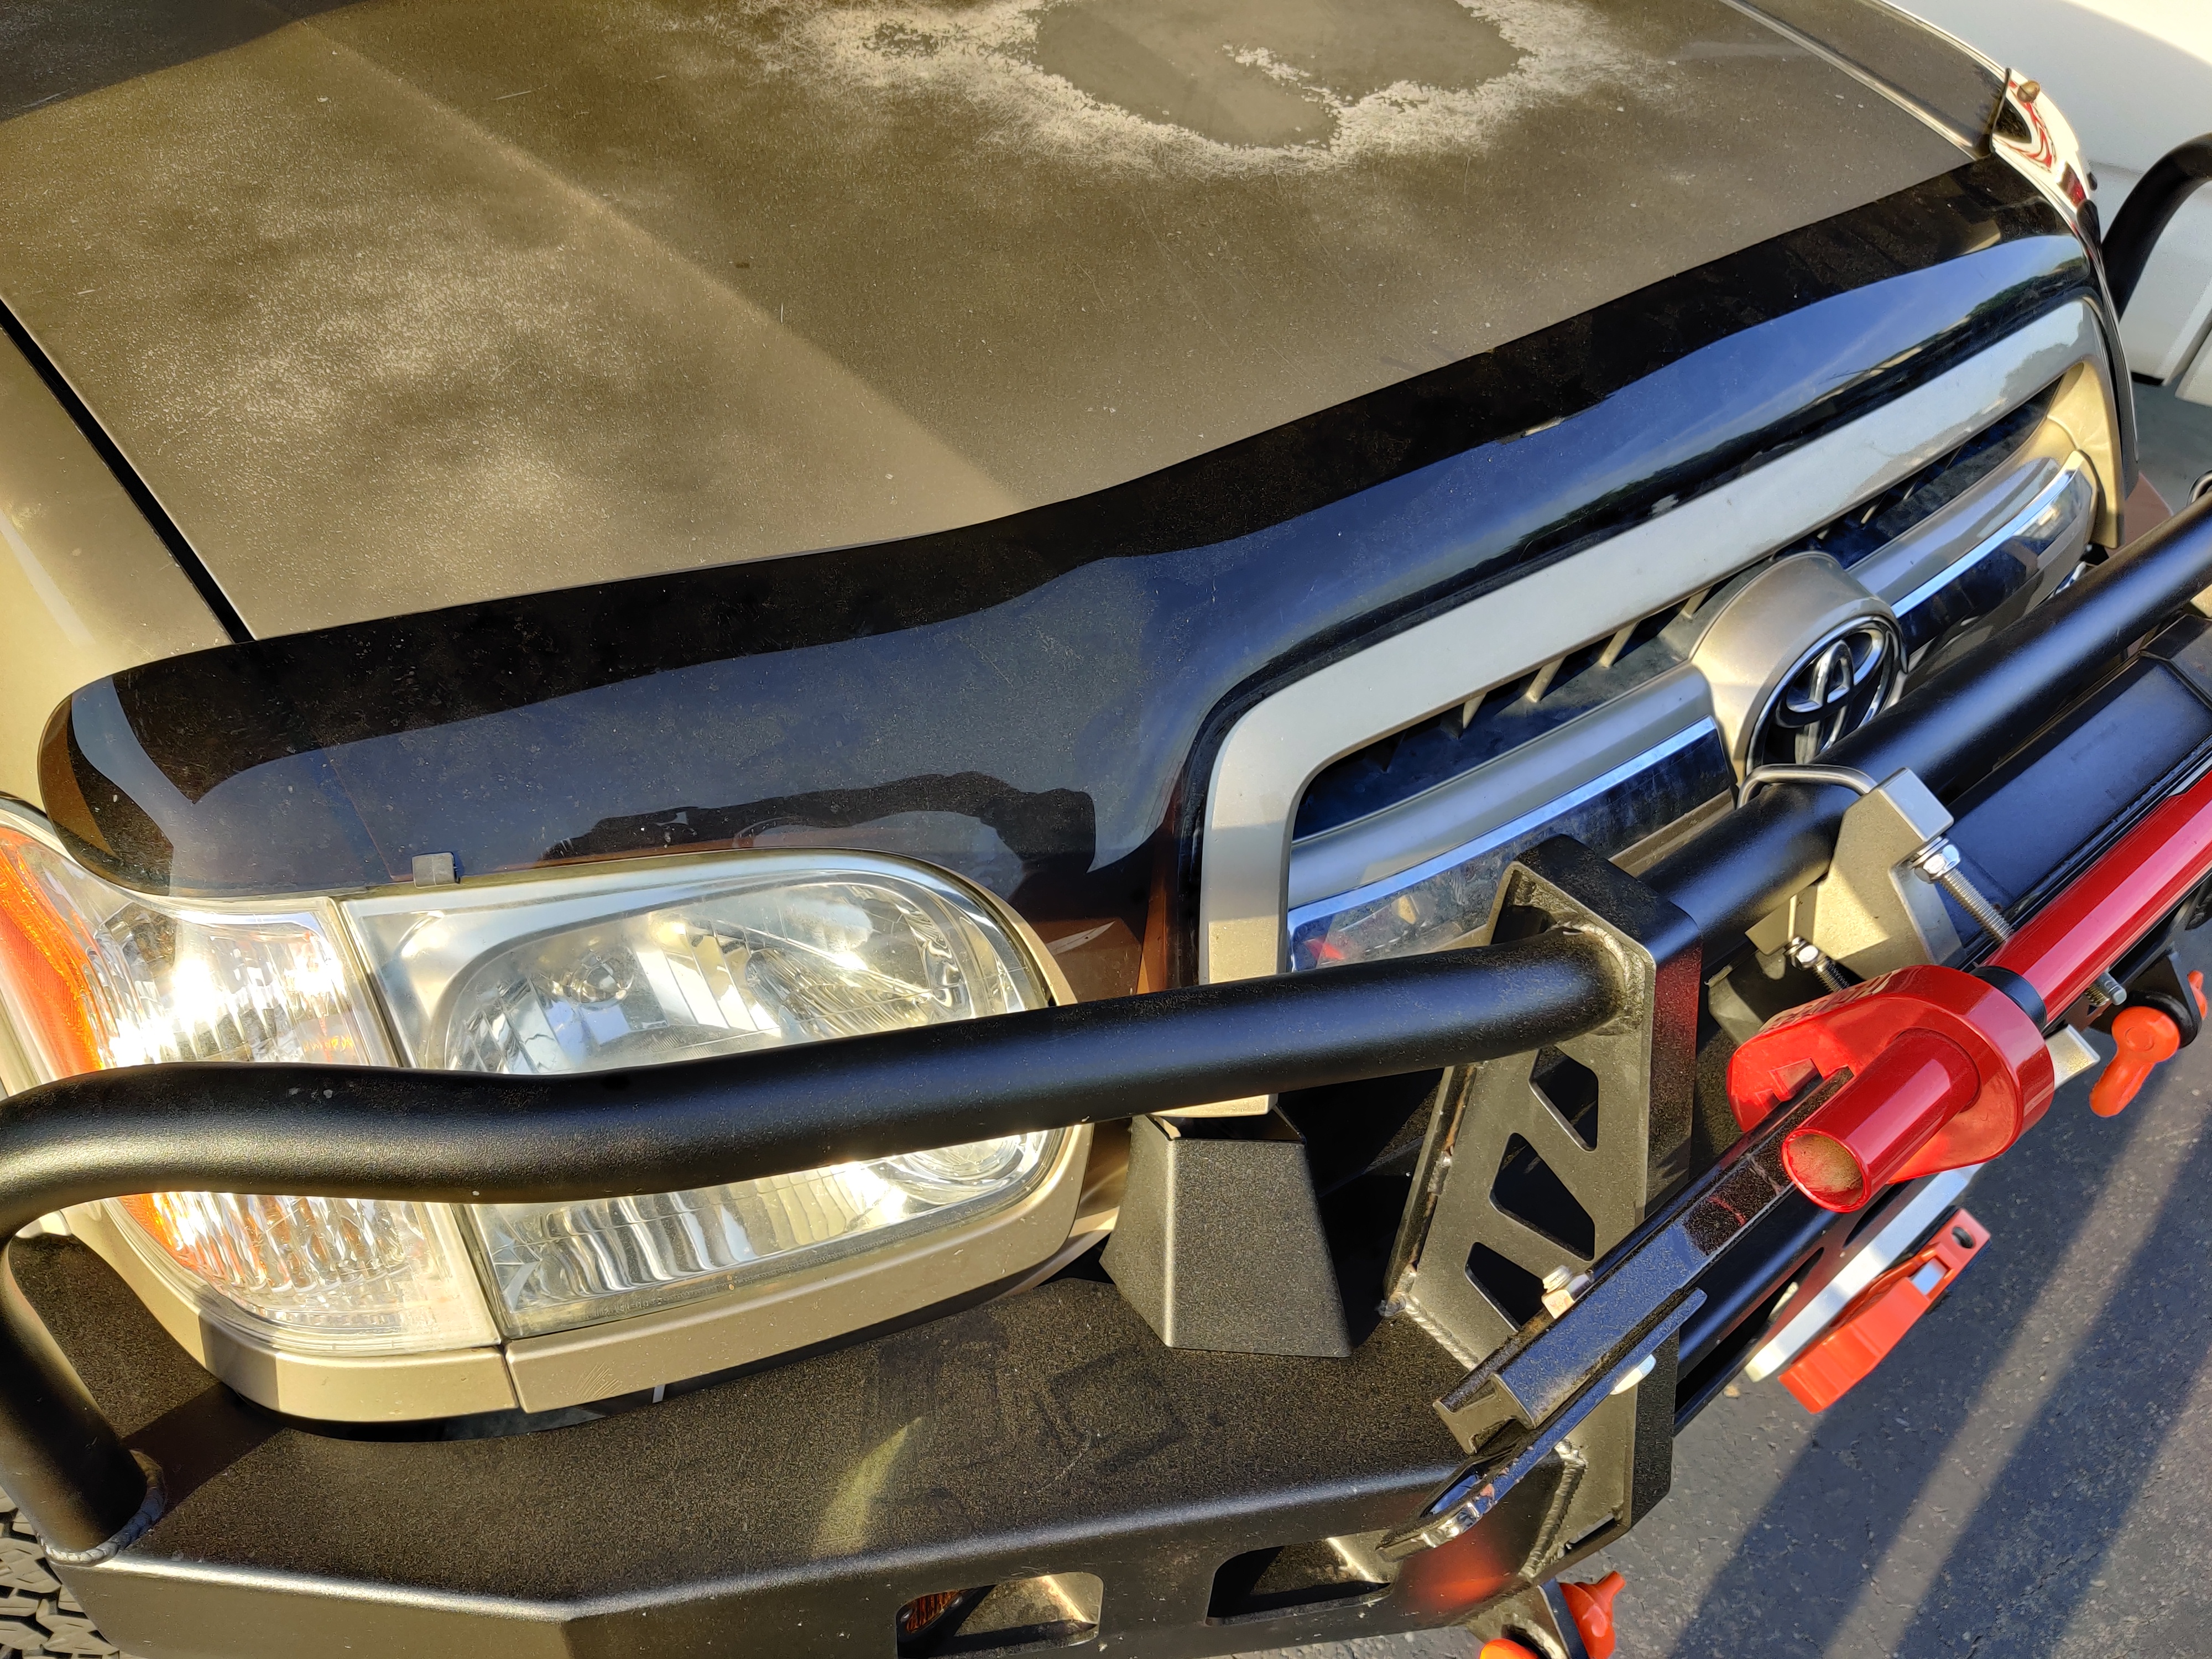
I've had damage on my fender where it lines up with the driver door. After 10+ months of searching, I found a gold replacement off an 01-04 gold sequoia. The part # for the door is the same, but the fender was different. I went ahead and went and bought it because it looks identical. Turns out it's only off by 2 extra bolts (pointed to in red arrows below). Nothing zip ties can't fix, of course.
Difference between the 01 to 04 and 05+ Fender
The only things left to swap over is the exterior door molding, my original door lock (so my key works) the sticker with the VIN, my door check (that I replaced with a new one so I want that

) and the window assembly. The new used door has a weaker and more worn power window motor. I also had tint on my window so I'll be wanting that so I don't have to pay for it. This will have to wait for another day as it's basically taking all the parts from my old door and installing into the new used one.
Misc Installs on the Roof Rack // Link to Post
Added photos to the post for the bolts and such. Tldr: 1/4-20 is the best for this application. I'd advise on getting the SS ones, and also getting a box of them from McMaster-Carr with the hex drive. Maximum surface to tighten is best.

