awesomeissquid
SILVER Star
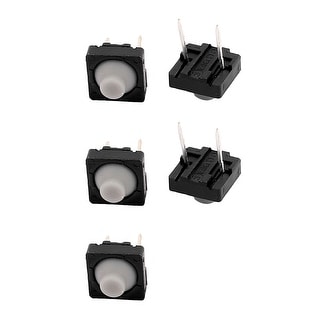
Just placed my order with Digi-Key for the standard FSM4JRT that everyone gets. I also got some of these Panasonic EVQ-QJE05D switches that seem similar to the OEM and will report back if they work. Fingers crossed because I like the idea of a soft button press instead of the tactile click.
https://www.digikey.com/en/products/detail/panasonic-electronic-components/EVQ-QJE05D
https://www.digikey.com/en/products/detail/panasonic-electronic-components/EVQ-QJE05D