Tackling the doors

This site may earn a commission from merchant affiliate
links, including eBay, Amazon, Skimlinks, and others.

Joined
Sep 3, 2007
Threads
71
Messages
8,870
Location
New Zealand
Of all the work I've ever done on my BJ40, "refurbishing the doors" has been the most time-consuming.

I'm putting together this thread on the subject because I don't see much info here on MUD about it and I want to help others who may be planning to embark on similar work. (I'm not saying my way of doing things is necessarily the best .... but others may at least find it useful to see how I tackled the job and what difficulties I faced.)

Actually ... The work is still in progress. At this stage I've completed the passenger door and starting the driver's door.

I know there are many here who refuse to buy any other parts than "genuine Toyota", but in this part of the world, the Toyota parts people are not very customer-friendly for owners of 30+ year-old vehicles like myself. So based on "availability and price" considerations, I am always prepared to give non-OEM stuff a try. But inevitably, some of my time was wasted by ordering stuff that I then found to be too inferior to be worth fitting.

During this work, a mate of mine (living in Melbourne) put me onto a good supplier of "genuine Toyota parts" .. but in the USA of all places! (A long way away from New Zealand!) So I've been dealing with CruiserCorps/DentDepot in Oklahoma and heck - I'm impressed. They "went the extra mile" by keeping shipping costs reasonable and doing such things as ..."helping me determine that I could use the outer belts/weatherseals meant for without-vent-window-doors (by "cutting to fit") when the belts/seals for my doors were no longer available from Toyota".

Another great help was Dave Stedman at Japan4x4 in Akashi City Japan. I won't put something back together in a way that I'm not happy with ... and he got me out of a pickle by getting me parts that I could find nowhere else. (Quick delivery too!)

As usual for my threads ... there'll be lots of pics ... So I might as well get started with those.

Despite regularly rust-treating my doors, being out in the weather all the time has taken its toll on them and I even had some "holes right through"...

D01.webp

And here is a hole that's been welded up:

D02.webp
D01.webp
D02.webp
 
To remove a door I cut the wiring to the speaker and disconnected the "door limiter":

D03.webp

Also used a dremel-type tool to cut off part of the head of the top hinge pin (before punching both pins out):

D04.webp

Interestingly .... After 30 years there was very little wear evident on either the old pins or the plastic bushes. (I wonder if the driver's door will be the same ... because it gets much more use?)

And here is that top hinge area after scraping away the old paint and apply new paint (POR15 primer + sky bue topcoat):

D05.webp
D03.webp
D04.webp
D05.webp
 
Oh how I envy you people with covered workplaces! Working outside all the time can be a pita. This is now all ready for the return of the refurbished door:

D06.webp

Hinge repainting. (Thank heavens Toyota put quite a heavy zinc coating on these things - No rust!)

D07.webp

Of course the window-winder handle had to be removed and "trim panel" and the "plastic protector sheeting" beneath that etc. Then, to remove the "vent window assembly" ... you need to unbolt the bracket at the base of its "stalk". (The front edge of the window glass slides in the "bailey channel".)

D08.webp
D06.webp
D07.webp
D08.webp
 
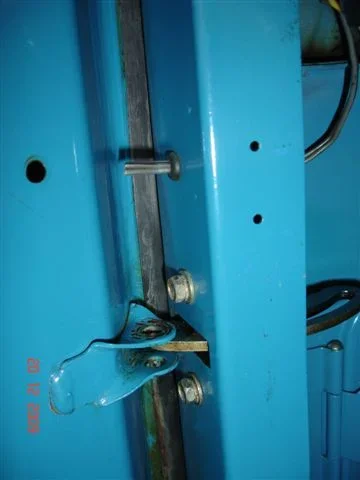
You also need to remove two tiny screws (M4 as I recall) that secure the top of the "vent window assy" into the door.

Then comes the tricky bit.

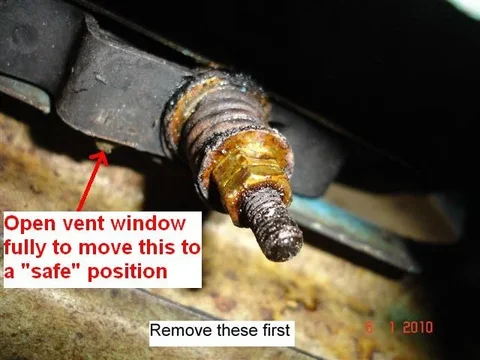
Best to remove the "washers, spring and nuts" off the vent window pivot otherwise they'll get in the way when you attempt to extract the assembly from the door:

RemoveFirst.webp

Edit. It's also best to OPEN THE VENT WINDOW FULLY (open and turn it to its limit) before extracting this assembly. This is because there is a "cam-like tab" on the pivot shaft that will interfere-with/scratch your sill-paint in all other positions. (See "red arrow" above.)

The small arrows in this next pic show where those top M4 screws were.

D10.webp

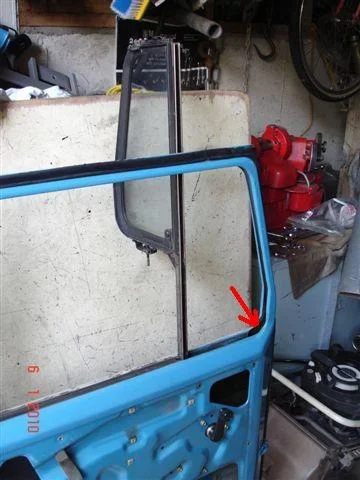
To remove the "vent window assy" you need to first tilt it backwards as shown above.


Then I found the assembly could only be lifted out from the OUTSIDE as shown next.

D11.webp

And to remove the base of the "stalk" ... you have to move it over to the "wider opening" (arrowed) and turn the assembly as required so the bracket on the base of the stalk can pass through.
D10.webp
D11.webp
RemoveFirst.webp
 
Last edited:
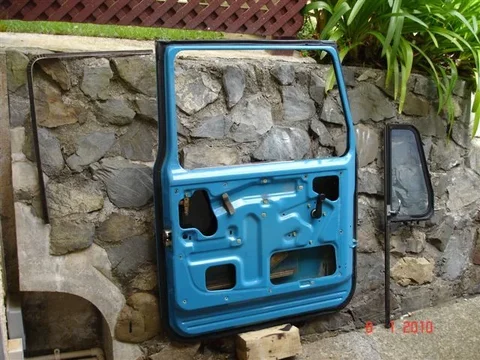
Here the passenger door with the L-shaped bailey channel removed. This particular piece of chrome-beaded channel is no longer available from Toyota. But never mind. You can cut-to-fit the stuff made for "without-vent-window doors".

D12.webp

In the above pic, you can also see the vent-window-assy on the right.

At this stage the main window glass can simply be lifted out.

Next thing to remove is the "lower window run felt". The rear edge of the main window glass slides down into this (from the L-shaped bailey channel) when the window is wound right down:

D13.webp

Here is it removed. (You can see that the top end of it pushes into the sheetmetal holding the lower part of the L-shaped bailey channel ... and the lower part is held by one screw.

D14.webp
D12.webp
D13.webp
D14.webp
 
Last edited:
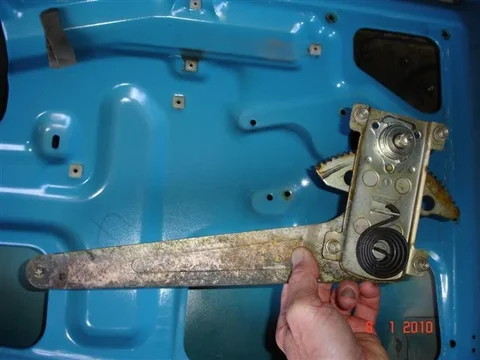
Then I removed the "key tumbler" and "regulator":

D15.webp

D16.webp

Then the "outside handle assy" and "lock assembly" can be removed too.
D15.webp
D16.webp
 
Last edited:
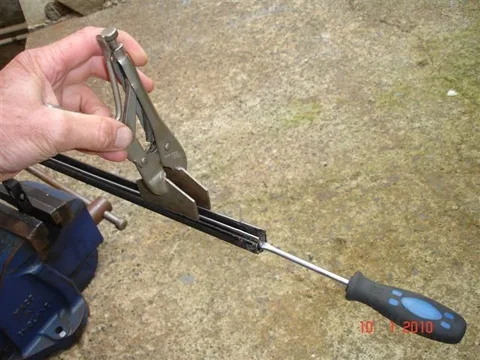
The frame of the "vent window assembly" was to be cleaned to bare metal and repainted. (Black POR15 and black gloss topcoat)

So here is the removal of the "chrome-beaded bailey channel" from it:

D18a.webp

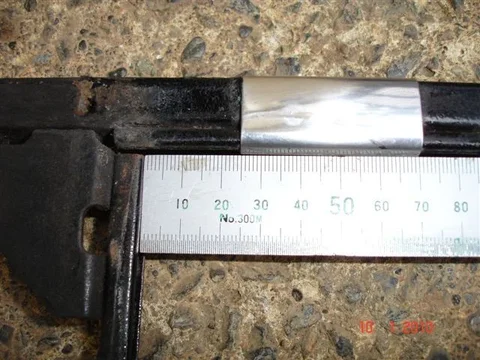
Then I needed to take a measurement to ensure I replace this plate in the original position:

D17.webp

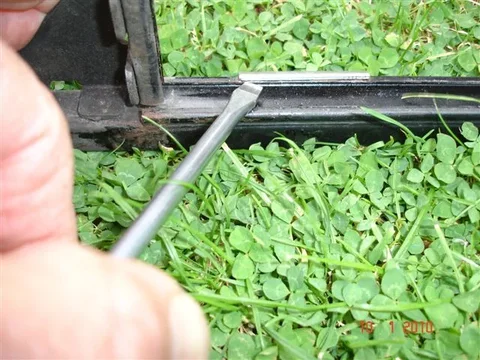
Then "flick the plate off" so:

D18.webp
D18a.webp
D17.webp
D18.webp
 
Here we are ready for painting. (The topcoat on the vent window itself will be semigloss rather than gloss.)

D19.webp

And here are some goodies that arrived from CruiserCorps/DentDepot:

D19a.webp

(Note the "chrome-beaded bailey channel" and "outer door belts" meant for "without vent window doors". ..... We did this because these items are no longer available for my doors!)

And here are some of the black-painted items hanging in my cluttered garage:

D20.webp
D19.webp
D19a.webp
D20.webp
 
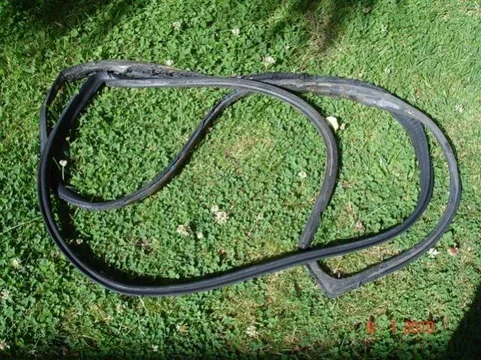
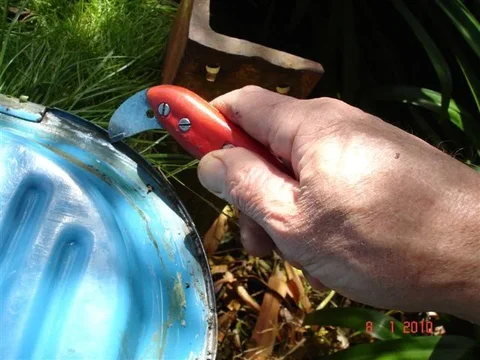
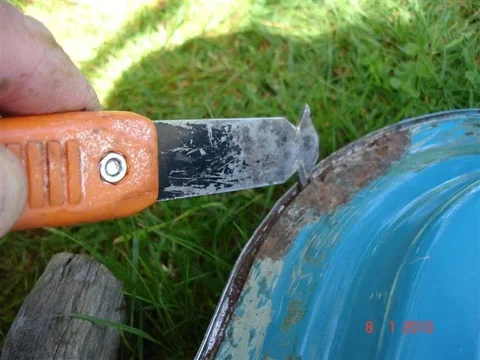
Removal of the main weatherseal:

D20a.webp

Oh .... So you're wondering why I'm refurbishing these doors when they look to be in such good shape? Well the metal in that L-shaped bailey channel back in post #5 has mostly turned to rust and the channel is only in one piece because of the extreme care I took with its removal. (One knock and it would disintegrate!) And this photo here shows some nasty rust beneath the main seal:

D20b.webp

Here is the old weatherseal removed. You can see that it isn't in great shape either (mainly because the slow seepage of my fishoilene rust-preventative from the drain holes in the base of the door has been attacking the rubber):

D20c.webp
D20a.webp
D20b.webp
D20c.webp
 
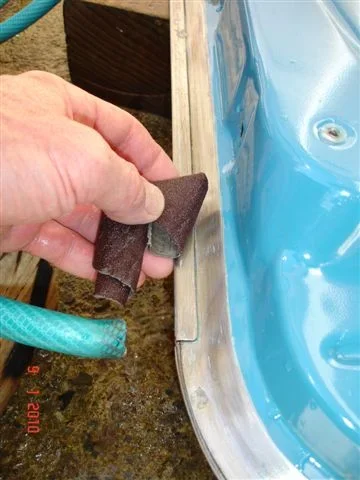
Very important I reckon to get rid of all the rust and dirt from the area where the weatherseal sits and from around the drain holes:

D20d.webp

D20e.webp

D20f.webp
D20d.webp
D20e.webp
D20f.webp
 
Preparation for painting

Weatherseal area:

D20g.webp

Inside (lower portion of door only ..... Upper reaches will just be recoated in fishoilene):

D20i.webp

Outside:

D21.webp
D20g.webp
D20i.webp
D21.webp
 
Cleaning/degreasing with POR15 Marine Clean:

D22.webp

Treating with POR15 Metal Ready:

D23.webp
D22.webp
D23.webp
 
"Painting sequence" is always tricky with things like this. Since the paint is bound to ooze out the drain holes when I do the "inside base" of the door .... I chose to do the lower inner edge of the door at the same time.


Here are pics of the POR15 primer being applied there:

D24.webp

D25.webp

(Note: I spray the sky blue topcoat while the primer is still tacky to get good adhesion.)
D24.webp
D25.webp
 
I have a technique with the masking tape where I have the edge held away from the metal slightly. This tends to "feather the new paint into the old" so where the old and new paint meet becomes difficult to see.

Next part of "the sequence" was the rest of the weatherseal area:

D26.webp

Mustn't forget where the "outer door belt" sits (circled in red).... This is best tackled at this time (because it must be sprayed when the door is sitting in the same orientation .... with the inward-facing surfaces now facing upwards):

circled.webp

D28.webp
D26.webp
D28.webp
circled.webp
 
Last edited:
That's the inside done:

D29.webp

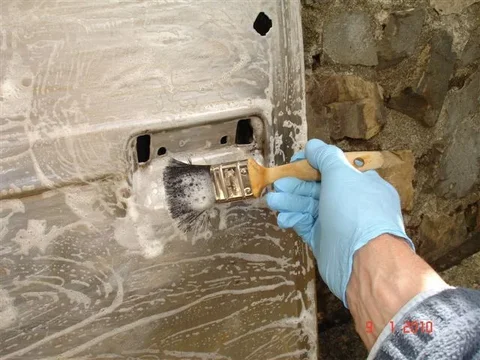
Now for the outside. As you can see ... I like to brush-on the POR15. The reason for this is
  • I don't like to waste it. (It's darned expensive!)
  • I get a good thick coat everywhere I want by this method
  • It has a tremendous "self-leveling properties" so it doesn't tend to leave brush marks
D30.webp
D29.webp
D30.webp
 
Last edited:
It's blowing a gale and drizzling outside .... which is why I'm posting this thread now (instead of working on the driver's door).

I've got to have lunch and shoot of to work in a minute so this'll be the last post for today I imagine.

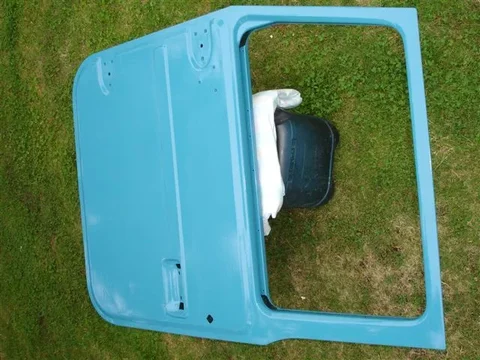
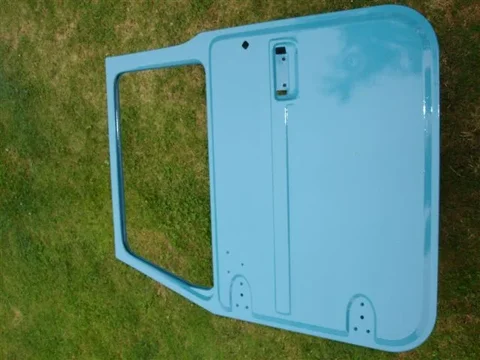
Here some pics of the topcoat on the outside:

D31.webp

D32.webp

I'll continue this later...

:cheers:
D31.webp
D32.webp
 

Users who are viewing this thread

Back
Top Bottom