For my own sanity, and for you to mock me openly
I'm replacing the water pump in my '85 FJ60. Obviously now is a good time to get everything done
So
As far as I can tell, I need
am I missing anything?
I'm replacing the water pump in my '85 FJ60. Obviously now is a good time to get everything done
So
As far as I can tell, I need
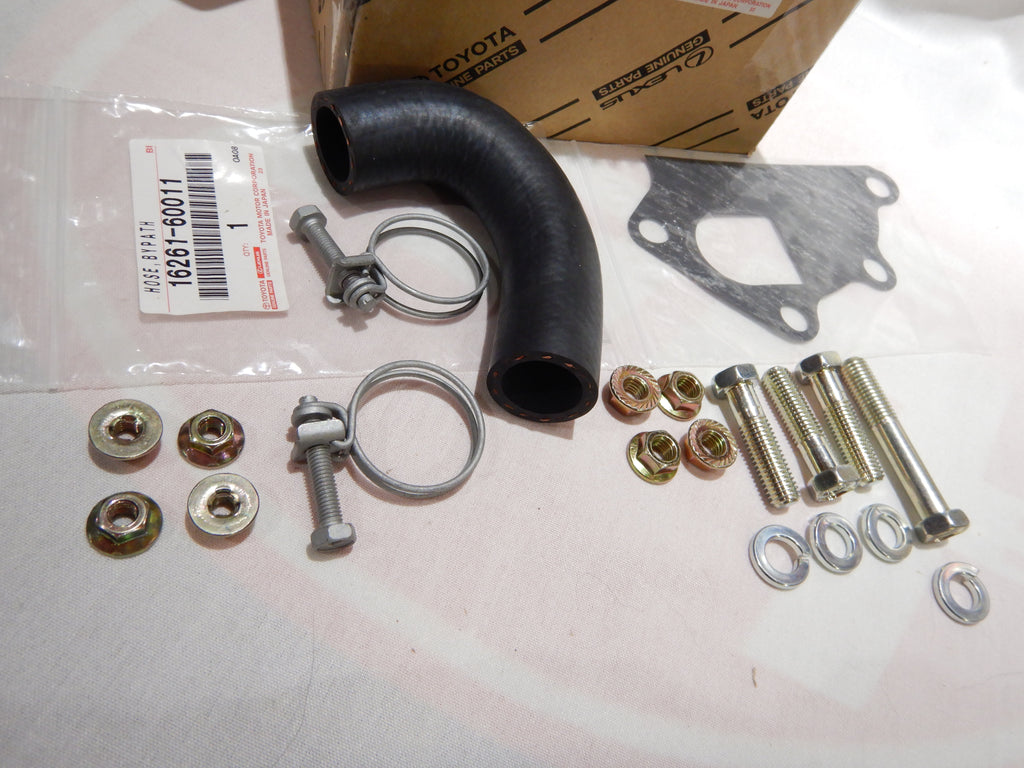
- water pump
- water pump gasket
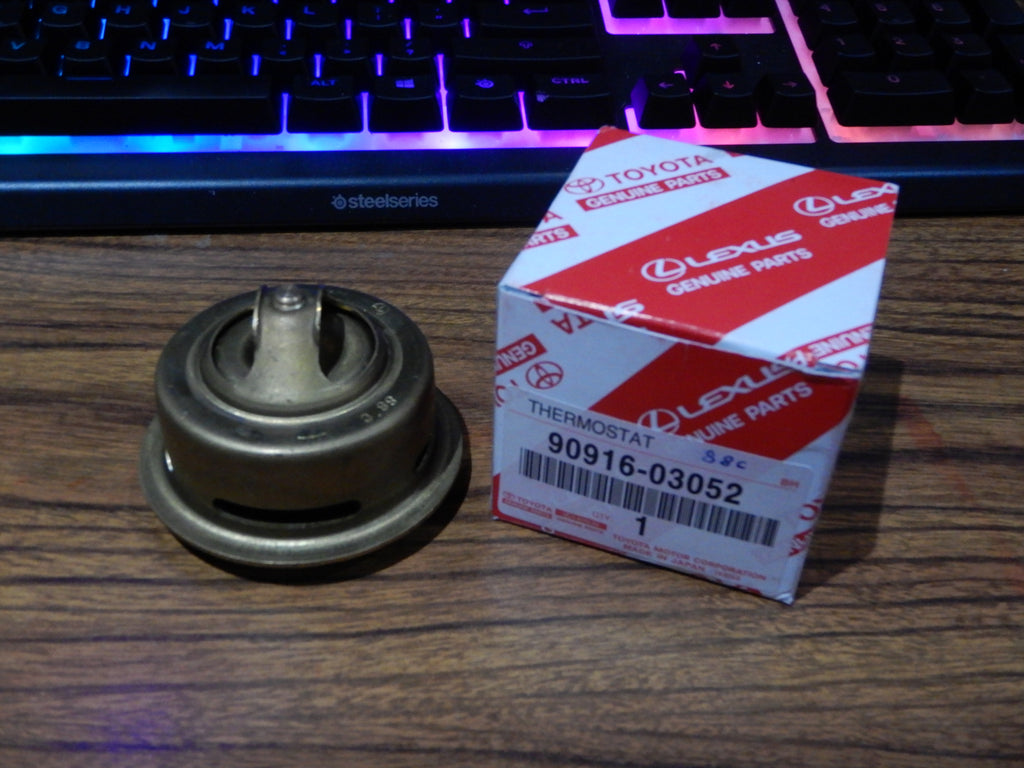
- thermostat
- thermostat gasket
- hosing of some size (I don't know the size)
- either replace the rad or send it to a radiator shop for a flush
am I missing anything?


")
