Warn 12k, Stock Bumper, How To (1 Viewer)

This site may earn a commission from merchant affiliate
links, including eBay, Amazon, Skimlinks, and others.

Joined
Feb 1, 2002
Threads
97
Messages
3,322
Location
No. Ogden, Utah
Website
www.instagram.com
I did quite a bit of research and came to conclusion that I wanted the Warn 12k over the 9.5XP. Although, the 9.5 would have been adequate and a lot less work I just wanted the peace of mind that I had the biggest thing I could get. I knew that some of you guys had modified your TJMs and ARBs for the 12k so I knew it was doable. I also saw where some of you had winches behind your stock bumpers but could find no good threads discussing how to do it even with an 8k let alone a 12k. So here is your thread.

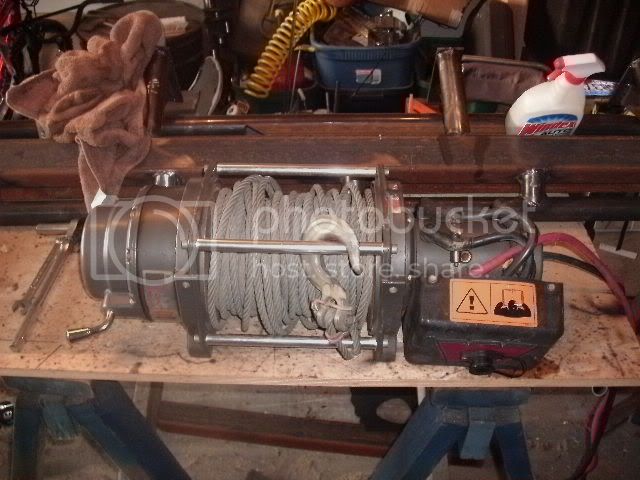
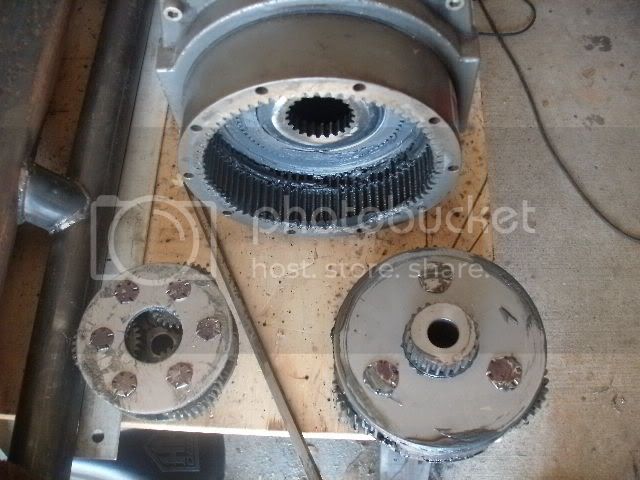
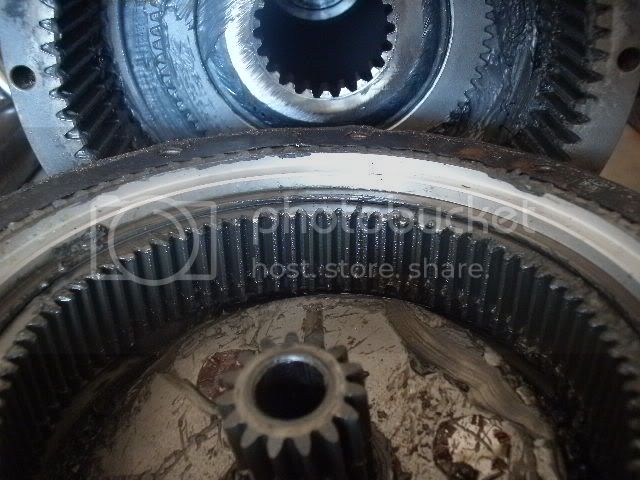
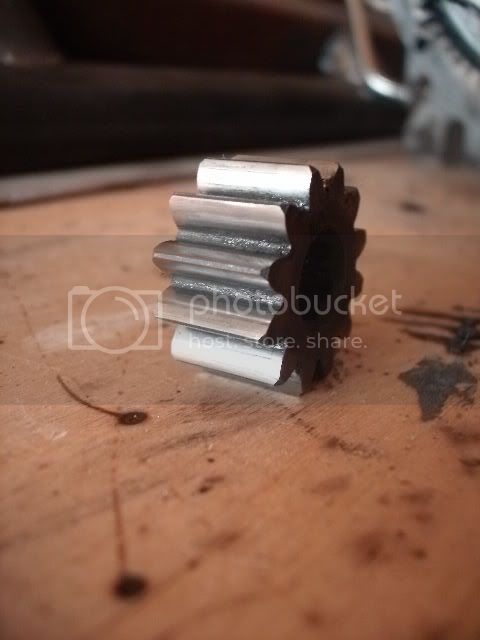
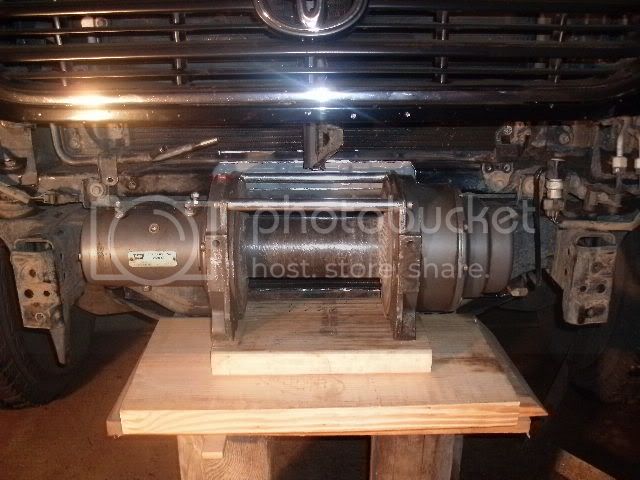
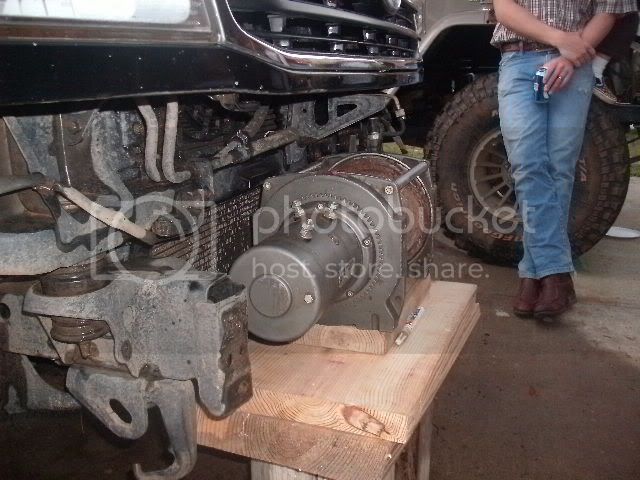
I picked up this unit locally after searching for weeks and finally placing an add on Clist. It's a couple of years old but in really clean condition IMO. I went ahead and stripped it down and checked out the gears and innards. All appeared to be in excellent shape. Only two minor concerns: 1) the cap screws that held the transmission on had lost their torque setting a tad and some oils from the previous rig had lightly dirtied up the gasket, cleaned all those parts and sealed em with RTV. 2) the upper weep vent on the motor didn't have the sealant installed so the motor had some light rust inside the casing which I cleaned up and ensured the upper hole is now sealed.

WinchMount089.jpg

WinchMount090.jpg

WinchMount108.jpg

WinchMount110.jpg

WinchMount111.jpg


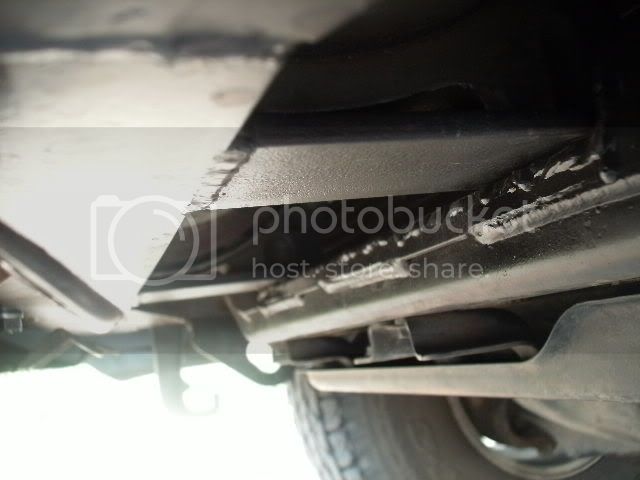
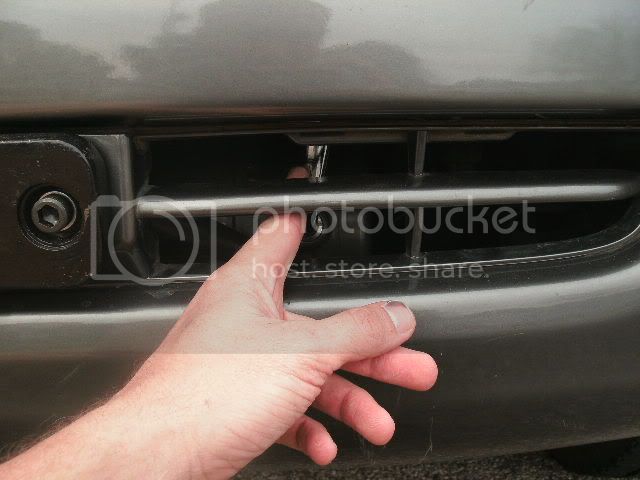
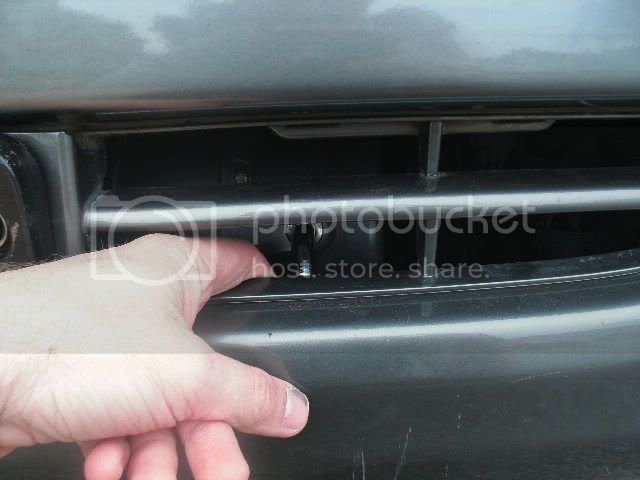
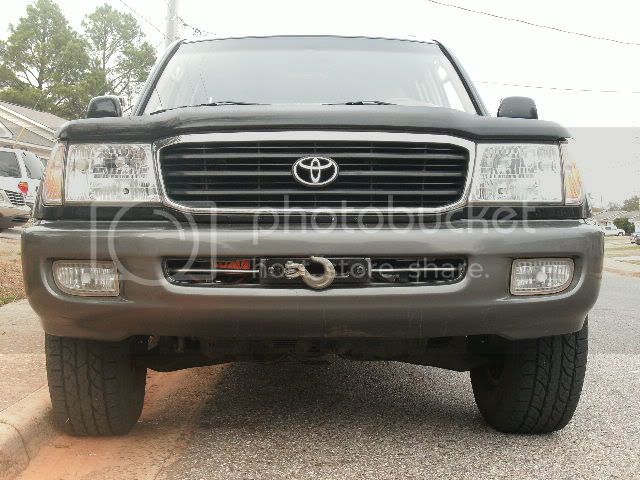
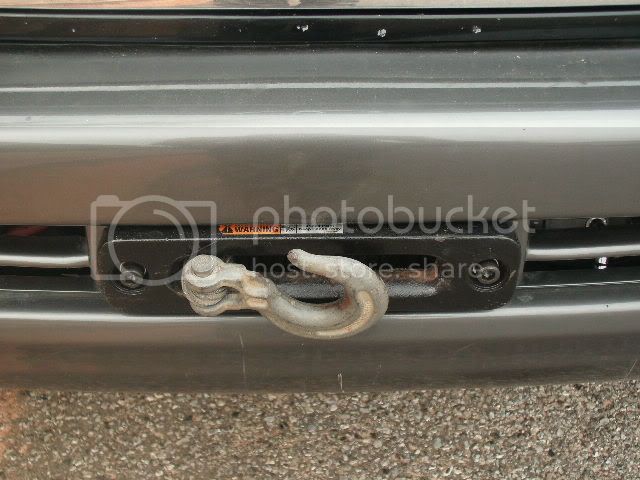
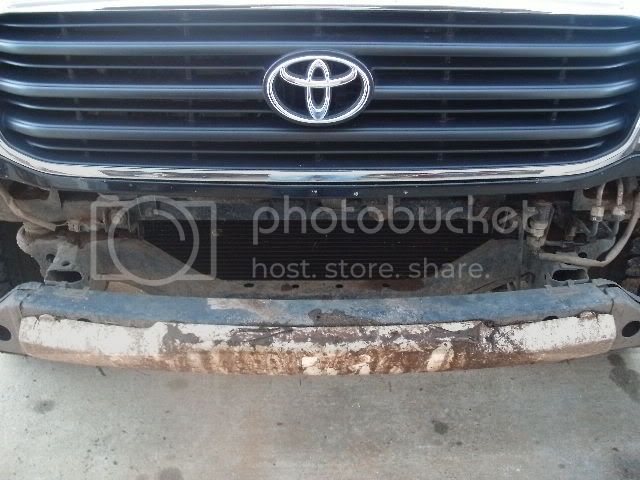
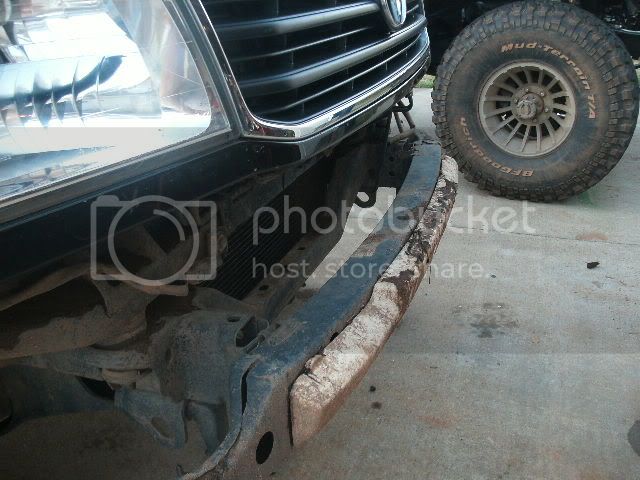
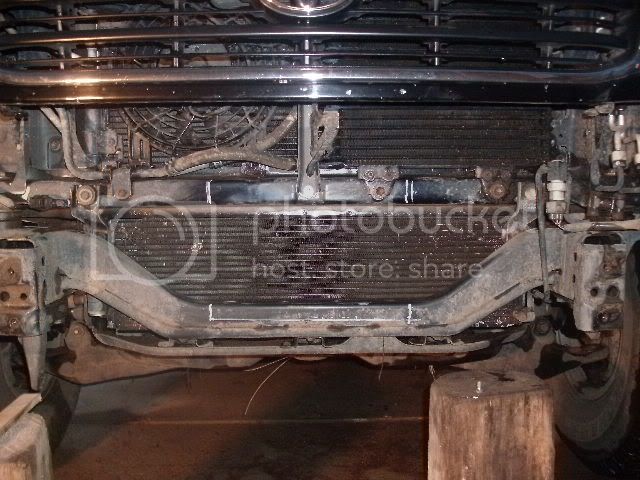
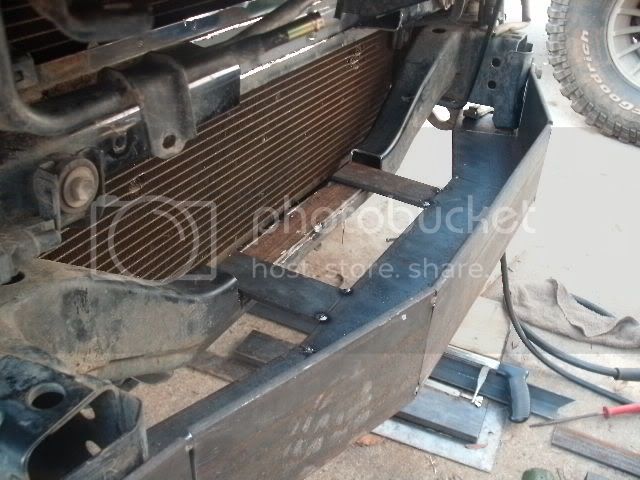
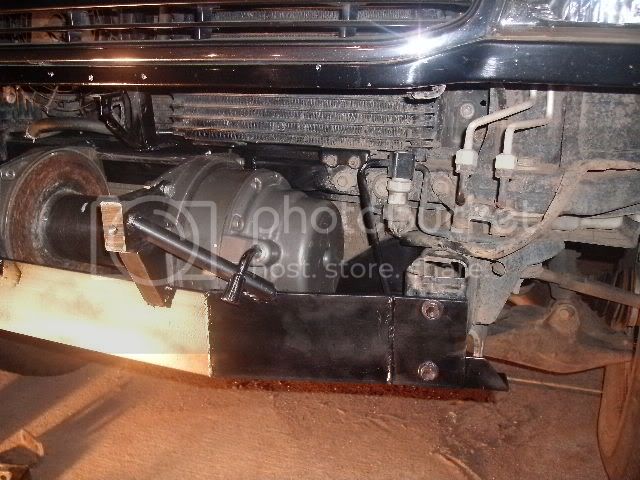
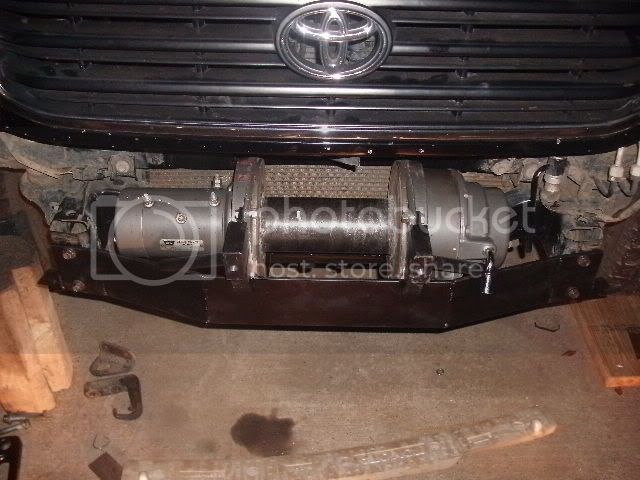
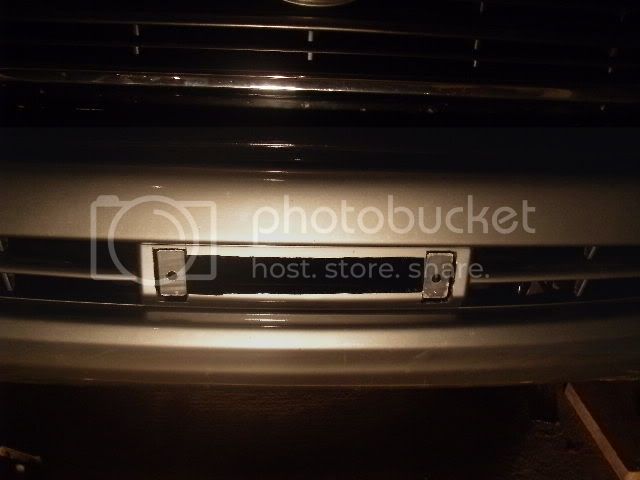
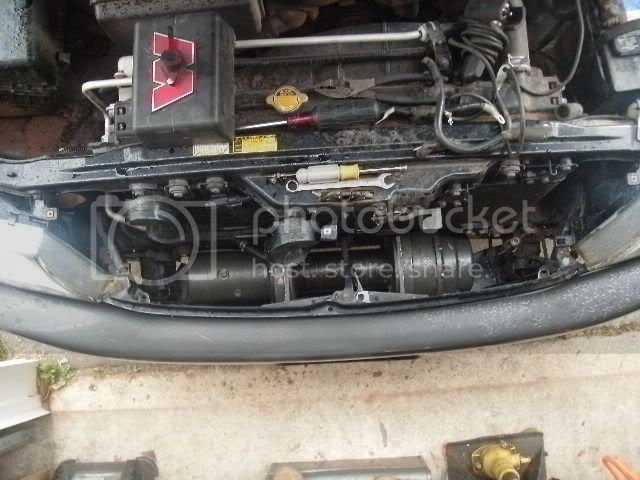
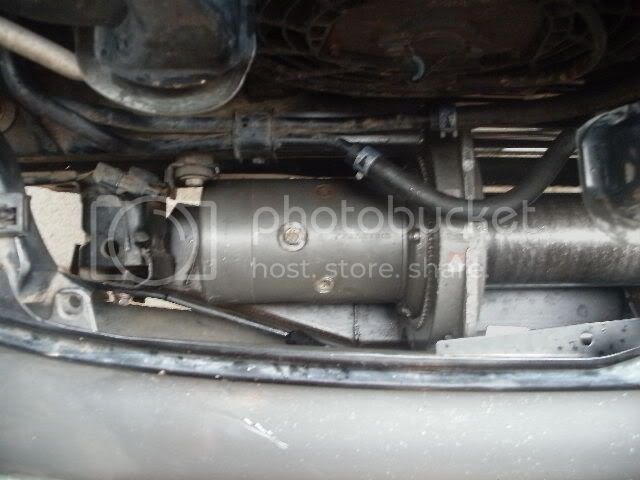
I wasn't sure exactly how I would make it fit but after gazing up inside in a few times I figured there was room if I just rearranged some things. Yes some day I do plan on replacing the front end on my rig. There are a lot of things I like about the current options but none of them sit quite right with me so behind the stock bumper it goes for now. The one key factor and goal of this configuration was to keep the hawse fairlead positioned in the factory location just behind the license plate screws. I just didn't want anything hanging down beneath that area and wanted to keep it clean looking. I will be running this cast fairlead and steel cable for now and will eventually replace em with some superline and aluminum lead.

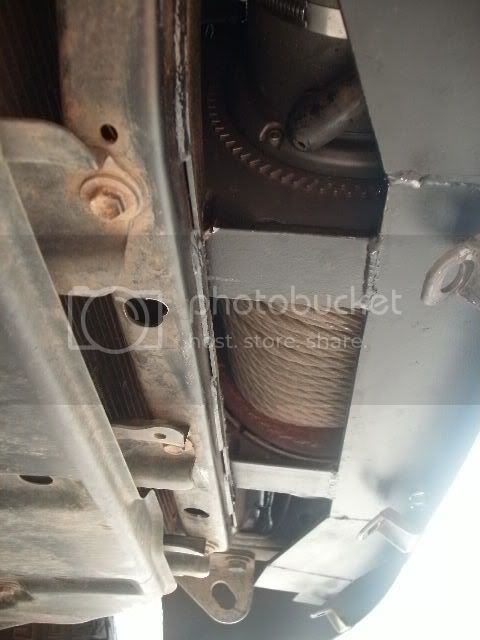
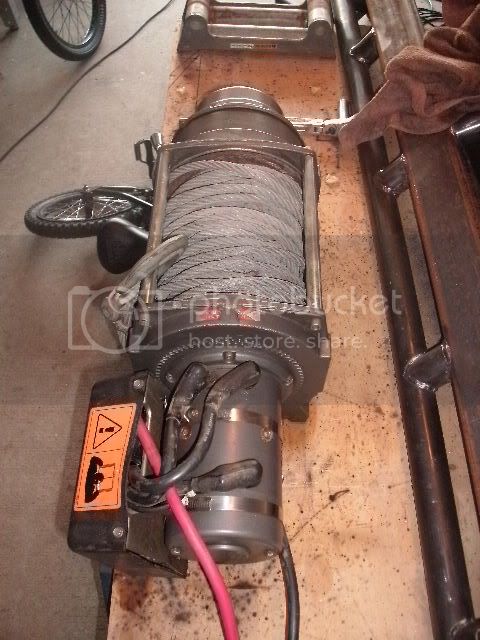
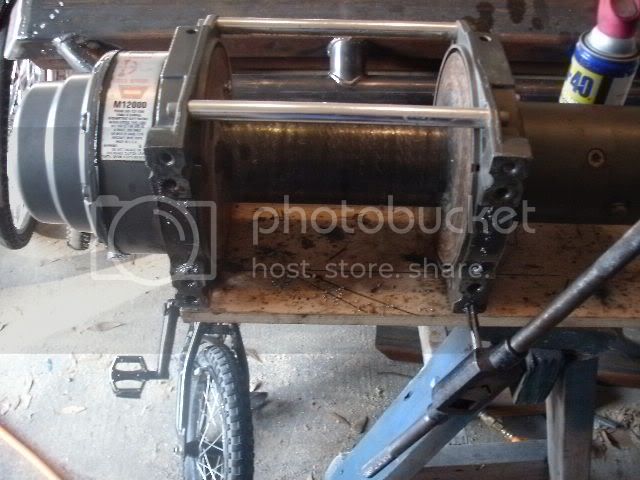
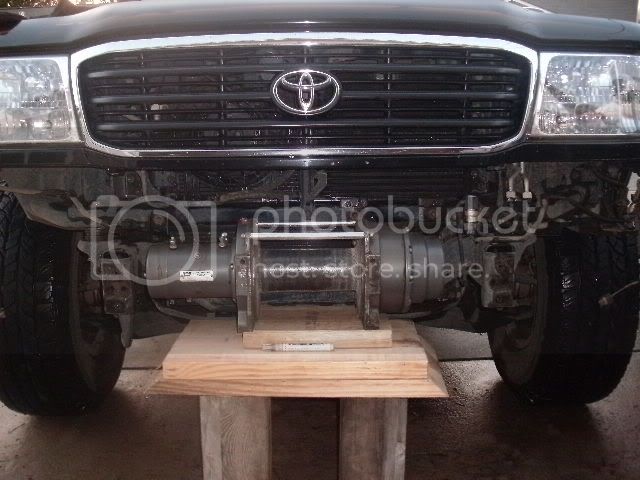
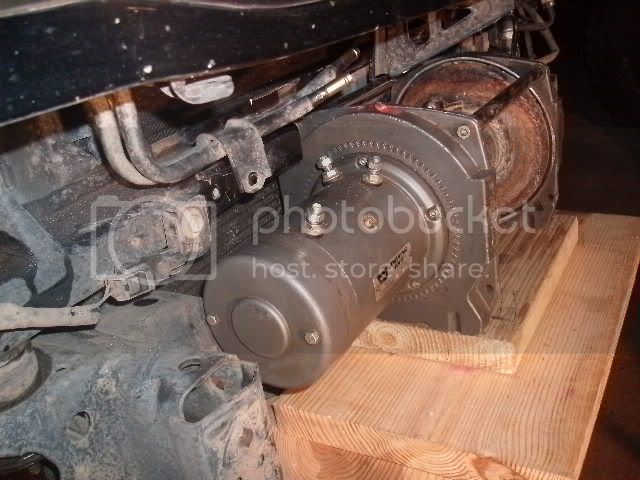
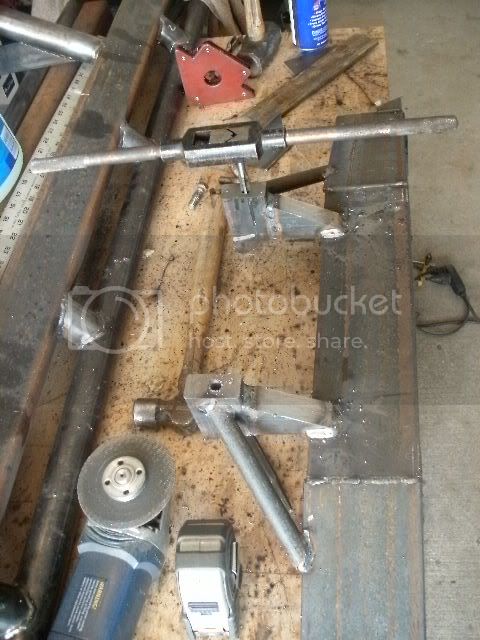
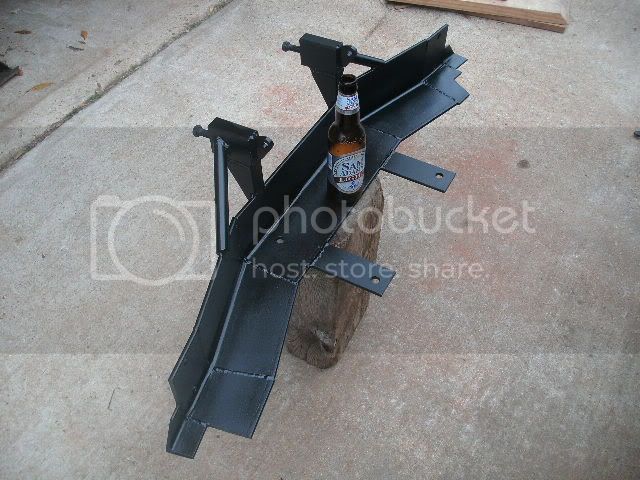
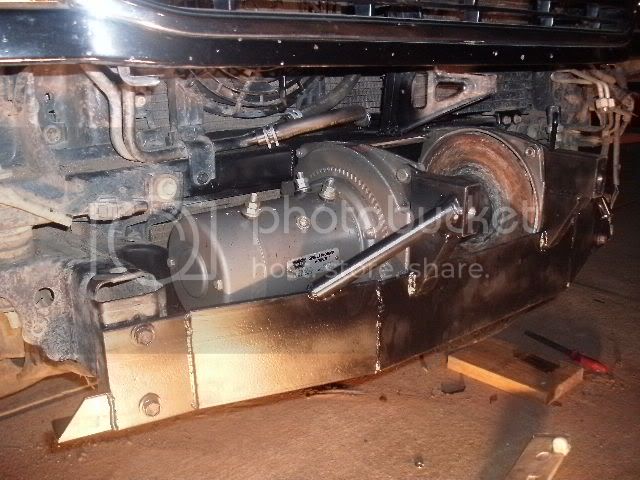
So that being the goal, I determined that I would need to run the winch backwards and pull the line over the top of the spool rather than beneath like usual. No problem, I'd just turn it around so the motor still wound correctly. This caused the clutch lever to face the radiator so I'd have to change that as well. One thing that I am quite impressed with on this winch is how versatile the design is which allows you to change the position of the cross bars, clocking of the motor and transmission, feet forward or down, and also cast with additional holes into the base for an additional 4 mounting bolts which I tapped and used. I'm not sure this would have been the case with another model or brand.

WinchMount113.jpg
 
With the plastic bumper and it's support removed I determined that the factory winch mounting space would have to be sectioned then reinforced. And the cross bar above that would also need to be sectioned and capped. This would allow me to push the winch as far back as I could and within a few cm of the A/C radiator. The small electric fan was not affected by this and one of the 4 mounts for the transmission cooler had to be removed, it's still very rigid and not a concern. Both of those had to be removed to cut that cross tube with my 4.5". I did add a tab to replace the grill support section so it's still fixed solidly as well. All of this worked out vertically to align the spool and fairlead with the plastic bumper's inlet hole.

WinchMount086.jpg

WinchMount087.jpg

WinchMount096.jpg

WinchMount101.jpg

WinchMount099.jpg

WinchMount100.jpg

WinchMount098.jpg

WinchMount102.jpg


I really had no idea what I would use for the mounting plate other than just some flat plate and strap steel. Luckily I still had this section of 4x4x.25" angle iron left over from my 40 slider build that would work perfectly. I knew I had been hauling that piece around for a reason. Just took some measurements and cut it up and welded it. The biggest concern was how I would get the fairlead supported outside of the plastic bumper. There are probably better ways to do it but this is what I came up with at the time with what I had on hand. 3/4" round bar supports and 1x2" steel bar tapped to accept that fairlead. Added a couple of ears to mount to the winch cross tube holes and relocated that tube downward out of the way of the cable. I think this will be quite sufficient even for heavy side pulls.

WinchMount104.jpg

WinchMount106.jpg

WinchMount119.jpg

WinchMount117.jpg

WinchMount121.jpg

WinchMount125.jpg

WinchMount130.jpg

WinchMount135.jpg

WinchMount136.jpg
 
The 4" angle iron is forward enough on the bottom to allow you to get your hands inside to start a nice tight spool and install the cable bolt. I did mount the solenoid pack on the motor causing me to have to 180 the motor for the terminals. In the future I will add a second battery and will probably relocate the pack up inside the engine bay as well.

WinchMount142.jpg

WinchMount146.jpg

WinchMount149.jpg

WinchMount151.jpg

WinchMount152.jpg


I'll add some finished pics and underside pics as soon as I get a chance. I went and spooled the line today after work on a hill but didn't have my camera.

Probably put about 25 hours or so into this and there are probably a hundred other ways to do it but at least now I know it can be done.

Oh, and e9999, here's yet another thread like the others I've sent you for the FAQ section we've discussed...
 
Stunning

Very nice work and ingenuity. Thanks for sharing the mod, I hope to be able to figure stuff up like this before i die!
 
How do you get to the free spool lever?

I'm curious as to what you are planning on using the winch. Almost any time I've been in a situation that I had to use a winch it would have smashed the plastic bumper.
 
How do you get to the free spool lever?
It is easily accessible as you see it. Eventually I plan to chop the lever off and weld on a T-handle of some sort.

I'm curious as to what you are planning on using the winch. Almost any time I've been in a situation that I had to use a winch it would have smashed the plastic bumper.
Oh you know, your usual winching operation really, nothing spectacular. There are a lot of creek crossings in these parts, some with hard bottoms some not. And I have a lot of friends that have big trucks who get stuck a lot. For now I'll just have to try and avoid huge ledges head on, which aren't very plentiful around here anyway, I think I'll manage. The sooner the bumper gets ripped off the sooner you'll be seeing my front bumper build.

Thanks for the support though. ;)
 
Nice job!
Didn't go through the whole thread yet, but from the pics, did you mount it feet down? The M12 is supposed to be mounted feet forward to avoid damaging its body under load... Actually, if I see these pics right, the rearward tabs would probably fold up first ... :eek:
 
Last edited:
snip
As for the feet position - in the ARB the feet are bolted downward

and...?

are you going to believe ARB or Warn as far as the design of the Warn winch? :)
 
Oh you know, your usual winching operation really, nothing spectacular. There are a lot of creek crossings in these parts, some with hard bottoms some not. And I have a lot of friends that have big trucks who get stuck a lot. For now I'll just have to try and avoid huge ledges head on, which aren't very plentiful around here anyway, I think I'll manage. The sooner the bumper gets ripped off the sooner you'll be seeing my front bumper build.

Thanks for the support though. ;)

That is why I asked. I'm not familiar with the terrain in your neck of the woods. Out here I can't imagine having a winch mounted in a stock bumper, there is just too much for them to get torn up on.
 
did you reinforce these rearward horizontal mounting tabs (if that's where you plan on bolting the feet)?

Right now, the beer pic suggests that these are just cantilevered out with a butt weld. Or did you put some additional welded plates or gussets or are they connected to the frame?

Let's say the winch is pulling 10K lbs for simplicity off the top as you indicated you'd do. From memory, that might be maybe something like 8" above the feet. You'd have something like 7000 ftlbs (neglecting some geometry) of torque on the rearmost bolts. I would think that would easily bend 1/4" plate, no?

Sorry, don't mean to be negative. I like the work and the creativity. But I'd rather that you don't hurt yourself or the rig if I'm seeing this right...
 
I do appreciate the concern for safety, we've all seen some pretty scary s*** and ya never know. Had I left it only to those tabs I don't think they would have even supported the winch let alone a significant load.

These pics should show you what you're looking for. That frame cross member that I sectioned was reinforced and boxed with .25" plate steel then drilled for those rear feet mount bolts. It's a solid structured piece and where the factory winch was mounted with about 3/16" steel. So it's a lot stronger than factory. And the way that cross member is designed in a downward arc makes me think it'll be pretty strong as well.

Lower plastic bumper mounts still need hardware.

WinchMount002.jpg


Terminal access.

WinchMount005.jpg


WinchMount007.jpg

WinchMount008.jpg

WinchMount009.jpg

WinchMount012.jpg

WinchMount013.jpg


I appreciate all of your comments.
 
If you'll notice, he's got two ears on the verticals that pick up bolts on the top of the winch. The material there all appears to be solid stock. I think he'll be just fine.

And then there are those as well. But they're primarily to support the fairlead's mount.
 
Last edited:
That is why I asked. I'm not familiar with the terrain in your neck of the woods. Out here I can't imagine having a winch mounted in a stock bumper, there is just too much for them to get torn up on.

Around here there are no rocks really, mostly dirt hills and bushes. Eventually, when I move back to the NW, I'll have a beefy front bumper as well. This thing is rather scratched up as it is already, along with the body's paint pinstripes. I think I'd be a contender for the most jacked up paint on the forum and I've only had it for 5 months. :frown:

This bumper has knocked a few bushes down and driven right over a number of small trees. All of our rigs gotta start somewhere my friend. By the time I'm done with it it's not gonna look pretty, but I just can't drop the coin right now on an ARB and kind of wanted to make a writeup for the archives and inquiring minds.

:beer:
 
OK, if the tabs are connected to the frame cross-member that will help a lot. (If you wrote or showed that earlier, I didn't see it, sorry.) And yes the vertical fairlead mount pieces would help some too, although probably not that much given their cantilevered nature too and the high pulling forces you'd see with a 12,000.

So you did mount it feet down, then? That's an issue with the winch feet and body itself, aside from all mounting considerations. Isn't that body aluminum?


Well, the final result in the OEM bumper looks stunning!
 
Last edited:
That is some sweet ingenuity! Looks like you have been welding for a while and I'm sure you'll figure out the safety stuff, but kudos for stepping outside the box until you get the other bumper.
 

Users who are viewing this thread

Back
Top Bottom