I've been lurking a short while on mud. Such a great community. I'd like share where I'm at with my project and would welcome any advice.
I've grown up in FJ40s, specifically, Chevy conversions. Early pics, before I can remember, capture my dad, brother and I out in my dad's 69 FJ40 with a 327. Later, in high school, I got to drive my dad's 73 with a 400. I worked in Seattle during the week and drove that Landcruiser home, over the pass, every weekend. Over the years, I've had a few project FJs of my own including a 78 with a 327 but nothing really got off the ground like my high school rig.
Dad picked up 76 about 10 years ago and reintroduced the Chevy 400. It was a good rig, minimal rust, balance and blue printed 400, 400 turbo automatic, saginaw power steering, custom shelves front and rear top and ford explorer power seats.
Through good times and rough times, Dad and I always found time to bond of the latest work on our FJs. Dad passed away last year and everyone knew I had first dibs on the Land Cruiser. I bought it from my step mom and took more drive over the pass in my dad's FJ. The title has finally transferred into my name, so work on this rig continues...I just miss the conversation around it.
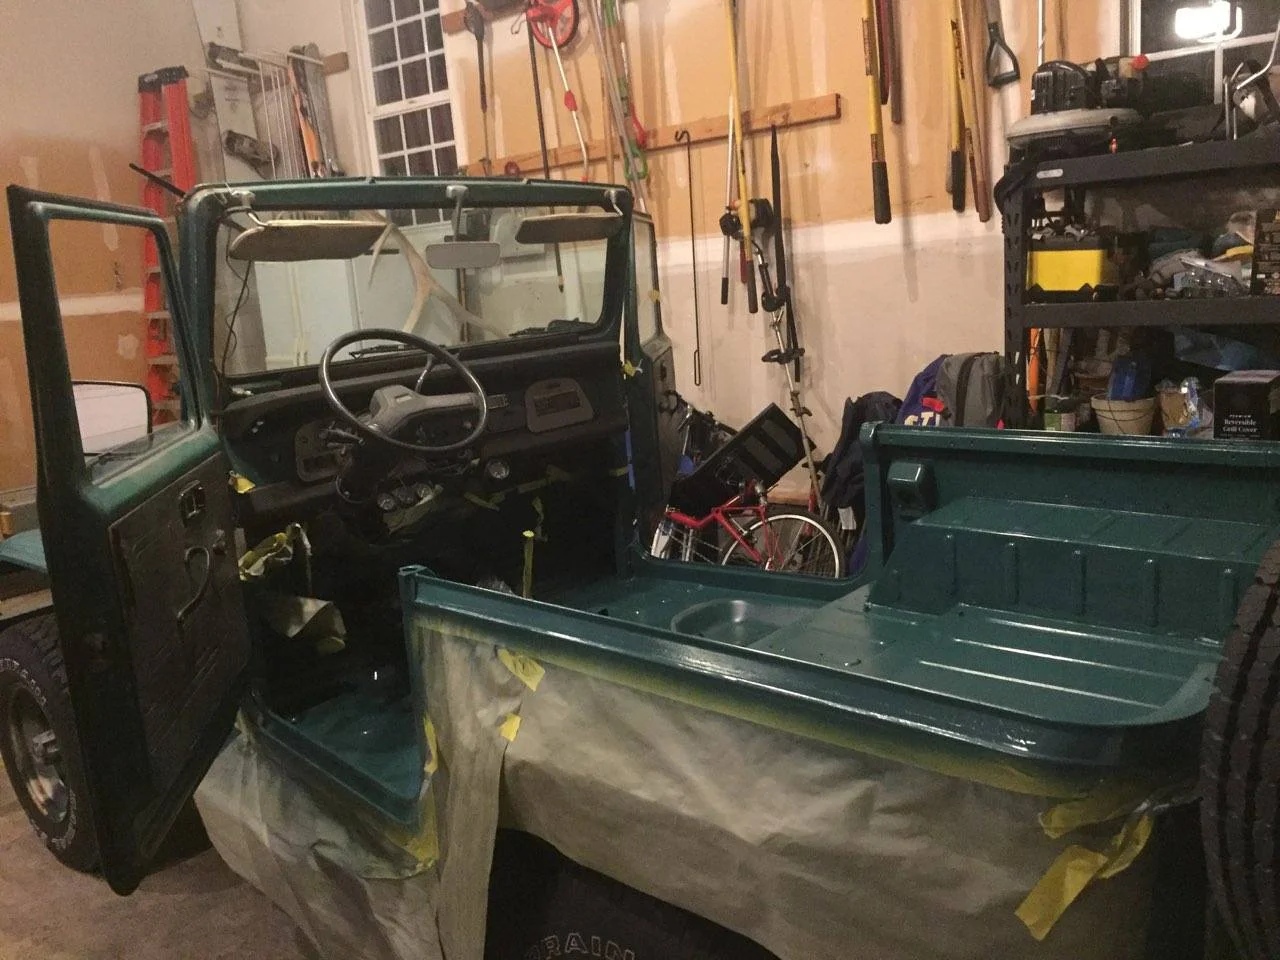
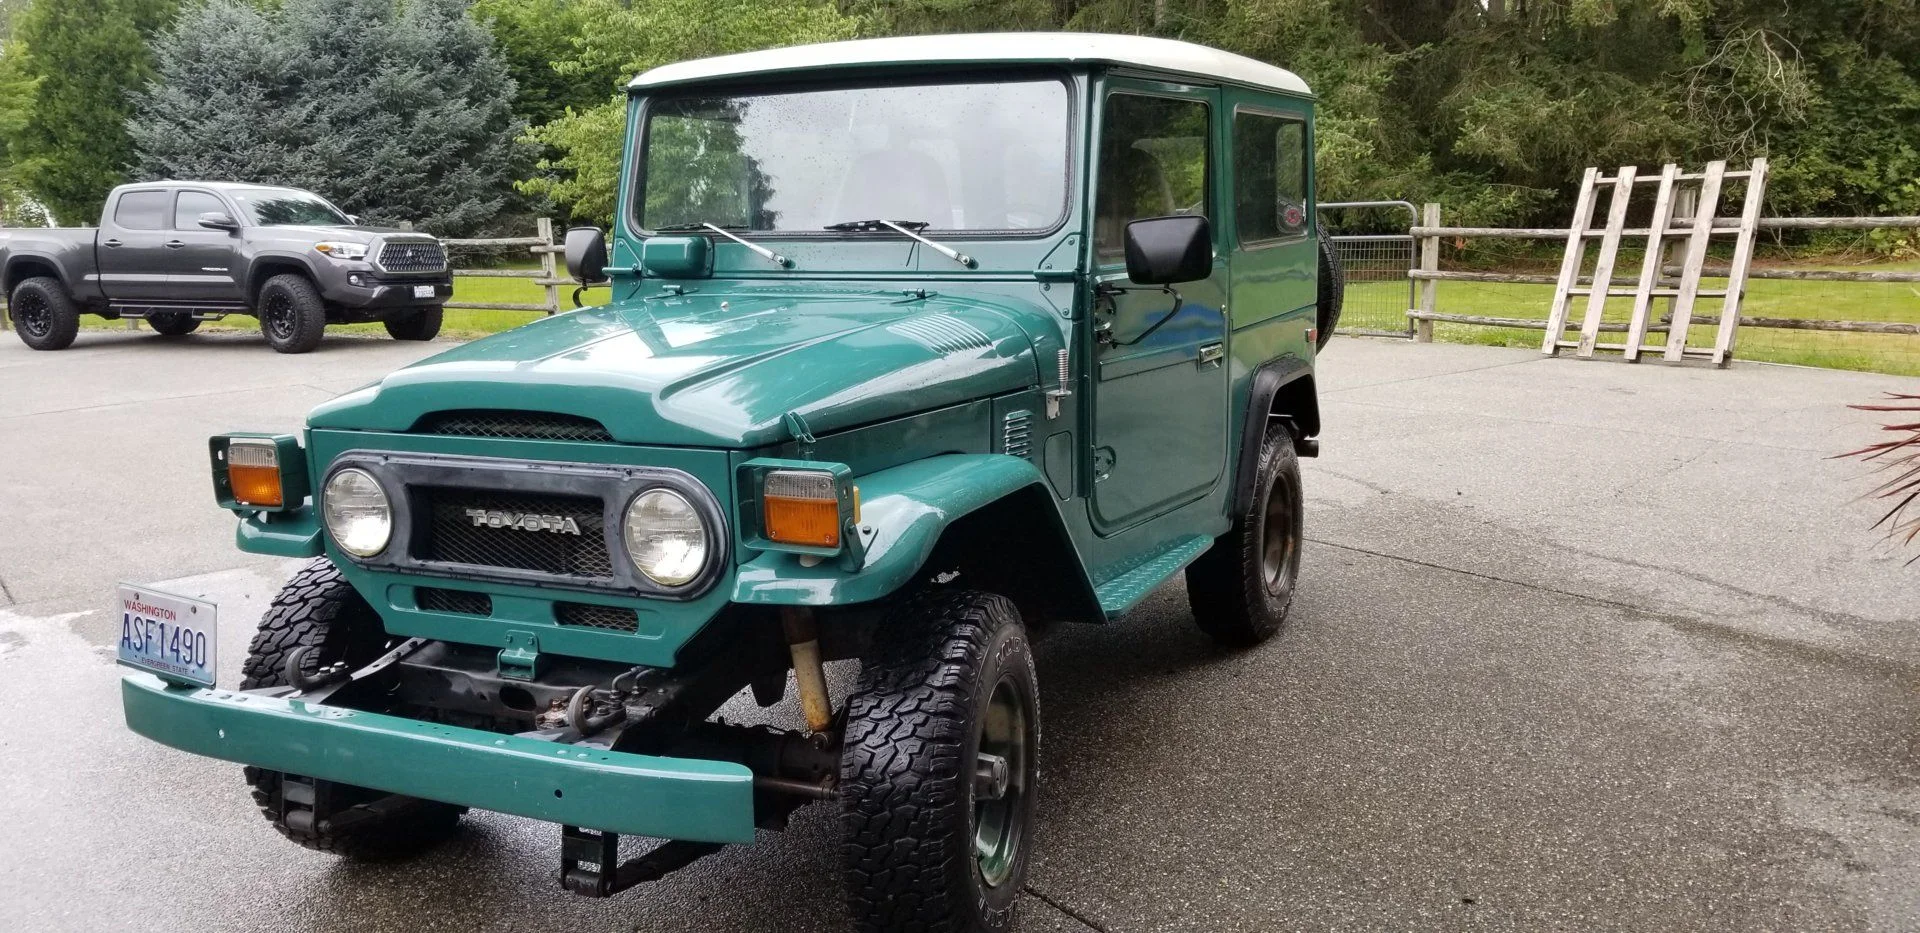
Here is some pics from the beginning.
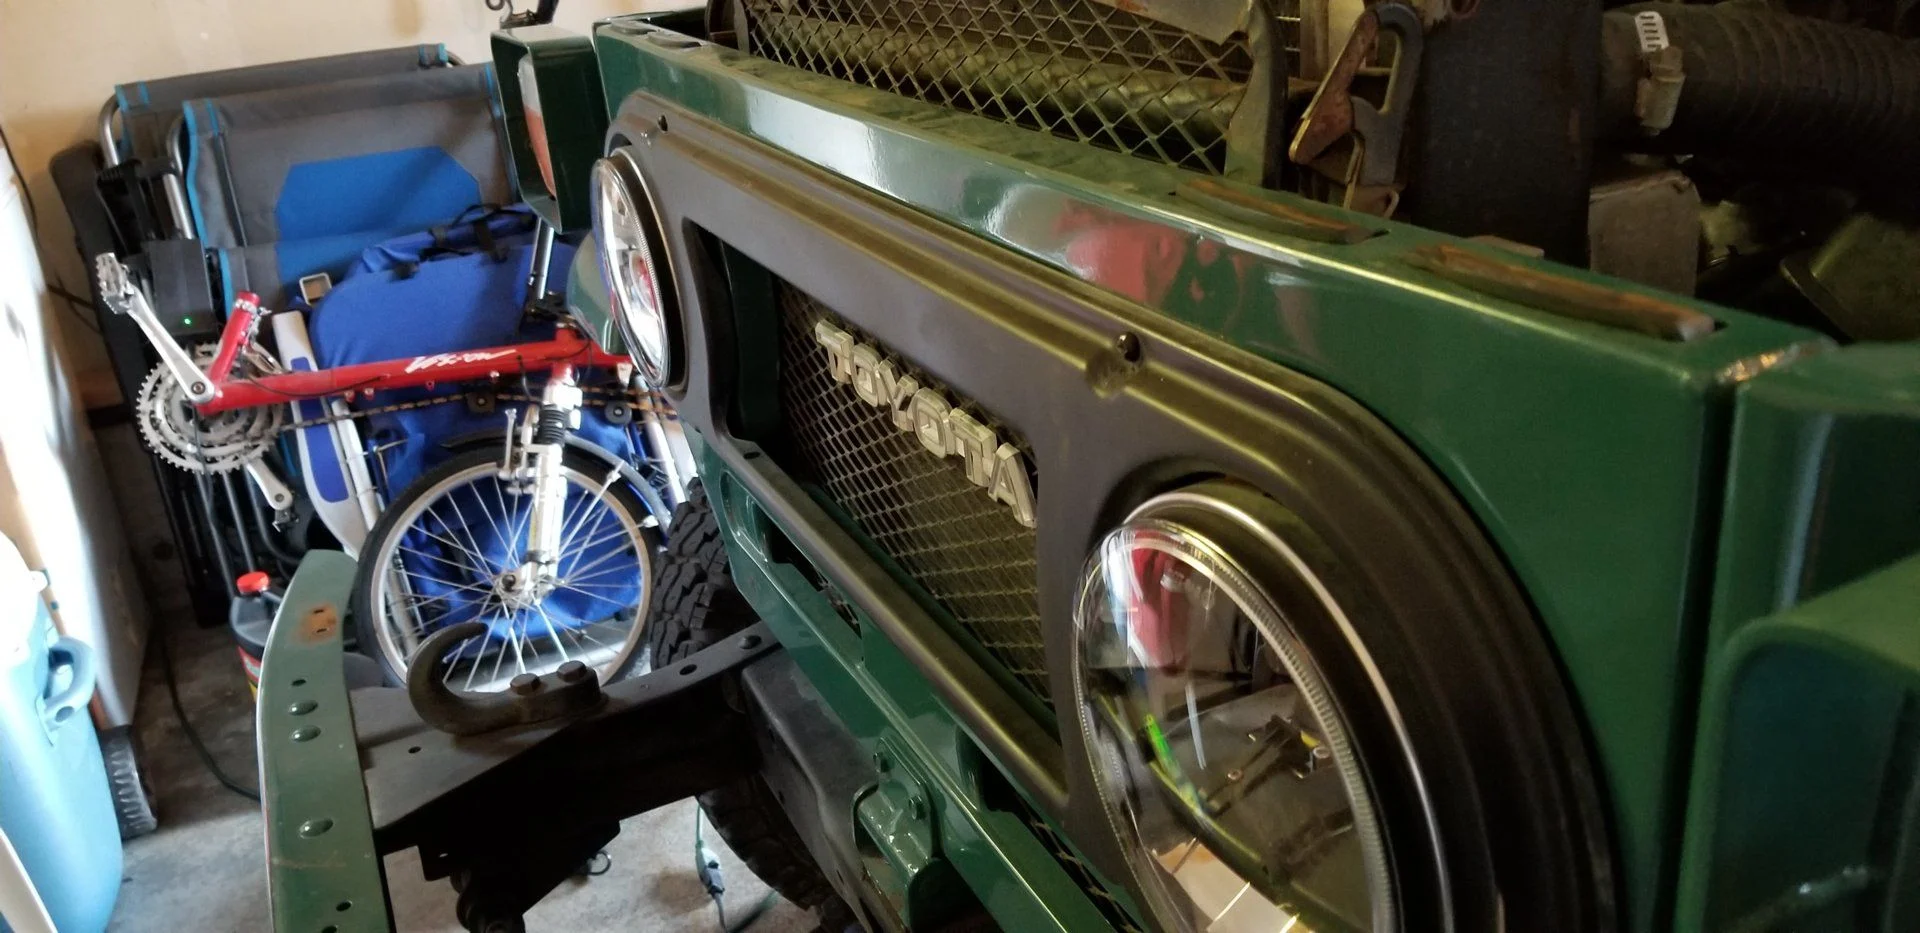
Front headlight trim was cream white, first order was to match my high school rig and paint it black.
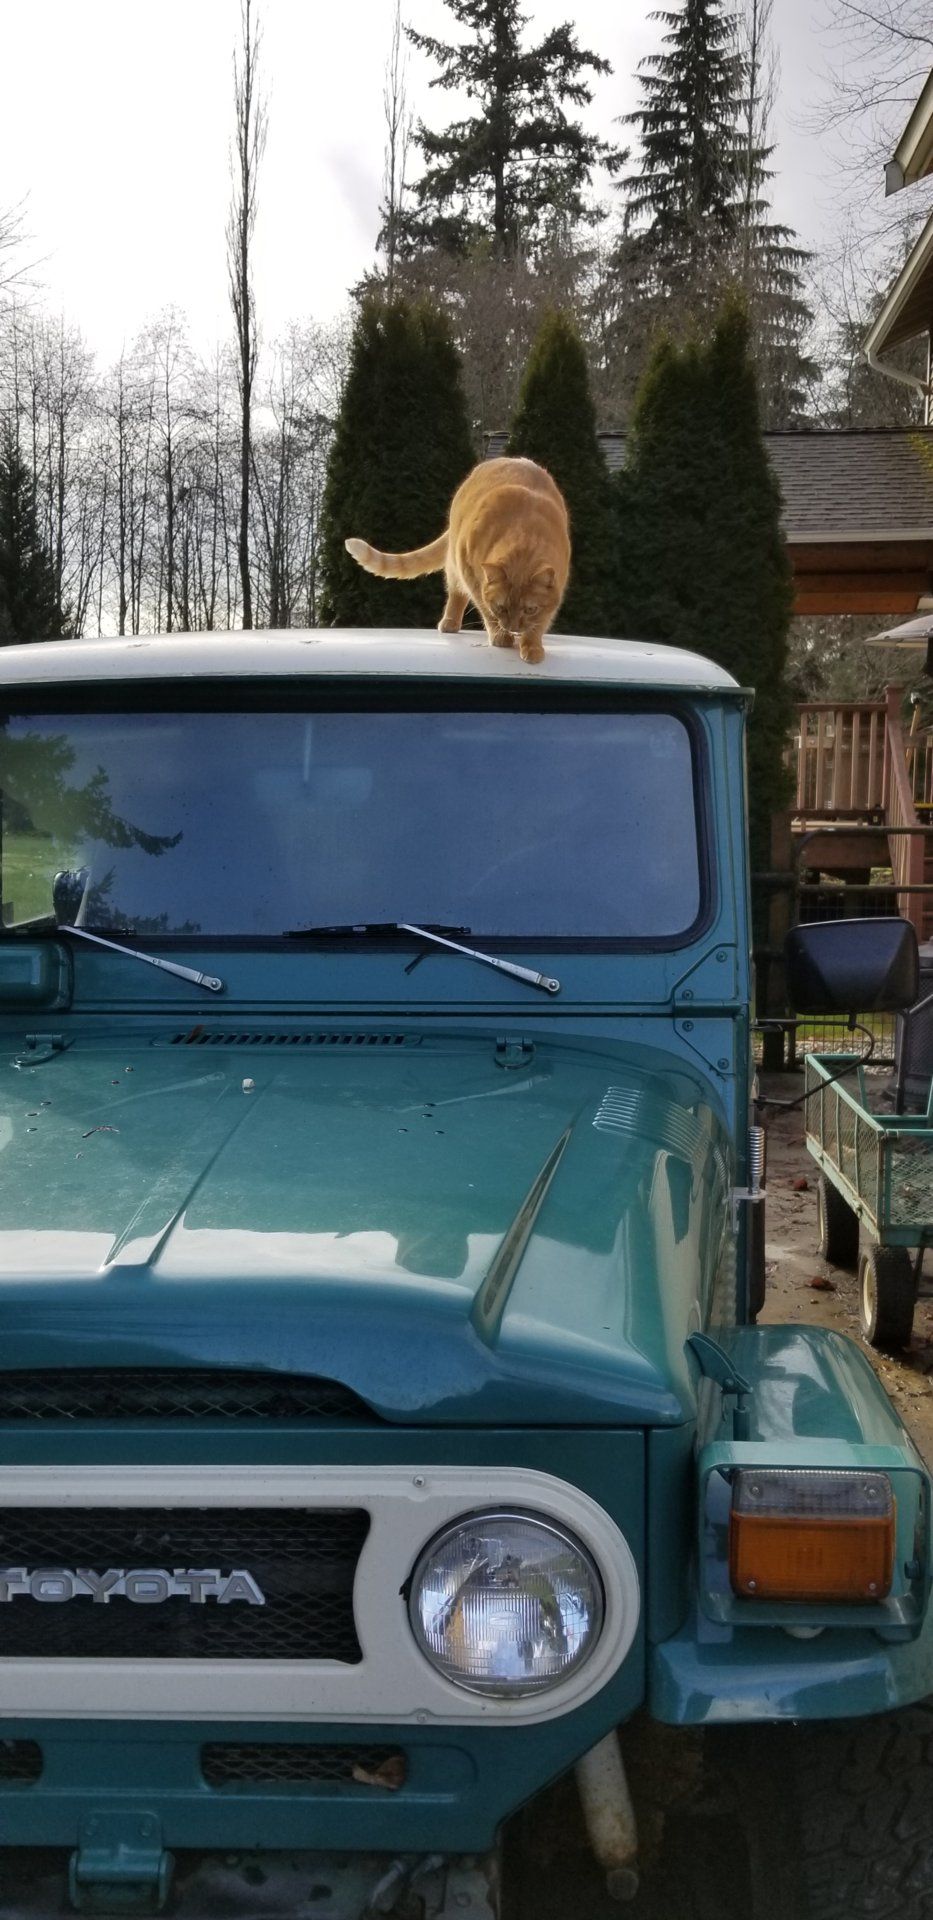
A wild cat was spotted in our neighborhood.
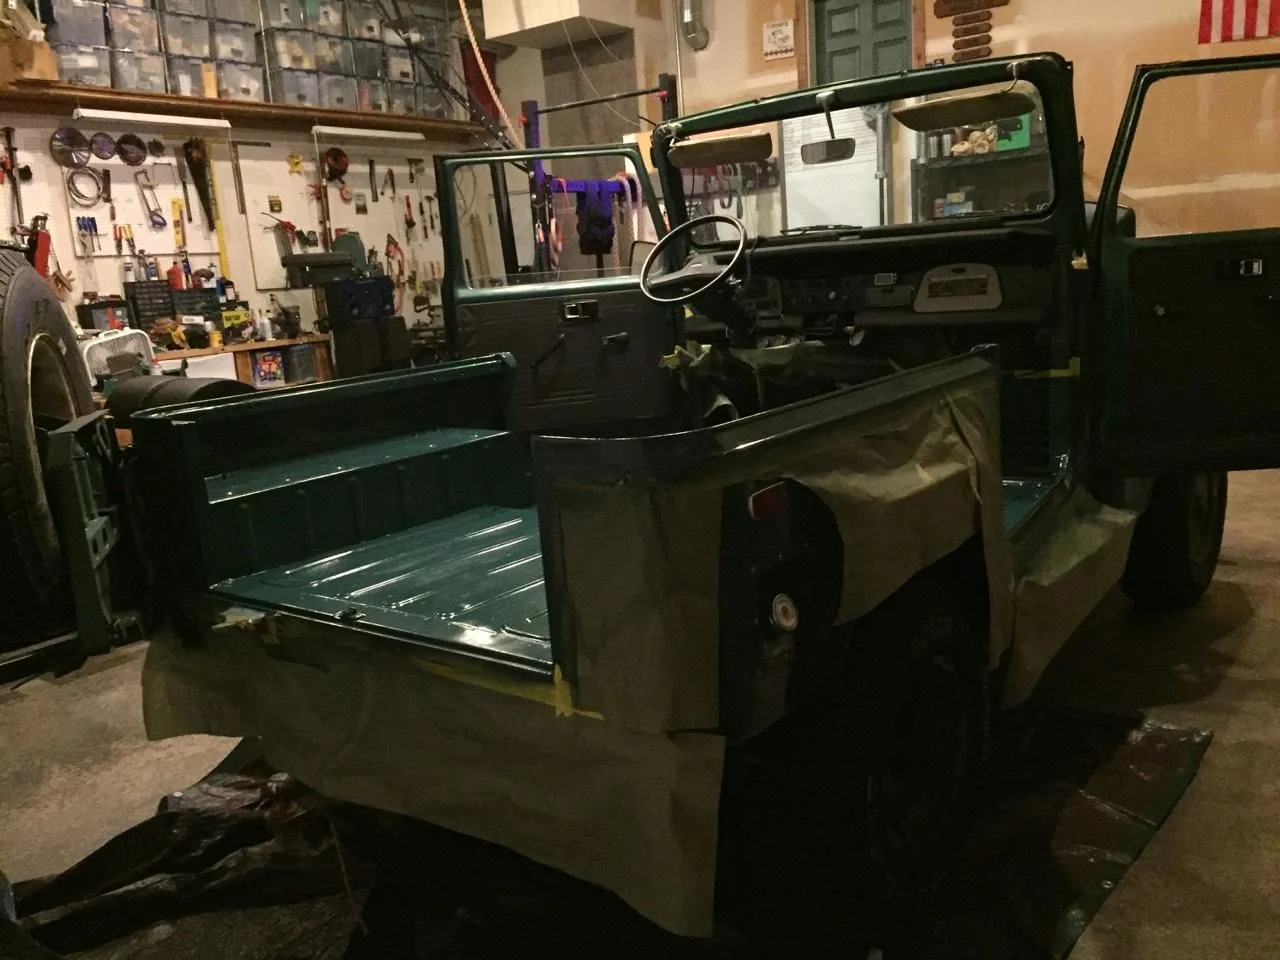
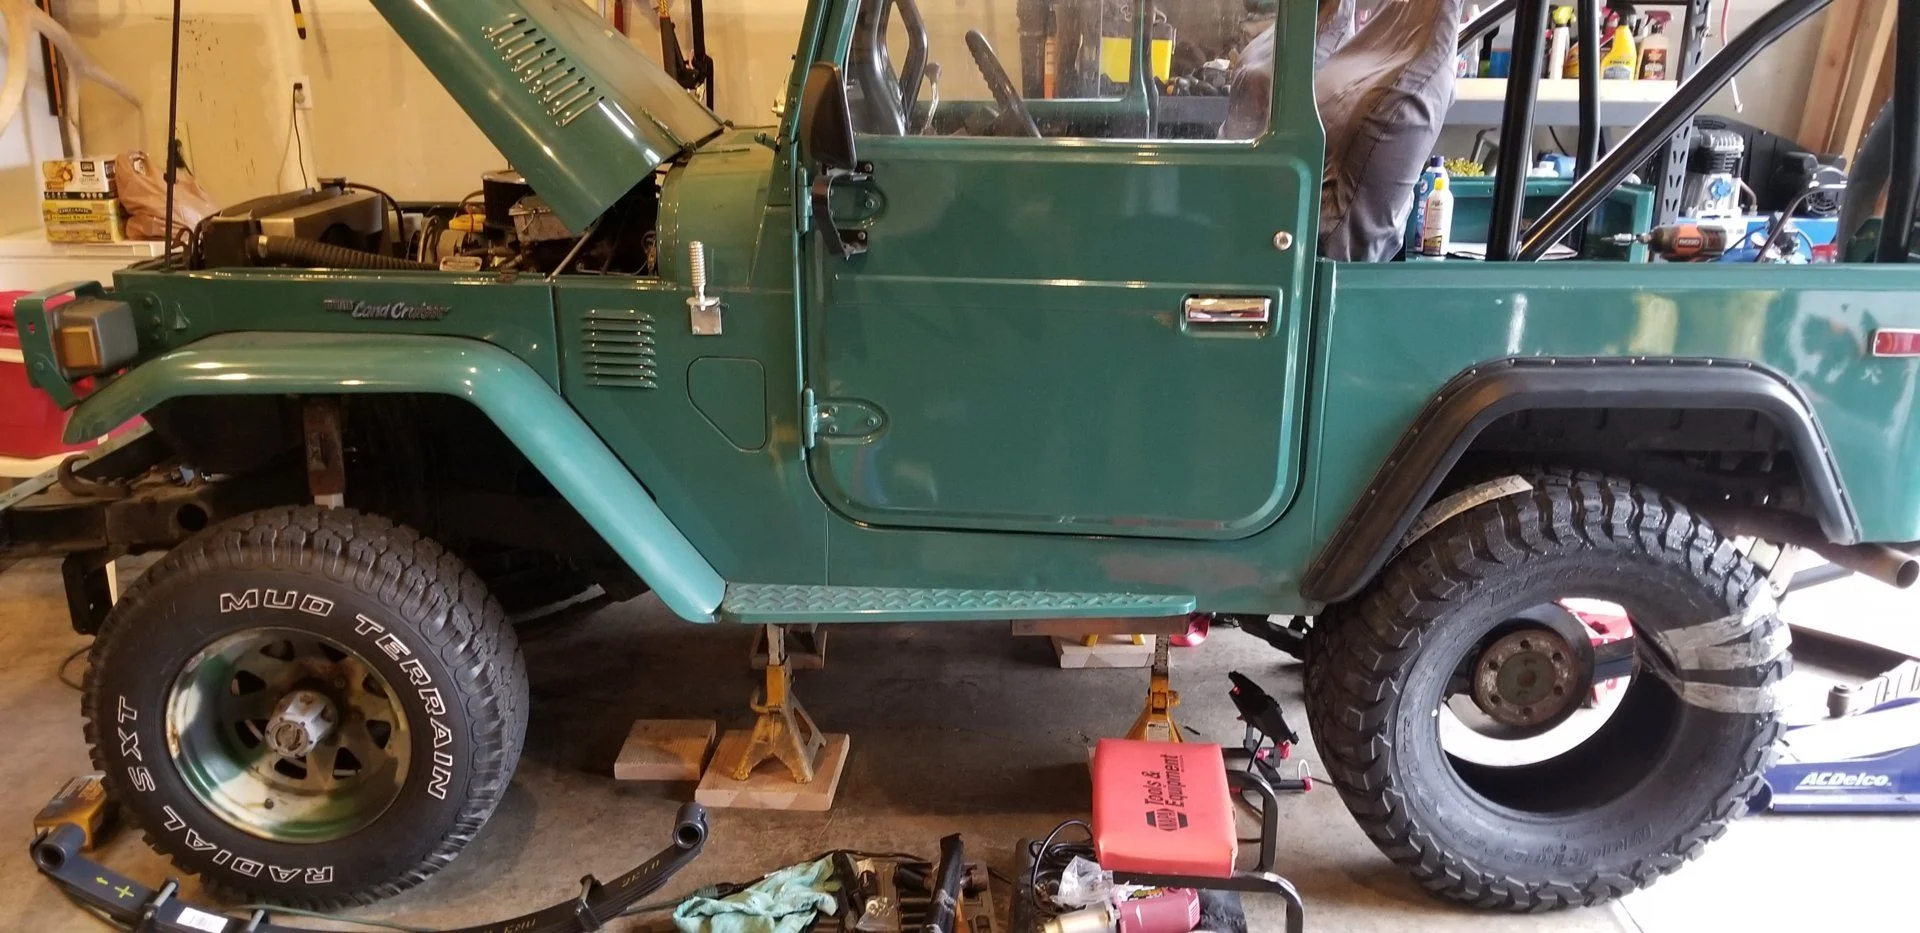
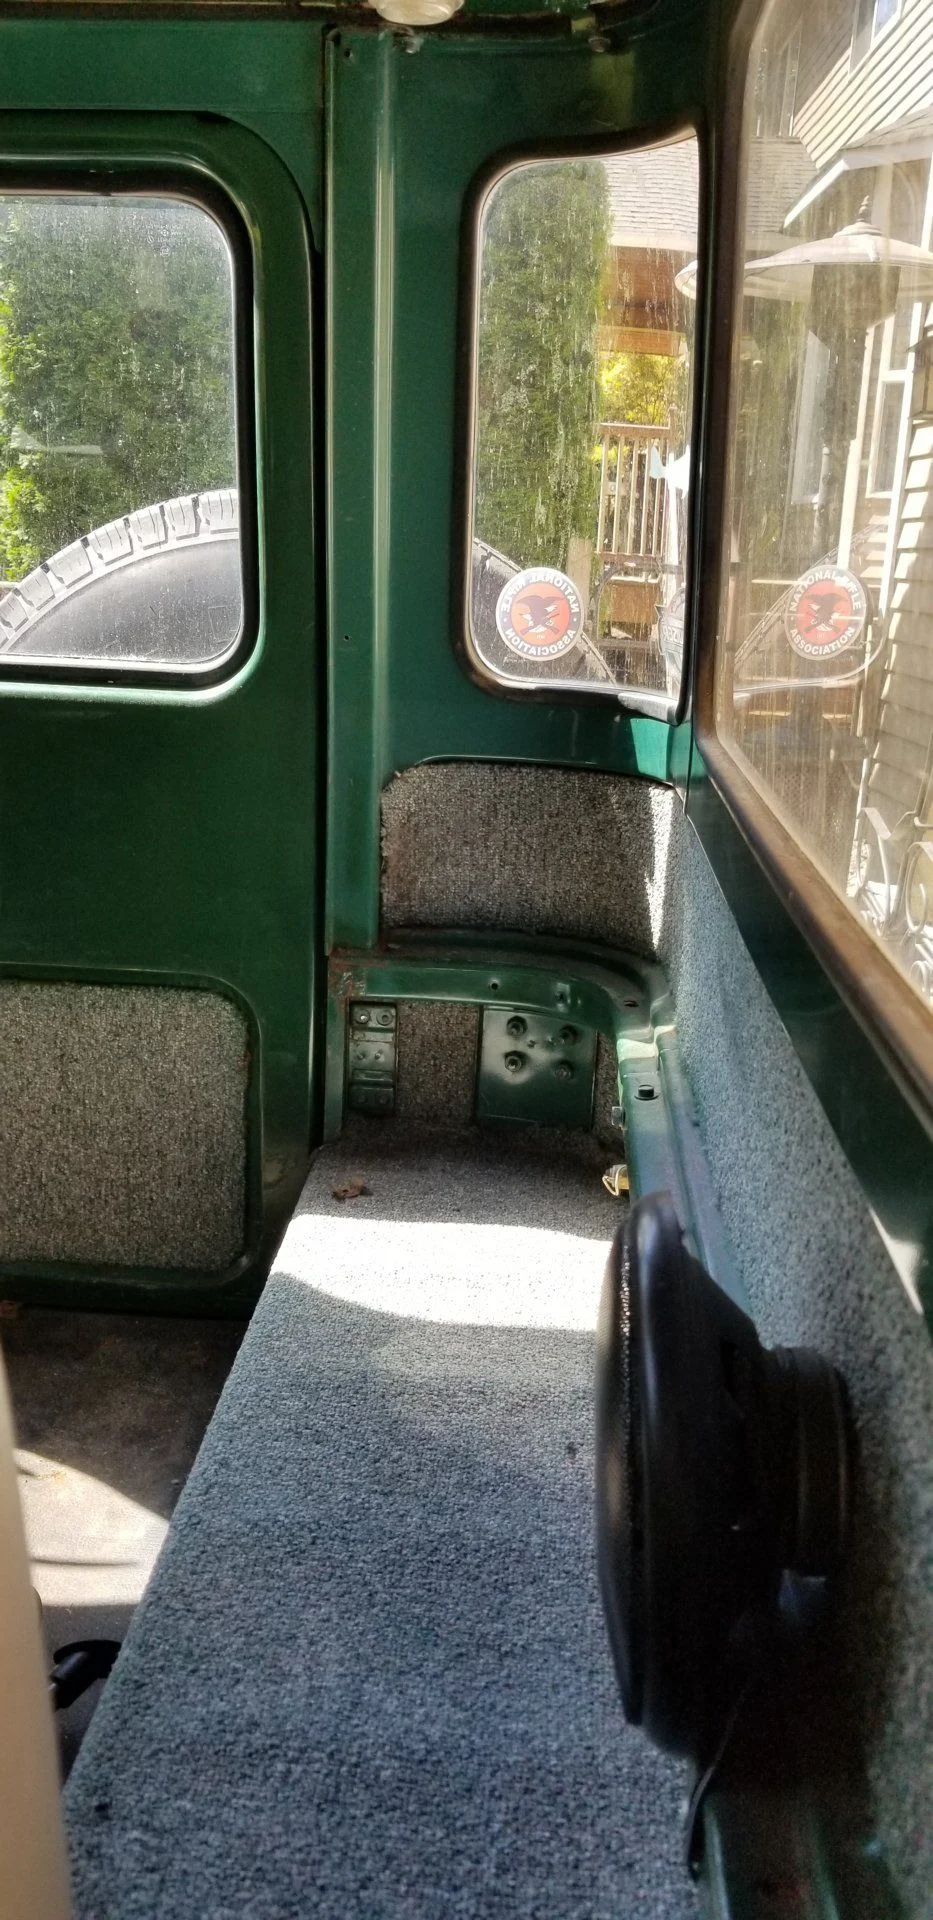
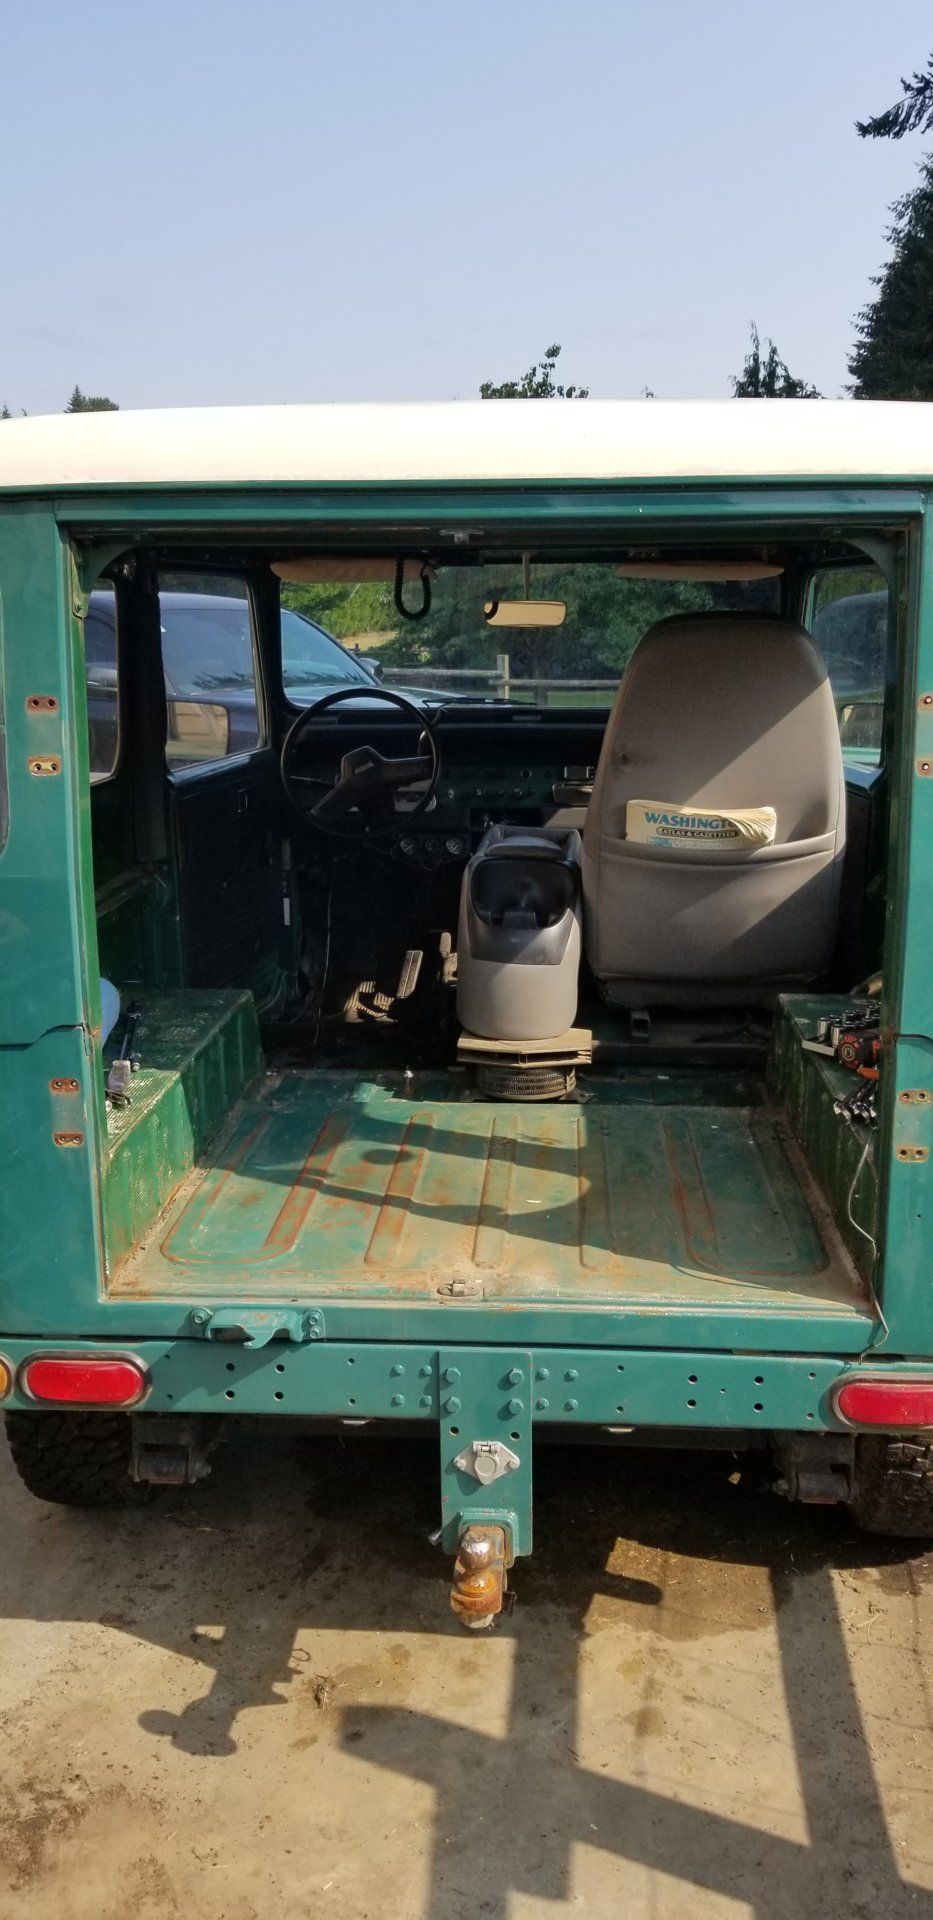
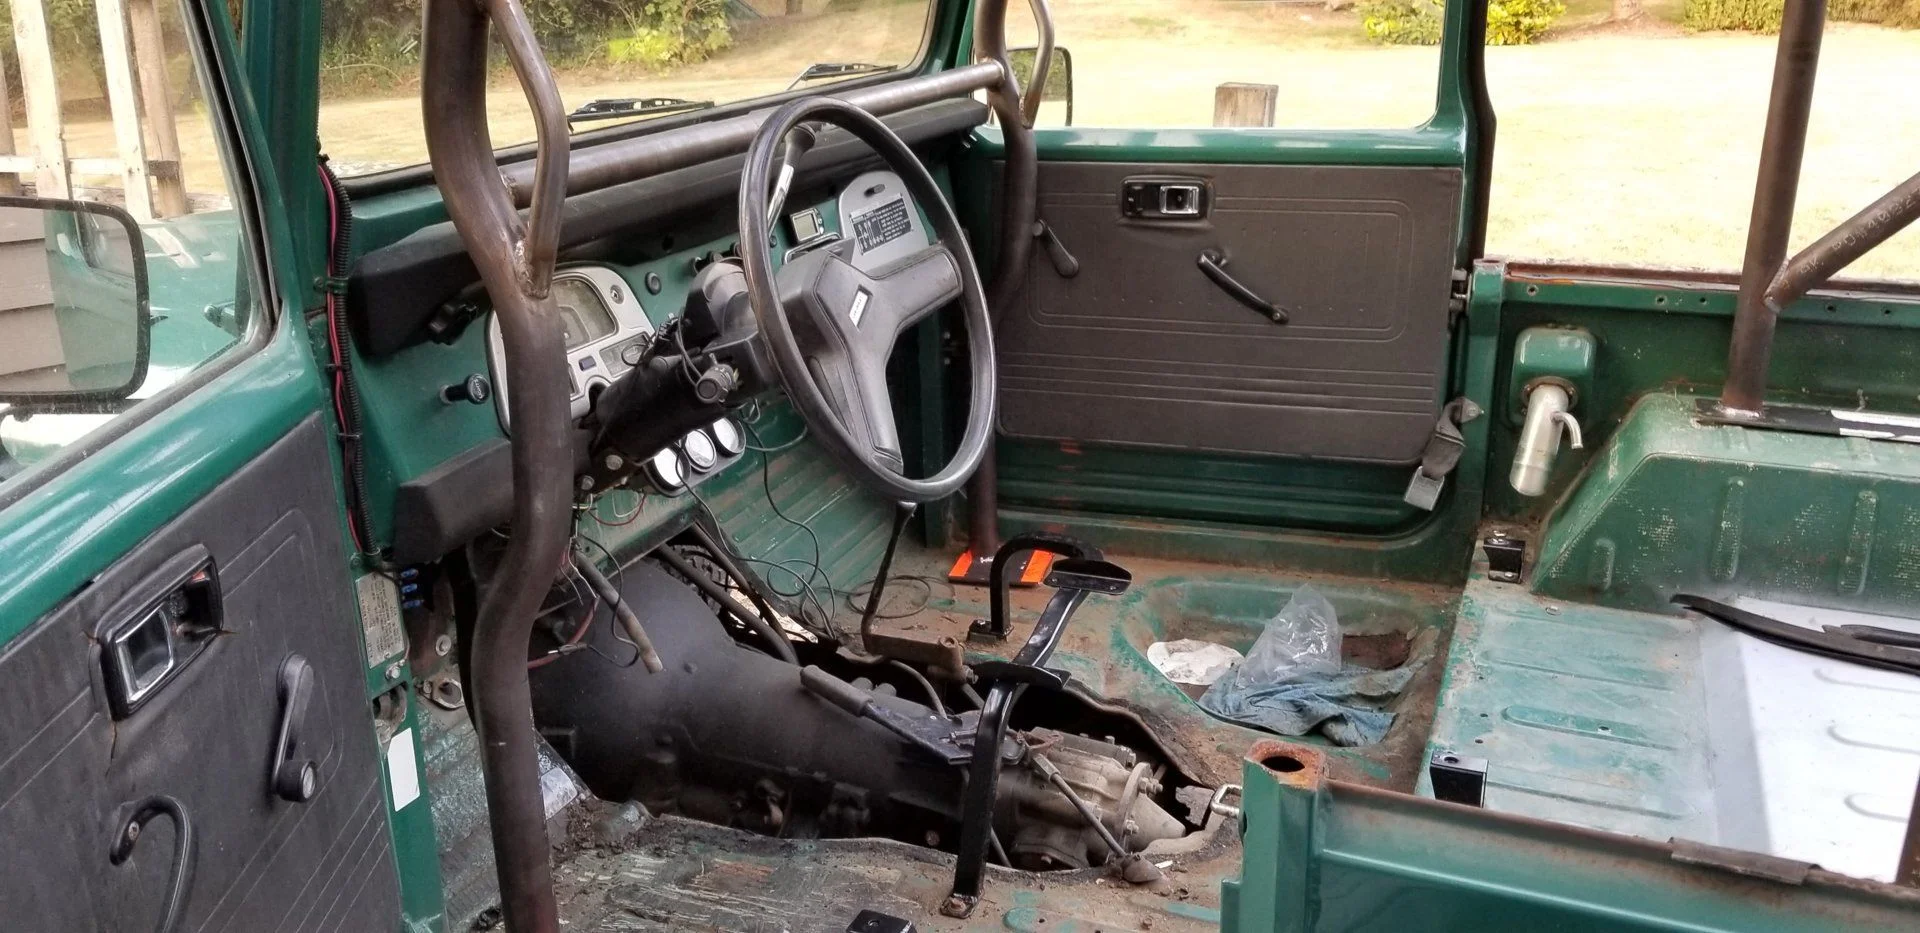
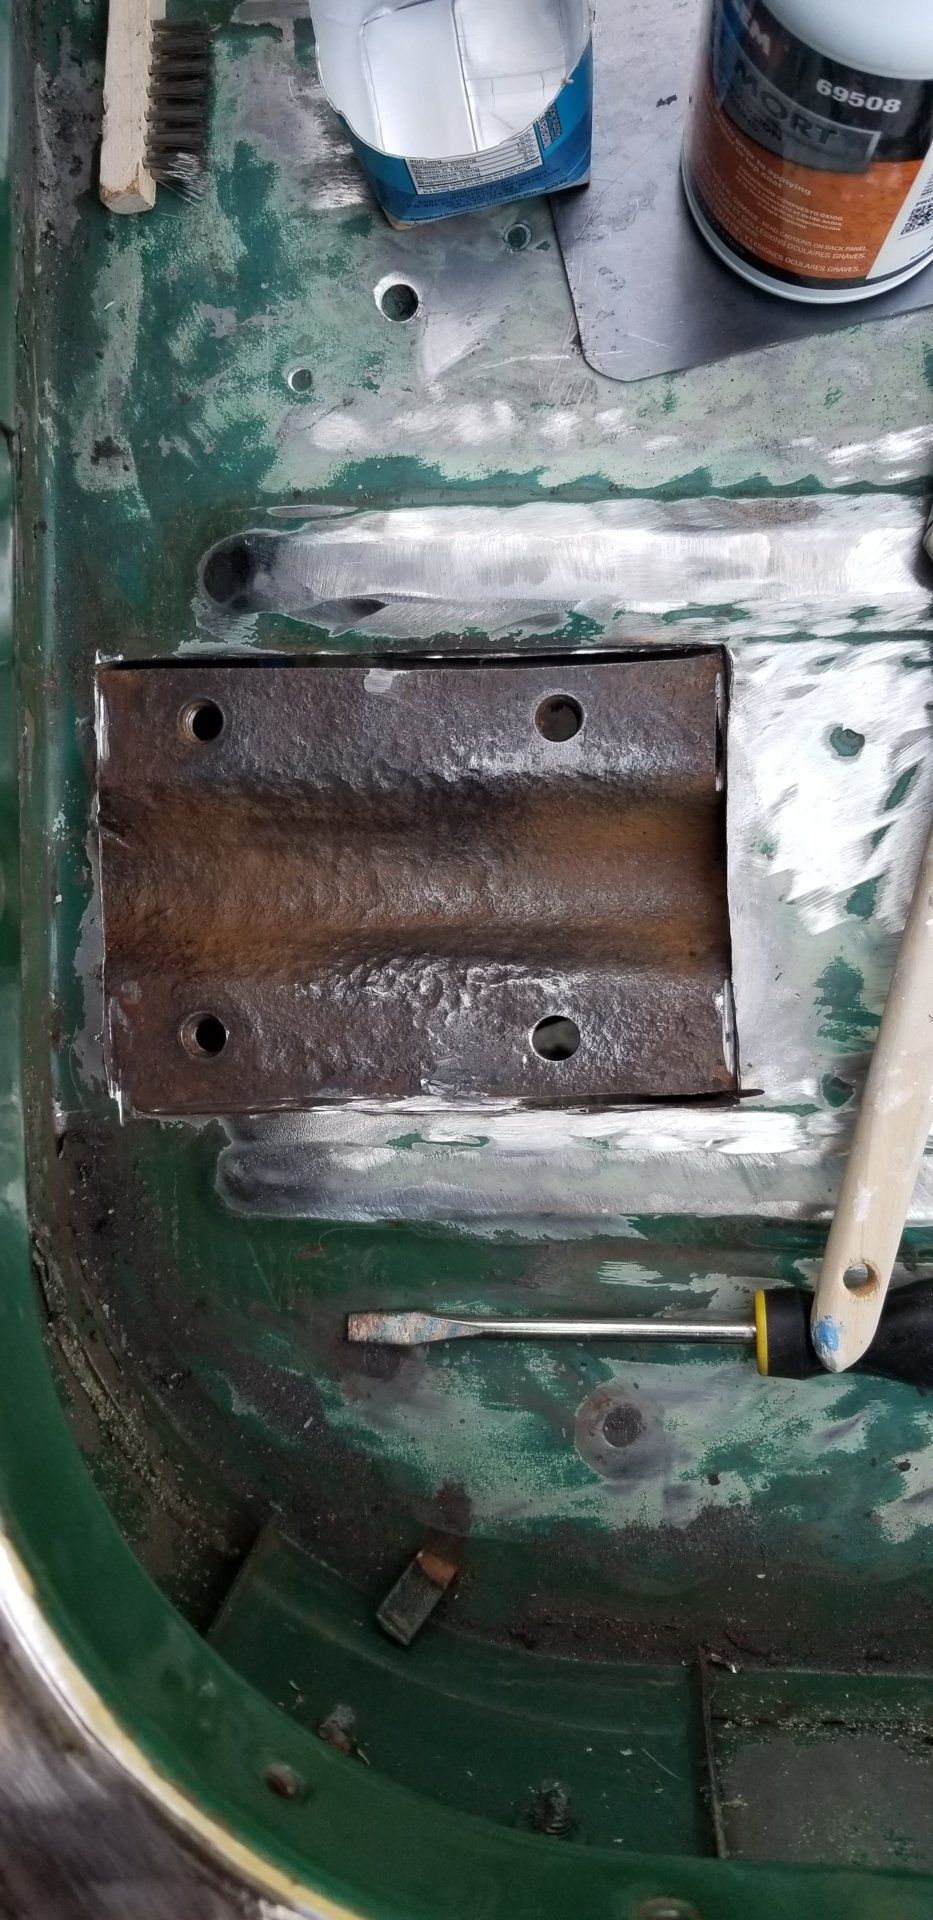
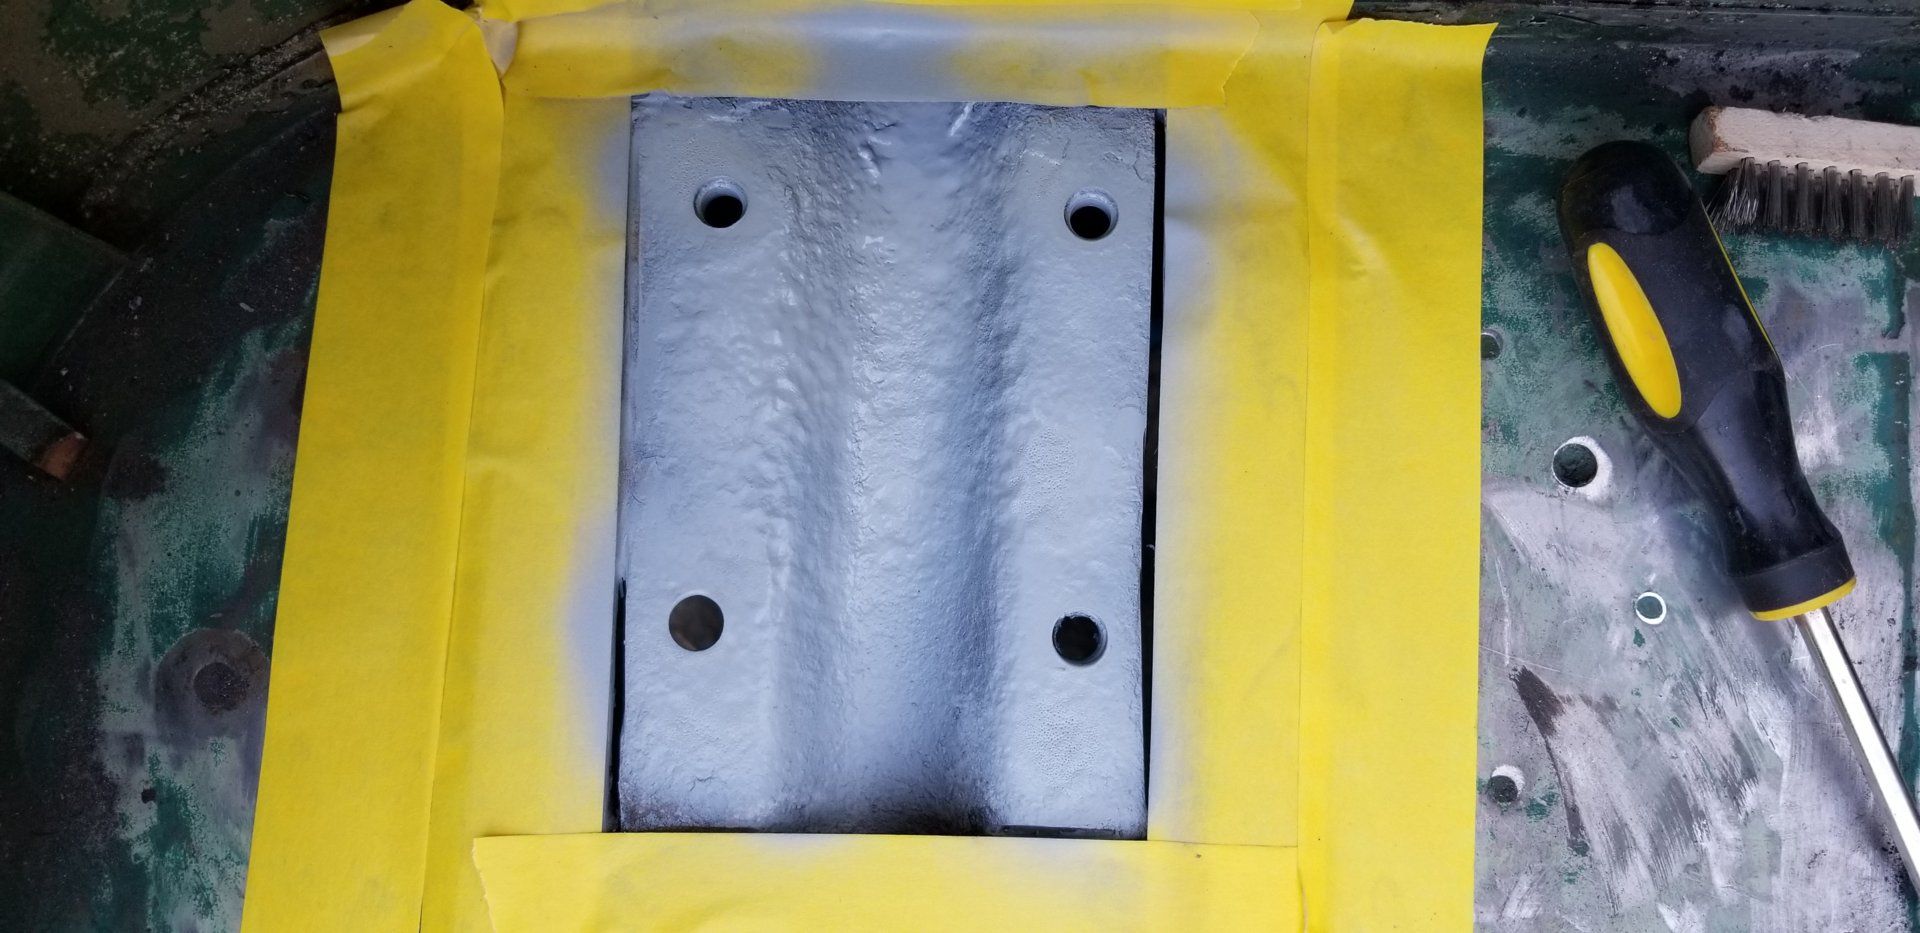
Entire rear end was covered with carpet. I'm pulling everything out, sanding, treating with UPOL primer and then shooting it with raptor liner. I have a rust spot over the rear fender. I've never done body work before, so I think I'll give it a try. I picked up a Viper 180 MIG welder. It should be interesting.
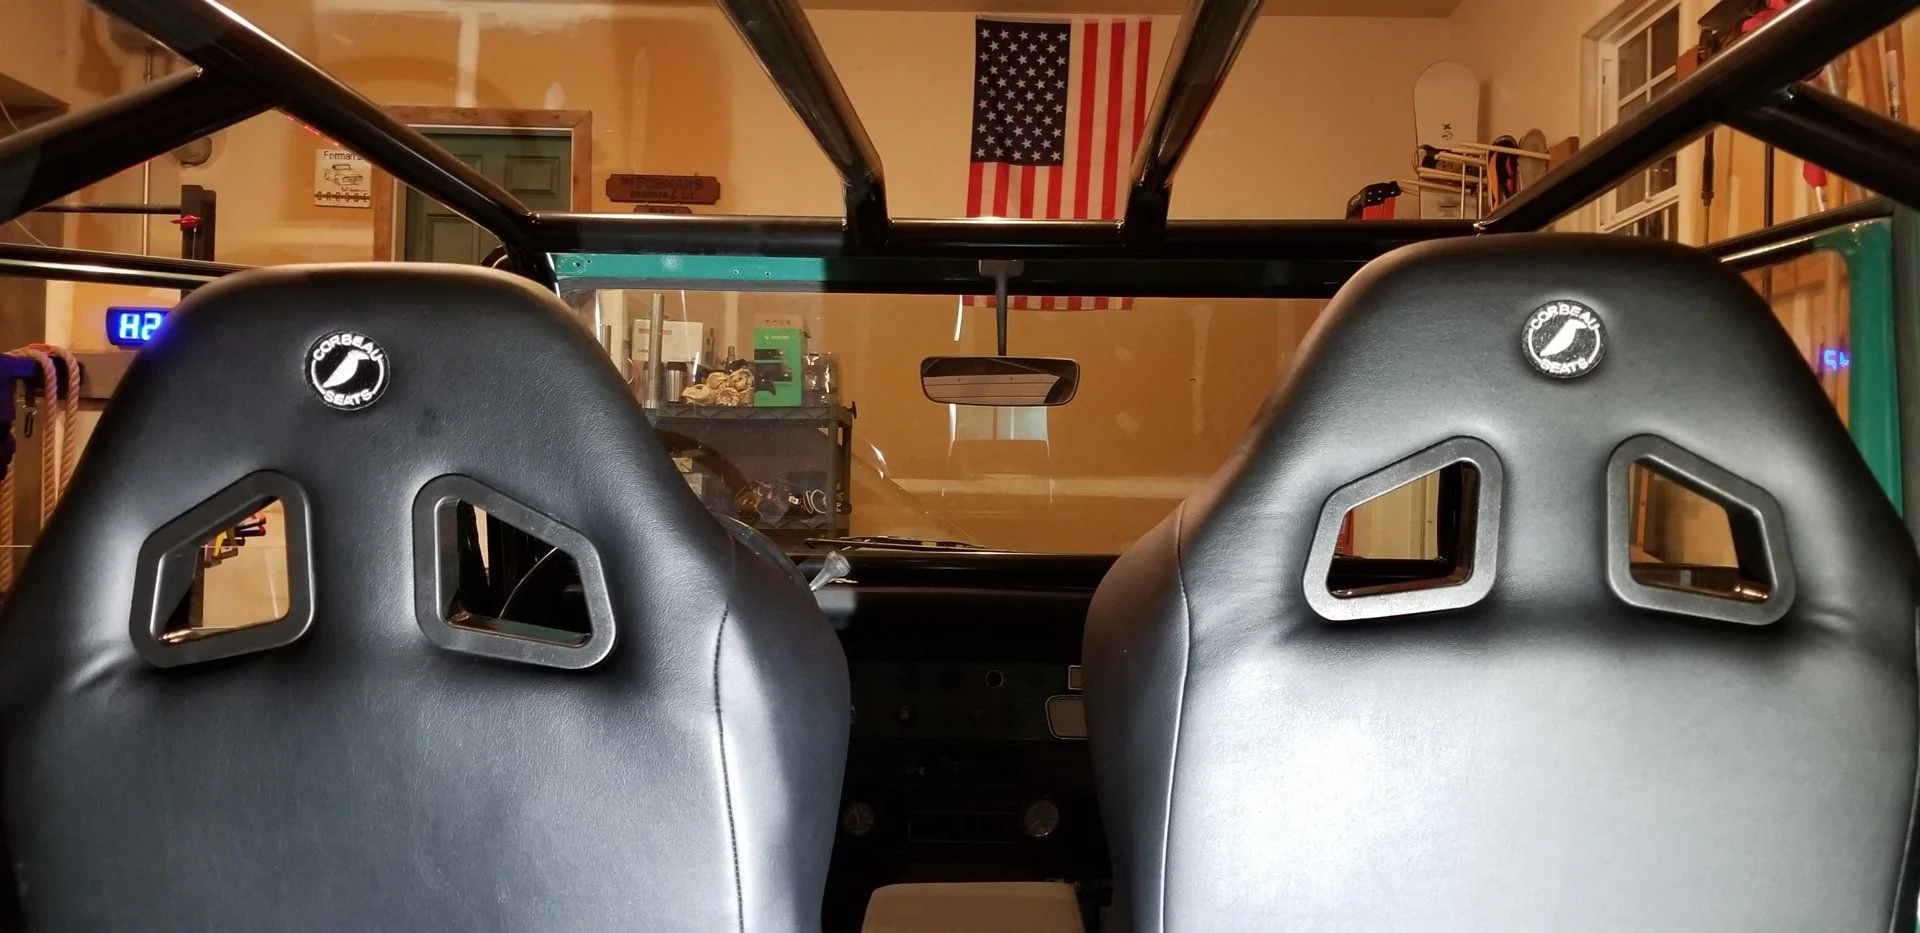
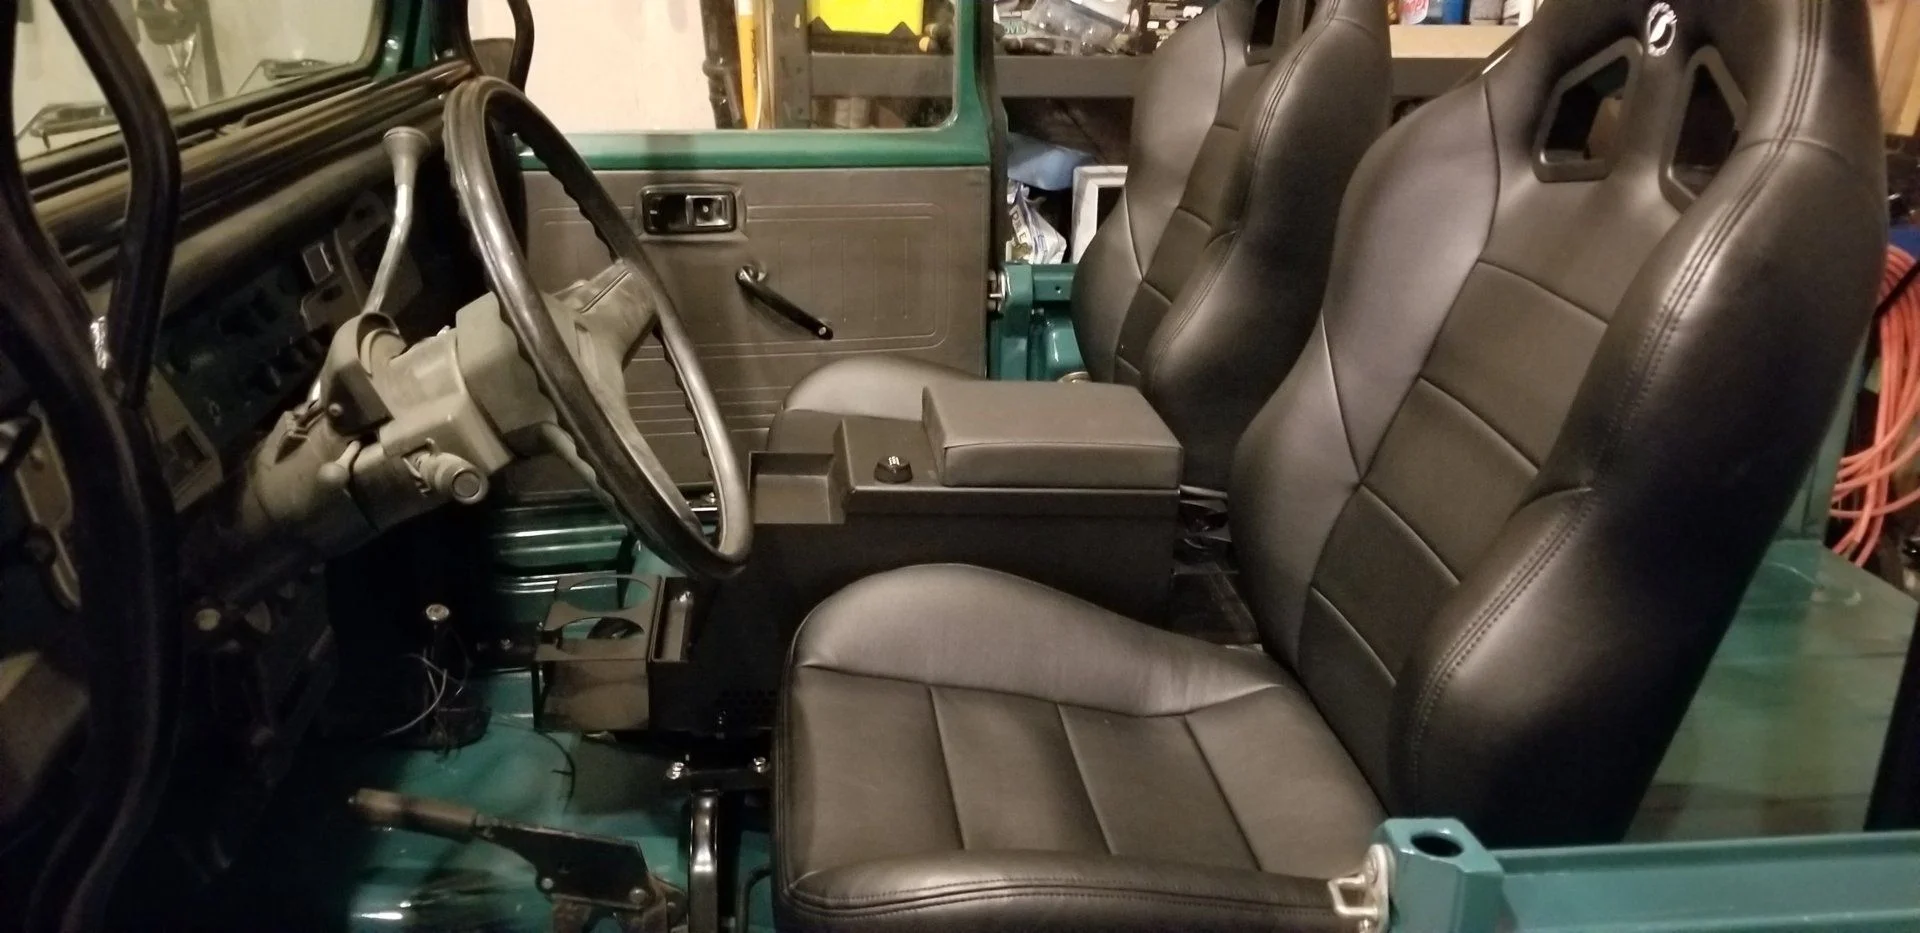
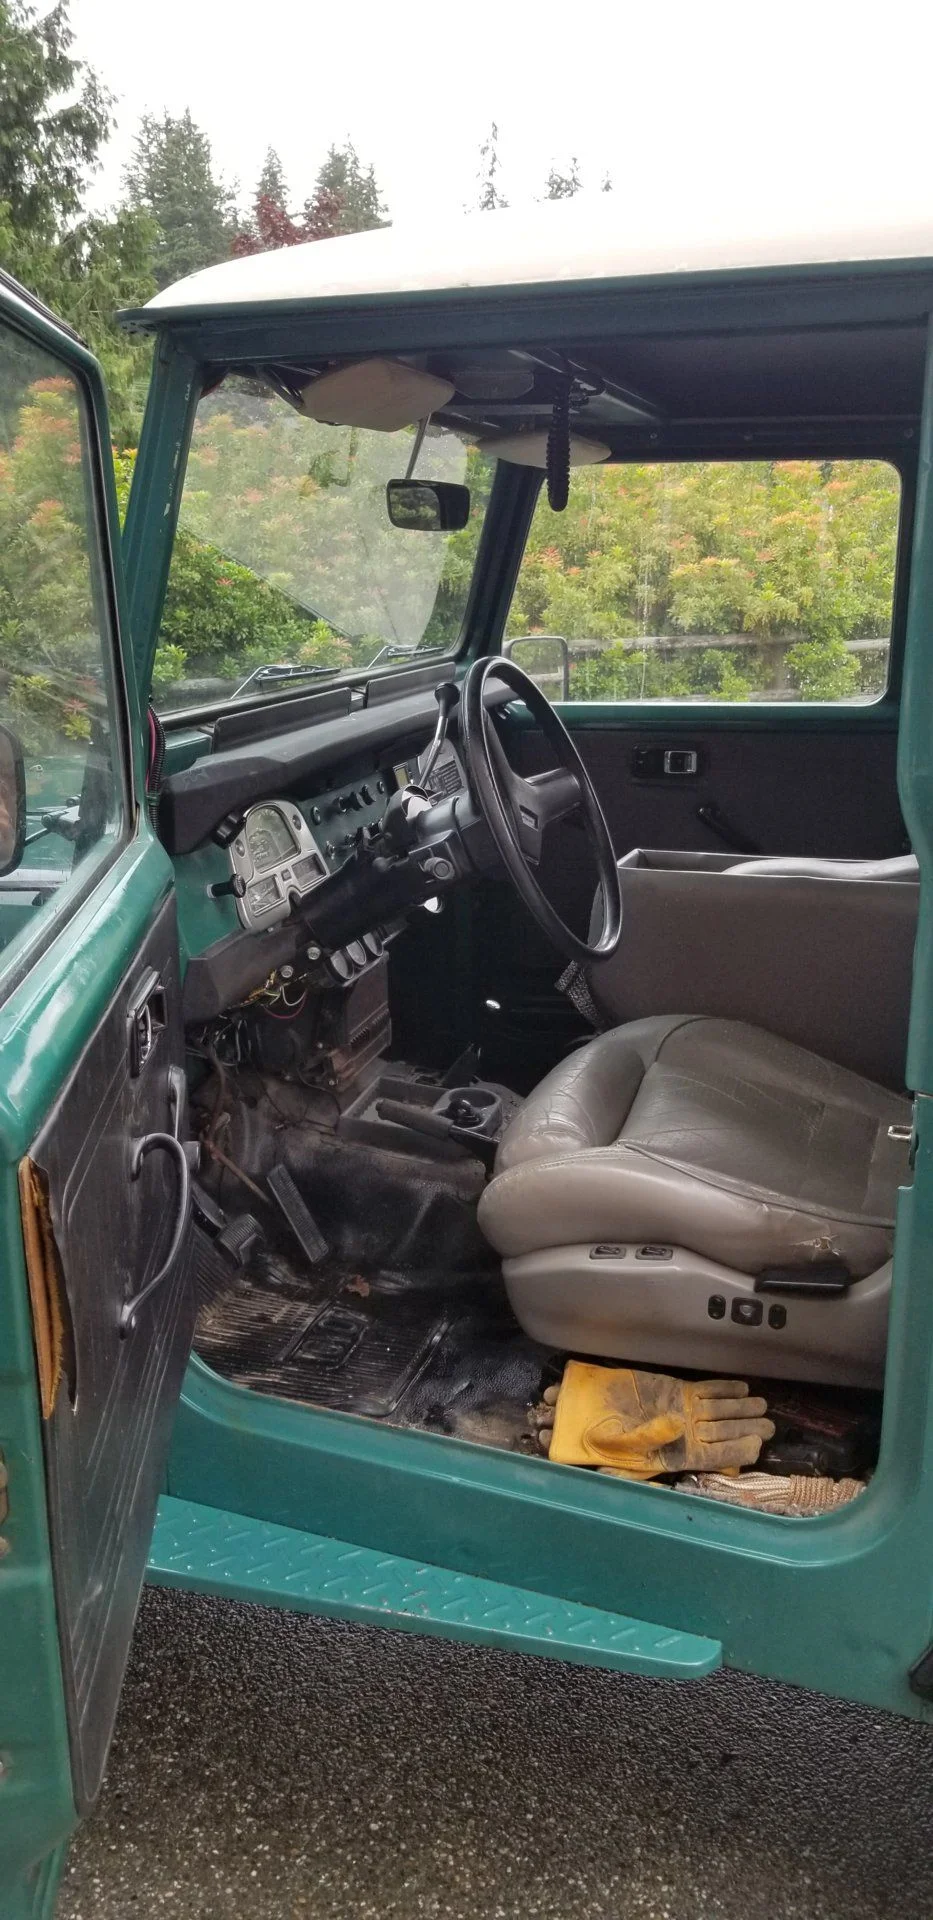
Front seats and center console are from a ford explorer. A little worse for wear. I have new set of corbeau seats to install.
More pics and progress pics to come.
I've grown up in FJ40s, specifically, Chevy conversions. Early pics, before I can remember, capture my dad, brother and I out in my dad's 69 FJ40 with a 327. Later, in high school, I got to drive my dad's 73 with a 400. I worked in Seattle during the week and drove that Landcruiser home, over the pass, every weekend. Over the years, I've had a few project FJs of my own including a 78 with a 327 but nothing really got off the ground like my high school rig.
Dad picked up 76 about 10 years ago and reintroduced the Chevy 400. It was a good rig, minimal rust, balance and blue printed 400, 400 turbo automatic, saginaw power steering, custom shelves front and rear top and ford explorer power seats.
Through good times and rough times, Dad and I always found time to bond of the latest work on our FJs. Dad passed away last year and everyone knew I had first dibs on the Land Cruiser. I bought it from my step mom and took more drive over the pass in my dad's FJ. The title has finally transferred into my name, so work on this rig continues...I just miss the conversation around it.
Here is some pics from the beginning.
Front headlight trim was cream white, first order was to match my high school rig and paint it black.
A wild cat was spotted in our neighborhood.
Entire rear end was covered with carpet. I'm pulling everything out, sanding, treating with UPOL primer and then shooting it with raptor liner. I have a rust spot over the rear fender. I've never done body work before, so I think I'll give it a try. I picked up a Viper 180 MIG welder. It should be interesting.
Front seats and center console are from a ford explorer. A little worse for wear. I have new set of corbeau seats to install.
More pics and progress pics to come.


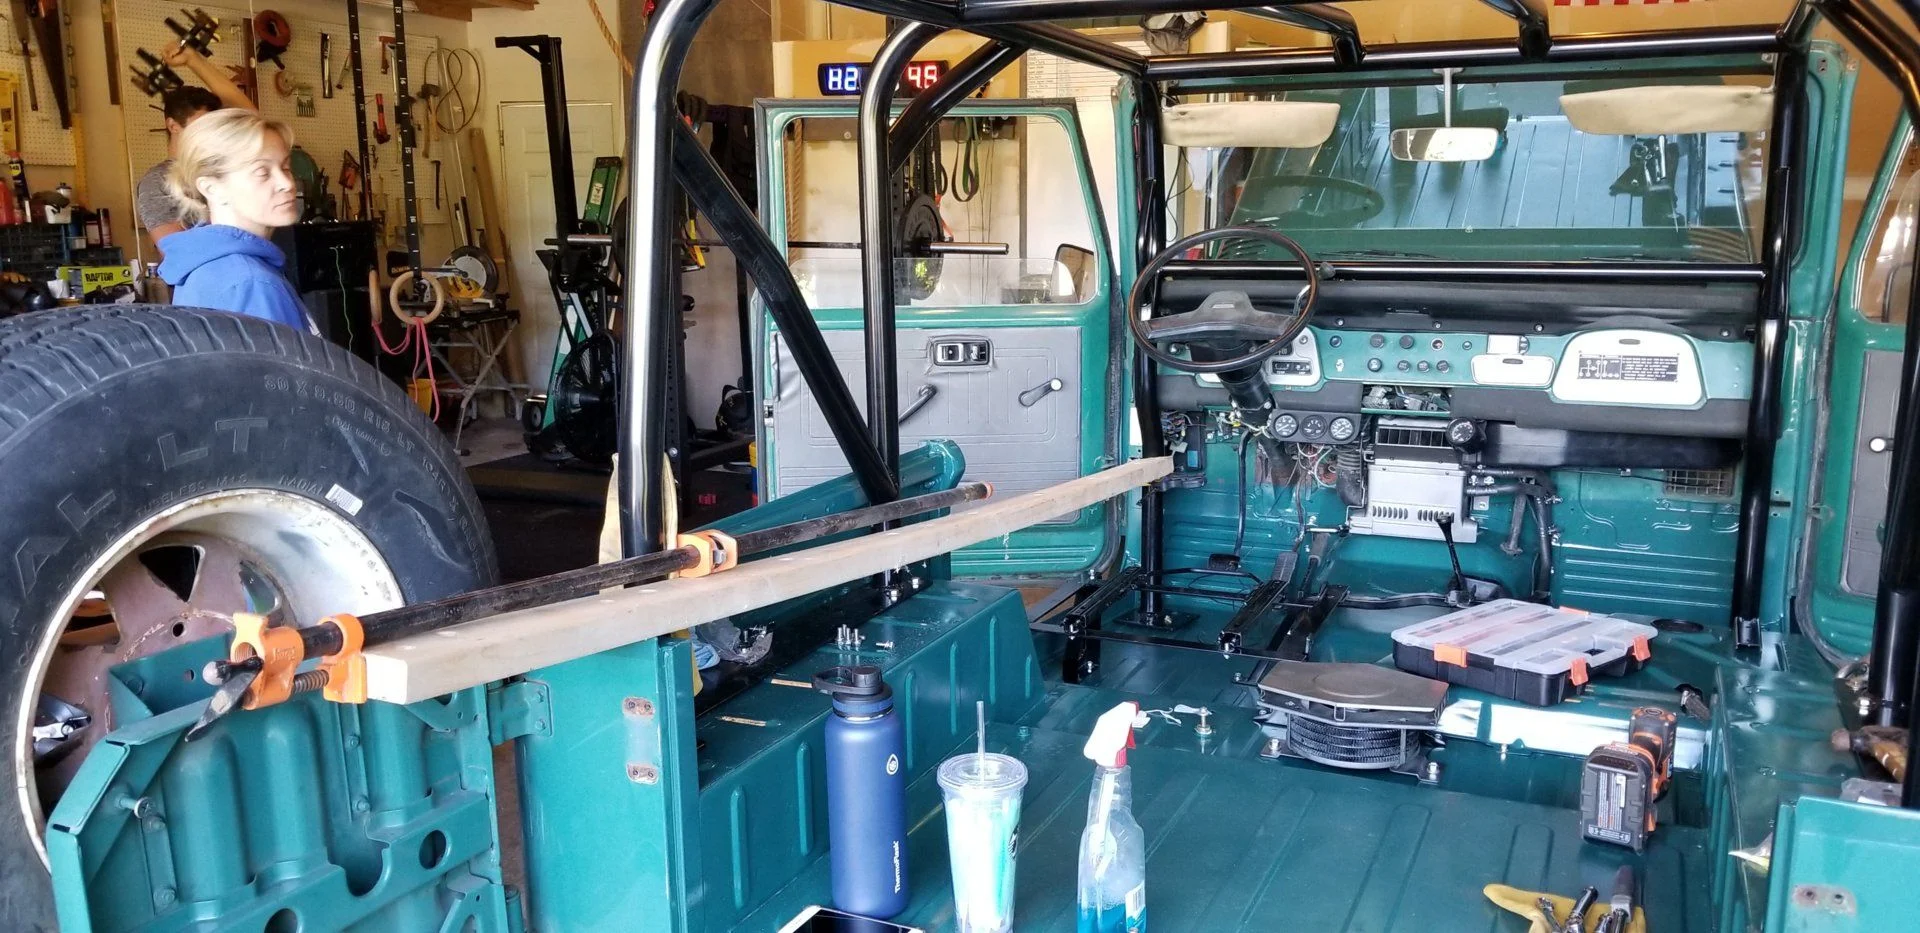
 . So I appreciate the advice and I agree with you on both accounts, I'm just trying to find what part of spectrum that I'm comfortable with. At one end, I can remove all roll bar supports and clean the rust, ensure there is no rust underneath, remove the tub, etc, etc, etc. If you knew me, you would fear this would turn into a 3 year resto project which I'd loose interest in, and it become a fire sale. This has already happened one cruiser before this.
 .
.