Navigation
Install the app
How to install the app on iOS
Follow along with the video below to see how to install our site as a web app on your home screen.
Note: This feature may not be available in some browsers.
More options
Style variation
You are using an out of date browser. It may not display this or other websites correctly.
You should upgrade or use an alternative browser.
You should upgrade or use an alternative browser.
Silver Bumper Paint Code?
- Thread starter OffRoadRN
- Start date
This site may earn a commission from merchant affiliate
links, including eBay, Amazon, Skimlinks, and others.
More options
Who Replied?I have searched for this in every way I can think of a while back. I didn't come up with anything either. Auto body supply stores can usually match the paint.
- Thread starter
- #4
I asked my buddy that works at a collision shop to see if he can figure it out.I have searched for this in every way I can think of a while back. I didn't come up with anything either. Auto body supply stores can usually match the paint.

Color for body side molding
 forum.ih8mud.com
try this post, enter VIN it'll tell you
UCA46
1999 Toyota Landcruiser Touch Up Paint - for Landcruiser Paint Repairs - PaintScratch.com
Order Your 1999 Toyota Landcruiser Touch Up Paint Here. Low Prices and Guaranteed To Match the original Landcruiser factory color chip provided by the vehicle manufacturer.
 www.paintscratch.com
- Thread starter
- #8
Thanks, so any idea if it’s medium gray or dark taupe?1999 Toyota Landcruiser Touch Up Paint - for Landcruiser Paint Repairs - PaintScratch.com
Order Your 1999 Toyota Landcruiser Touch Up Paint Here. Low Prices and Guaranteed To Match the original Landcruiser factory color chip provided by the vehicle manufacturer.
Sorry- don’t know for white - mine is champagne silver aka warm silver metallic and my cladding is light grayish beige metalic.
And this post suggests it’s the medium gray for white
 forum.ih8mud.com
Touch up paint for 1998 100...
Checked door code in search function but and found 056 is main ext color code....which is Natural white i have a two tone with grey trim and bumpers.......anybody got that paint code? C14 maybe
forum.ih8mud.com
Recently bought a white '99 Land Cruiser 100. The bumper had some scrapes, and the side strip trim on the doors had some spots where the paint was missing. This truck came with the bumpers and trim painted a silvery-gold color (which I believe is officially called "Grayish Beige" by Toyota). It looks silver from some angles and gold from others.
Took some photos and headed to the parts store, and came back with Duplicolor BGM-0490 Pewter Metallic, a GM color. Color match is 95%, and certainly good enough for filling in scrapes and scratches. It captures the original behavior of looking different colors in different lighting. Pics below:
Here we are looking at the three deep gouges on the bumper. Those are the only thing painted in this photo. The scratch on top of the bumper hasn't been painted yet.

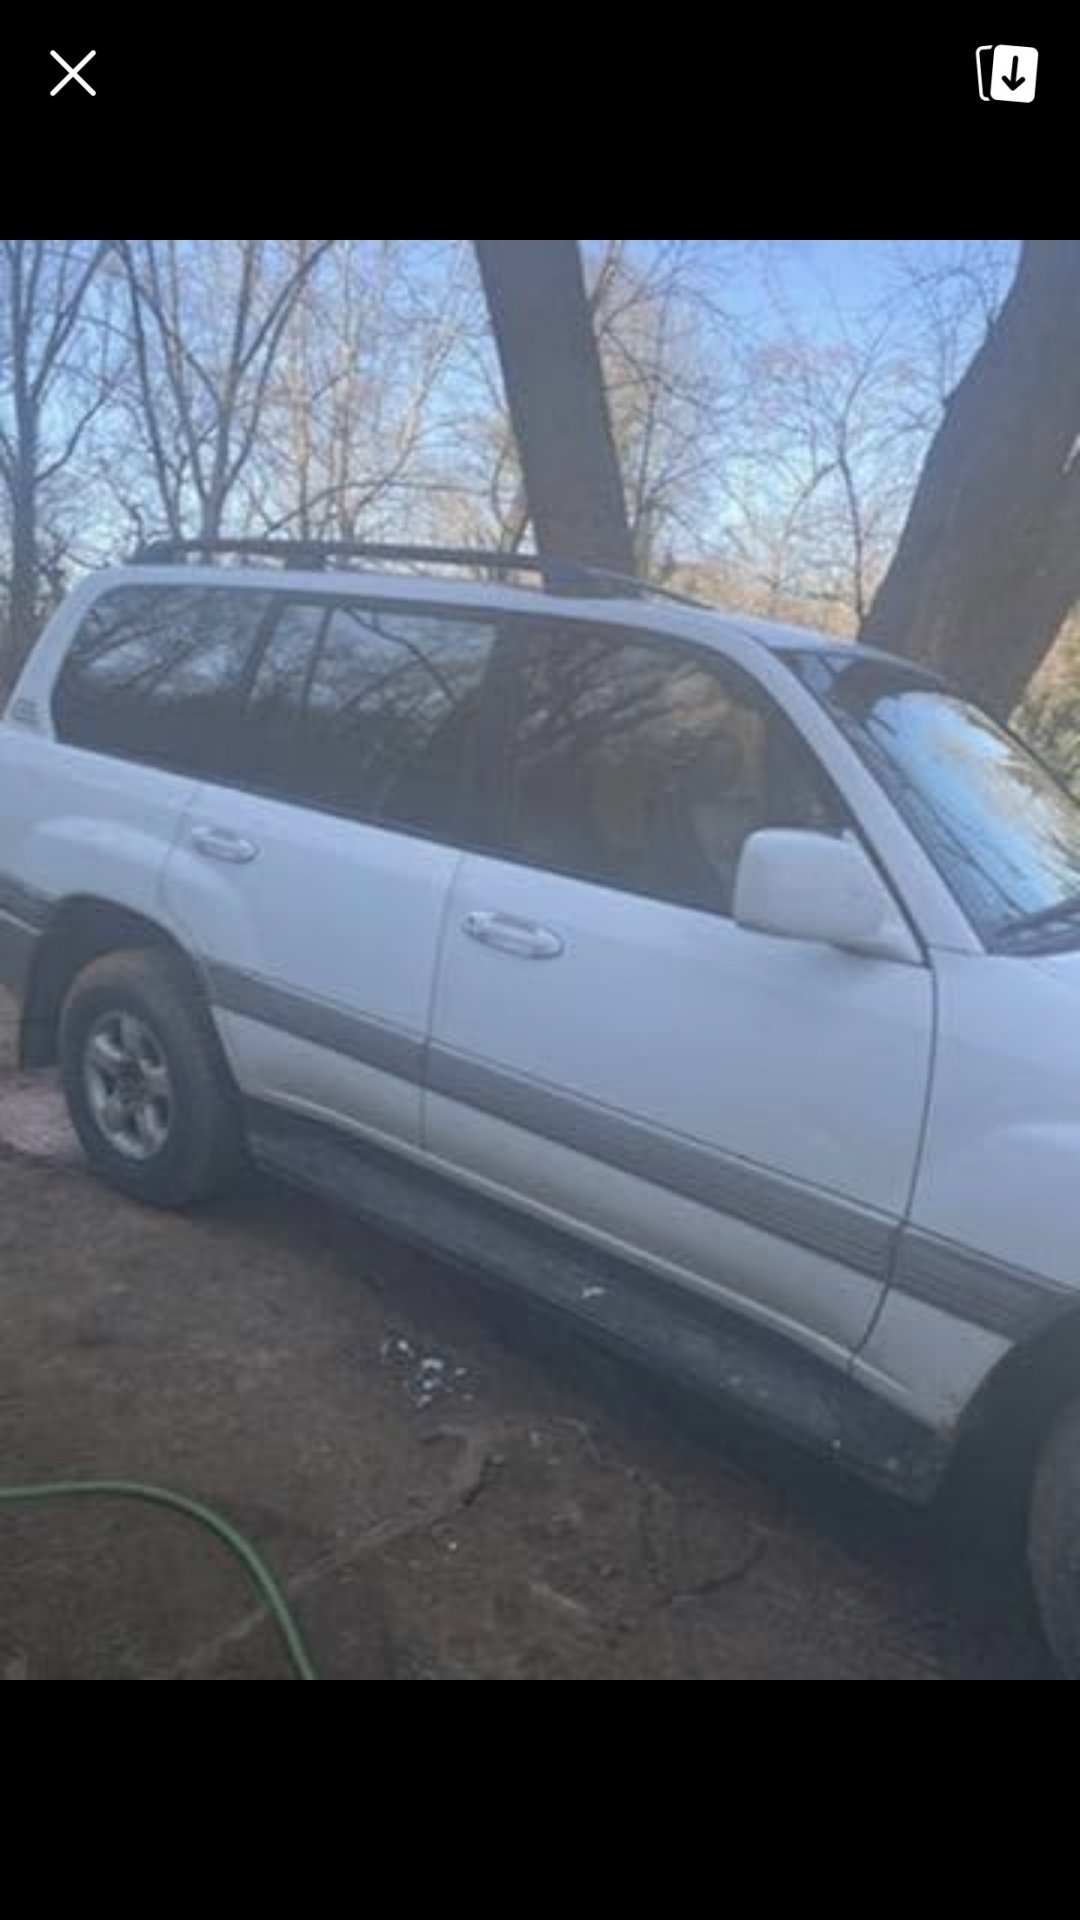
In this photo, we're looking at the door trim. It is painted a single color - it has two shades because it is getting sun from the open garage door behind it. Note the chips on the fender piece. That's because I didn't paint the fender piece. That's the original color.

More of the door, and plasti-dipped emblems.

And here is verification that SEM 15723 Monterey is a good match for repairing the wear spot on the top of the interior door panel. Again, it's all the same color - different shades are just due to reflection of light.

Took some photos and headed to the parts store, and came back with Duplicolor BGM-0490 Pewter Metallic, a GM color. Color match is 95%, and certainly good enough for filling in scrapes and scratches. It captures the original behavior of looking different colors in different lighting. Pics below:
Here we are looking at the three deep gouges on the bumper. Those are the only thing painted in this photo. The scratch on top of the bumper hasn't been painted yet.
In this photo, we're looking at the door trim. It is painted a single color - it has two shades because it is getting sun from the open garage door behind it. Note the chips on the fender piece. That's because I didn't paint the fender piece. That's the original color.
More of the door, and plasti-dipped emblems.
And here is verification that SEM 15723 Monterey is a good match for repairing the wear spot on the top of the interior door panel. Again, it's all the same color - different shades are just due to reflection of light.
Last edited:
Thank you for posting this. I got that same paint and did my side trim over the weekend. It looks so much better, even my wife noticed.Recently bought a white '99 Land Cruiser 100. The bumper had some scrapes, and the side strip trim on the doors had some spots where the paint was missing. This truck came with the bumpers and trim painted a silvery-gold color (which I believe is officially called "Grayish Beige" by Toyota). It looks silver from some angles and gold from others.
Took some photos and headed to the parts store, and came back with Duplicolor BGM-0490 Pewter Metallic, a GM color. Color match is 95%, and certainly good enough for filling in scrapes and scratches. It captures the original behavior of looking different colors in different lighting. Pics below:
Here we are looking at the three deep gouges on the bumper. Those are the only thing painted in this photo. The scratch on top of the bumper hasn't been painted yet.
View attachment 3406141
In this photo, we're looking at the door trim. It is painted a single color - it has two shades because it is getting sun from the open garage door behind it. Note the chips on the fender piece. That's because I didn't paint the fender piece. That's the original color.
View attachment 3406143
More of the door, and plasti-dipped emblems.
View attachment 3406144
And here is verification that SEM 15723 Monterey is a good match for repairing the wear spot on the top of the interior door panel. Again, it's all the same color - different shades are just due to reflection of light.
View attachment 3406146
Hoosier, do you happen to have any pics of how you prepped/painted the exterior door trim? I need to do this, but don't want to screw it up! Thanks!Recently bought a white '99 Land Cruiser 100. The bumper had some scrapes, and the side strip trim on the doors had some spots where the paint was missing. This truck came with the bumpers and trim painted a silvery-gold color (which I believe is officially called "Grayish Beige" by Toyota). It looks silver from some angles and gold from others.
Took some photos and headed to the parts store, and came back with Duplicolor BGM-0490 Pewter Metallic, a GM color. Color match is 95%, and certainly good enough for filling in scrapes and scratches. It captures the original behavior of looking different colors in different lighting. Pics below:
Here we are looking at the three deep gouges on the bumper. Those are the only thing painted in this photo. The scratch on top of the bumper hasn't been painted yet.
View attachment 3406141
In this photo, we're looking at the door trim. It is painted a single color - it has two shades because it is getting sun from the open garage door behind it. Note the chips on the fender piece. That's because I didn't paint the fender piece. That's the original color.
View attachment 3406143
More of the door, and plasti-dipped emblems.
View attachment 3406144
And here is verification that SEM 15723 Monterey is a good match for repairing the wear spot on the top of the interior door panel. Again, it's all the same color - different shades are just due to reflection of light.
View attachment 3406146
Here are the steps I followed:
1. Wash the area well
2. Sand down rough spots and loose peeling paint with 2000 grit sandpaper.
3. Wash and dry area
4. Wipe down with isopropyl alcohol to help ensure no old wax or oil is present
5. Mask off. I like to use the big plastic sheet drop cloths from Harbor Freight. They're cheap, like $1. Use a couple to cover the entire LC to prevent overspray settling on unwanted areas. I make a slit in the sheet to uncover where I'll be painting, and then use blue painters tape to fill in around the area to be painted. In this case, the door trim is a straight line, so it's easy to mask, but don't forget about the areas inside the gaps between the doors. It is usually easier to mask carefully than to remove overspray, so take your time.
6. Move any other cars or precious objects far away to avoid drifting overspray landing on them. Paint particles will travel on air currents and land on everything around you and downwind. Not usually significant, IMO, but it can contaminate the paint of cars parked nearby, requiring clay bar and polish. An ounce of prevention and all that.
7. Duplicolor Adhesion Promotor in a couple light coats, since I was painting on exposed plastic.
8. Then the actual spray paint, doing two light coats, then maybe 4 medium to heavy coats. This particular paint didn't cover very well for me (less opaque), so it took a higher number of coats. Resist the urge the do fewer, heavier coats
9. I didn't use a clear coat because I only needed to paint one side and the other side wasn't shiny. Also. I didn't use a primer over the Adhesion Promotor, but it might have been useful to get one good consistent color under the spray paint. My door trim had patches where the old paint had peeled off, so it looked mottled. Like I said, the color coat wasn't super opaque, so it took some extra coats to ensure even color over the mottled trim. A light coat of opaque primer may have helped here.
Spray painting is somewhat of an art, and experience helps a lot. Air temperature, humidity, and the characteristics of the paint can all affect outcome. But my best advice is start light and gradually increase the heaviness of each coat until you get a good feel for how the paint is going to behave. I think the biggest mistakes are going too heavy (runs, drips), poor prep/masking, rushing the time between coats, and using primers/paints/clears that aren't compatible with each other.
There are some REALLY good spray painting tutorials on YouTube.
Oh, and I highly recommend using a respirator when doing bigger jobs, especially if doing it in the enclosed garage. I got a really nice one off Amazon for about $40, because sometimes I use "2k" style paints that are pretty nasty to the lungs.
Last edited:
cwags12
SILVER Star
Similar threads
Users who are viewing this thread
Total: 1 (members: 0, guests: 1)