--Updated--
Details as of 10/07: https://forum.ih8mud.com/vbpicgallery.php?do=view&g=790


--------------------------------------------------------------------------------------------
My apologies for the delay in my rig’s debut and for this work in progress thread. I had planed for my write-up to be completed last week and ready to post Sunday but as usual my plans got offset and then even more so with the holidays.
Thanks to Woody and those others who keep this site so well organized and maintained, especially Romer here in the 80 series corner. There are also so many great people here that have contributed time and energy helping others with questions and innovative ideas to make this such a great forum.
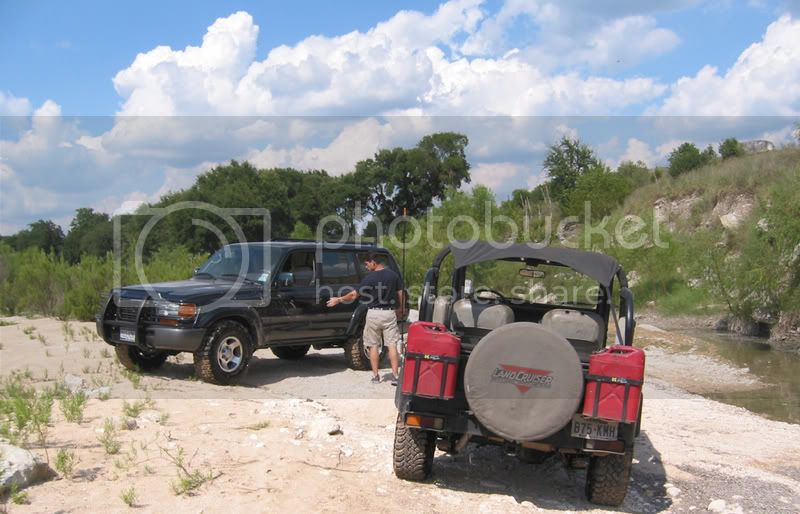
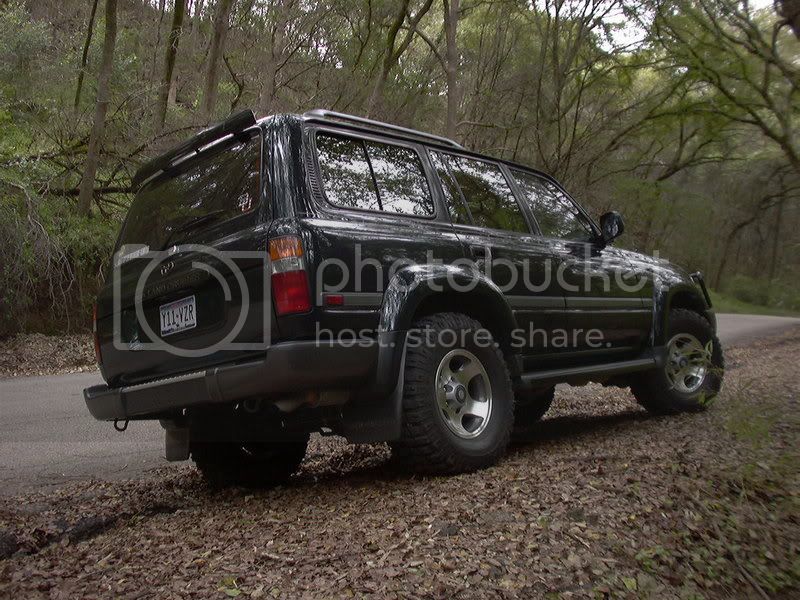
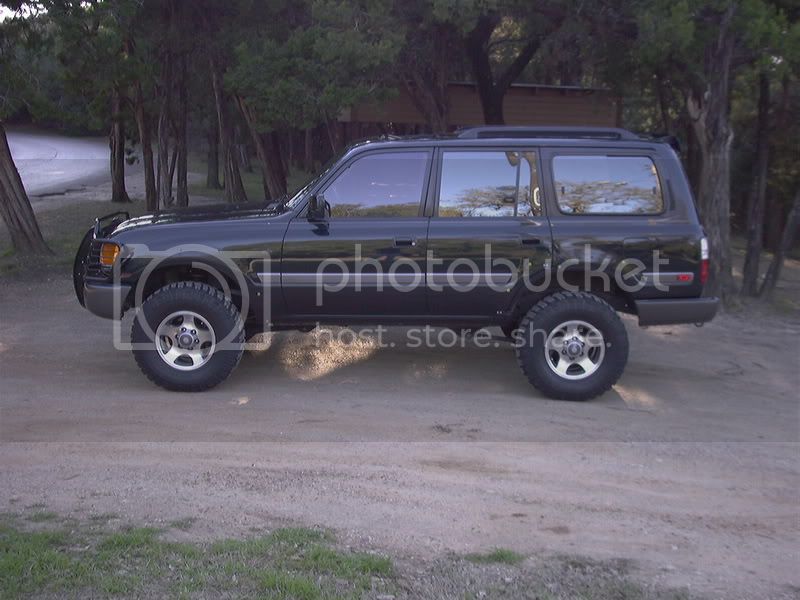
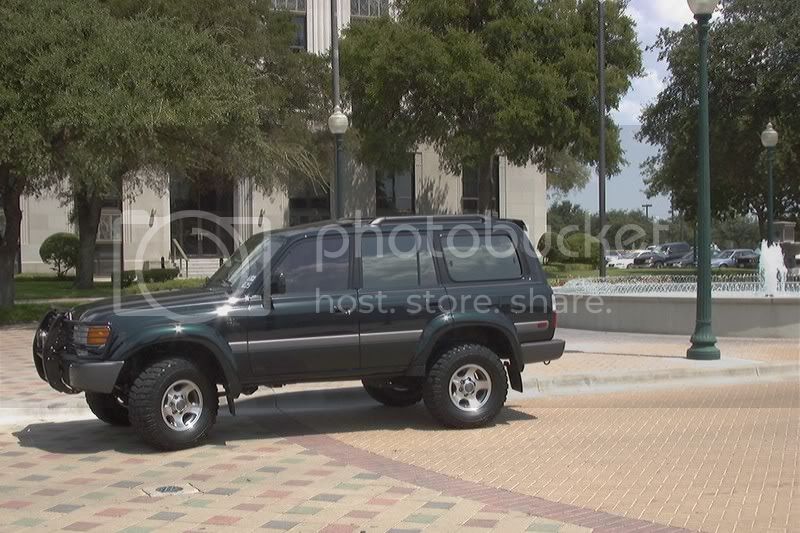
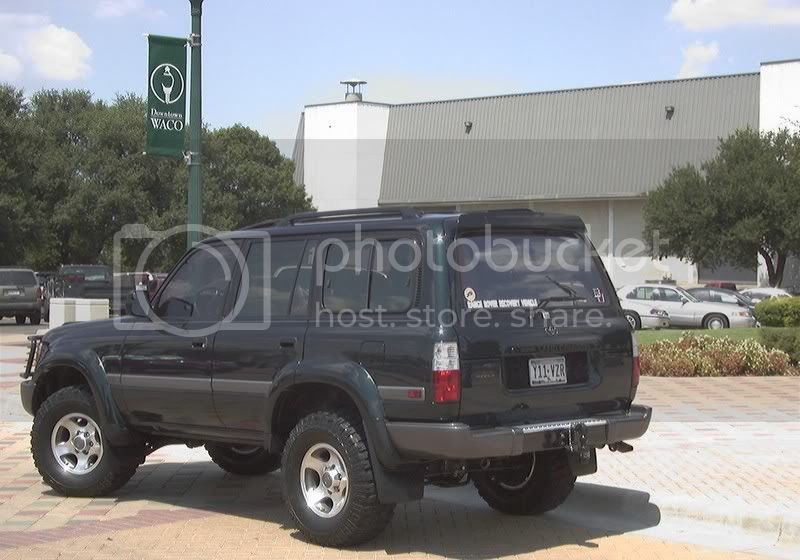
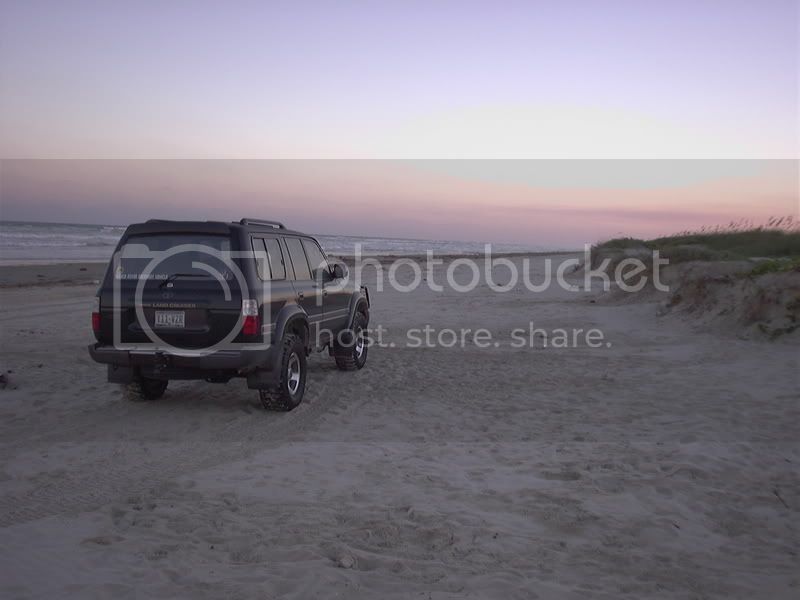
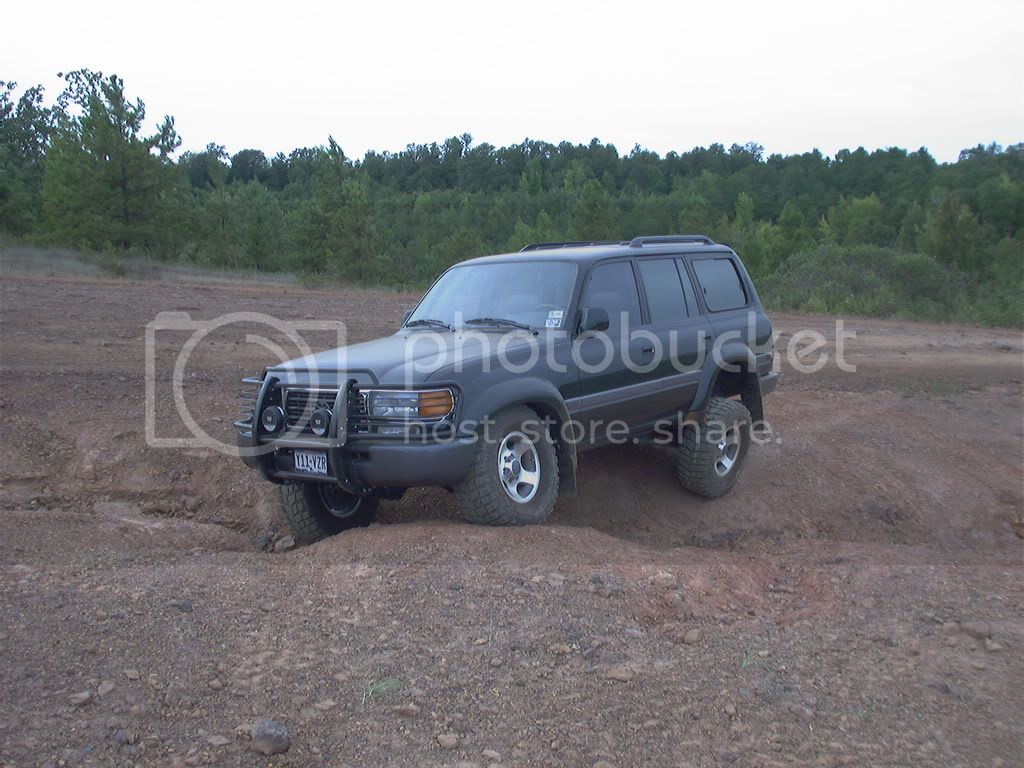
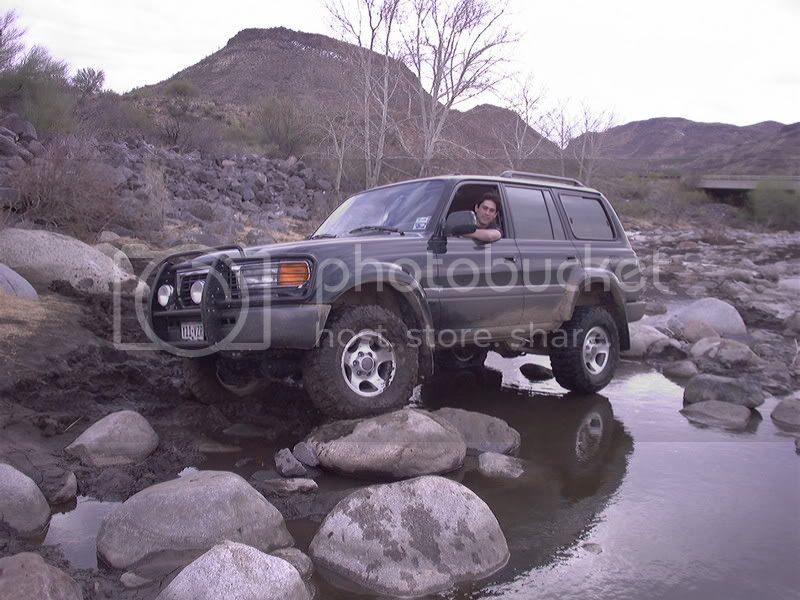
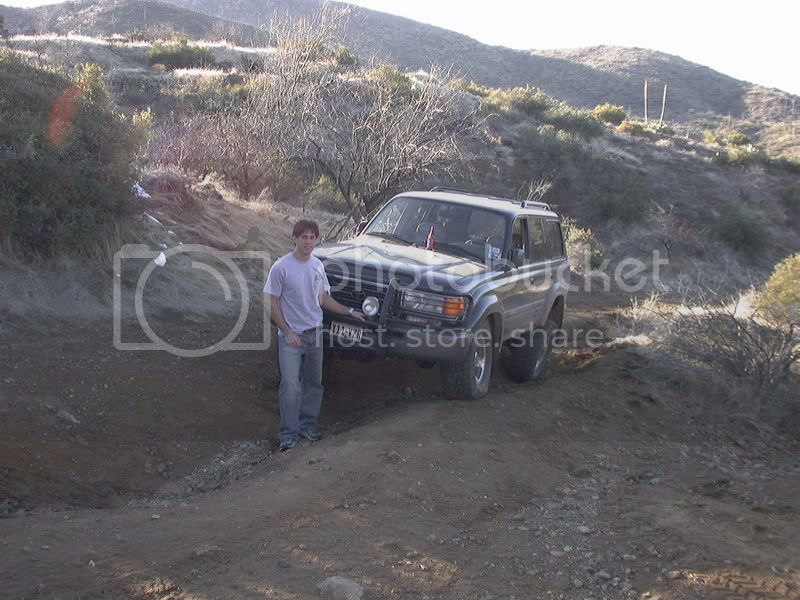
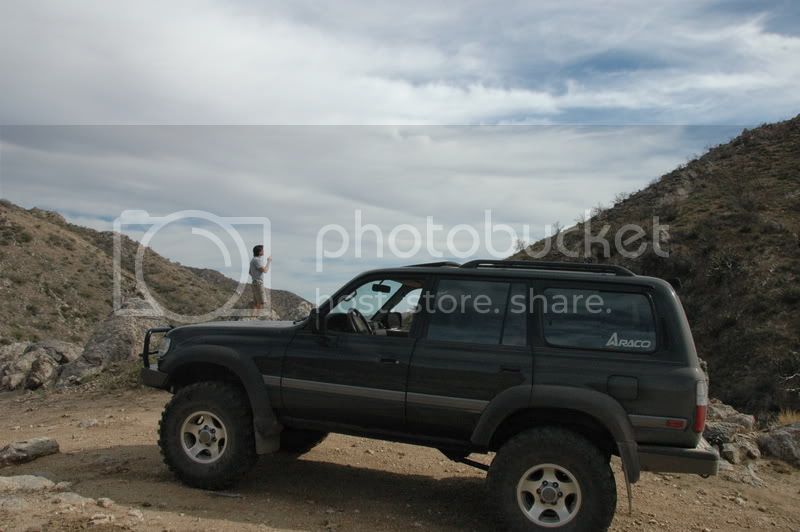
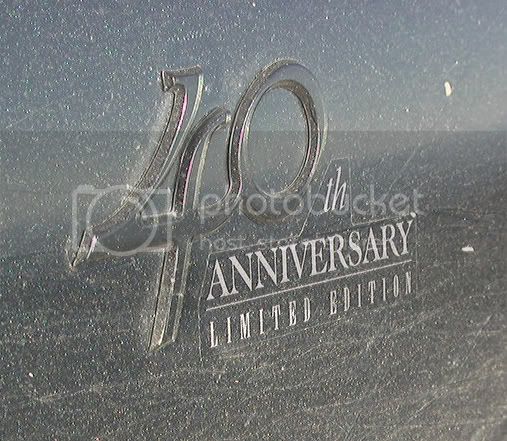
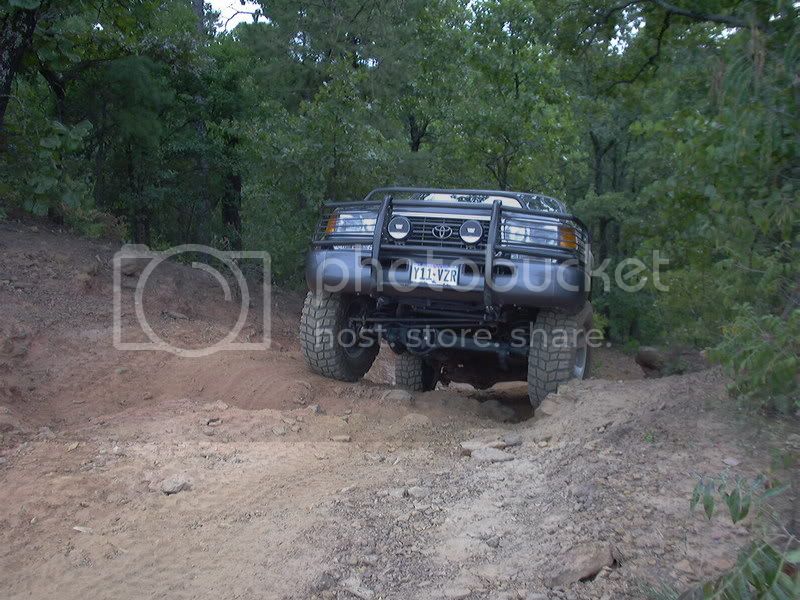
I’ve lusted after the 80 series since I started getting into that teenage car crazy phase around the final years of their production. I still remember seeing the National Geographic expedition across Antarctica with two decked out 80s and thinking to myself “man those have to be the most awesome Toyotas ever!” Since then I’ve always wanted one, and my parents where gracious enough to get me my own so I would stop drooling over my Fathers’. So as soon as the previous owners got it broken in, I picked up my 1997 Emerald Pearl 40th. Ed.
Notable maintenance:
Castrol 5w-50 (use to run Mobil1 15w-50 but picked up an average of 1.5mpg with the Castrol and cheaper)
K&N oil filter HP3001
Transmission fluid exchange with pan removal + Mobil1 synthetic ATF
Valvoline dura-blend gear oil in the axles
Valvoline synthetic in the T-case
Complete flush of brake fluid + Valvoline synthetic DOT4 fluid
Coolant flush + Toyota Red
EGR modulator replaced
Replaced the steering column seal on the fire wall
Toyota belts
Rapid Fire plugs
Front/Rear Rotors with NAPA 100series ceramic pads
Rebuilt Birfields
New rear wheel bearings/seals
New front main seal, oil pump seal, distributor o-ring
PDR for the few door dings
Bumped timming up to 8-9* BTDC
Die Hard International battery (according to the specs its almost within the range of deep cycle batteries)
9006 Silver Star Ultra bulbs in the low beam housing
What's left:
Rear main seal, oil pan re-seal (after doing my sisters oil pan, I've been seriously reconsidering doing mine)
Rebuild drive shafts with new u-joints
I had also planed to have a few more modifications finished by the time my turn for ROTW rolled around but with my '86 pickup taking up all my project time I fell a little short. So here's a list of what I should have had done and is now waiting for me:
1) Mile Marker 9k hydraulic winch with interior mini truck antenna switch
2) Angle iron added to rear lower arms
3) Rear cargo light
4) Replace dash and headliner speakers with infinity kappa tweeters + crossovers, stock door woofers.
5) Tie in 4 channel Optimus (Pioneer) amp in place of stock amp for use with stock head unit
6) Cobra CB in ash try slot
It's a shame to have stuff setting around mocking you....
Details as of 10/07: https://forum.ih8mud.com/vbpicgallery.php?do=view&g=790
--------------------------------------------------------------------------------------------
My apologies for the delay in my rig’s debut and for this work in progress thread. I had planed for my write-up to be completed last week and ready to post Sunday but as usual my plans got offset and then even more so with the holidays.
Thanks to Woody and those others who keep this site so well organized and maintained, especially Romer here in the 80 series corner. There are also so many great people here that have contributed time and energy helping others with questions and innovative ideas to make this such a great forum.
I’ve lusted after the 80 series since I started getting into that teenage car crazy phase around the final years of their production. I still remember seeing the National Geographic expedition across Antarctica with two decked out 80s and thinking to myself “man those have to be the most awesome Toyotas ever!” Since then I’ve always wanted one, and my parents where gracious enough to get me my own so I would stop drooling over my Fathers’. So as soon as the previous owners got it broken in, I picked up my 1997 Emerald Pearl 40th. Ed.
Notable maintenance:
Castrol 5w-50 (use to run Mobil1 15w-50 but picked up an average of 1.5mpg with the Castrol and cheaper)
K&N oil filter HP3001
Transmission fluid exchange with pan removal + Mobil1 synthetic ATF
Valvoline dura-blend gear oil in the axles
Valvoline synthetic in the T-case
Complete flush of brake fluid + Valvoline synthetic DOT4 fluid
Coolant flush + Toyota Red
EGR modulator replaced
Replaced the steering column seal on the fire wall
Toyota belts
Rapid Fire plugs
Front/Rear Rotors with NAPA 100series ceramic pads
Rebuilt Birfields
New rear wheel bearings/seals
New front main seal, oil pump seal, distributor o-ring
PDR for the few door dings
Bumped timming up to 8-9* BTDC
Die Hard International battery (according to the specs its almost within the range of deep cycle batteries)
9006 Silver Star Ultra bulbs in the low beam housing
What's left:
Rear main seal, oil pan re-seal (after doing my sisters oil pan, I've been seriously reconsidering doing mine)
Rebuild drive shafts with new u-joints
I had also planed to have a few more modifications finished by the time my turn for ROTW rolled around but with my '86 pickup taking up all my project time I fell a little short. So here's a list of what I should have had done and is now waiting for me:
1) Mile Marker 9k hydraulic winch with interior mini truck antenna switch
2) Angle iron added to rear lower arms
3) Rear cargo light
4) Replace dash and headliner speakers with infinity kappa tweeters + crossovers, stock door woofers.
5) Tie in 4 channel Optimus (Pioneer) amp in place of stock amp for use with stock head unit
6) Cobra CB in ash try slot
It's a shame to have stuff setting around mocking you....
Last edited: