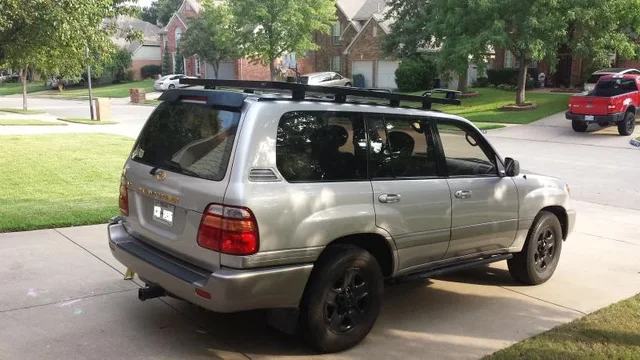
1. Spend time prepping the area on your vehicle where you removed your stock rails. If your vehicle is a few years old, there will inevitably be rust and other problems. I don’t recommend taking the approach of waiting until the rack arrives to then remove the stock rails. There will be surprises. And the cleaner the area is before the install, the easier it will be. I underestimated this…
2. Complete the rack assembly first. Layout all of the parts on a big blanket. Warning: There are important nuts that are tucked neatly into the end slats. You want a bolt in there ASAP to keep them from falling out. They are pre-installed, lose one and it will be painful. What really helped the most was I laid out almost every part of the rack on a big flat surface and simply walked around it quickly tightening bolts. The parts fit together well, but there are of course, many parts, so when you lay them out, you only want to move them just a bit, so that you don’t have to move anything else. If you have the space, it will help greatly..
3. Take the rails inside and assemble them in a clean, well-lit area. The adhesive is fine, but it helped that I was able to smooth over any wrinkles on a table. Plus, the rubber seemed greasy..so I cleaned it up.
4. Kiruxa suggested a blanket as you slide the rack on top of the vehicle. I did that, and I also used the cardboard Frontrunner box and set it under the rack as I slid it on the roof.. That helped quite a bit.. Protects the roof and allows you to jockey the rack onto the feet.
5. Here’s the thing that I think would help the most technique wise. One, install the top of the feet on the rack loosely and allow them to slide East/West. Any configuration of alternating slats is fine. For the lower feet that attach to the slide, attach just the square nut and the washer into the grooves before you add the bottom of the feet. Your bolts that hold the rails in place can stick up just a bit and make it difficult to slide the bottom feet. So slide just the washer and the square nut in the rails until they are positioned and THEN install the lower feet and associated bolt. If you’ve positioned the rack on top of a good blanket and card board box, you can then guide the top feet into the lower feet and fasten them accordingly, one entire side at a time.
6. And yes, the configuration of Tall-Short-Short-Tall for the feet length
Tools I would suggest.
1) A box cutter - use this to shave off excess plastic from the rails. There are also a good list of boxes and plastic wrappings. Just getting all of that off is work.
2) 13 mm flexible wratchet. See Kiruxa’s photo- Cant do without this.
3) Hex key set. I used my own for things I wanted done quickly, though some are provided and they help in tight spaces. But they are hard to grip, so your own set helps..
4) WD40=
Good racks don’t come cheap, but the quality and workmanship are clearly evident. The instructions aren’t superb, but the product is worth it, and there should be enough info on this thread to get you there…


