- Thread starter
- #61
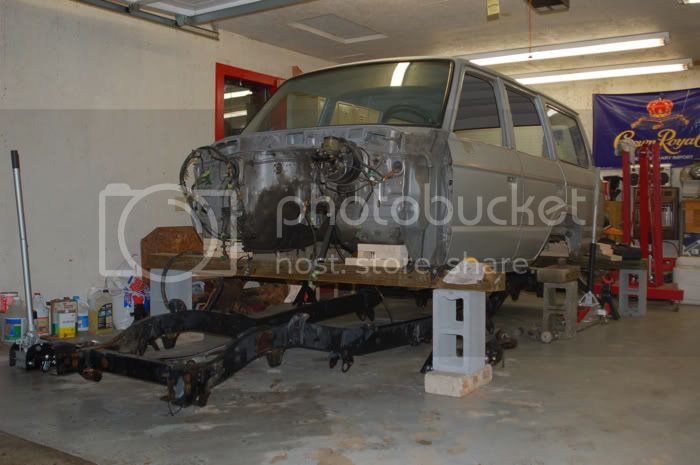
nice to see progress. Now to a comercial break until May???")
hopefully that won't be the case!
Follow along with the video below to see how to install our site as a web app on your home screen.
Note: This feature may not be available in some browsers.
This site may earn a commission from merchant affiliate
links, including eBay, Amazon, Skimlinks, and others.
nice to see progress. Now to a comercial break until May???
Nice Gehn. How did you pull the dents?
looks good bud.
has the other frame/suspension got any work planned on it soon?
i've heard rumors of you moving out and renting the garage from chris?
malphrus
 to get off. It was such a that I feel obligated to share how much of a it really was.


That's very pretty. Why didn't you coat the 62 frame with POR or something?
So you are replacing that perfect 60 frame with that as goog as new 62 frame. Wish we had anything that good around here. Just welded some patches on my 60 frame beside transfer, frame for which I made completely new rear end two years ago.
Nice project you have there.


 I haven't ordered new ones yet, so this will work for now...

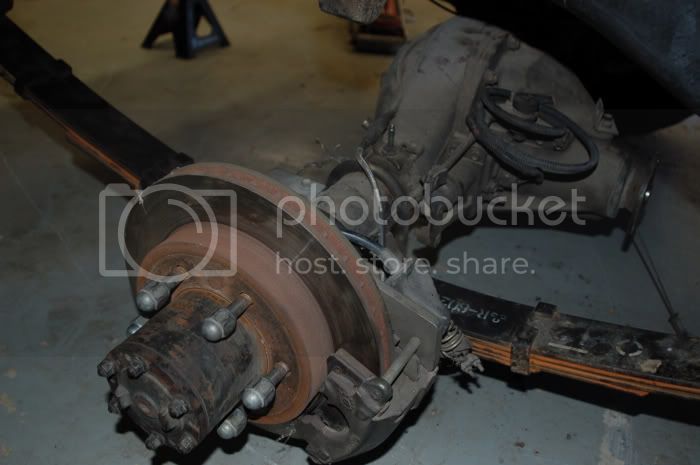
and a close up of the good stuff...
You have everything I want. Cable lockers, a diesel, and a rust free frame. DAMN YOU!
What color are you painting it? Sorry if I missed that....
More importantly, what are you doing with that 60 frame??
the color will be tan, either 464 or 4E9 (haven't quite decided yet, but leaning toward 4E9) and will have brown and orange vinyl stripes to replicate period graphics.
and the 60 frame is for sale!
