Prado 120 sub tank in a GX470 - has anyone done it? Well I’m gonna try! (6 Viewers)

This site may earn a commission from merchant affiliate
links, including eBay, Amazon, Skimlinks, and others.

Joined
Feb 3, 2004
Threads
18
Messages
848
Location
Colorado
12/1/2021 edit: swap is complete and functional :cool:


Has anyone added a Prado 120 sub tank in their GX470? I know there are aftermarket options available but the possibility of using the OEM tank is interesting and seemingly (possibly?) less expensive. Adding this sub tank increases the total fuel capacity by just over 2x, to 180L/ 47.5 gal.

This tank is an option in non-US markets and I have specifically been looking at the diagrams for the LHD gulf corporation market GRJ120L-GKAGKV which would also have a gasoline (petrol) engine (1GR/ 4.0l V6). It appears this conversion could be possible assuming the tank itself can be found, Partsouq lists it as unavailable so I am checking with a few other places.

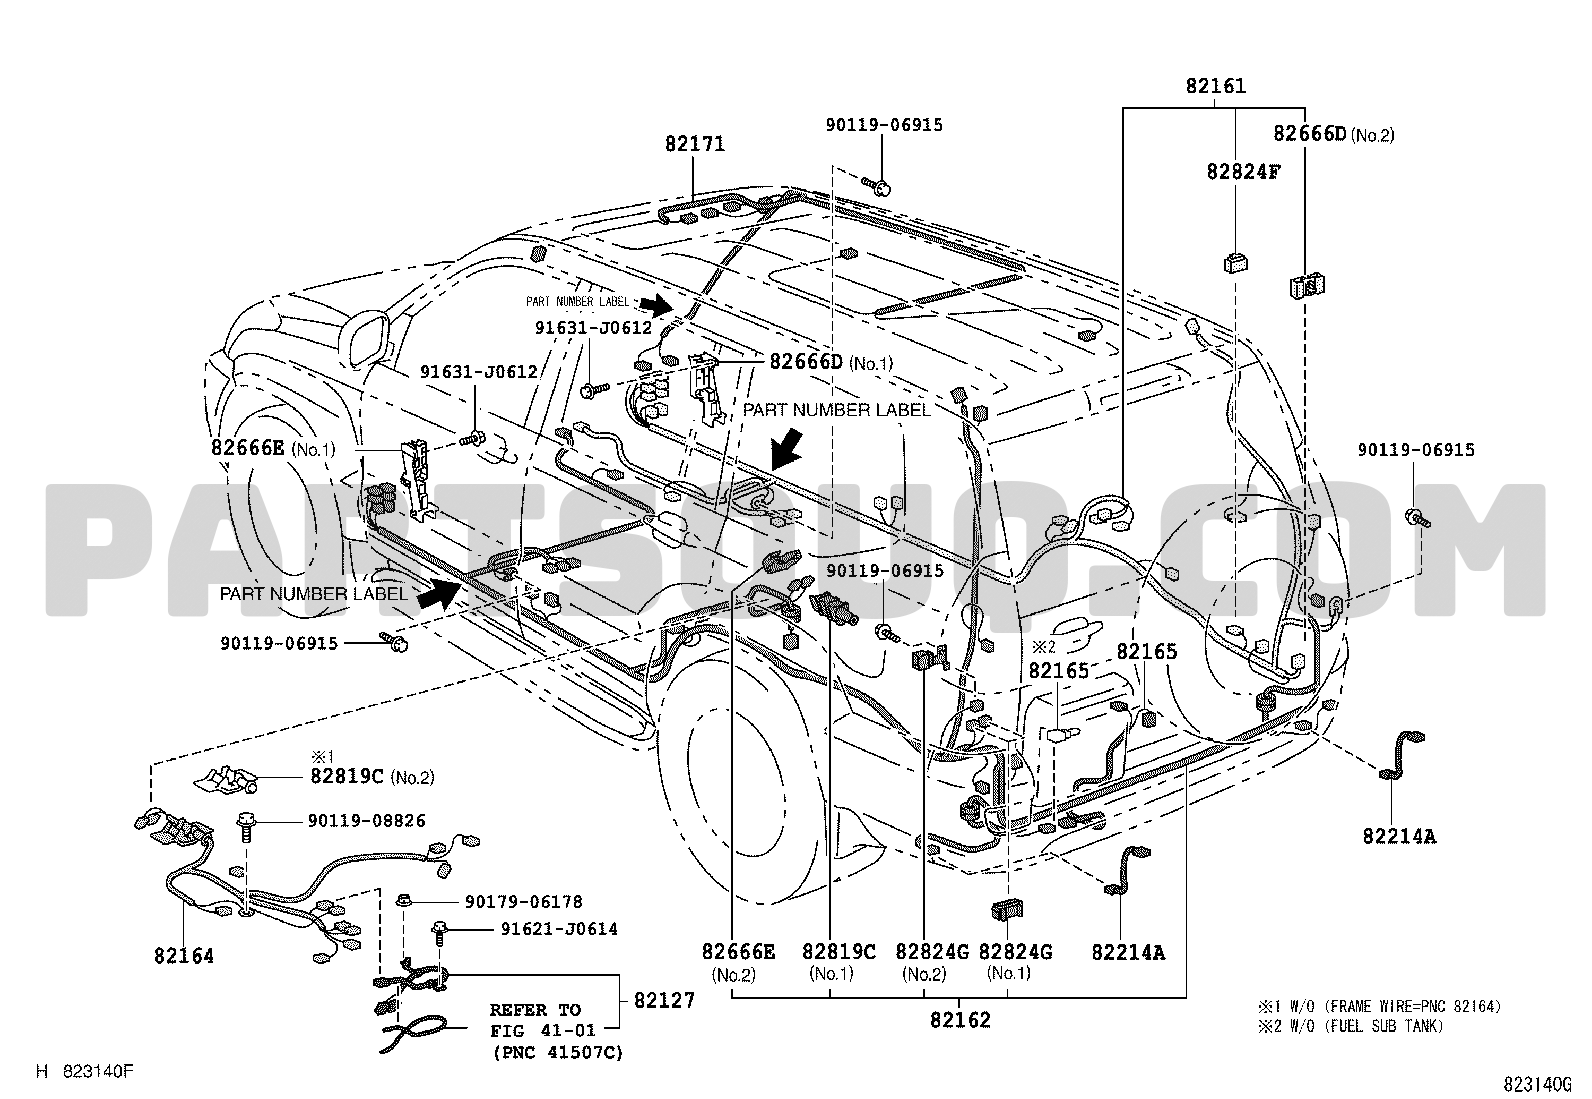
Following diagrams are marked up with the parts related to the sub-tank/ parts that denote "sub tank" in their description:

InkedSub-tank diagram_LI.jpg


InkedFuel tank and tube diagram_LI.jpg


InkedElectrical_LI.jpg


Electrical Wiring.jpg


You have the tank itself, the mounting for the tank, the plumbing for the tank filler, and plumbing between the sub and main tank. Electrically you have a different main tank pump, and a fuel level float in the sub tank. There is also a different wiring harness that I assume connects between the float and pump. The way the system functions I believe is the rear tank continuously pumps to the front tank with a supply and return plumbed between the two which keeps the front tank full until the rear runs dry, the fuel float in the subtank would control this. I think the vehicles that come with this option also have a different fuel gauge which would read both senders and switch reading between the two, but this may not be easy to retrofit. I am basing this assumption on the following info:


Without retrofitting the fuel gauge it would just continuously read full until the sub tank is empty at which point the main tank would start drawing down.

Challenges:
-Obtaining the parts (tank itself)
-If there is any computer control/ if anything other than the float and pump control transfer between tanks.
-It appears that the main tank is also different (has additional tubes in/ out)
-Charcoal canisters and locations are different

Curious what people think about this. I know adding the sub tank has been done on other series but don't know if anyone has done it on a 120.
 
Last edited:
Subscribing.
 
A lot of us would appreciate greater range with a second fuel tank. Looked at some used Prado 120 sub tanks available on Ebay.au a while back. All were in Australia for $250-$300. Shipping cost killed for me plus all the tubes and electrical support items needed. Not sure how it is filled, is the filler mounted in the right C pillar on the Prado 120? Anyway here is a picture for us to drool over. Note all the mounting brackets. Looking underneath my GX... now if I just deleted this muffler that is in the way...
s-l1600.jpg
 
The filler just T’s to both tanks (Part 77210 in the first diagram in the OP) both tanks fill at the same time from the same filler neck.

I imagine it would be very difficult to ship a used gasoline fuel tank, you would probably have to ship it via shipping container.

the prado with sub tank appears to have the same rear exiting exhaust with resonator setup, so mods to the exhaust shouldn’t be necessary.

D7747E7F-C79C-4F72-9CEA-68DFAA498A69.png
 
Last edited:
Was joking about looking at the muffler... I meant the large muffler across from the main fuel tank. If we could relocate that one then just add another stock tank. Might be a bit loud though!
So what if we were to get a group buy together and fill a small shipping container with Prado 120 Sub Tanks and the necessary hardware, hoses and electrical?
 
Last edited:
Back to what I listed as challenges in the original post:

Challenges:
-Obtaining the parts (tank itself)

I heard back from a vendor that the sub tank itself is available new OEM.

-If there is any computer control/ if anything other than the float and pump control transfer between tanks.

I have done a bit more research and confirmed that there is not a second fuel pump, the pump in the main tank pumps from the rear tank with a venturi jet pump, explained some here


Here is a good diagram of the sub tank piping


-It appears that the main tank is also different (has additional tubes in/ out)

The part number for the GX fuel tank is 770013D510 and I have google image searched for images of it to compare to the Prado tank 770013D521. The piping is slightly different but I am trying to figure out from the parts diagram what they do, the red cap pieces are part of the tank assembly

GX Tank - extra fitting circled in red
1614205445945.png


Prado without sub tank, circled hose points forward
1614205510400.png


Prado with sub tank, blue hose points to rear
1614206011956.png

The red hose goes to TUBE SUB-ASSY, BREATHER which connects to the sub tank which connects to the filler breather. The blue hose goes to TUBE, FUEL TANK TO CANISTER, NO.2 whatever that is?? (Charcoal canister likely)

I think the two extra fittings on the GX could possibly be capped...its just a matter of making sure the correct fitting goes to the charcoal canister, and the correct fitting goes to the filler vent.

ETA looking at the tanks again, even though the GX has 3 red caps instead of 2 for the Prado, two of the GX fittings are connected together, so all 3 versions of the tanks only have 2 fittings coming off of them, 1 large and 1 small.

I am just trying to sort this all out in my head...
 
Last edited:
1614208867664.png


Blue goes to charcoal canister venting via yellow (T's off)
Red is labeled as fuel return in diagram
Green is tube sub assembly/ breather (breather/ filler vent?)
1614209356191.png

It looks like the line labeled as fuel return might also be the supply, its the red line above. I thought there was a supply and a return from the sub to main but maybe not? There are only 3 lines to the petrol sub tank (more for the diesel tanks which is what is in the photo that @cr4west posted ). Maybe the green line is return, it would make sense that supply and return would both connect to the 77017B assembly.
 
Last edited:
It appears the charcoal canister will need to be relocated. I assume it would be better to retain the GX canister than to retro in a Prado canister. It seems from the diagram that the prado mounts under the hood.

1D2646A5-84D1-4E8D-A56D-E1C3CDA748C5.jpeg

Another issue is now apparent, the vehicles that have a sub tank do not have a under vehicle spare and therefore no crossmember for the spare lift. Confirmed here:


this crossmember will have to be removed.

This Also confirms that the sub tank straps attach to the body and not the frame, they attach in these threaded holes:
EFDE8FDE-F8AE-49D5-A90A-7BE9FECB21D8.jpeg

EBE92EF8-3B5A-457F-9AFD-D86DAC89068B.jpeg
 
I really like what you are doing and I’m looking forward to seeing what else you find/figure out.

Jack
 
Same here - I really appreciate the work! Following closely.

One thought: Have you considered using just the tank itself and then rigging your own filler neck and transfer pump or siphon?

I know it's not a sexy as full factory, but you could get 80% of the functionality with like 20% of the work and parts.

You could skip:
-all the replacement lines
-the extra pumps
-the extra evap
-the extra electronics.

1. Install prado fuel tank
2. Install some type of safe filler neck and vent. Maybe route up to the rear bumper cover underneath the rear door seal?
3. Carry your own siphon or battery / electric pump.

Just a thought.
 
great thread. I also thought the Prado was abilable with a 150L tank (that extended further back...that we could not use if the spare was mounted in the factory location. But if it's not...then i thought it was an option?
 
Same here - I really appreciate the work! Following closely.

One thought: Have you considered using just the tank itself and then rigging your own filler neck and transfer pump or siphon?

I know it's not a sexy as full factory, but you could get 80% of the functionality with like 20% of the work and parts.

You could skip:
-all the replacement lines
-the extra pumps
-the extra evap
-the extra electronics.

1. Install prado fuel tank
2. Install some type of safe filler neck and vent. Maybe route up to the rear bumper cover underneath the rear door seal?
3. Carry your own siphon or battery / electric pump.

Just a thought.

The biggest hurdle in my opinion is the location of the charcoal canister that physically conflicts with the sub tank. Even though it appears to be a steel tank, you wouldnt be able to modify the top of the tank to fit around the charcoal canister as that is where the plumbing that connects the two tanks comes out of the sub tank. The aftermarket LRA tank has a notch on top to fit around the charcoal canister:

1614275621593.png


I don't know if there is enough room under the vehicle to reposition the canister (rotate it 180 or slide it forward etc) and some of the lines coming into it are hard lines which makes modifying them more difficult.


If you can get around that conflict and physically mount the tank then I agree with your thoughts that the plumbing can be simplified, however I don't think its really super complicated to begin with. From reading on the function of the LRA tank it just has a manually switched fuel pump that pumps fuel from the sub to the main tank, and if the main tank gets overfull it just flows in the filler back to the sub. I am thinking that this is how the return of the OEM system might actually work. The fuel pump in the sub tank equipped vehicle uses a siphon in the return line (from the engine) to siphon gas from the sub to the main, and if the main gets to full it will just flow back into the sub through the filler tube. When the sub gets empty the siphon just sucks air, but since it is in the return it doesn't harm anything.

I am going to see if I can draw out how everything would connect.
 
Last edited:
I think I mostly got my head wrapped around this, I will try to break it down by each system and what mods are needed, here are the marked up diagrams:
1614282578296.png

1614282615505.png

1614282636993.png

1614282655041.png


-(GREEN) Starting with the evap to charcoal canister, this is pretty simple, you Tee into the line from the main tank to the charcoal canister and hook the T to fitting #4 on the sub tank.
-(RED) Fuel from the sub to main tank is all new parts, you need the fuel pump from a sub tank equipped prado, the fuel lines (77206C & 77277) and it connects to fitting #3 on the sub tank.
-(PURPLE) The tank vent instead of venting the main tank directly to the filler neck instead goes through the sub tank, so you connect the line that originally goes to the filler neck to fitting #2 on the sub tank, and then connect the vent fitting on the filler of the sub tank to the filler neck instead. This part of the filler neck needs to be modified.
-(ORANGE) The fuel filler is obviously different between the GX and the sub tank equipped Prado. The Prado filler has a Tee that goes to the sub tank, but you will notice it is also missing the larger vent tube that is present on the GX filler (colored pink). Because of this I think instead of using the Prado filler it would be easier to just cut a Tee into the GX filler, this is how the filler is Tee'd in the LRA kit from looking at the pics of what is included in the kit.
-(PINK) This larger vent tube connects from the charcoal canister through the filter sub assembly, so it would be best to retain it by modifying the GX filler neck.
 
I found a dry place to park so I could take some more photos underneath (it snowed here last night)

Looking at the space in front of the charcoal canister I don't think there is enough room between the filler tube and exhaust pipe to rotate the canister 180 (facing to the front instead of the rear) I also don't think it would be a good idea to have it too close to the exhaust pipe.
5190DD11-5FC5-4C05-9B8E-63C843C2C711.jpeg

40B7A993-A07C-40DF-AF2A-928B56807A97.jpeg

CA7C4E4C-7AE9-4075-85FD-37010ACA5FFC.jpeg


I think there might however be room to slide it above the frame rail here, I think this is where the air pump was, I am thinking I'll make a cardboard mock up and see if it fits. The harness for the one electrical fitting on the charcoal canister runs to the rear (its the smaller diameter loom at the top middle of the photo running north-south), so only the plumbing would need to be extended.

E9C4B21F-A21A-457B-A786-161586EE96F7.jpeg


The filter sub assembly may or may not need to move, hard to tell without having the subtank for measurements. With only one line in and one out this shouldn't be difficult.
39E9E2F2-4511-4ECC-BA79-BBA9E43B2B73.jpeg
 
Last edited:
Labeled the different lines:
InkedCA7C4E4C-7AE9-4075-85FD-37010ACA5FFC_LI.jpg


The only concern I have now (assuming the canister mock up fits) is that these lines, although they are apparently flexible, use some sort of weird push to lock fittings, so I don't know how easy it will be to extend or modify them:

1614285285540.png


I know there are aftermarket push to lock fuel fittings that adapt push to lock to AN, but I don't know if they are compatible with these Toyota lines.....

This is what the fittings look like:
1614287118536.png
 
Last edited:
Made a mock-up and confirmed that the charcoal canister will physically fit above the frame rail behind the driver side rear tire. This is good to know and there may be other possibilities once the sub tank is mounted and clearances can be determined.

totally JDM
1E67165F-7F61-4822-A20B-735D05C0614A.jpeg

AC27FA2B-4047-4031-ADC1-0B37BAB822AB.jpeg

7832CA81-FA48-4A86-9F34-A392B0D44130.jpeg

I have a parts list put together, Now I just need to decide whether to pull the trigger on the order...
 
1614486747203.jpeg

Figured out the location for the non-USA charcoal canister. This pic is on a RHD vehicle, so I assume on a LHD it would be on the opposite fender where people sometimes install a 2nd battery holder. I am just recording this for reference. The USA spec evap system has a leak detection pump attached to the canister which doesn’t exist on the non-USA systems, so the vehicle will throw a check engine code if the non-USA canisters were used.
 
Just a small update - I have the full parts list put together, I will have to order from multiple suppliers as some parts are NLA and can’t really be worked around, I am waiting to make sure these parts ship before proceeding with the next order. Looking at around $1,300 shipped for everything, that could potentially be cut down slightly if one was willing to use non oem parts for some items. Some items have a lead time of 20-25 days.

I also decided how I will do the fuel gauge. I ordered a double pole double throw Carlisle switch and custom switch plate. The intent is to be able to switch which tank sender sends a signal to the fuel gauge.
 
That’s awesome. Please keep us updated. Oh and plenty of pics during the install.

Jack
 

Users who are viewing this thread

Back
Top Bottom