After Stephen caught my bead release last year, I'd been on a quest to find some "reasonable" beadlock wheels. Yet, I couldn't justify spending $400 a wheel for something decent nor could I justify spending $300 for some crap beadlocks.
So, I found some FJ80 steel wheels that I bought off this board (nice find, 5 for $200), picked up the beadlock rings (~$300) from Stan (Thetoyoutfitters.net) and got busy. Well, not busy, got working slow but sure. This will make the total cost of the wheel ~$100 each, more to my liking.
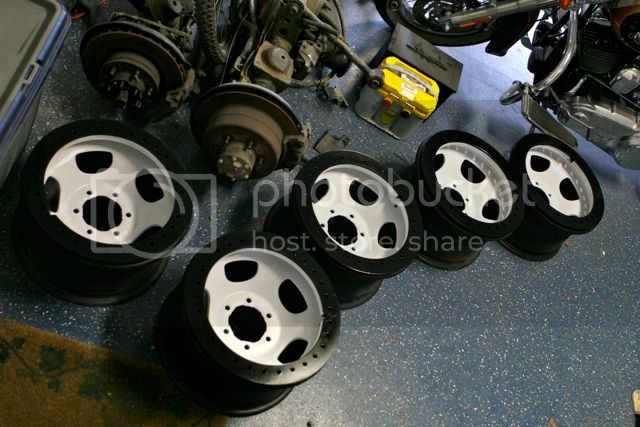
The wheels were in great shape with a "double" powdercoating on them. They had few nicks and I couldn't justify getting rid of the nice coating. I also debated keeping them black or going old school with white wheels. Kind of tough decision.
So, let the pics begin...
Nice, shiny start, probably should have left them alone but oh well...

Taped and scuffed with a 3M pad, ready for base paint...

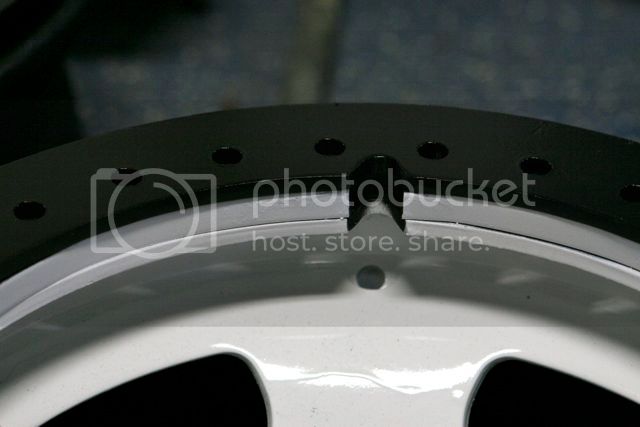
The beadlock rings to be welded onto the wheels...

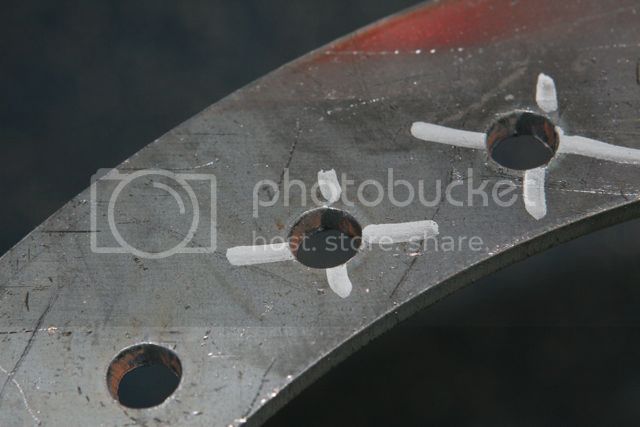
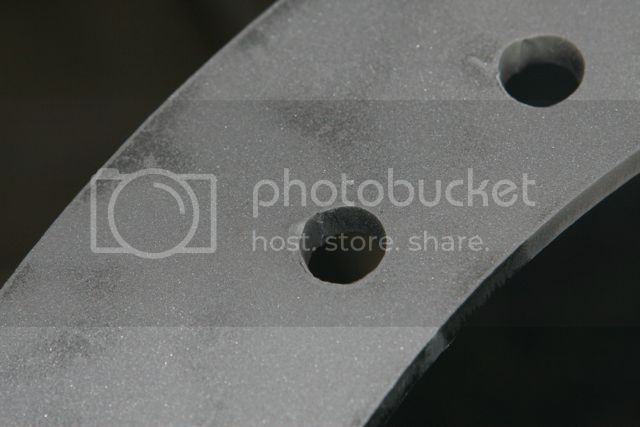
I found a few holes had to be cleared. They are cut with on a plasma table and it left a little "tab" where it started and stopped. All it took was running a 3/8" drill bit through them to clear. Not a big deal, just something to be aware of before assembly, it will save time down the road...
After clearing and sandblasting...
My home made turntable. Stan suggested finding a hub to put the wheel on to make welding easier. Thankfully, I still had a 40 hub/spindle from when we did the front disc swap last year on the 40. Made it really easy to drop the wheel on and spin it around to spread the heat during the welding process...


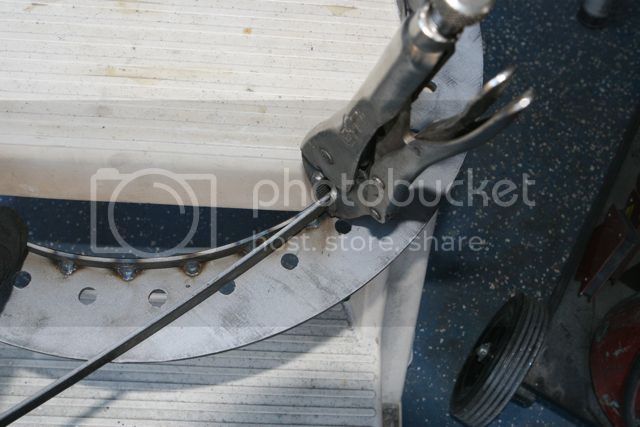
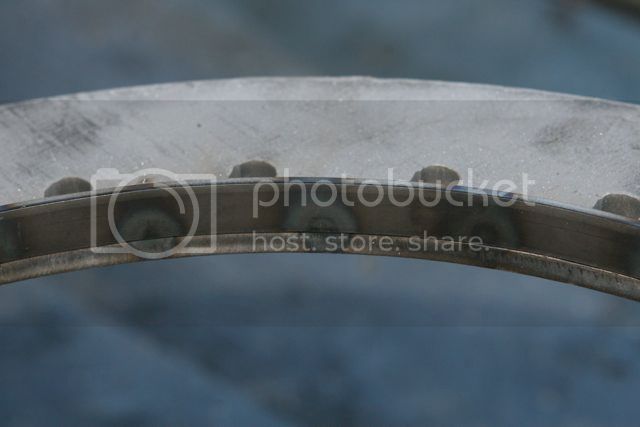
With all I'd read before deciding to do this, one issue is that the rings can "cone" when being tightened/torqued to spec (10-20 ft/lbs). I saw a few others had installed an "anti-coning ring" on the inside of the beadlock ring. This way, when torqued, it will put pressure on the ring and transfer additional pressure onto the bead side of the ring, not toward the center of the wheel. I just used 1/8 X 1/2" stock steel from the local "big box" store since its relatively cheap and easy to work with...
I did the first one by hand, then used it as a guide to pre-bend the next piece. Made it much easier on the following rings...
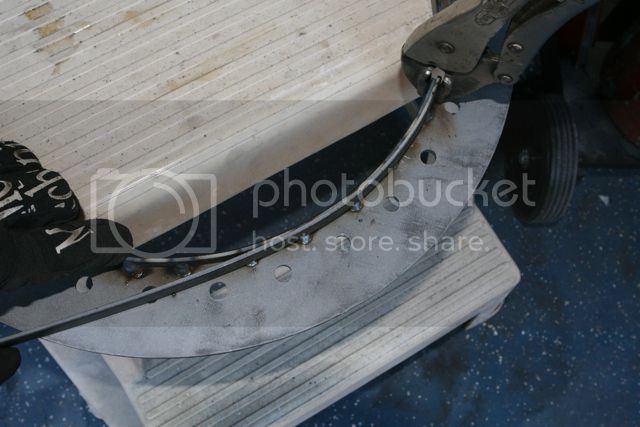
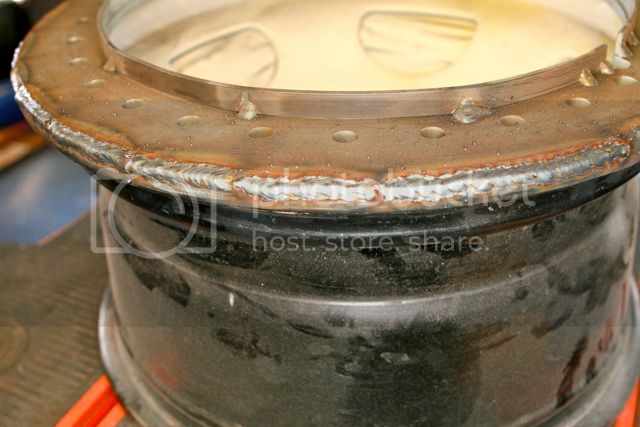
Getting ready to do the real work. Clamping the rings on so I can tack it into place...


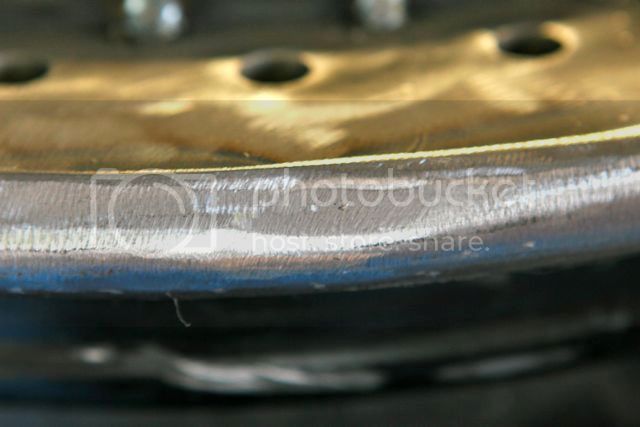
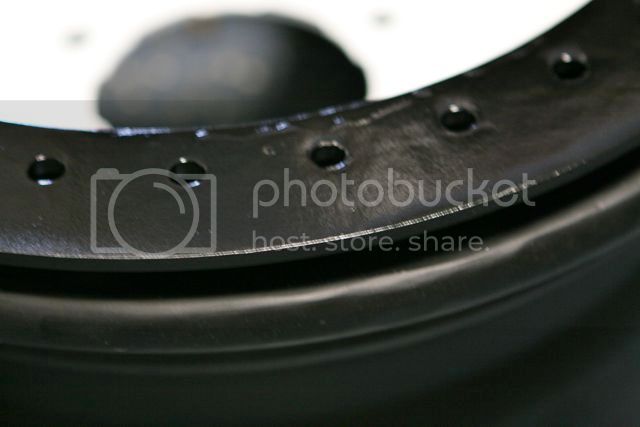
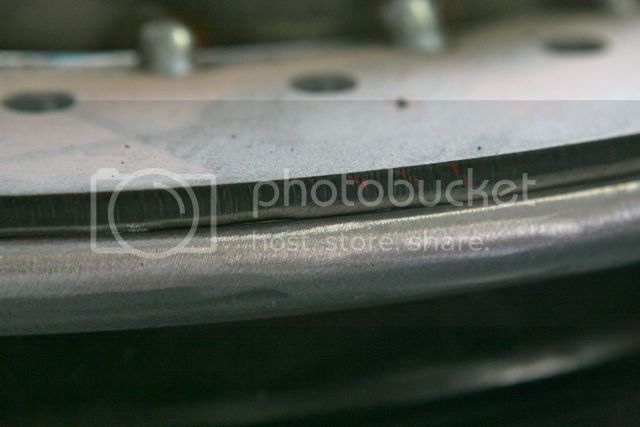
I bevelled the ring and wheel to have a nice, clean surface to weld into...

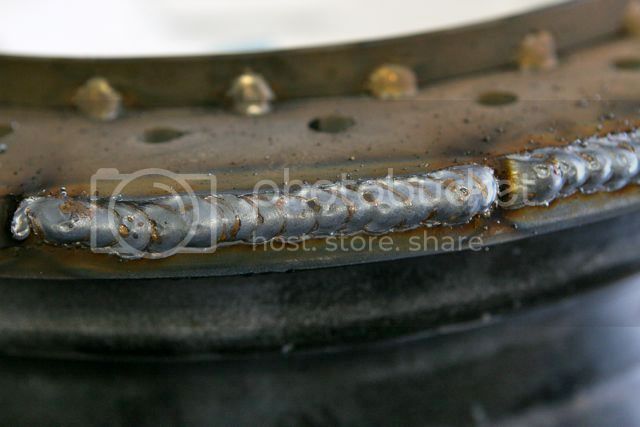
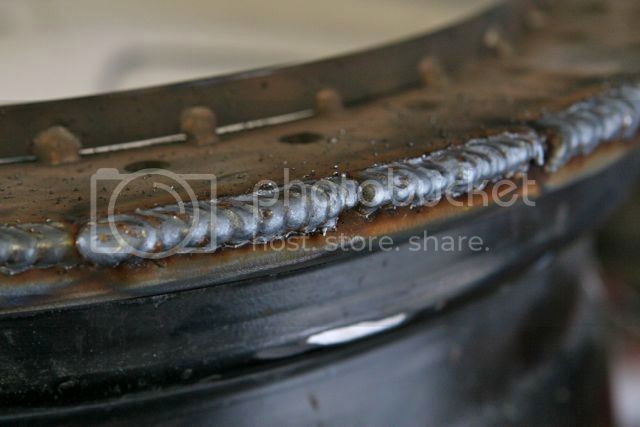
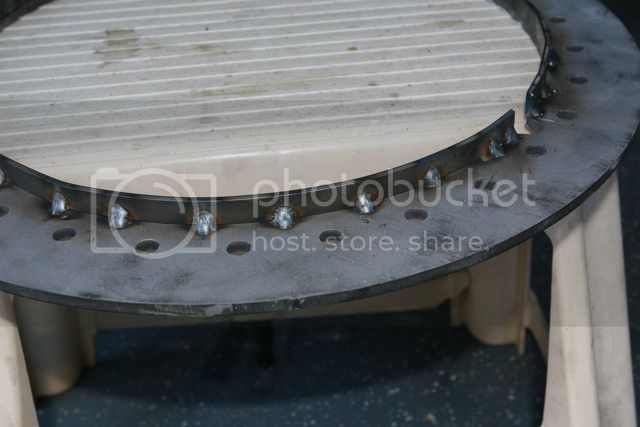
Tacky, tack, tack...


part II to come...
So, I found some FJ80 steel wheels that I bought off this board (nice find, 5 for $200), picked up the beadlock rings (~$300) from Stan (Thetoyoutfitters.net) and got busy. Well, not busy, got working slow but sure. This will make the total cost of the wheel ~$100 each, more to my liking.
The wheels were in great shape with a "double" powdercoating on them. They had few nicks and I couldn't justify getting rid of the nice coating. I also debated keeping them black or going old school with white wheels. Kind of tough decision.
So, let the pics begin...
Nice, shiny start, probably should have left them alone but oh well...
Taped and scuffed with a 3M pad, ready for base paint...
The beadlock rings to be welded onto the wheels...
I found a few holes had to be cleared. They are cut with on a plasma table and it left a little "tab" where it started and stopped. All it took was running a 3/8" drill bit through them to clear. Not a big deal, just something to be aware of before assembly, it will save time down the road...
After clearing and sandblasting...
My home made turntable. Stan suggested finding a hub to put the wheel on to make welding easier. Thankfully, I still had a 40 hub/spindle from when we did the front disc swap last year on the 40. Made it really easy to drop the wheel on and spin it around to spread the heat during the welding process...
With all I'd read before deciding to do this, one issue is that the rings can "cone" when being tightened/torqued to spec (10-20 ft/lbs). I saw a few others had installed an "anti-coning ring" on the inside of the beadlock ring. This way, when torqued, it will put pressure on the ring and transfer additional pressure onto the bead side of the ring, not toward the center of the wheel. I just used 1/8 X 1/2" stock steel from the local "big box" store since its relatively cheap and easy to work with...
I did the first one by hand, then used it as a guide to pre-bend the next piece. Made it much easier on the following rings...
Getting ready to do the real work. Clamping the rings on so I can tack it into place...
I bevelled the ring and wheel to have a nice, clean surface to weld into...
Tacky, tack, tack...
part II to come...