- Thread starter
- #141
-
North American Clubhouses - East RegionCA.ON- SOTEC CA.ON- Upper Canada Land Cruisers CA.QC- Club TORQ CA.QC- Quebec Cruisers AL- DixieLand Cruisers AL- Hot South Cruisers FL- Florida Land Cruiser Association FL- Northwest Florida Toyota 4WD FL- Tampa Bay Land Cruiser Association GA- Pavement Pounders GA- Georgia Cruisers GA/FL/AL- Red Hills Land Cruiser Club GA- YOTA IL- Windy City Land Cruisers IN- Hoosier Cruisers IN- Indiana Land Cruisers KY- Kentucky Landcruiser MA/NH- Yankee Toys MI- Lake Michigan Land Cruisers MS- CottonLand Cruisers NC- Olde North State Cruisers NJ- Garden State Land Cruisers NY/CT/MA- FJNortheasters NY- Gotham City Land Cruisers OH- The Buckeye Birfield Syndicate PA- Keystone Cruisers PA- Steel City Land Cruiser Club SC- Palmetto State Land Cruiser Association SC- Upstate Cruisers SC- Swamp Fox Land Cruisers SC- Low Country Land Cruisers TN- Appalachia Cruisers TN- Bluff City Cruisers TN- STLCA VA- Bay to Blue Ridge Cruisers VA- COVA CRUISERS VA/DC/MD- Capital Land Cruiser Club VA/NC- Mid-Atlantic TLCA VA- Star City Land Cruisers VT/NH/MA/ME Acadian Overlanders WI- Land Cruiser Legends WV- Mountaineer Cruisers
-
North American Clubhouses - Central RegionCA.AB- Oil Country Cruisers CA.AB- Rocky Mountain Land Cruiser Association CA.AB- Toyota Ghost Wheelers AR- Razorback Land Cruisers AR/MO- Ozark Mountain Cruisers CO- BookCliff Cruisers CO- Colorado Land Cruisers CO- Derailed Cruisers CO- Rising Sun 4WD Club CO/WY- Horsetooth 4 Wheelers Cruiser Club IA- Tall Corn Cruisers KS/MO- Tornado Alley Cruisers LA- Bayou State Land Cruisers LA- Louisiana Land Krewesers MO- Gateway Cruisers MT- 406 Cruisers MT- Big Sky Cruisers NE- Flat Land Cruisers NM- High Desert Cruisers OK- Green Country Cruisers SD- Dakota Territory Cruisers TX- Alamo City Land Cruisers TX- Bayou City Land Cruisers TX- Lone Star Land Cruisers TX- Lone Star Land Cruisers - Austin Chapter TX- The White Trash of the Elwood Chapter TX- Toyota Trail Riders
-
North American Clubhouses - West RegionCA.BC- Coastal Cruisers CA.BC- Okanagan-Similkameen Land Cruisers CA.BC- Peace Canyon Toyota Swamp Donkeys CA.BC- Calgary Chapter: Swamp Donkeys
CA.BC- Vancouver Island Cruisers AZ- Copper State Cruisers CA- Beach-n-Toys CA- Central Coast Land Cruisers CA- Central Valley Crawlers CA- Gold Country Cruisers CA- Inland Empire Cruisers CA- L.A. County Trailcrew CA- Mountain Transit Authority CA- Pacific Mountain Cruisers CA- San Diego Cruisers CA - Santa Cruz Land Cruisers CA- SoCal 80's CA- Southern California Land Cruisers CA- Toyotally Awesome Cruisers HI- Hawaiian Island Land Cruisers ID- Treasure Valley Land Cruisers NV- Battle Born Cruisers of Northern Nevada NV- Southern Nevada Land Cruisers OR/CA- Jefferson State Cruisers OR- Cascade Cruisers OR- Central Oregon Cruisers OR- Portland Metro Cruisers UT- Red Rock Cruiser Club UT- Wasatch Cruisers WA- Central Washington Cruisers WA- North Sound Cruisers WA- South Sound Cruisers WA- Spokane Land Cruisers
Navigation
Install the app
How to install the app on iOS
Follow along with the video below to see how to install our site as a web app on your home screen.
Note: This feature may not be available in some browsers.
More options
Style variation
You are using an out of date browser. It may not display this or other websites correctly.
You should upgrade or use an alternative browser.
You should upgrade or use an alternative browser.
JT's FJ40 build
- Thread starter fountainhead
- Start date
This site may earn a commission from merchant affiliate
links, including eBay, Amazon, Skimlinks, and others.
More options
Who Replied?Bodean
Hot Damn
What you gonna line it with?
Bodean
Hot Damn
Check out Durabak. Lots of good reviews!
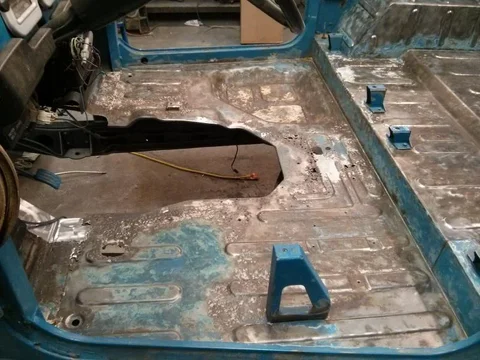
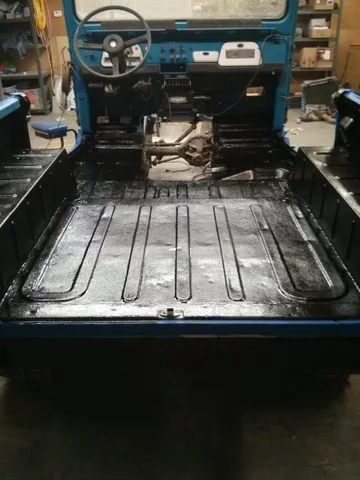
Inside the tub prepped for lining and a little Jrob fab in the driver floor pan...long day on the wire wheel:
Are you bleeding from the strays imbedding in your flesh?
Screw durabak....rust bullet and top coat to match blue!
How many wire wheels did that take! I burned through 2 and you did a way more thorough job!
How many wire wheels did that take! I burned through 2 and you did a way more thorough job!
Bodean
Hot Damn
Shush this is gonna be a truck that actually wheels! Rust Bullet then Durabak.
- Thread starter
- #147
Going to try Rust-Oleum's bed liner product.
Multiple layers of clothing...no bleeding.
According to Nolen, I'm fairly sure that prettying up the interior with matching blue paint would violate the spirit of the build...plain black rough ass bed liner material it is.
Multiple layers of clothing...no bleeding.
According to Nolen, I'm fairly sure that prettying up the interior with matching blue paint would violate the spirit of the build...plain black rough ass bed liner material it is.
amen.Shush this is gonna be a truck that actually wheels! Rust Bullet then Durabak.
Looking good JT!
Going to try Rust-Oleum's bed liner product.
Multiple layers of clothing...no bleeding.
According to Nolen, I'm fairly sure that prettying up the interior with matching blue paint would violate the spirit of the build...plain black rough ass bed liner material it is.
I have to agree with Nolen ... Damnit
I did the Durabak thing and it looked great at first but didn't wear well over the years. Plain black Herculiner with at least two good coats.
no way you would match paint anyway.
I used Herculiner on the zuk and it lasted 4 years or so before it flaked. BUT for the amount of prep i put into it ( just roughed up rust free surface with sand paper) I am very pleased with outcome. I do miss the blue floor though. when ever i drop something it seemed like it went into an abyss. i could find anything against the blue floor.. even contacts for the eyes!
I used Herculiner on the zuk and it lasted 4 years or so before it flaked. BUT for the amount of prep i put into it ( just roughed up rust free surface with sand paper) I am very pleased with outcome. I do miss the blue floor though. when ever i drop something it seemed like it went into an abyss. i could find anything against the blue floor.. even contacts for the eyes!
- Thread starter
- #152
- Thread starter
- #153
- Thread starter
- #154
- Thread starter
- #155
- Thread starter
- #156
One more:

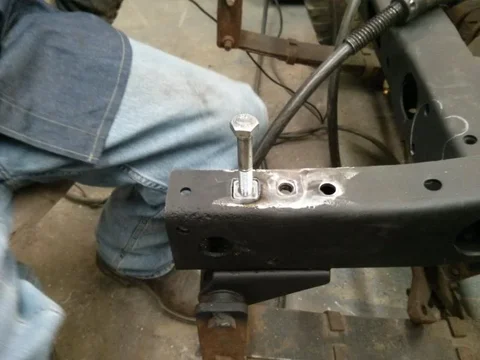
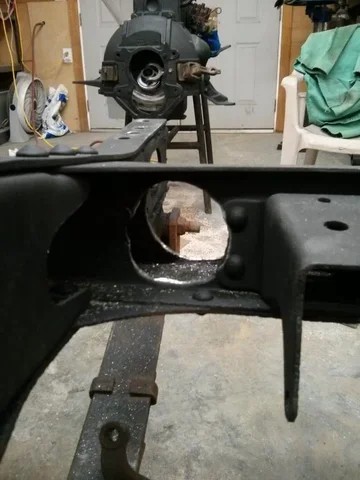
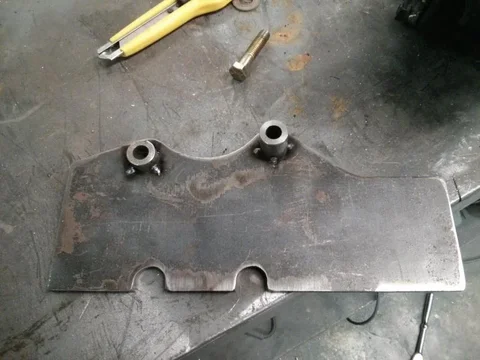
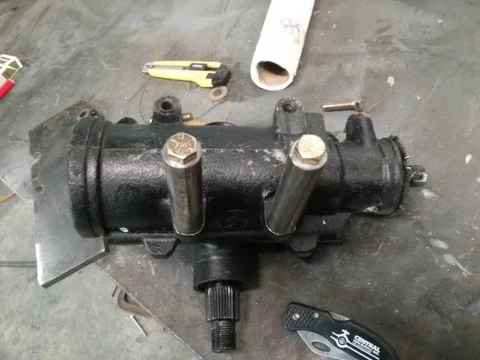
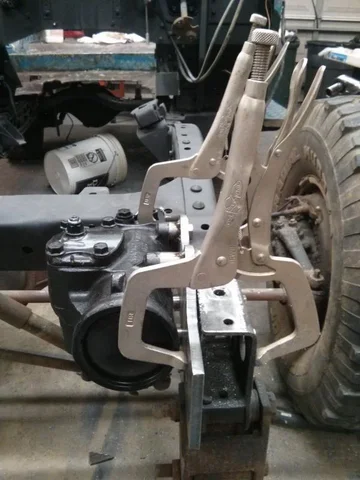
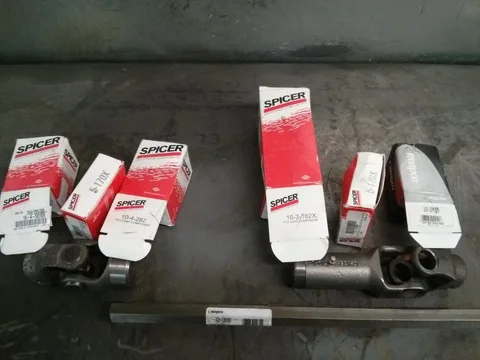
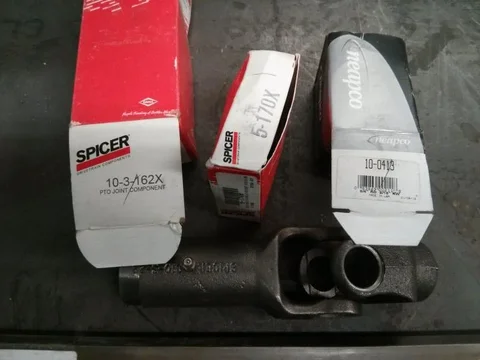
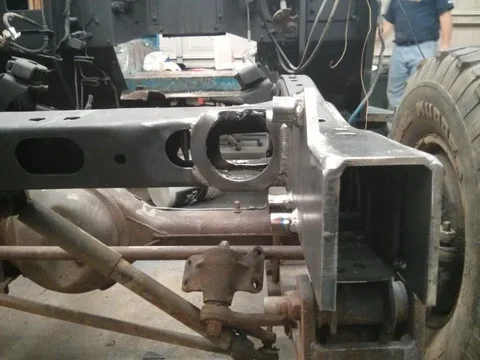
Jrob did all the real work here; I just showed up with the parts, a sketchy plan, and a couple of bookmarked threads that documented previous installs. I offered to help with the welding, so he threw some scrap on the work table, gave me a 5 minute tutorial, and let me weld for the first time. After seeing these results he promptly reclaimed possession of the welder and got back to work:

I'm pretty sure he was thinking "I don't wanna have to fix yo s*** on the trail one day." I'll find something a little less critical to practice on...maybe the cage.


Jrob did all the real work here; I just showed up with the parts, a sketchy plan, and a couple of bookmarked threads that documented previous installs. I offered to help with the welding, so he threw some scrap on the work table, gave me a 5 minute tutorial, and let me weld for the first time. After seeing these results he promptly reclaimed possession of the welder and got back to work:

I'm pretty sure he was thinking "I don't wanna have to fix yo s*** on the trail one day." I'll find something a little less critical to practice on...maybe the cage.
fj40charles
SILVER Star
I'm sure many will not agree with this opinion..., but I used to have 3 turn Saginaw box when I had small 36" tires and SUA on FJ40 axles. It was very nice to drive on the street and I never had any issues with the on the trail. I'm sure I would NOT like a 4.25 turn box if you were planning on driving it much on the street.
I much prefer the Scout/FJ60/F150 style conversion myself but it Lola like y'all are doing a fine job. Another vote for sending the box off to have it ported now. You will be wanting hydro assist.
- Thread starter
- #159
- Thread starter
- #160
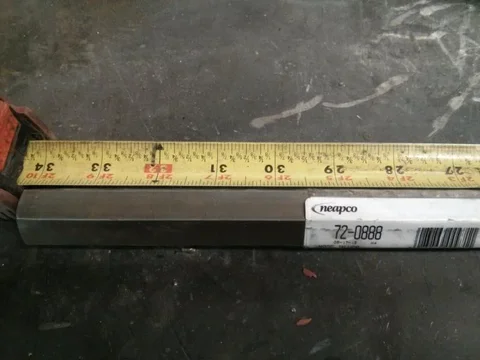
Beat the first spring pack apart waiting for the bed liner to dry...they need some attention:

Plan is to hit them with the wire wheel, beat or burn the bushings out, re-drill the military leaf so it can be flipped, paint them, and put some slip plate on them before reassembly. These are 60 series springs, so the center pin is 10mm. I plan to go back with a grade 8 (or metric equivalent) socket cap screw. Any thoughts/opinions on whether to go back with a 10mm cap screw vs. drilling the holes out to 7/16"? I'm thinking availability options should one break and I don't have a spare.


Plan is to hit them with the wire wheel, beat or burn the bushings out, re-drill the military leaf so it can be flipped, paint them, and put some slip plate on them before reassembly. These are 60 series springs, so the center pin is 10mm. I plan to go back with a grade 8 (or metric equivalent) socket cap screw. Any thoughts/opinions on whether to go back with a 10mm cap screw vs. drilling the holes out to 7/16"? I'm thinking availability options should one break and I don't have a spare.
Users who are viewing this thread
Total: 1 (members: 0, guests: 1)


