How to Retrofit HID (Xenon) headlights into LX470 (1 Viewer)

This site may earn a commission from merchant affiliate
links, including eBay, Amazon, Skimlinks, and others.

Gotcha, thanks. I bought spare dust caps that came w/ the harness so I'll terminate with those. I was just curious about the diode. I bought an RX330 set of ballasts w/ D2R bulbs... so we'll see if I can work it out :) I may end up having to break down and buy rebased H1 bulbs, but we'll see...
 
Also, aren't our DRLs our low-beams at a lower intensity? What did you do about that?
 
The DRL's are the high beams at a lower intensity. So no problem there.
 
Got my stuff in today; tested and working. Unfortunately this weekend I'll be in Atlanta for the Falcons game (BOOYA), so it'll be a while before I tackle my ghetto D2S rebasing.

I'm very curious about the wiring harness. Why go direct battery & relay when people are running 55w bulbs on stock wiring? The HIDs are 35w, and I believe I read somewhere that they surge when igniting, but people are still running 55w constant on the stock wiring... am I missing something?

Wattage during nominal operation may be low, but current draw and igniter voltages can be quite high at startup (anywhere from 3-4KV [cold] to 20KV if capsule is hot [ie, it's bad to turn hot hid's off, then on shortly after]). The ballast supposed to regulate the current draw and voltage during ignition and operation.

The tiny stock harness wires create a surprising amount of loss. I replaced the stock harness on my 4runner w/ a 16 ga harness and light output increased by 40% just from doing that. Stock wire gauge was the same as on all toyotas (tiny).
 
Mmmmmm I hadn't considered the loss factor. I may sneak out of work early today to work on this :)
 
Long story short, I ended up going w/ the XD kit also; however, mine was not plug and play.

Like mot alluded to earlier in this thread, my "burner" was too far offset for the bulb aperture.

Didn't have the tools to cut a groove in the housing, so I had to make do.

So, here's my modification to the bulb to get it to fit:
IMG_0733.JPG
 
Yup, I did it. TSX projectors into the LX housing. Amazingly simple. Followed Hoser's instructions on how to open the light assembly, and painsakingly (but fairly easily) removed the LX projector (the lense/bowl hosing) and mounted the TSX's using the original bracket/shroud assembly. I did the color mod to the TSX projector, but was not happy with the cut-off because it made the cut-off a bit more fuzzy and bowed the cut off slightly. Although the colors were pretty, I'm almost 40 and I don't need the wow factor. The cut off on the stock TSX's are RAZOR sharp and reach 3 lanes of traffic on either side, over powering fellow traveler's beams. Beam shots to follow...

Parts List:
-2005 TSX projectors/lenses
-Prolumen Ballast's/Ignitors
-AMP to D2S adapters
-D2S 85122+ Phillips bulbs
-Nissan headlamp sealant (butyl)
-#8 stainless bolts/nuts/washers

This is my wife's truck, and it's the first mod EVER that my wife has noticed all on her own without me telling her. She said "are my lights different cuz I lit up the neighborhood?". I smiled. They are drastically better than the rebased and bulb spaced H1 HID kit that were used before the retrofit, which were drastically better than the OSRAM silverstars (German) before HID, which were...you guessed it...significantly better than the OEM H1 bulbs.

Also, HIDplanet is an amazing resource. Without Hoser and hidplanet, I wouldn't have done this.
Ed
IMG_1951.jpg
IMG_1950.jpg
 
Last edited:
Cool, I'm glad at least one person benefitted from my HID write-up! I will be switching to TSX projectors as well for a DOT cut-off. I think if I did the entire project again, I could finish it in one day given I have all the parts for the wiring harness. :cheers:
 
Nice! I'm planning on going the TSX/S2000 lens route on my wifes car.

Got pics of the lamps assembled? How OE did it end up looking?
 
Here's a beam shot. I can't upload any more (and in any larger size), probably due to my noobyness on this site. I've got full size shots of how the projectors fit in the housing (indistinguishable from stock from the outside) and other beam shots...I am no pro photog, but they get the job done.

Hoser,
The only thing you will have to do is open-up the bracket a bit on the bottom to fit the TSX's, where the bottom center bolt hole is. There is a "nub" on the TSX's that you will either have to cut off bottom of the projectors, or cut your OEM bracket to fit. There are also 2 more nubs in the bottom/center of the TSX that you will need space for in your bracket (the color mod nubs, look it up on hidplanet). The projectors fit directly (no spacing!) on the bracket. It took me about 7 hours total to get the projectors in. That's after about 15 dremel cut-off wheels too. If I had one heavy duty cut-off wheel that lasted the whole job without constant replacement...take an hour or possibly more off the 7. I could do it in about 4-5 hours now with an appropriate cut-off wheel, cuz I know what I am doing. . Fine tuning the aim is not included in the time, just a "in the ballpark" aim job.

aedington,
The projectors fit with no mods other than cutting the original projector housing to host the new TSX projectors. The housing/bracket looks like hard plastic in hoser's pics (and I had planned accordingly), BUT they are metal. You have to use a cut-off disk that will cut metal. I went thru about 15 wheels on my dremel which cost me time. The projector spacing is EXACTLY the same as OEM when you mount the TSX on the backside of the OEM bracket. The projectors protrude EXACTLY as much as OEM without spacing. Just mount them and go. They also do not interfere with the rear casing. Fit like a glove. Oh, and S2000 projectors are getting $$$. $450 a pair was the cheapest I found. I paid 160 for the TSX's on the 'bay. With bi-xenon projectors being the norm for new vehicles, it's gonna get harder and harder to find single xenon HID non-fresnel projectors. Get them now while they are cheap and available. 04-05 TSX's are a great value for single xenon $/quality/performance.

The night is mine...well.. my wife's:)

Ed
IMG_1966.jpg
 
Last edited:
Do the TSX projectors have D2S sockets? I'm wondering if I could use these projectors w/ the Lexus/Denso ballasts & bulbs you see on the 'bay & just plug & play.
 
Do the TSX projectors have D2S sockets? I'm wondering if I could use these projectors w/ the Lexus/Denso ballasts & bulbs you see on the 'bay & just plug & play.


Yes, standard D2S bulbs.
 
Wattage during nominal operation may be low, but current draw and igniter voltages can be quite high at startup (anywhere from 3-4KV [cold] to 20KV if capsule is hot [ie, it's bad to turn hot hid's off, then on shortly after]). The ballast supposed to regulate the current draw and voltage during ignition and operation.

The tiny stock harness wires create a surprising amount of loss. I replaced the stock harness on my 4runner w/ a 16 ga harness and light output increased by 40% just from doing that. Stock wire gauge was the same as on all toyotas (tiny).

Where do you get larger wire gage replacement headlight wire harness for Toyota vehicles?

I'm interested in this for my 99 LX470, if it truly improves light output from stock H1 bulbs.
 
Hoser,

How the $(%*^#$ do you get the trim pieces below the grill and surrounding the headlamps off??
 
It's been a long time since I removed the headlamps but I "think" the headlamps can be removed without removing the surround. They might have instructions in the FSM.
 
great write up. I am sure you know the anwer to this, I'm trying to aim my headlights on 02 LX vertically but can't figure out where the adjustment scew is for the headlight.
 
Responded to your question in this thread.
 
I picked up an H1 HID conversion kit with Philips 4300k bulbs from KBcarstuff.com:
http://www.kbcarstuff.com/H1-Xtreme-Digital-HID-Conversion-Kits-p/xt-h1.htm

They are a reseller for xenondepot, and Canadian-based so shipping was easy.

I've read just about every HID/projector headlight thread on mud (and a few on clublexus) to try and piece together what makes the most sense. I really liked the look of TRS's kits, but liked the idea of easier access to a Canadian vendor.

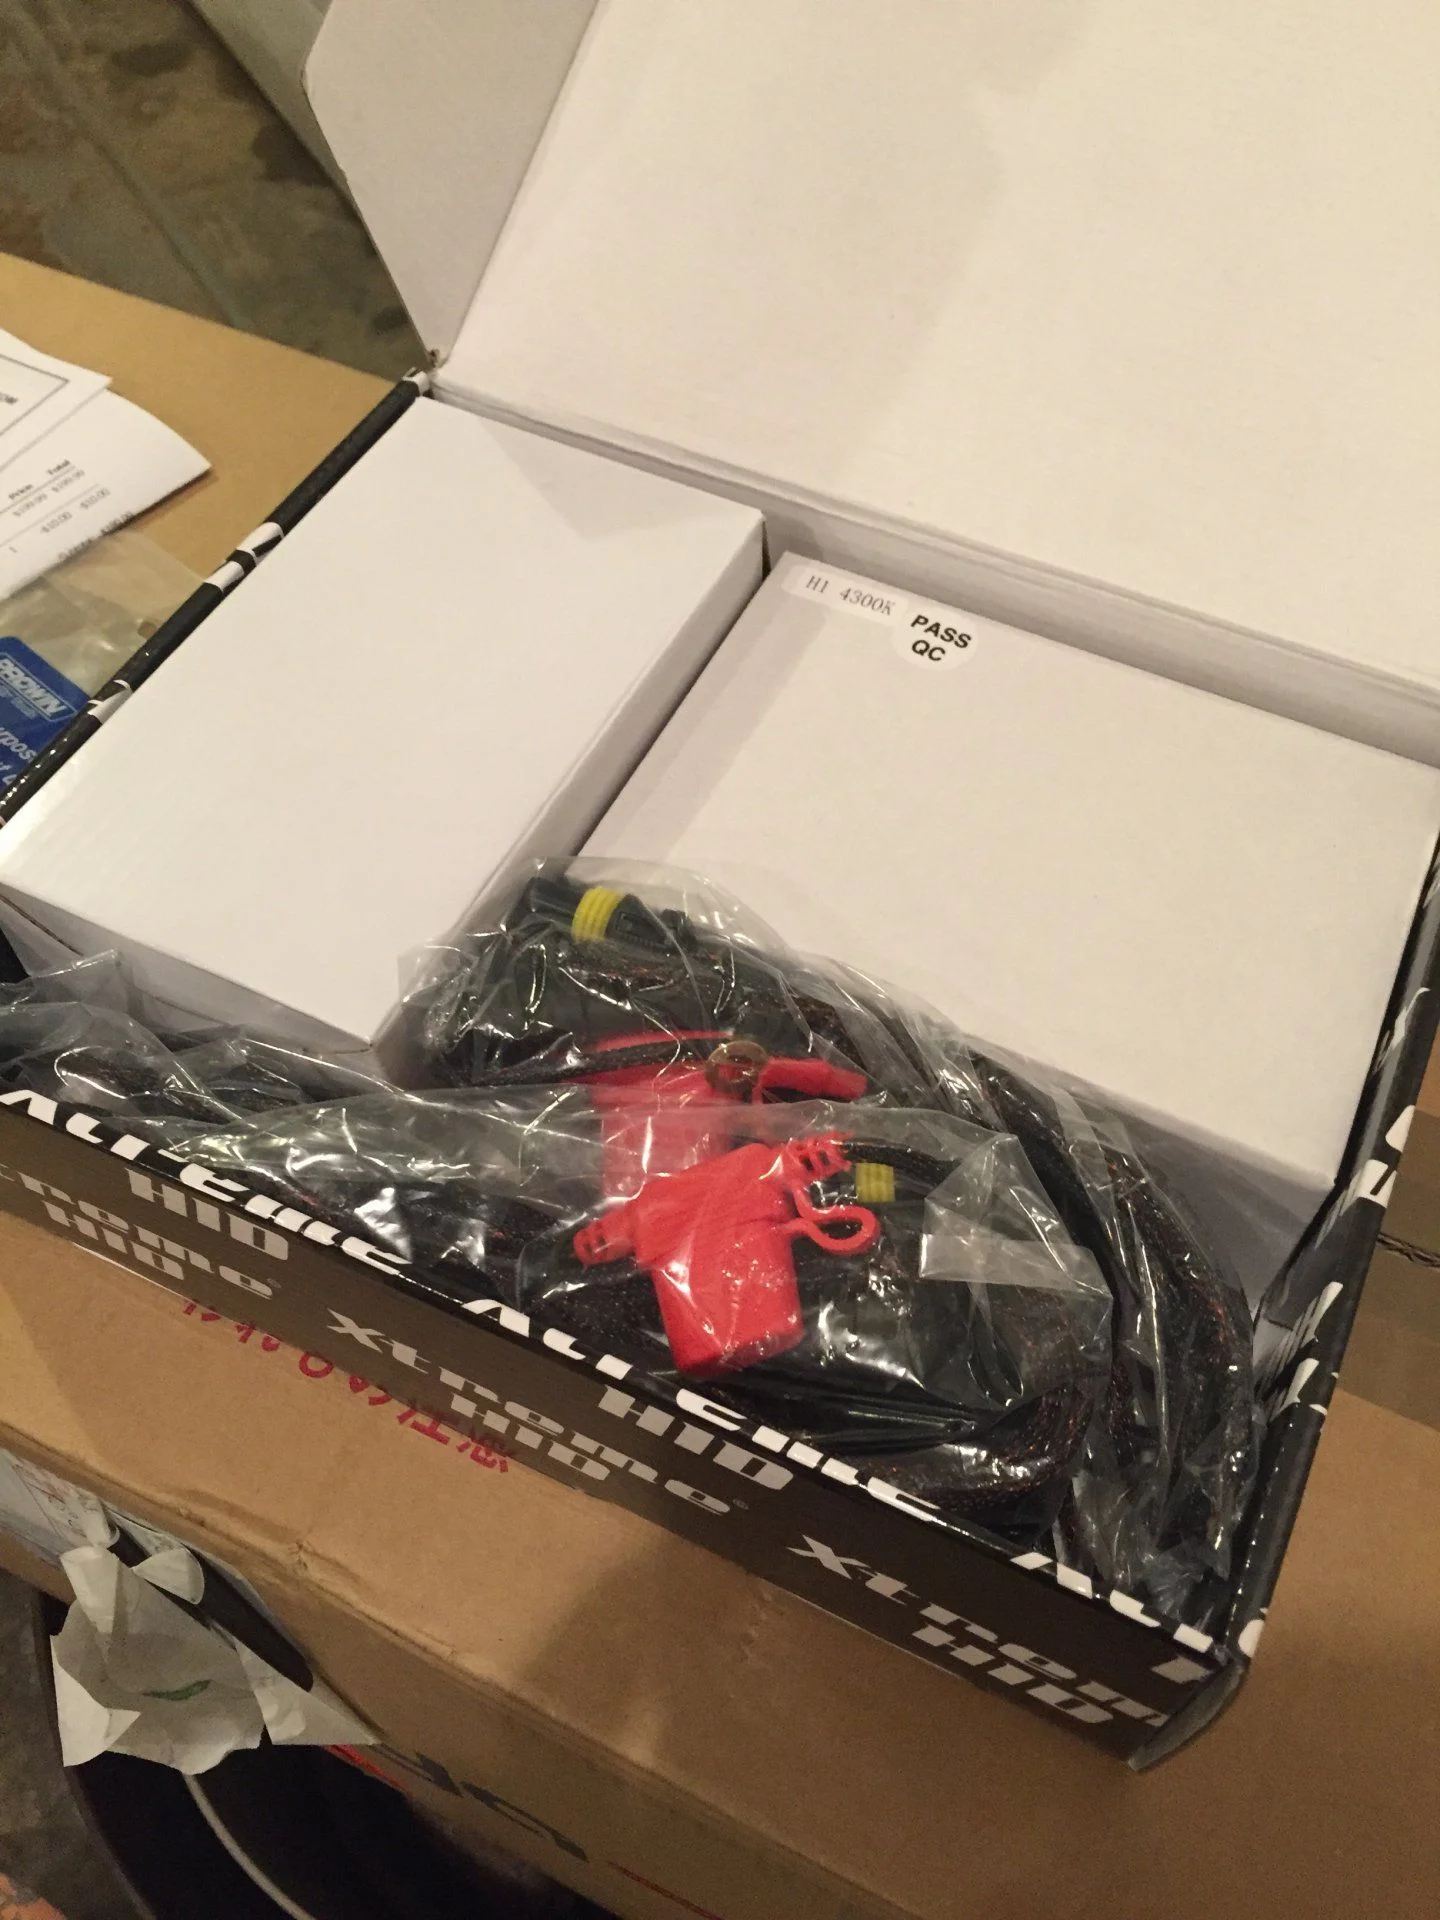
Here's how it looks in the box... everything packed well.

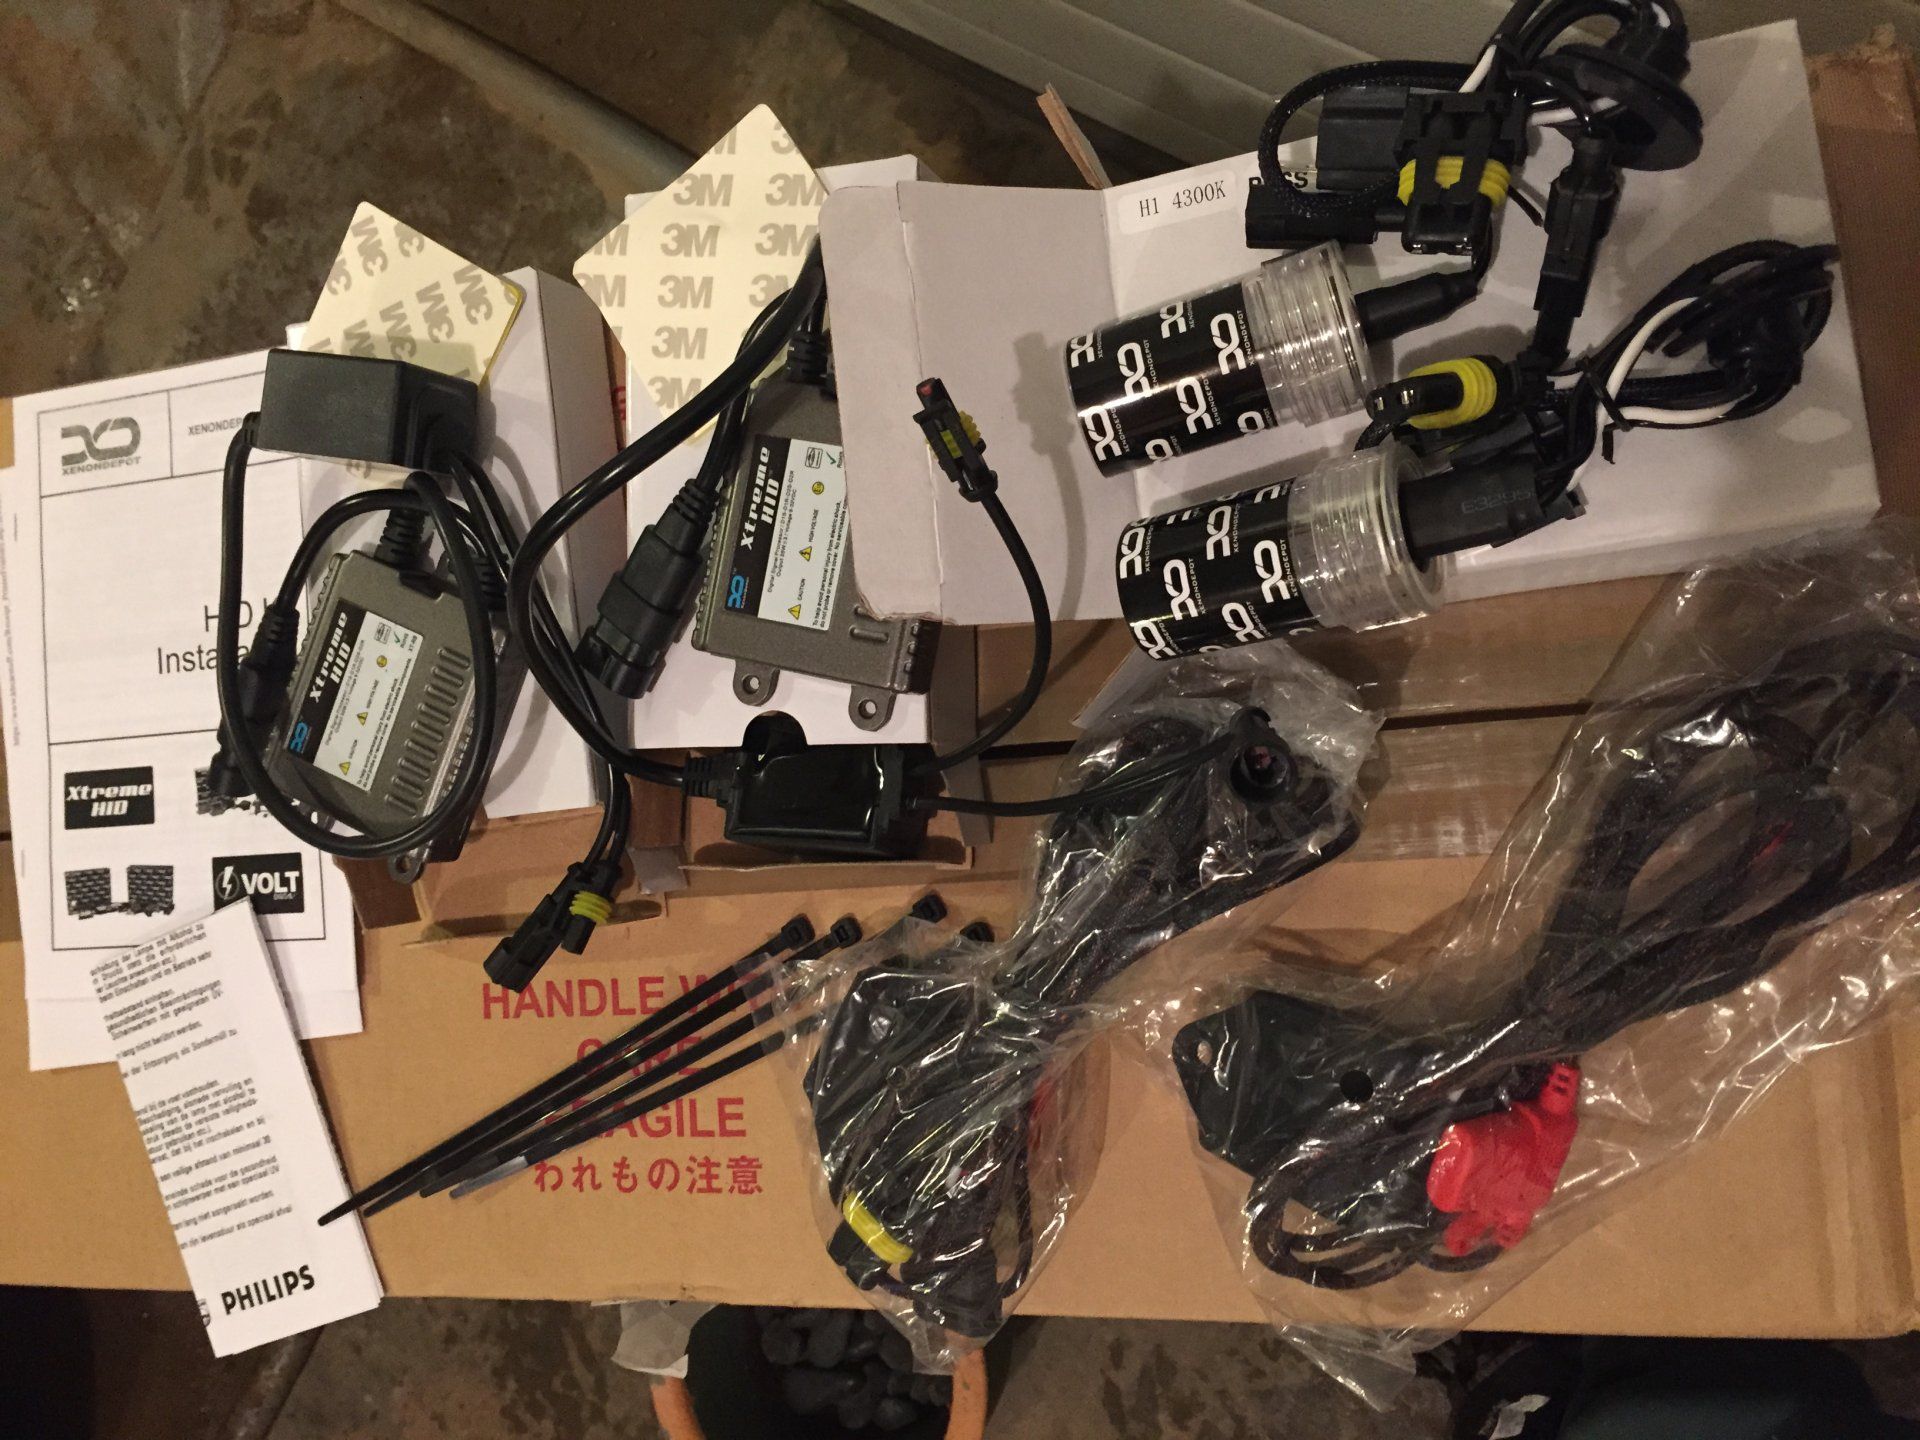
Everything in the box. Bulbs are rebased D2S Philips 85122 to fit into an H1 housing. I knew the ballasts were small, but they are even smaller than I expected. The harnesses are separate for each headlight so one bulb or ballast dying won't take out the other.

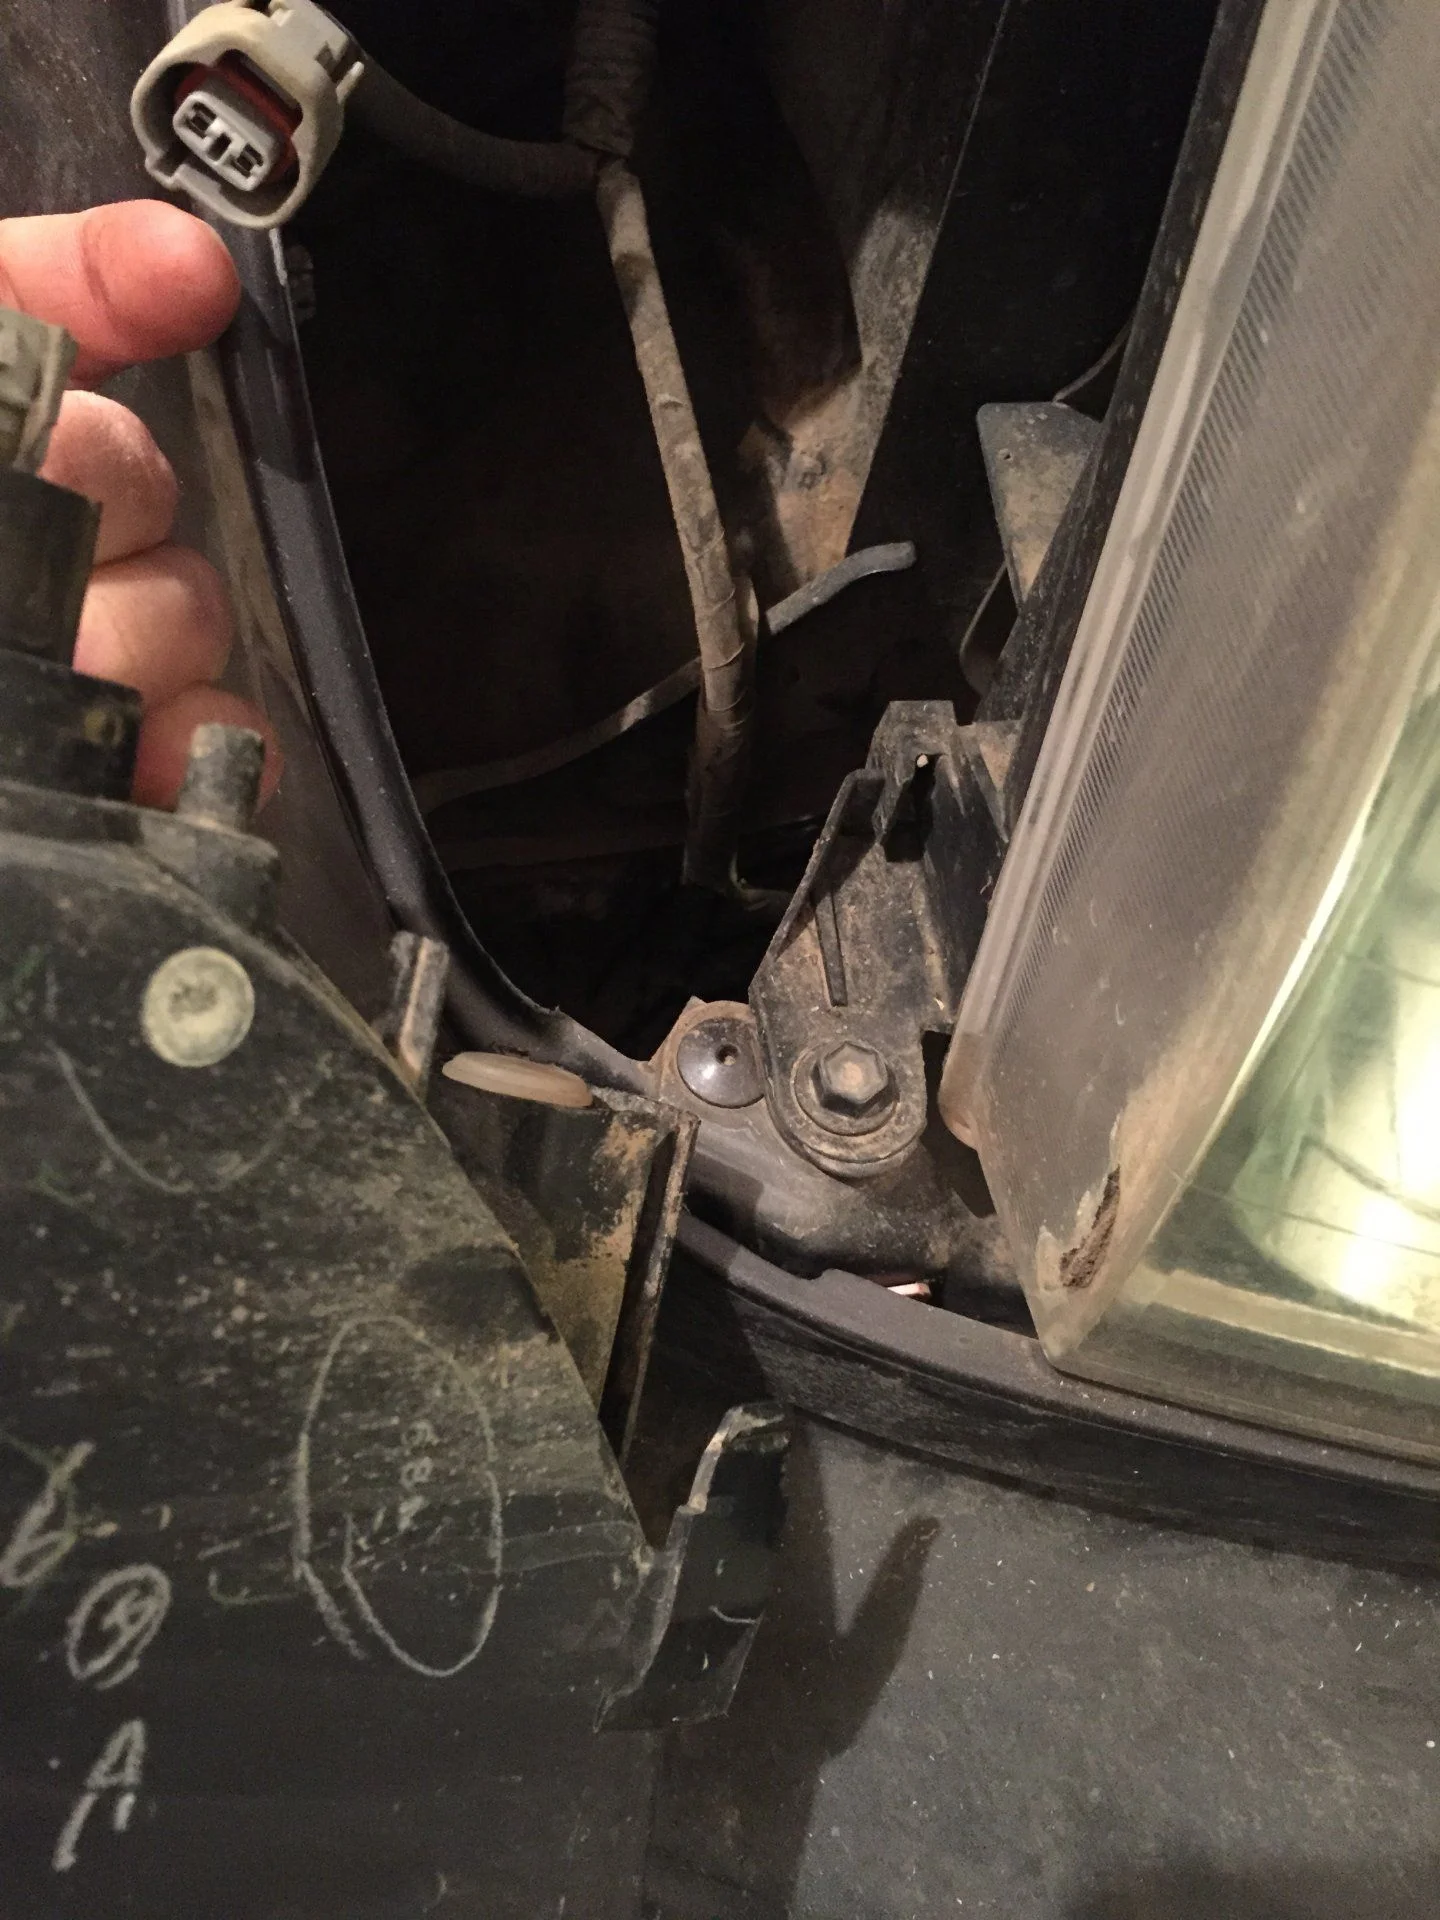
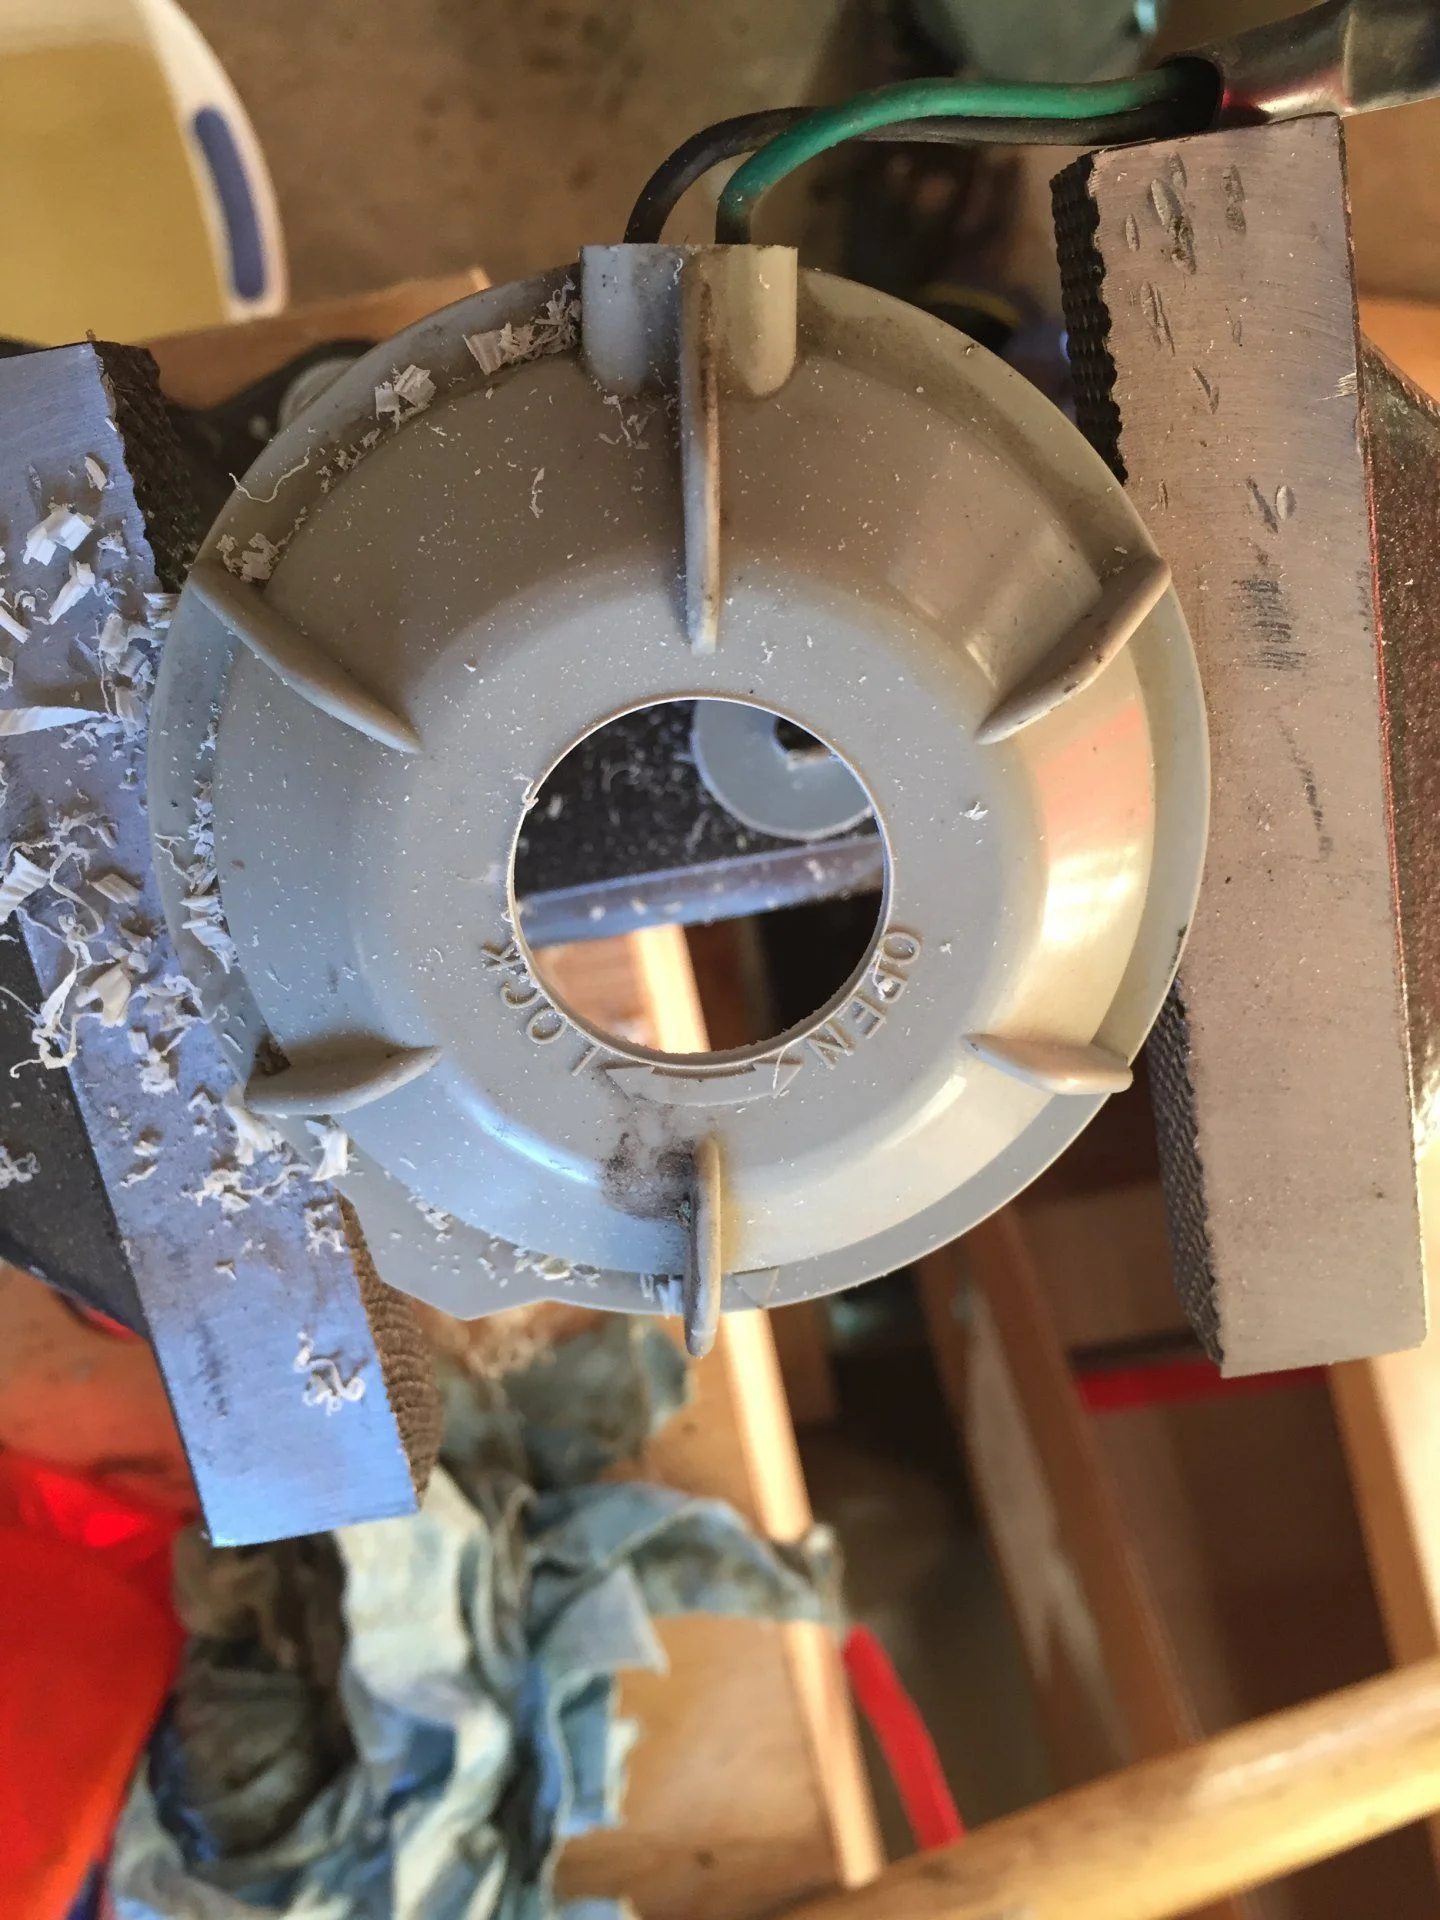
The biggest stumbling block in the entire install was figuring out how to remove the signal lights. Once the top screw was removed, I used a cheater bar from under the truck to gently push the marker light forward. It's important to push directly forward as there's a plastic pin that presses into a socket on the headlight. Any lateral pressure risks breaking it. The picture below shows the pin in the lower center on the signal light, and the socket is just above the 10mm bolthead in the center.

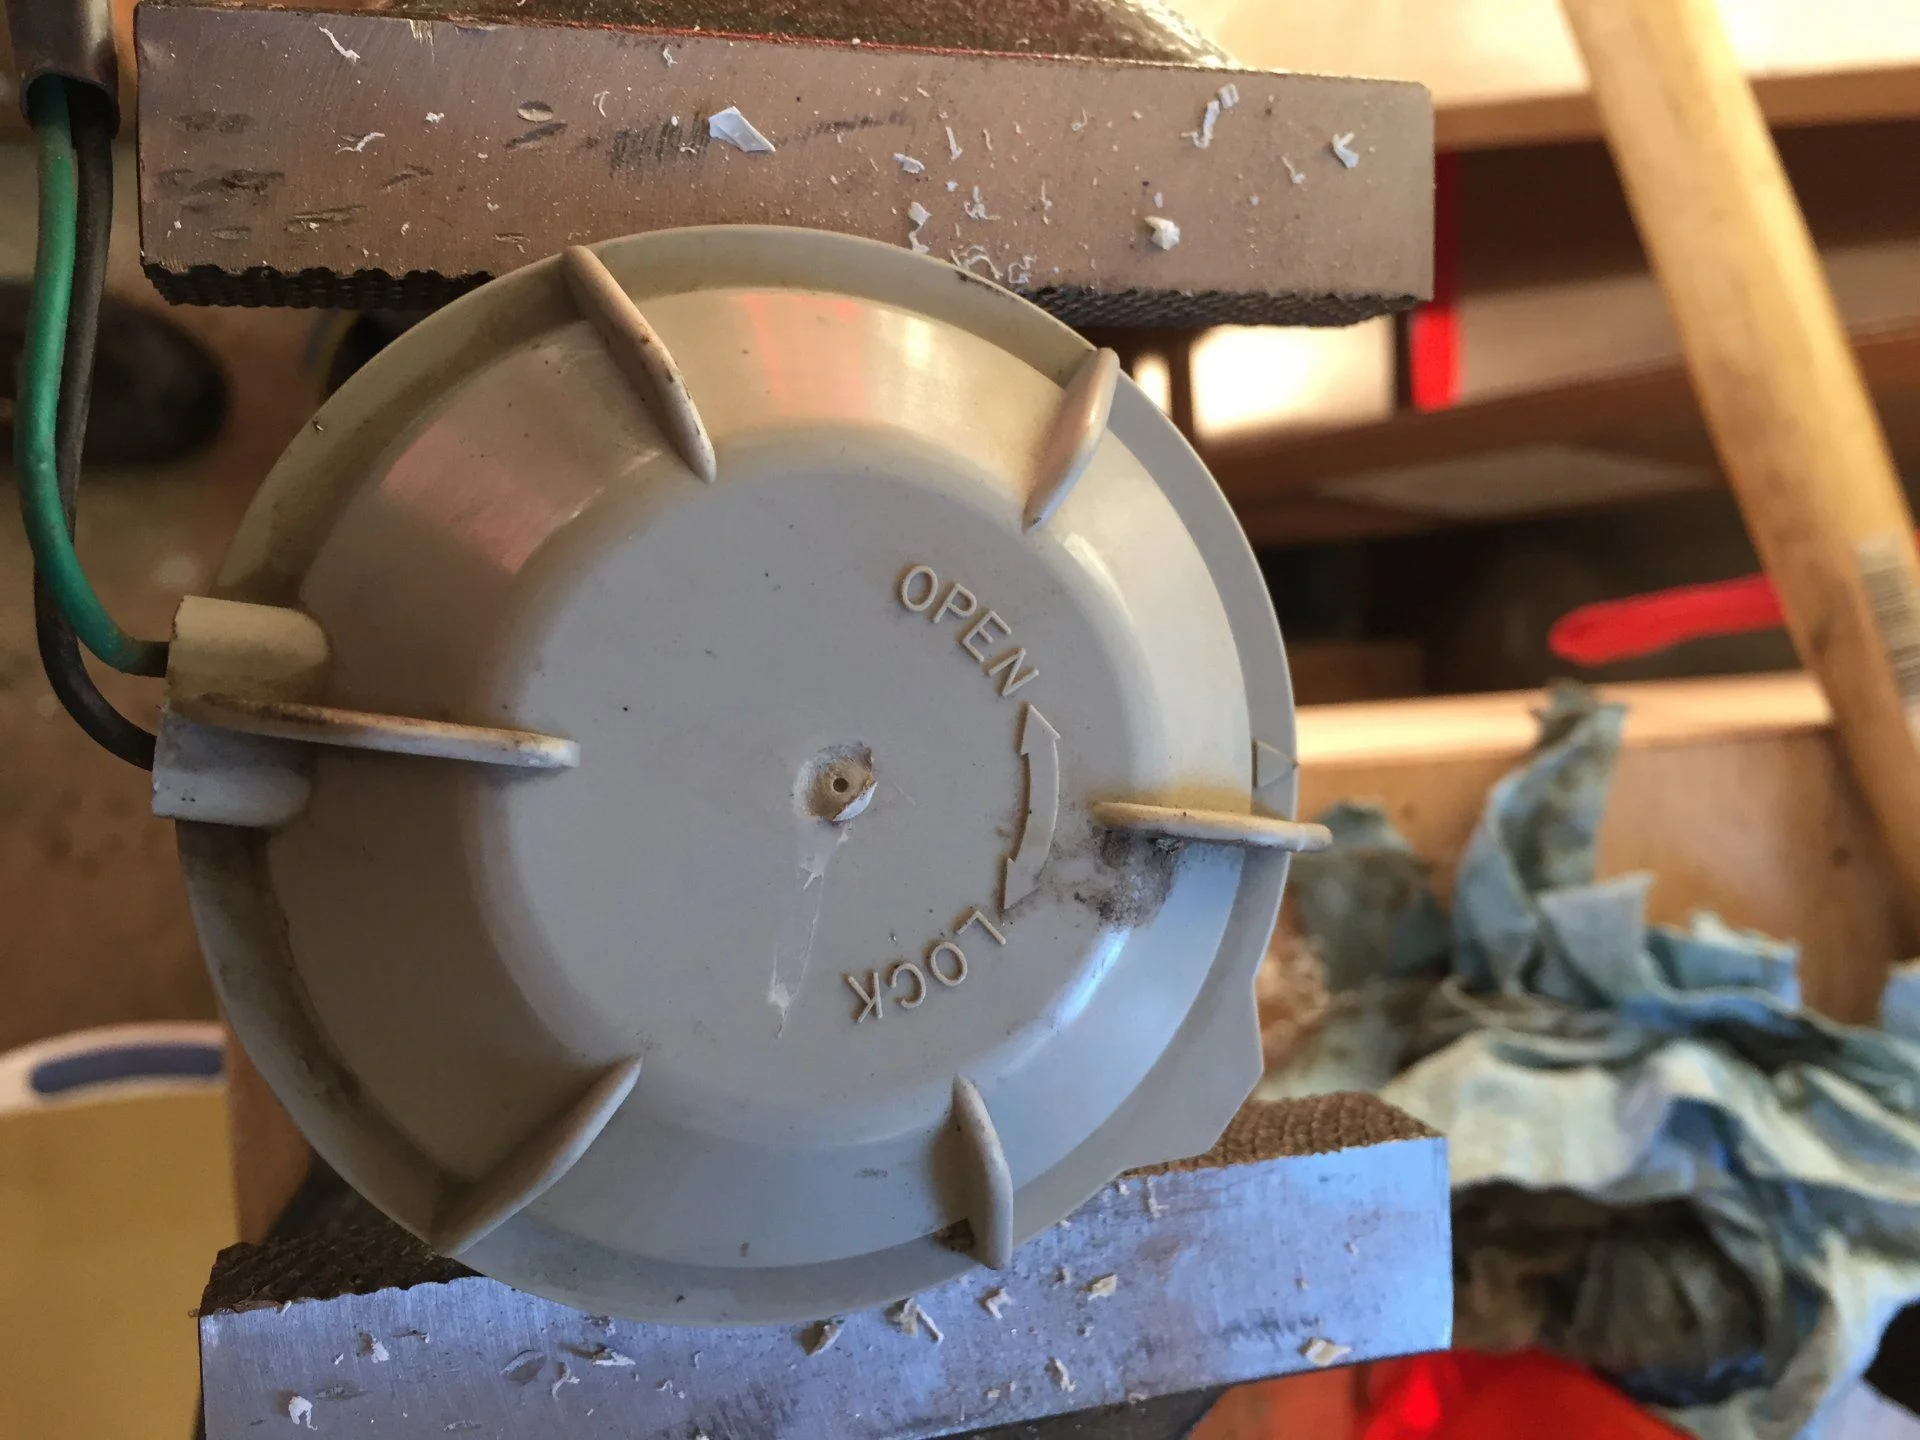
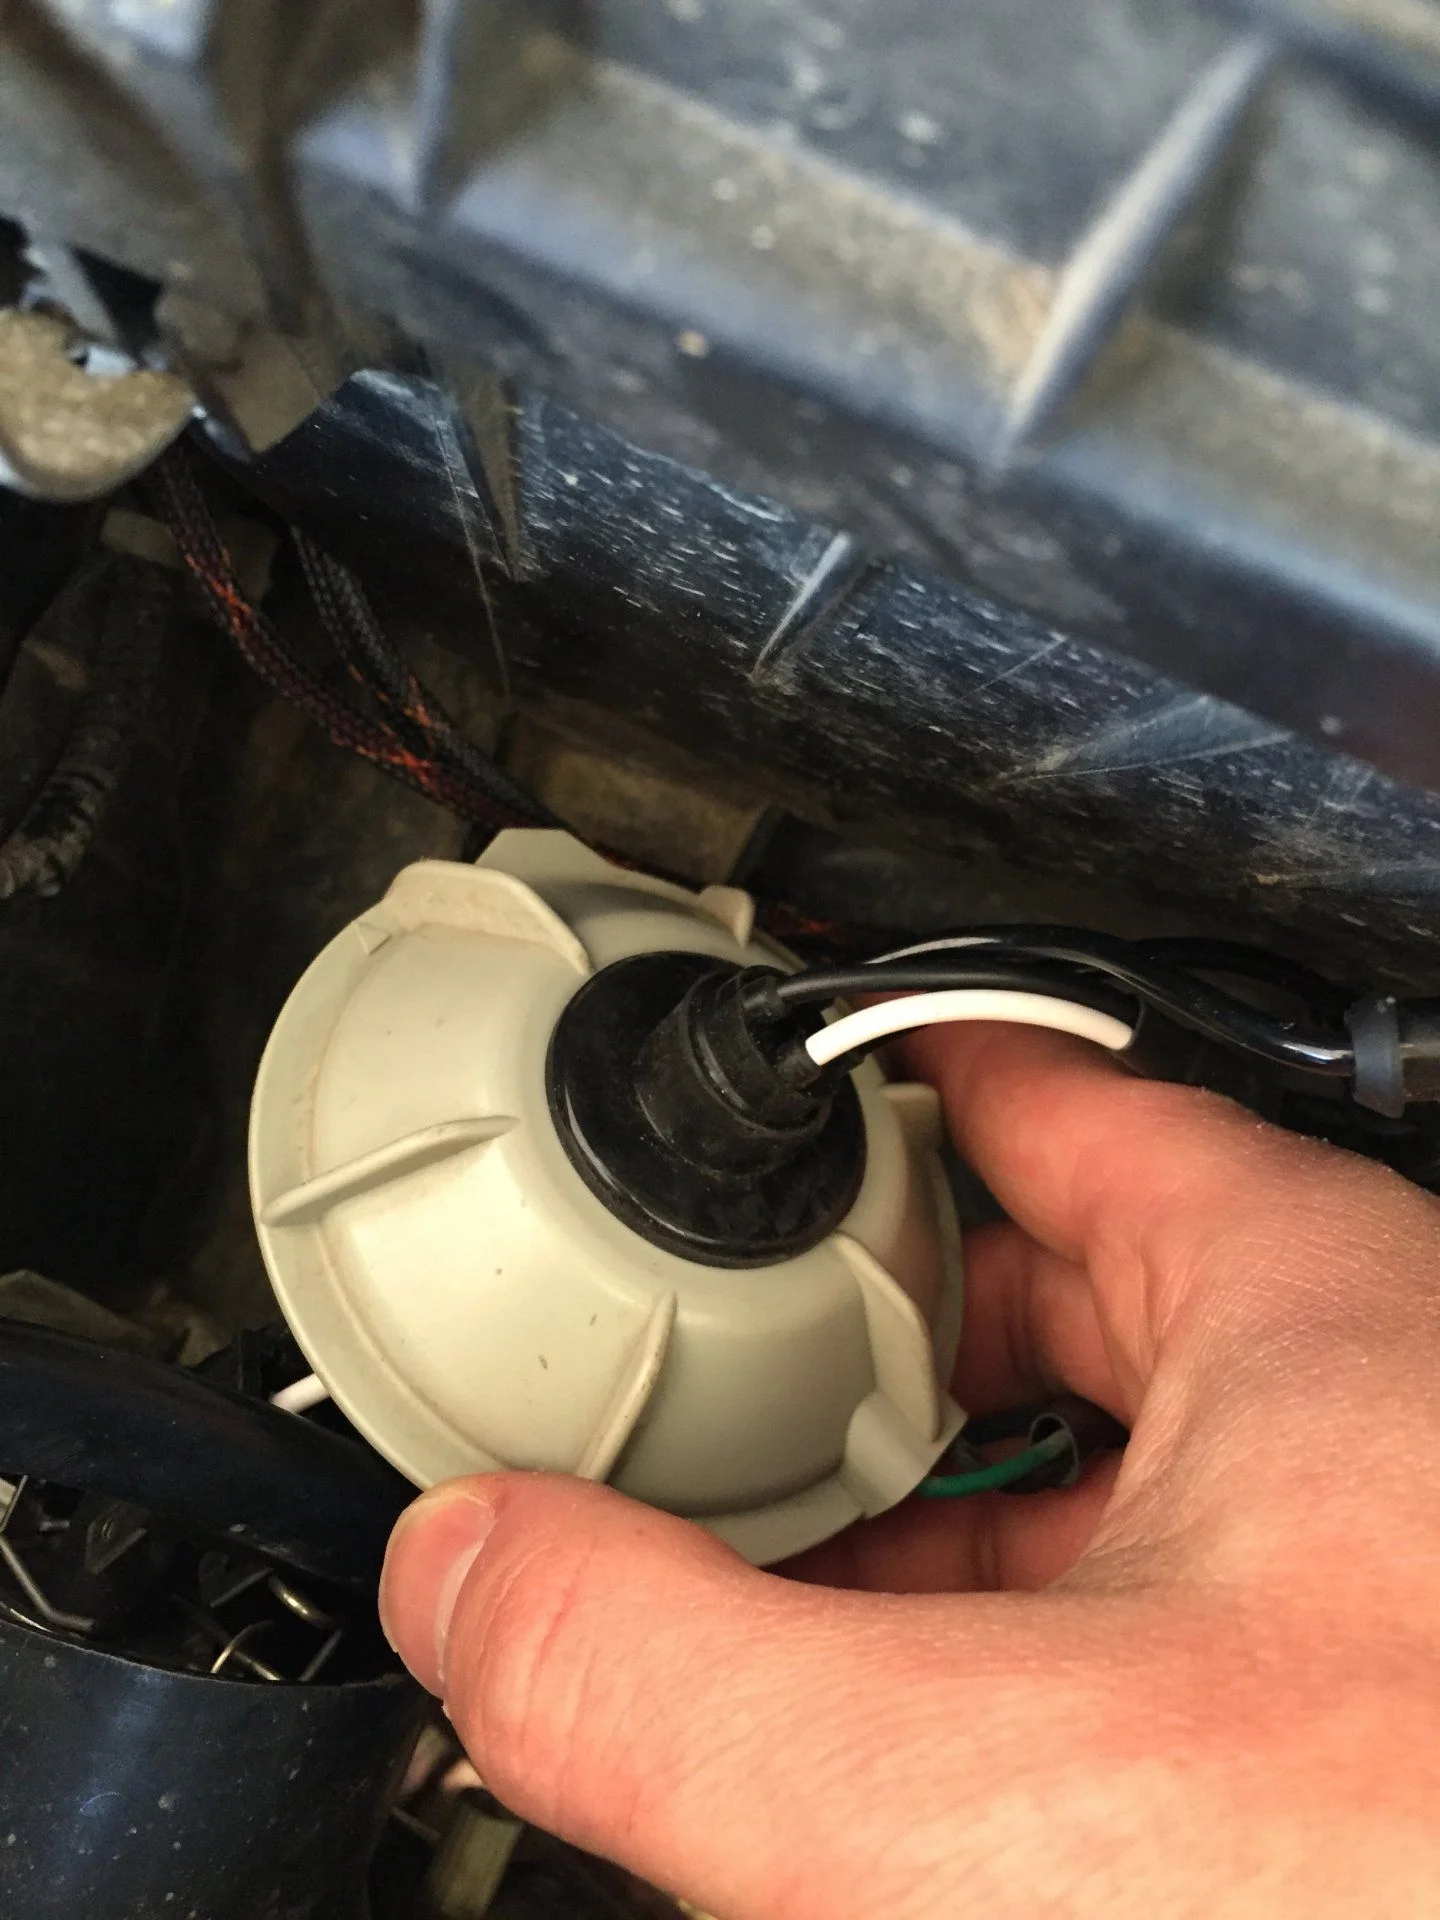
Installing the kit was extremely straightforward. I mounted the ballasts using the supplied double-sided adhesive to the inside fender behind each signal light. There are holes into the engine bay for wiring already. I drilled a 1" hole in the back of each plastic headlight "cap" to allow the additional wiring to pass through. The supplied harness has a rubber grommet already attached to seal up this hole.

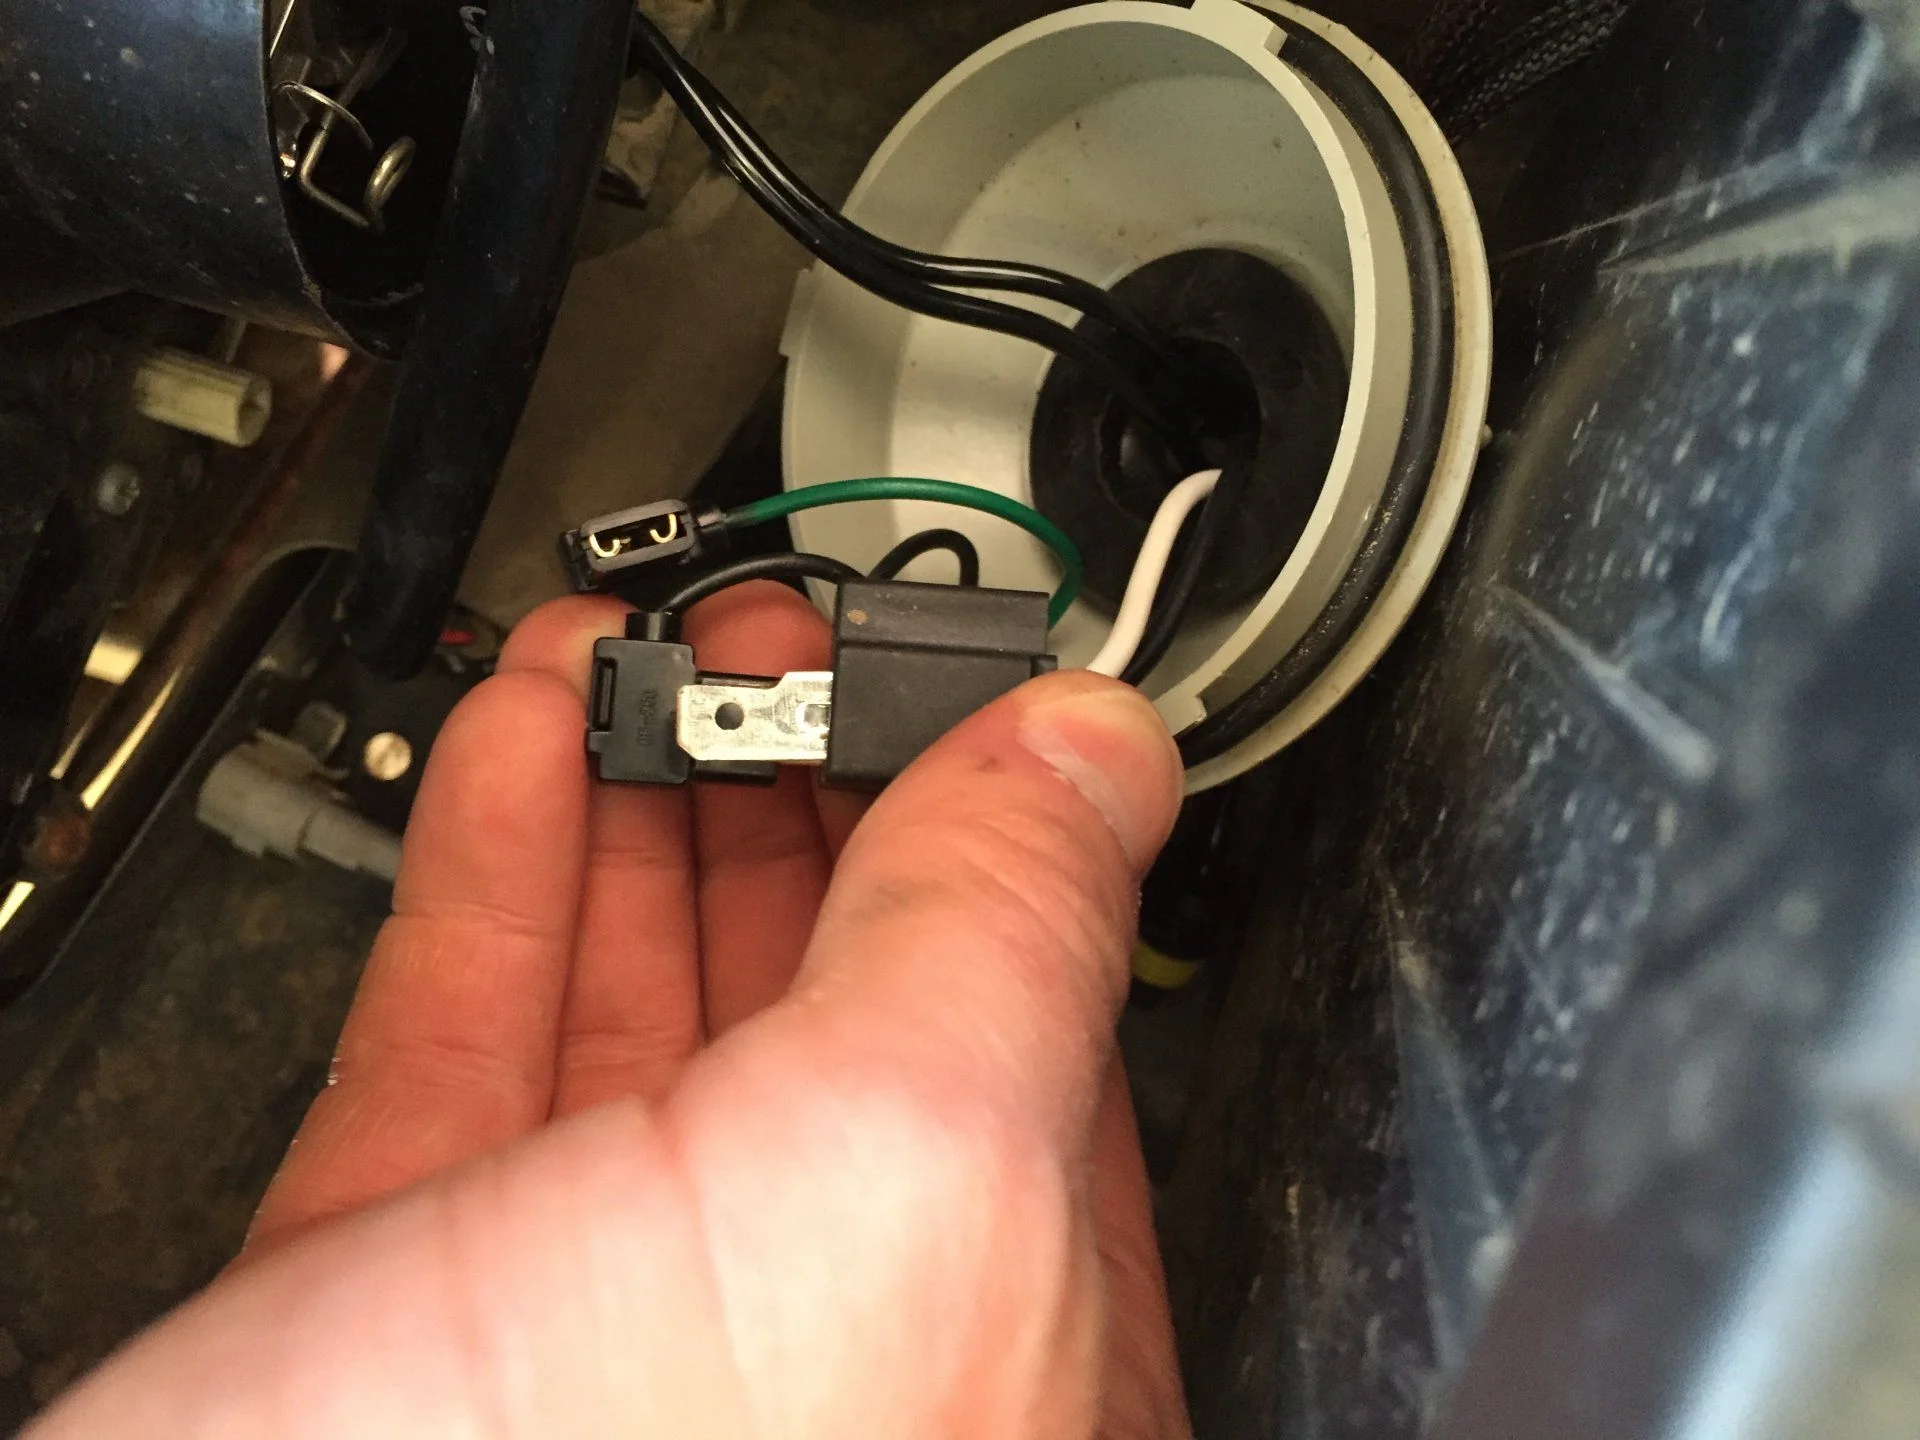
The relay for each ballast is triggered by the stock headlight wiring. You simply attached the wires that used to go to the bulb to a connector which goes to the sealed relay. Oddly, the male pins on the connector were too large to fit in the female stock wiring. Some gentle dremel work narrowed them up about 1mm. I wrapped the connector in electrical tape as there was still some exposed metal and I didn't want to risk contact inside the headlight housing.

Some pictures of progress:
Stock
Passenger side complete
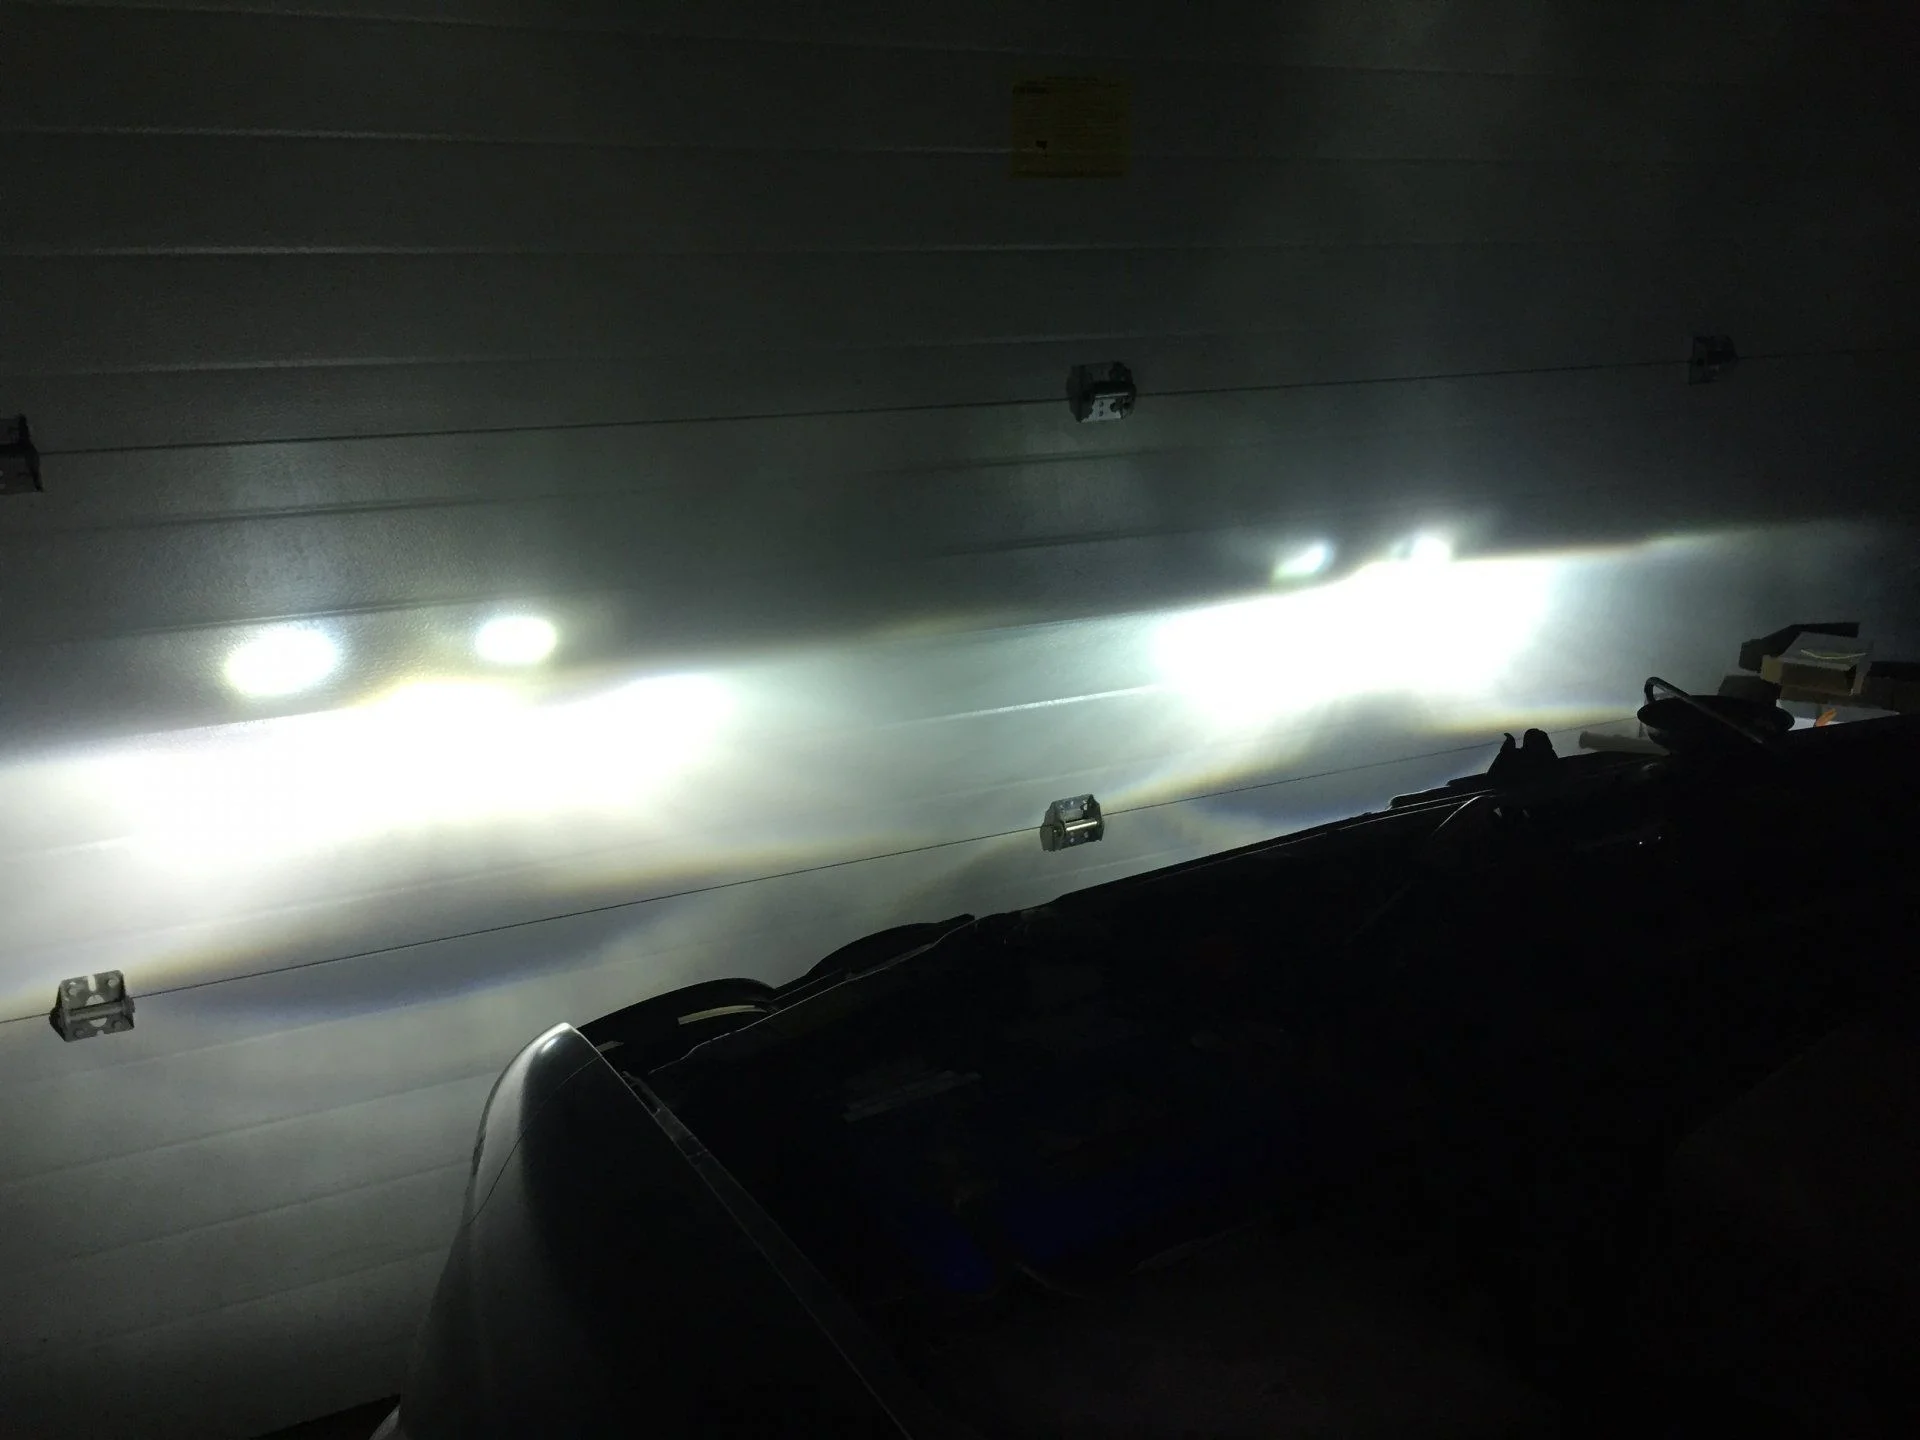
Both sides compete, no fog lights
Another shot of the completed install

I wasn't interested in pulling the headlight housing apart to block the squirrel finders at this time. In the future if I'm tempted to upgrade to TSX lenses, I'll block them.

Early impressions are that it's a significant improvement over stock. The cutoff isn't as crisp as you see on internet pictures of people with amazing cutoff, but it's so much better than the OEM bulbs I don't care. This was super easy and the results are immediate. I can't believe I waited a year (including all winter when we have sub-8hrs of daylight) to do this.
 

Users who are viewing this thread

Back
Top Bottom