Please forgive my naivete...but why can't we use air shocks? Instead of having extra hard springs 24/7 to provide lift and extra weight capacity we could do it just when wanted/needed...I searched "air shocks" but got nothing...I'm still kinda new to the forum...again might be doing it wrong
Navigation
Install the app
How to install the app on iOS
Follow along with the video below to see how to install our site as a web app on your home screen.
Note: This feature may not be available in some browsers.
More options
Style variation
You are using an out of date browser. It may not display this or other websites correctly.
You should upgrade or use an alternative browser.
You should upgrade or use an alternative browser.
How to remove & install rear shocks & springs on the uzj100
- Thread starter DMX84
- Start date
This site may earn a commission from merchant affiliate
links, including eBay, Amazon, Skimlinks, and others.
More options
Who Replied?Please forgive my naivete...but why can't we use air shocks? Instead of having extra hard springs 24/7 to provide lift and extra weight capacity we could do it just when wanted/needed...I searched "air shocks" but got nothing...I'm still kinda new to the forum...again might be doing it wrong
Air Lift 1000 Install
Try searching for air lift.
I run air lift bags with oem springs and they are fantastic. Adjusting the height of the rear is really easy now, and the ride is great too.
Please forgive my naivete...but why can't we use air shocks? Instead of having extra hard springs 24/7 to provide lift and extra weight capacity we could do it just when wanted/needed...I searched "air shocks" but got nothing...I'm still kinda new to the forum...again might be doing it wrong
If you used the search term "air shocks" in the search bar of the forum in the upper right side of the page, you did get lots of threads/posts that discuss air bags for periodic heavier load use, including the thread linked by @n55luvr above. That's how I originally found the info I needed to install my Airlift bags, which do exactly what you describe.
Thx...so no to shocks but yes to bags...I did see a few people say that they had problems with the bags when they did any serious offloading...what kind of problems?
I installed the rear Ironman Toy13B springs 2" (0-200kg added weight) yesterday. I tried the RobRed approach but there was not enough droop to get the old springs out with out disconnecting the swaybar.
Springs went in pretty much straight forward, I think prep took longer to set up the stands in various locations and pull out all the tools & get the wheels off than actually swapping in & out the springs. If you are working off the floor as I do, removing the spare tire does make a difference. You can sit upright in that area with the tire out. I got a hair over 2" lift from the rear springs, enough that I couldnt pull out of my garage.... had to laugh, and then remove my rhino crossbars, and only then just cleared the door opening by a few millimeters.
I installed the shocks a few months ago, and did the access hole method. That worked well. No second thoughts about drilling holes. I searched for a solution for plugging the holes; not easy to find 1.5" body panel plugs. But after some trial & error I found a good supplier of body panel plugs out of San Diego: Rubber the Rightway (rubertherightway.com) mostly for supplying vintage body panel plugs. The challenge is finding a plug thats deep enough to hold- since the floor is thicker than most sheet metal (insulated) at the spot where you cut the access hole. I ordered 4 different plug styles. For my 1.5" holesaw cut I found the 1 1/2" x 2-1/4" head plug worked pretty good: part#20-019X. Of course a little Gorilla tape would probably work fine as well, which is what I used while experimenting with different plug suppliers.
Edit: Spring Placement: Forgot to mention that the springs are marked Driver Side and Near Side. Here's an area for confusion if you're not paying attention. These markings are intended for Right hand drive vehicles (Ironman is an Aussie brand). So for Left hand drive rigs, markings with Driver side is for your passenger side and marking with Near side is for your driver side- got that? Helps to measure the springs against each other, and also compare to the springs you remove. On these Ironman TOY13B's there is a marginal difference in length by roughly 10mm.
Any pointers on rear spring removal off of floor? I have disconnected rear shocks (replacing) and swaybar, I don't seem to have enough droop to pull out springs, even had one side almost on the floor! Any ideas? Thanks!
duggy
SILVER Star
Just place your stock jack in between the axle and the bump stop to get more droop out of the axle.
... I tried the RobRed approach but there was not enough droop to get the old springs out with out disconnecting the swaybar.
The RobRed approach includes discoing the sway bars so not sure how you missed that.
OME Suspension Lift Install – Part 1 (Rear)
Mike6158
Random Pixel Generator
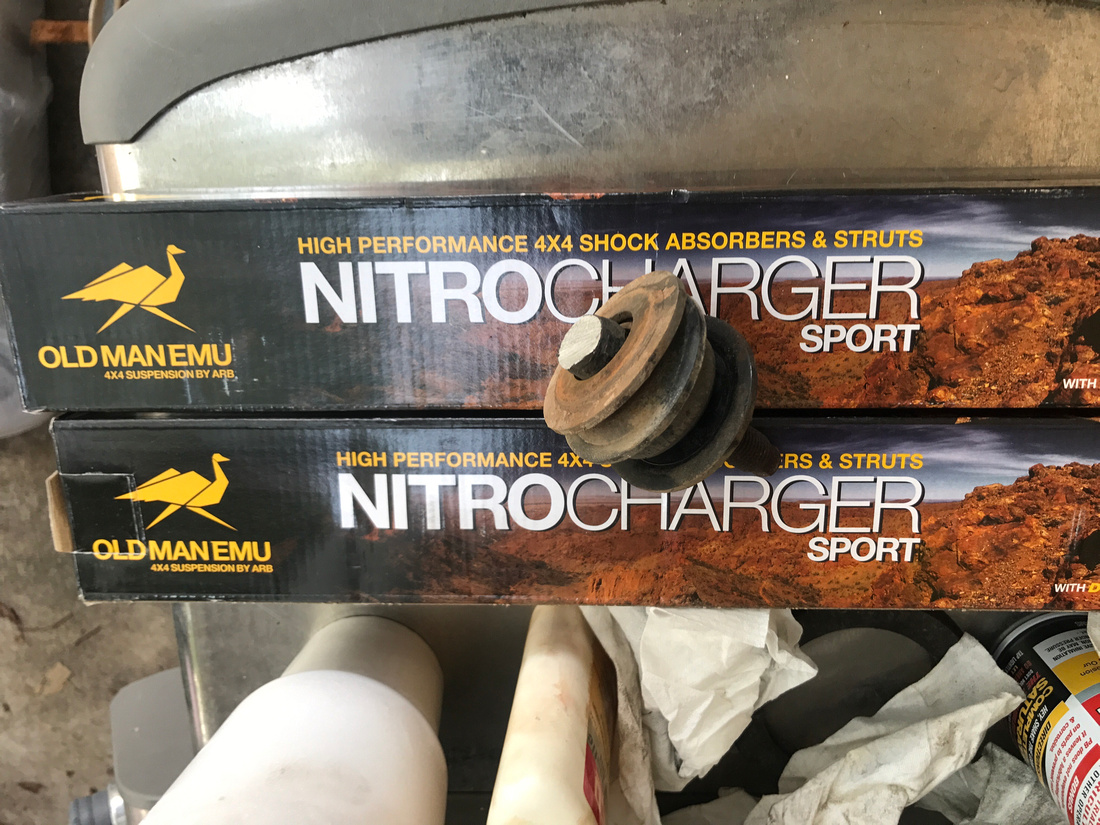
I'm cussing... I mean in the middle... of this project and I don't know why but I suspect the OP's shocks weren't OEM. I don't think Toyota would use 3/4" nuts on their factory shocks. My (extremely worn out) factory shocks have a 22mm son of a... I mean nut which is about 7/8" ish. If I could get my Sawzall in there the shock removal part would be done 
You cannot remove the top strut bolt this way if your truck was in the northeast, rust has welded it shut. i had to cut a hole in the rear seat floorboard and put a gun to it from above. Came right out, found a 3" rubber cap to plug that hole up for future services.
Mike6158
Random Pixel Generator
Sawzall for the win. Cut that sorry sob like "buttah"... Less than 10m including stringing out an extension cord AND rolling it back up
I just want to say that I fairly easily removed my rear shocks with a crows foot attached to a 3/8 socket wrench with a cheater bar. The top nut came off fairly easily using this method. I used large vise grips attached to the shock body, and the job was actually really simple. I didn't even have to remove my tires. Just backed up my land cruiser onto some Rhino Ramps and removed the spare for extra room.
Crows foot

Large vise grips

Crows foot
Large vise grips
I'm thinking of replacing my rear springs.
Is below video good instructions?
Makes it look very simple!
Is below video good instructions?
Makes it look very simple!
- Joined
- Aug 14, 2016
- Threads
- 5
- Messages
- 89
- Location
- Portland, Oregon
- Website
- www.restorationmotorsport.com
Nice to know you did it with the wheels and tire still on!I just want to say that I fairly easily removed my rear shocks with a crows foot attached to a 3/8 socket wrench with a cheater bar. The top nut came off fairly easily using this method. I used large vise grips attached to the shock body, and the job was actually really simple. I didn't even have to remove my tires. Just backed up my land cruiser onto some Rhino Ramps and removed the spare for extra room.
Crows foot
View attachment 1962057
Large vise grips
View attachment 1962058
I’m getting ready to do my truck. Can any confirm the Wrench sizes needed? 22mm
Do you need use that big vise Grip hold the shock body again when you install the new shock back? I mean when you tight the nut on the top. ThanksI just want to say that I fairly easily removed my rear shocks with a crows foot attached to a 3/8 socket wrench with a cheater bar. The top nut came off fairly easily using this method. I used large vise grips attached to the shock body, and the job was actually really simple. I didn't even have to remove my tires. Just backed up my land cruiser onto some Rhino Ramps and removed the spare for extra room.
Crows foot
View attachment 1962057
Large vise grips
View attachment 1962058
I'm thinking of replacing my rear springs.
Is below video good instructions?
Makes it look very simple!
Bumping an old thread. Just watched the video and noticed that he does the work with the whole vehicle supported on a single floor jack. Not only that, but the jack has a block of wood on it. That whole assembly moves noticeably while he's jacking up the axle - he's lucky it didn't slide out and drop the truck on him. Moral: Use jack stands or ramps.
I’m simply trying to add Old Man Emu 10mm trim packers to stock springs and stock shocks. I removed the inverted “U” shaped sway bar bracket and removed my rear shock lower bolt, but cannot pry the shock away from the mounting shaft on the axle. Currently the axle is unsupported. Should I have more droop or more tuck to better get the shock off? It flexes because of the rubber bushing, but won’t actually separate from the mount.  Any suggestions?


Any suggestions?Shock has to come off the bottom mount to allow the axle to articulate enough to drop the spring out.
I find it’s easier to first remove the shock from the lower mount while the axle is supported. Try putting a jack under the axle and get the weight off, use a pry bar to work it off.
I find it’s easier to first remove the shock from the lower mount while the axle is supported. Try putting a jack under the axle and get the weight off, use a pry bar to work it off.
Similar threads
Users who are viewing this thread
Total: 1 (members: 0, guests: 1)