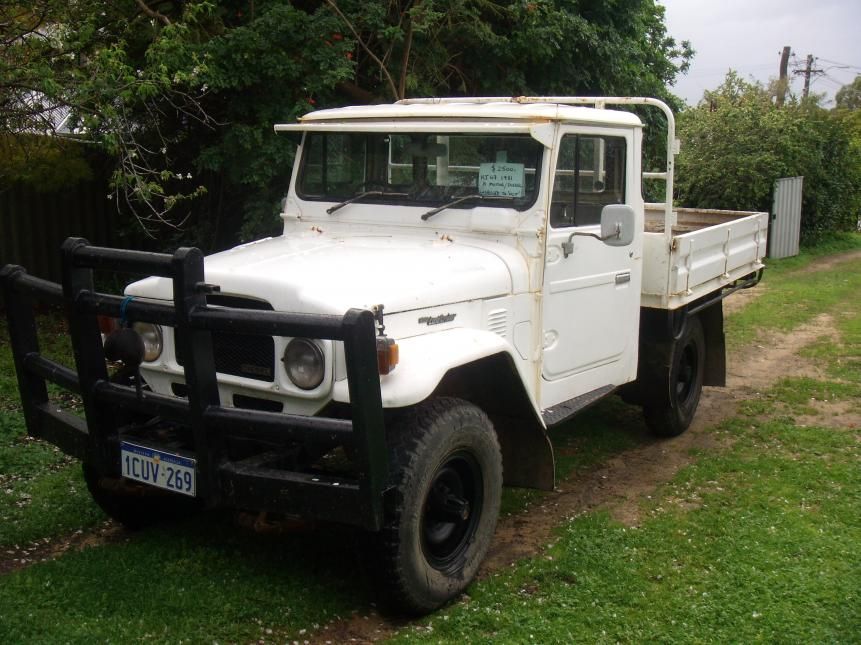
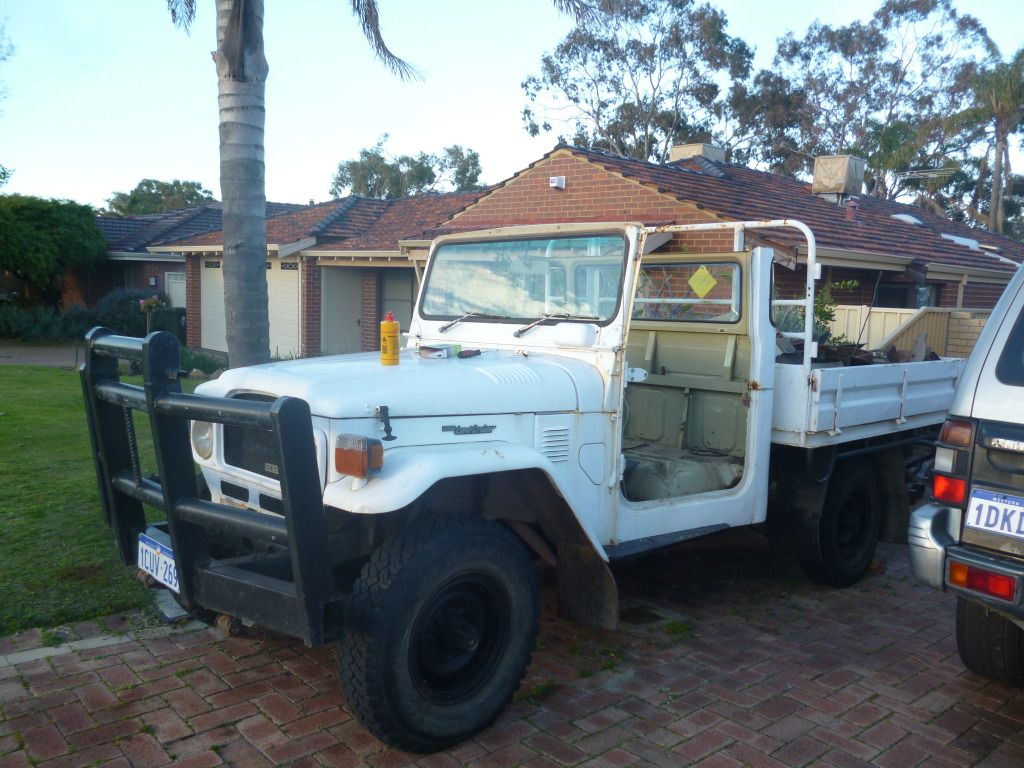
This will be the build-up of my 1981 hj47 ute.
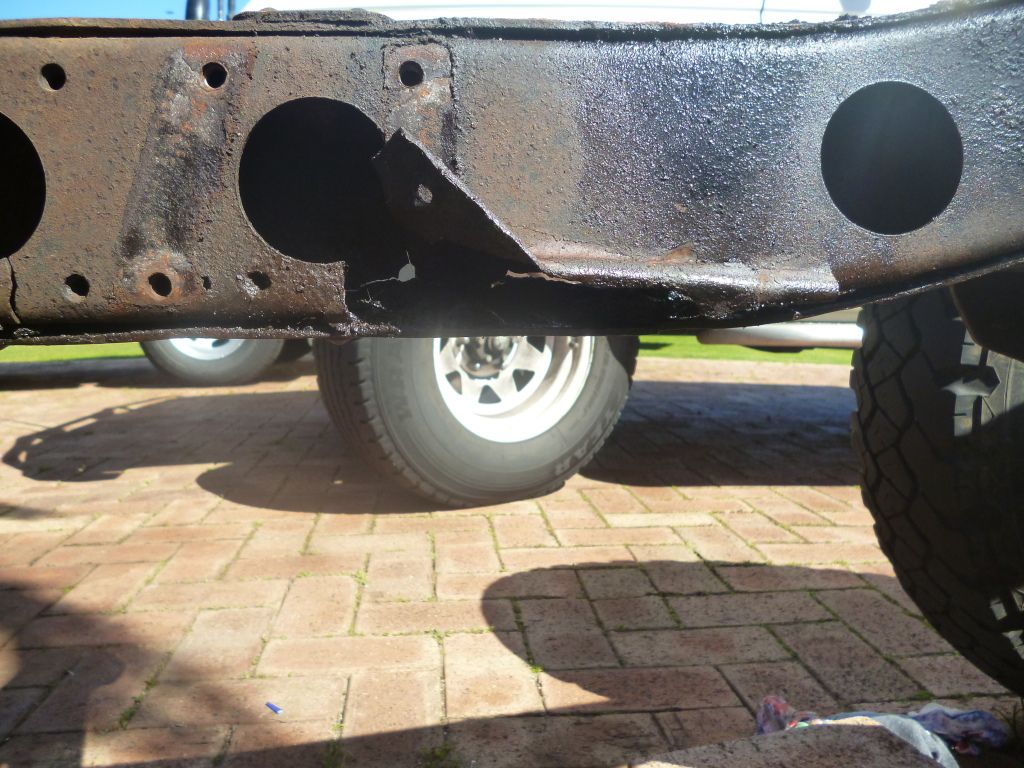
I am a 21 years old, a full time uni student working part time so I am definitely on a tight budget. I stumbled across this particular ute one day, had a look and brought it home. Although it had been repainted with dulux weather shield… complete with brush marks, the body was in reasonable condition and it had a strong motor. However under the passenger foot well, the chassis had a good size crack. I figured I would just plate and weld it up. And then I would have a solid truck for 4x4ing and camping.

So I took to the old girl to my brother’s workshop with some steel plate and welding rods in hand, only to discover the true damage. After cleaning it up the chassis had completely rusted out and was paper thin. So after blowing a few holes in the chassis it was time for a new plan. The cruiser was also in need of a new rear main seal and some gaskets to be replaced.
A few months passed as I got despondent and though of scrapping the ute. But though I’d give her another chance and started hunting for another chassis. Eventually I found one, and the wrecking yard said it was in perfect condition. I drove the 4 hour round trip to pick it up. Being a bit naive I only had a quick look over the chassis and it had no rust whatsoever. However, when I got it back to the workshop my brother kindly told me it was shagged! It was in a crash and was twisted and had been welded up…. I wasn’t very happy!

I called them back up and was not so kindly told to F*#k off!..... I will add this was a registered business… So I tried a few more times to speak with them and ended up getting consumer affairs involved and now taken it to the courts. I will have to say I’m disappointed there are people / businesses that screw people like this.
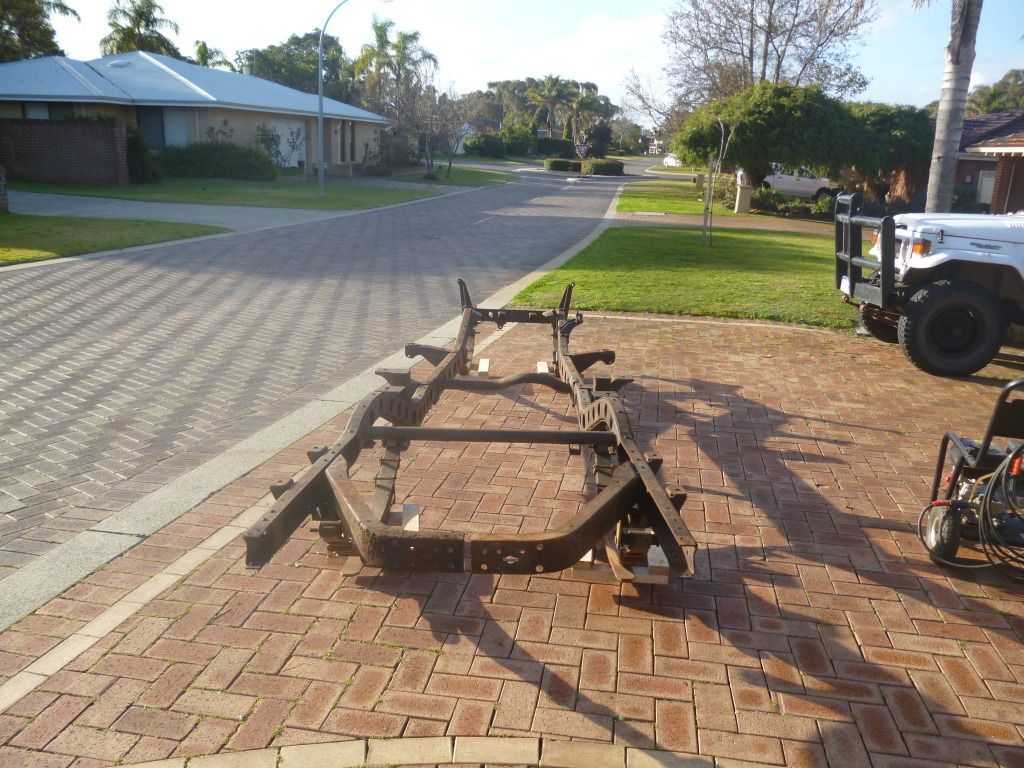
So after a few months of being stuffed around, and my brother changing jobs I no longer have workshop space to do a chassis swap. However I did meet a few of hj47 enthusiasts and they have been more than helpful, they found me a chassis.
My parents’ decided to give me their garage to build my hj47 so now I am going to do a full rebuild and repaint.
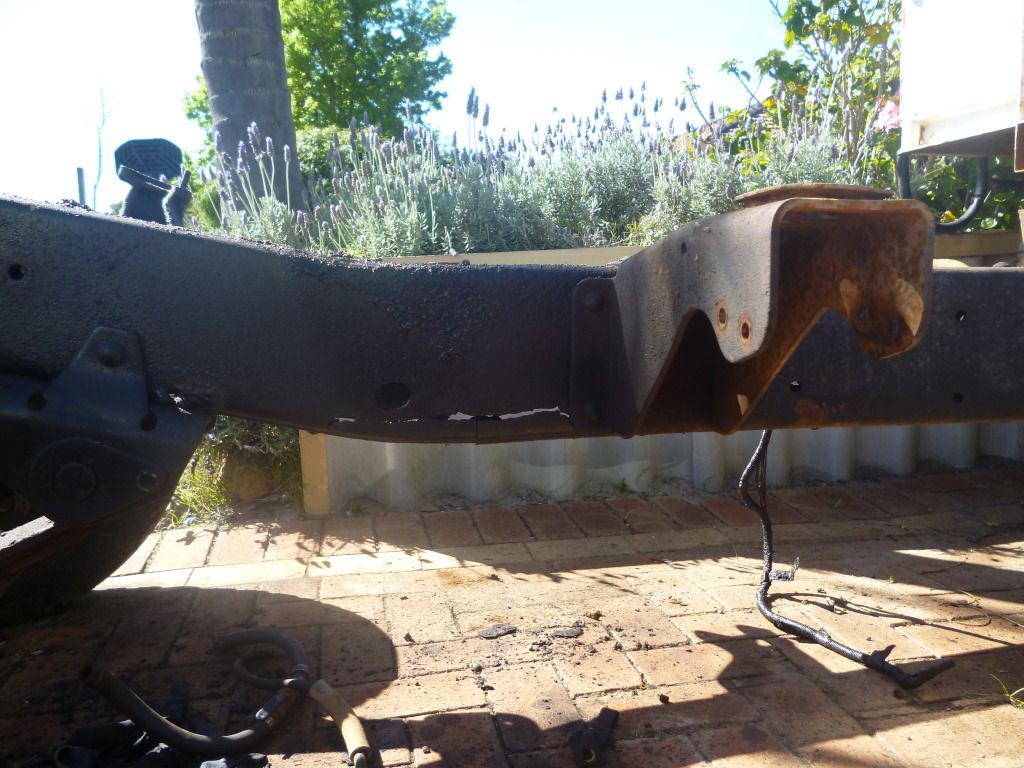
The new chassis is in good nick for 30 years old.

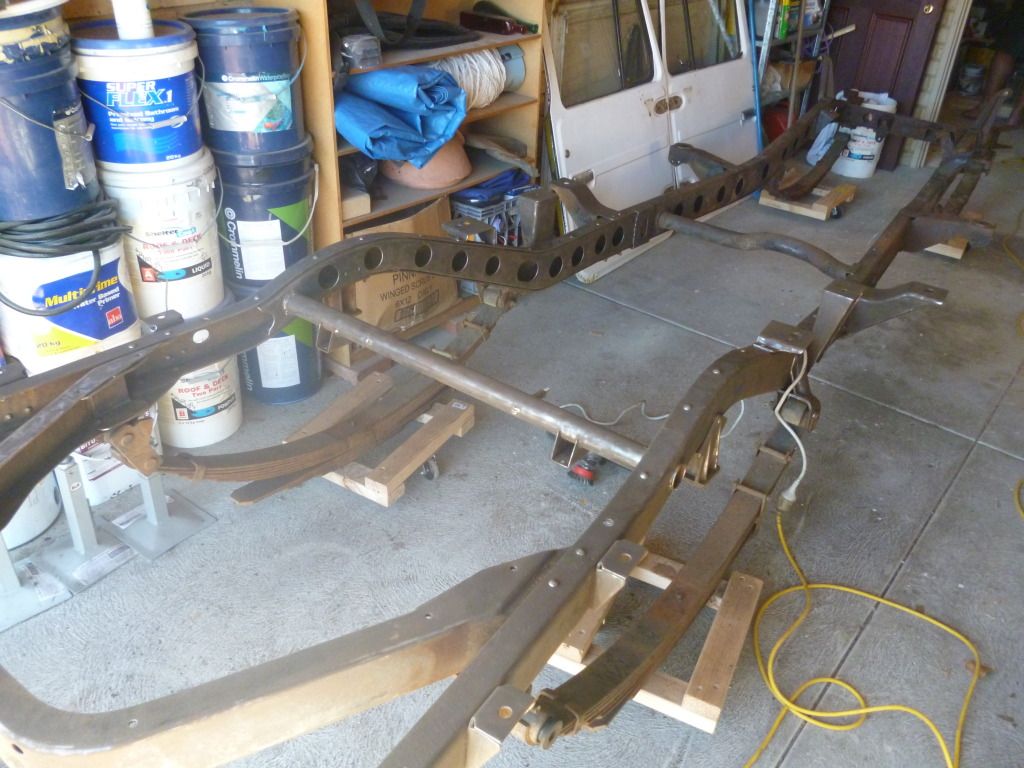
I wanted to get it galvanised, but that would have blown my budget. So I decided I would grind it back and repaint it. After looking for some paints, I settled on KBS rust seal as the base coat as it will encapsulate any rust I can’t get at. And after many hours of grinding, I was nearly there.

The KBS has a three step process, but after all that the chassis was looking awesome.

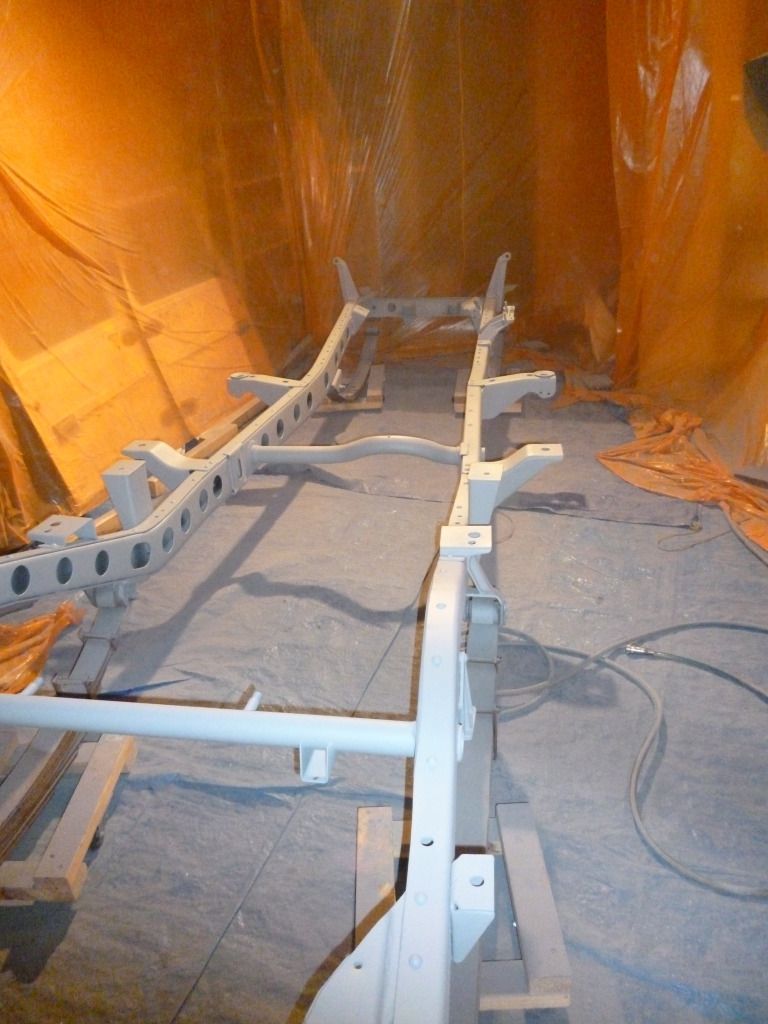
I decided to bush it on since it’s a self-levelling paint, but wasn’t too sure how I would paint inside the chassis rails. So after trying a few different ways to spray it, I had to saturate a rag in the paint and then use a rod to push it through. Now the whole chassis is coated. I could have left it as is and had a black chassis, but I’ve decided on a colour scheme and the chassis will be silver.
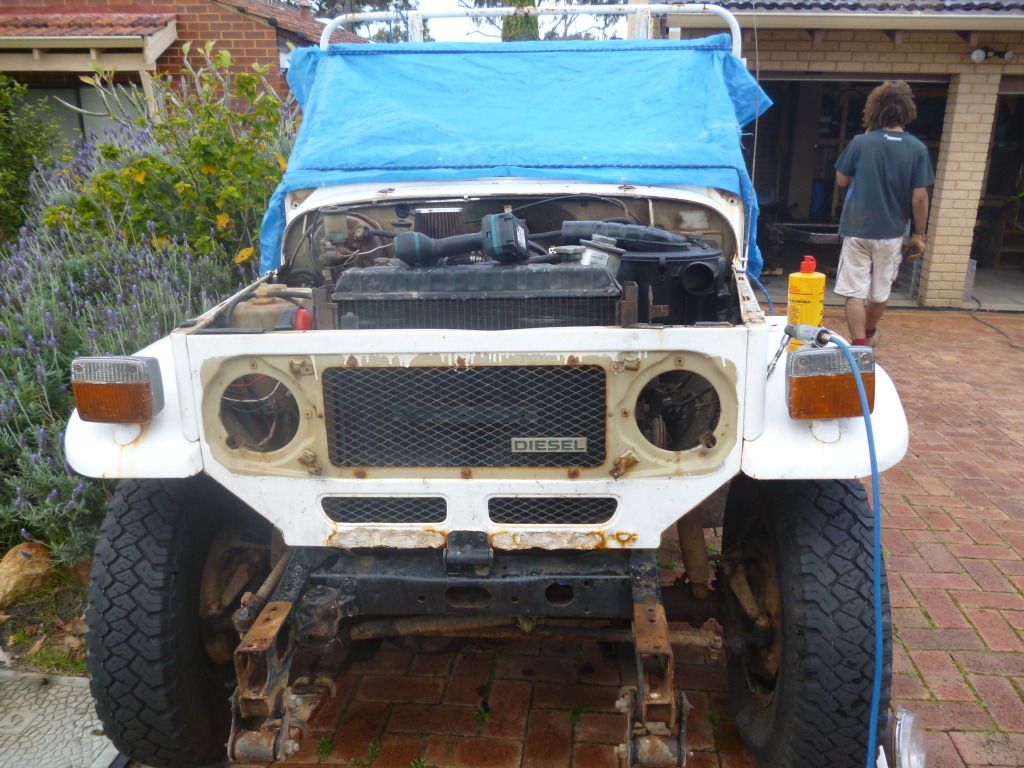
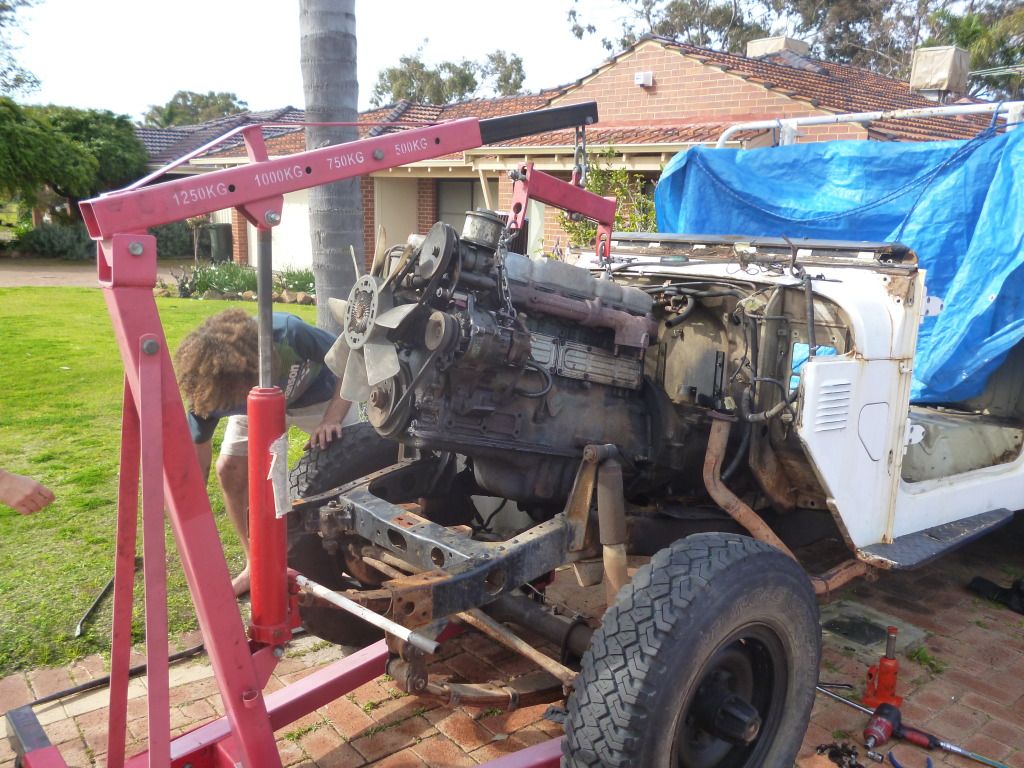
Meanwhile I started stripping the old girl and my brother pulled the old motor out. He is going to rebuild it for me. Here are some shots of the dismemberment.


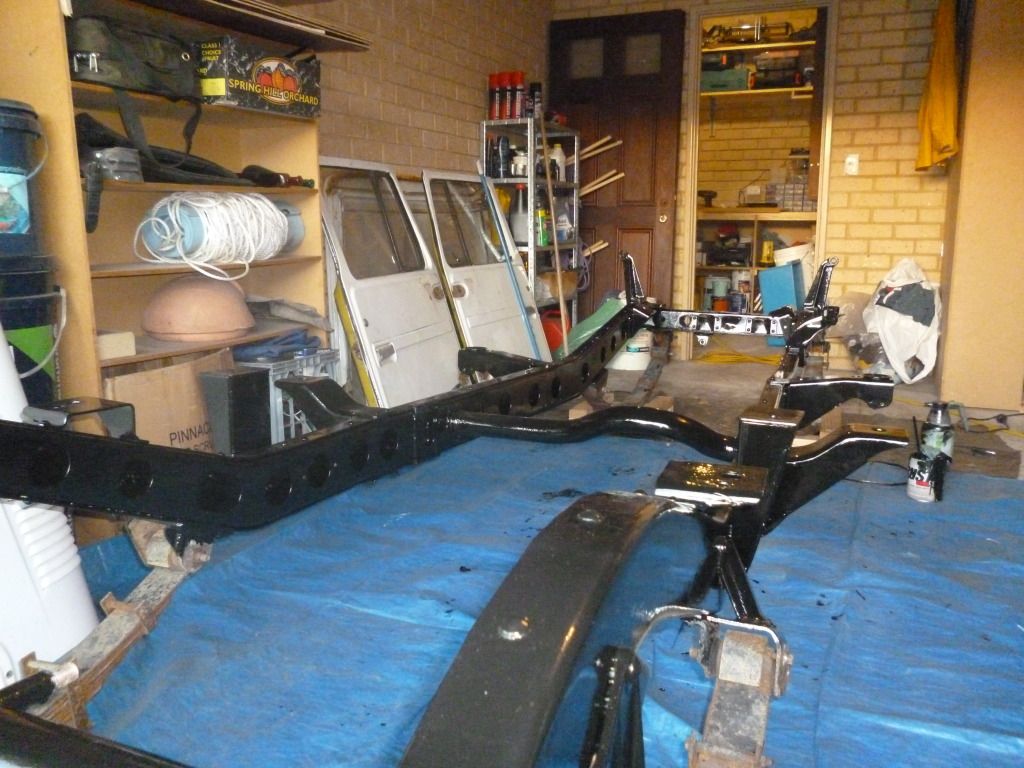
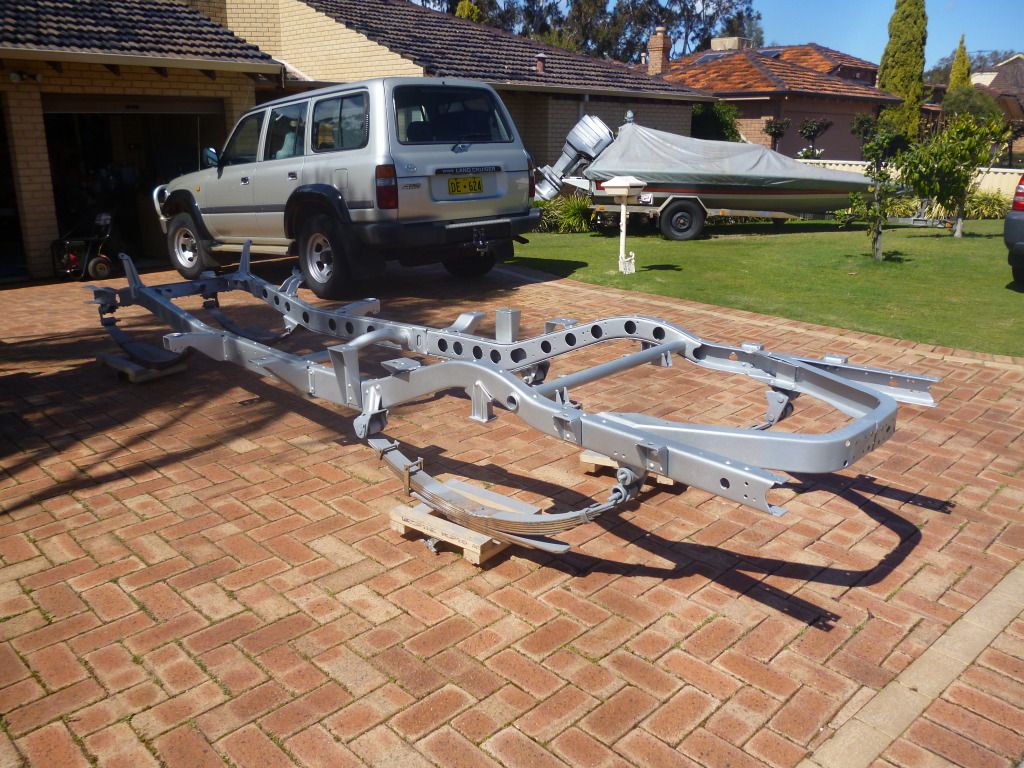
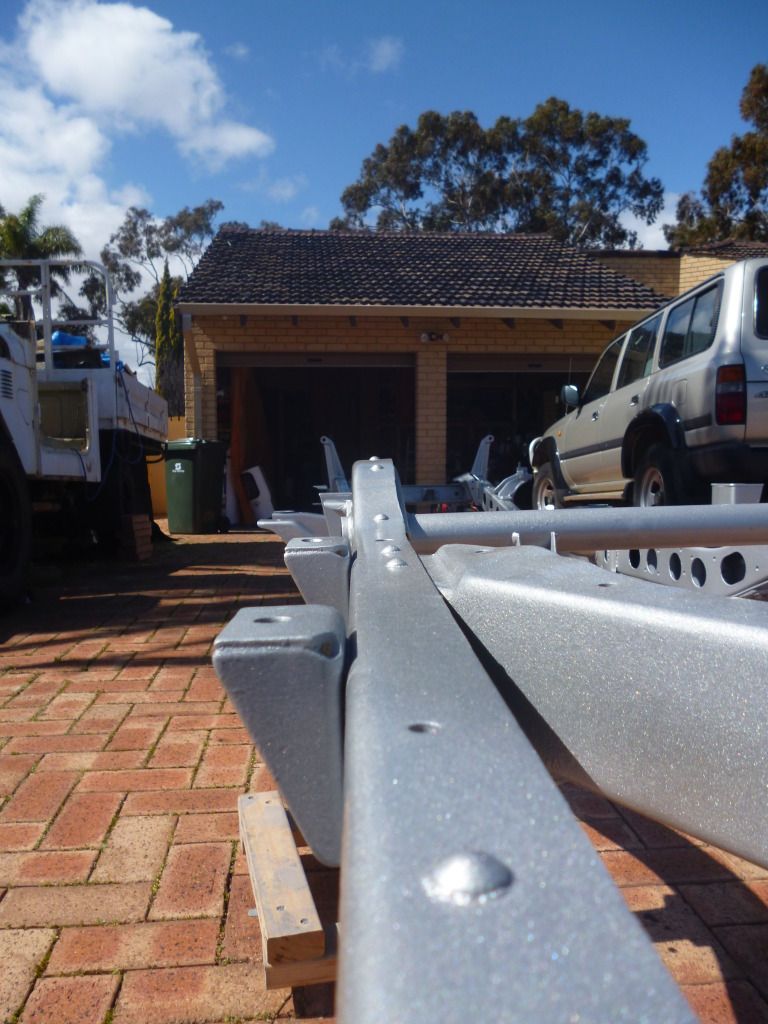
I also picked up some plastic sheets and made up a paint room, not ideal but does the job. The old paint gun was a bit shagged out so I went and bought a new one along with paints. So the chassis saw a few coats of primer and pure silver with a medium-coarse flake, and finished with KBS diamond finish so it should be tough and take a few hits without chipping paint.

Unfortunately I’m a bit of a perfectionist so I still see every fault with it, but after all it’s a 30 year old chassis and it does look awesome now.


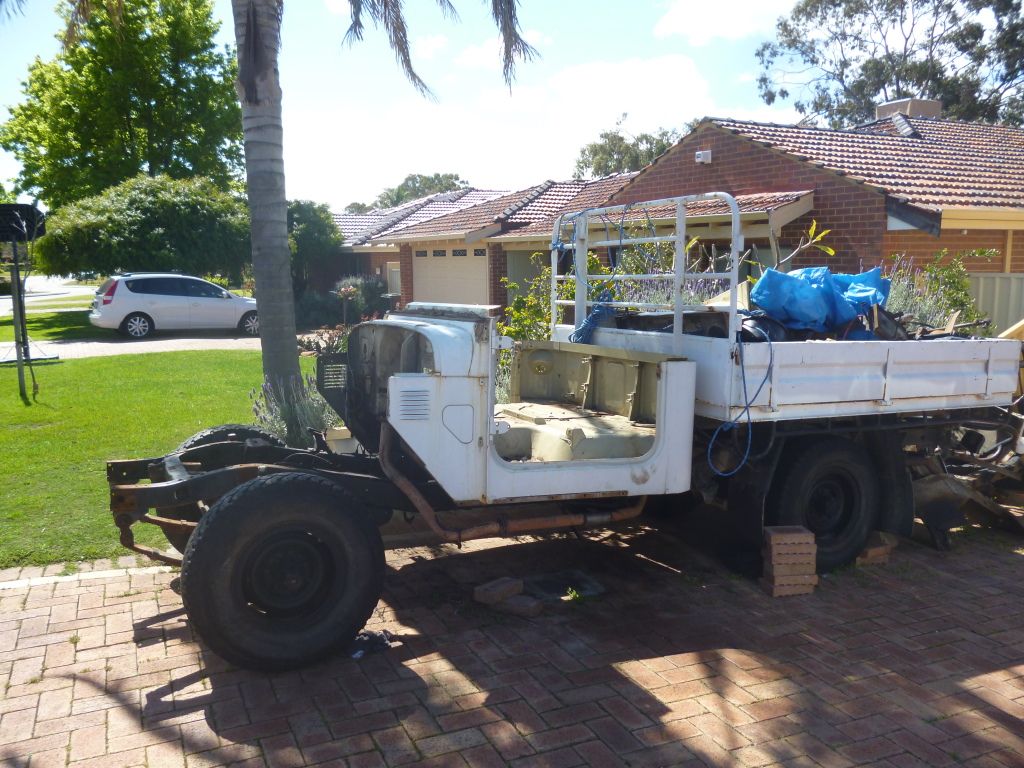
After getting back from a camping trip with the boys, it’s time to get some more done. I’ve taken the tub off and moved that into the garage to start work on it. It’s in pretty good nick but still has a few spots of rust and a few dents, so ill drop it off to a panel beater to get the panel work straight and rust free. But my priority is to clear up the drive way, so I need to pull the diffs out from under the old chassis and send that to scrap metal.
I am a 21 years old, a full time uni student working part time so I am definitely on a tight budget. I stumbled across this particular ute one day, had a look and brought it home. Although it had been repainted with dulux weather shield… complete with brush marks, the body was in reasonable condition and it had a strong motor. However under the passenger foot well, the chassis had a good size crack. I figured I would just plate and weld it up. And then I would have a solid truck for 4x4ing and camping.
So I took to the old girl to my brother’s workshop with some steel plate and welding rods in hand, only to discover the true damage. After cleaning it up the chassis had completely rusted out and was paper thin. So after blowing a few holes in the chassis it was time for a new plan. The cruiser was also in need of a new rear main seal and some gaskets to be replaced.
A few months passed as I got despondent and though of scrapping the ute. But though I’d give her another chance and started hunting for another chassis. Eventually I found one, and the wrecking yard said it was in perfect condition. I drove the 4 hour round trip to pick it up. Being a bit naive I only had a quick look over the chassis and it had no rust whatsoever. However, when I got it back to the workshop my brother kindly told me it was shagged! It was in a crash and was twisted and had been welded up…. I wasn’t very happy!

I called them back up and was not so kindly told to F*#k off!..... I will add this was a registered business… So I tried a few more times to speak with them and ended up getting consumer affairs involved and now taken it to the courts. I will have to say I’m disappointed there are people / businesses that screw people like this.
So after a few months of being stuffed around, and my brother changing jobs I no longer have workshop space to do a chassis swap. However I did meet a few of hj47 enthusiasts and they have been more than helpful, they found me a chassis.
My parents’ decided to give me their garage to build my hj47 so now I am going to do a full rebuild and repaint.
The new chassis is in good nick for 30 years old.
I wanted to get it galvanised, but that would have blown my budget. So I decided I would grind it back and repaint it. After looking for some paints, I settled on KBS rust seal as the base coat as it will encapsulate any rust I can’t get at. And after many hours of grinding, I was nearly there.
The KBS has a three step process, but after all that the chassis was looking awesome.
I decided to bush it on since it’s a self-levelling paint, but wasn’t too sure how I would paint inside the chassis rails. So after trying a few different ways to spray it, I had to saturate a rag in the paint and then use a rod to push it through. Now the whole chassis is coated. I could have left it as is and had a black chassis, but I’ve decided on a colour scheme and the chassis will be silver.
Meanwhile I started stripping the old girl and my brother pulled the old motor out. He is going to rebuild it for me. Here are some shots of the dismemberment.
I also picked up some plastic sheets and made up a paint room, not ideal but does the job. The old paint gun was a bit shagged out so I went and bought a new one along with paints. So the chassis saw a few coats of primer and pure silver with a medium-coarse flake, and finished with KBS diamond finish so it should be tough and take a few hits without chipping paint.
Unfortunately I’m a bit of a perfectionist so I still see every fault with it, but after all it’s a 30 year old chassis and it does look awesome now.
After getting back from a camping trip with the boys, it’s time to get some more done. I’ve taken the tub off and moved that into the garage to start work on it. It’s in pretty good nick but still has a few spots of rust and a few dents, so ill drop it off to a panel beater to get the panel work straight and rust free. But my priority is to clear up the drive way, so I need to pull the diffs out from under the old chassis and send that to scrap metal.
")


") The chassis paint job looks amazing. Keep it up! Look forward too seeing more!
The chassis paint job looks amazing. Keep it up! Look forward too seeing more!


 haha, they will eventually be replaced with suspension anyway.