- Joined
- Jul 1, 2014
- Threads
- 84
- Messages
- 725
- Location
- Gardnerville, NV
- Website
- www.billetriflesystems.com
I picked up a FJ60 big cap distributor from Mudrak a few months back now i'm looking at putting it in. A few questions for the group:
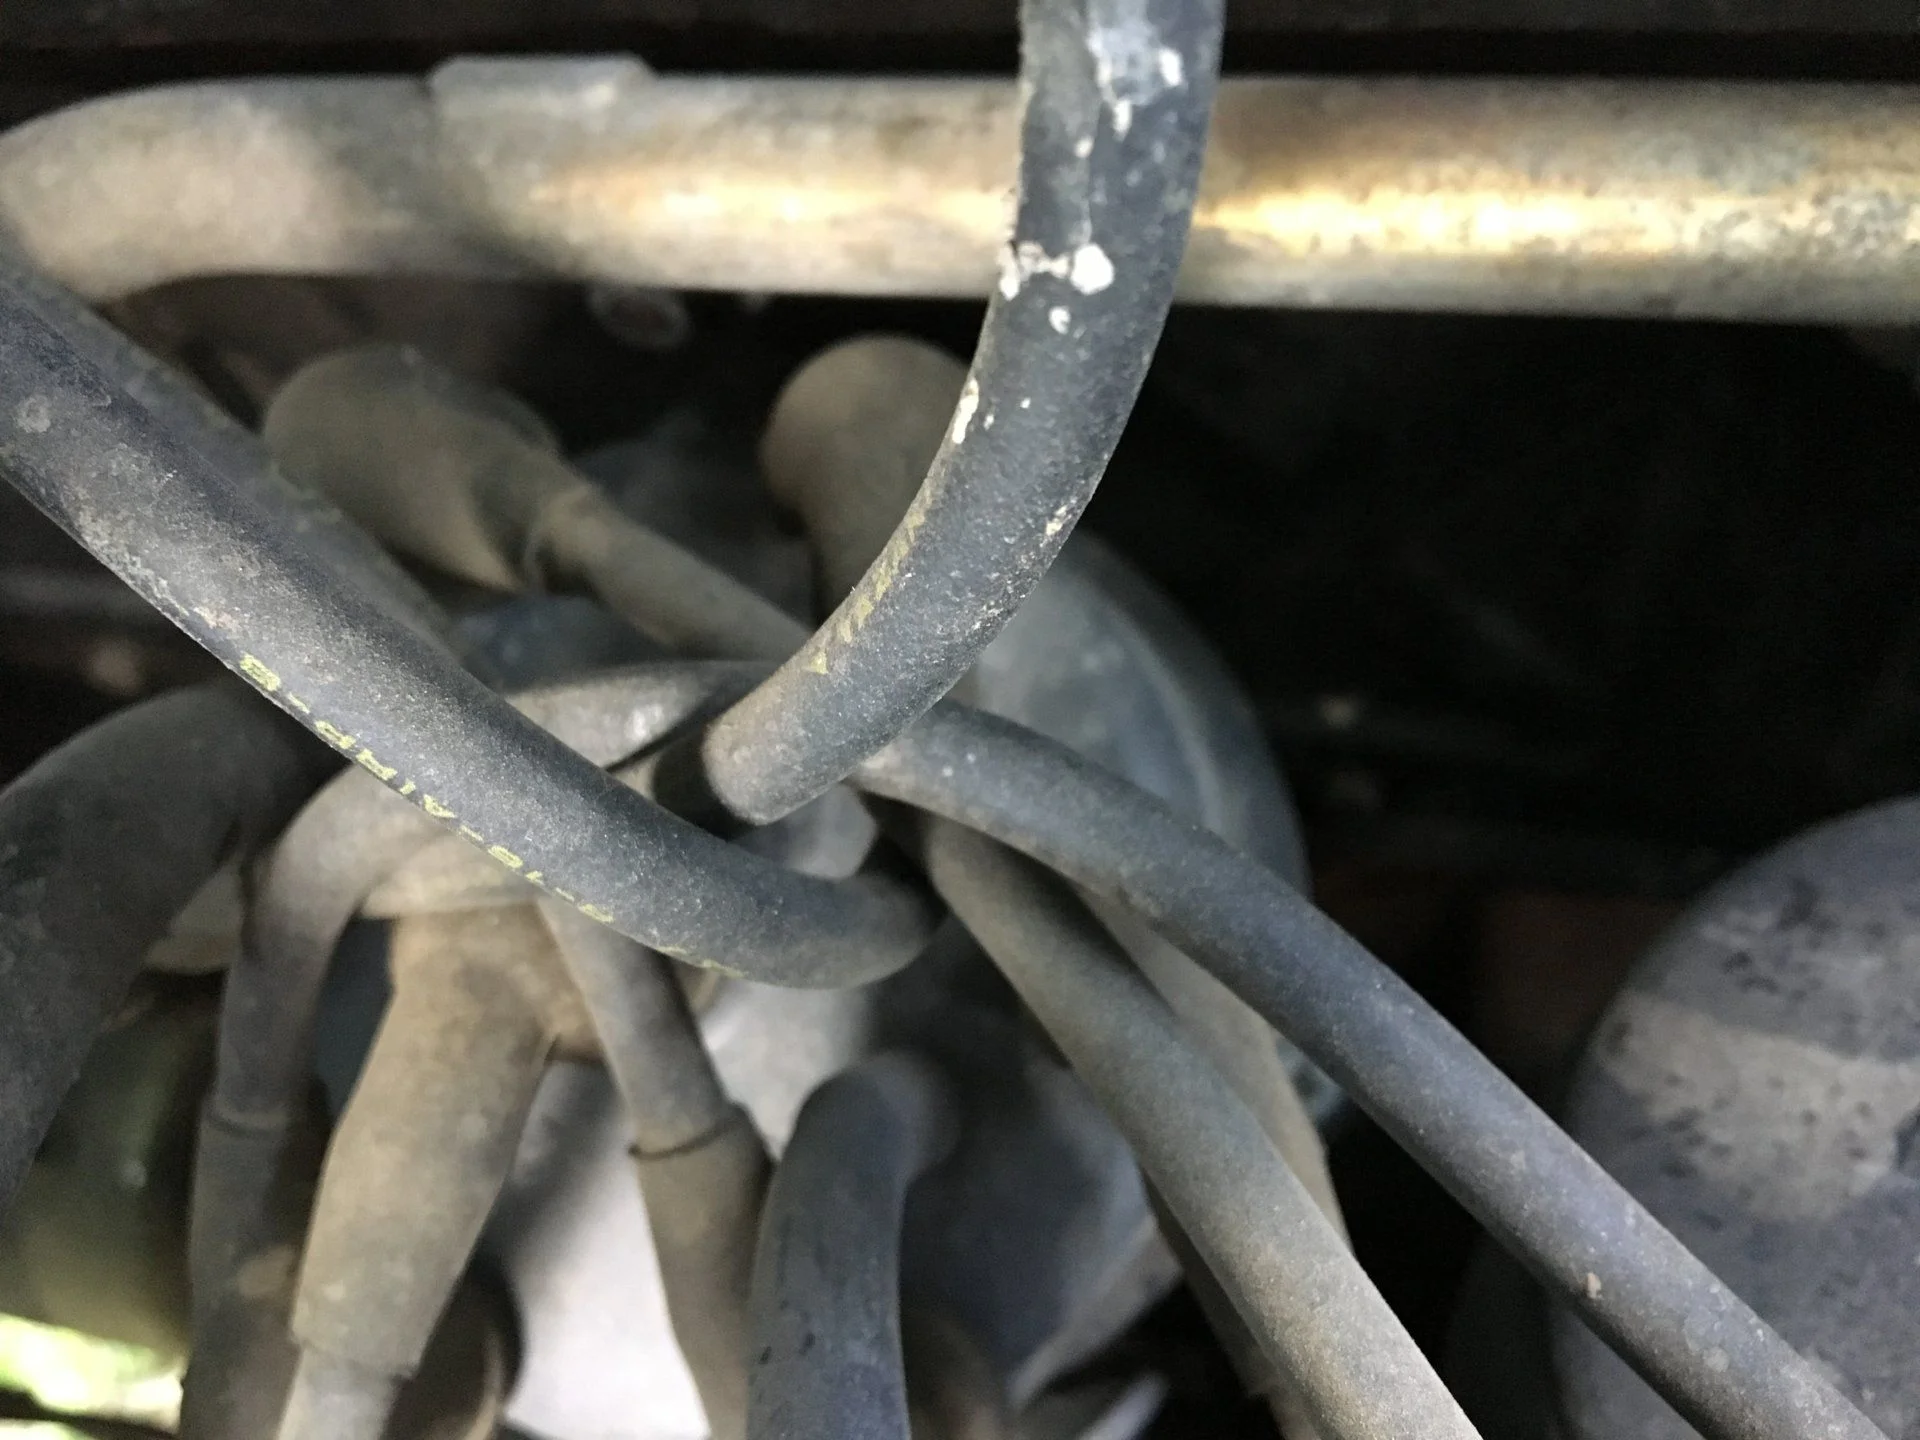
1. What are the extra rubber hoses for that come off the wire harness? We're these cut?
2. The red wire has a cut in the shroud. (see photo) Can these terminals be removed from the green plastic connector so i can just shorten it up to remedy the cut in the shroud?
2a. Since this is only seeing 12V through here, should i not worry about it? (dumb question?)
3. The large 'o' ring under the cap has a break in it... can just this part be replaced? Recommendations of where to find one?
4. The small o-ring on the distributor shaft, should i replace this or if it looks good, run it? (source for purchase?)
Your help is appreciated!