I'm kind of a noob here, been lurking a long time. Noticed the R/C section of the forum and thought you guys might get a kick out of this.
It's 1/10th scale and will be radio controlled. I'm heavily referring to the restoration done by forum member buckroseau.
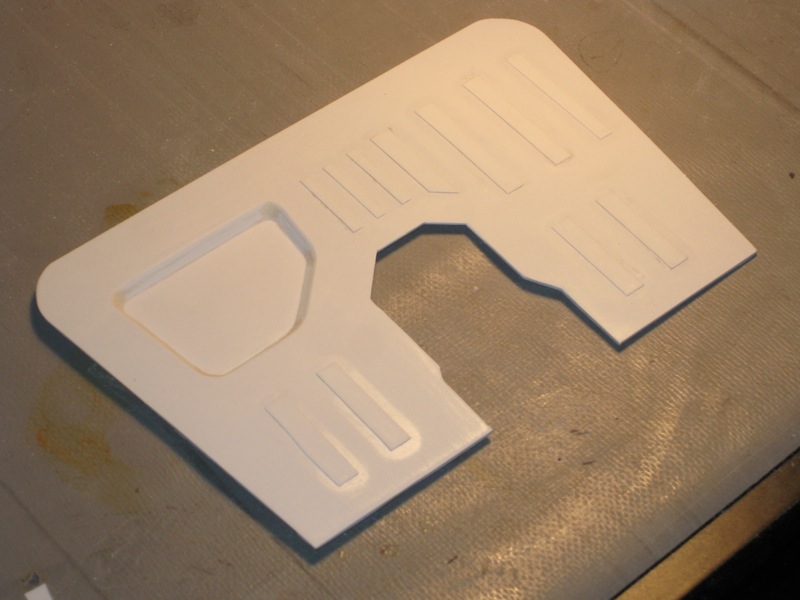
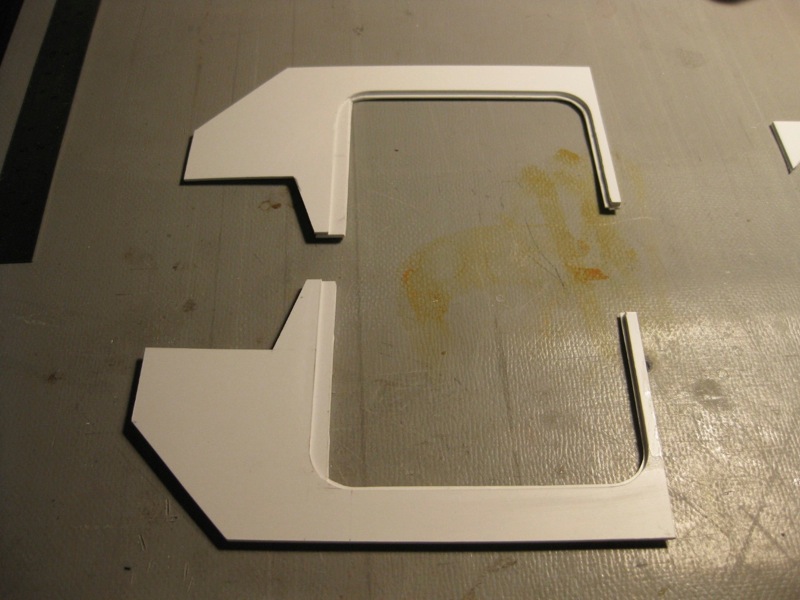
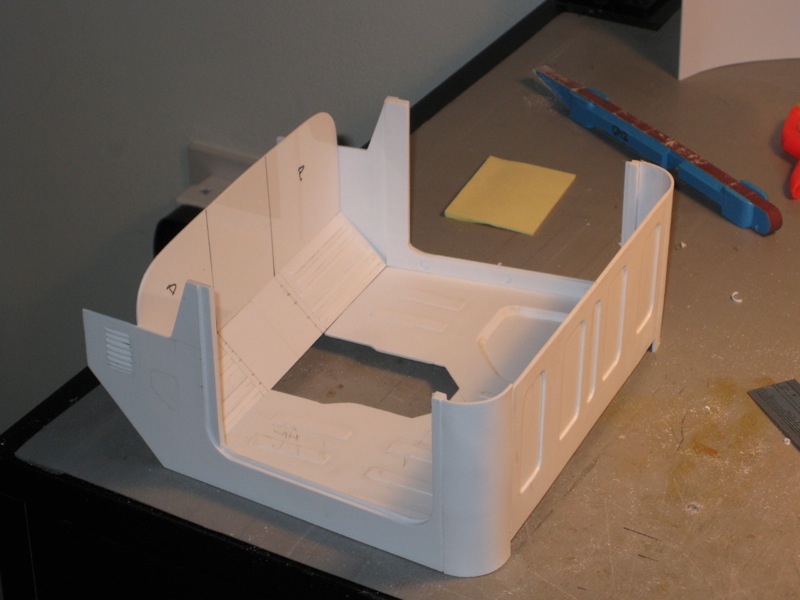
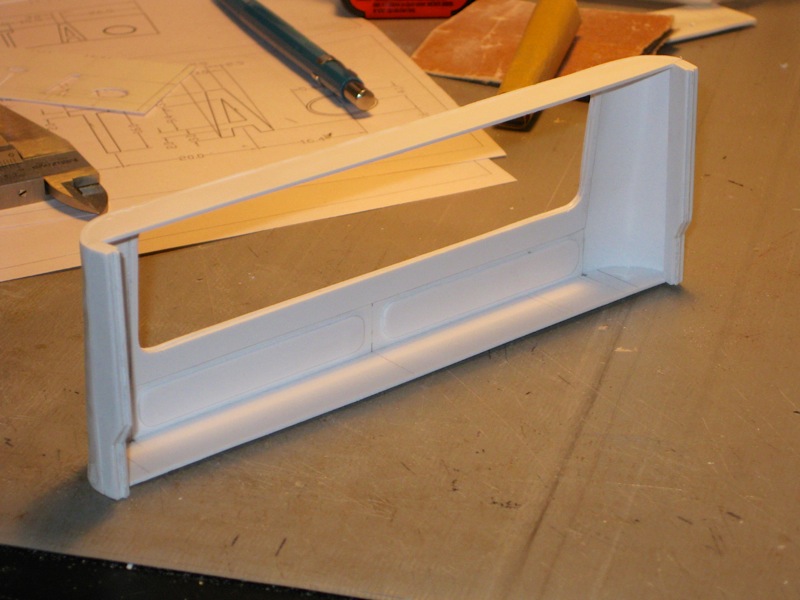
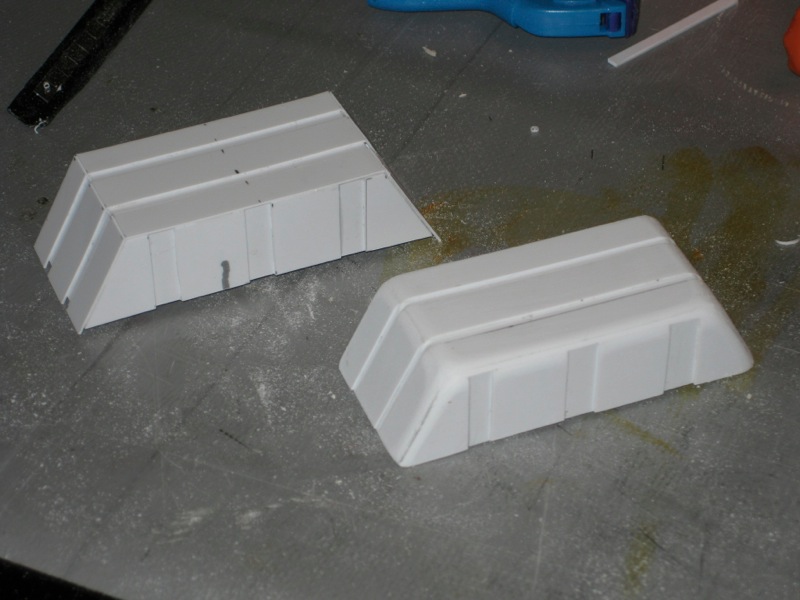
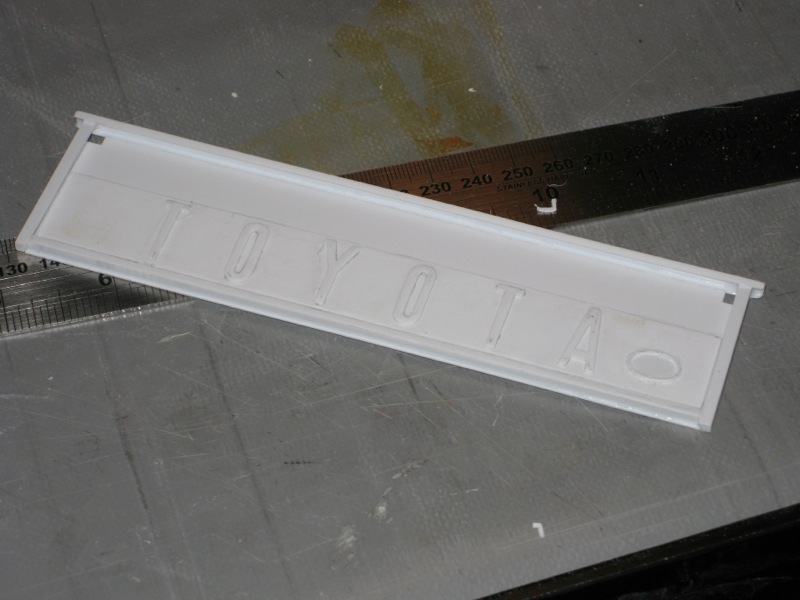
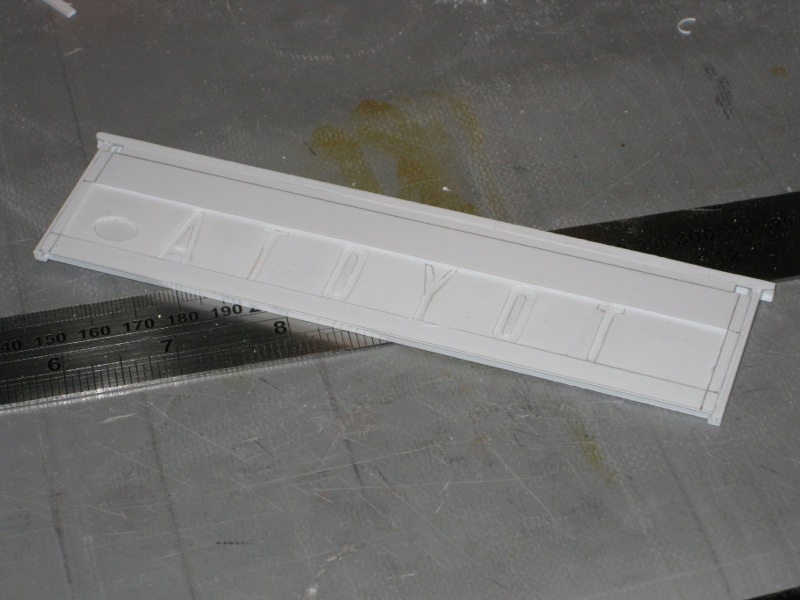
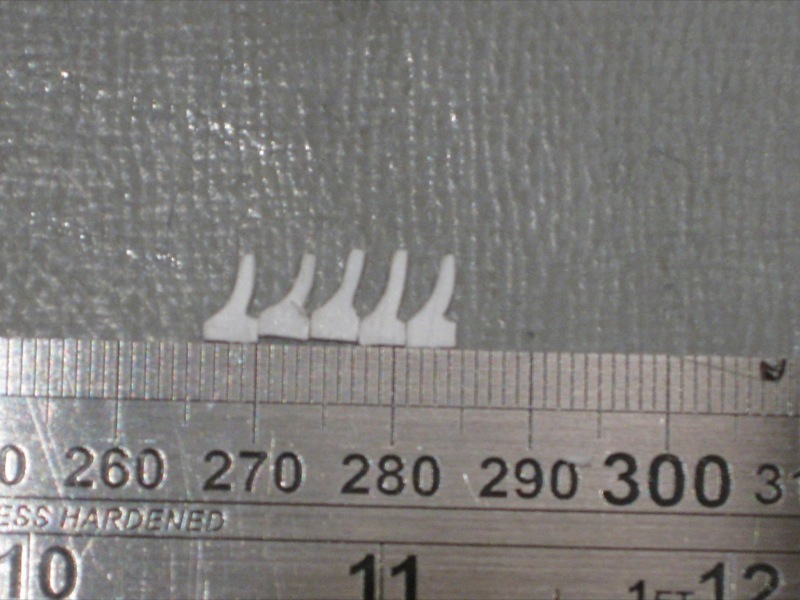
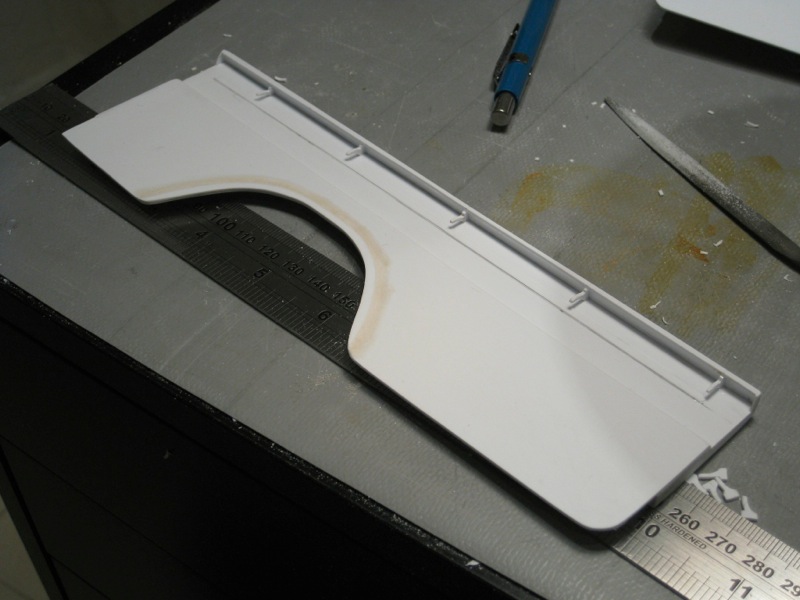
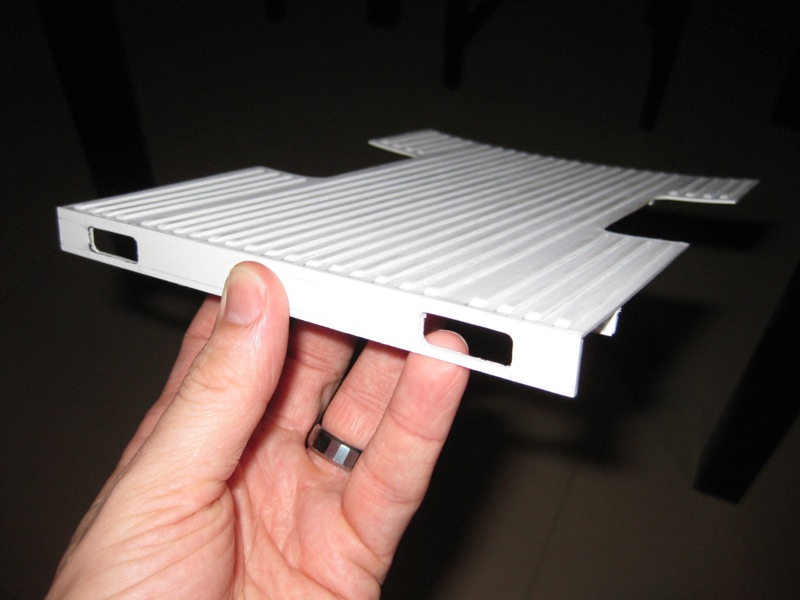
Some photos of the bed, now finished...


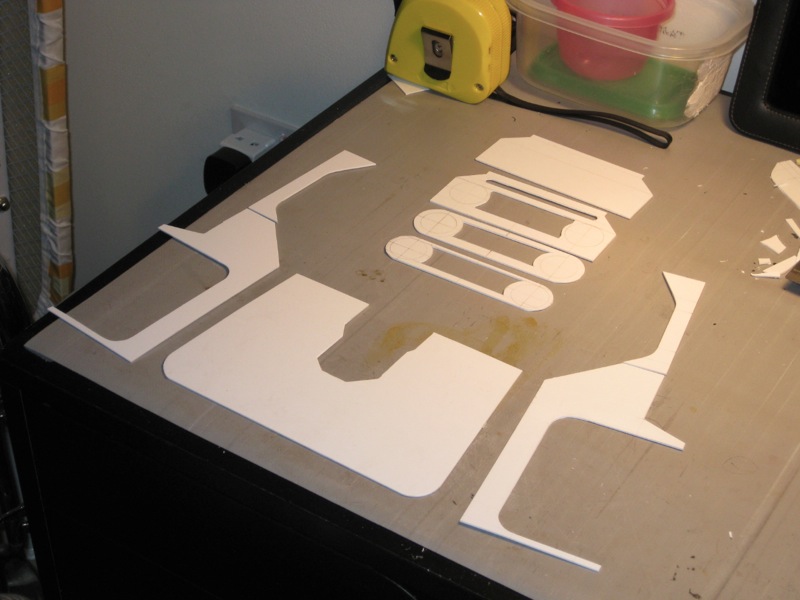
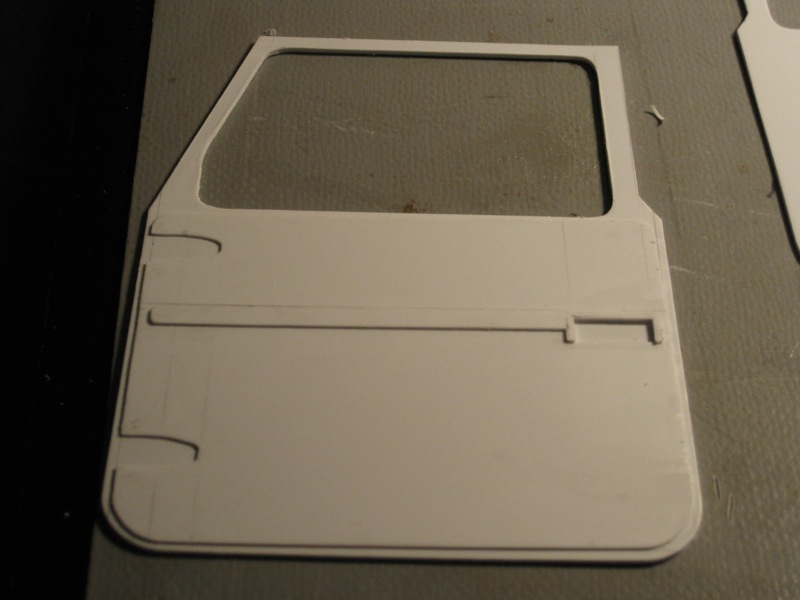
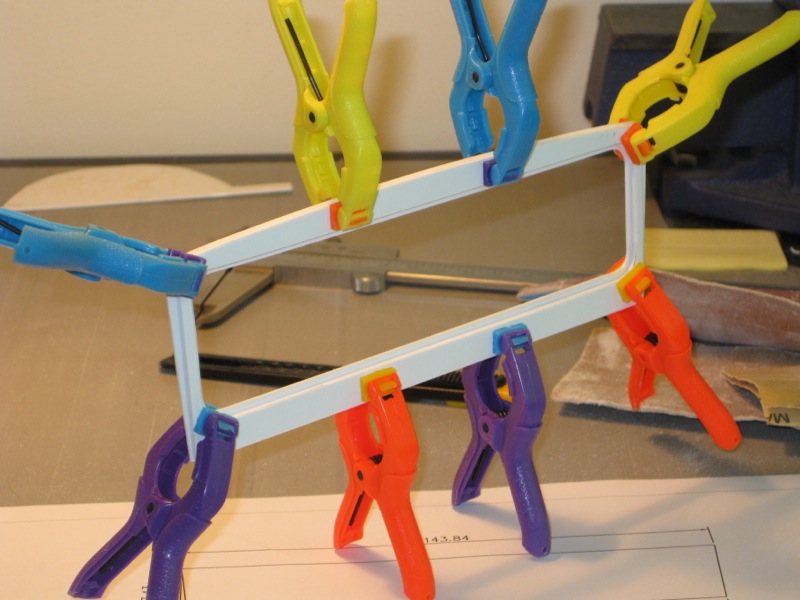
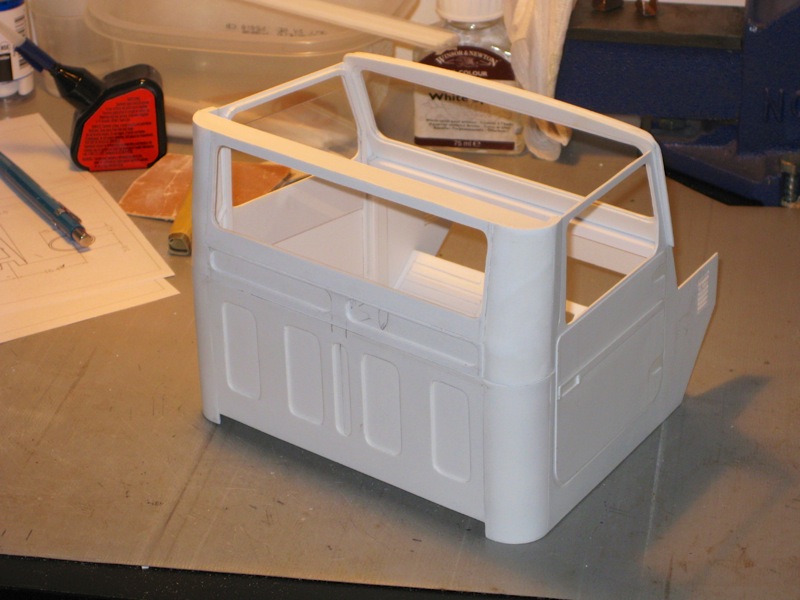
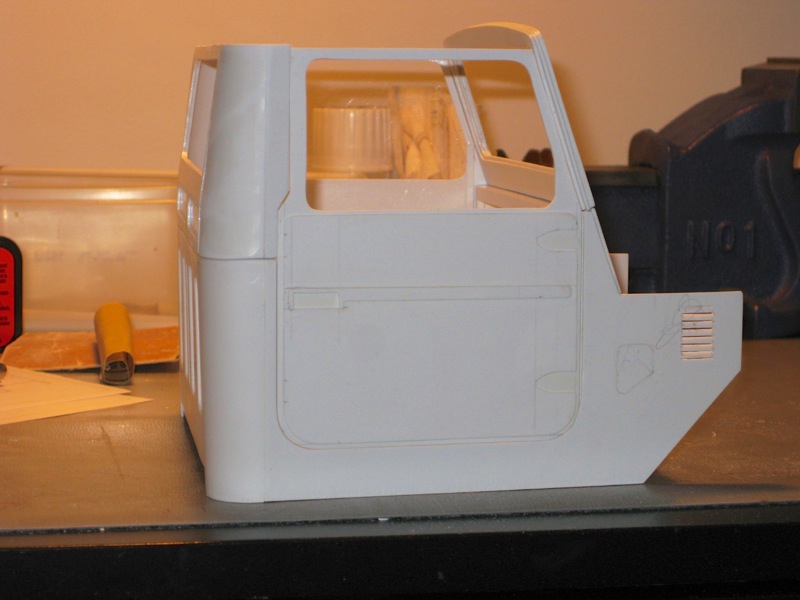
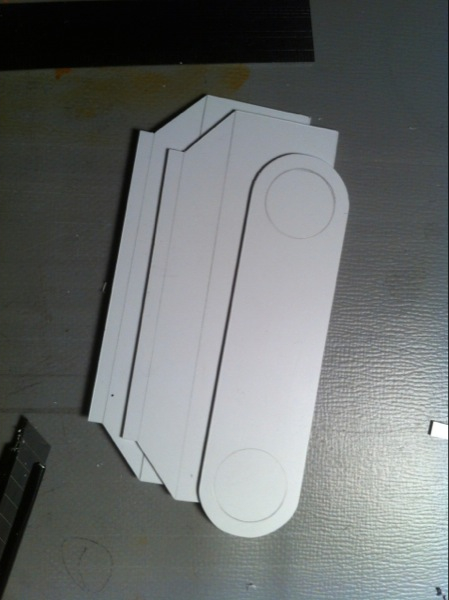
Just starting the cab...
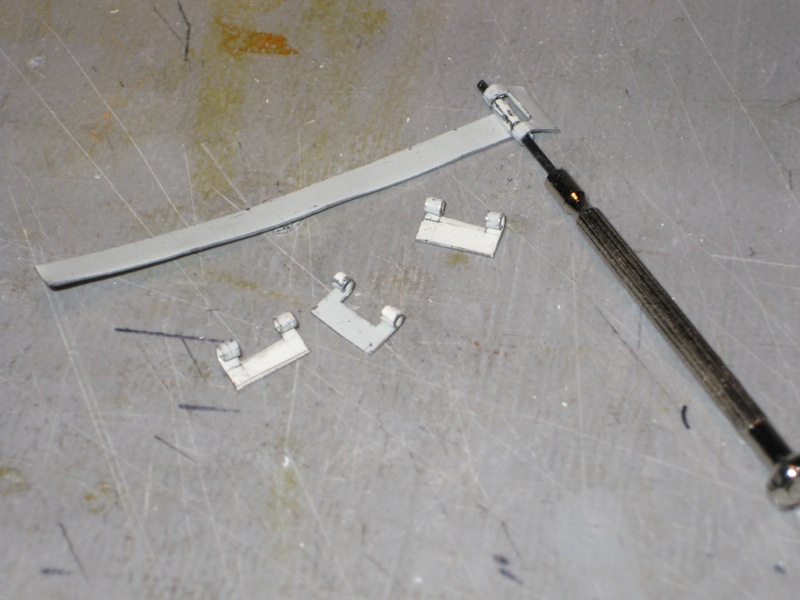
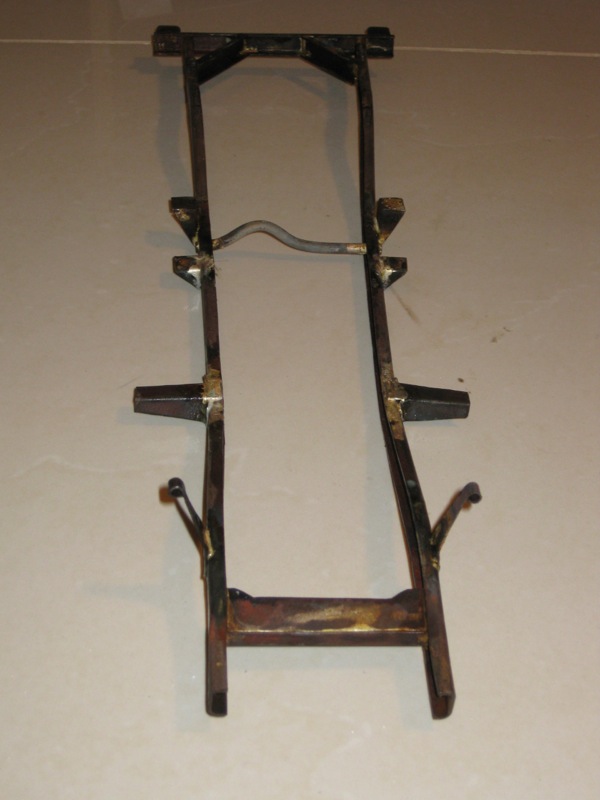
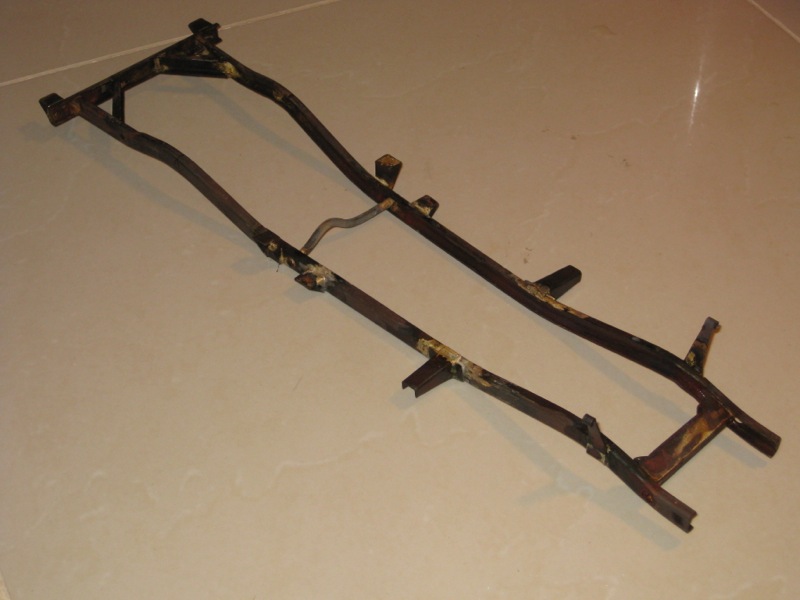
The frame...
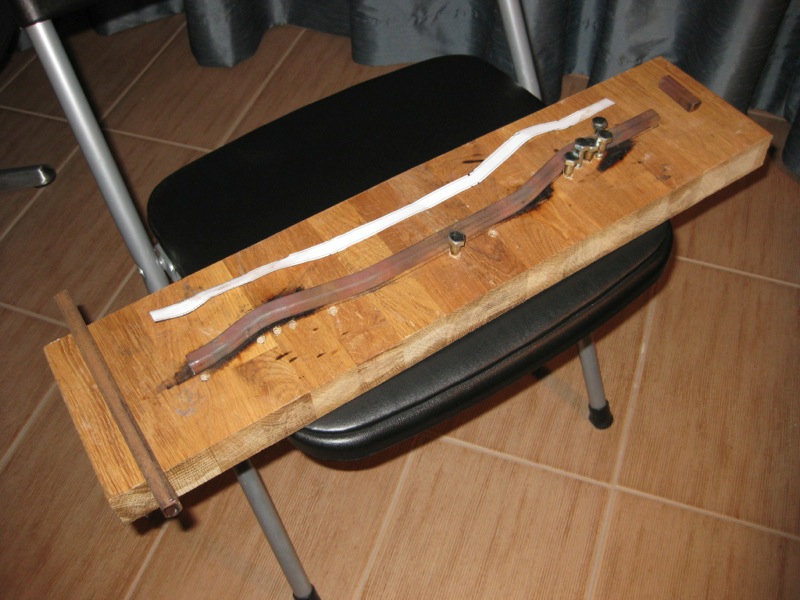


Full build thread can be found over at scale4x4rc.org.
It's 1/10th scale and will be radio controlled. I'm heavily referring to the restoration done by forum member buckroseau.
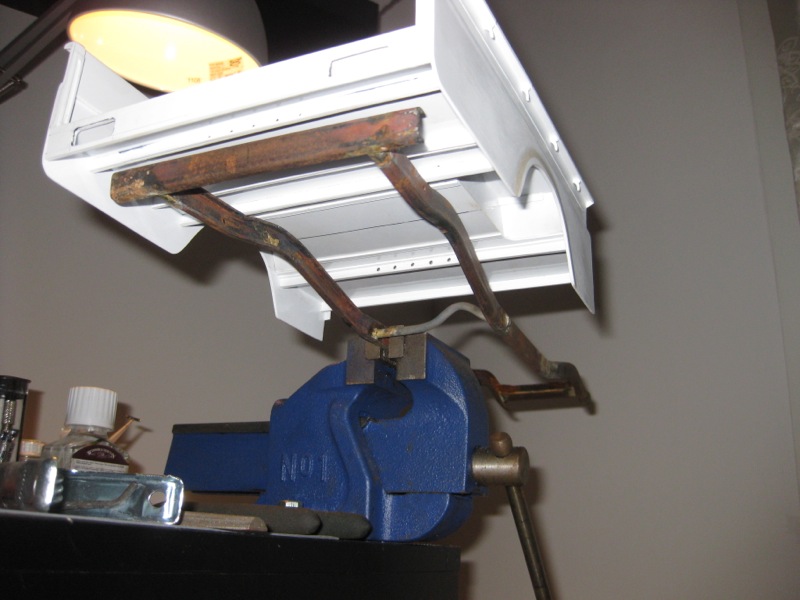
Some photos of the bed, now finished...
Just starting the cab...
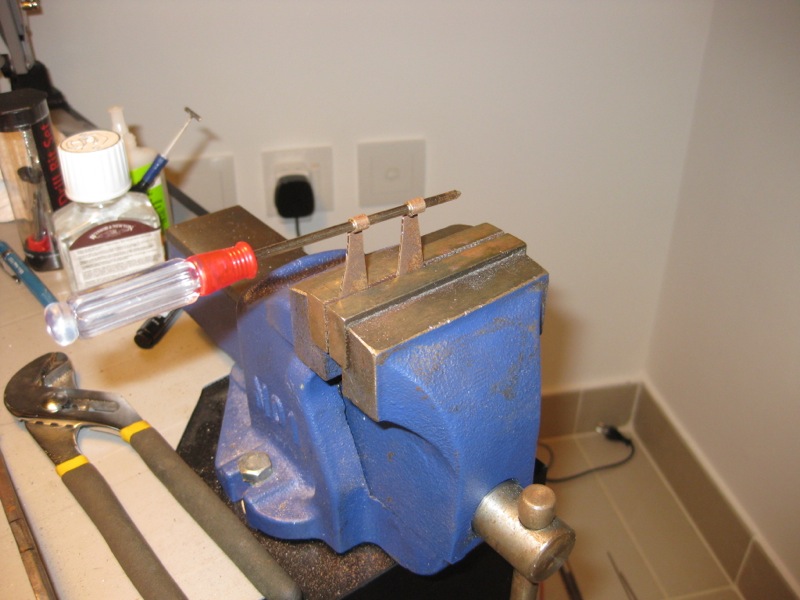
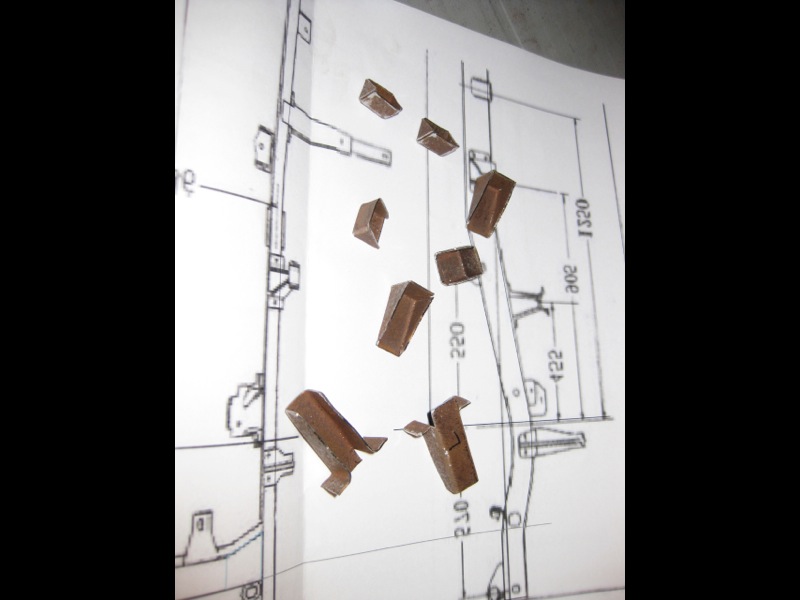
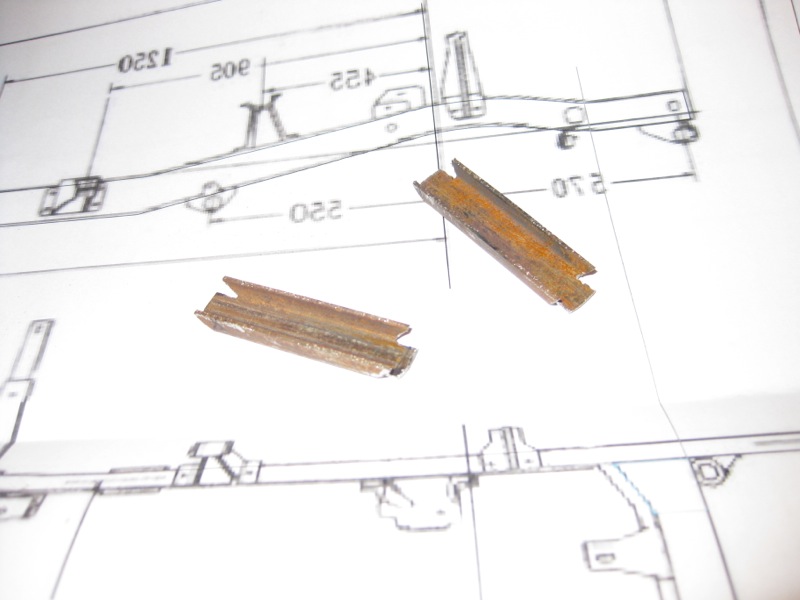
The frame...
Full build thread can be found over at scale4x4rc.org.