
Edit--- added pictures
I just took mine apart, and put it back together in about 15 min to take some pictures. I'm uploading pictures now, I'll add them later. Here's some instructions, the pictures will help but maybe you can figure it out.
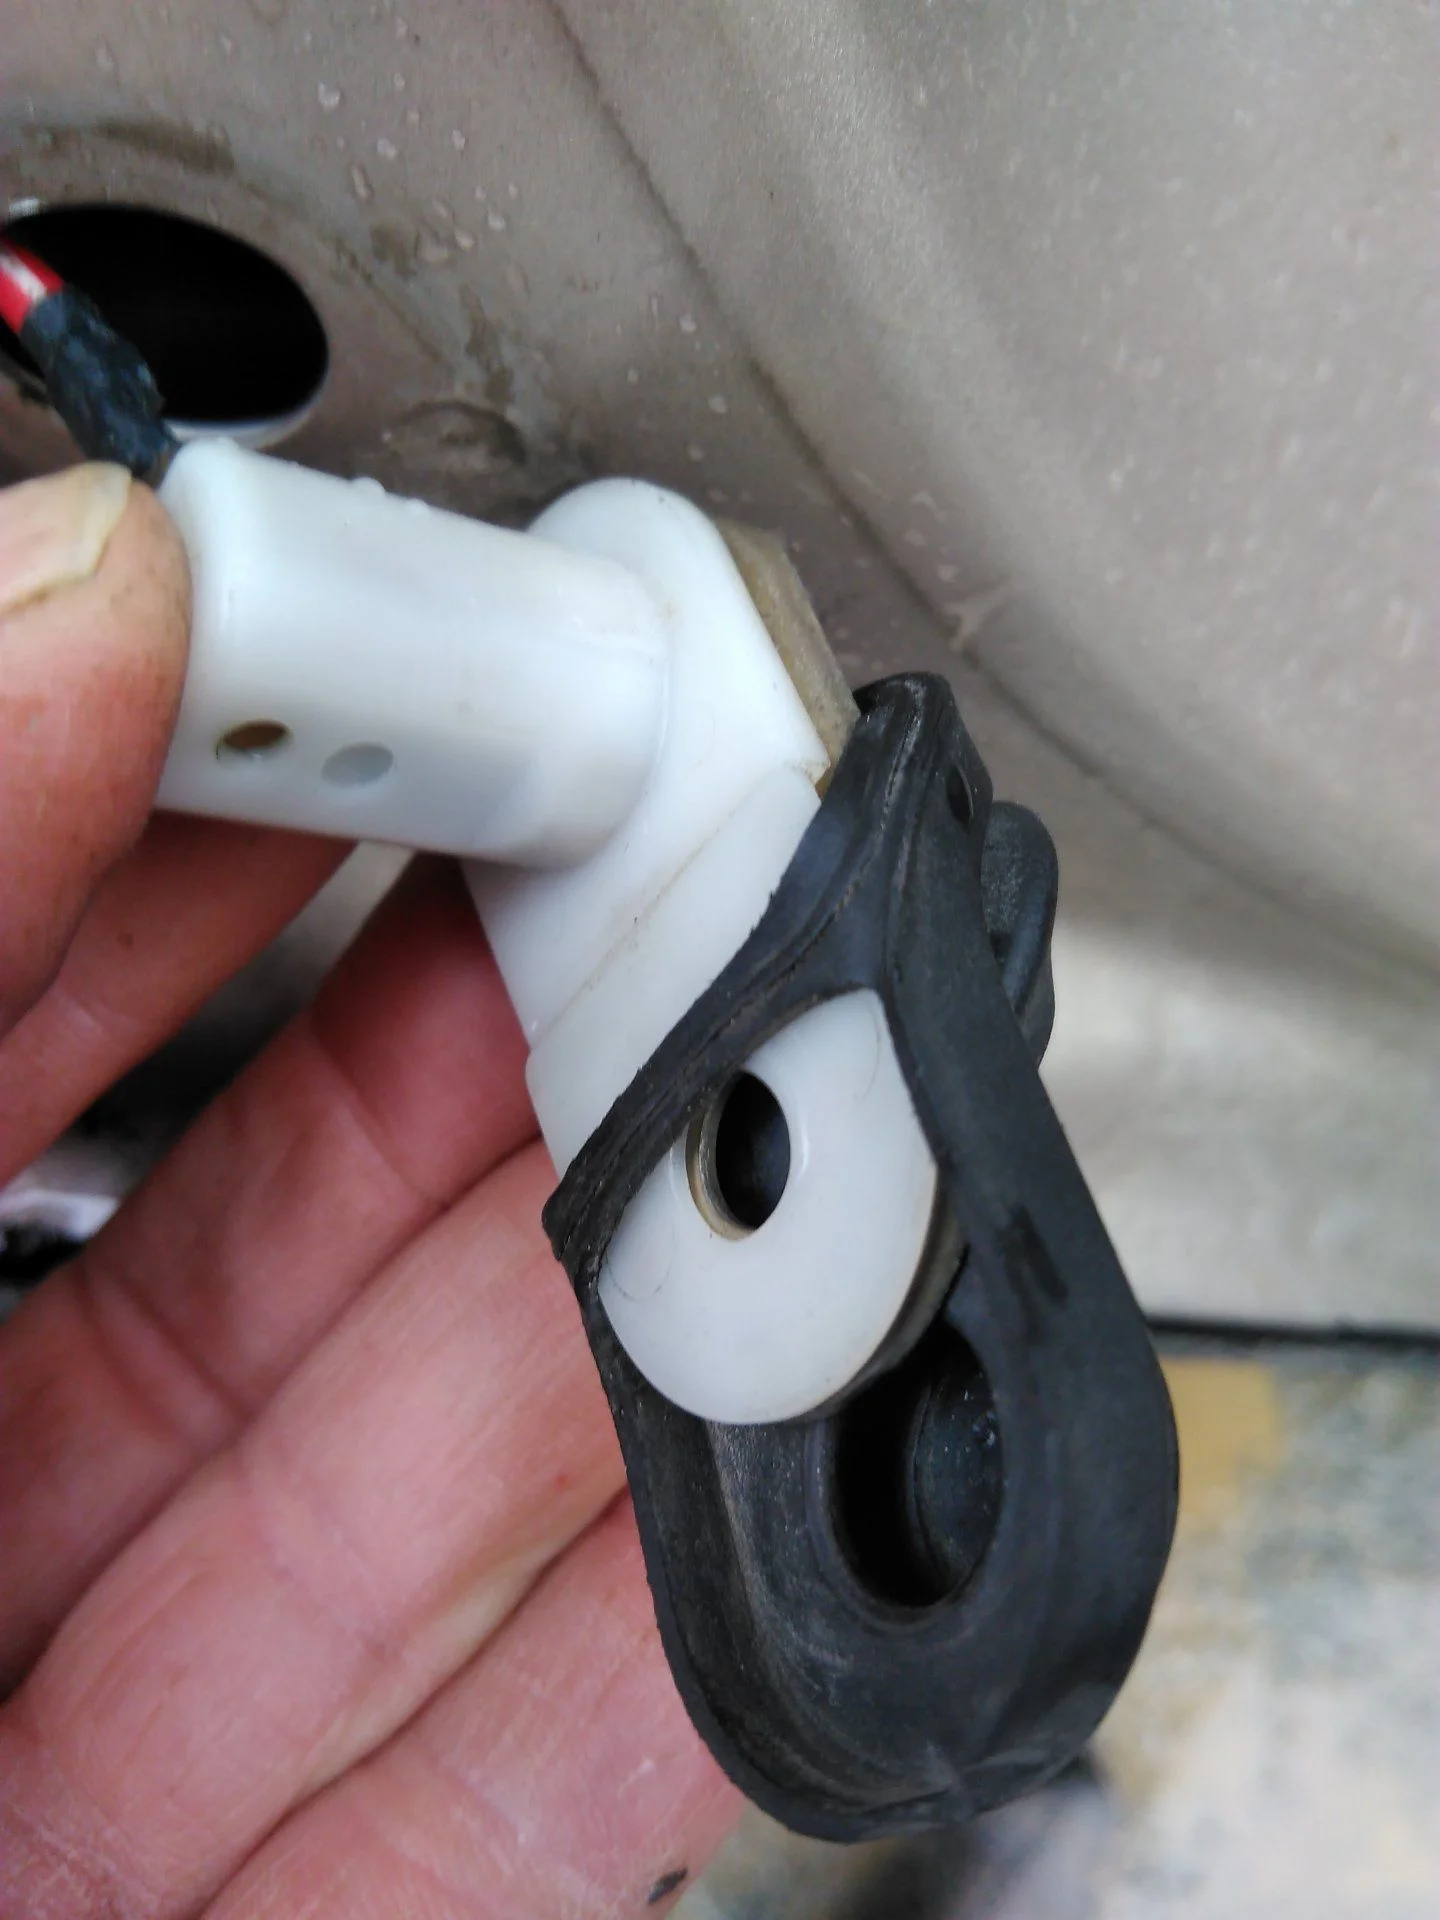
1. remove the switch and remove the rubber cover
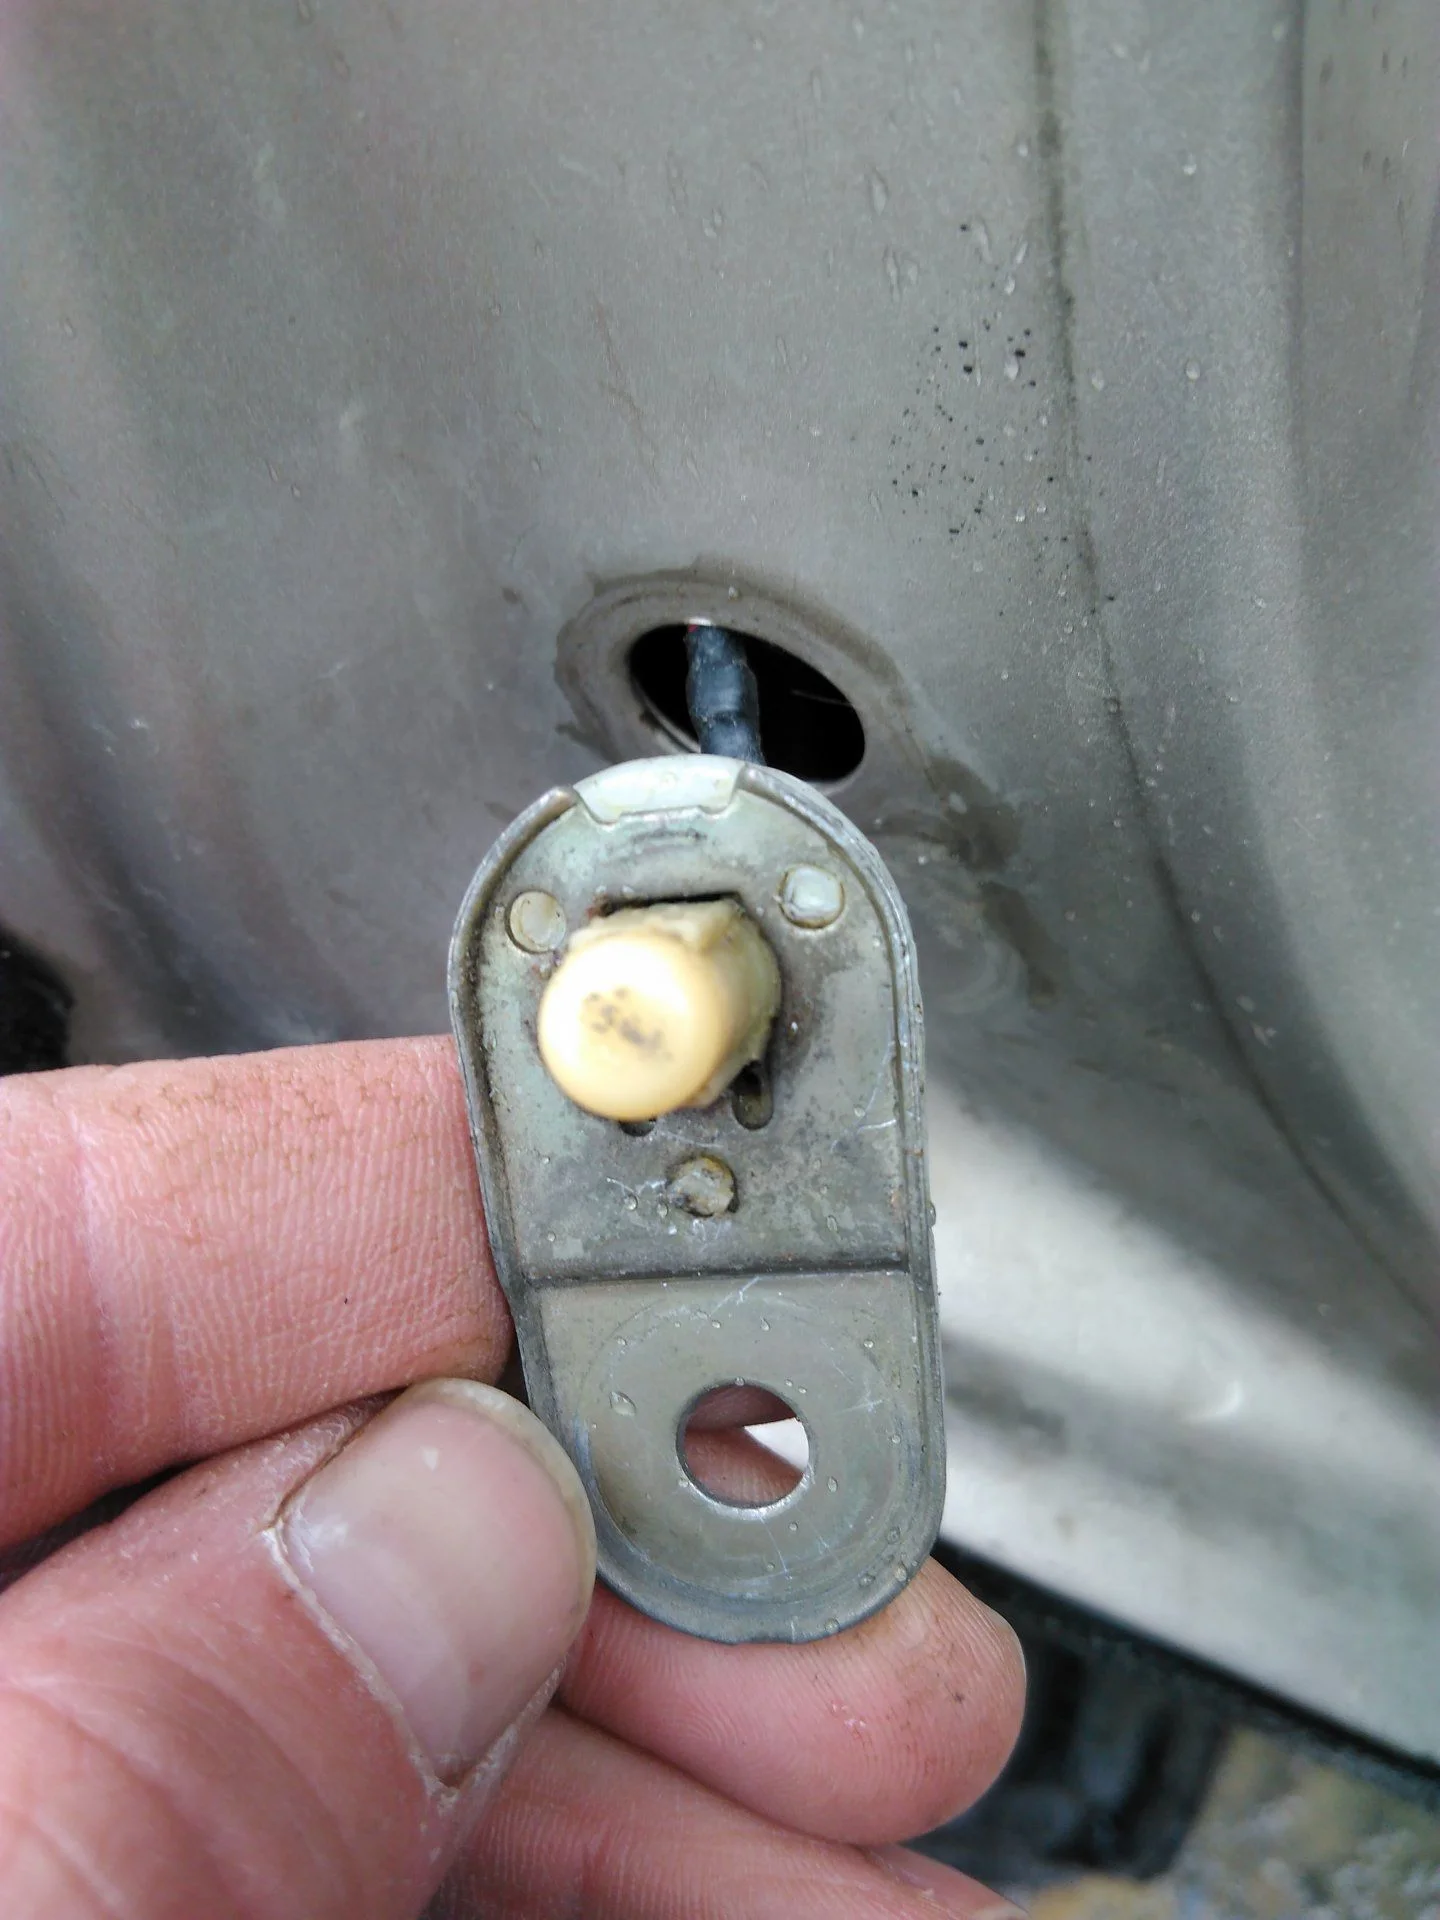
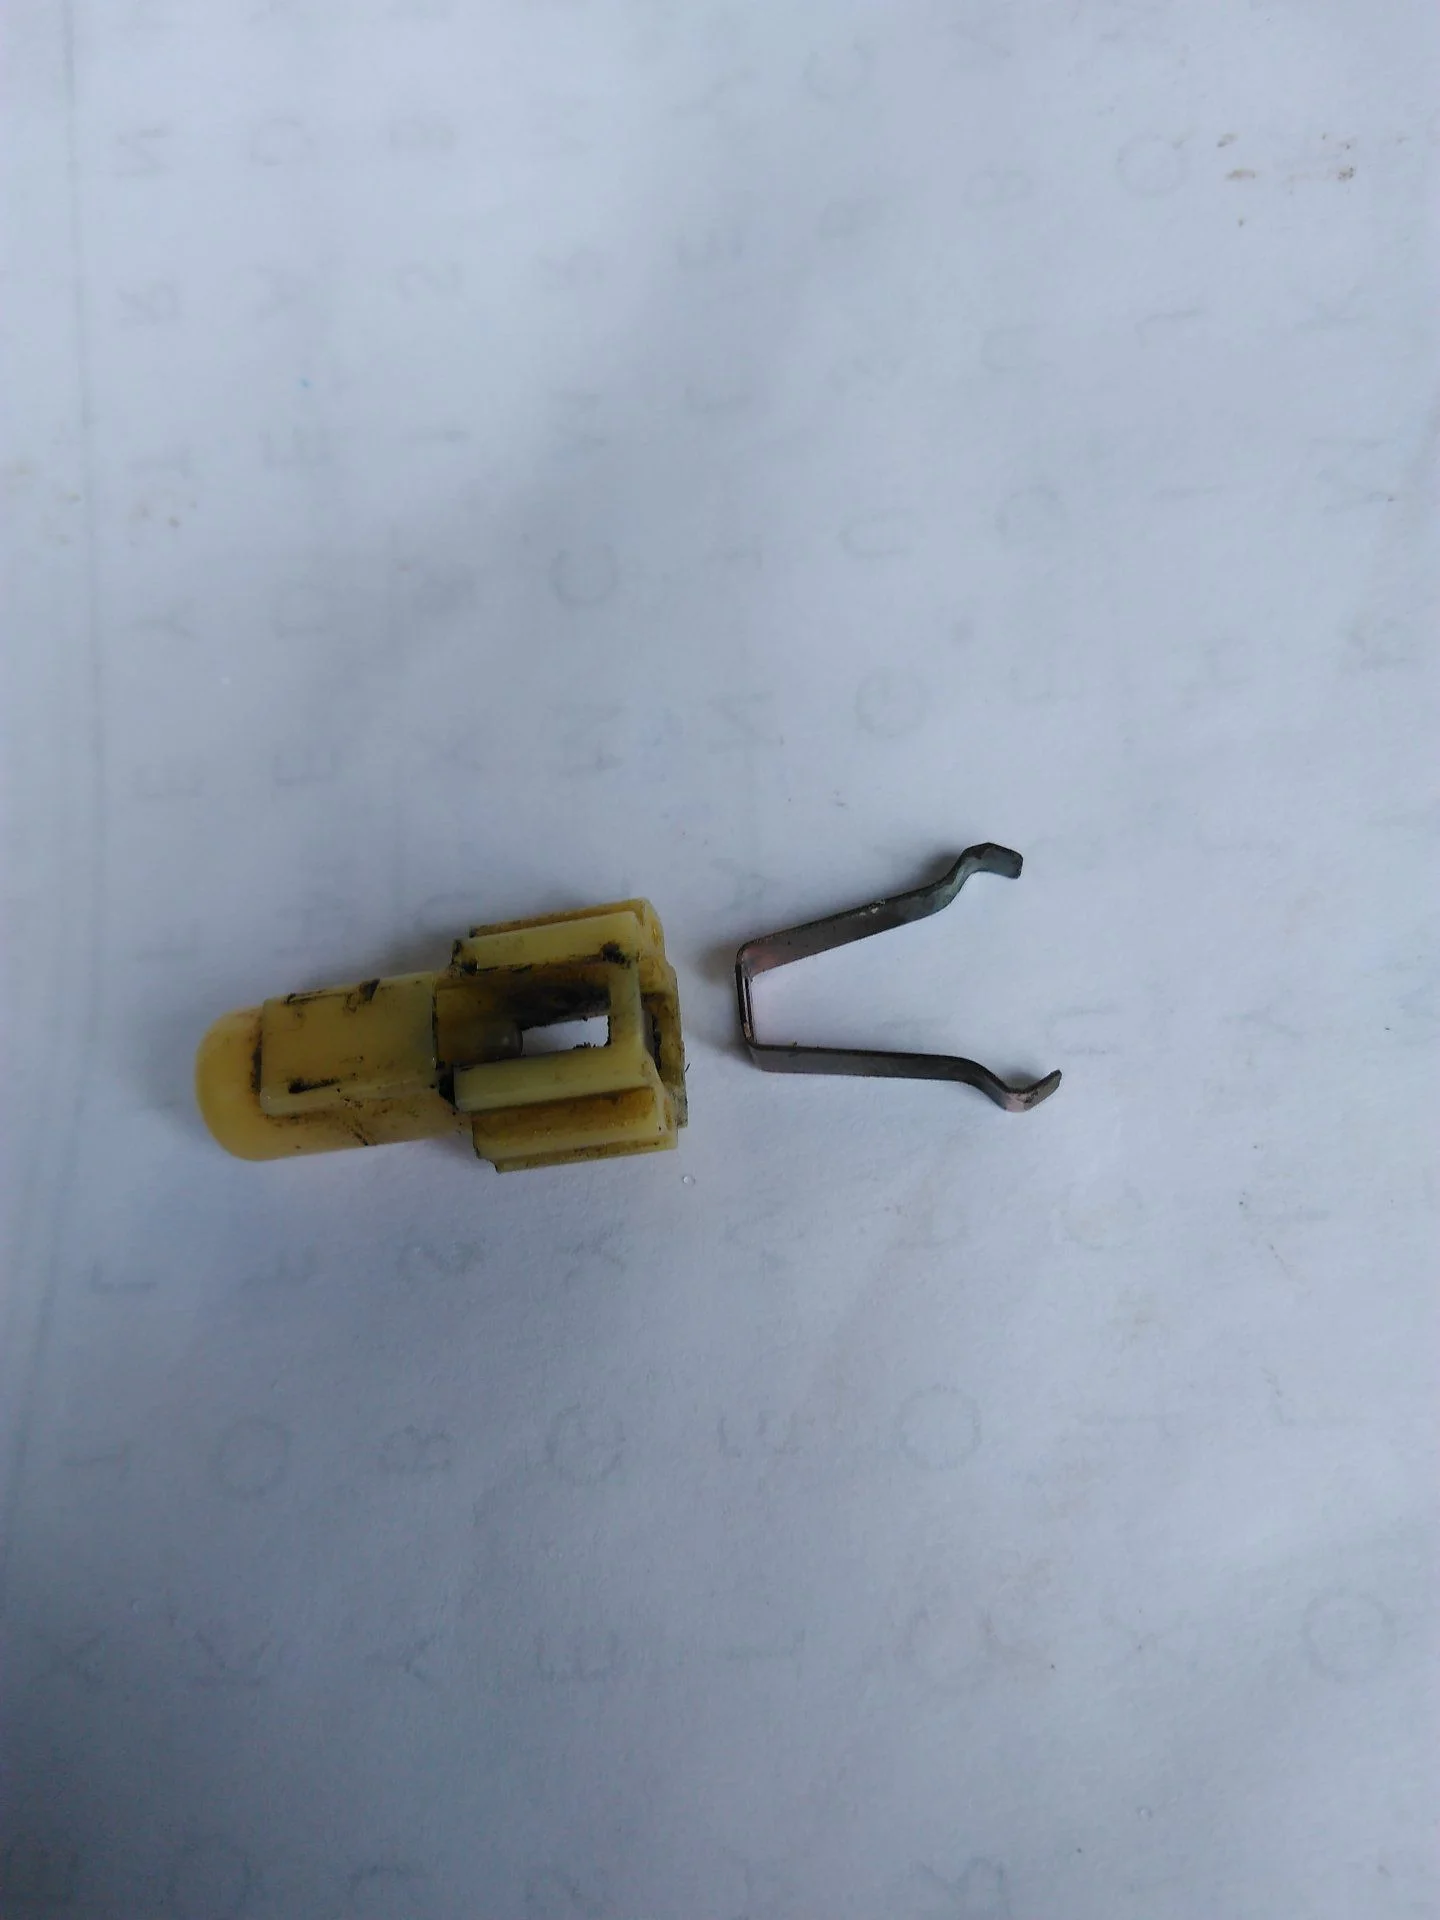
2. There are three "heatstake" nubs. Cut off the three nubs with a sharp knife or side cutters or maybe a tiny sharp screwdriver. Just gently cut them and get them started breaking apart, once you start to pull off the metal plate they'll come off. These are one of those things that make manufacturing easier but are not needed in use. Once assembled in the door, the metal plate and bolt are what hold things together.
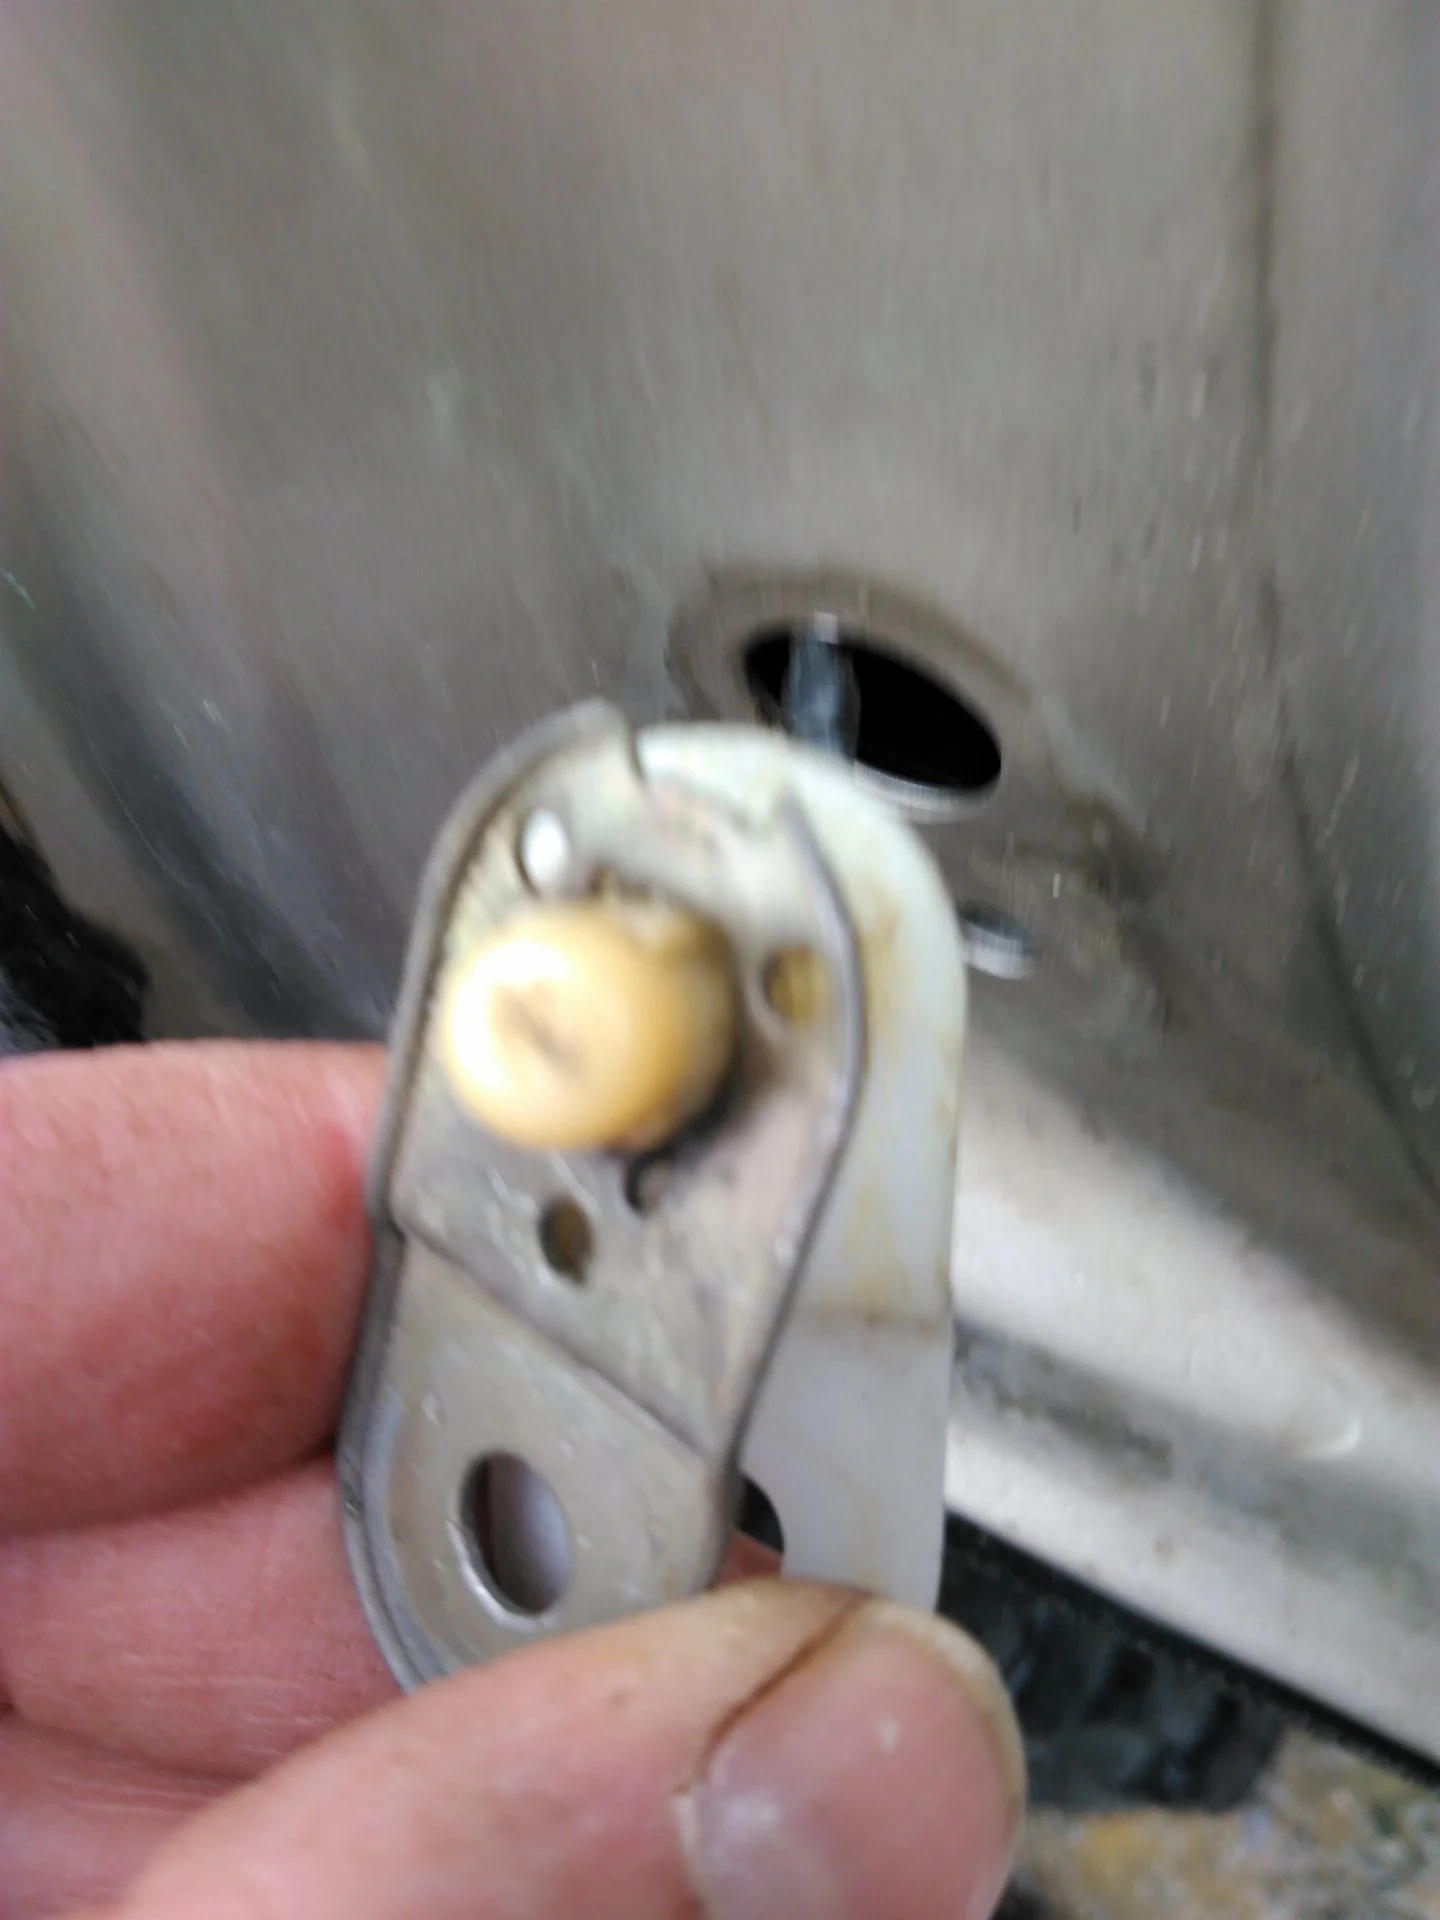
3. Take off the metal plate. The sliding nub and it's contacts and the spring are now free to come out. PUT THE SPRING SOMEWHERE SAFE! (don't ask!!!)
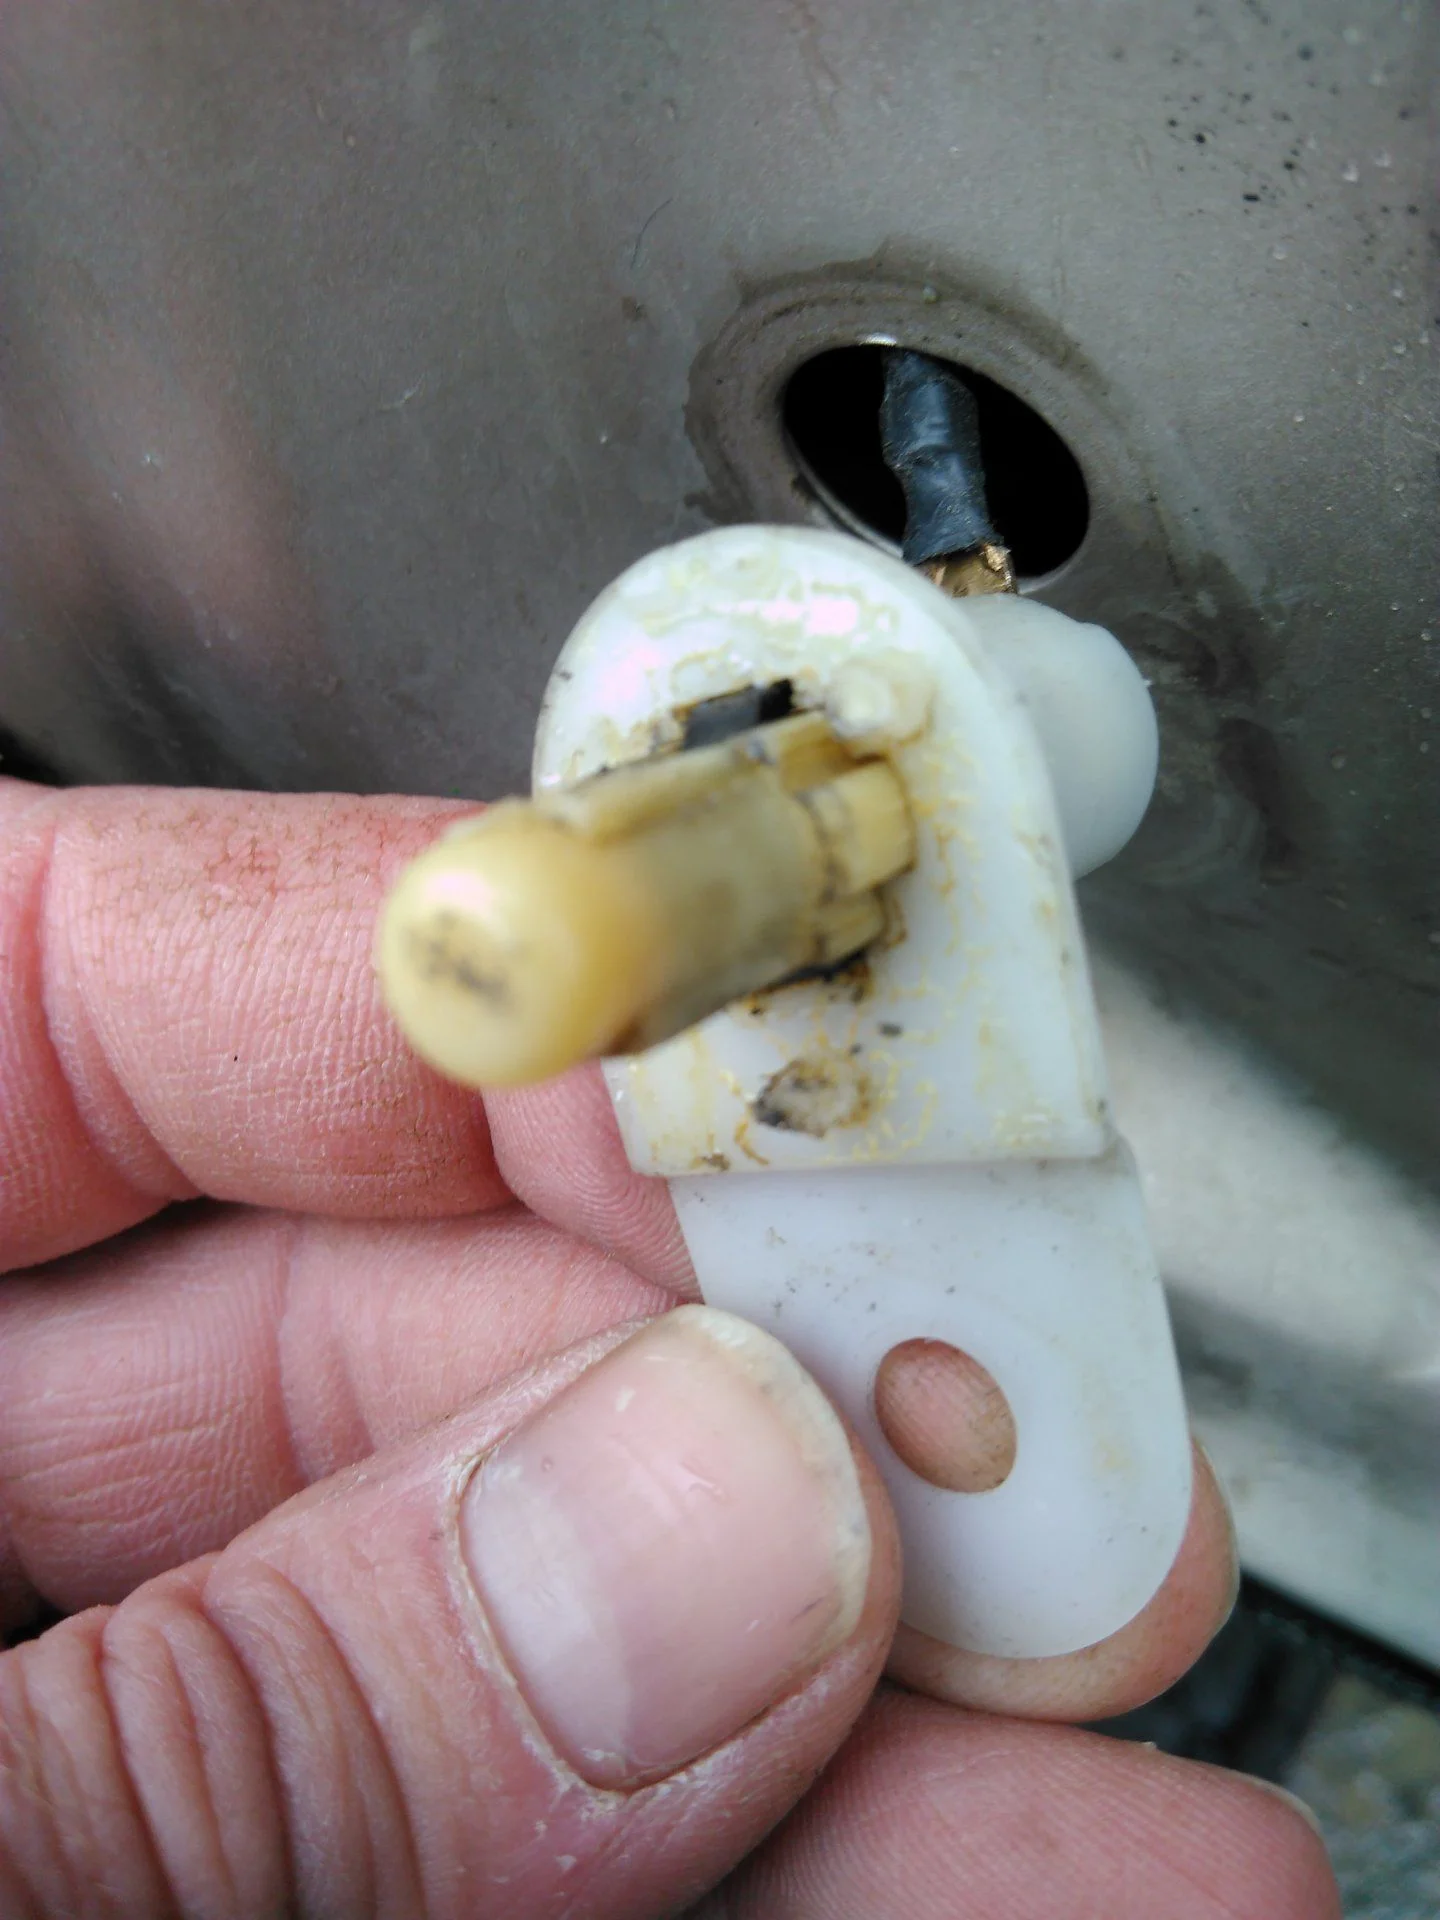
4. The actual copper foil in the nub will come out, it's obvious. Take it out to clean it if you want.
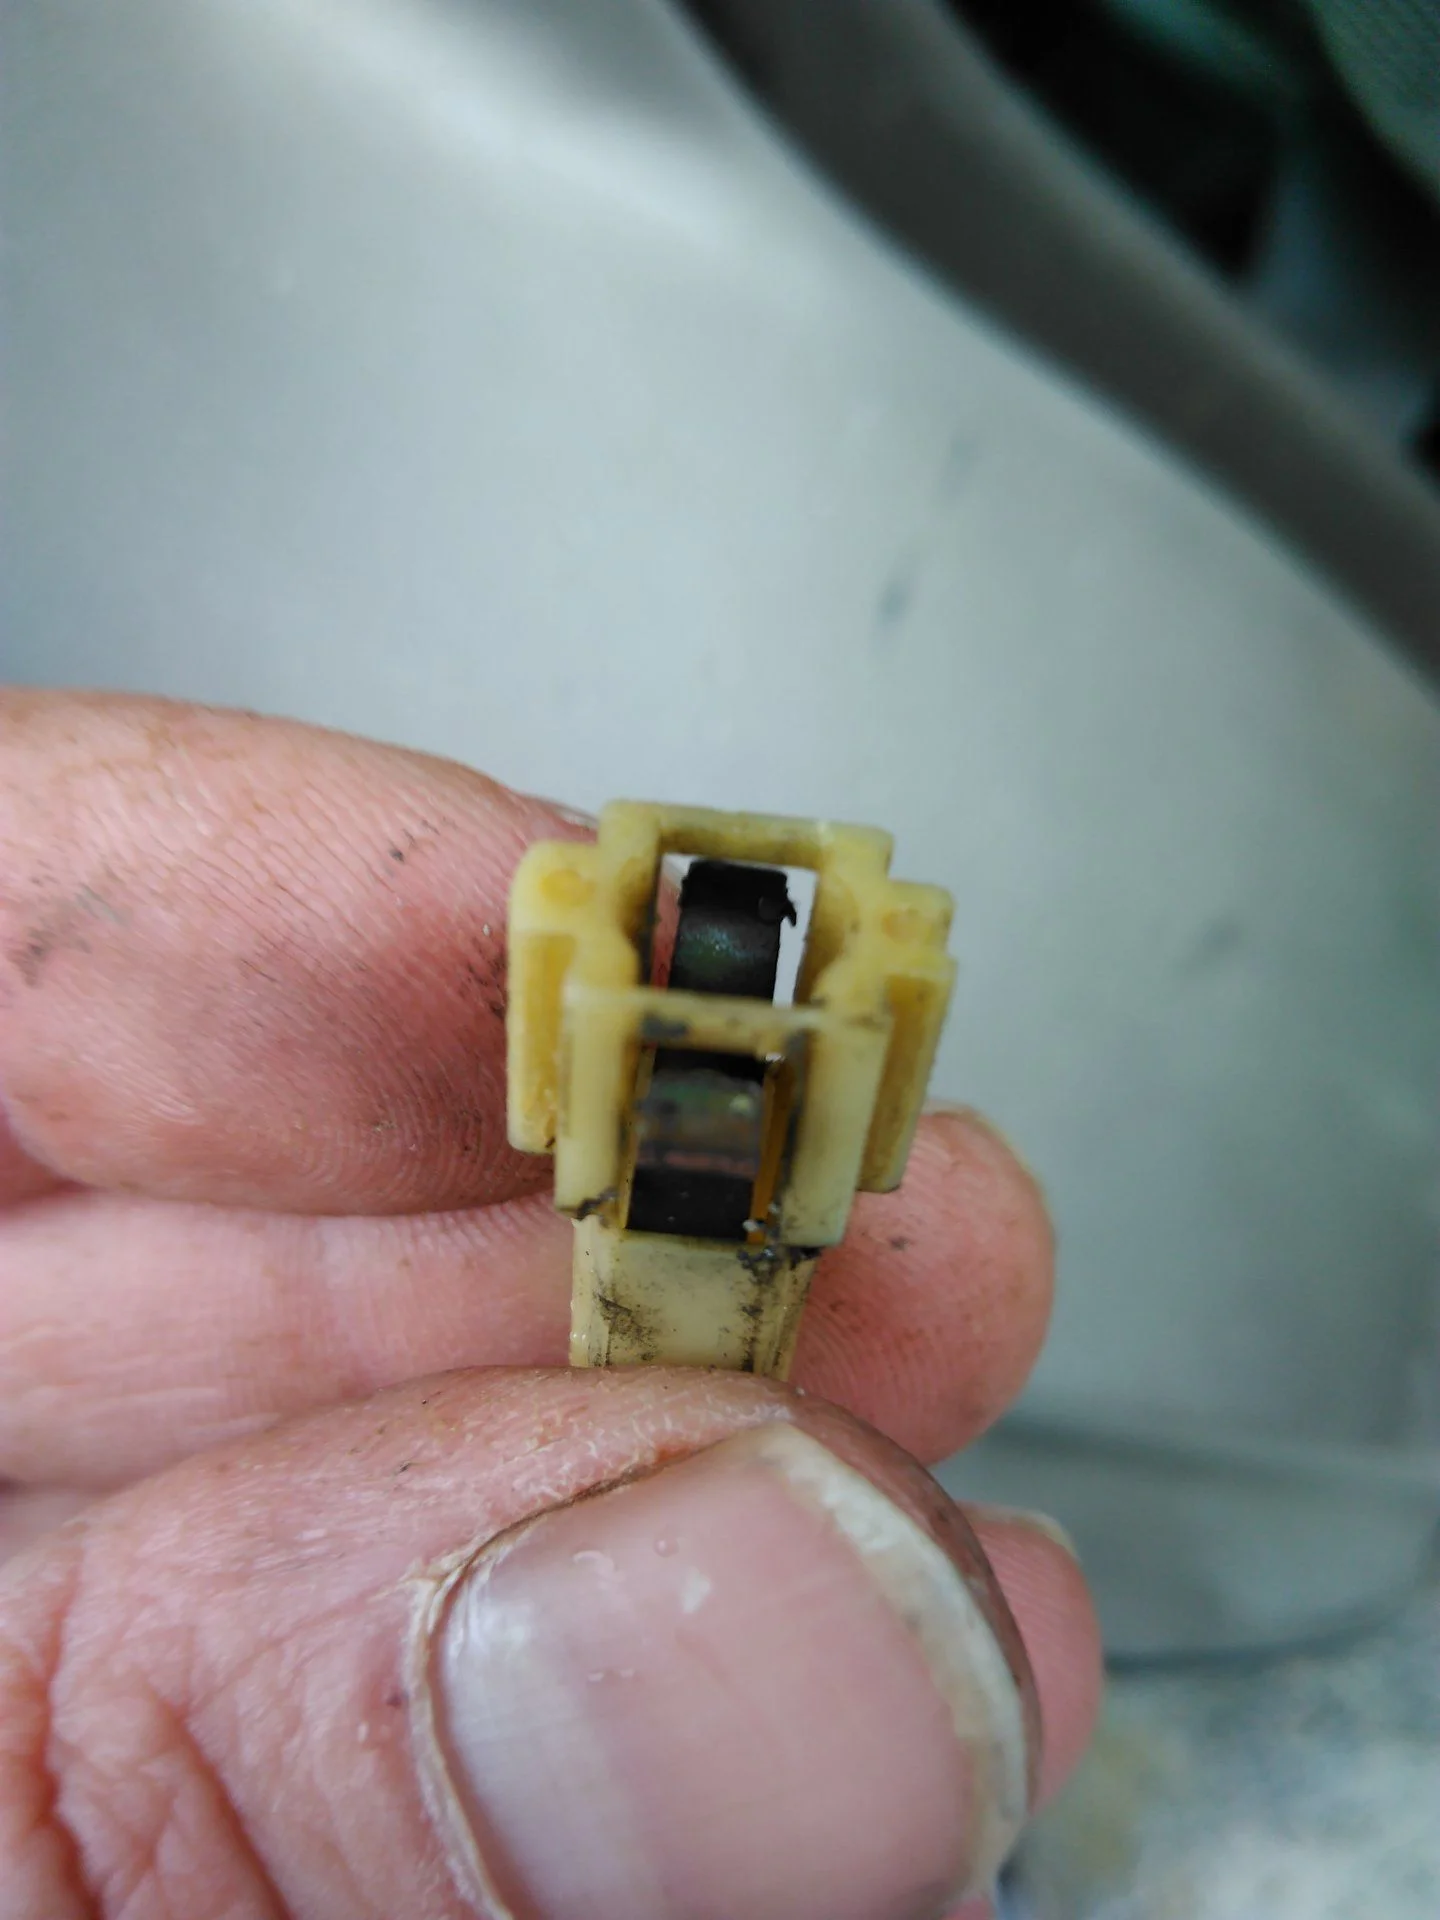
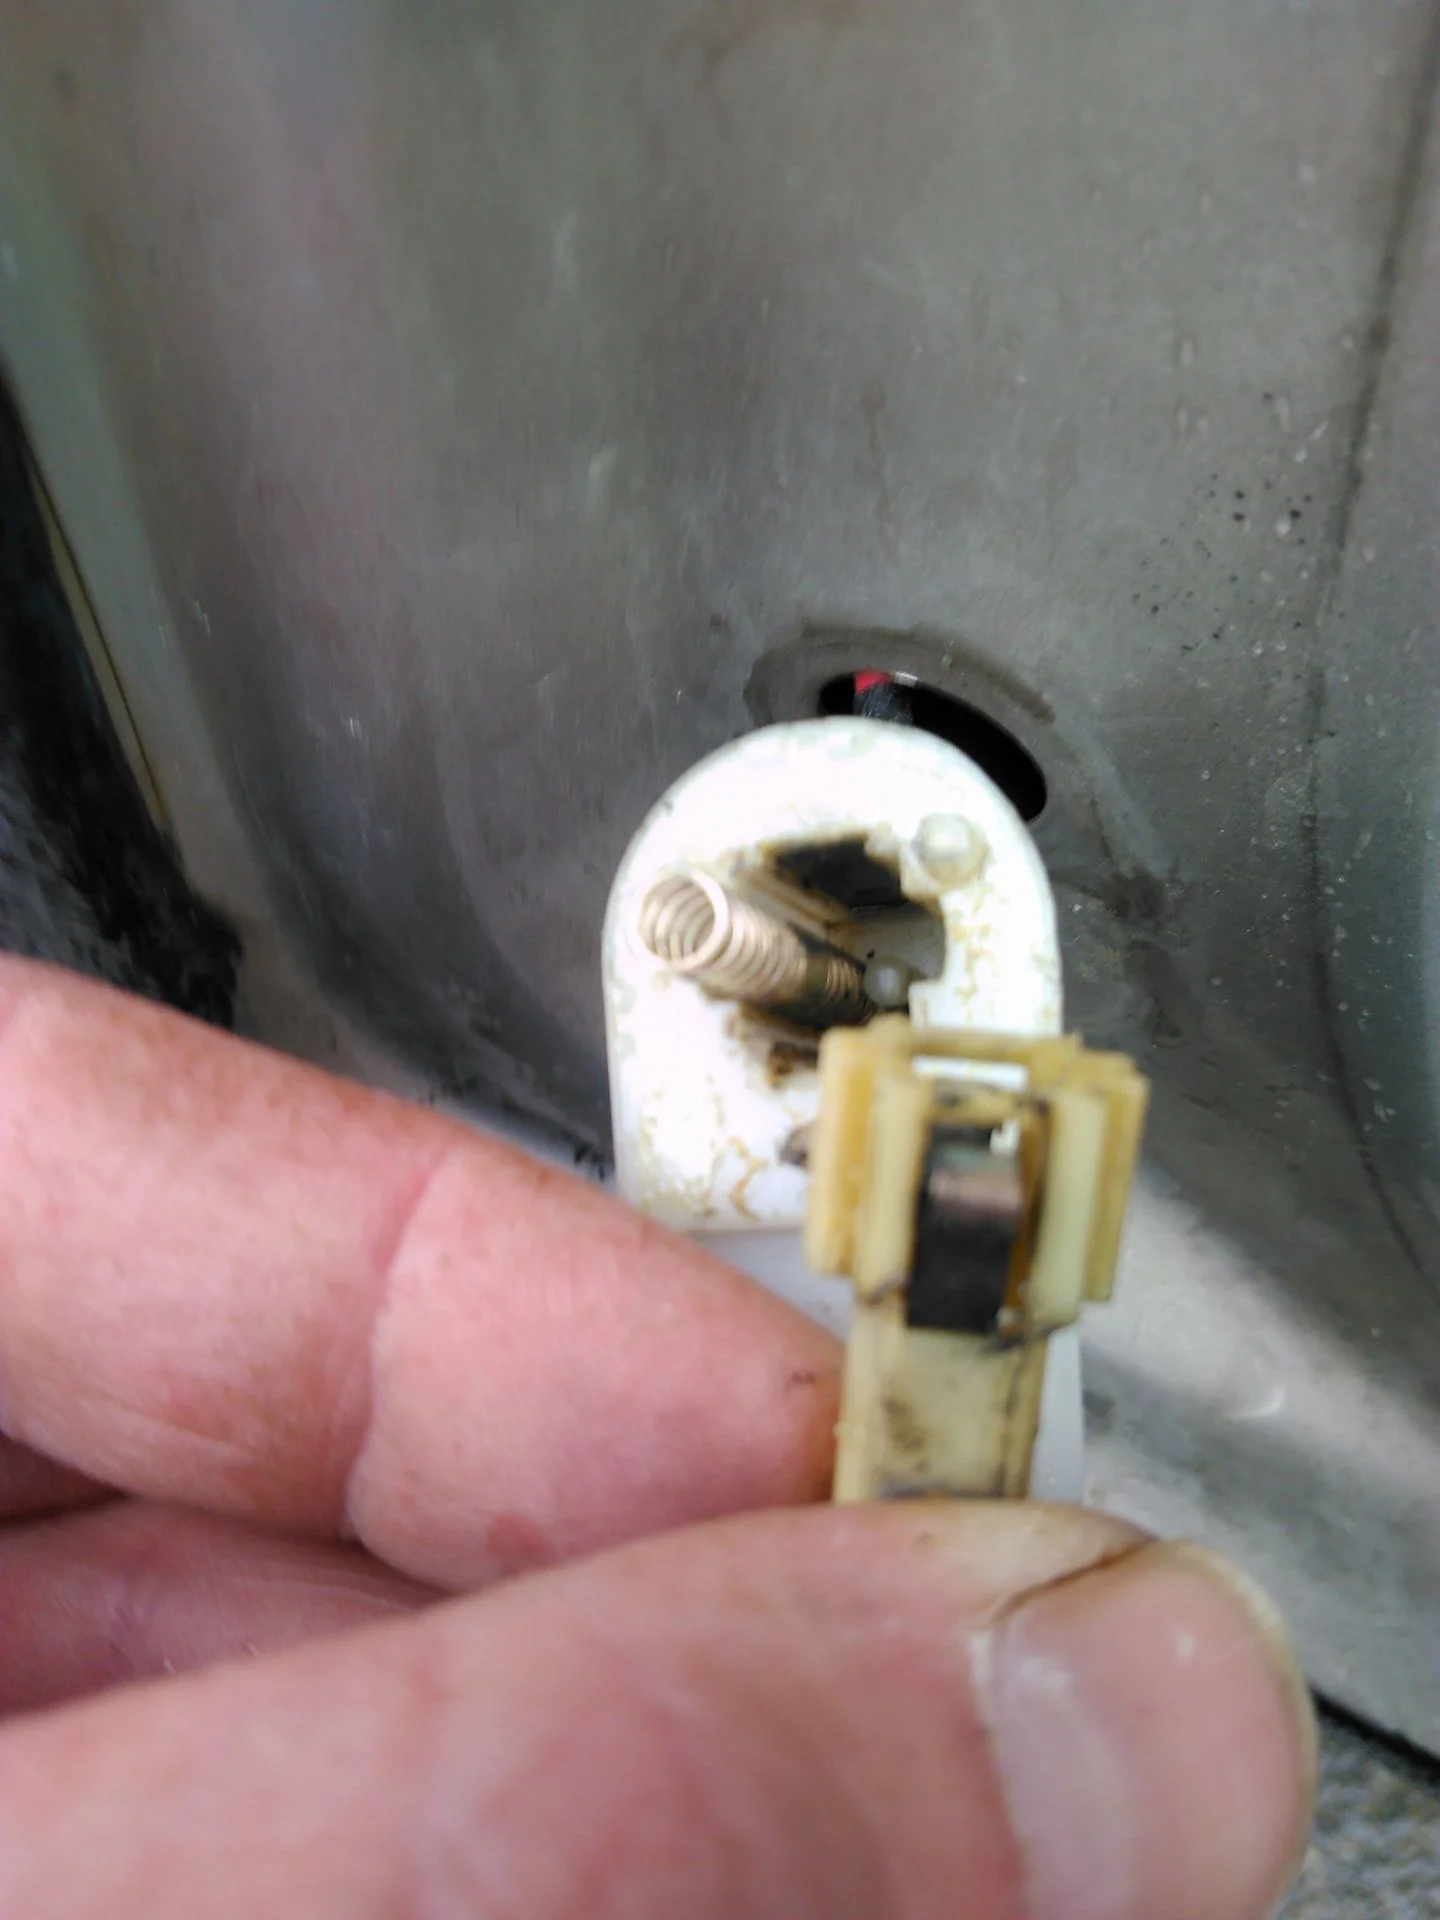
5. The other end that is still attached to the wire has the other electrical contact. You might be able to push in it's tab and get it out for cleaning. Mine have never come out, I just clean them in place.
 Edit---I don't think those actually come out, after looking at the pictures I think it's molded in to the plastic.
s
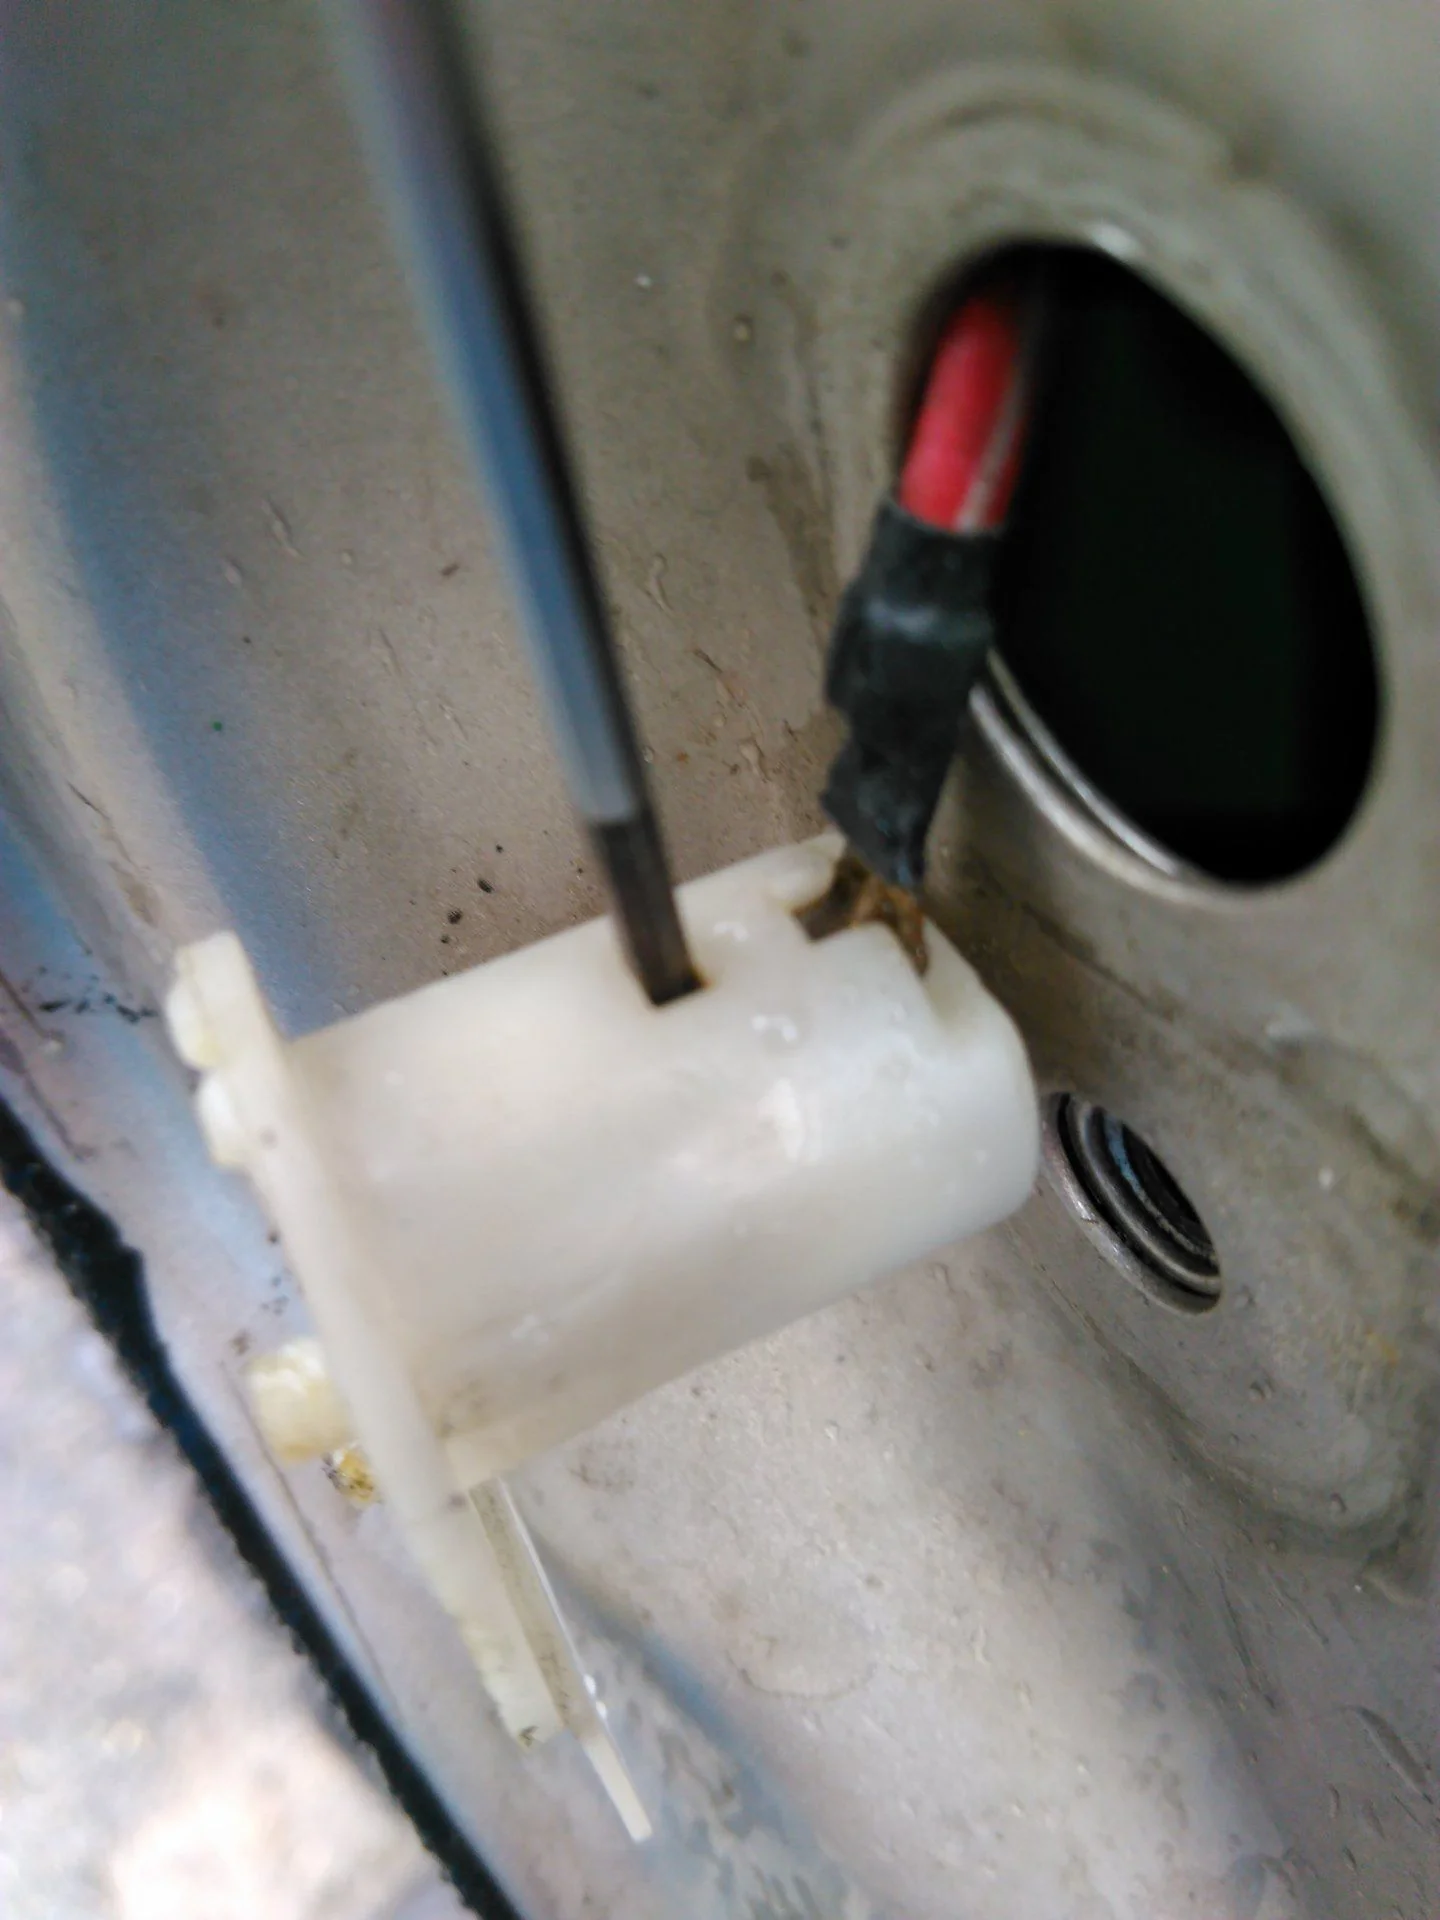
5. Clean, lube, and reassemble. If you didnt' totally destroy the nubs they'll help align things to get it all back together.
Once it's all apart you might be able to rub a pencil eraser in there or something like that and polish it back up to get it working again. It doesn't take much to get it working ususally. Maybe even just clean off the old grease and re-grease it.
Seems complicated but goes really quick once you've done one. I've done 12 now (13 if you count the one I just took apart to take pictures). And, nothing to be too worried about because if you break the first one figuring it out, well you were gonna buy one anyway!!
I've never used the cleaning stuff mentioned, but salt and vinegar warmed up can leave beautiful shiny copper sometimes. I'm out of time for today, but I found the mixture and videos on youtube for that.
good luck
I just took mine apart, and put it back together in about 15 min to take some pictures. I'm uploading pictures now, I'll add them later. Here's some instructions, the pictures will help but maybe you can figure it out.
1. remove the switch and remove the rubber cover
2. There are three "heatstake" nubs. Cut off the three nubs with a sharp knife or side cutters or maybe a tiny sharp screwdriver. Just gently cut them and get them started breaking apart, once you start to pull off the metal plate they'll come off. These are one of those things that make manufacturing easier but are not needed in use. Once assembled in the door, the metal plate and bolt are what hold things together.
3. Take off the metal plate. The sliding nub and it's contacts and the spring are now free to come out. PUT THE SPRING SOMEWHERE SAFE! (don't ask!!!)
4. The actual copper foil in the nub will come out, it's obvious. Take it out to clean it if you want.
5. The other end that is still attached to the wire has the other electrical contact. You might be able to push in it's tab and get it out for cleaning. Mine have never come out, I just clean them in place.
s
5. Clean, lube, and reassemble. If you didnt' totally destroy the nubs they'll help align things to get it all back together.
Once it's all apart you might be able to rub a pencil eraser in there or something like that and polish it back up to get it working again. It doesn't take much to get it working ususally. Maybe even just clean off the old grease and re-grease it.
Seems complicated but goes really quick once you've done one. I've done 12 now (13 if you count the one I just took apart to take pictures). And, nothing to be too worried about because if you break the first one figuring it out, well you were gonna buy one anyway!!
I've never used the cleaning stuff mentioned, but salt and vinegar warmed up can leave beautiful shiny copper sometimes. I'm out of time for today, but I found the mixture and videos on youtube for that.
good luck
Last edited:
