Dobinsons rear bumper install with pictures (1 Viewer)

This site may earn a commission from merchant affiliate
links, including eBay, Amazon, Skimlinks, and others.

Joined
Apr 5, 2010
Threads
24
Messages
214
Location
Telluride, CO
Not a whole lot of info on these bumpers here, so I figured I would share some of my thoughts and pictures from my install.

I picked this bumper for a few reasons.
1. In stock read to ship.
2. Ability to run dual spares on the rear
3. Integrated lights, I'm a big believer in visibility.
4. It's 1700 bucks SHIPPED including a tire carrier, and a jerry can carrier! Sure you can't customize it, but compared to even the budget custom guys you save over 1000 dollars, that's a lot of money to buy a welder, some steel, and fab your own design on the arm of your choice.

Anyways, my initial impression was very positive. Dealing with @crikeymike was easy, and even on Sunday I got a reply to my install questions within an hour, sweet. Packaging was very good, to the point of frustration while unwrapping the arms, but that's better than damaged and missing parts!
The install instructions are.. lacking, but adequate, what you're doing isn't rocket appliances. No cutting needed (I drilled two holes in sheet metal for the lights). The powder coat is thick, and this bumper is VERY attached to the truck, there is no chance it will fall off. I am a bit disappointed there isn't an integrated hitch, but $200 later I just bought one.

Here are some pics and a brief explanation of what I did.

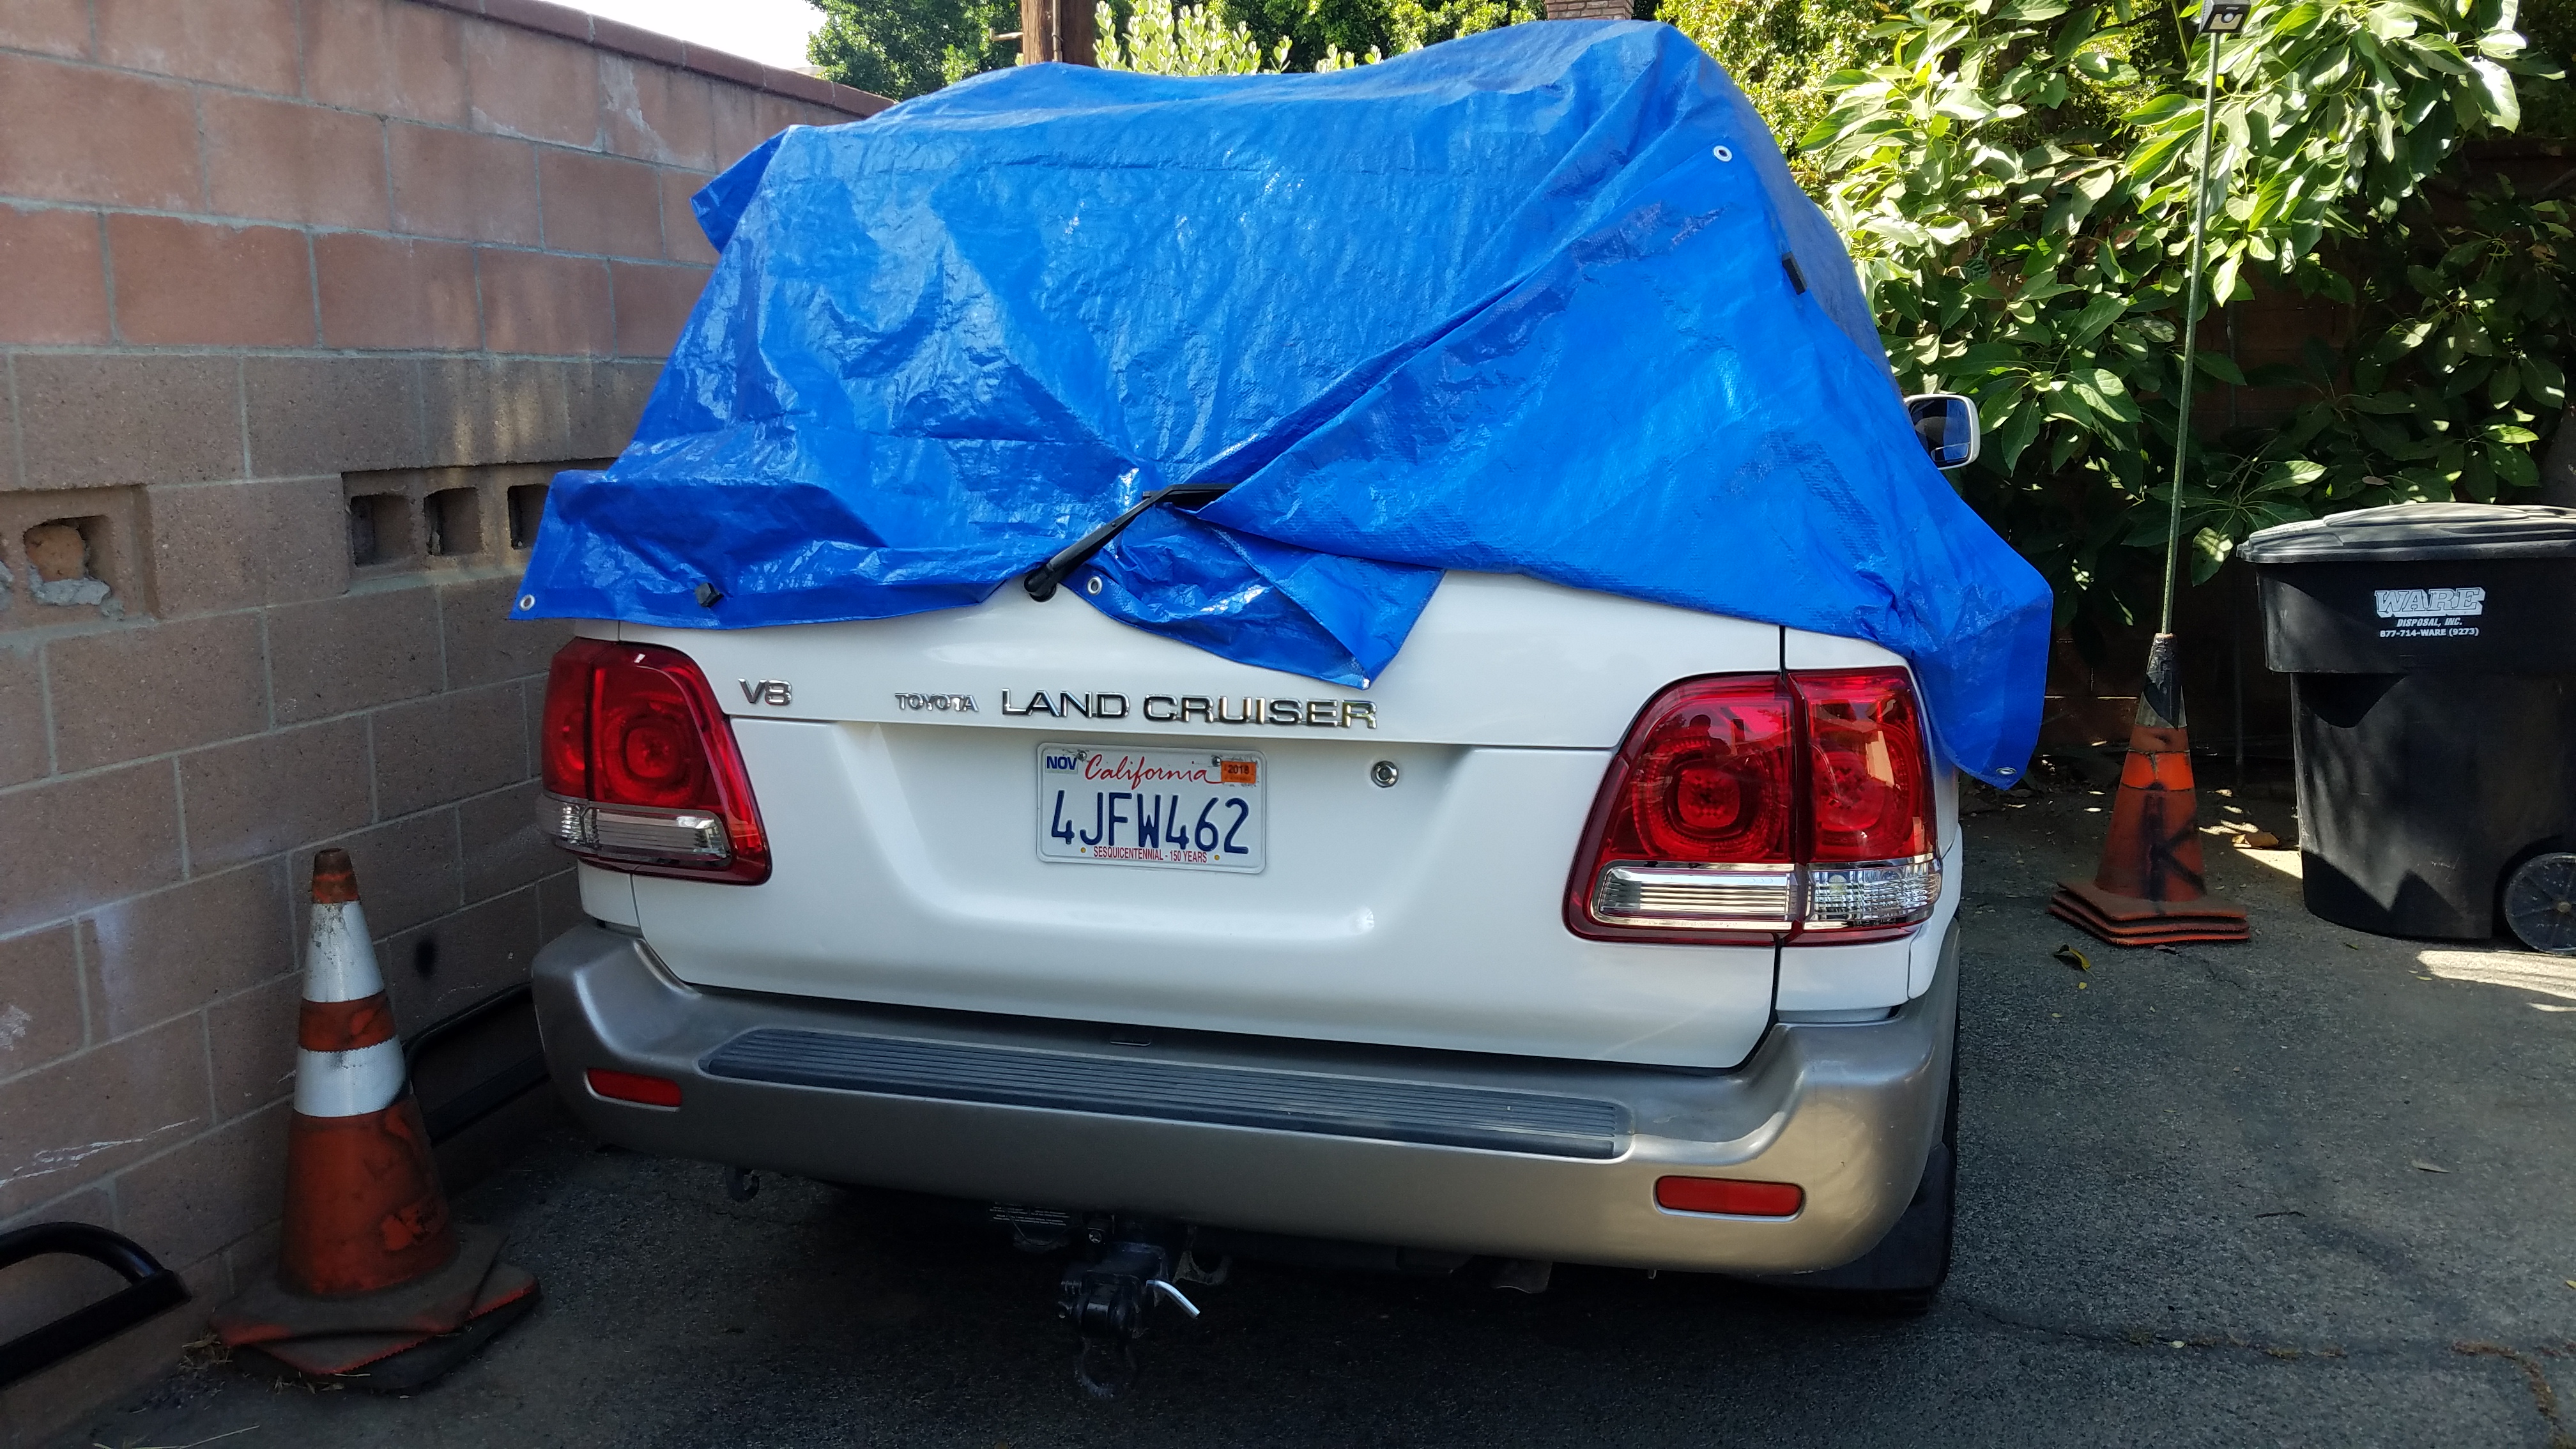
First step, remove bumper cover and metal pieces
IMG_20200130_151008.jpg


Lift bumper up and on, secure with 4 bolts and spacers in factory tow hitch area

IMG_20200130_153747.jpg


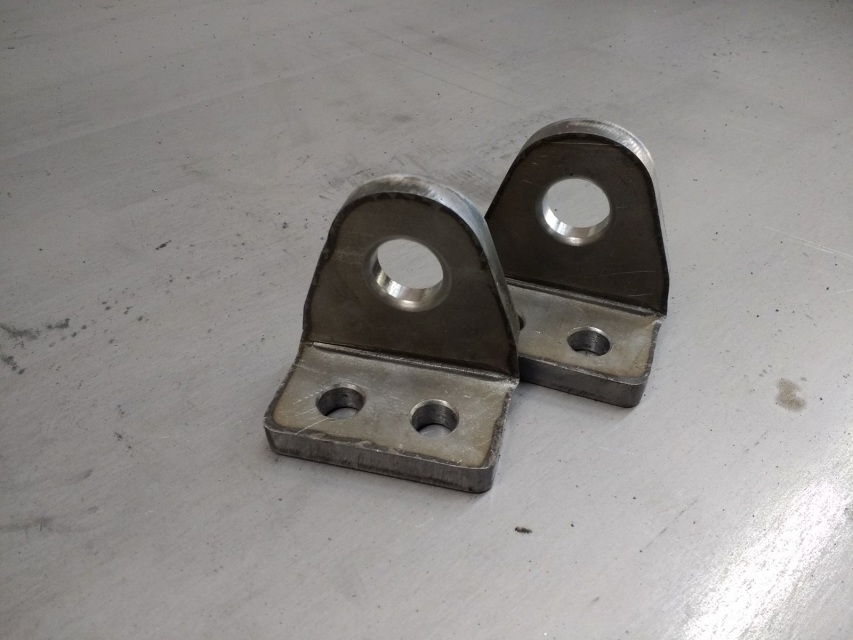
Beefy plates to secure bumper to frame rails

IMG_20200130_155031.jpg


Working with 19mm bolts all day I snapped this 12mm, I moved past it.


IMG_20200130_164853.jpg


Here is the bracing for the wings of the bumper, attaches with a big u bolt. Again super strong looking.

IMG_20200131_121009.jpg


Cont:
 
Last edited:
Repeat for other side, here is what it looks like at this point
IMG_20200131_114903.jpg


I then started wiring the lights. To my surprise it has brake, running, reverse, and an Amber turn signal integrated into the reverse light. I am a huge fan of Amber turn signals instead of red.
Getting a reverse light signal was difficult due to it being in the tailgate and not the side lights. I tapped a wire in the loom that connects the two
IMG_20200131_125614.jpg


I use shrink wrap crimps instead of soldering. I add marine shrink wrap on top of my crimpys in high moisture areas. I'm bad at soldering, and I figure a good crimp is better than crappy solder.

IMG_20200131_130101.jpg


I then drilled a hole in the bottom of the truck to run into the tail light cavity. Installed grommet, and ran wires from bumper up into truck to connect. I will add JB weld to this through hull connection to make it waterproof enough.

IMG_20200131_131448.jpg


I then proceeded to make a rats nest. It all works, and will not fail, just not very pretty. Oh well, it's hidden.
I considered hooking the bumper into the trailer lights, but I read those are connected to the tail light fuse anyways, so what's the point. This way they are up in a place that doesn't get much water, and is easily accessible for service.
IMG_20200131_133643.jpg


Cont:
 
Last one.

I don't love how I ran the reverse light for the passenger side across the bumper, but it will be fine, I found no good way to route it through the truck without drilling more holes, so I ran it through the back side of the bumper.

Here is completed wiring, and a look at all lights functioning. Lots of visibility!

IMG_20200131_145239.jpg


IMG_20200131_145629.jpg


6 lights saying "I'm stopping!".

The carriers were straight forward. Use TWO spacers on the bottom of the bottom bearing of you won't have clearance to get the lock pin into the cone. The instructions show one spacer. The bumper comes with spindle covers should you want to not have the carriers on. They aren't sealed, but seem like a good thing to hold onto. I didn't install the Jerry can bit in these pics, going to engineer a table onto that arm.

IMG_20200131_200625.jpg


You can't really see, but there are spots on the back, near the reverse light to hold a hi lift jack, and matching reinforcement. Great idea, and not noticable.

The online pics make it looks a little doofy, but it isn't that bad. The stock mud flaps attach right back to the side wings, so that is how far it will hang down for those that wonder.
IMG_20200131_200957.jpg


That is all!
 
is there any recovery points on the bumper itself?
 
Assuming you ditch your stock hitch, The trail tailor tow hooks bolt right in where the hitch was. That’s what I did. I also bought a dual can carrier from C4 fab and custom mounted it to the Jerry swingout arm. The stock Jerry holder is just ok only holds one can.
36AFB57E-A265-48FF-B257-81DB9F56E373.jpeg
 
Assuming you ditch your stock hitch, The trail tailor tow hooks bolt right in where the hitch was. That’s what I did. I also bought a dual can carrier from C4 fab and custom mounted it to the Jerry swingout arm. The stock Jerry holder is just ok only holds one can.
View attachment 2200577
That looks good. The new version of the Dobinsons rears now come with the double jerry can box for that swing out. OP just hasn't installed his so that he can customize it.
 
Thanks for the detailed review and ALL the photos. Many have asked before how the bumper looks without the swingouts installed, so now it's easy for everyone to see that.
 
That looks good. The new version of the Dobinsons rears now come with the double jerry can box for that swing out. OP just hasn't installed his so that he can customize it.

Good to know.

I would say overall this was a good buy for me. I have really thrown a lot at mine. Wheeling here locally bashing it on rocks in mud holes. I've done every major trail in Moab, scraped it all over the place on hell's revenge and fins and things. Did the whole white rim, Gemini bridges, etc the whole lot in a more overland-y type trip. Done a ton in southwestern Colorado and all in between and it has been great. Quality is awesome. Overall great buy.

One thing I did do was paint that diamond plate top in black, I think the look is a little clear and it is very easy to take off and spray!
 
Assuming you ditch your stock hitch, The trail tailor tow hooks bolt right in where the hitch was. That’s what I did. I also bought a dual can carrier from C4 fab and custom mounted it to the Jerry swingout arm. The stock Jerry holder is just ok only holds one can.
View attachment 2200577

Are you talking about this? Interested in the bumper but really want a solid rear recovery point. I have been using the OEM tow hitch for recovery. (AKA rear skid plate 😆 )
 
Are you talking about this? Interested in the bumper but really want a solid rear recovery point. I have been using the OEM tow hitch for recovery. (AKA rear skid plate 😆 )
Honestly, if it was me, even if the bumper had recovery points I would continue to use the hitch. Being able to pin a strap into it is useful, and only carrying a hitch pin instead of a shackle is another bonus. Plus the way the forces are distributed it is hard if not impossible to come up with a stronger recovery point.
 
Easier and cleaner to tap into the trailer hitch wiring harness. Specifically the short connection between the factory harness plug and the 7 pin connector at the bumper.
 
Easier and cleaner to tap into the trailer hitch wiring harness. Specifically the short connection between the factory harness plug and the 7 pin connector at the bumper.
I looked at this, but mine was sandwiched between the already installed bumper, and the hitch and LRA tank giving me almost no working room. Plus all the connections would have been under the truck in mud and water constantly. That and I read somewhere that unlike the pickups I have worked on, the trailer connections aren't separately fused, so blow a trailer (bumper) light, you also take out your tail lights eliminating the benefit of separate circuits. I didn't verify with my wiring diagram though so I could be wrong.

That all said I highly recomend anyone else who does this install look into this option!
 
Honestly, if it was me, even if the bumper had recovery points I would continue to use the hitch. Being able to pin a strap into it is useful, and only carrying a hitch pin instead of a shackle is another bonus. Plus the way the forces are distributed it is hard if not impossible to come up with a stronger recovery point.

Yes those but the 100 series version. Those are for the 200.

The 100 doesn't specify front or rear. They are both identical front and rear. I have 2 fronts and 2 rears on my truck so 4 solid recovery points around.
 
Can you take a picture of the gap between the tire carrier/jerry can holder and tailgate? I have aftermarket taillights and it protrudes out about 2inches. I worry it might interfere with the bumper.

Here is a pic
9vxdTOD.jpg
 
Can you take a picture of the gap between the tire carrier/jerry can holder and tailgate? I have aftermarket taillights and it protrudes out about 2inches. I worry it might interfere with the bumper.

Yup, give me a day or two, the car lives at a different place than I do. My initial response is that I bet it will fit, but two inches is a lot. I will get some pics.
 
Repeat for other side, here is what it looks like at this pointView attachment 2200441

I then started wiring the lights. To my surprise it has brake, running, reverse, and an Amber turn signal integrated into the reverse light. I am a huge fan of Amber turn signals instead of red.
Getting a reverse light signal was difficult due to it being in the tailgate and not the side lights. I tapped a wire in the loom that connects the two
View attachment 2200442

I use shrink wrap crimps instead of soldering. I add marine shrink wrap on top of my crimpys in high moisture areas. I'm bad at soldering, and I figure a good crimp is better than crappy solder.

View attachment 2200443

I then drilled a hole in the bottom of the truck to run into the tail light cavity. Installed grommet, and ran wires from bumper up into truck to connect. I will add JB weld to this through hull connection to make it waterproof enough.

View attachment 2200444

I then proceeded to make a rats nest. It all works, and will not fail, just not very pretty. Oh well, it's hidden.
I considered hooking the bumper into the trailer lights, but I read those are connected to the tail light fuse anyways, so what's the point. This way they are up in a place that doesn't get much water, and is easily accessible for service.
View attachment 2200447


Cont:

Did you initially remove the trailer hitch, then reinstalled it after you have the bumper installed and positioned? I see it missing in the early pictures, then reappears after the bumper is installed.
 
Did you initially remove the trailer hitch, then reinstalled it after you have the bumper installed and positioned? I see it missing in the early pictures, then reappears after the bumper is installed.

The vehicle didn't come with one, so there wasn't one on when I installed the bumper. I don't think having a hitch would inhibit the install at all.
 

Users who are viewing this thread

Back
Top Bottom