
- Thread starter
- #21
Pieces 11-13 tacked in place. Once 14 goes in the right wing assembly will be done.


Follow along with the video below to see how to install our site as a web app on your home screen.
Note: This feature may not be available in some browsers.
This site may earn a commission from merchant affiliate
links, including eBay, Amazon, Skimlinks, and others.
Sort of thinking of sourcing some tube locally. One issue is that had I order it with the tube option the top plate would have had holes cut for the tubing.Bumper is coming along nicely. Any more thought on ordering the front hoop?
It was just what I noticed on the instructions. Thanks for sharing that, my guess is that the plate with holes cut is for the full hoop coverage for the option available that extends all the way out to headlights.Are you sure about the holes? My son’s Coastal kit with hoop had no holes in the top plate. I believe we cut the ends to be in the same plane and welded it straight to the plate, then used the included gussets.
Welding those outside 90s (of which there seem to be several hundred inches on these plate bumper kits) and ending up with the chamfer or round edge you envisioned is quite the learning experience. Maybe when I retire I’ll get in enough practice to significantly cut down on my grinding!Welding is about 90% complete with some minor stitch welding on the backside left to be done. Couple hours of grinding today, will move to flap disk next.
View attachment 3038267
View attachment 3038268
View attachment 3038269
View attachment 3038270
The nice thing about having a welder is that it's NEVER too messed up to fix. Just add more weld and time.Welding those outside 90s (of which there seem to be several hundred inches on these plate bumper kits) and ending up with the chamfer or round edge you envisioned is quite the learning experience. Maybe when I retire I’ll get in enough practice to significantly cut down on my grinding!
Coastal nicely left those two holes for forward facing lights. We put Diode Dynamics fogs in my son’s bumper, which he loves (lots of bad weather mountain driving in his life these days). Do you have similar plans?
Yes, I'll be installing 4 3" cube lights in the openings provided, just not sure what yet. But after a google search I've sourced a stinger, which will just need angle cut for fit then welded in. Sort of odd you can get them cheaper from Summit then on TrailGears site.Welding those outside 90s (of which there seem to be several hundred inches on these plate bumper kits) and ending up with the chamfer or round edge you envisioned is quite the learning experience. Maybe when I retire I’ll get in enough practice to significantly cut down on my grinding!
Coastal nicely left those two holes for forward facing lights. We put Diode Dynamics fogs in my son’s bumper, which he loves (lots of bad weather mountain driving in his life these days). Do you have similar plans?
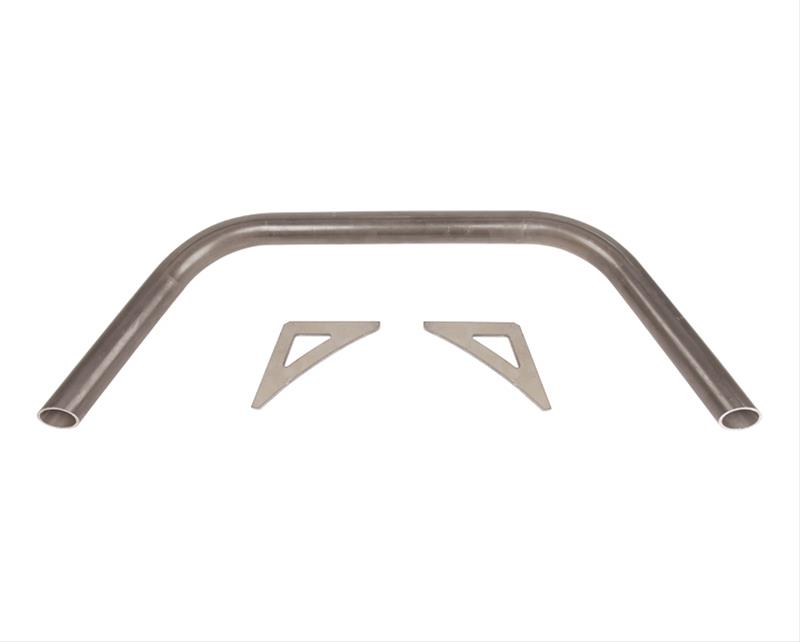
So I ordered the stinger yesterday from Summit and it arrived today, color me impressed for standard shipping. One perk of living in NE Ohio I guess. Should be able to weld that on tonight, came with a couple of gussets as well.Yes, I'll be installing 4 3" cube lights in the openings provided, just not sure what yet. But after a google search I've sourced a stinger, which will just need angle cut for fit then welded in. Sort of odd you can get them cheaper from Summit then on TrailGears site.
Trail Gear 303413-KIT Trail-Gear Flat-Top Stinger | Summit Racing
Free Shipping - Trail-Gear Flat-Top Stinger with qualifying orders of $99. Shop Grille Guards at Summit Racing.www.summitracing.com
HAHAhahaha.....not so much. If you are a novice like me, bank on 50 hours start to finish.If I had to guess, I'd say the bumper will be somewhere in the ball park of 12-20 hours depending on skill experience and equipment to build.
I’ve figured as much. I just started my rear bumper. I’m about 6-8hours in and it’s just barely all tac’d up. Looking forward to the welding, not so much the grinding.HAHAhahaha.....not so much. If you are a novice like me, bank on 50 hours start to finish.
welding good, grinding bad....be sure to wear a respirator/face maskI’ve figured as much. I just started my rear bumper. I’m about 6-8hours in and it’s just barely all tac’d up. Looking forward to the welding, not so much the grinding.