I didn't figure I would tackle this job on my own, but the more I researched and read it didn't seem that bad. So I gave it a go and got it done over a couple of Saturdays. Life is busy, so I had to piece the time together where I could.
This video was great, I pretty much just followed it, and had the FSM for reference if need be.
I bought this tool for the crank bolt. I didn't want to mess with trying to fab anything up. It worked great.
Amazon product ASIN B0051XDBBG
In the video his crank pulley comes right off so I guess I figured mine would too, but it didn't. A $15 puller set from Harbor Freight took care of that.
The fan pulley and fan hub were corrosion bonded on pretty good too. It took some banging with a large hammer and screw driver to work that loose.
In addition to the timing belt bits, I also replaced the fan bracket, serp tensioner and serp idler.
After seeing what a pain it was to get to the alternator, I decided to replace that as well. I got a reman Denso off of Amazon. I guess I wasn't paying as much attention as I should have been when figuring out what to buy because I ended up with an 80 amp unit, and I think the stock one I pulled out was 100 amp. 'Downgrading' bugs me. Oh well, live and learn.
I have a BIO front bumper with a bull bar, so I had to pull that off to make access easier.
In some of the write-ups and even in the video people are loosening bolts related to the AC compressor (to pull the fan bracket). I don't know why, I only had pull those two down angled bolts and bend that bracket out of the way and it came out fine. I replaced it with an OEM fan bracket which almost cost as much as the Aisin TB kit.
Total cost for all parts and tools: $1000
Pictures are always good, so here we go:
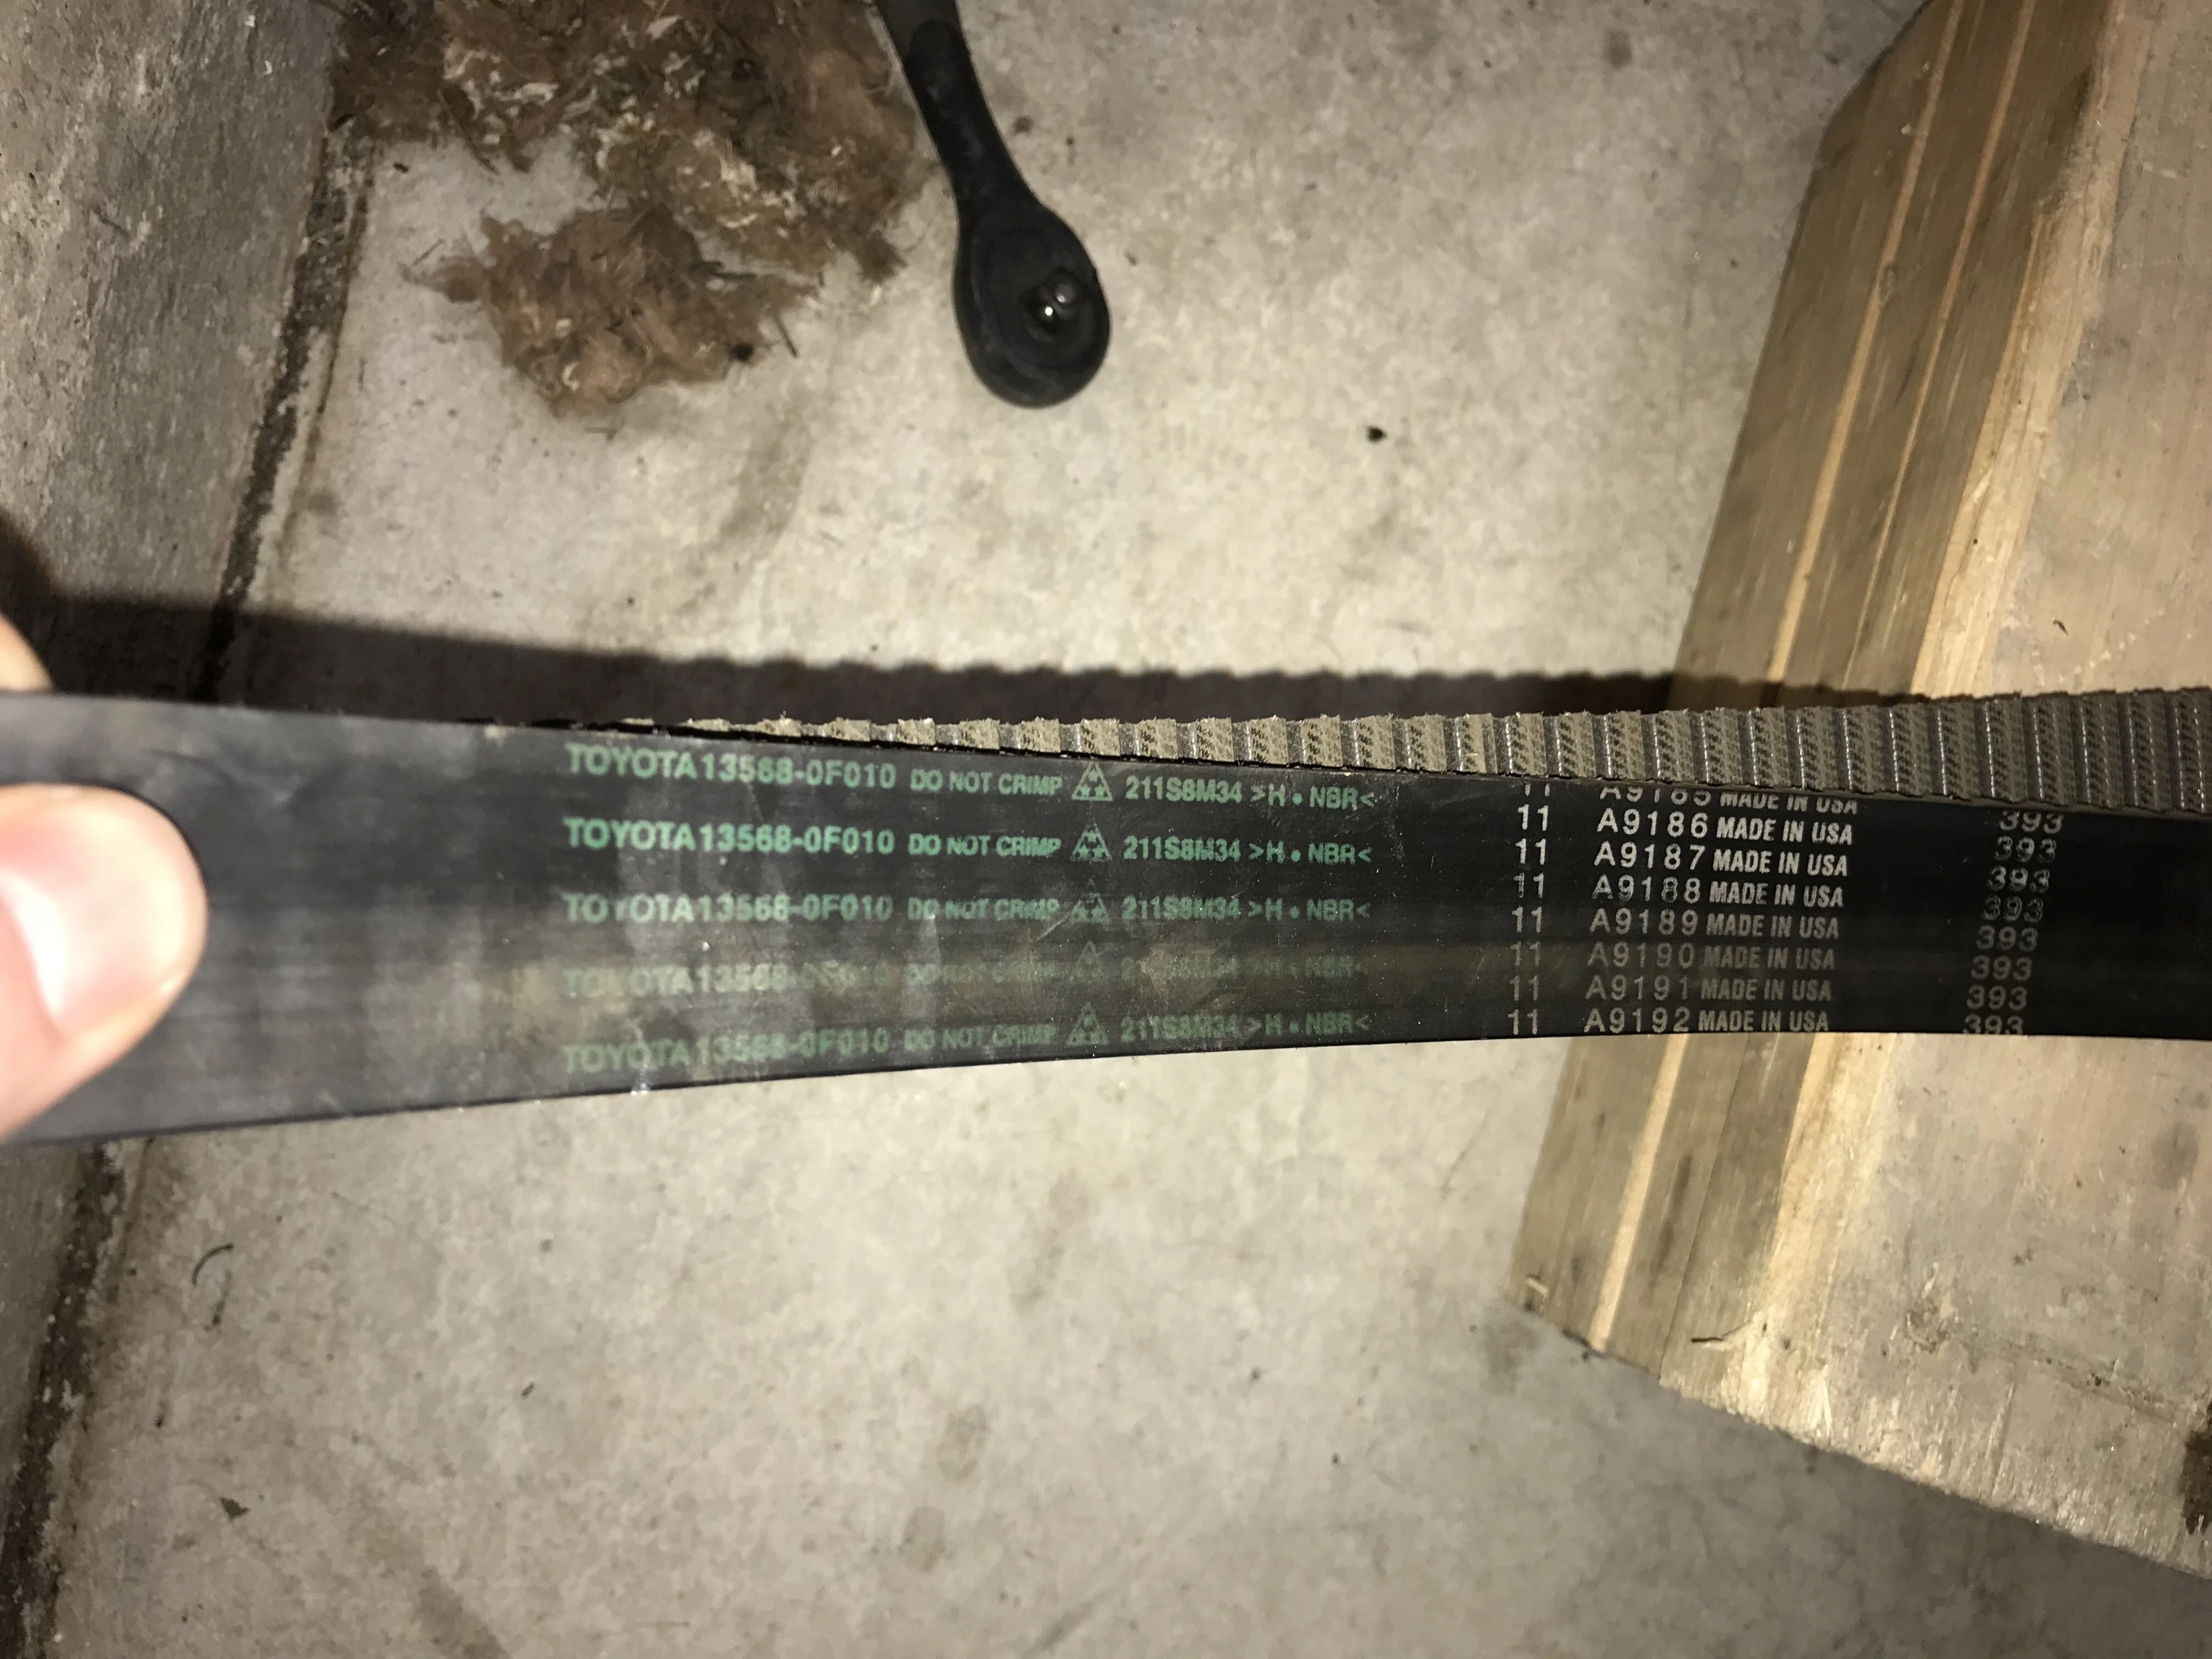
The timing belt still looked good. I think the water pump was end of life though. There had been leaking from the water hole:
Old Belt:
Alternators:
The new one looks smaller.
Work in process
It looked like a rodent had tried making a nest in the V. I fished all that out:
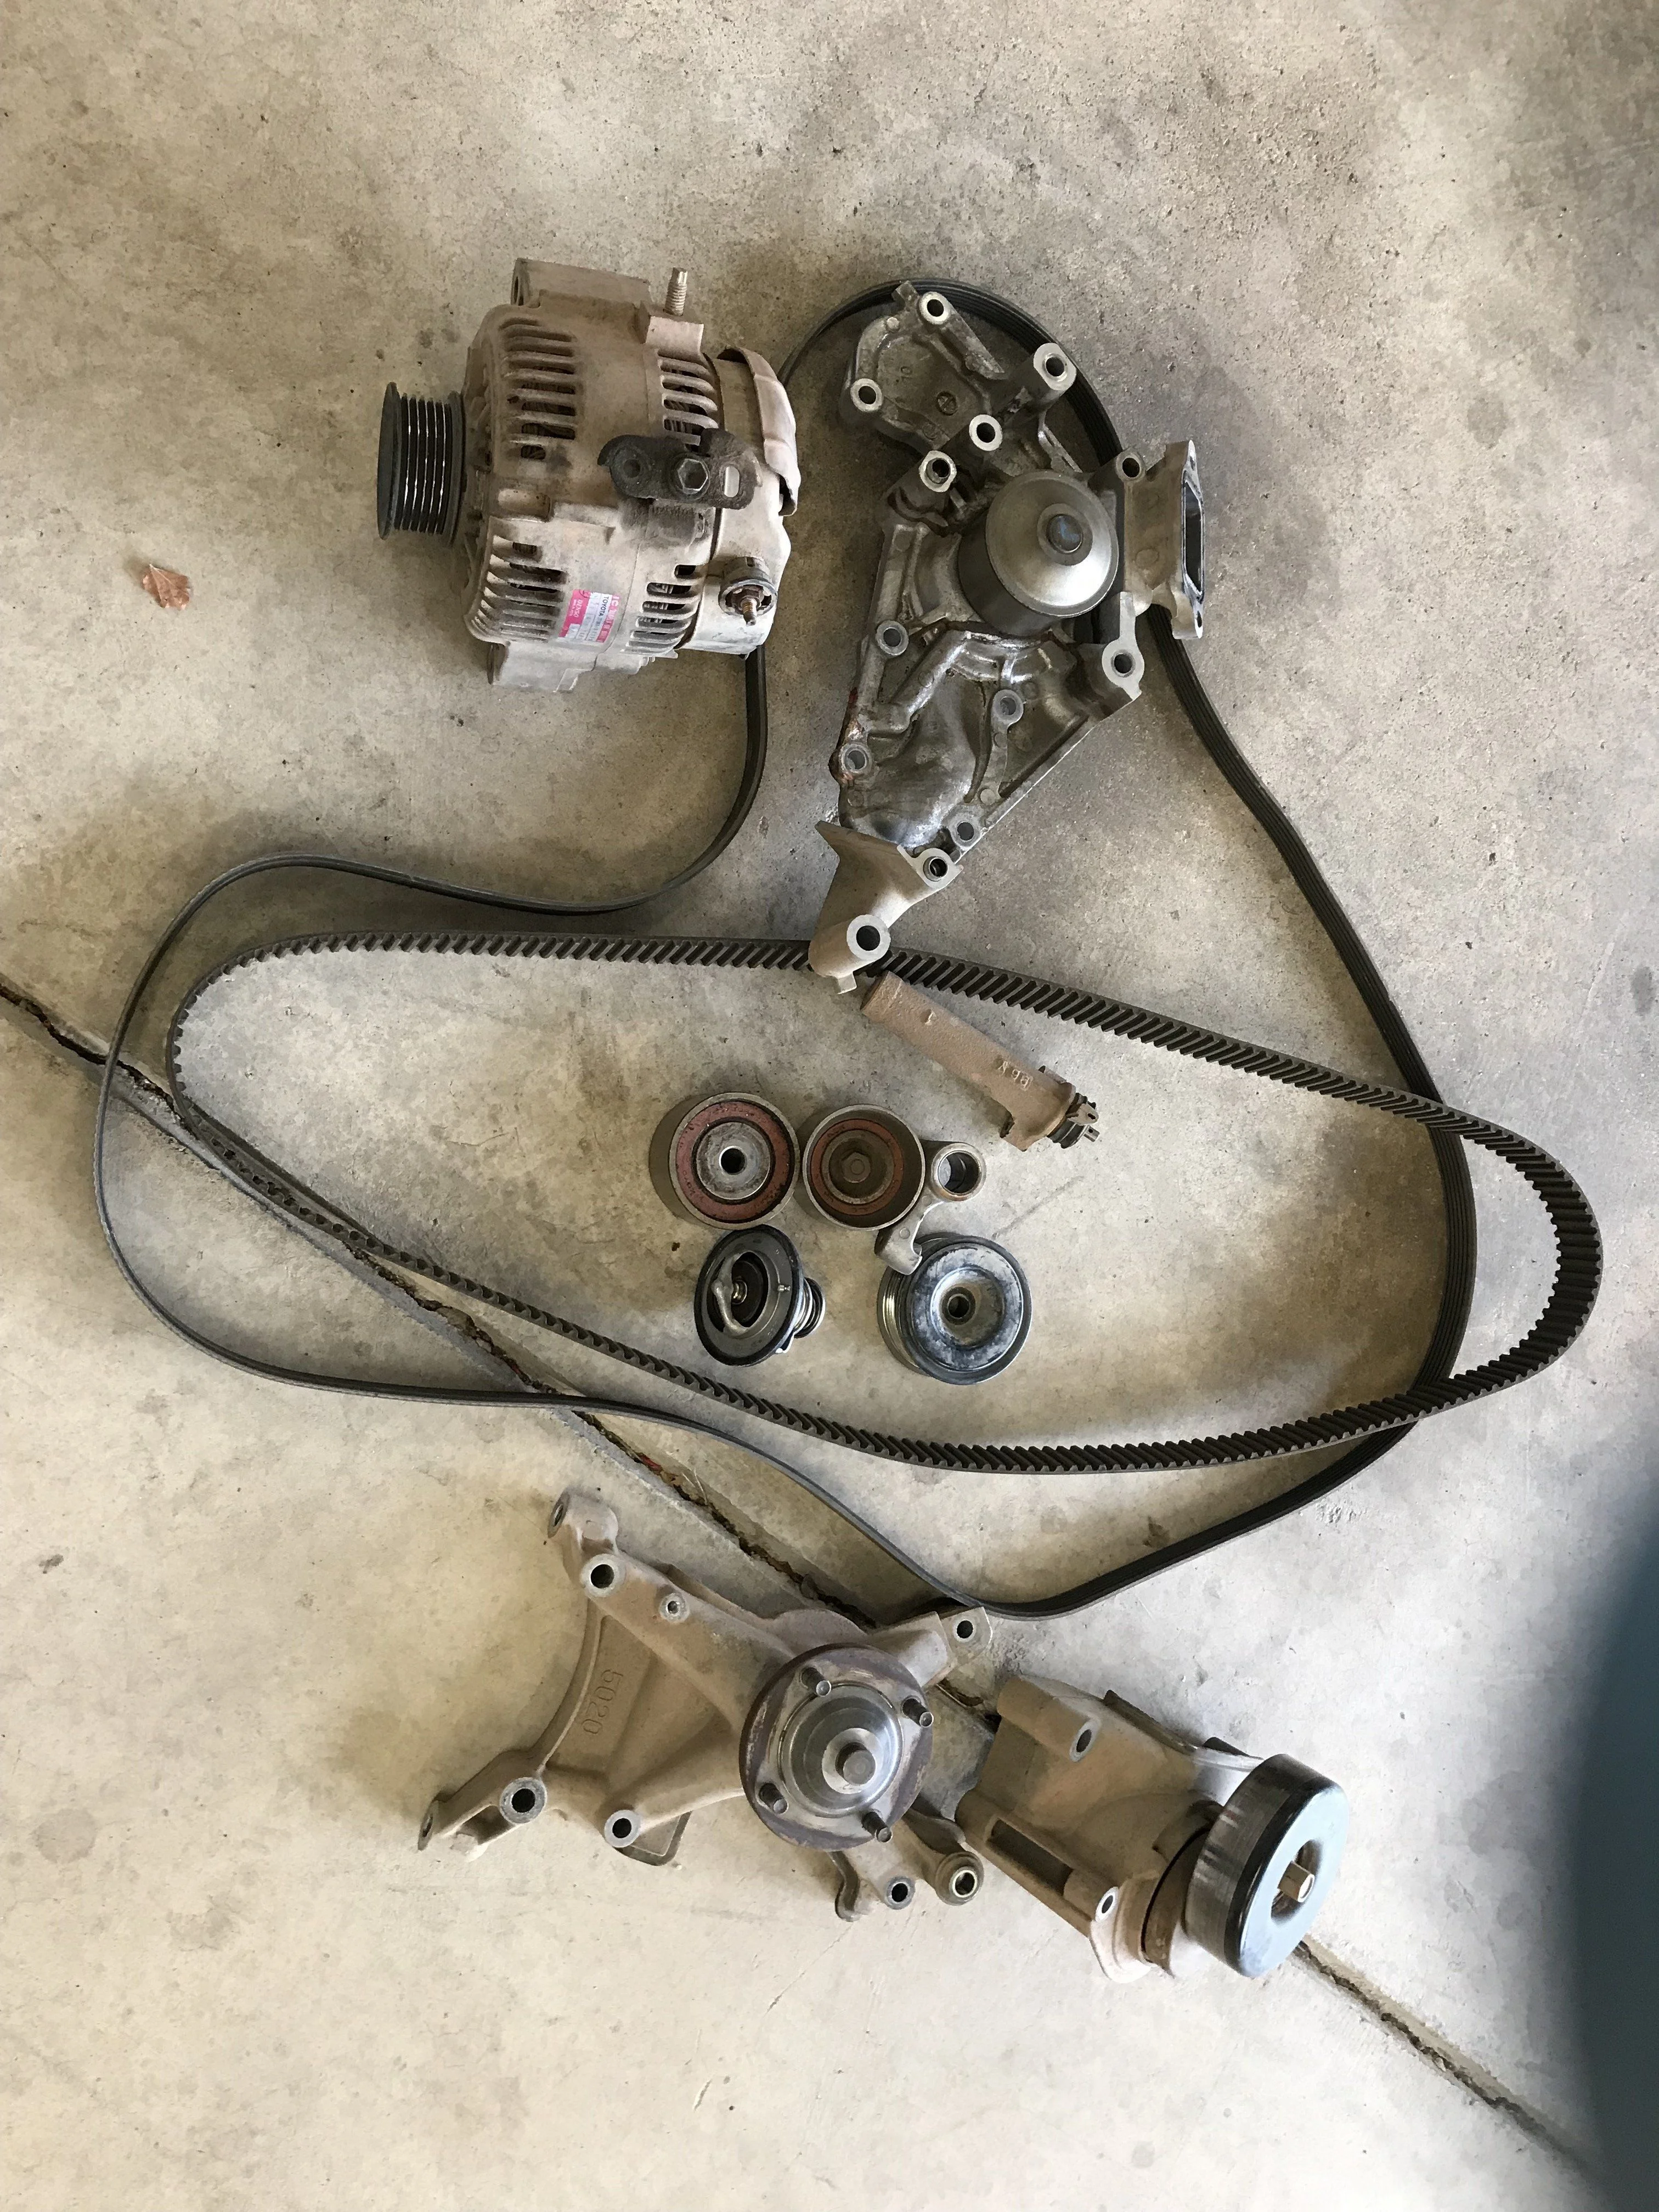
Pile of old parts:
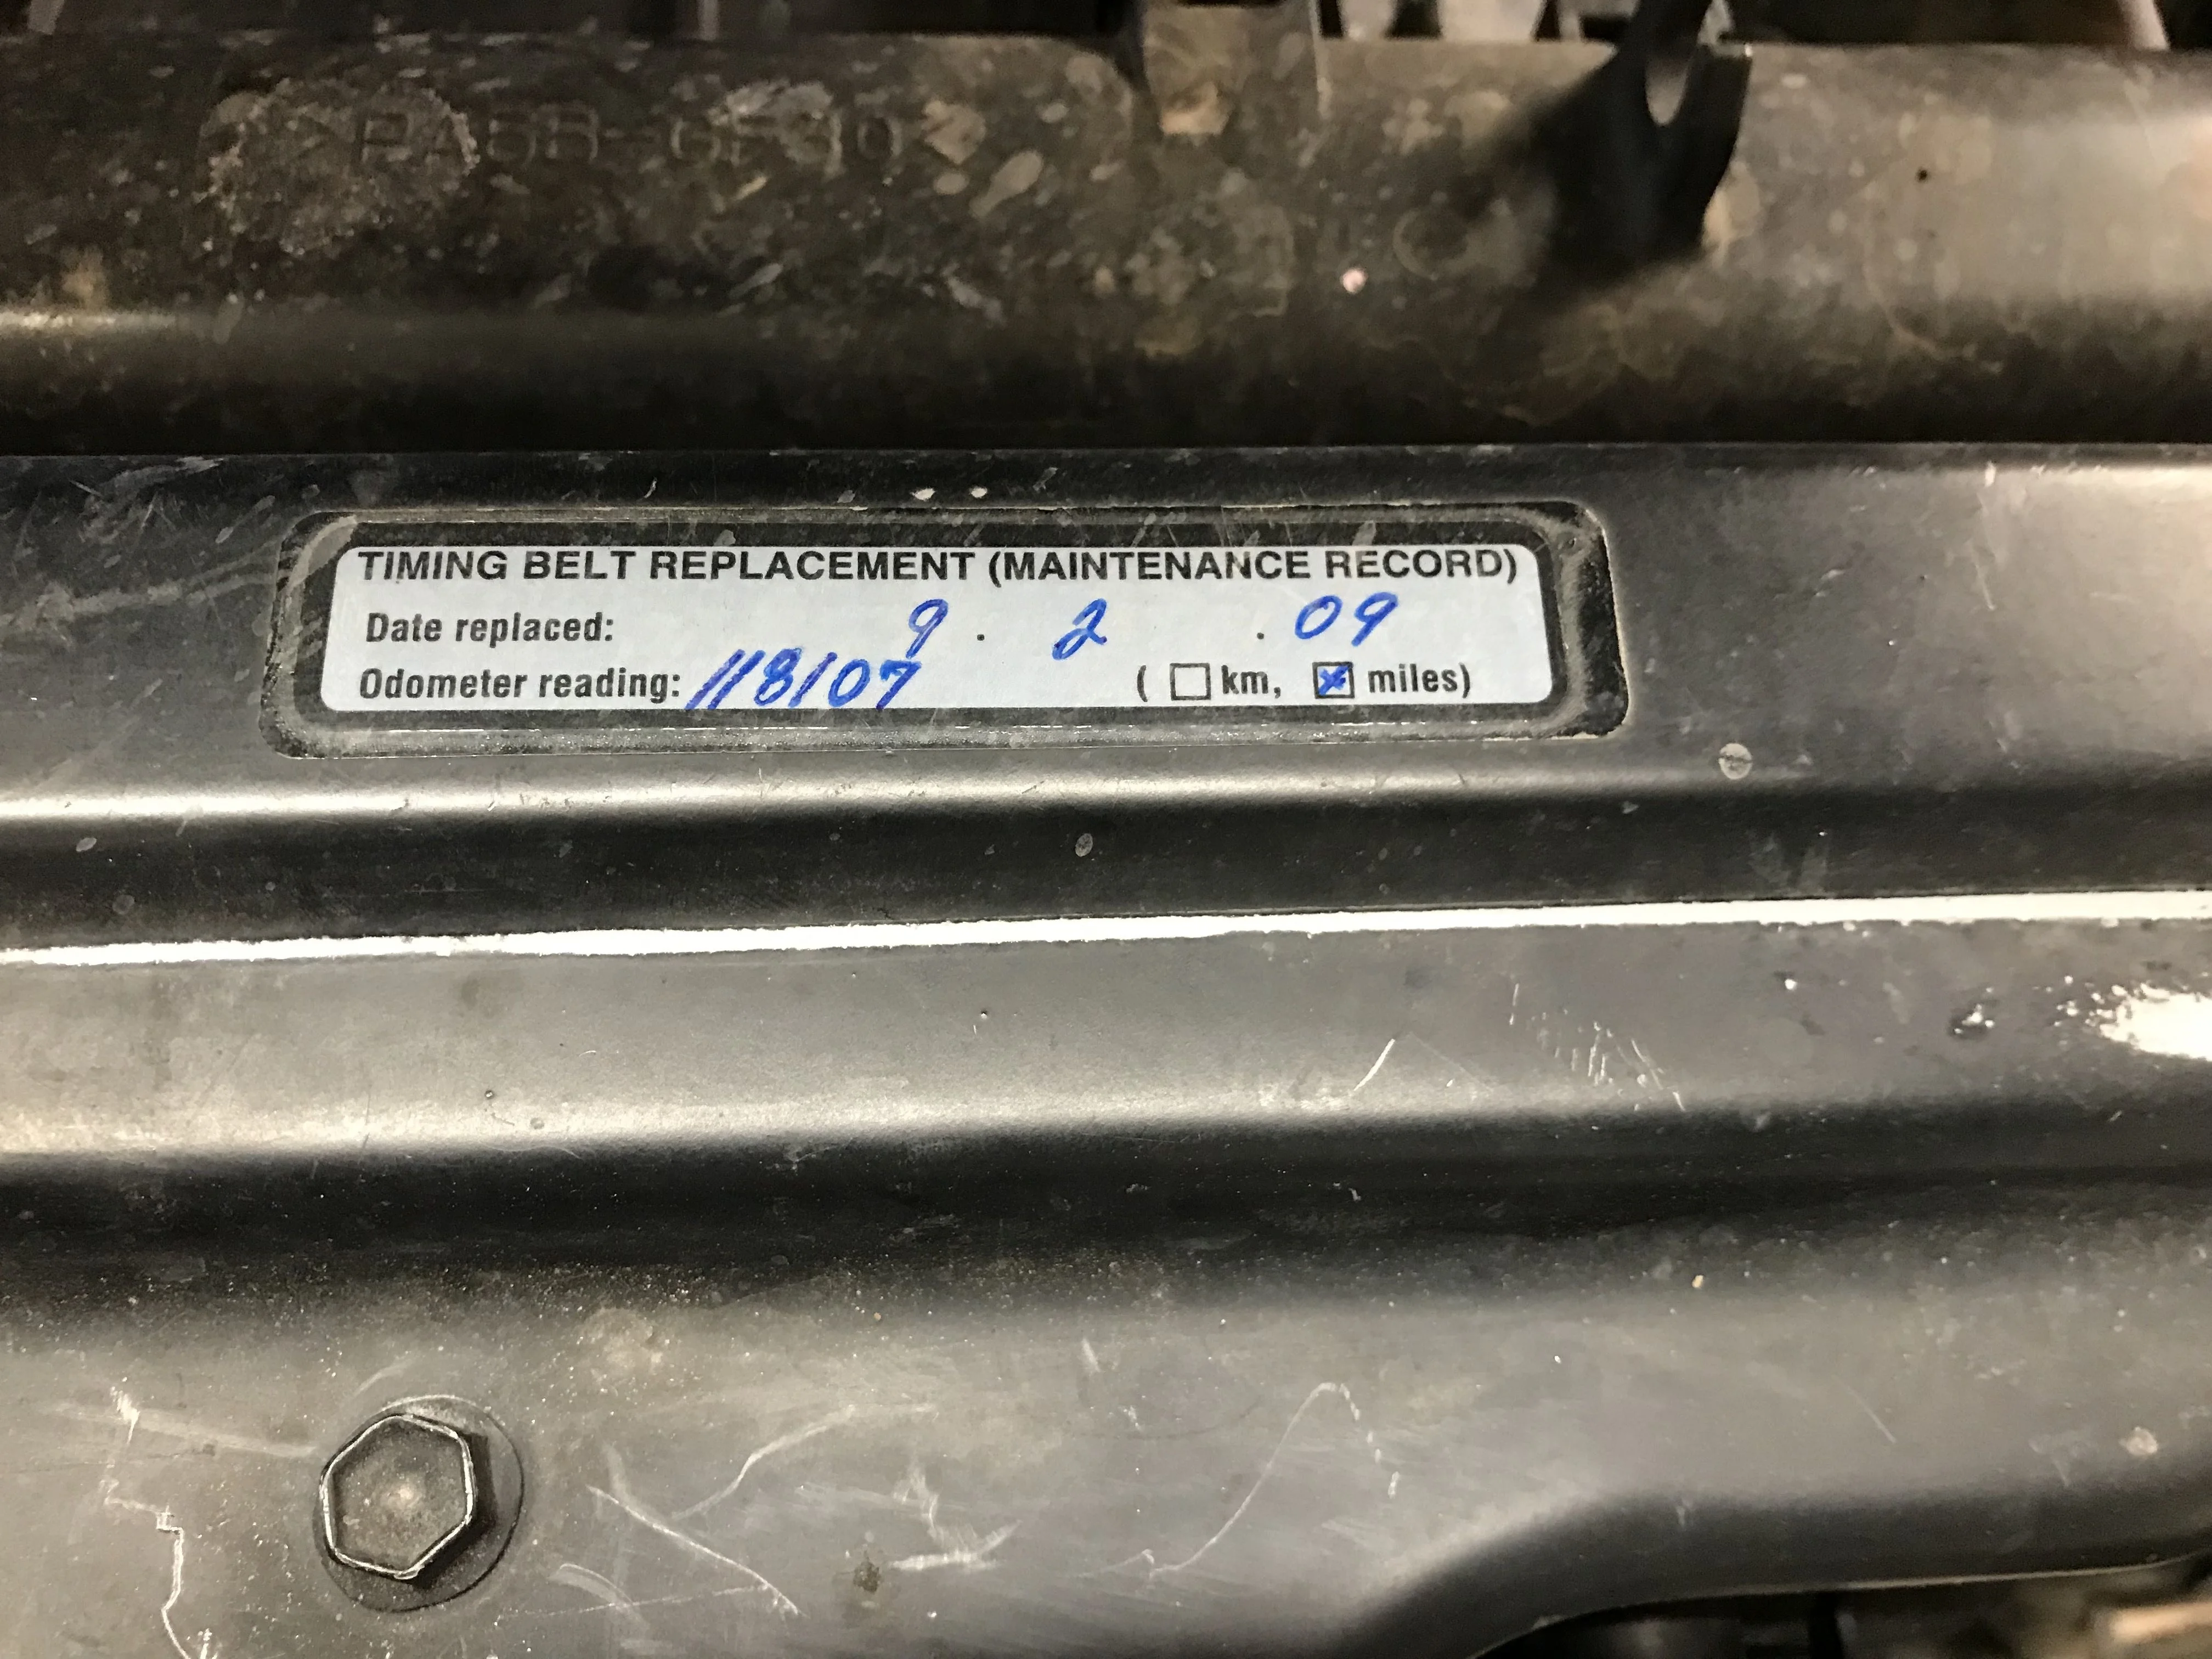
Old sticker:
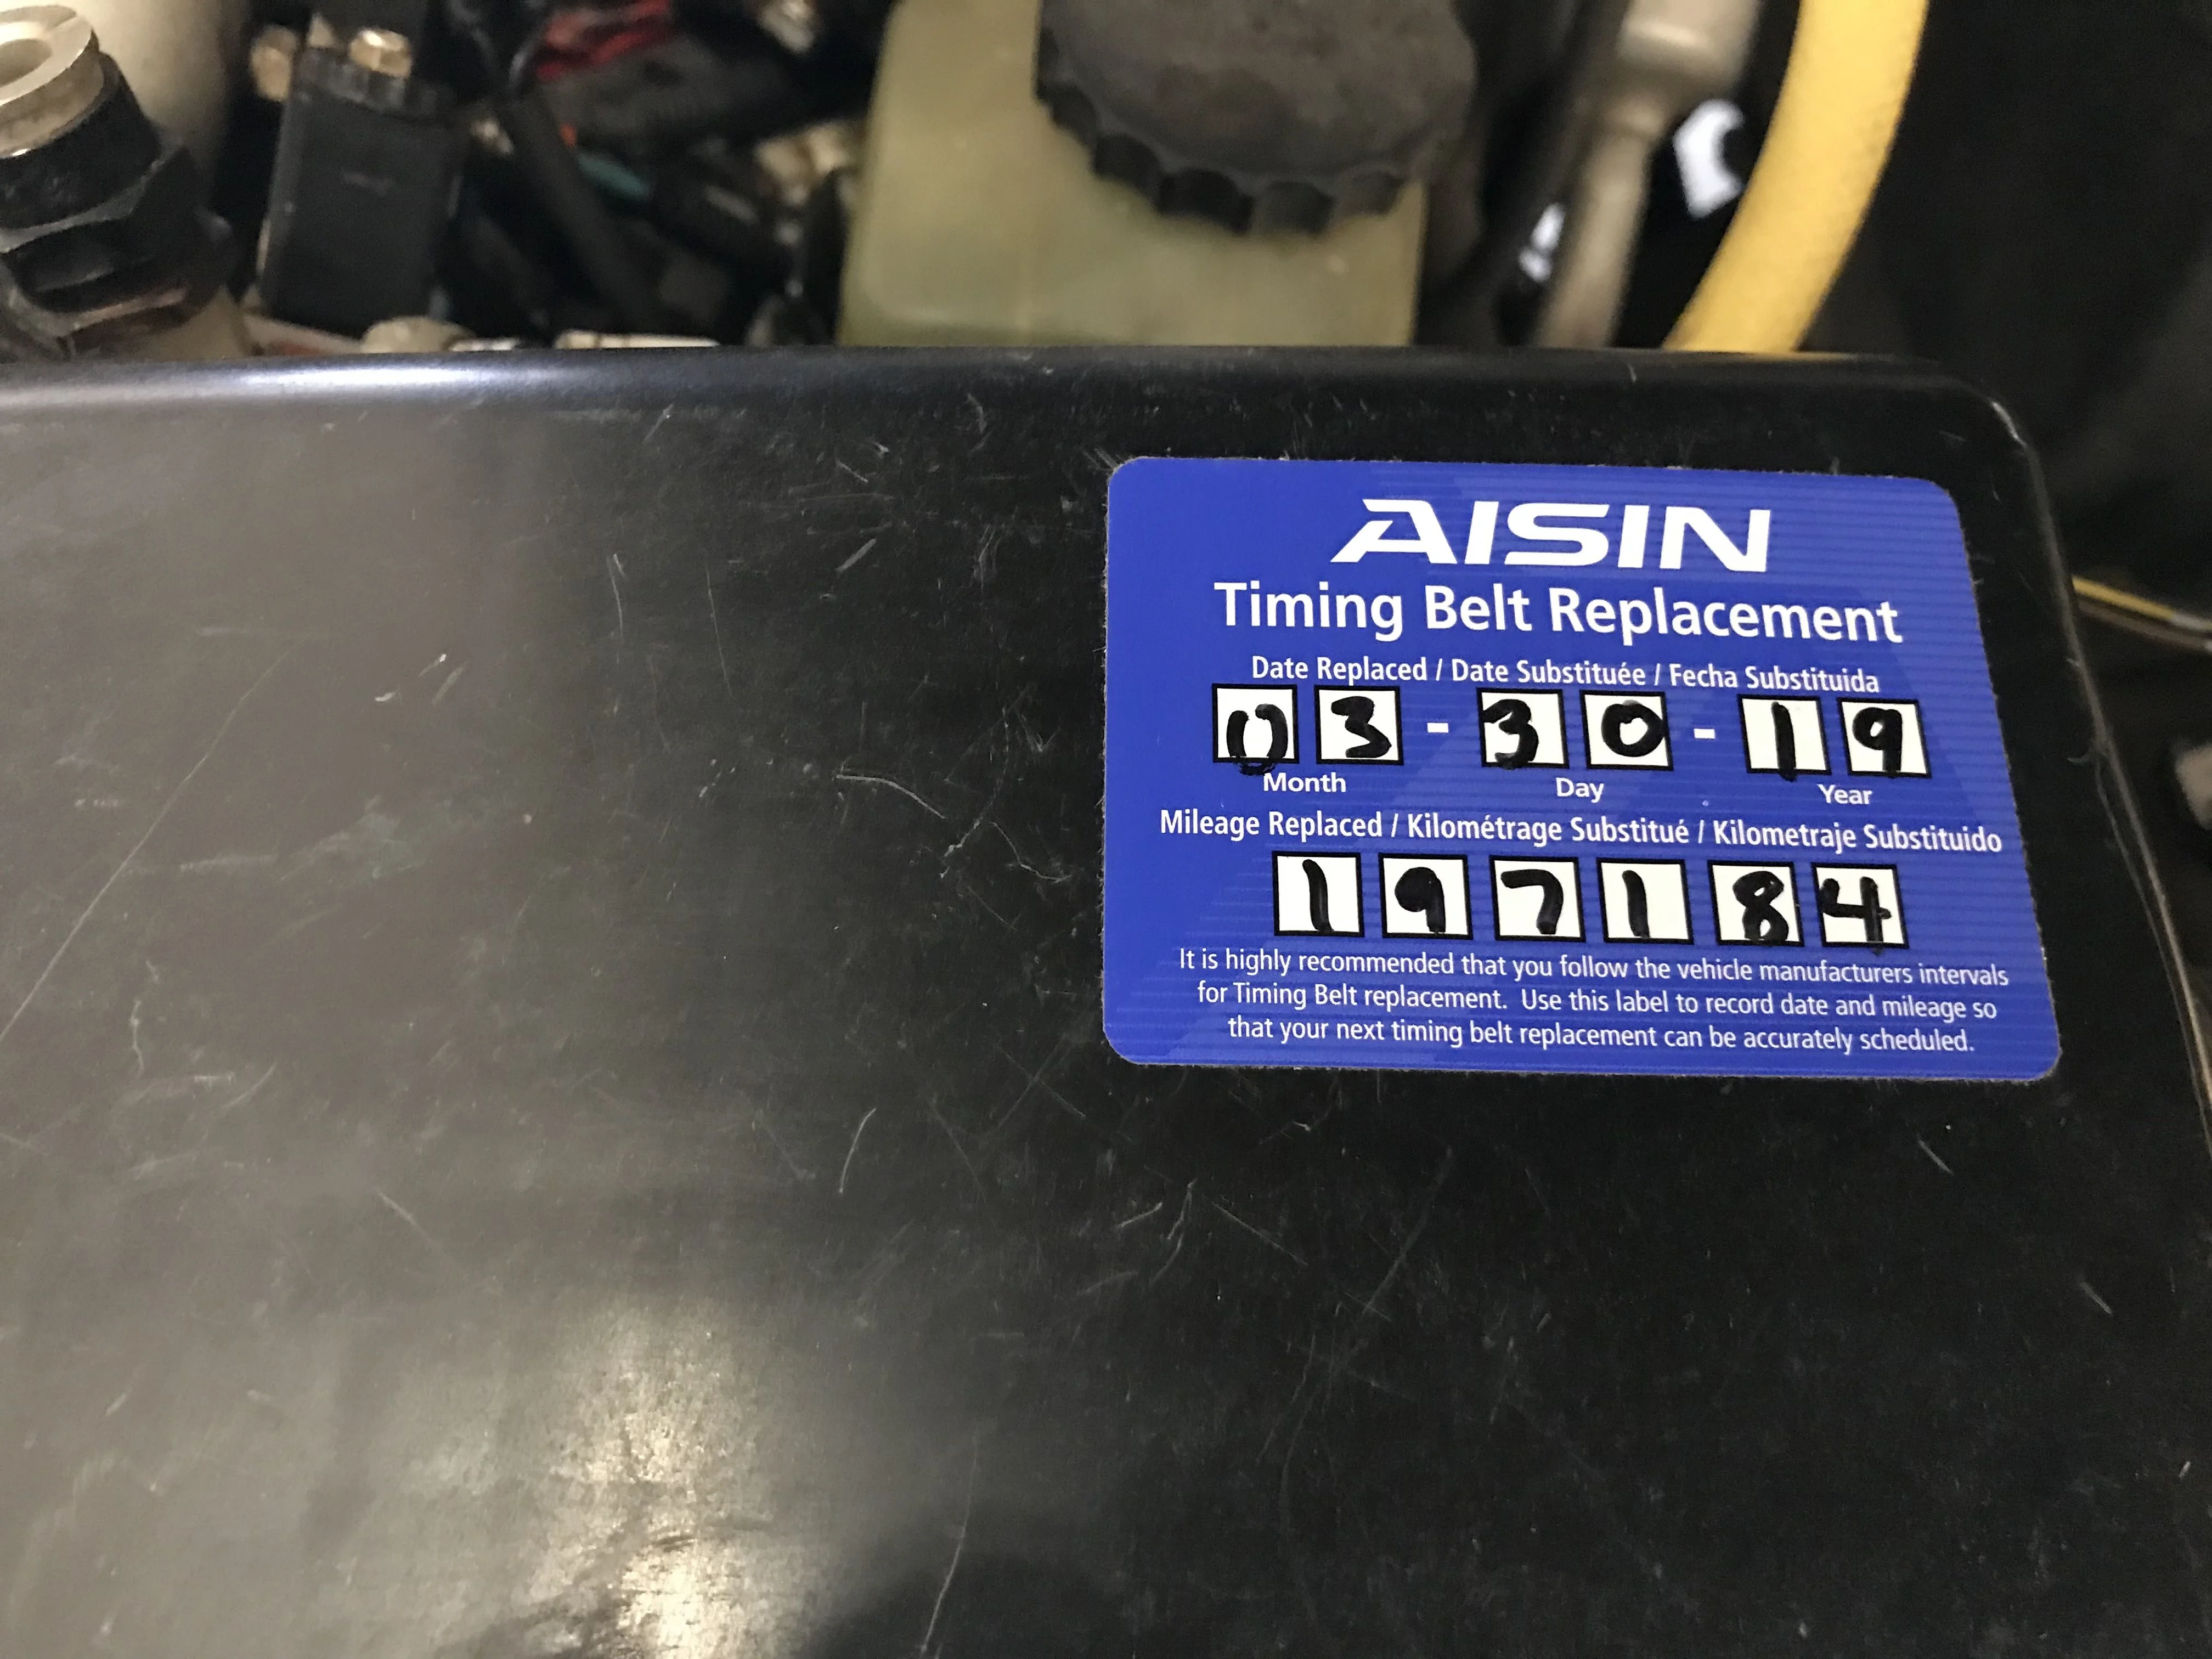
New sticker. It sure feels good putting that on there and knowing I did it myself and I'm good for at least 6 years.
This video was great, I pretty much just followed it, and had the FSM for reference if need be.
I bought this tool for the crank bolt. I didn't want to mess with trying to fab anything up. It worked great.
Amazon product ASIN B0051XDBBG
In the video his crank pulley comes right off so I guess I figured mine would too, but it didn't. A $15 puller set from Harbor Freight took care of that.
The fan pulley and fan hub were corrosion bonded on pretty good too. It took some banging with a large hammer and screw driver to work that loose.
In addition to the timing belt bits, I also replaced the fan bracket, serp tensioner and serp idler.
After seeing what a pain it was to get to the alternator, I decided to replace that as well. I got a reman Denso off of Amazon. I guess I wasn't paying as much attention as I should have been when figuring out what to buy because I ended up with an 80 amp unit, and I think the stock one I pulled out was 100 amp. 'Downgrading' bugs me. Oh well, live and learn.
I have a BIO front bumper with a bull bar, so I had to pull that off to make access easier.
In some of the write-ups and even in the video people are loosening bolts related to the AC compressor (to pull the fan bracket). I don't know why, I only had pull those two down angled bolts and bend that bracket out of the way and it came out fine. I replaced it with an OEM fan bracket which almost cost as much as the Aisin TB kit.
Total cost for all parts and tools: $1000
Pictures are always good, so here we go:
The timing belt still looked good. I think the water pump was end of life though. There had been leaking from the water hole:


Old Belt:
Alternators:
The new one looks smaller.

Work in process

It looked like a rodent had tried making a nest in the V. I fished all that out:

Pile of old parts:
Old sticker:
New sticker. It sure feels good putting that on there and knowing I did it myself and I'm good for at least 6 years.