Navigation
Install the app
How to install the app on iOS
Follow along with the video below to see how to install our site as a web app on your home screen.
Note: This feature may not be available in some browsers.
More options
Style variation
You are using an out of date browser. It may not display this or other websites correctly.
You should upgrade or use an alternative browser.
You should upgrade or use an alternative browser.
Roof rack lighting
- Thread starter M32H32is
- Start date
This site may earn a commission from merchant affiliate
links, including eBay, Amazon, Skimlinks, and others.
More options
Who Replied?I've got no pix of the wiring, but you can at least see the LED lights attached to my rack. There's one on each side and two facing the rear. The wires are electrical taped to the rack, going to a central switch panel in one corner. There's also a dome light in the center with it's own switch. The switch panel has a main power switch and one switch for each light. The switch panel has a long cord terminating in a cigarette plug so there is no hacking the wiring harness.
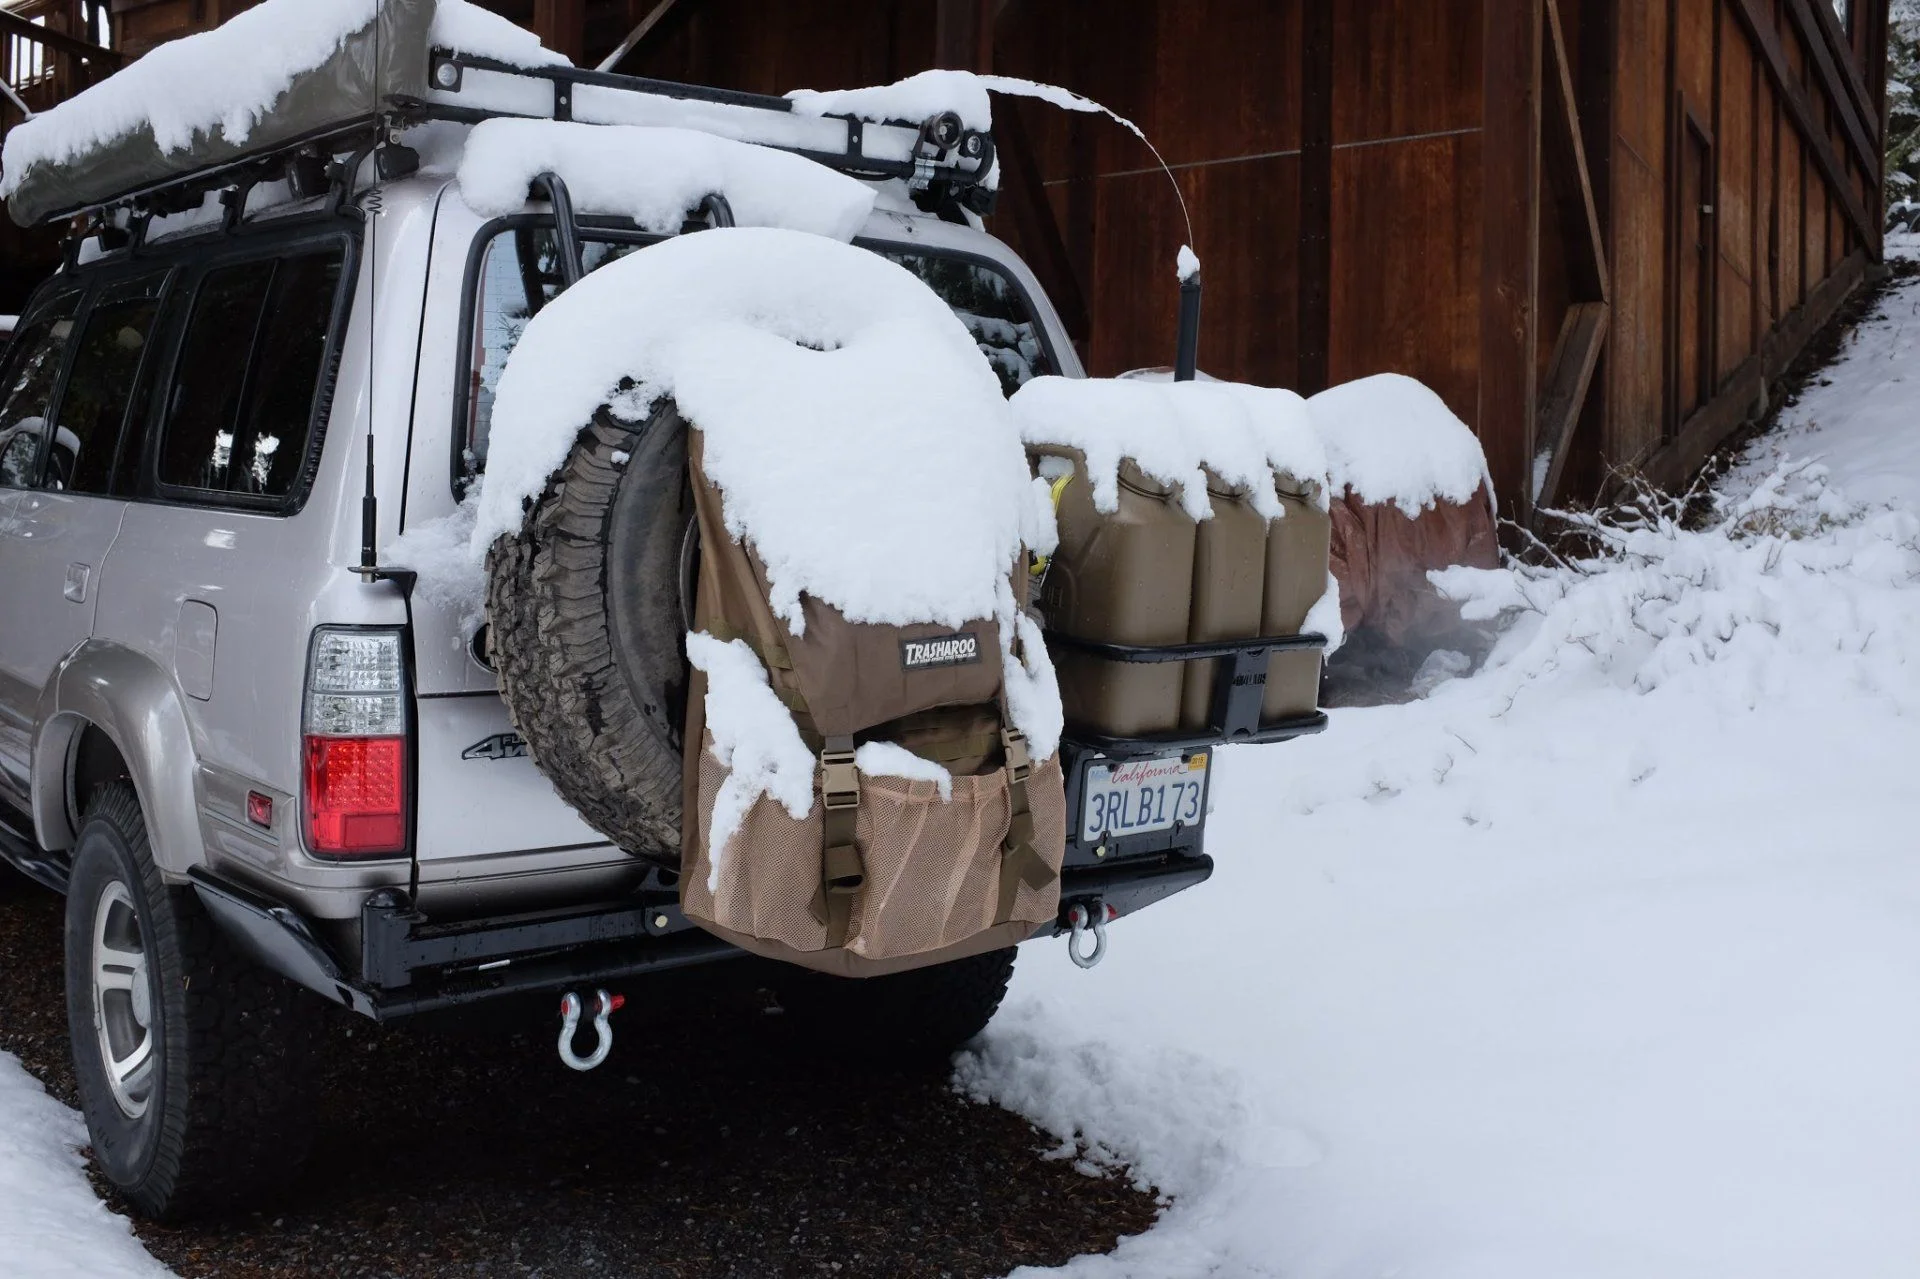
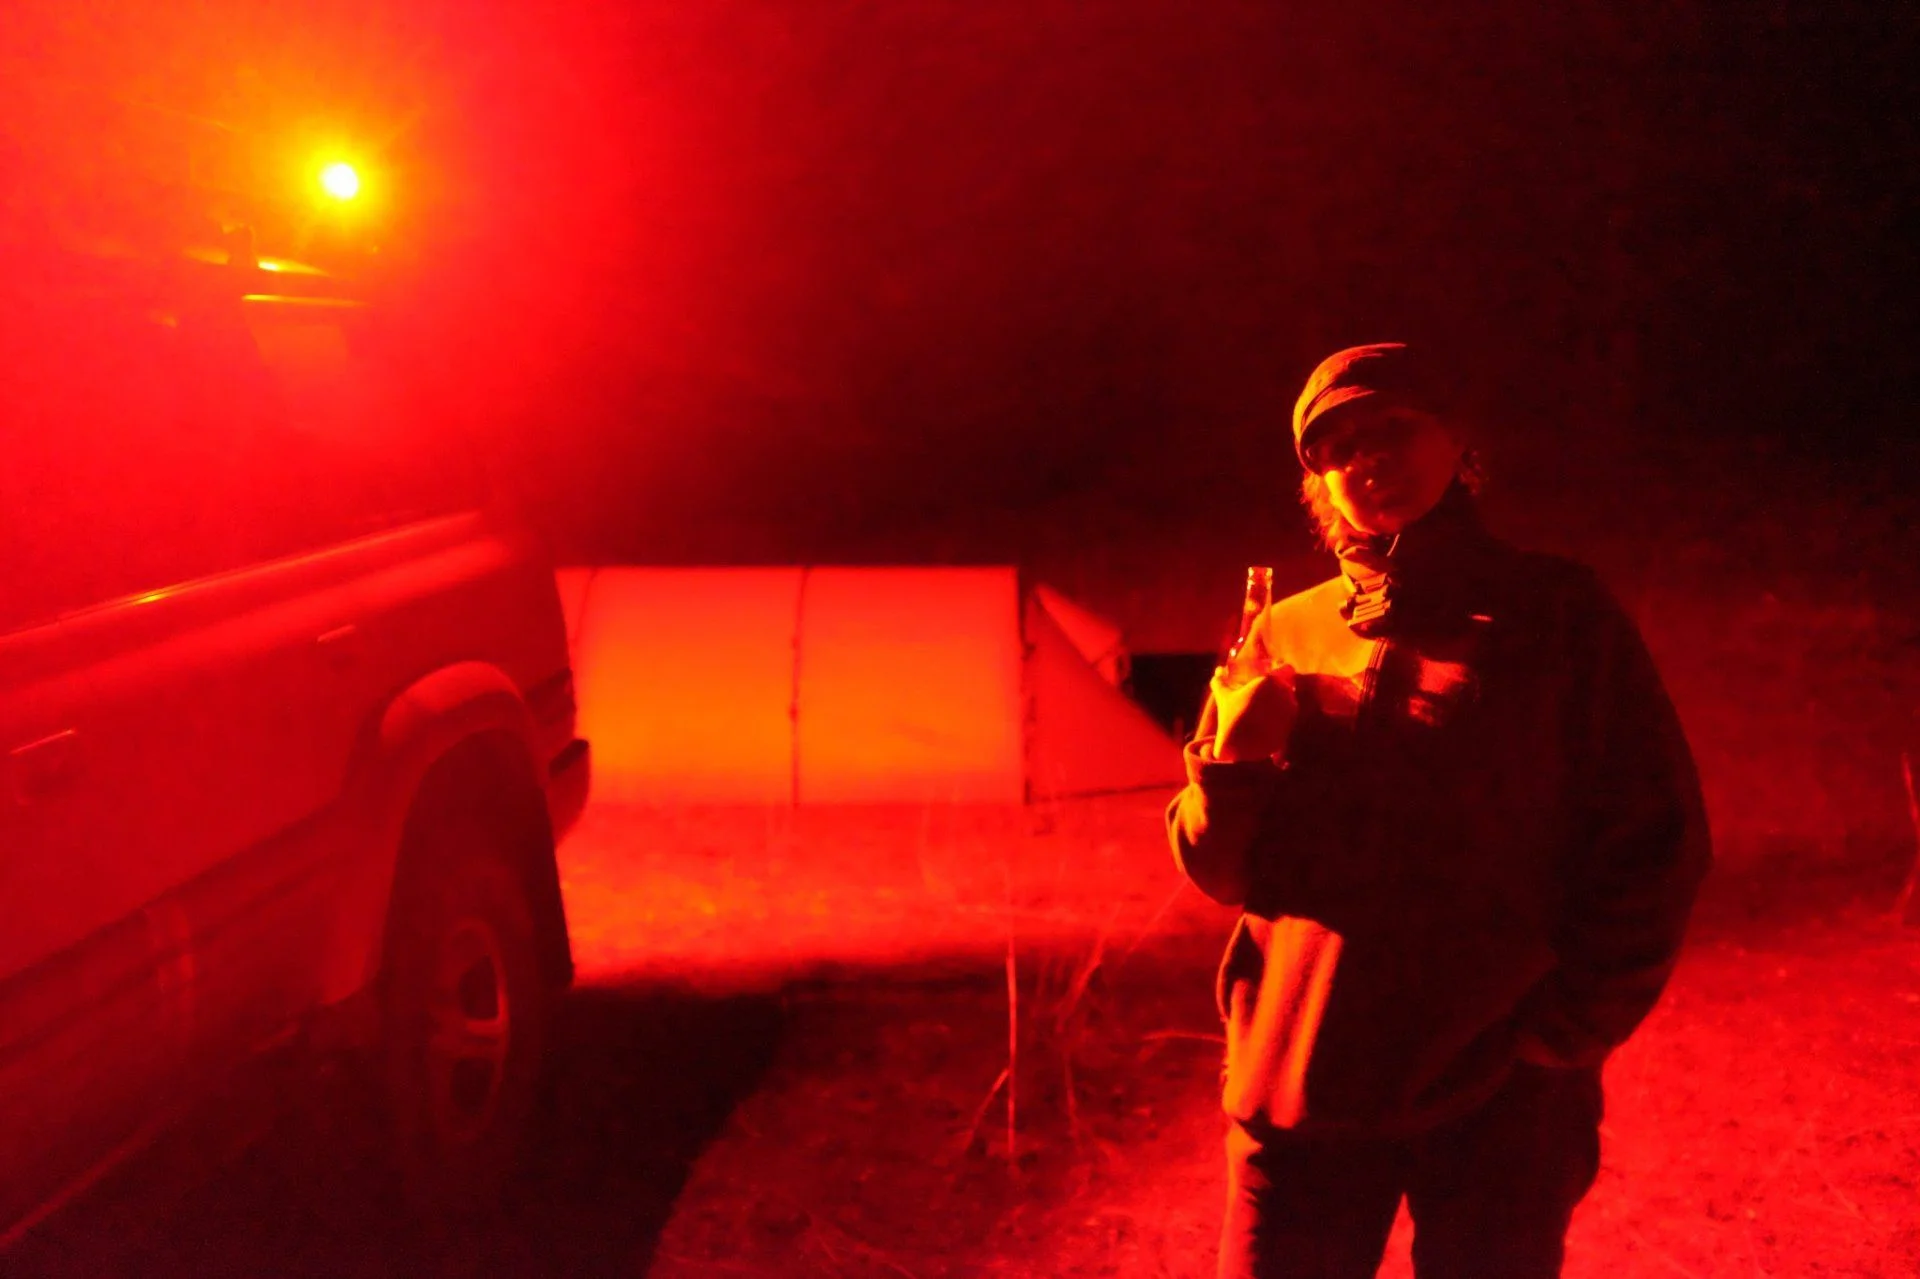
It would be really nice to be able to dim them. They're too bright to use around camp. You can see one of the lights attached to the rack above the fuel cans, and you can kinda see one of the rear-facing ones.

It would be really nice to be able to dim them. They're too bright to use around camp. You can see one of the lights attached to the rack above the fuel cans, and you can kinda see one of the rear-facing ones.
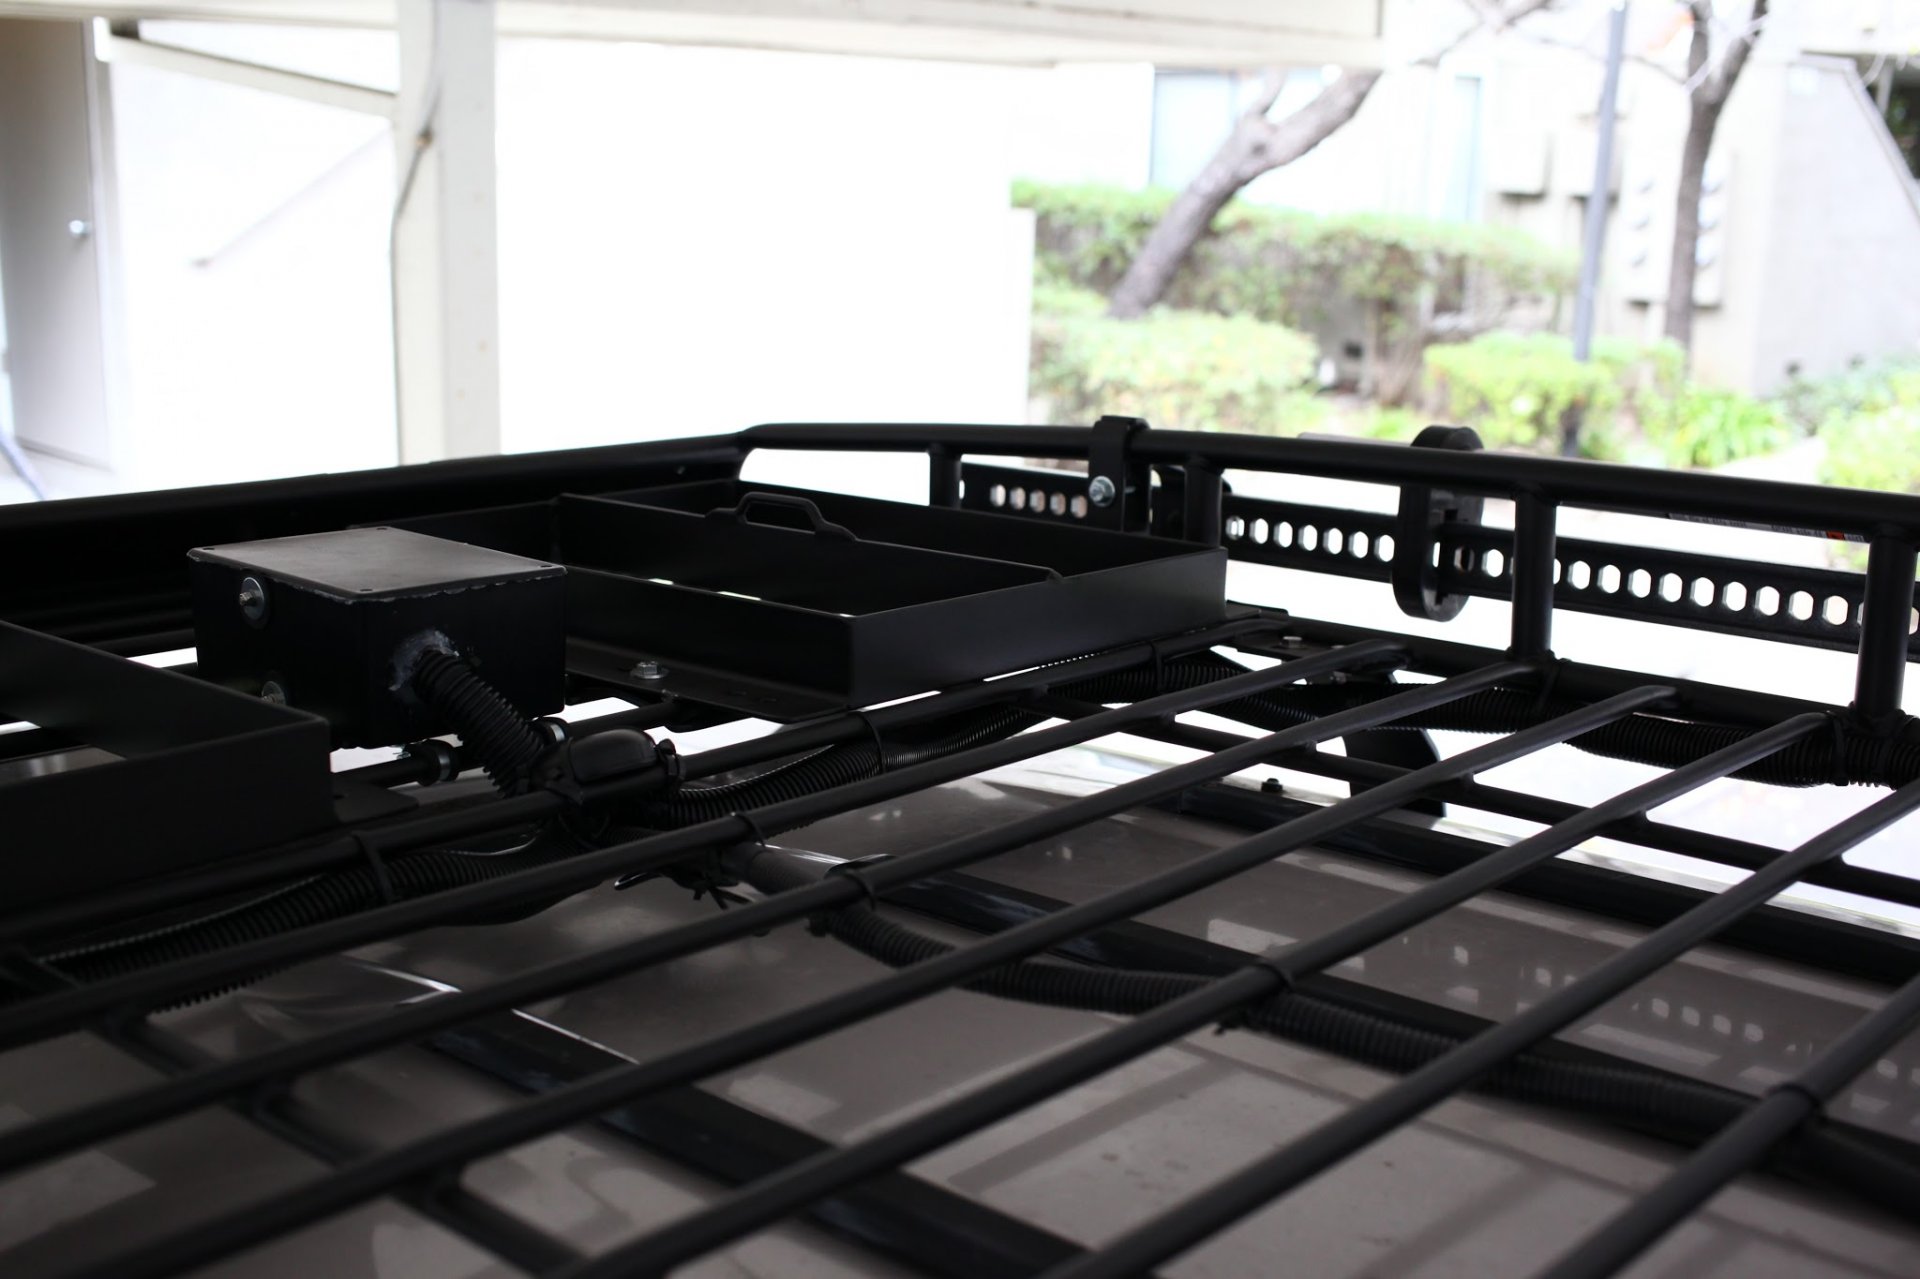
I've got a Baja Rack "Long Rack" so plenty of space to work with. On the front I've got a ~200-something watt LED single row bar, but that's not really the part you're asking about I don't think, so I'll focus on the sides and rear.
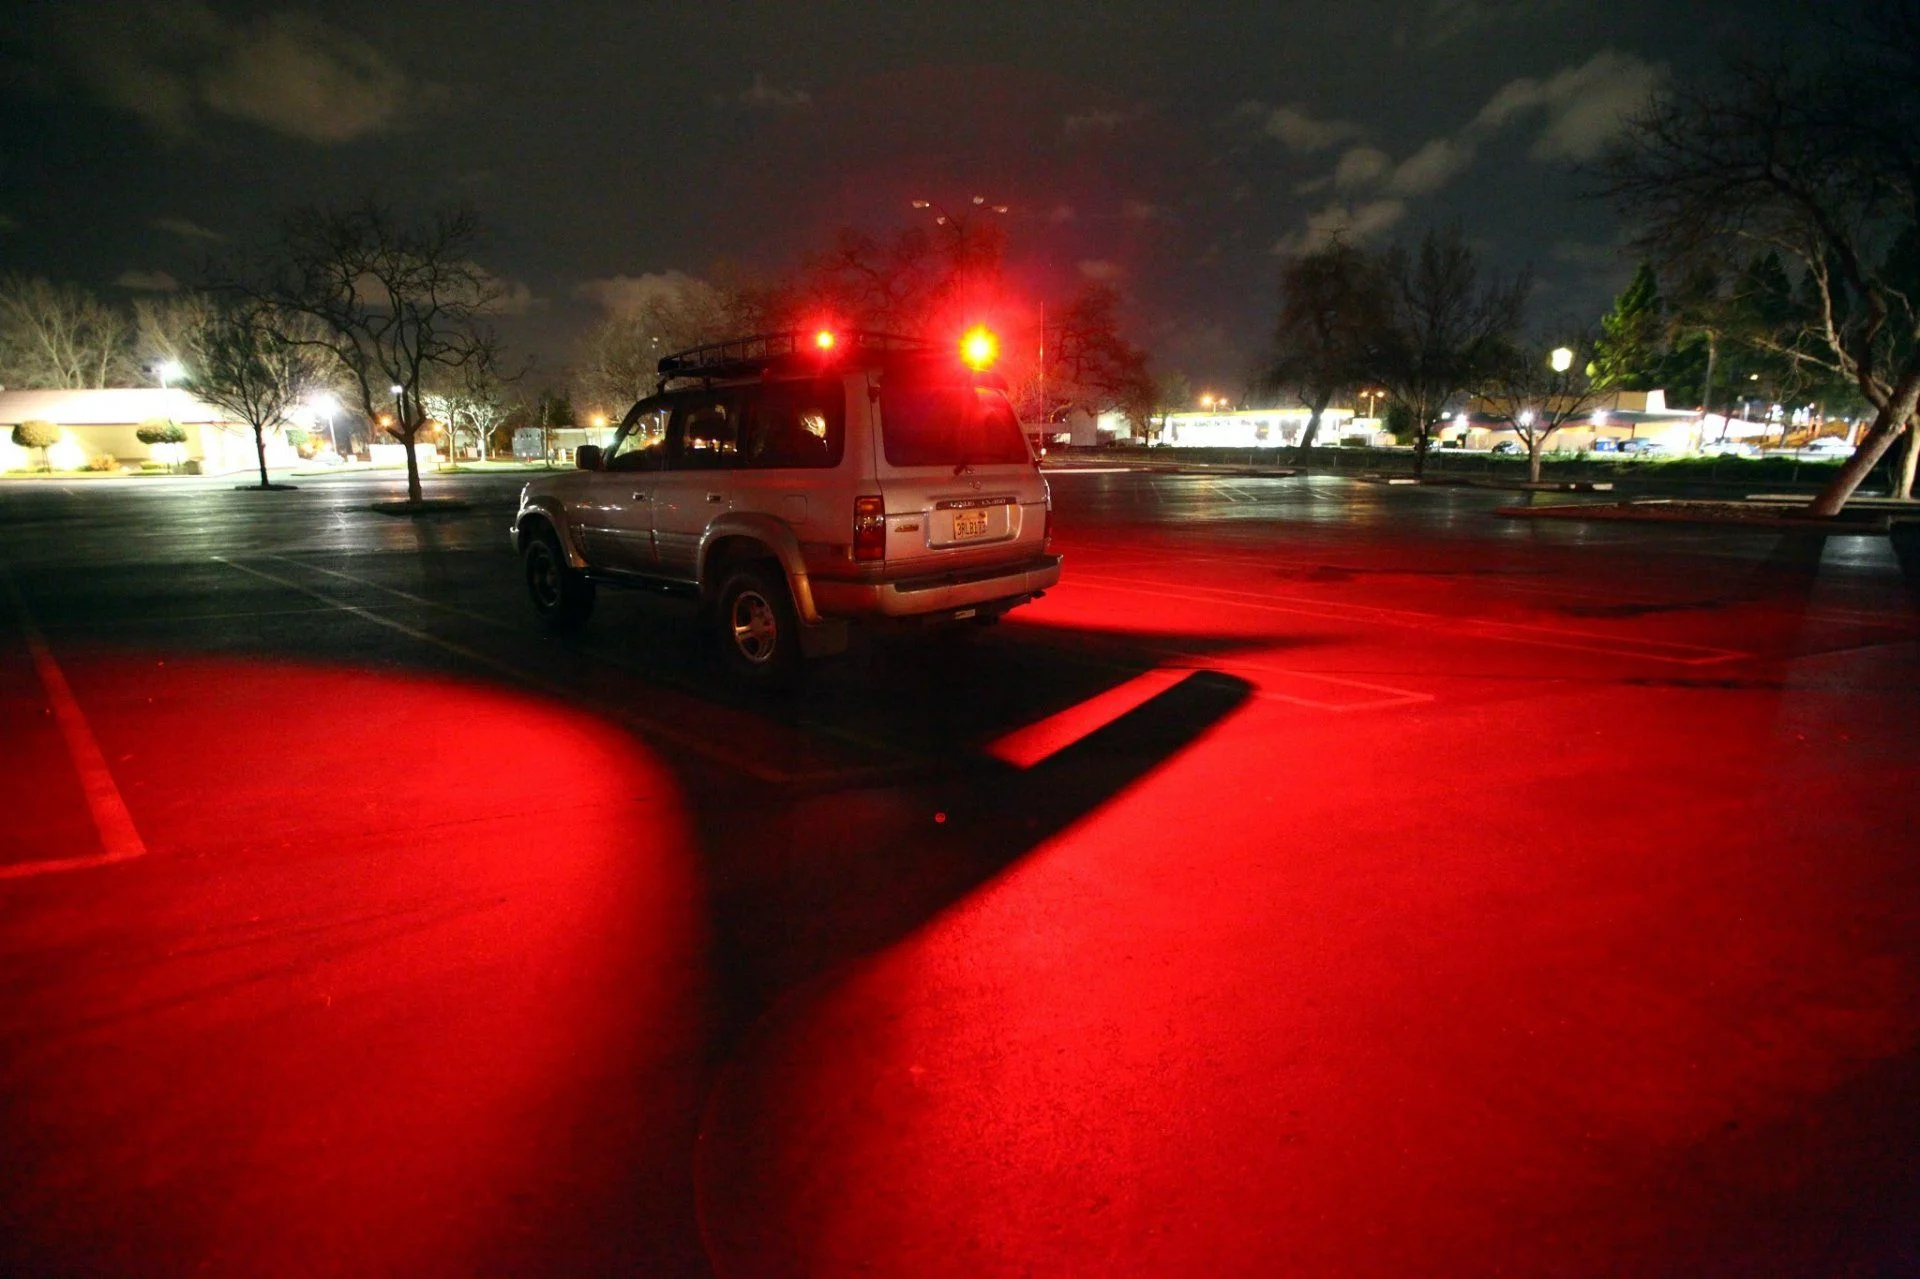
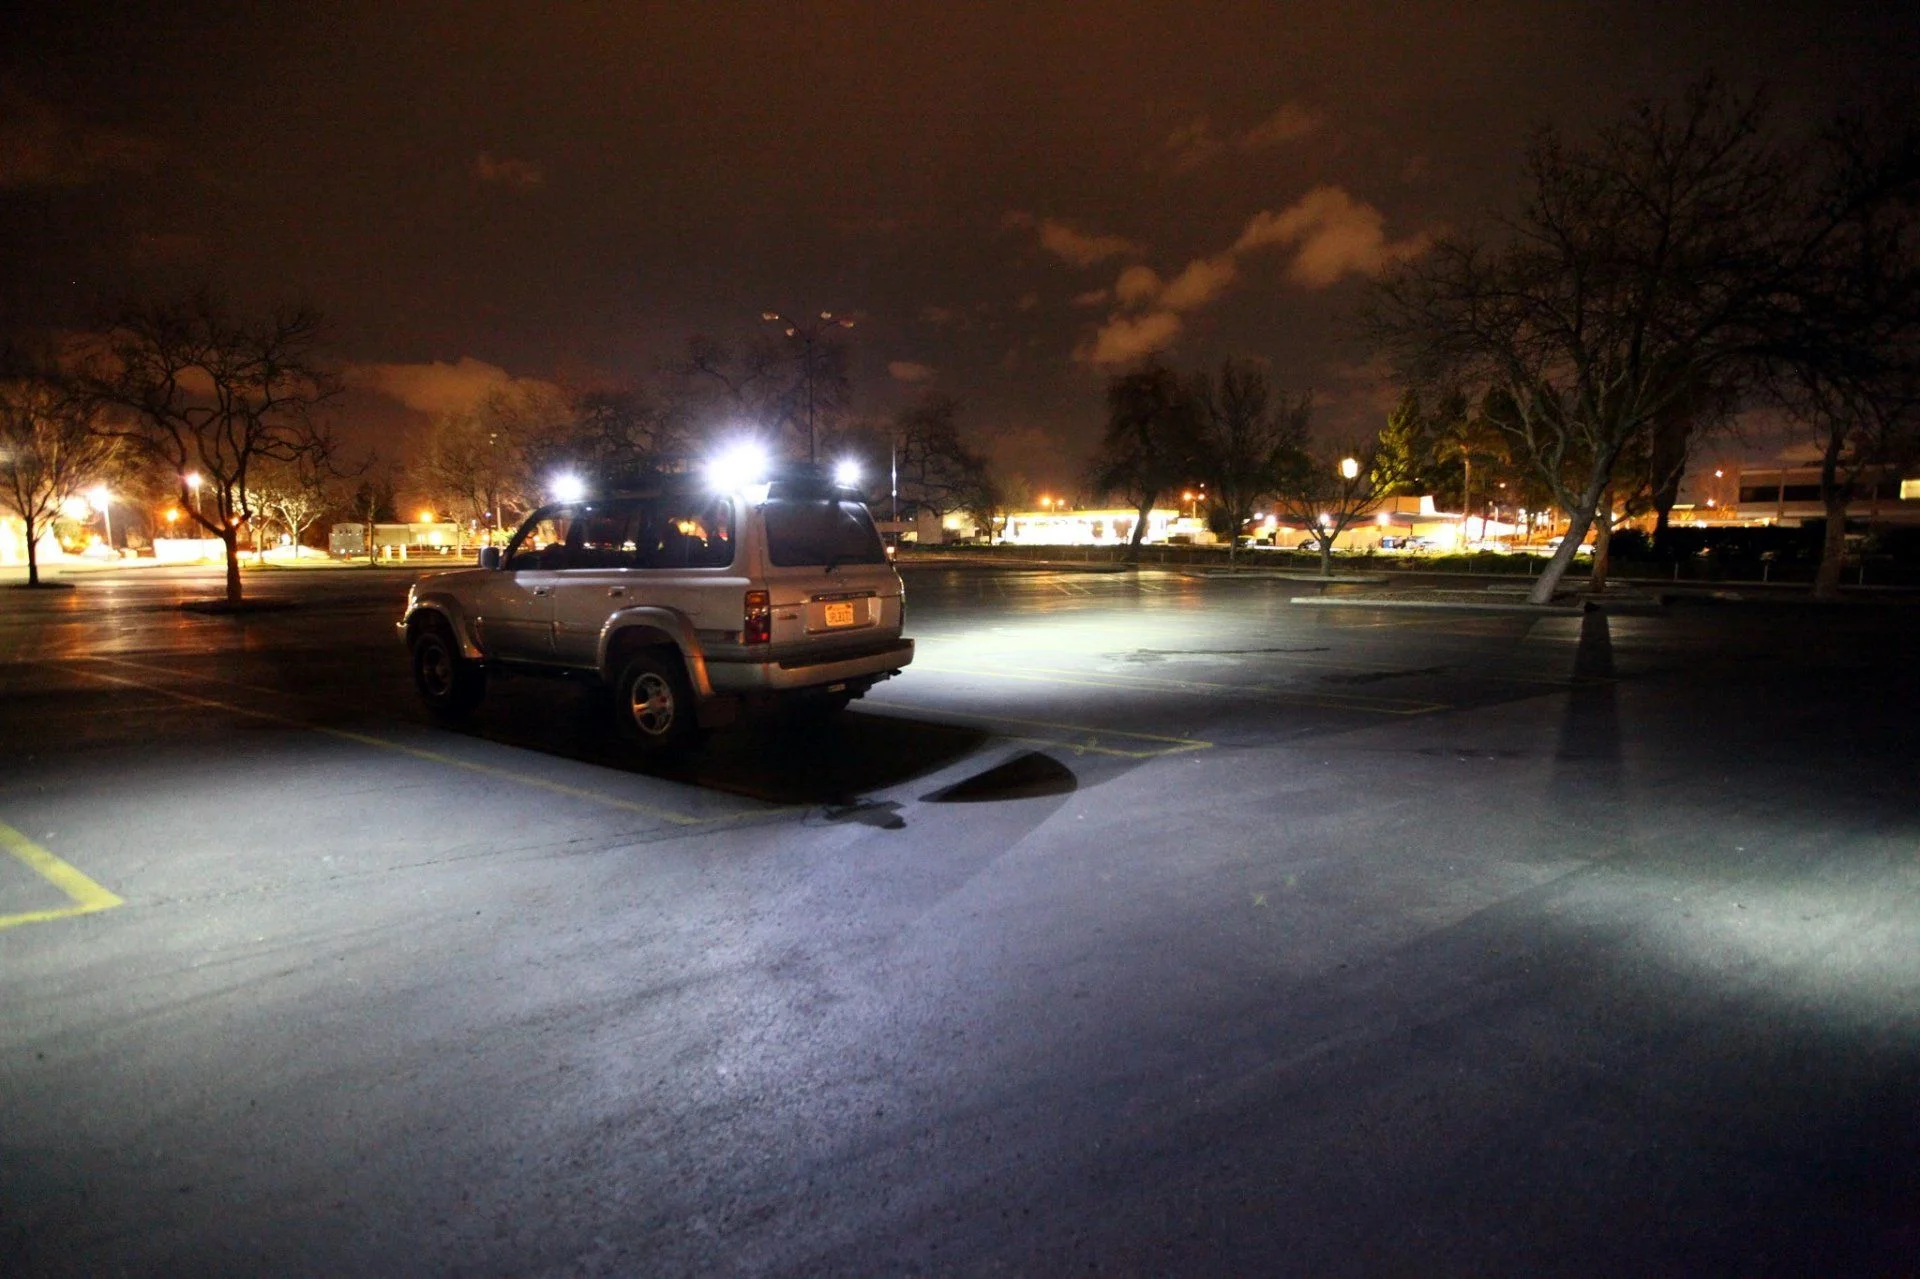
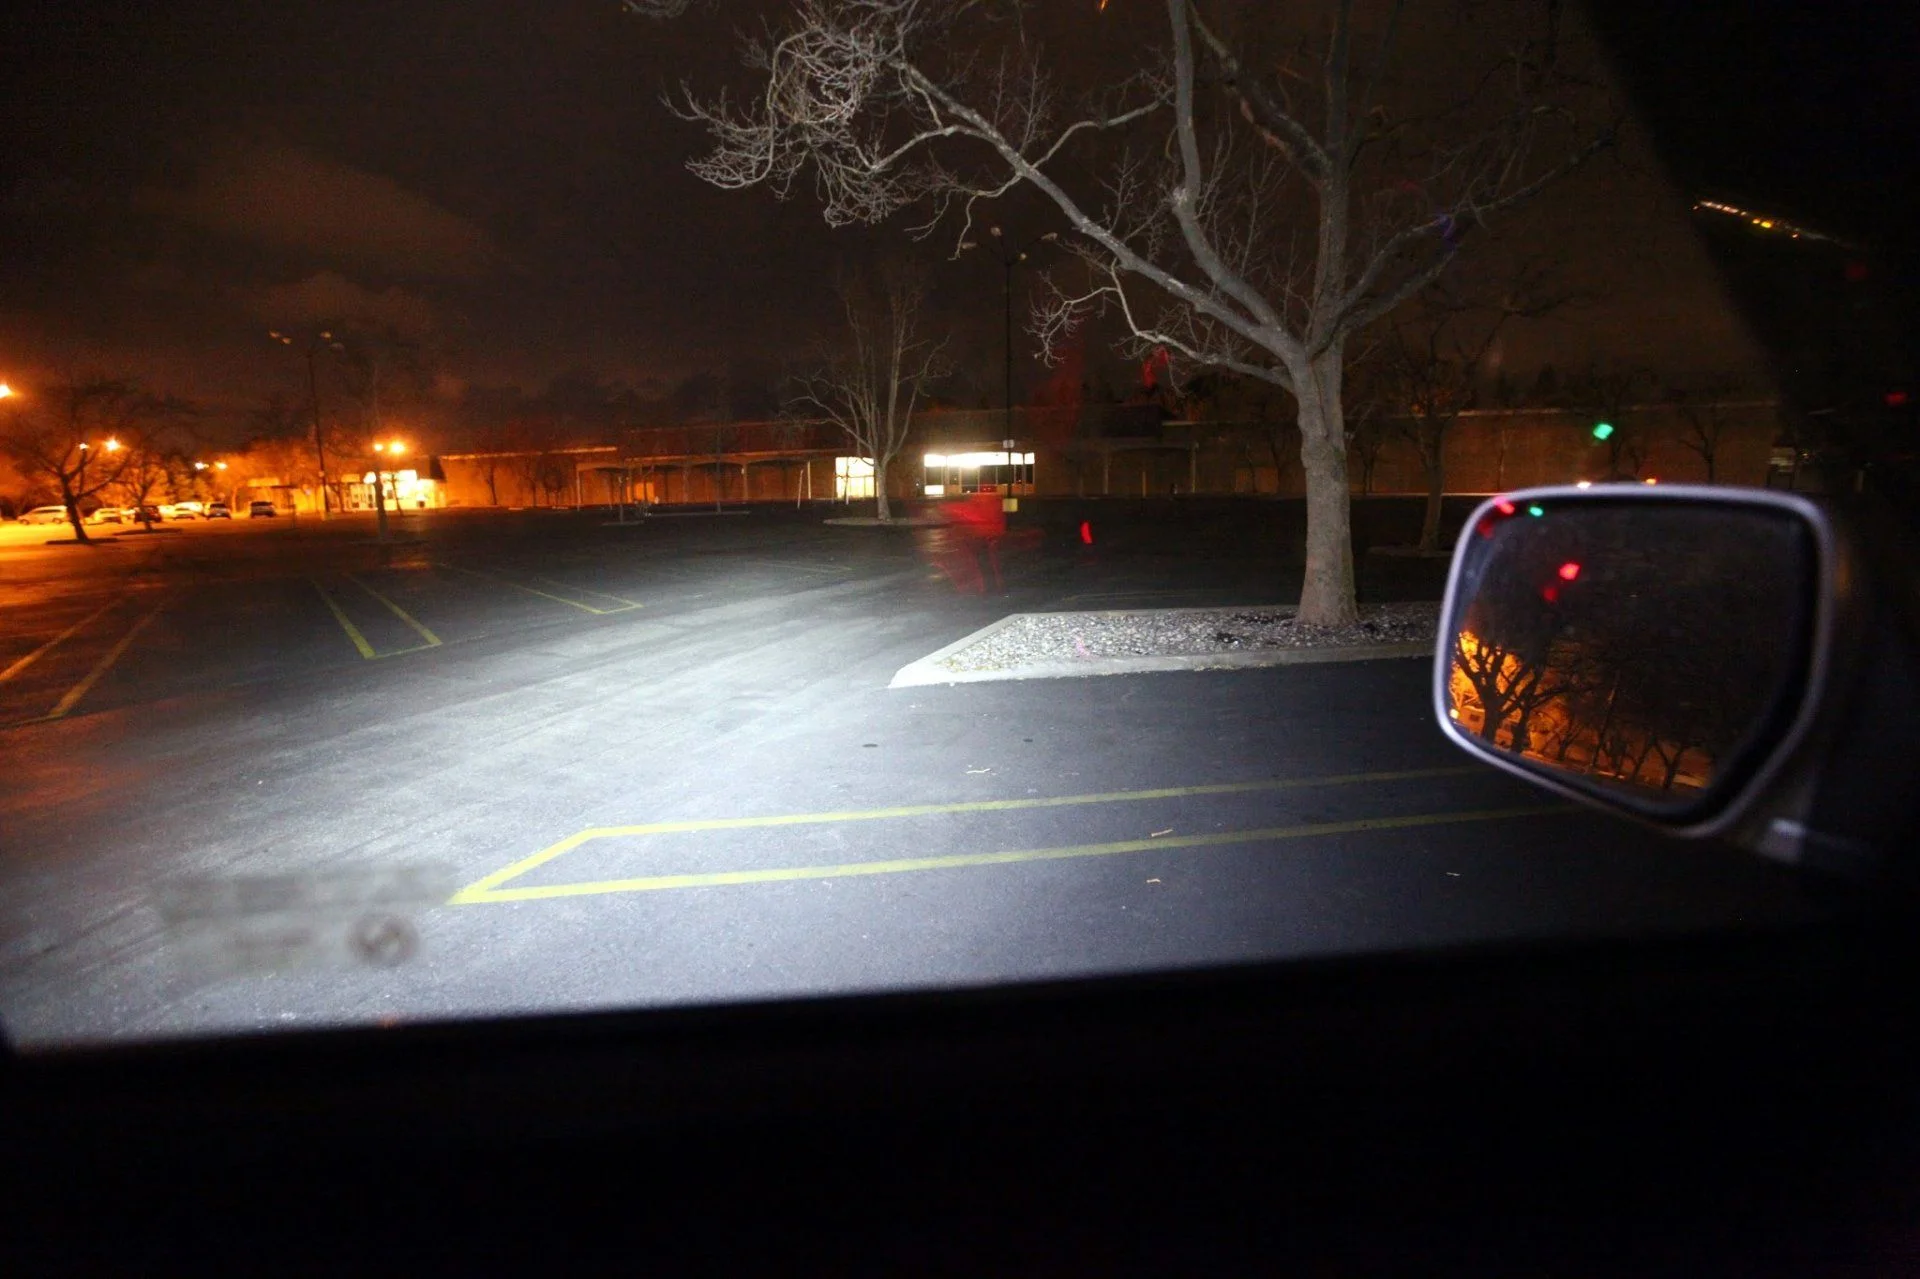
I've got a total of 9x 10W LED lights around the rack - 2x white floods (120deg) on each side, 2x white spots (30deg) on the rear, and 1x red flood on each side plus rear. The white lights are controlled in pairs - sides/rear, and the reds are a single switch.
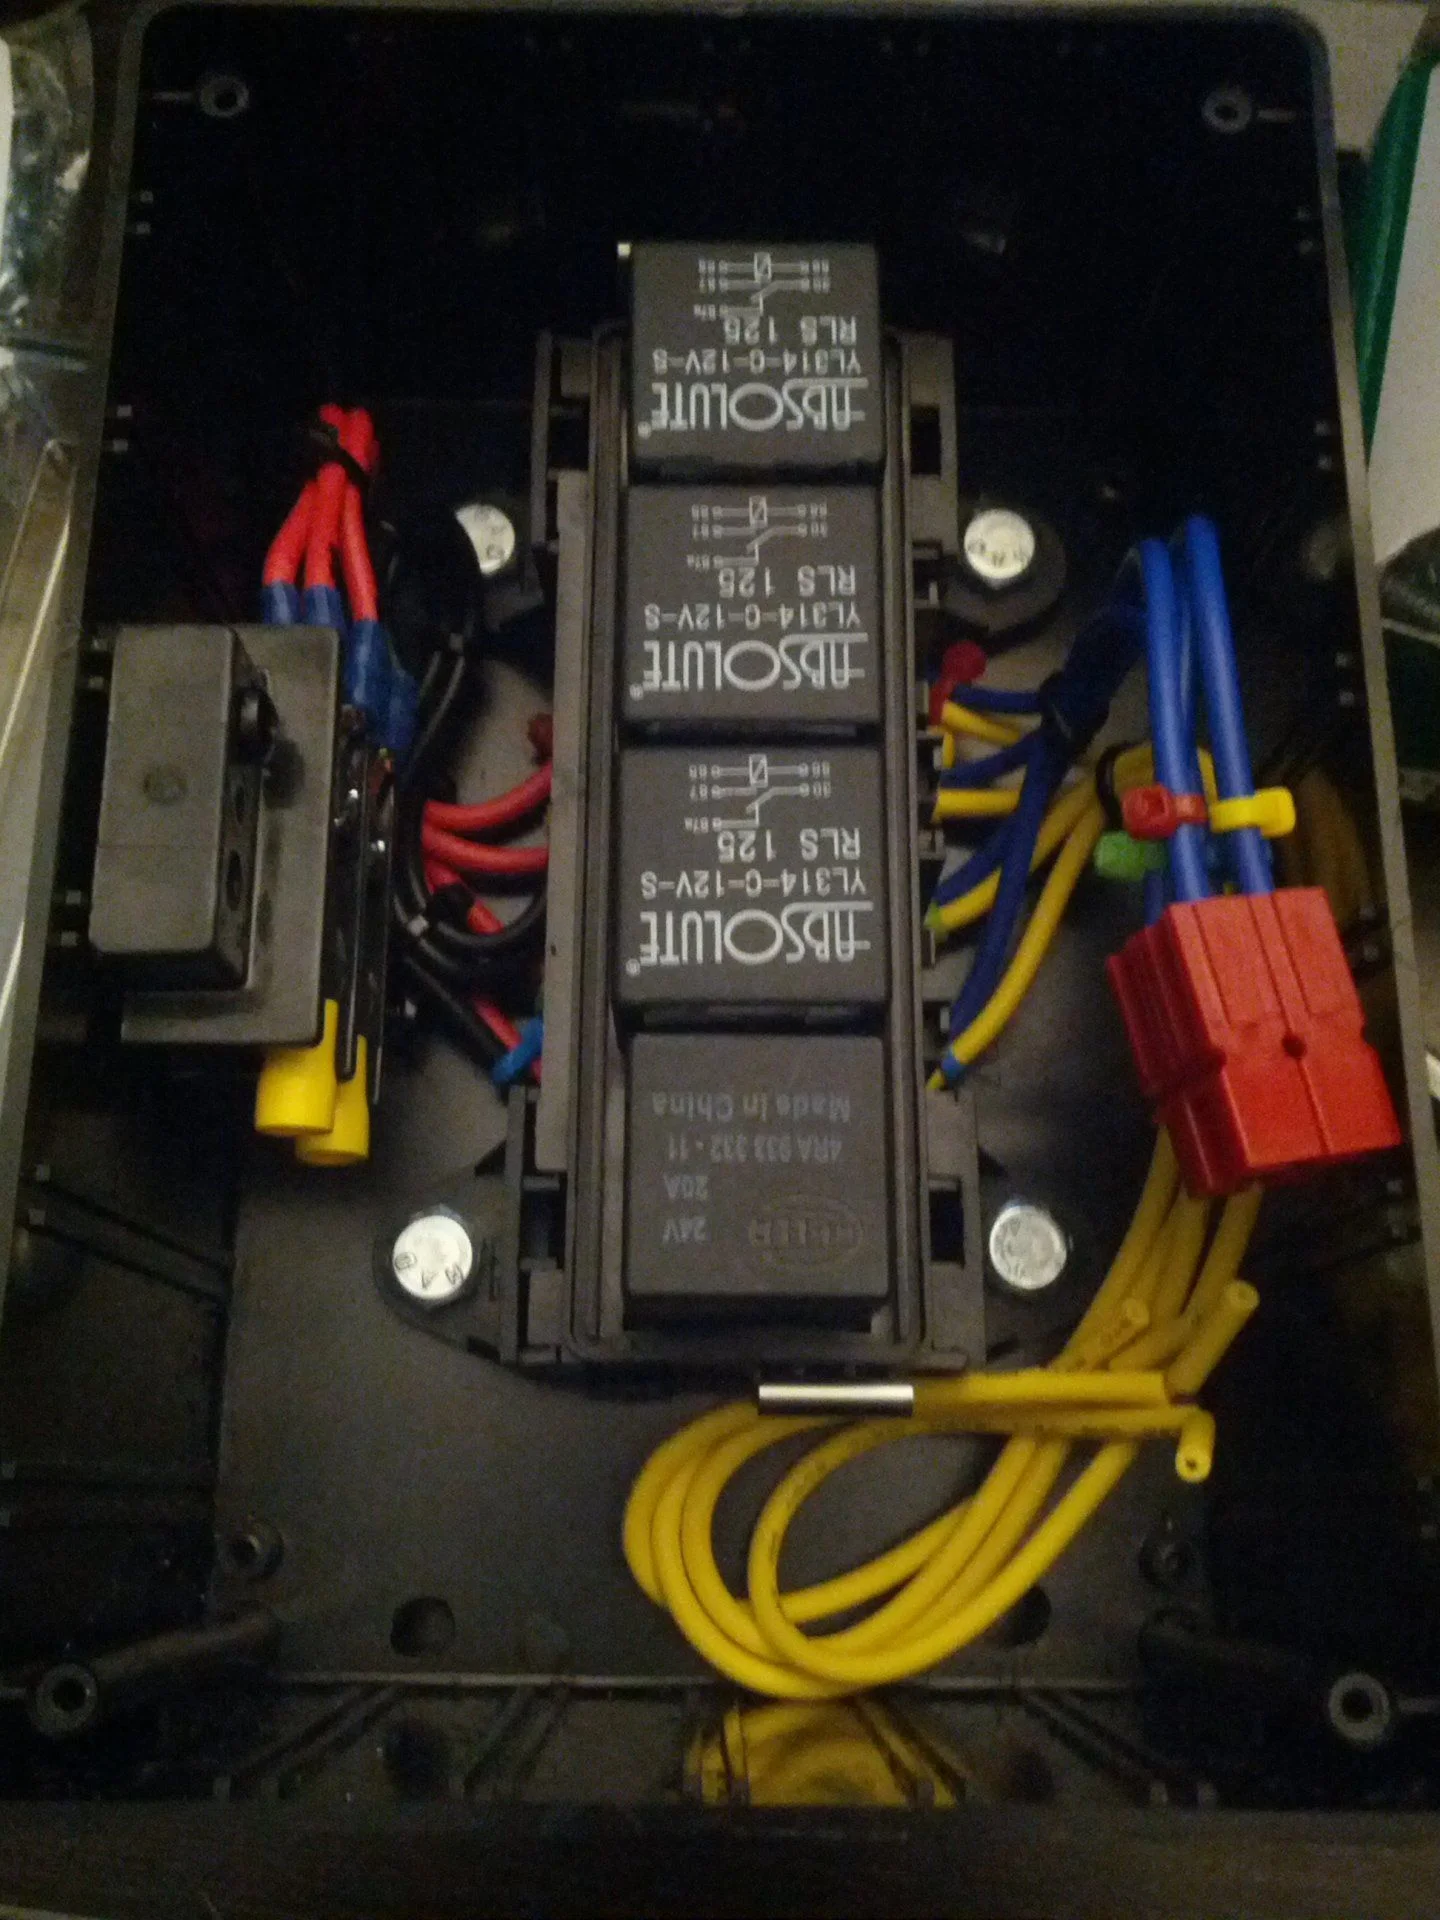
I've got power and ground (rack isn't grounded, so can't ground to it) coming up through a hole in the roof (with appropriate gland) along with a piece of direct burial Cat-6 for signaling. The main power is relayed below, so I'm not energizing the line unless I intend to use it. These feed into a relay box near the front of the rack, which then has wire fed out down each side of the rack to the lights. I've got each pair of lights on a single circuit (parallel) and the three reds on their own (also parallel), for a total of 4 paths for the lights. The Cat-6 kicks the relays feeding each.
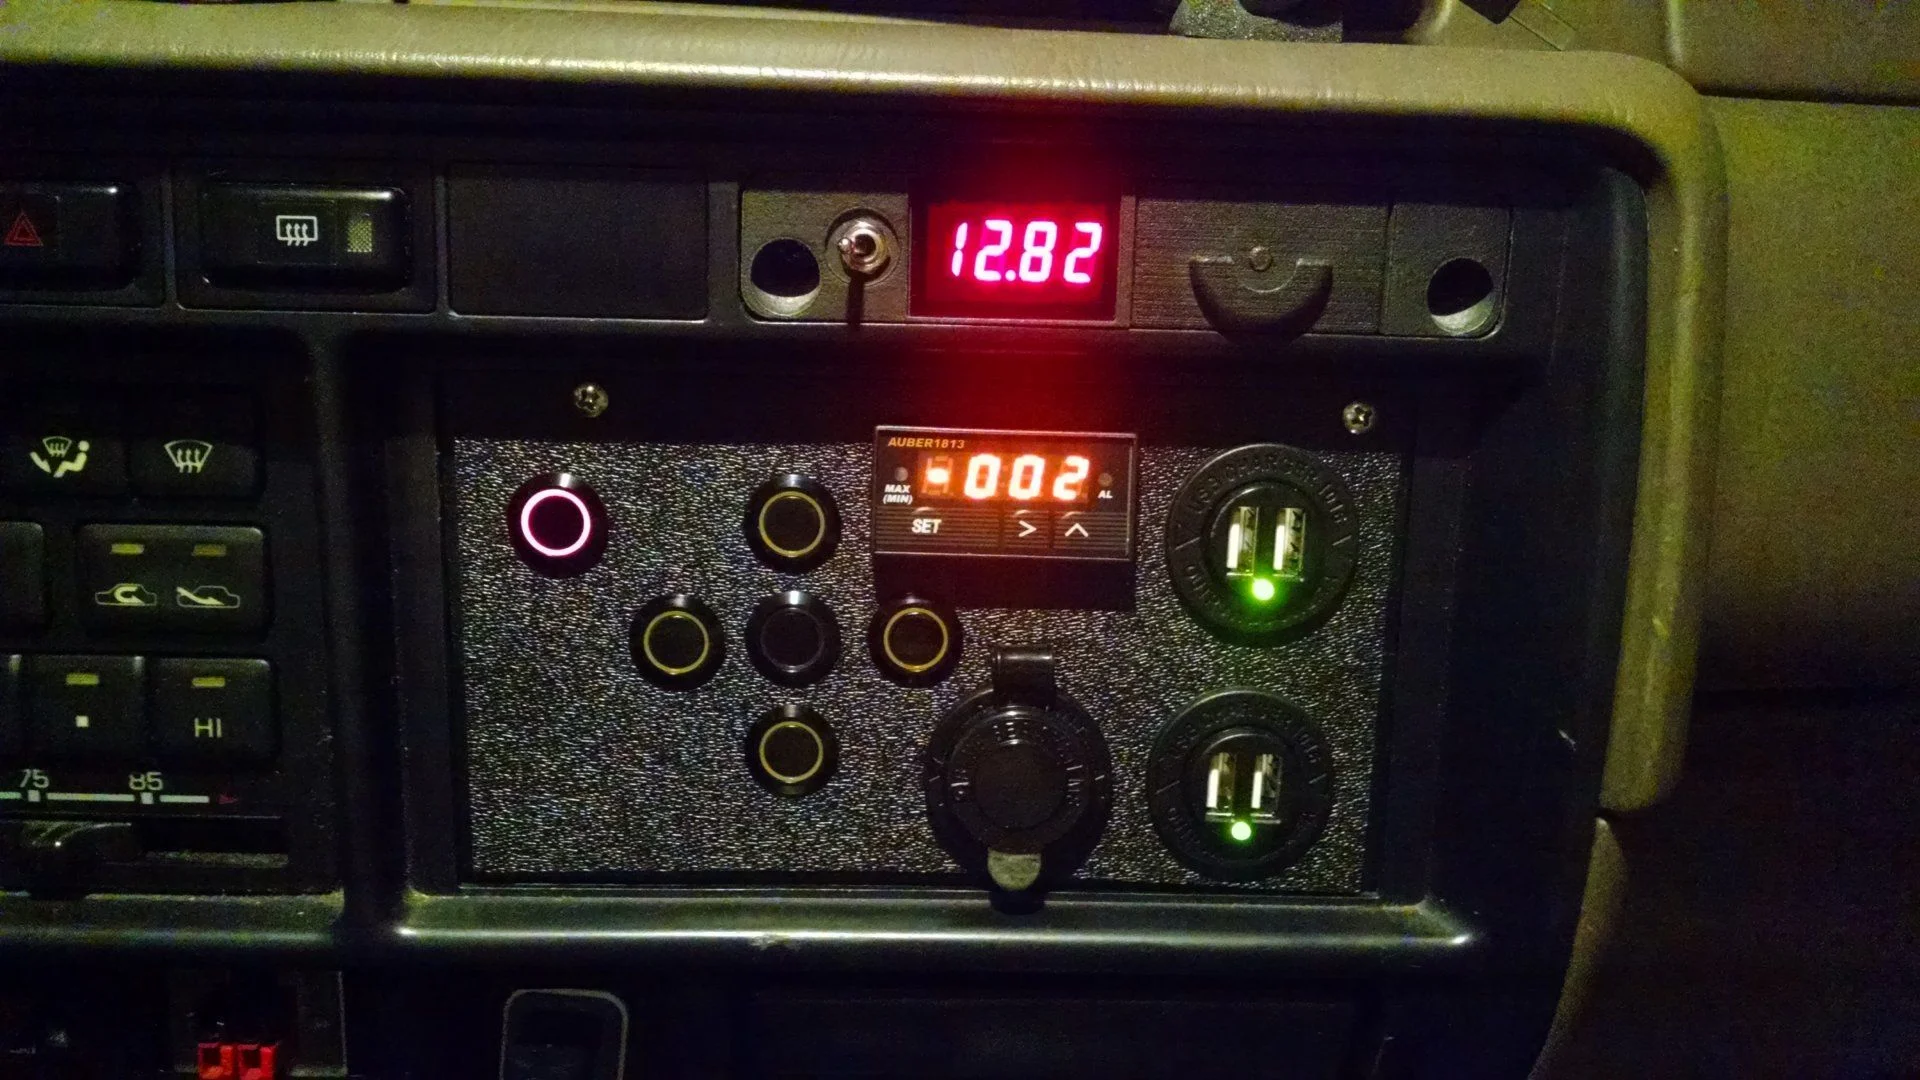
I whipped up a set of "vandal proof" buttons in the dual-DIN stereo area to control a) the main relay (top left button) and b) the directional lights + red. The main power relay is always glowing, and when depressed, the other 5 (includes light bar) light up. Handy at night.
Not the best pix, but it's all I've got at the moment
I've got a total of 9x 10W LED lights around the rack - 2x white floods (120deg) on each side, 2x white spots (30deg) on the rear, and 1x red flood on each side plus rear. The white lights are controlled in pairs - sides/rear, and the reds are a single switch.
I've got power and ground (rack isn't grounded, so can't ground to it) coming up through a hole in the roof (with appropriate gland) along with a piece of direct burial Cat-6 for signaling. The main power is relayed below, so I'm not energizing the line unless I intend to use it. These feed into a relay box near the front of the rack, which then has wire fed out down each side of the rack to the lights. I've got each pair of lights on a single circuit (parallel) and the three reds on their own (also parallel), for a total of 4 paths for the lights. The Cat-6 kicks the relays feeding each.
I whipped up a set of "vandal proof" buttons in the dual-DIN stereo area to control a) the main relay (top left button) and b) the directional lights + red. The main power relay is always glowing, and when depressed, the other 5 (includes light bar) light up. Handy at night.
Not the best pix, but it's all I've got at the moment
Relay Box
This is the first version of my relay box - it's getting a rebuild shortly, into an ammo can.

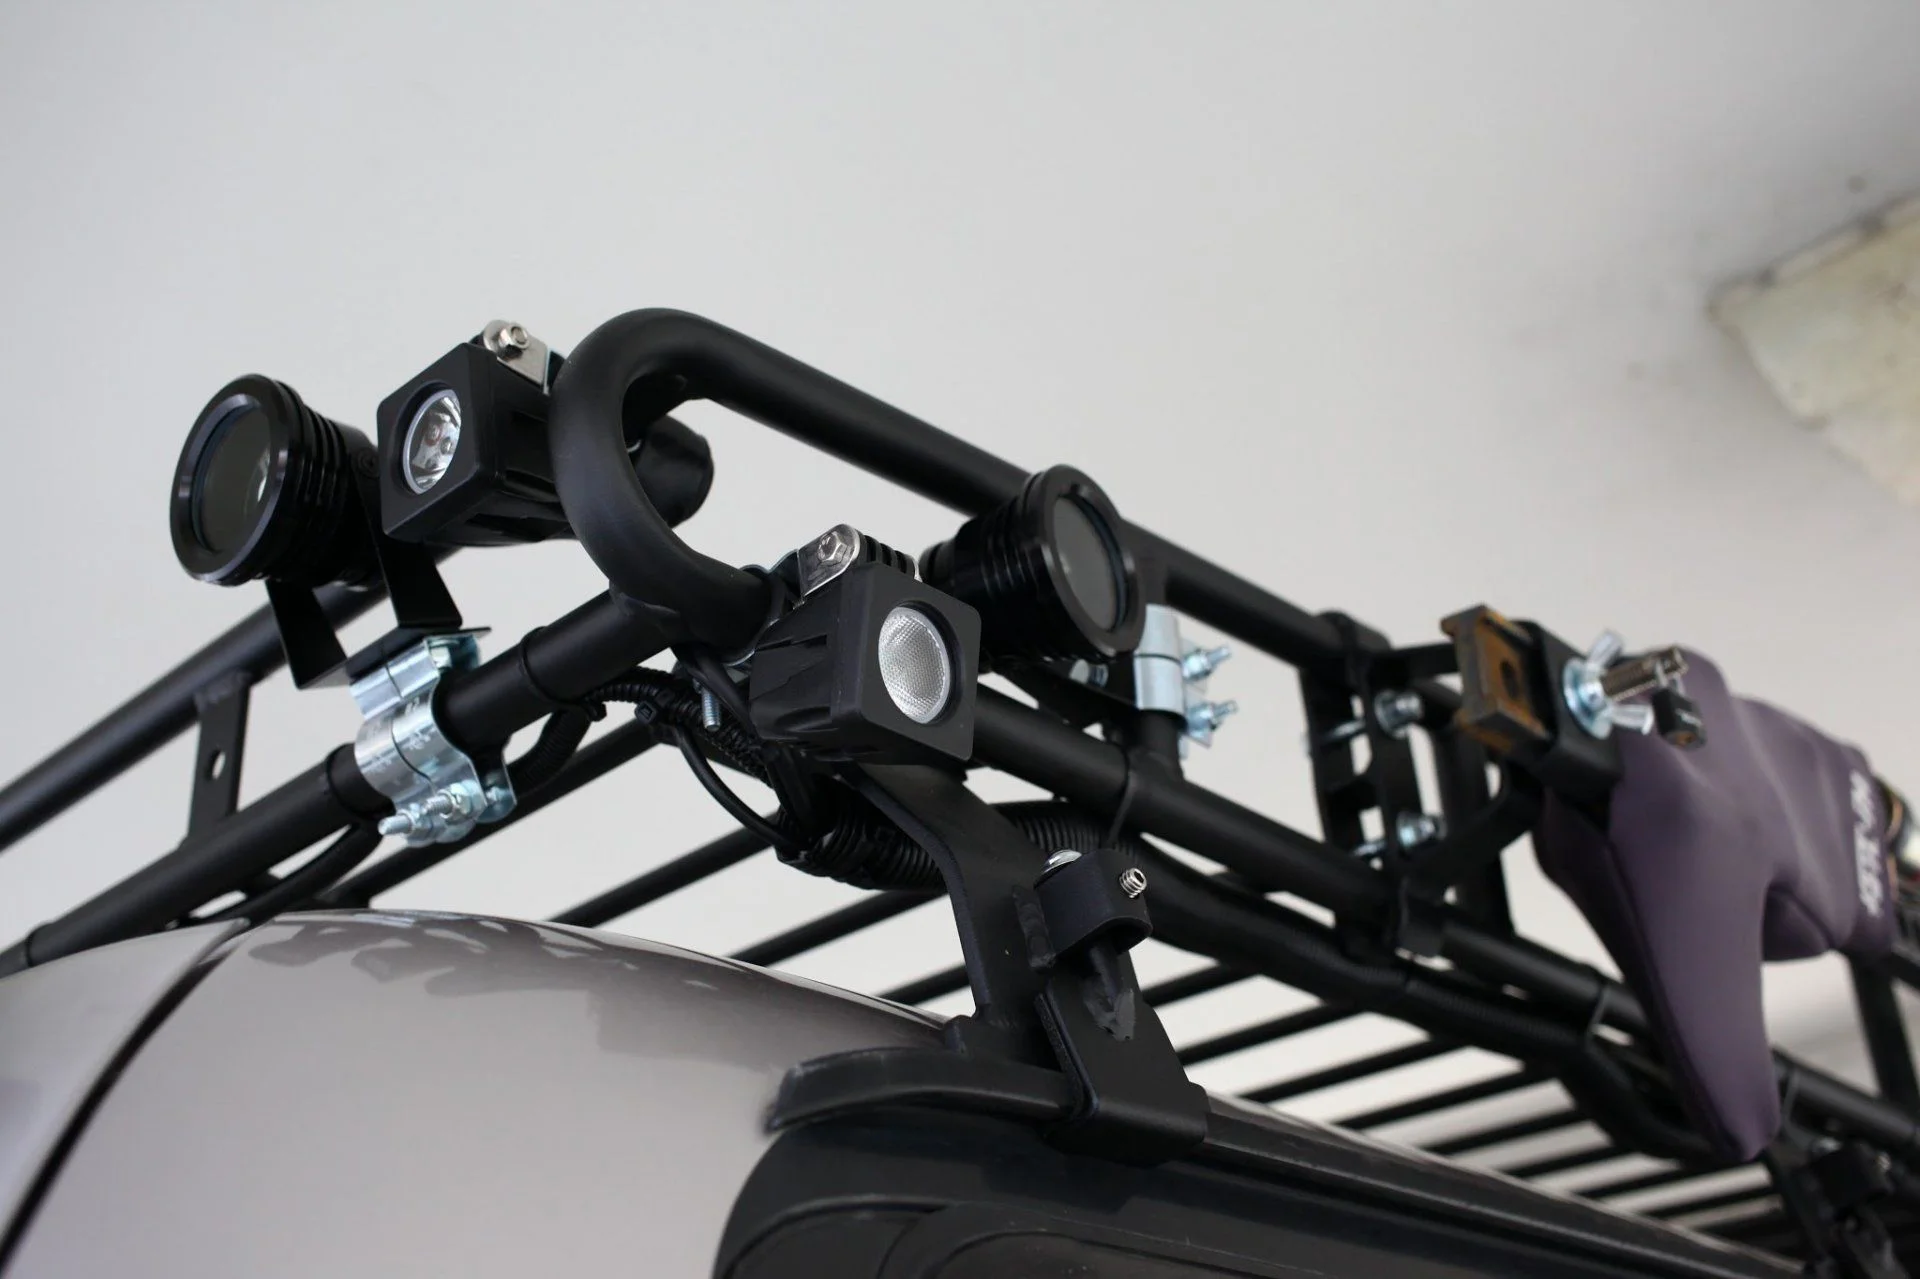
2 White 1 Red
Lights on the passenger rear corner of the rack. Note the red flood is angled forward due to...
5-way light switches and master
...along with multiple USB sockets, a lighter outlet, pressure gauge for my OBA (since...
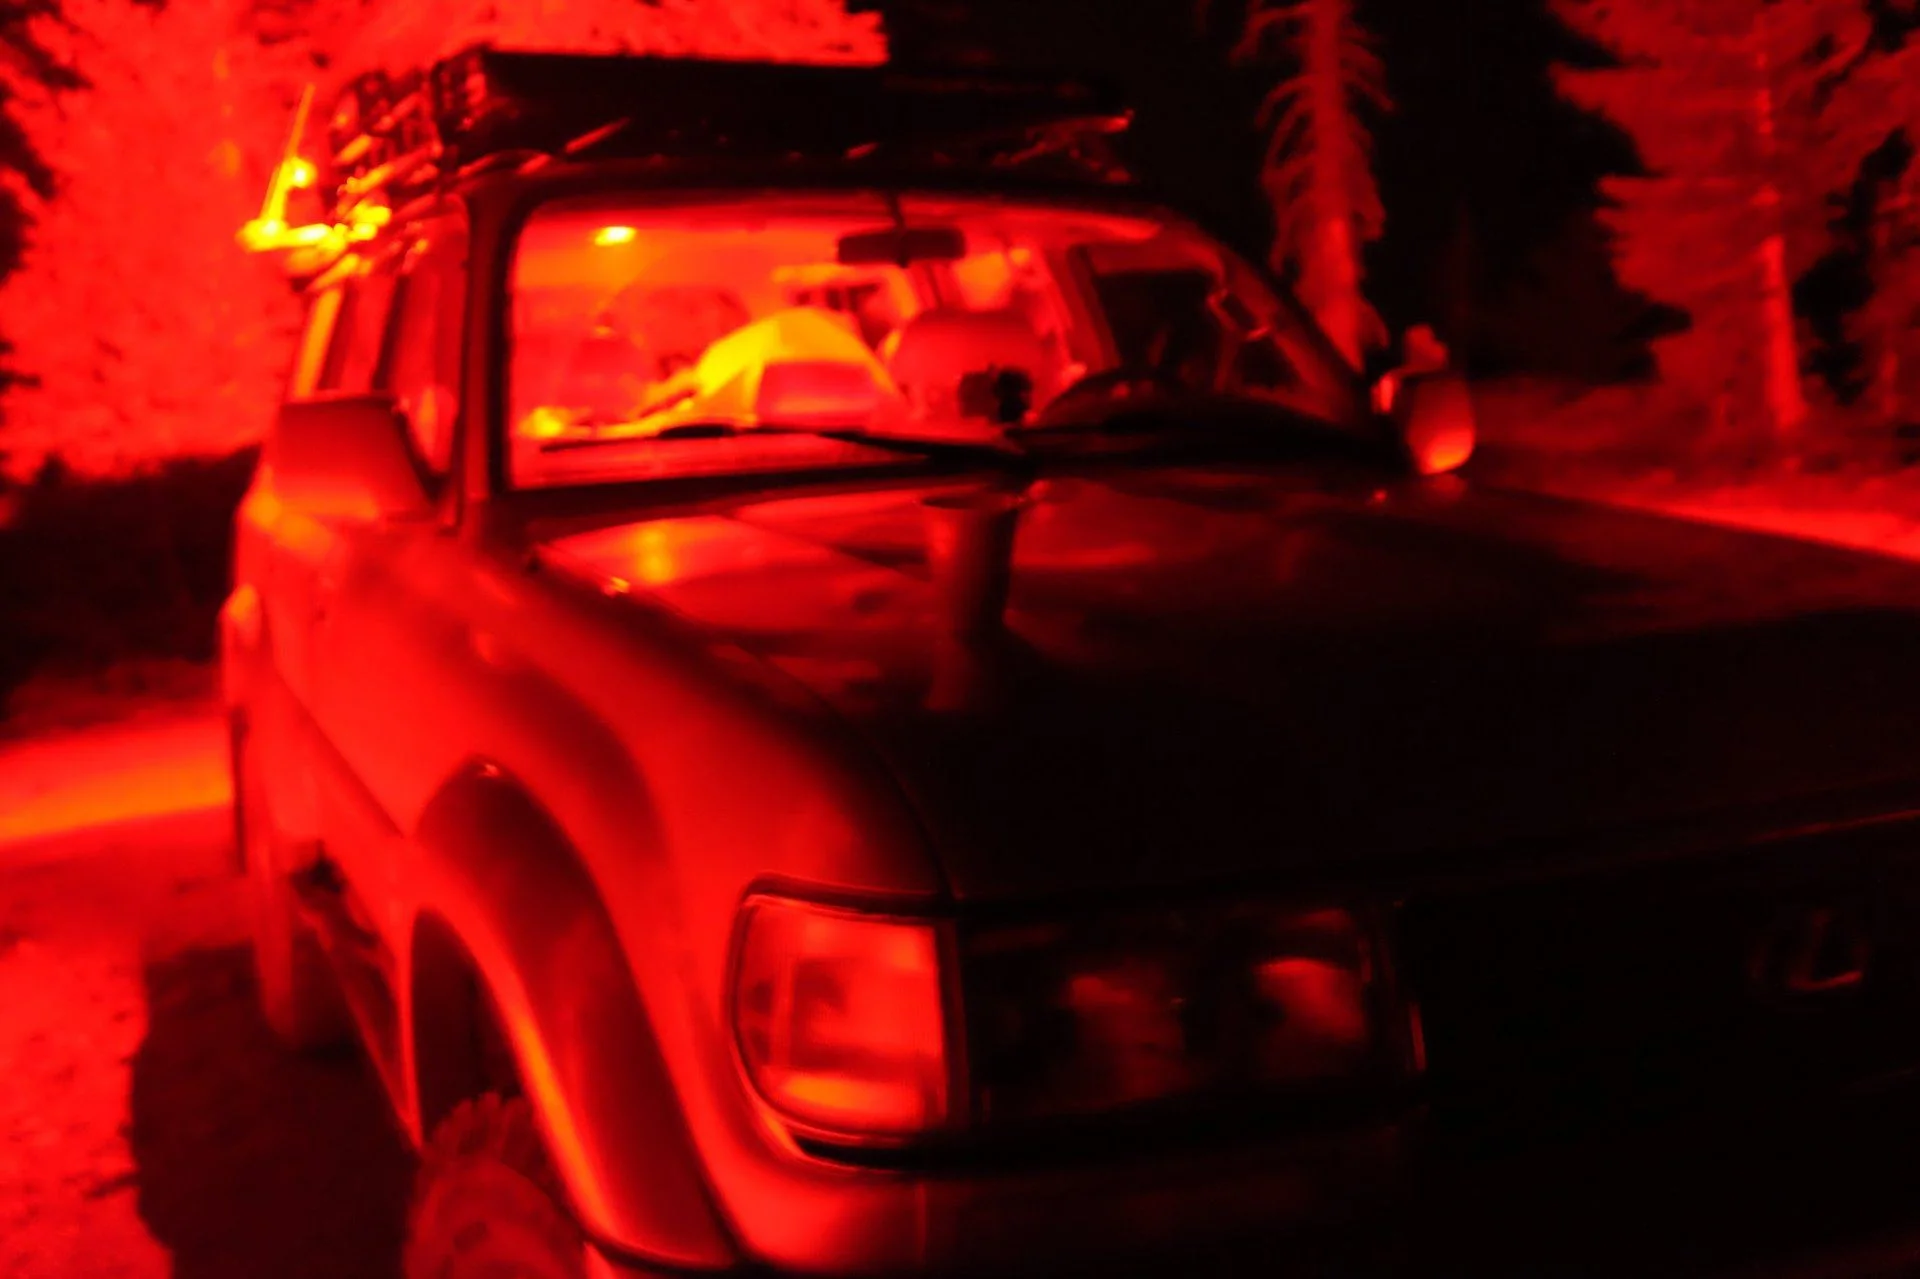
Oh yeah, I made the interior domes red/white switchable too, which is why the red pic above shows red interior lighting:
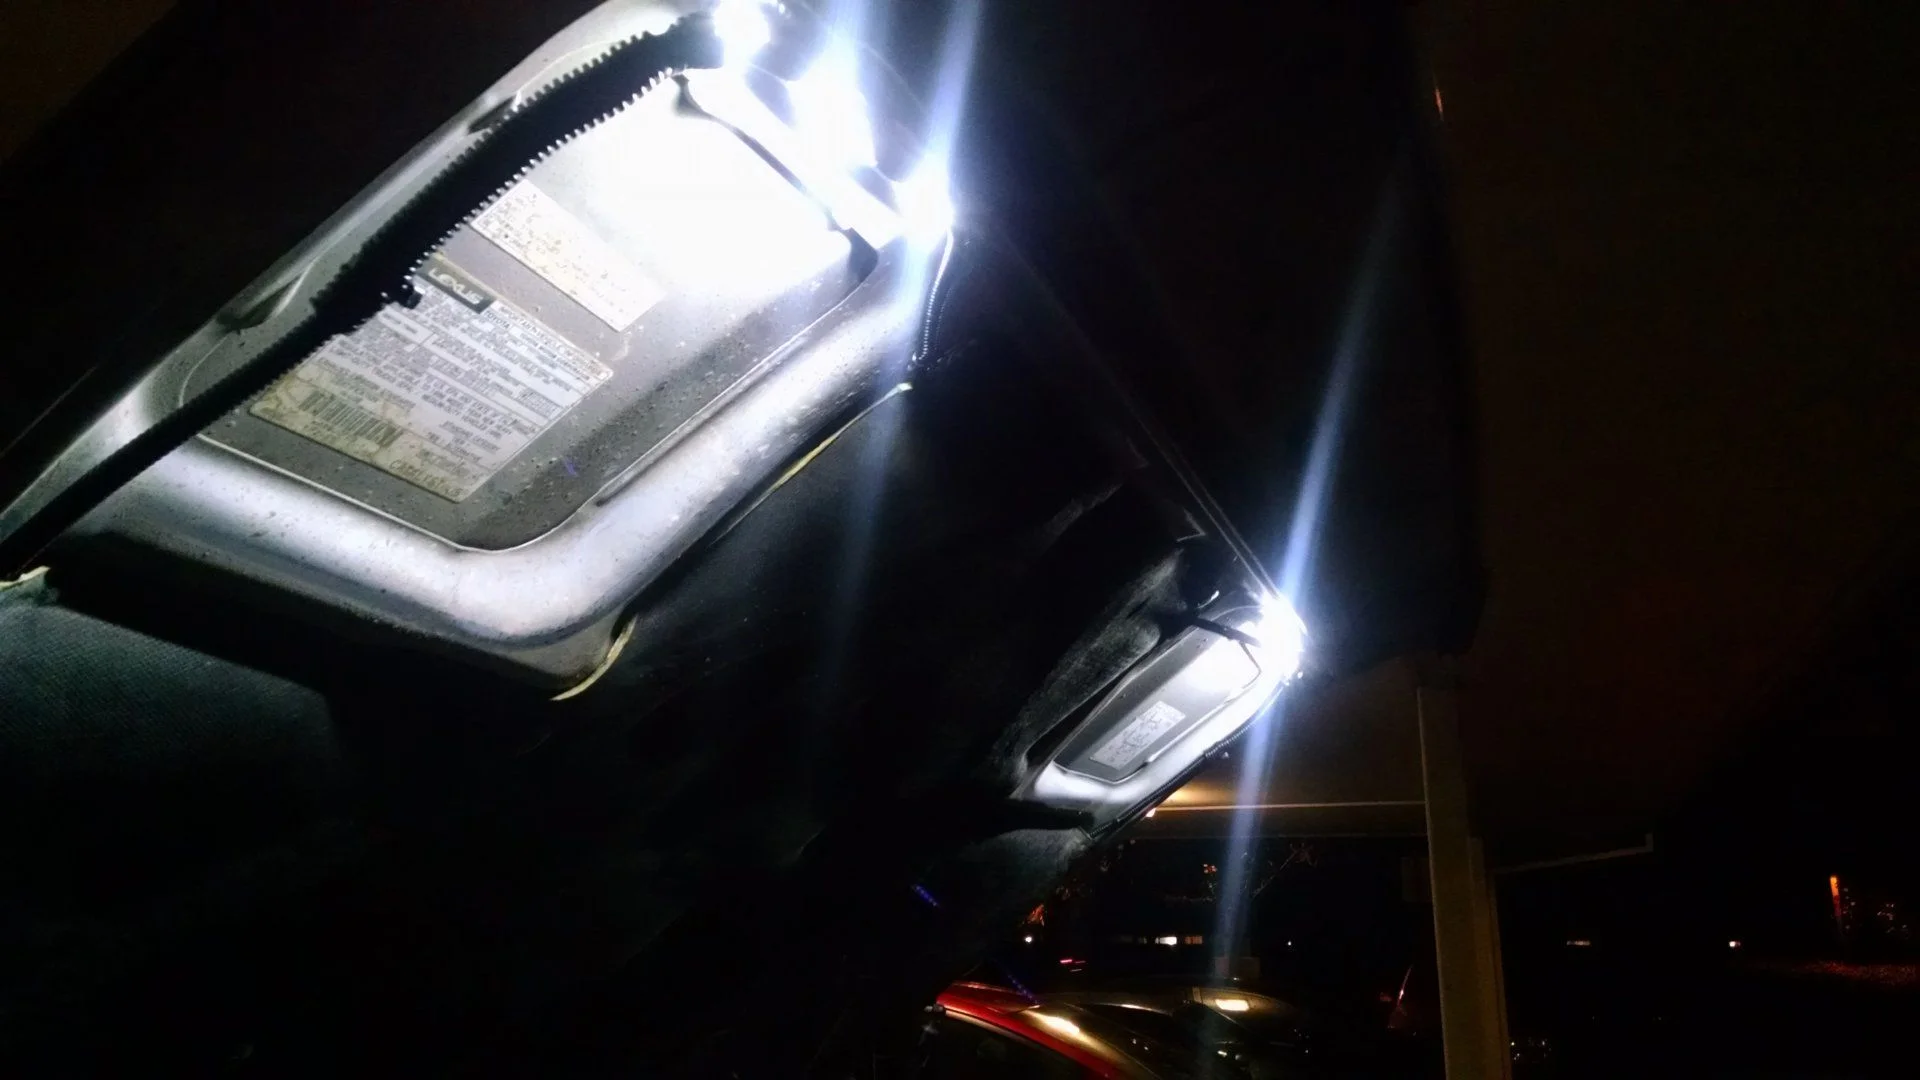
Dome light red/white LED modification
I've performed this simple modification on both of my interior dome lights on my#LX450 , and it's pretty handy. I really like having nice visible light inside that won't ruin my night vision, which I'm expecting to be super helpful out camping. I selected a new red SMD LED panel to go with the existing warm white panels I had (the small one is white).
What I did:
1. Remove the dome light cover by popping it off with your thumb nail (there's a little notch in the middle on the front or back side of the cover, depending on how it was last snapped on)
2. Unscrew the 4 screws holding it on (can't miss 'em)
3. Squeeze the power connector holding the light up, laterally, to disconnect it
4. Cut a piece of plastic (in my case, 1/8" ABS) to a size that will fit inside the dome light unit and will hold both of your LED panel lights. This is to prevent the exposed light contacts from touching anything on the back of the board (and possibly shorting). Kaptan would probably be fine, but this works as a handy mounting surface to keep things tidy and lined up, too.
5. I had to dremel (very sloppily) a couple of relief holes in the ABS to allow space for components on the back of my white LED panel. If youre panel has a flat back, you'll skip this step.
6. Cut some double sided mounting tape or foam to fit blank spots on the back of your LED board. I just used the board as a guide.
7. Makes sure both lights fit like you want them to on the insulation board, and adhere.
8. Pass the wires from both lights behind the board and through the hole where a festoon light would normally mount, then snap the light cover on to hold everything in place.
9. I'm probably out of sequence here, but drill a 1/4" hole in the side (at the natural angle, ie, perpendicular to the surface of the lamp housing) if you're using the same mini switches I am. They're super common.
10. Trim and stub splice all 3 of your ground connections together (one from each LED panel, one from the festoon bulb adapter). I soldered them and covered with heat shrink.
11. Trim the connectors off the 3 positive wires, but be sure they'll reach where the switch is going to be installed. Then strip the ends enough to fit to the switch.
12. Don't forget to slip some heat shrink over the wire now, if you want to use it.
13. Solder the wires onto the switch: in my case, middle is power, left and right are each the connections for the two lights.
14. If you slid heat shrink on, slide it up over your joints and heat it.
15. route the wires inside the stand-off, and slide the switch through the hole you drilled for it. Secure it with a nut on the outside of the housing.
16. Mount it back in your Land Cruiser - if it doesn't light up, be sure you have the pair of screws that go through the grounding strip fully screwed in, and if that doesn't solve it, take it back out and reverse the polarity on your festoon bulb adapter.
17. Congrats, you're done!
Last edited:
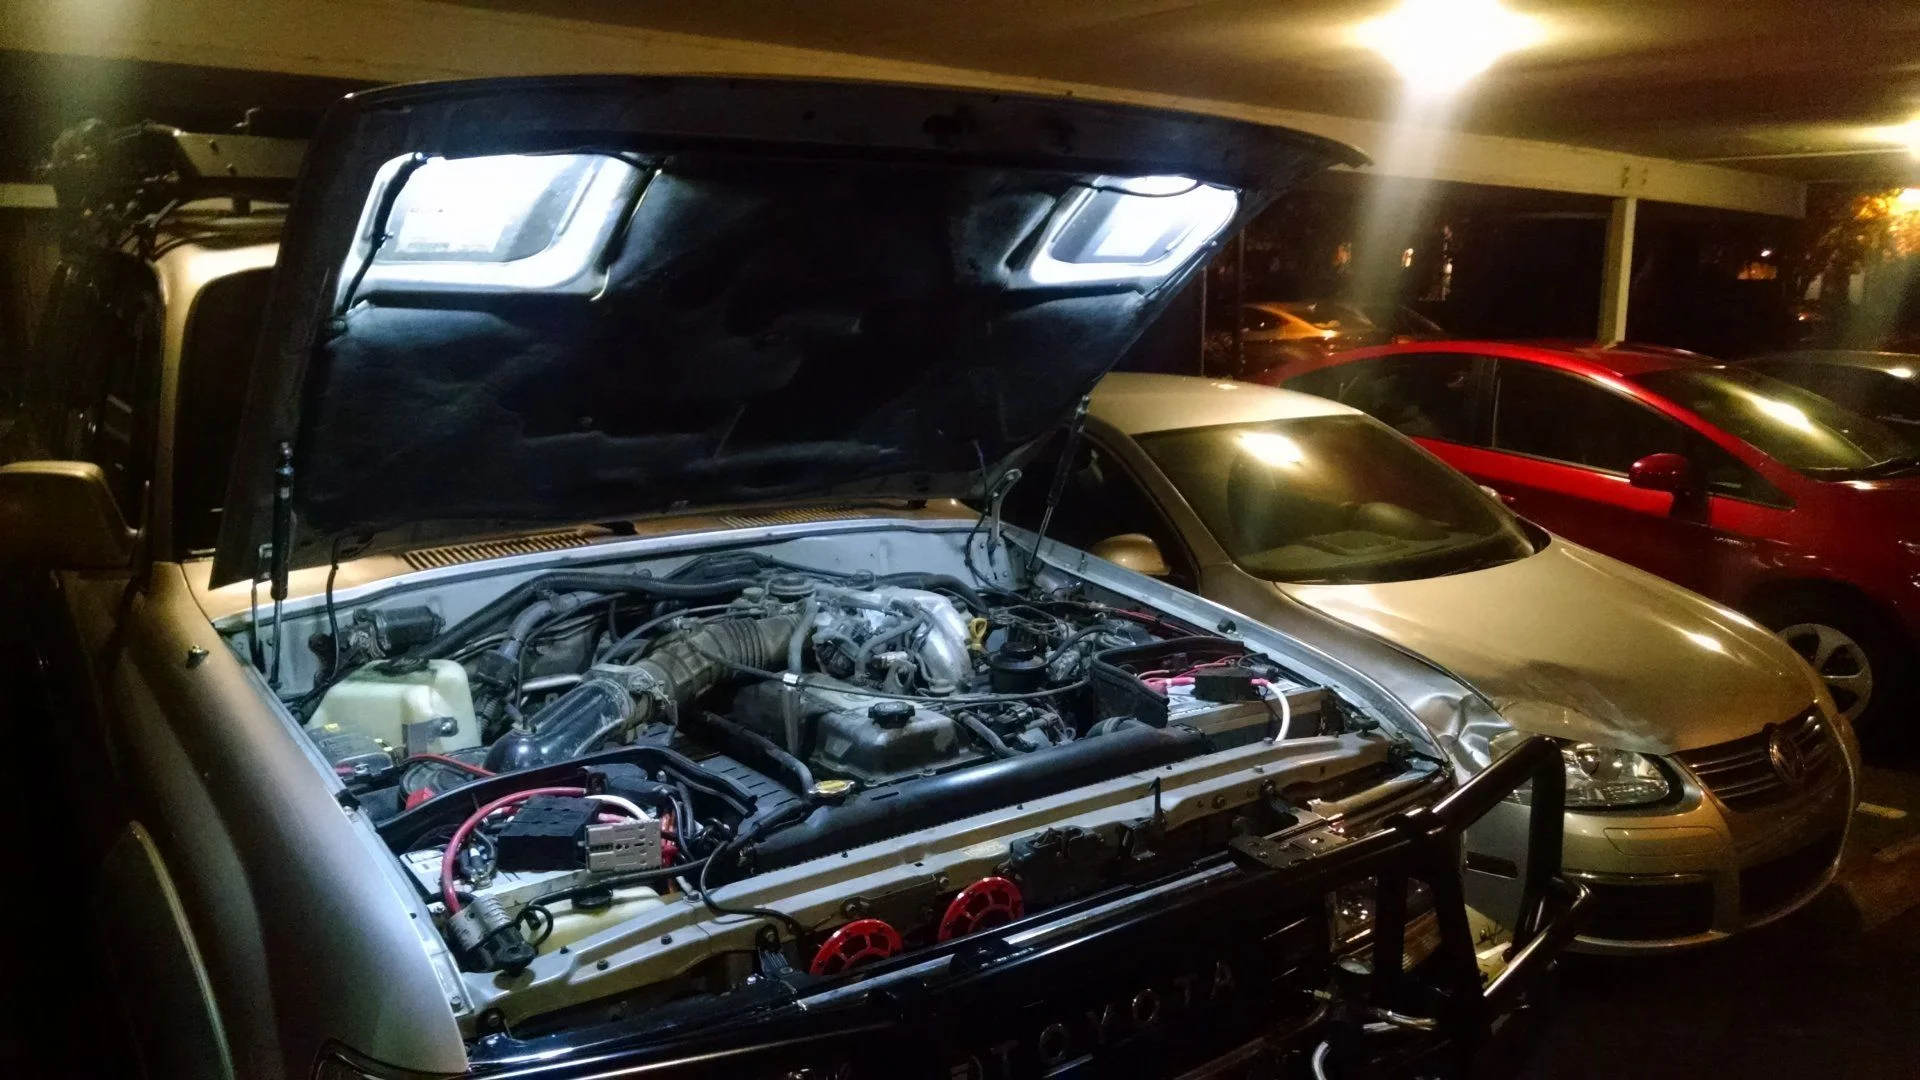
Slap in some under-hood lighting too, while you're at it 
Next up for me - rock lights
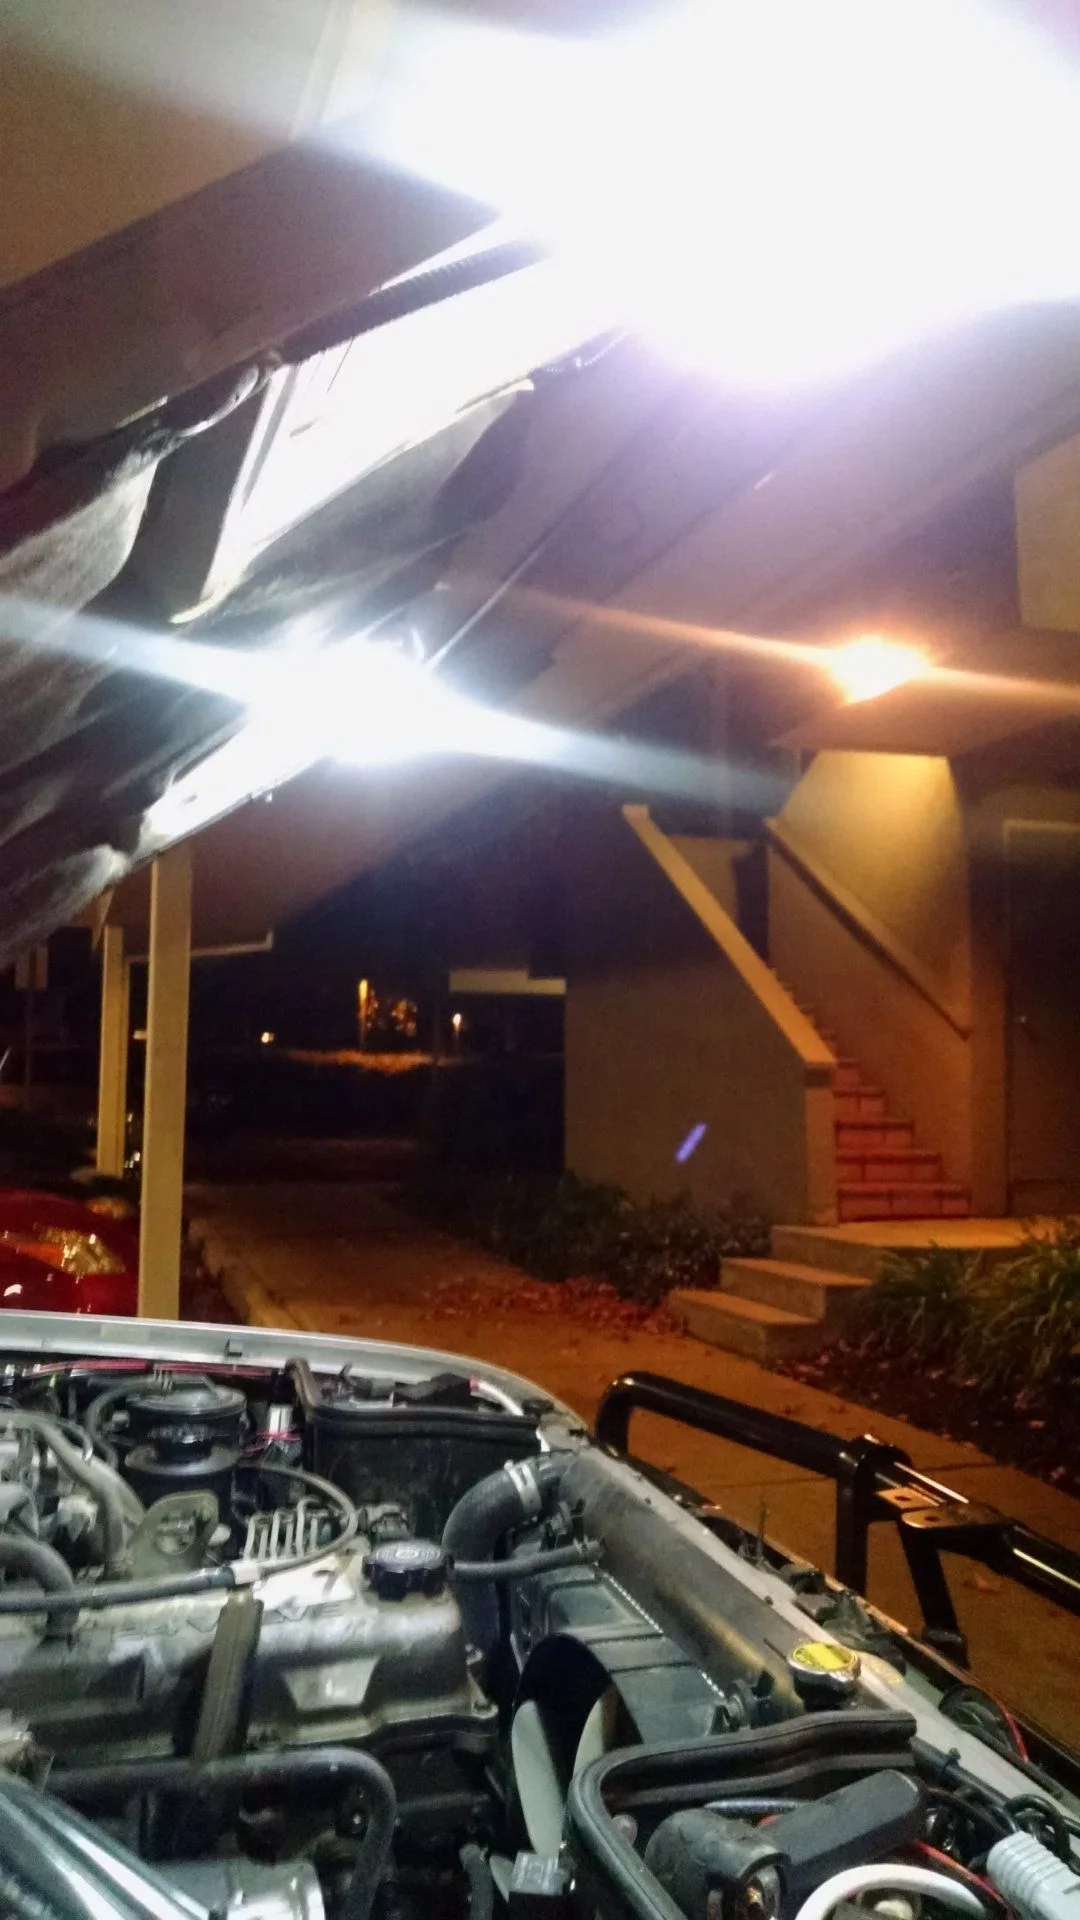
Underhood Lighting 1
Used cheap waterproof COB LED panels from Amazon - about $8 for the pair as of this writing
Next up for me - rock lights
- Thread starter
- #7
I do this all the time in the NYC area. very under-appreciated car in the big apple. I'd like to round them up and ship them all to Utah where they can thrive
Slap in some under-hood lighting too, while you're at it
Underhood Lighting 1
Used cheap waterproof COB LED panels from Amazon - about $8 for the pair as of this writing
Next up for me - rock lights
Thank you!
WOW.
That's one hell of a lighting set up & is EXACTLY what I'm looking for. Great job Vegansbane!
Would you be ok with PM'ing me your number for a 10-20 minute gone call?
I'm a wiring guy
Thanks, I'm super happy with how it's come out!
I'd PM my number but we'd just end up playing phone tag - I'm super crazy off the charts busy with work this week; several projects all coming to a head right now, and looks like there's going to be a pile of follow-up next week.
If you have any questions I can answer on here, I'll be happy to squeeze replies in when I can. It's a good break to think about trucks, lights, and wiring for a bit between meetings.
If everything isn't sorted out in a bit, I'll totally have that chat with you in a week (and change).
I'm looking for some LED floods also to replace the old dim incandescents on my roof rack. Nothing super expensive though I'd rather sacrifice brightness for quality and longevity. Any suggestions on brands/models? I have no idea where to even start looking...
Vegansbane, what a set up, I know I wouldn't have thought about chucking some lights under the hood ") oh and the red interior lights... nice touch. So much handy info since I've got my roof cage/racks on its way. This forum never ceases to deliver when you're in a pinch
oh and the red interior lights... nice touch. So much handy info since I've got my roof cage/racks on its way. This forum never ceases to deliver when you're in a pinch
oh and the red interior lights... nice touch. So much handy info since I've got my roof cage/racks on its way. This forum never ceases to deliver when you're in a pinch Similar threads
Users who are viewing this thread
Total: 1 (members: 0, guests: 1)