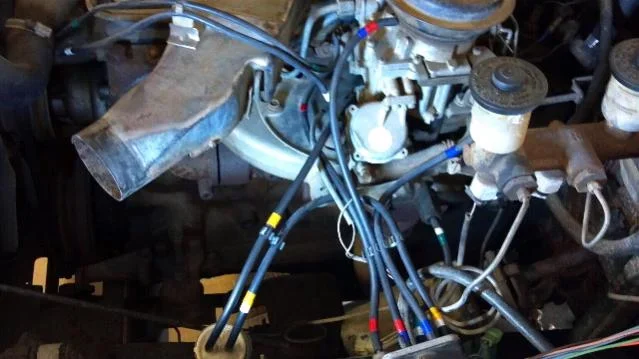
Here's some advice from a learned cruiser lover. Also note that Jim C sells some of the needed rubber caps/plugs, etc.
How to DE-SMOG a 78 Toyota Land Cruiser with a 2F Engine
NOTE: Let me warn you that in most parts of the USA removing your factory installed pollution equipment is illegal. It is your responsibility to know the laws covering your area and the usage of your de-smogged Cruiser. Secondly it is a great value to have the TOYOTA emissions manual handy and memorized. A complete understanding of how each system works is invaluable. With all that said, this is the synopsis of Jo's de-smogging broken down by system.
PVC - Keep, ensure it’s working & plumbed correctly. (The Toyota PCV valve is far superior to any aftermarket part).
EVAP - Remove VCV & BVSV & canister outer vent control valve. Hook the purge port to a ported vacuum source, preferably the higher up one. (You'll want the lower (a.k.a. stronger) port for the vac advance). The big canister hose is run up the firewall, then looped around 180° so the end points straight down. Now it is a deep-water vent for the fuel tank.
TP - Remove
Spark Control - Bypass VSV & BVSV, on distributor - plug rear on dist (retard) & connect front (advance) direct to "advancer port" on carb. (This should result in ported vacuum giving you 0 advance at idle, moderate at part throttle and weak at full throttle). For a finished look, run a hose from the retard side of distributor up to an open fitting on the air cleaner housing.
EGR - Remove, cap exhaust manifold & carb. To cap the exhaust manifold, remove the pipe, cut it so there's 2" left, then smash flat in a vise, and weld shut. Alternative to welding, put some Hi-Temp Red RTV in the end of cut off pipe, then smash flat, then fold over and smash flat again (like the end of a toothpaste tube). Try to use the old pipe stub because it is hard to get a piece of flat plate to seal up on the EGR flange, it needs the nipple that goes into the port to protect the little gasket from getting blown out immediately.
Air Injection Rail - Remove, cap air cleaner (at least the one that is downstream of the air filter), plug exhaust manifold using 1/4" pipe plugs in the head. Screw them all the way down in. They'll hit the bottom and stop just below the surface.
Hot Air Intake - Keep, ensure it’s working & plumbed correctly. Hook to hot air thermo valve located in body of air cleaner.
Heat Riser Valve - Ensure it’s working correctly
Choke Breaker - Connect to manifold vacuum.
Timing - Start at stock (7° BTDC), check to see what full advance (mechanical + vacuum + initial setting) is. It should be set up for maximum timing of 38°. A little less is ok, but don't go over 38°with all the timing in. You should be able to set it at 9-10° using 87 octane.
Note: After all the above has been done, the VSV & computer can be removed. In addition, if equipped with a WOT switch above the gas pedal and/or vacuum surge can on the drivers fenderwell, they can also be removed.
Special thanks to Jim C for all the advice!

