EPIC Cruisers
Supporting Vendor
- Thread starter
- #21
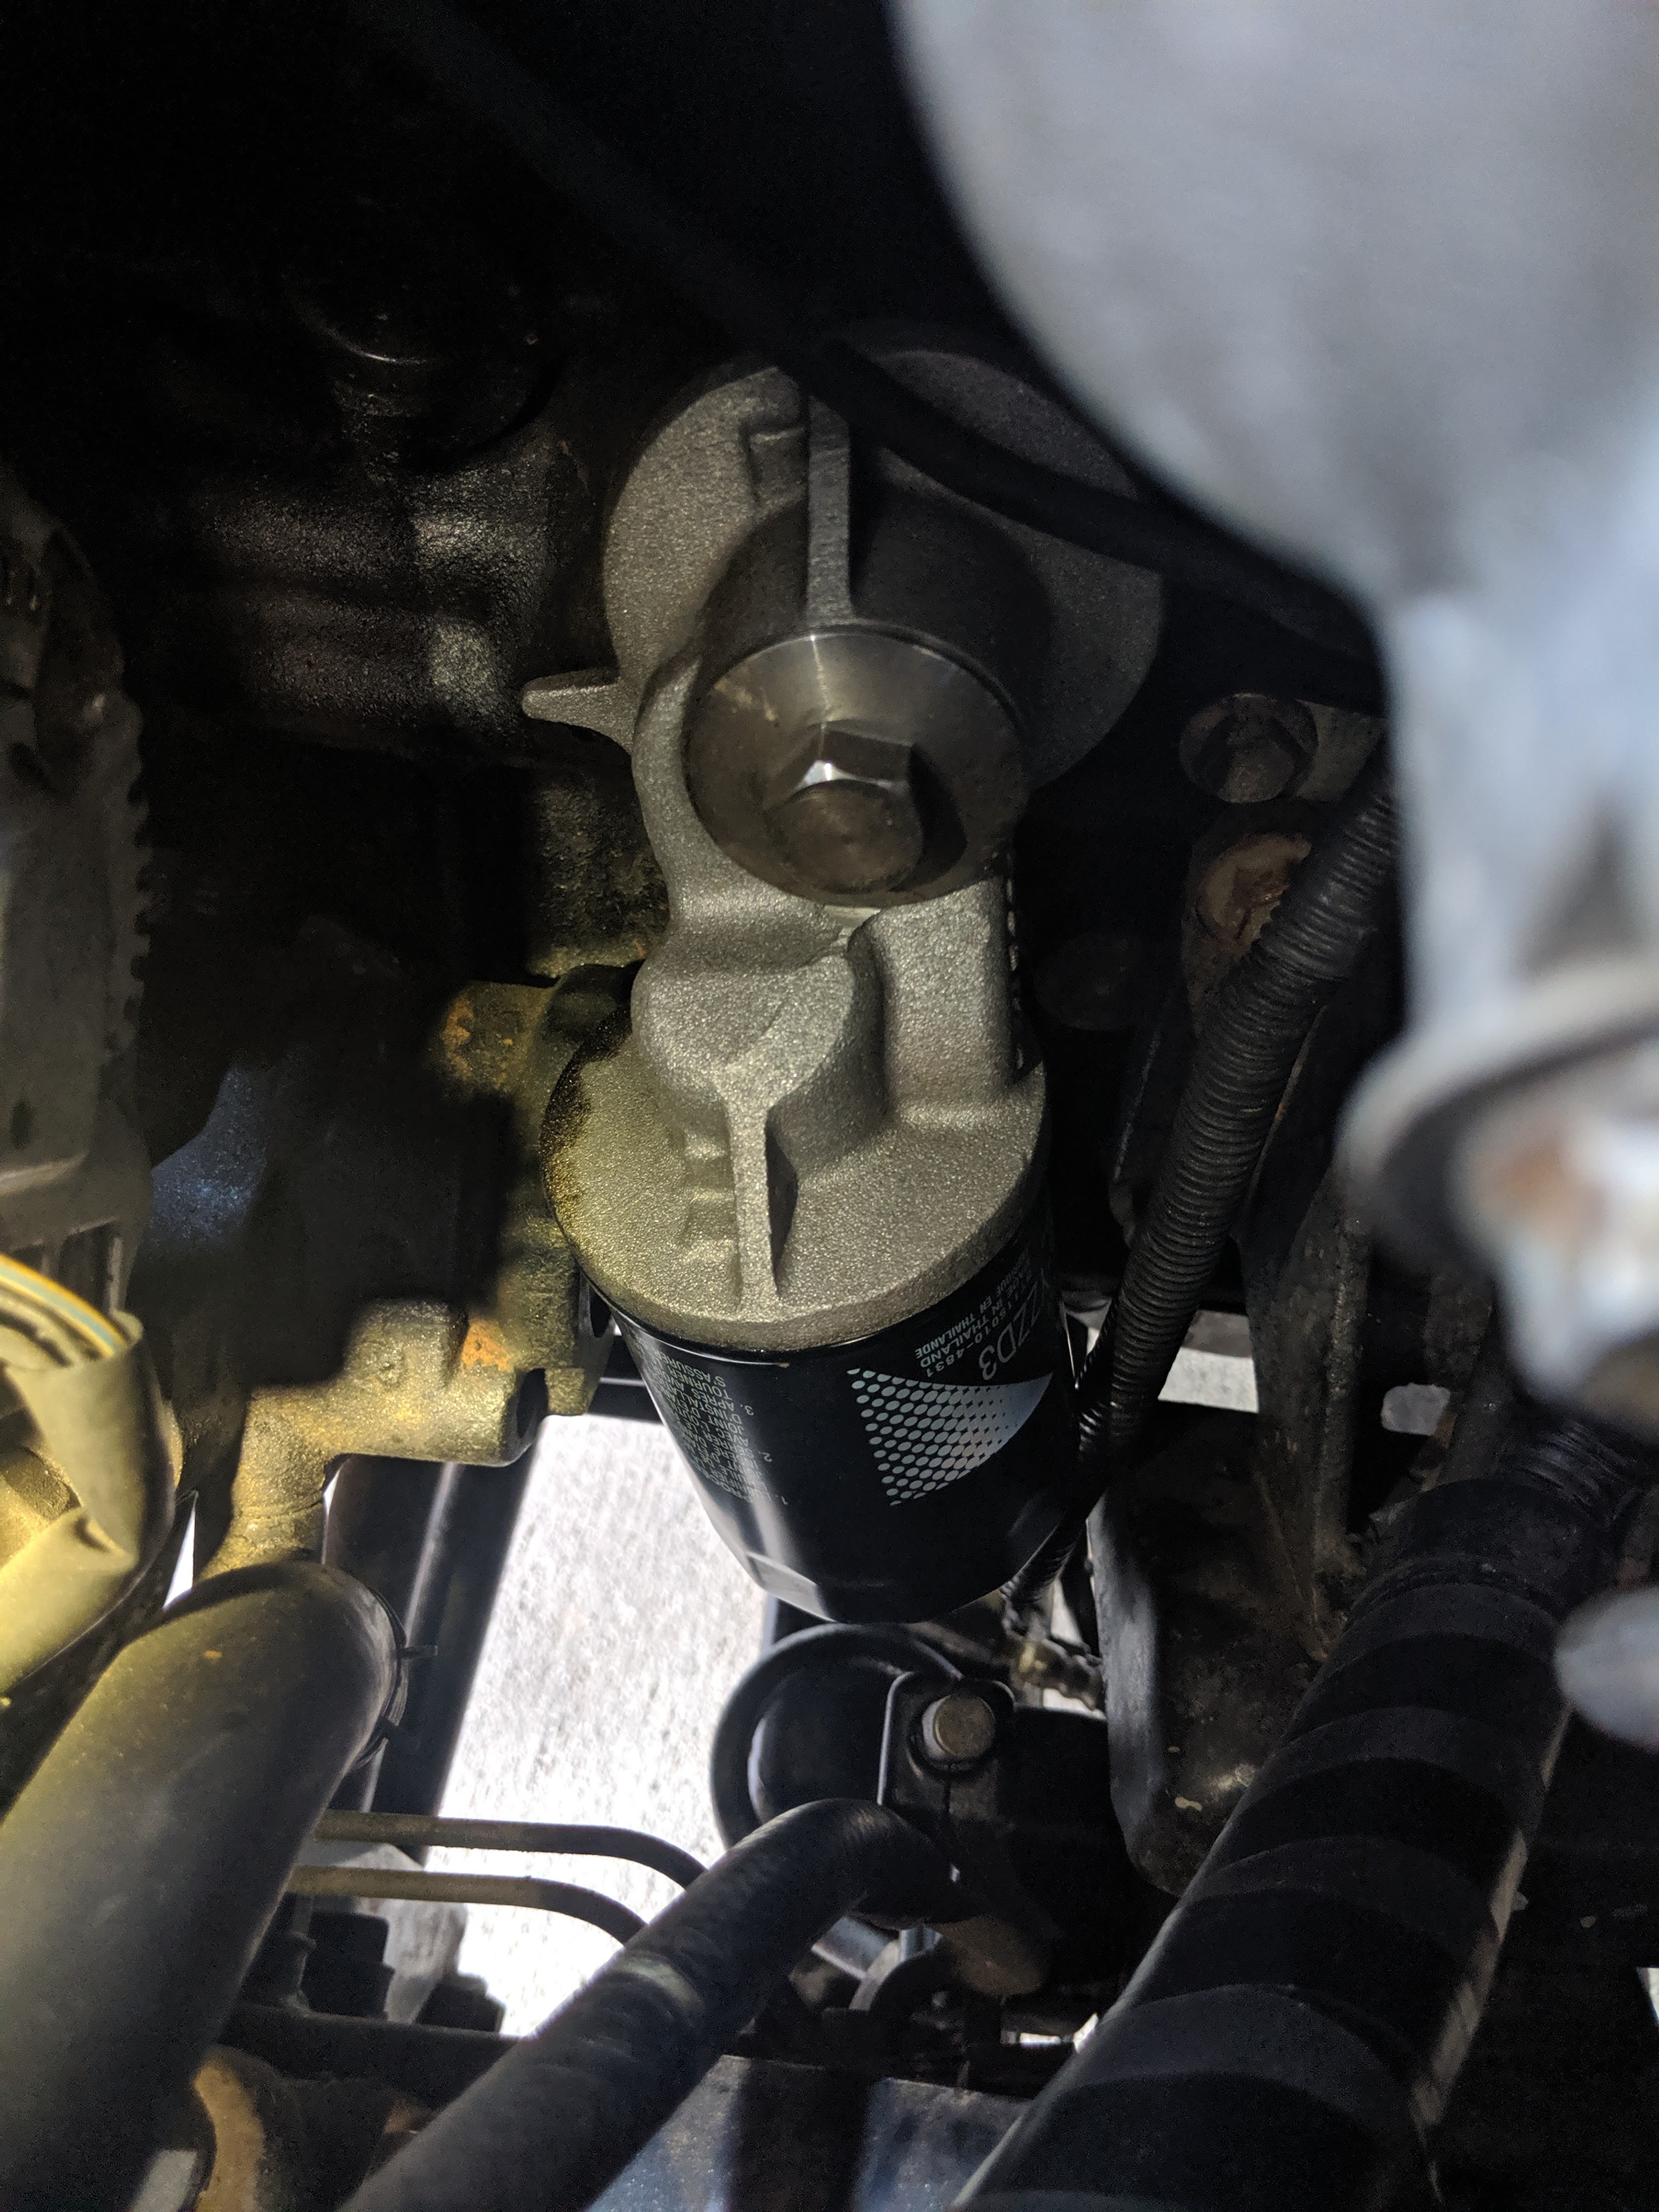
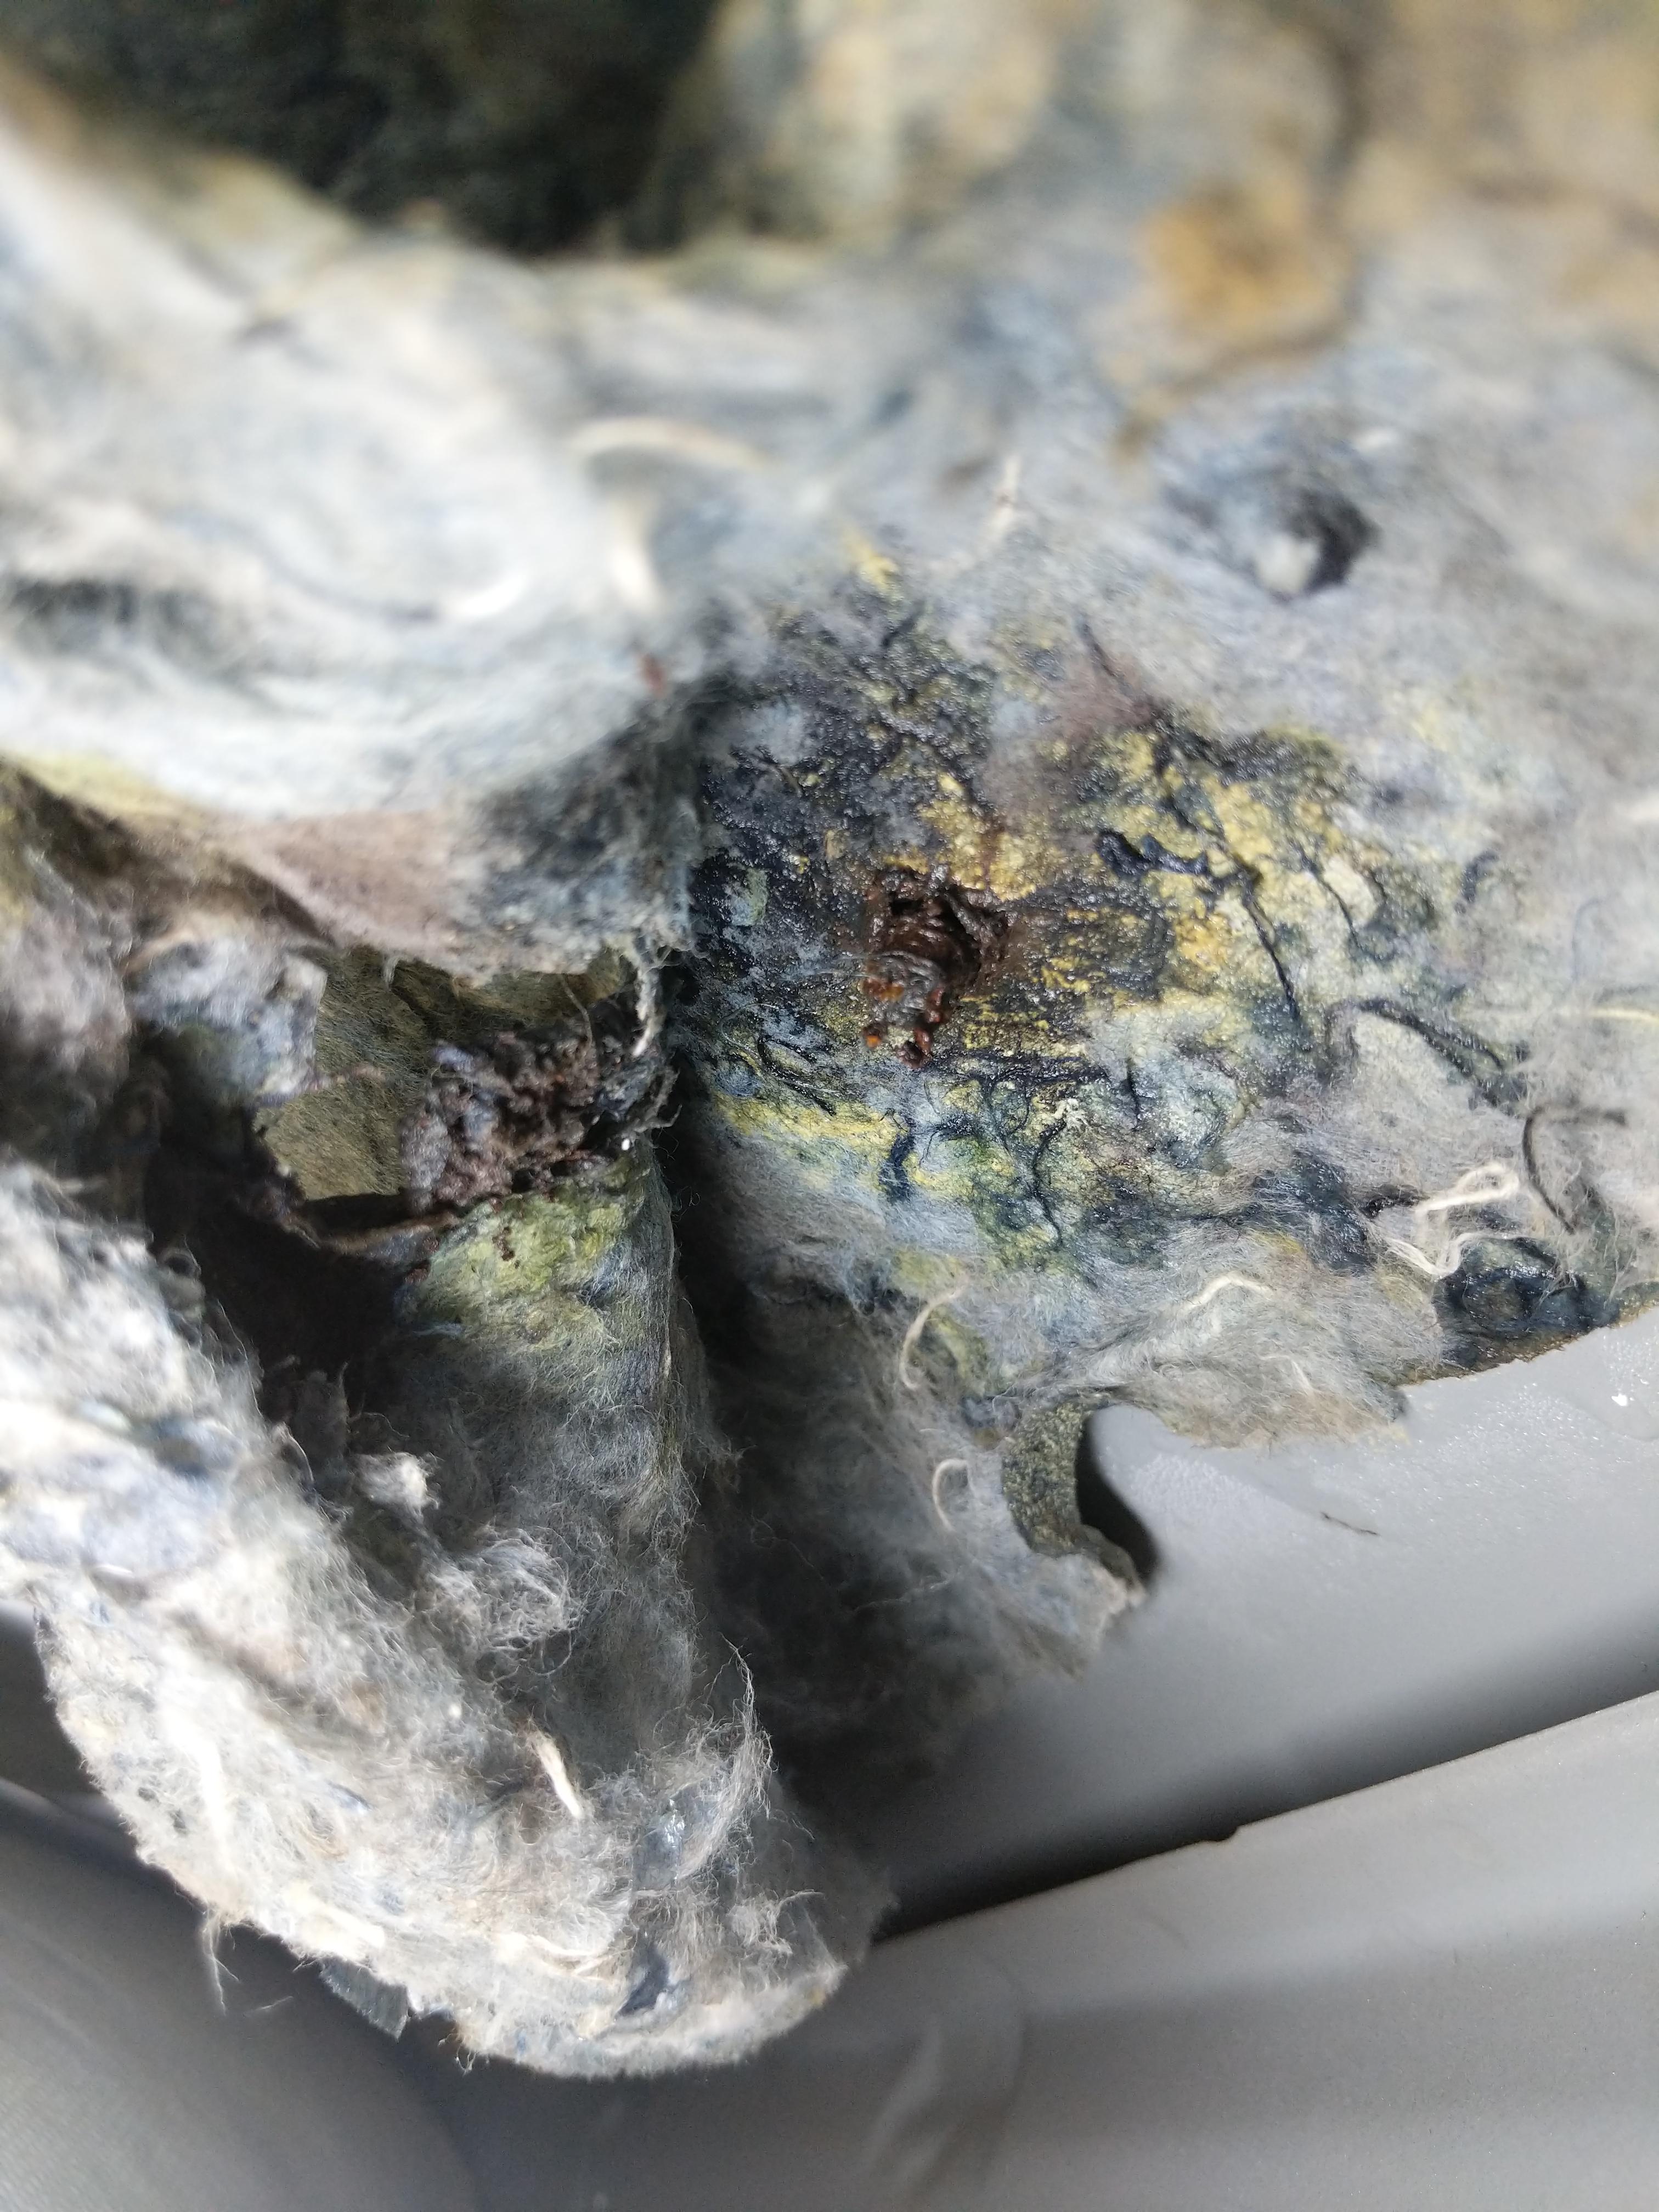
First off I'd like to say I'm not trying to flame anybody, but I've got to comment on the photo you posted of that shim that was supposed to of been surface ground. I've ground many parts on surface grinders in my 40 plus year carrier as a machinist, and i can tell you the finish you get on a part from using a surface grinder never looks like that. That part looks like it's been ground on a belt sander, not a surface grinder. If you like i can provide you with a photo of a surface of a part that's been ground on a surface grinder, and it looks nothing like your photo.
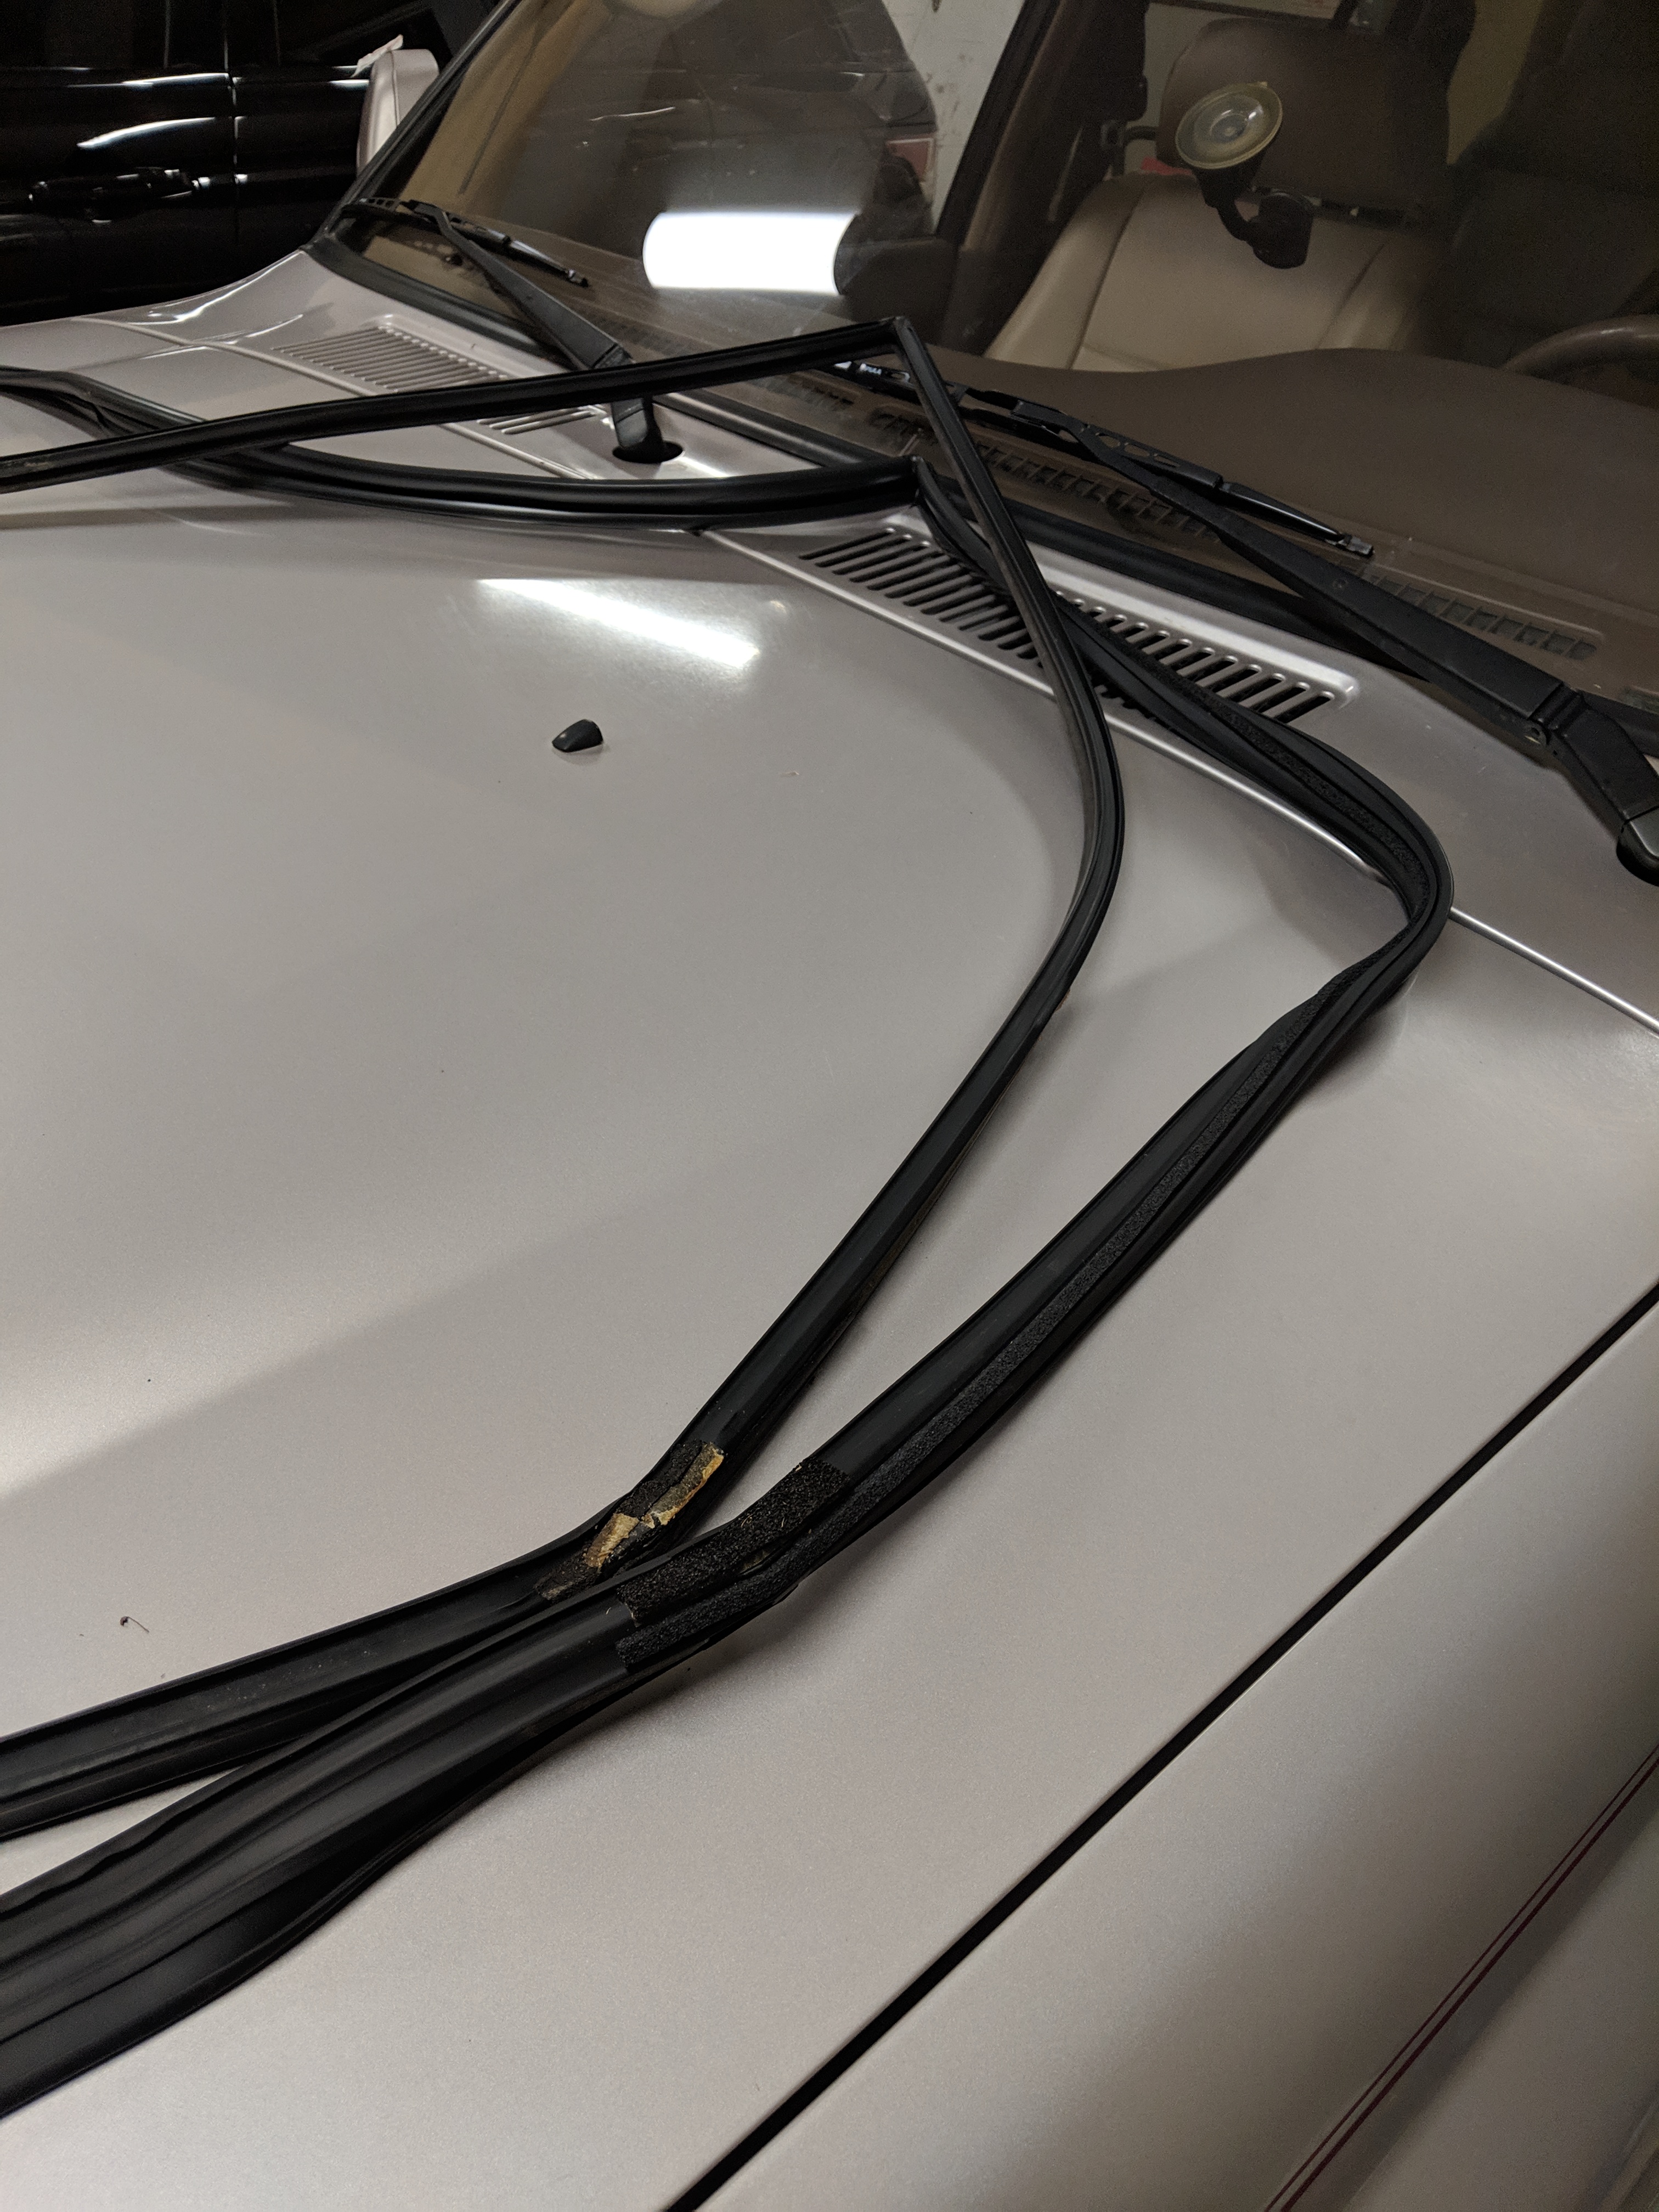
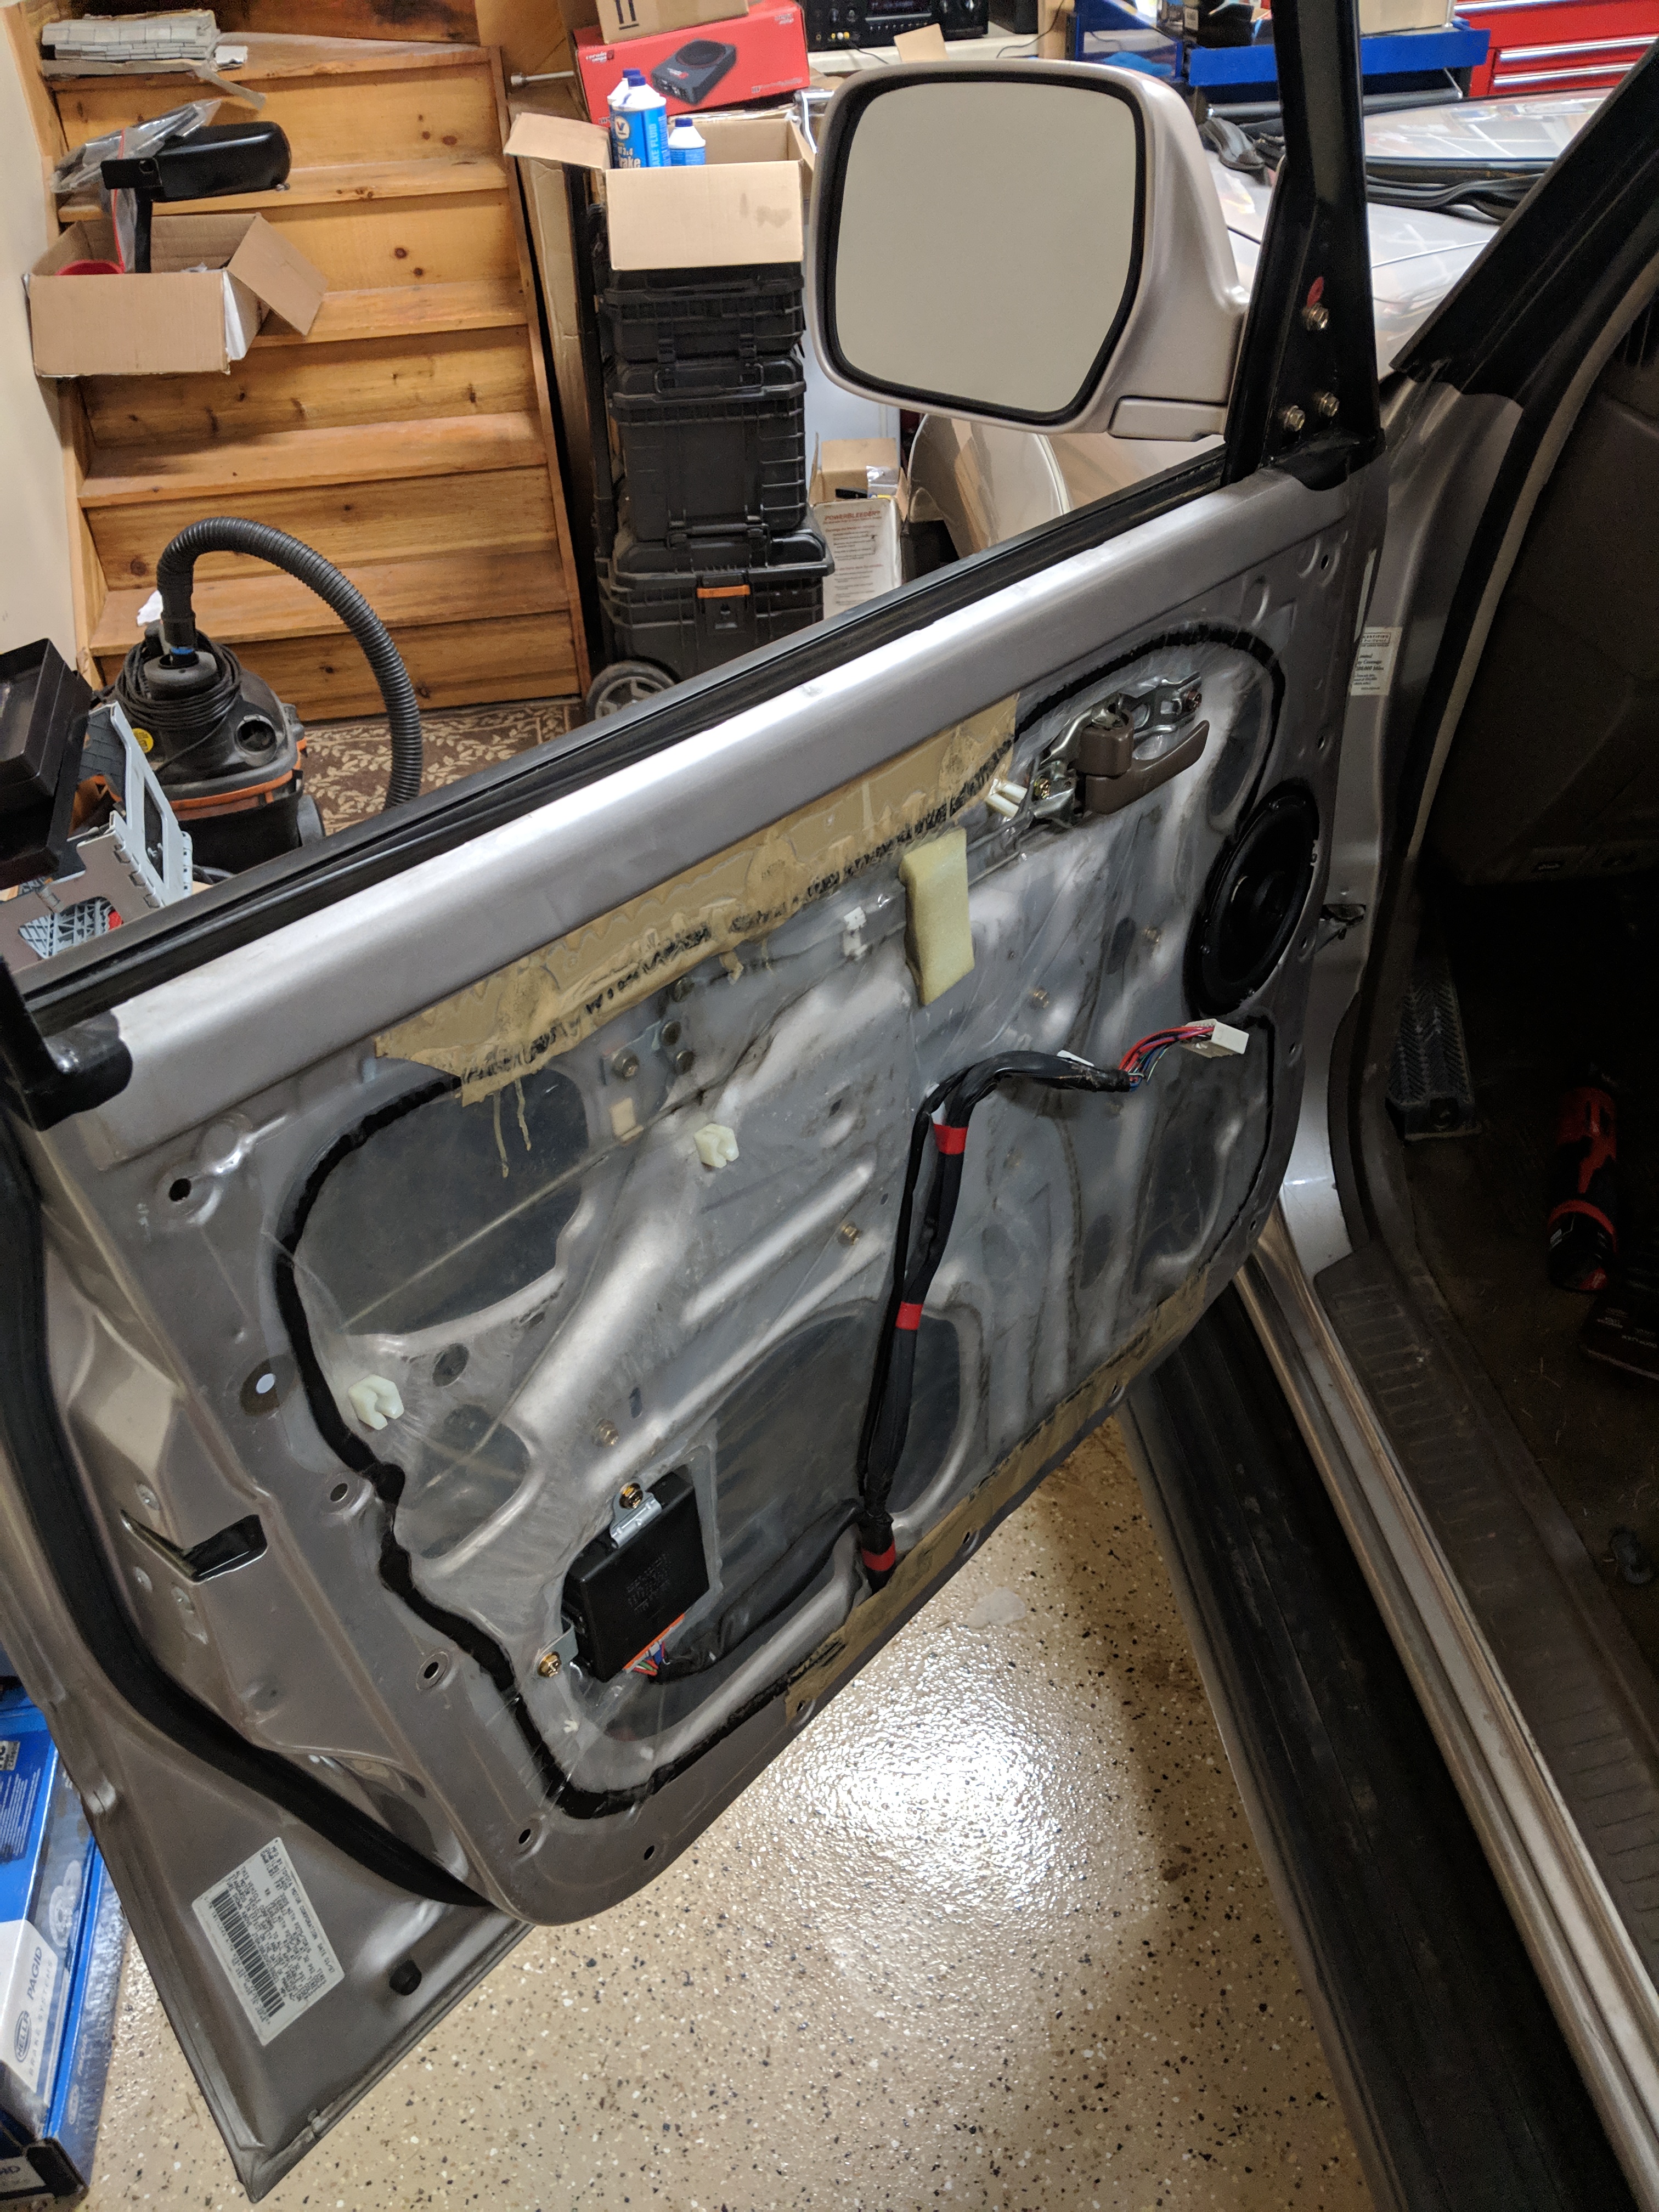
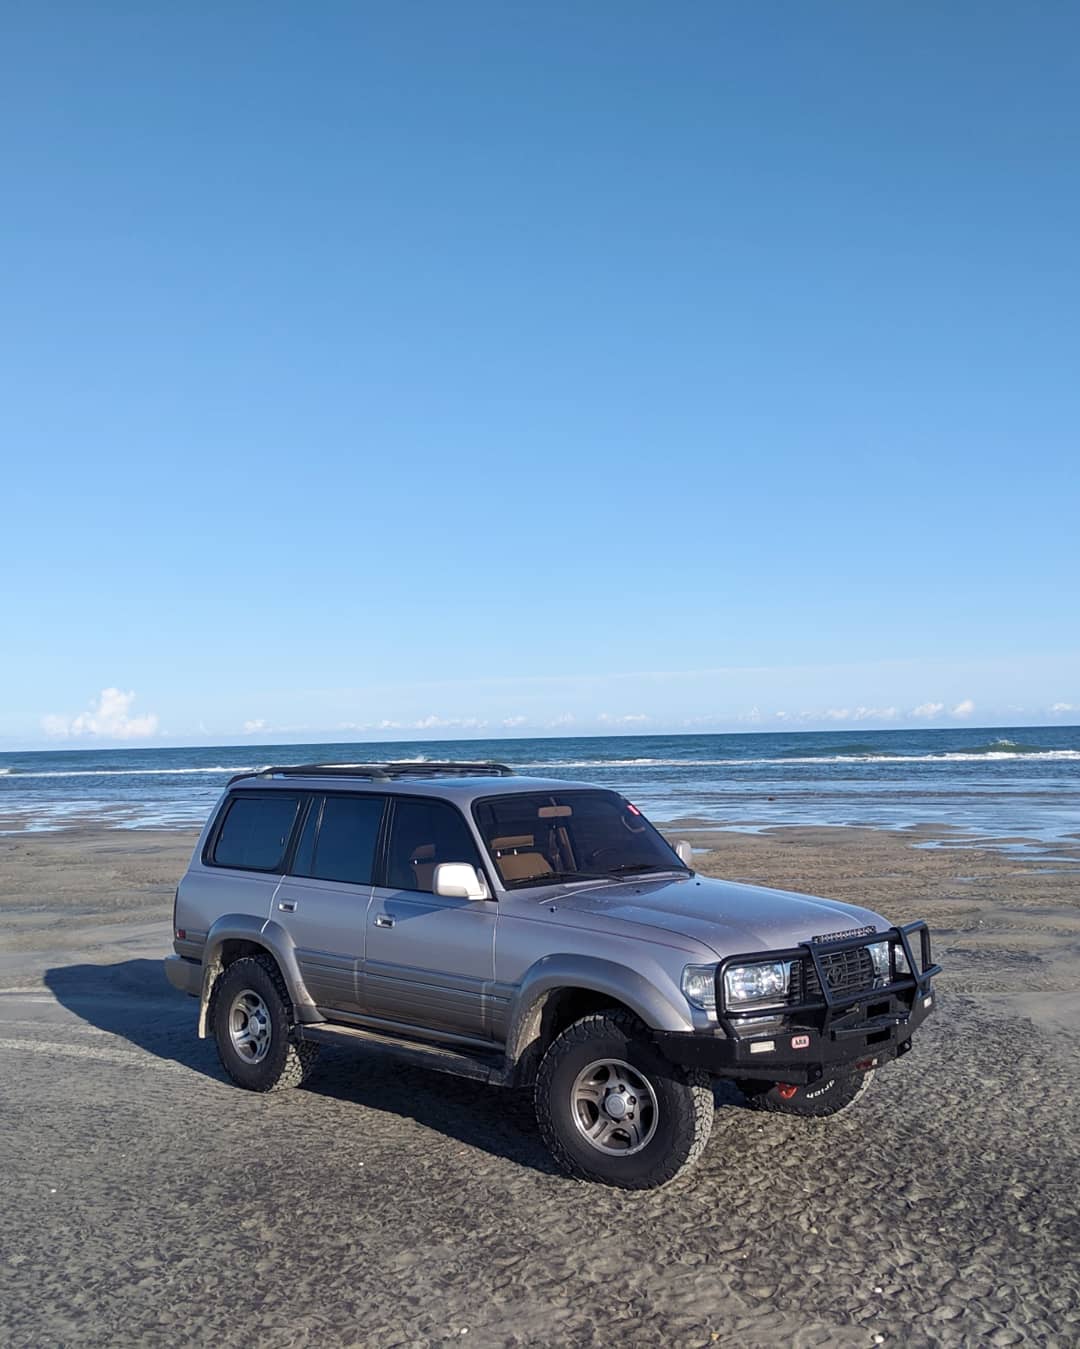
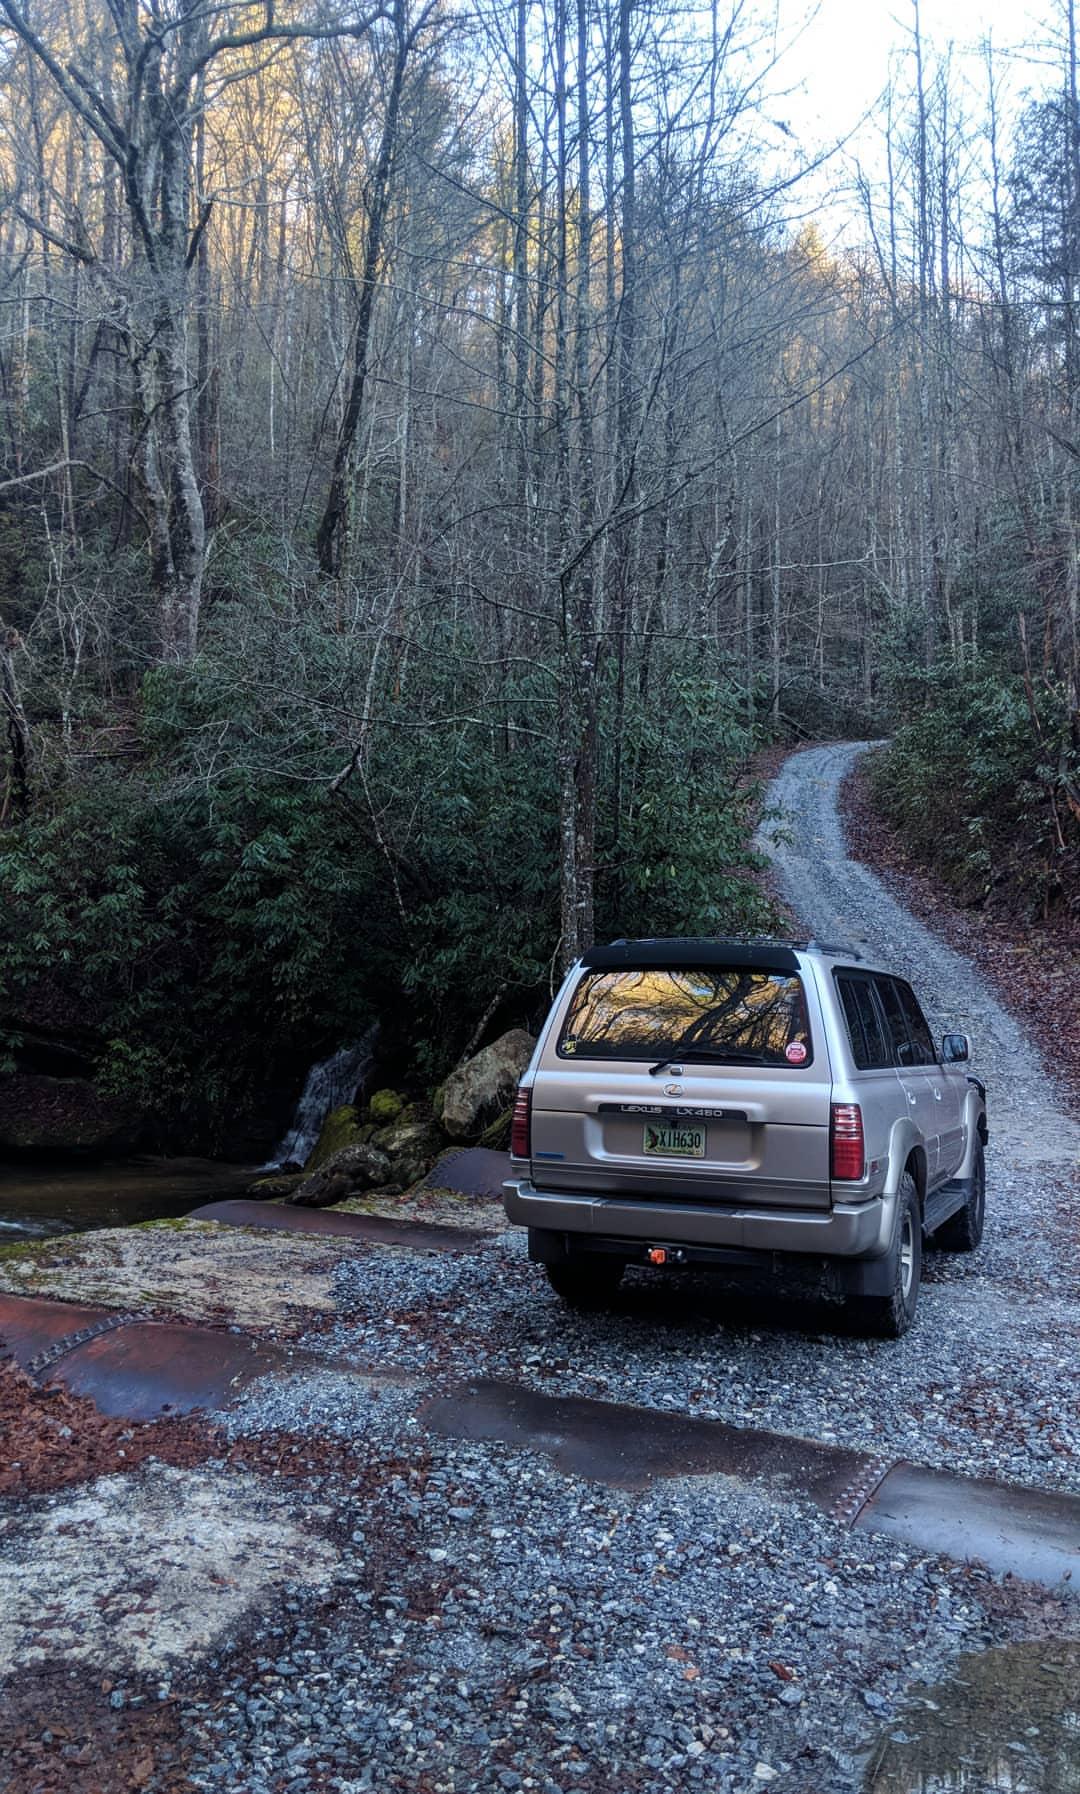
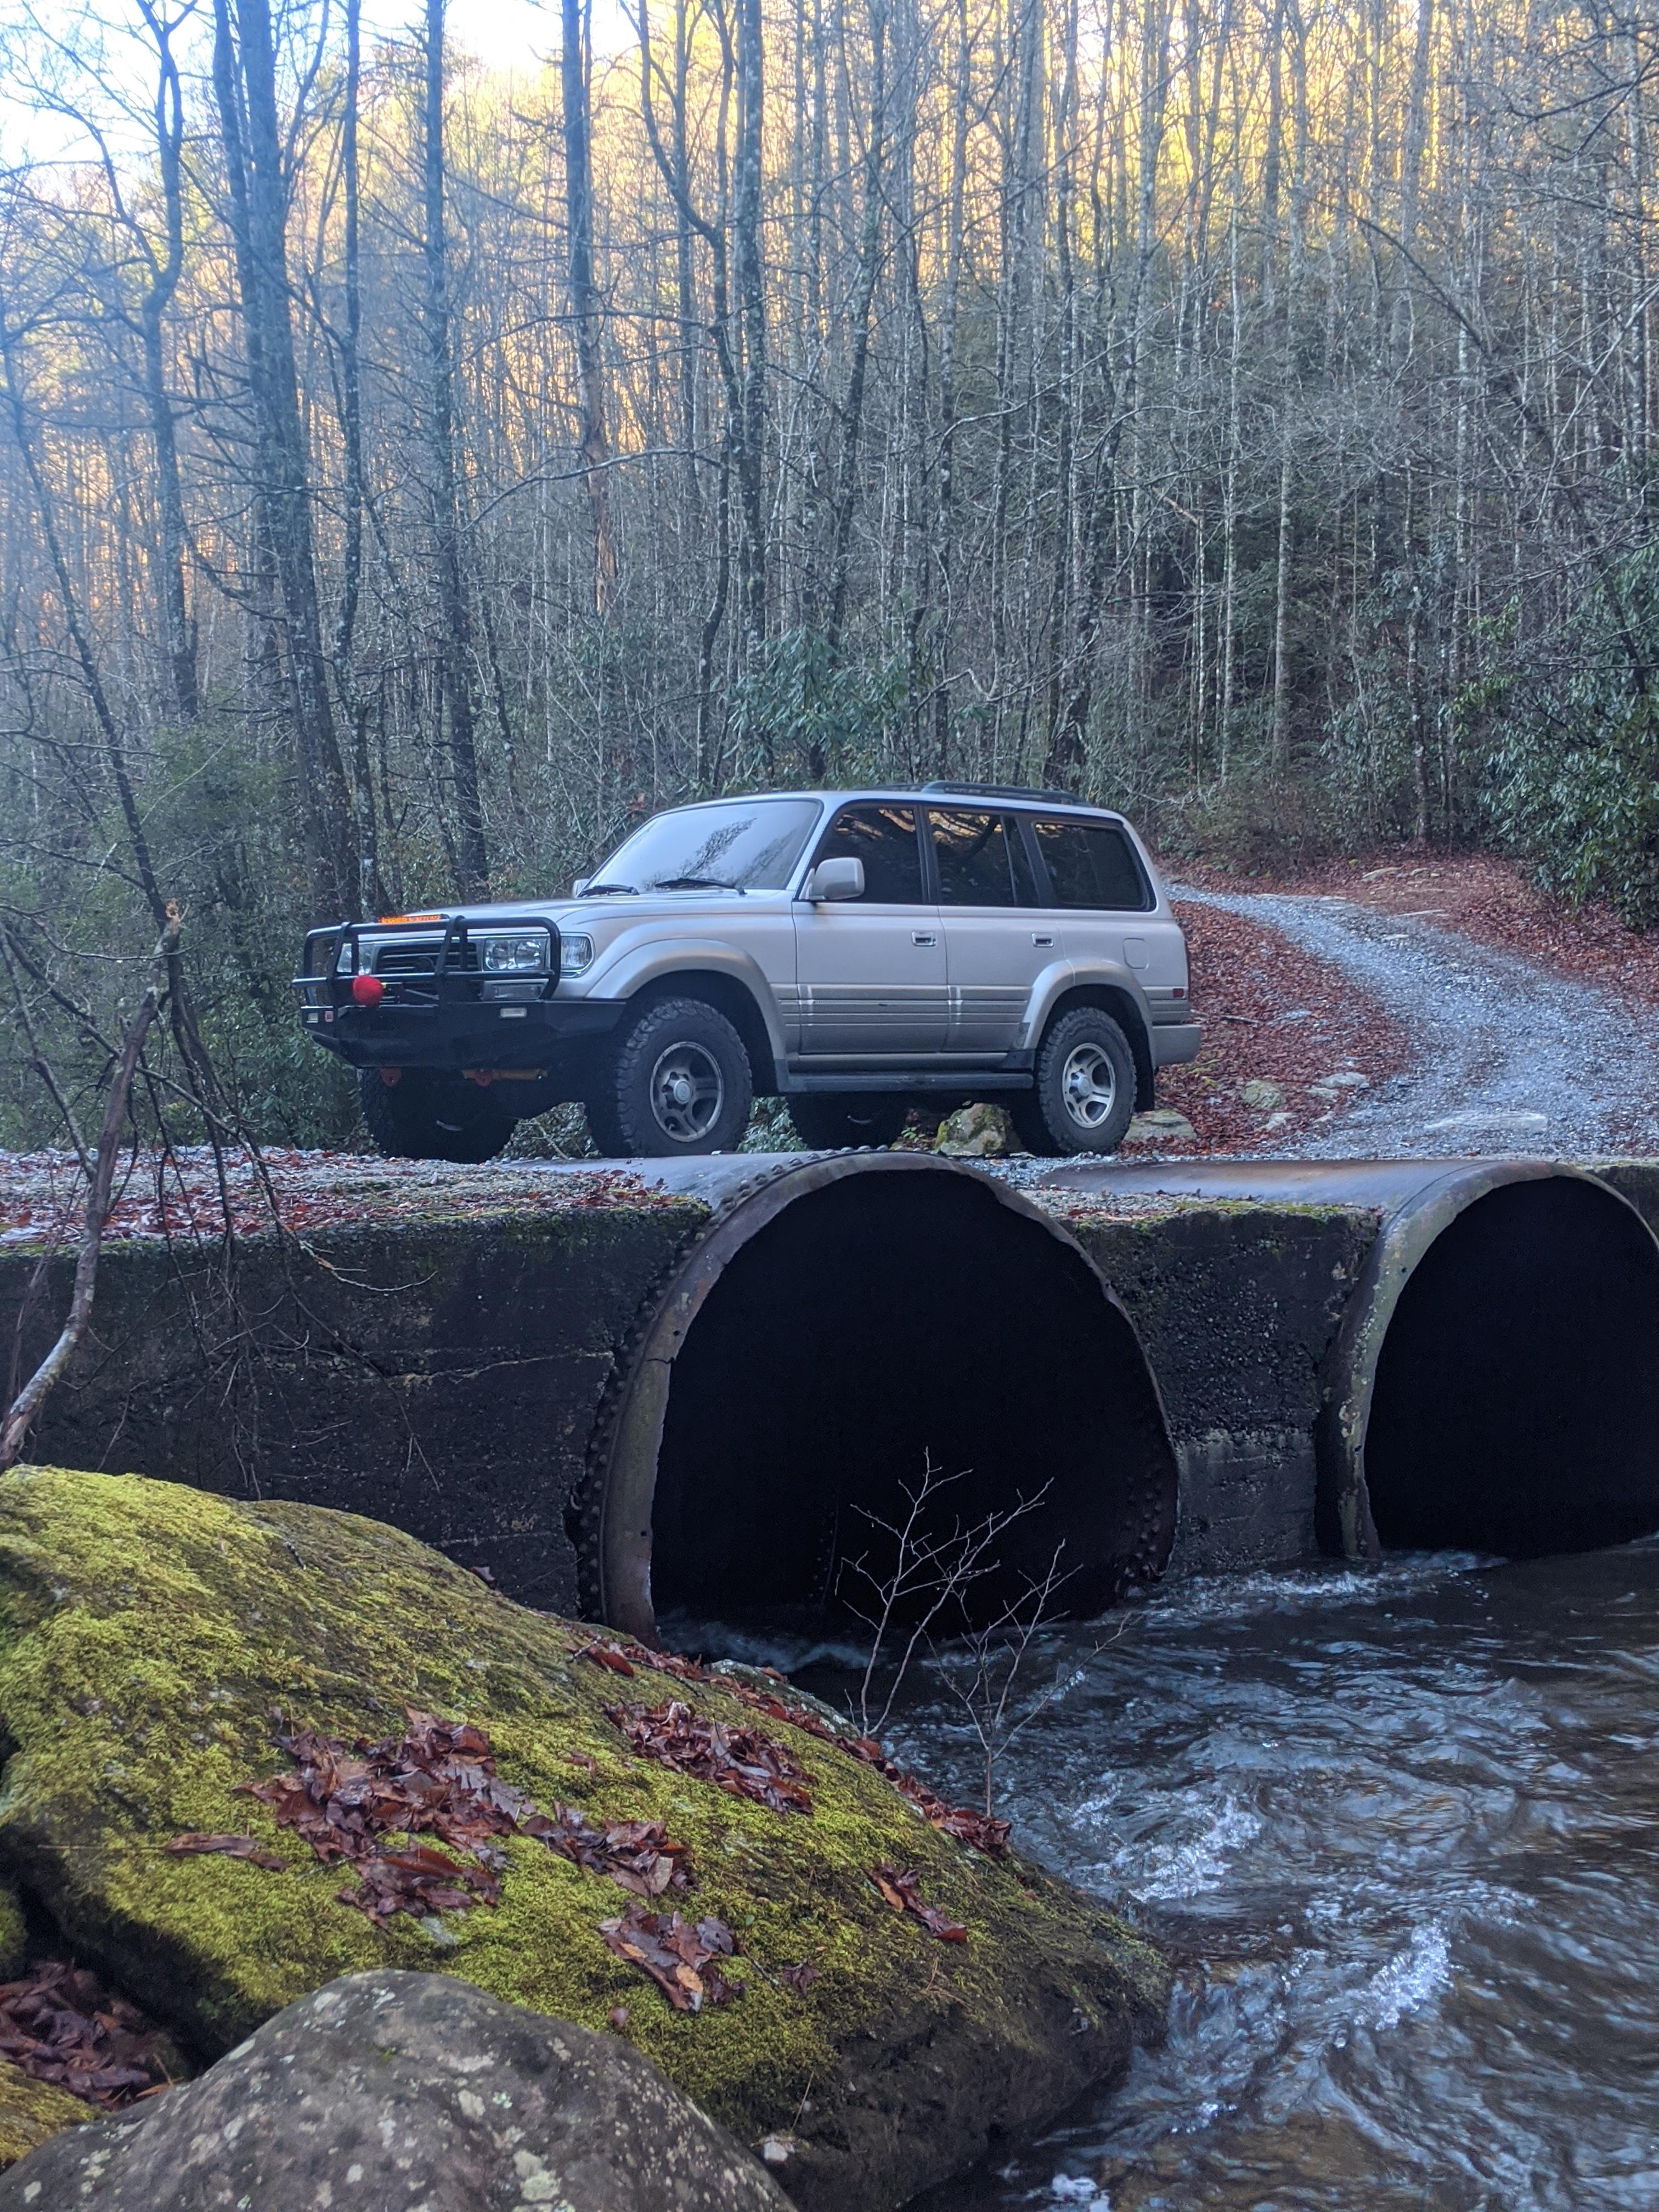
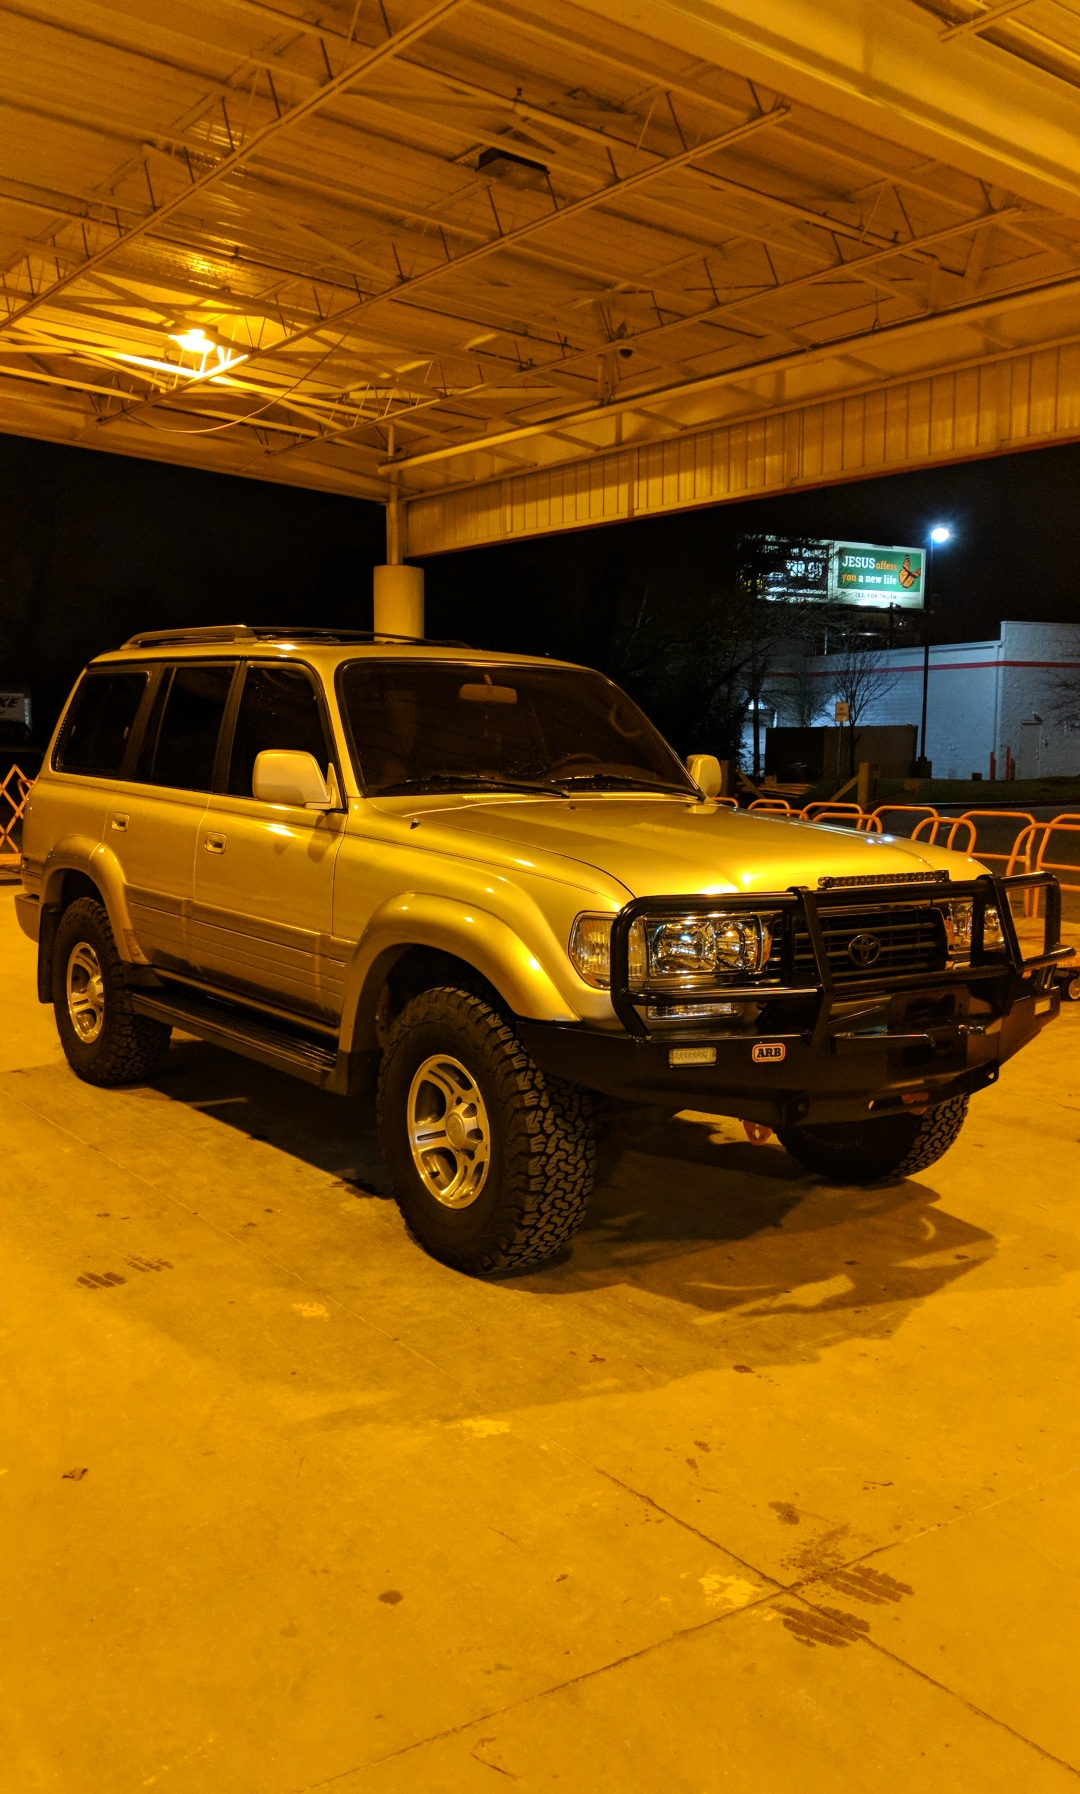
I appreciate the info, honestly I assumed they would've used a surface grinder but I'm not sure exactly what they used. Regardless with or without a surface grinder, this is not the way I would've fix it. I definitely plan on revising this at a later time, however as of now I just want to drive and enjoy the thing. It has spent months just sitting because I didn't want to drive it how it was before.