Builds "Jolly" is getting an LS3 Connect & Cruise package (1 Viewer)

This site may earn a commission from merchant affiliate
links, including eBay, Amazon, Skimlinks, and others.

I am not expecting any issues with the front drive shaft. I take measurements for length on both and take them to Carolina drive line. I have them make the rear to length and replace ujoints. On the fronts I give them a length and have them make me up a 2" diameter front drive shaft and keep the original yokes. The 2" shaft is also a thicker gauge to make up for the lack of diameter. Have not had a clearance issue yet on many swaps.
 
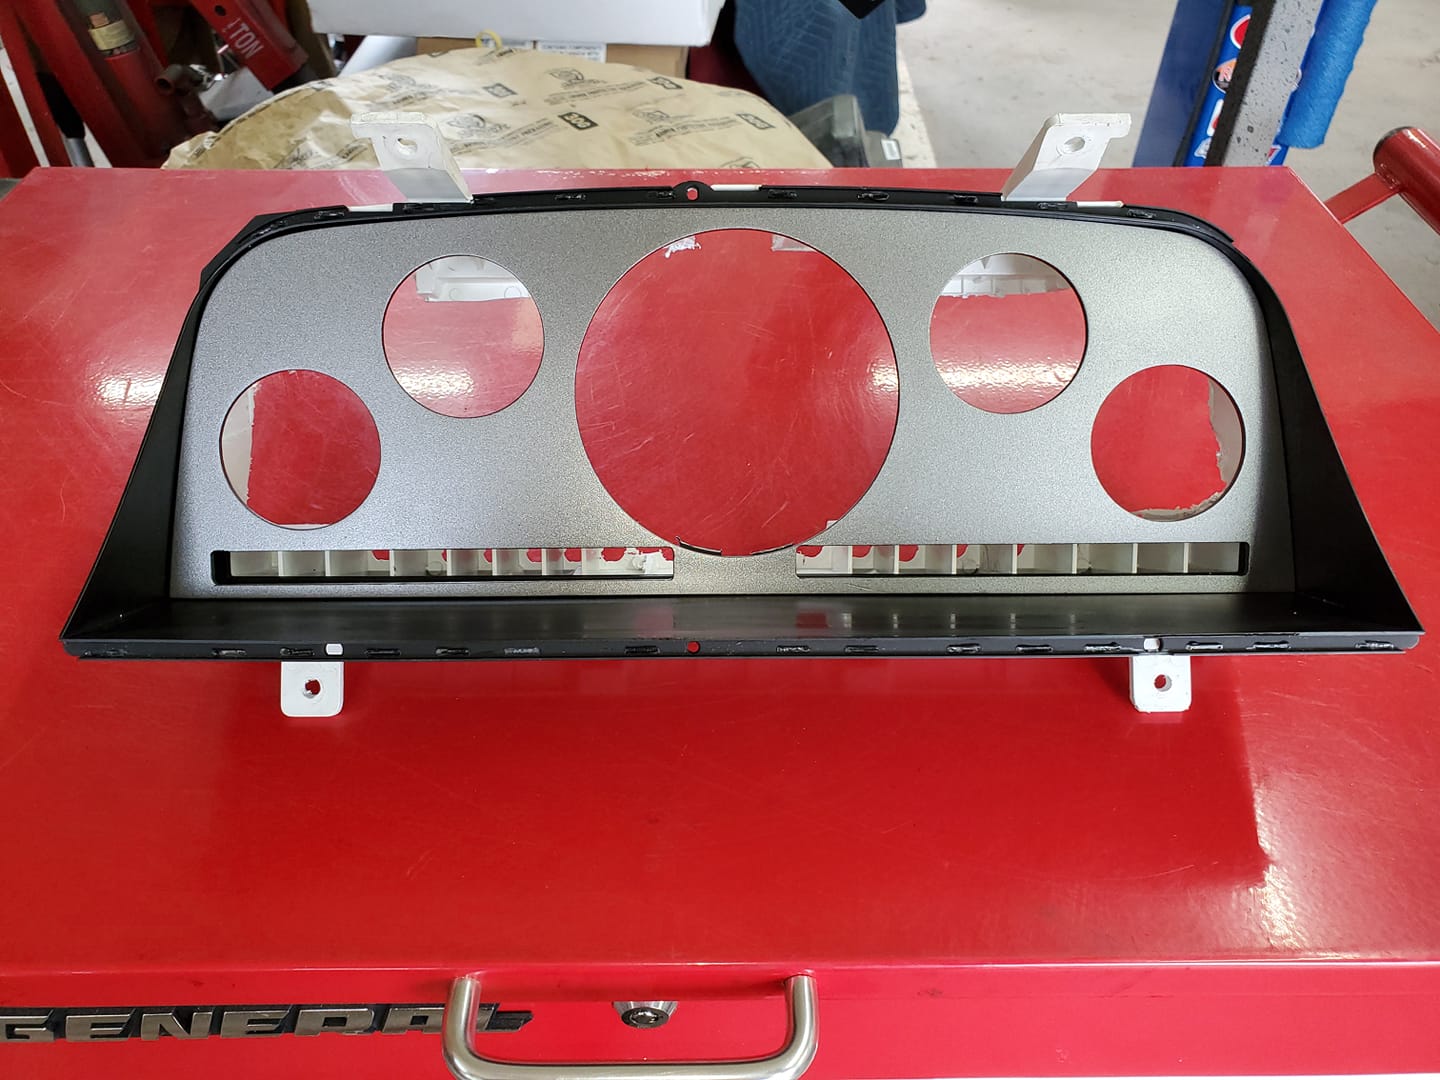
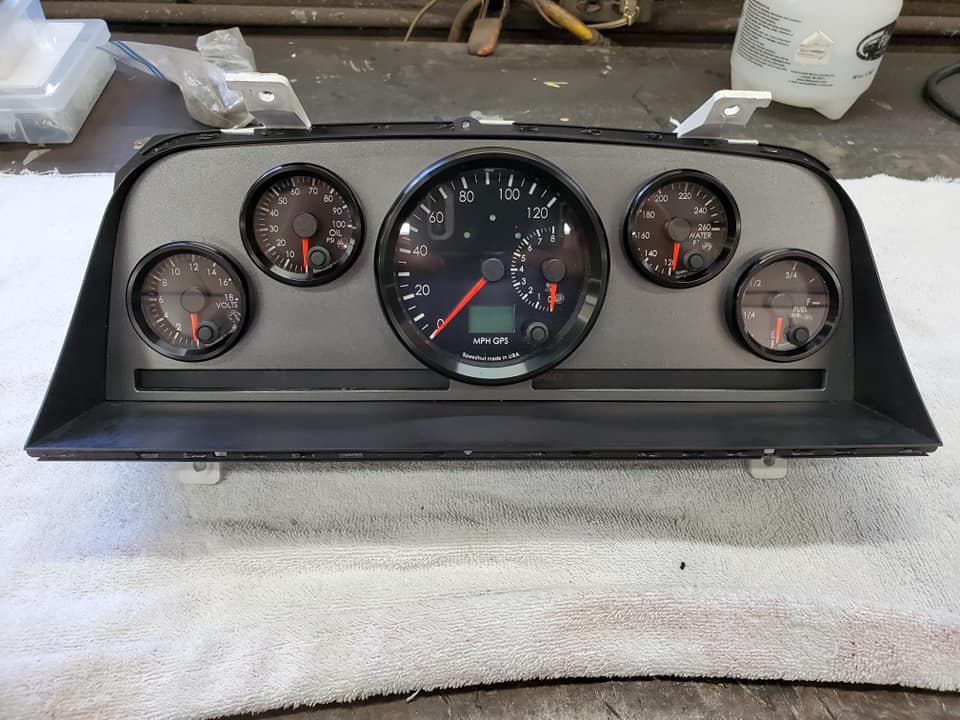
Jolly's new dash layout

104462751_3411692572194943_8653511025659295048_o.jpg
 
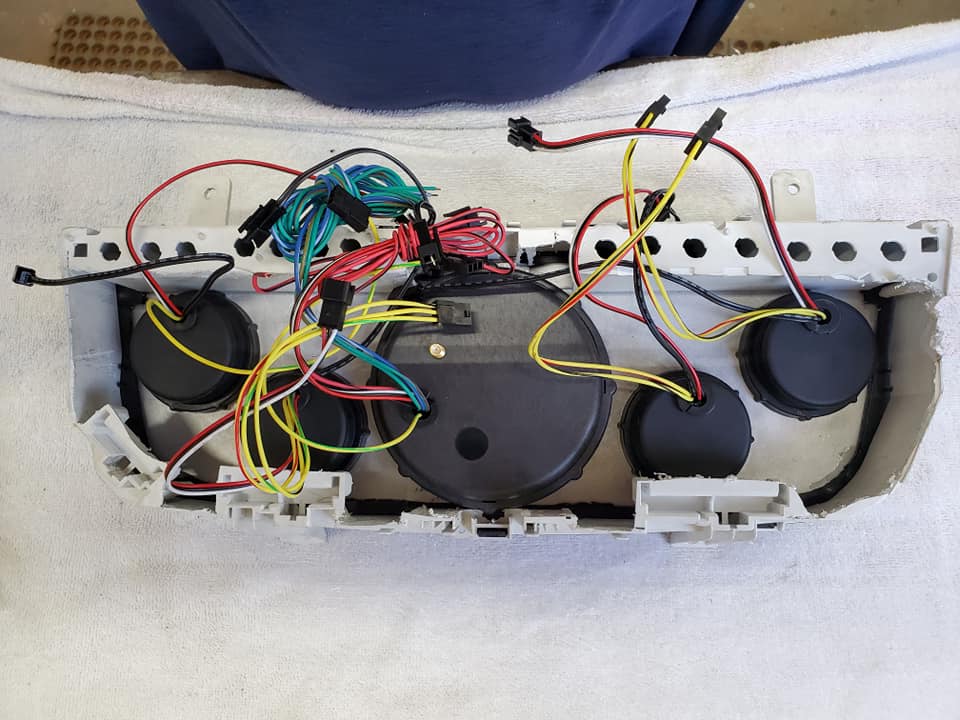
Gauges are installed into the gauge pod, a couple more things to hook up and they are ready to install

106596272_3451731001524433_7865610305337514525_n.jpg

106625270_3451731048191095_2030125607761880748_n.jpg
 
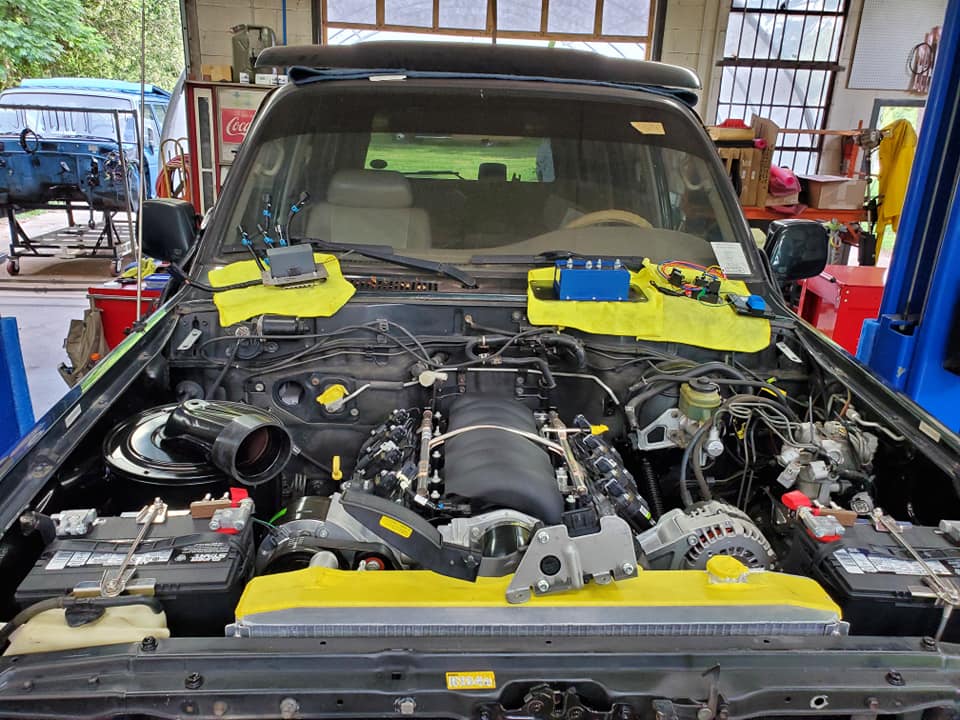
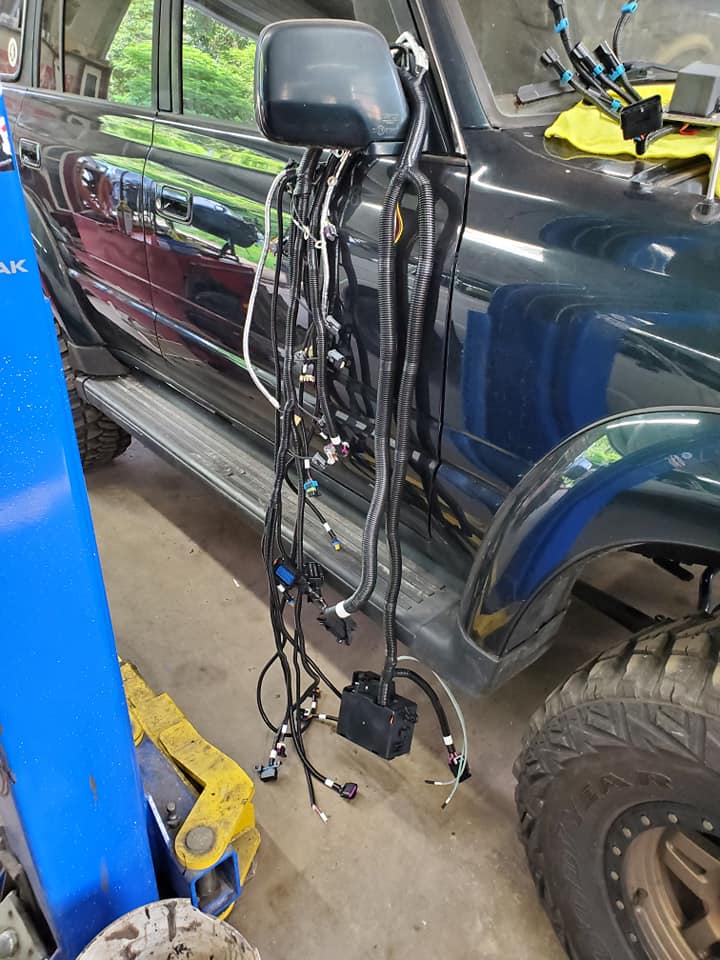
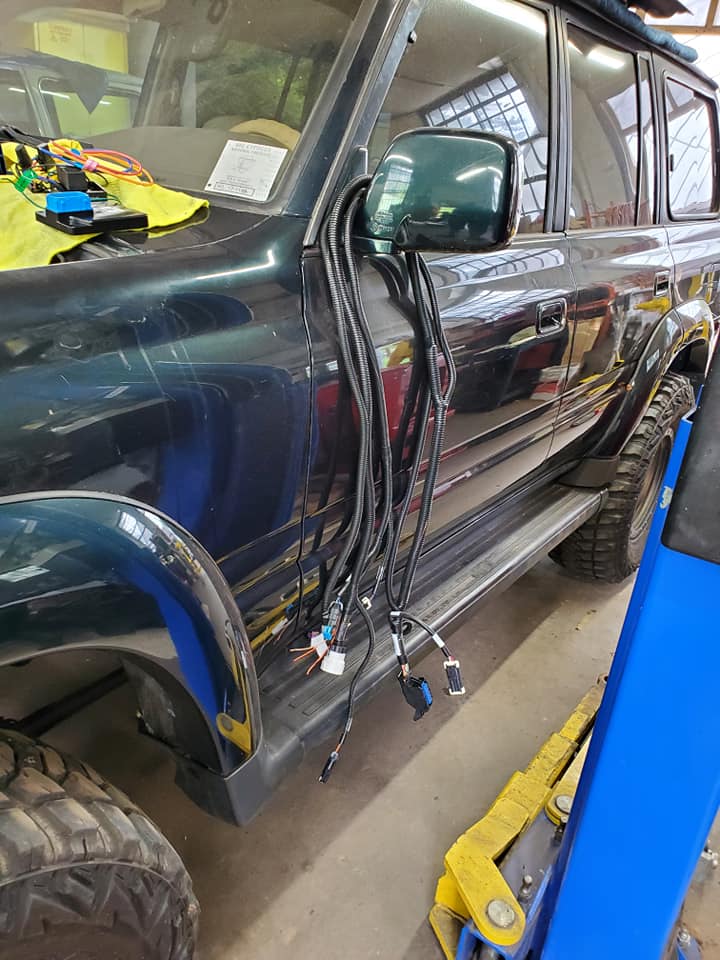
Laying out all the pieces going under the hood. Engine relay/fuse block, Bussman relay/fuse block, trans controller, fan controller, windshield washer bottle. It will be full for sure

116557144_3530535280310671_7871051781245564277_n.jpg

116682850_3530535600310639_671456019450735613_n.jpg

116479537_3530535780310621_2450897633940703012_n.jpg
 
Yes, all the typical indicators in the lower areas will be hooked up and working. Those are the only photos I have.
 
Thank you :)
 
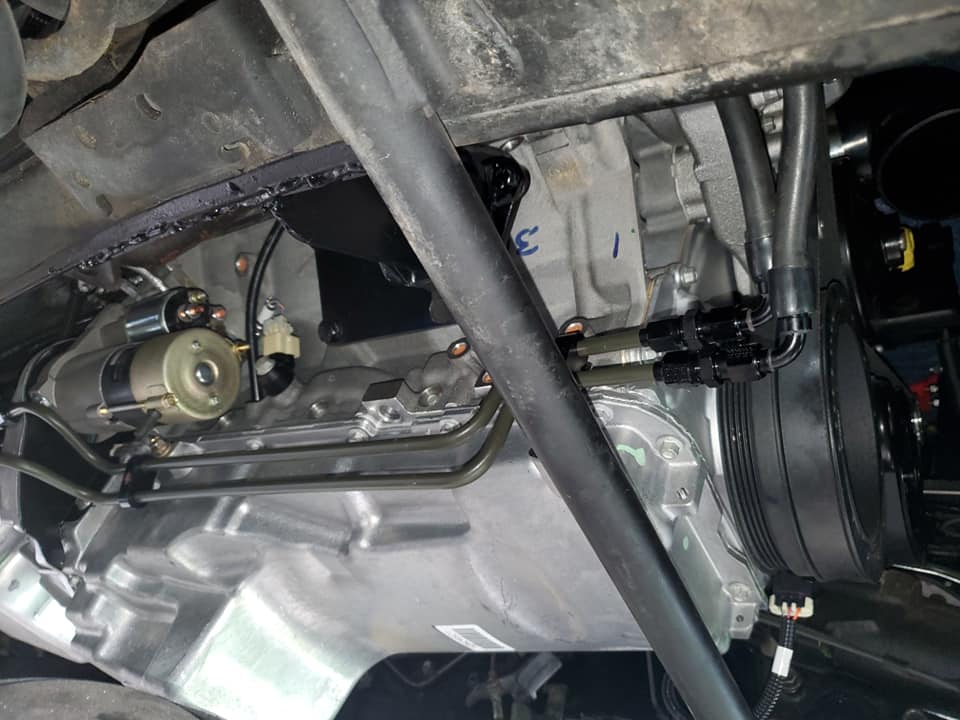
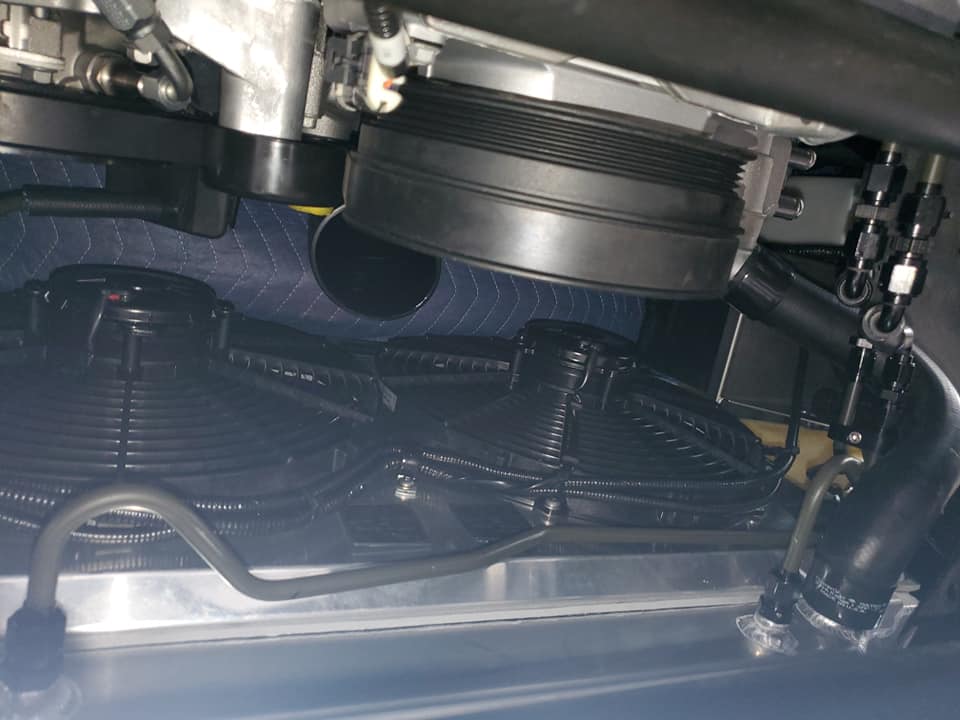
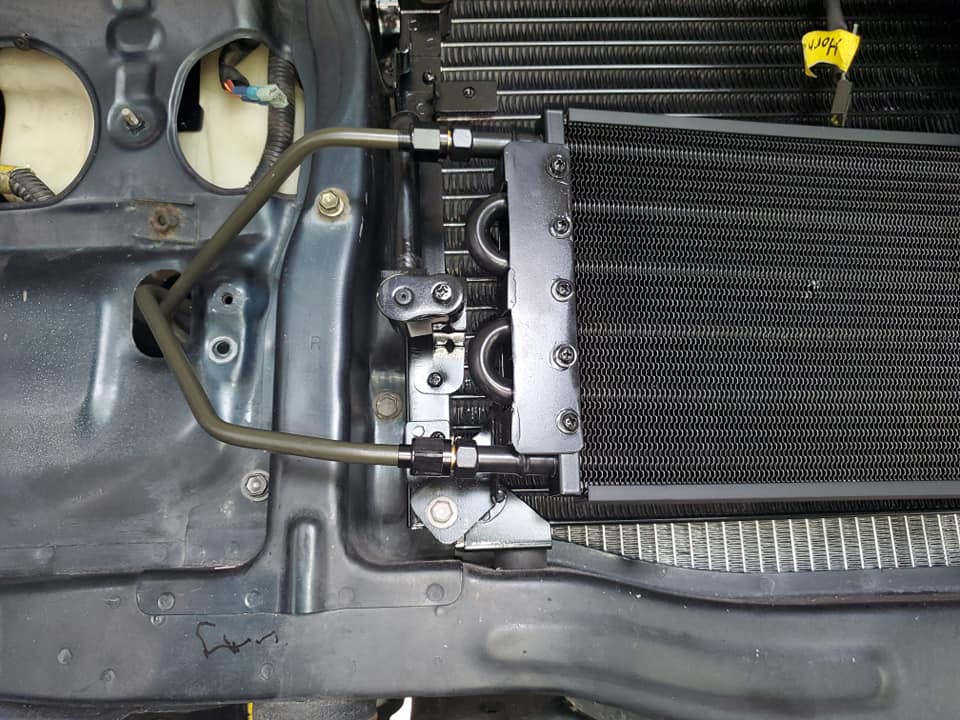
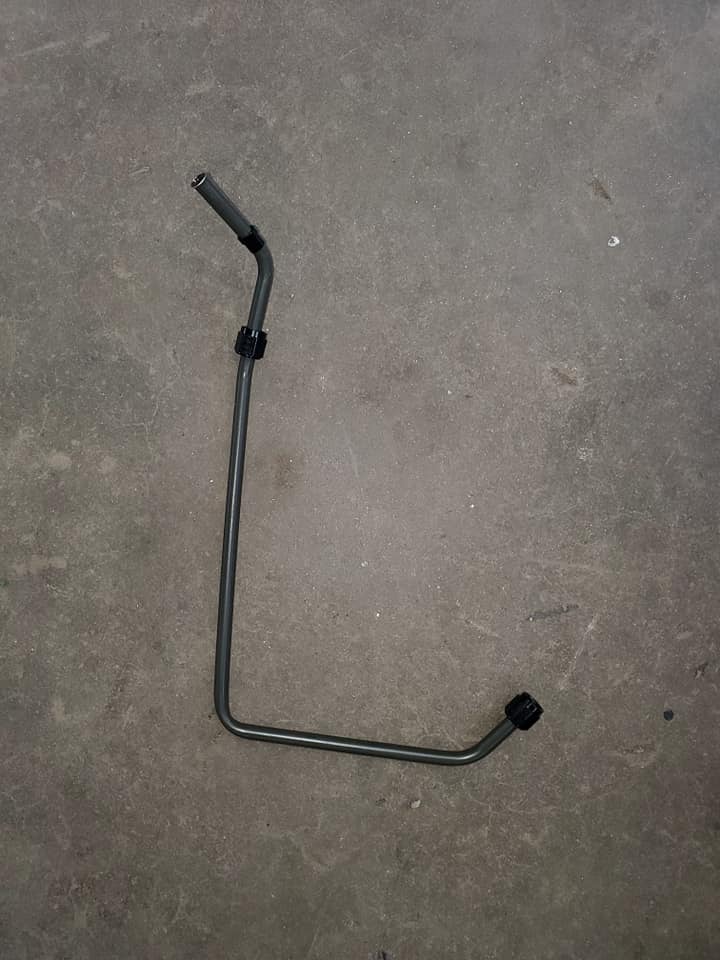
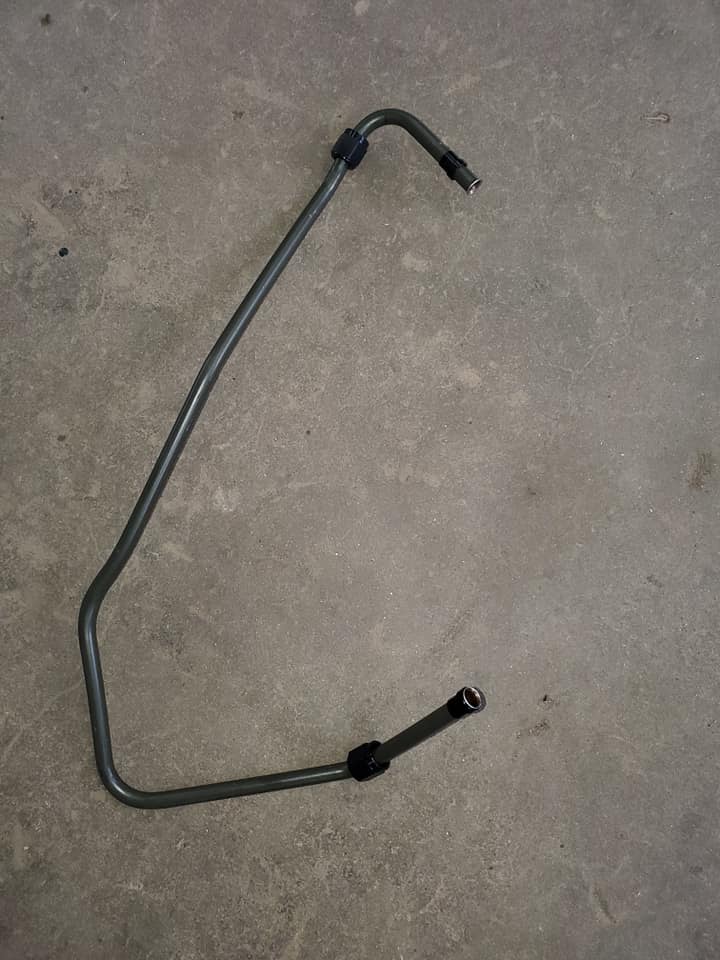
Got all the fuel lines done. Bent up all the trans cooler lines and installed. Trans to cooler in radiator to aux cooler.

118069309_3593554400675425_4264848210682369911_n.jpg

118232054_3593554450675420_5034274726791698911_n.jpg

118225937_3593554587342073_7866032579501603842_n.jpg

118032214_3593554680675397_1416870405703673260_n.jpg

117953150_3593554720675393_2522610647298841838_n.jpg
 
That's some swap porn! I had to close the door to look at those photos. Hopefully one day I'll find a bag of money, then I'll give you a call. You've clearly got this swap sorted. Well done, sir.
 
Thank you sir, you are too kind.
 
Did you push your engine forward?
I can not really answer that question. I mounted the engine where I generally do in swaps, with the passenger side head about an inch from the fire wall. This truck has a 60 series transfer case in it.

That aside, I do not let after market manufacturers designs dictate where I position the drive train. It is much easier to deal with shifter positions ect. than it is to try to put a drive train where an OEM shifter position dictates.
 
It's looking amazing! Will you be using the Toyota airbox? If so, what path will the intake tube take around the AC compressor?
 
Gauges are installed into the gauge pod, a couple more things to hook up and they are ready to install

106596272_3451731001524433_7865610305337514525_n.jpg

106625270_3451731048191095_2030125607761880748_n.jpg

Gauges look awesome - can't tell the manufacturer though - I'm assuming you can set the ohms on the fuel gauge to calibrate and match the toyota sender?
 
Juts reviewed your site - it notes Hut Gauges.
 
Last edited:
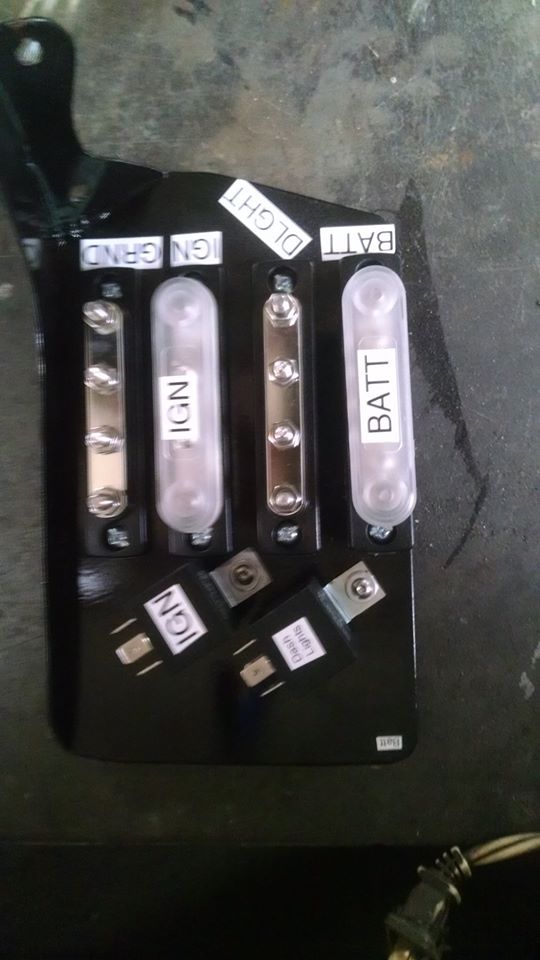
Electrical work on older vehicles always presents obstacles. I wire everything I do separate from the OEM system as a stand alone electrical system. This panel fits up under the dash to the left of the steering column. IGN and dash light power are created by the two relays. They use BATT power and are fired by tapping into the OEM IGN circuit and dash lights. SO only mili amps are taken from the OEM circuits rather than Amps for all the add ons.

101369401_3359958934034974_7167328388615503872_o.jpg

Where do you source the components of this panel?
 
Gauges look awesome - can't tell the manufacturer though - I'm assuming you can set the ohms on the fuel gauge to calibrate and match the toyota sender?
They are Speed Hut gauges. You can set the ohms but none of the 6 pre sets match up Toyota sender. I replace the sender with a Tanks Inc. sender with a GM ohm range that the gauge supports.

Where do you source the components of this panel?

Bus bars are Blue Sea
 

Users who are viewing this thread

Back
Top Bottom