
Alright so I searched several different ways yesterday and I didn't find a really good guide for getting the signal/running lights wired up on my new Combo Bar from ARB. Since the ARB instructions that were included are SO excellent  rolleyes, I decided to write my own for the masses to enjoy.
A couple of things:
1. I have an 03-07 ARB Combo Bar on a 2000 100 series. This write up specifically pertains to that setup. This is not for a 98-02 Combo Bar, and it's not for a Sahara Bar (sorry!), but if you own one of those bars, read on. You can probably glean some information about what wire does what (on the LC side of the harness at least), and go from there. I do not know if the wire colors are different for the newer model years, but I suspect that they are the same since I was going off of a 2004 EWD and everything matched up.
2. No making fun of my wiring skills (or lack thereof). I'm no pro, I just do what has worked for me in the past. Everyone has their own way of doing things, so if something works better for you, do it your way. The purpose here is to identify what wires do what and shed some light on the cryptic instructions provided by ARB, which are essentially useless.
3. If you melt your stuff or set your truck on fire, it ain't my fault!
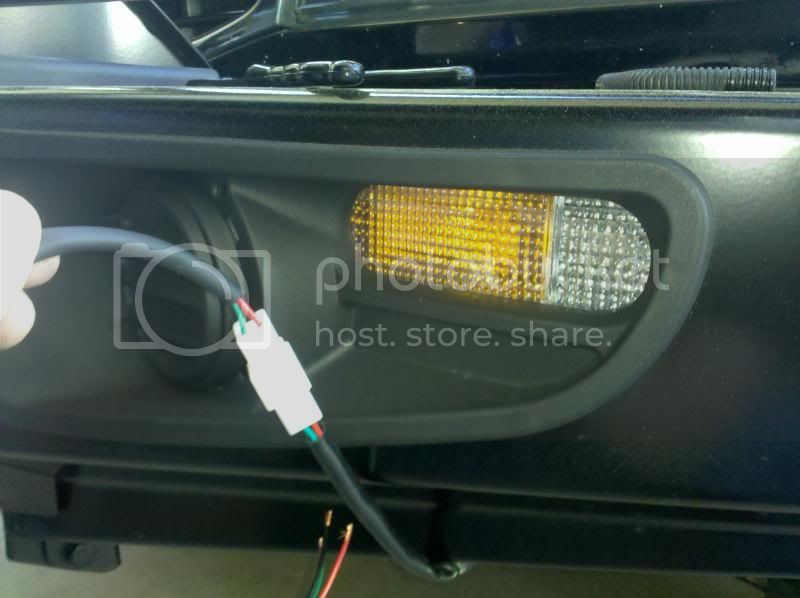
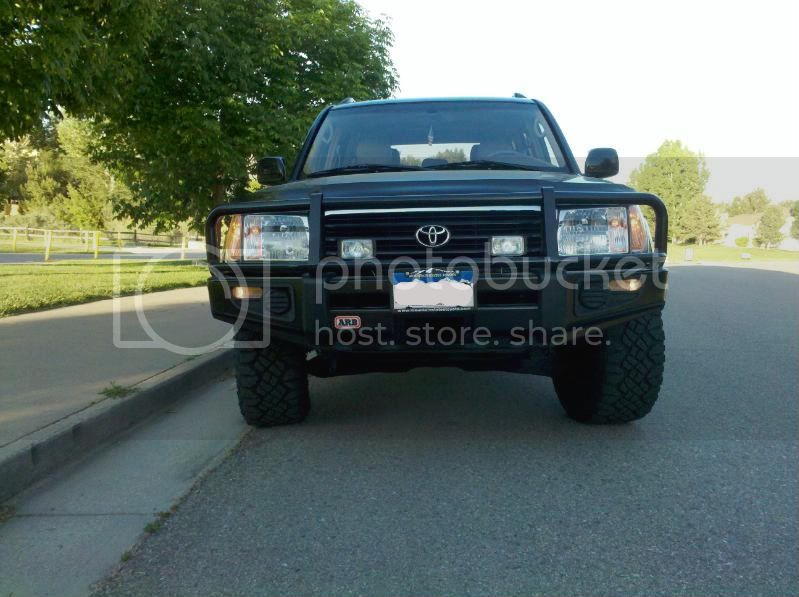
OK, here we go. The 03-07 combo bars have a split-lens signal/running light combo, with two separate bulbs. I wired mine so that the clear outer lens (running light) comes on with the parking lights/headlights, and that the amber portion of the lens activates with the turn signals. To do this, I tapped into the wires coming off of the side marker.
Note: Most of my pictures were taken from the driver's side, so I will be "narrating" this procedure from the perspective of the driver's side. The process is exactly the same for the passenger side, the only difference is the color of the flasher wire which is detailed below.
Here are the wires you'll be working with, coming directly off of the side marker bulb:
Driver's side:
Green: Parking lamp
Green/Black: Flasher wire
Black/White: Ground
Passenger side:
Green: Parking lamp
Green/Yellow: Flasher wire
Black/White: Ground
On the ARB harness, there are also three wires:
Red: Marker light
Green: Signal light
Black: Ground
First, go ahead and plug in your ARB wiring harness to the plug coming off of the indicator lights. Looks like this:
Now, you may want to do things differently but I pulled the black wire out of the nice rubber loom they included and left it separate:
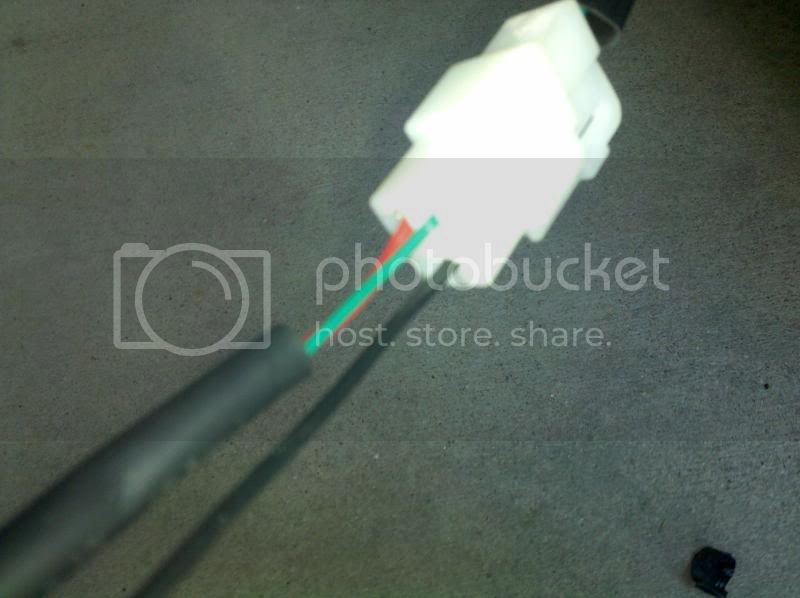
This makes it alot easier to route the black wire to a good ground, and I'll show you what ground points I chose when we get there.
Now, remove your sidemarker lights and pop the bulb free so just the bulb is hanging there (less stress on the wires and more room to work). I know, I know...I have the assembly attached in my picture. I didn't catch that until after I snapped it, so be quiet. There is some OEM wire loom that is taped at both ends. Remove the tape and take the wire loom off - we're going to replace it with a bigger version of the same stuff to accomodate the wiring and connectors.
Now, do this in whatever order you want as long as you match the wires correctly. I started with the signal wire. Cut the green and black wire (or green and yellow wire on the passenger side), and trim some coating off of each end, how much depends on what you're using to complete the splice. I used butt connectors, so about 1/4" was plenty.
Now, take your GREEN wire from the ARB harness, and twist it together with the driver's side section of the green/black wire you just cut. Crimp on a butt connector...


...then place the bulb-side of the wire in the other end of the butt connector and crimp it down.
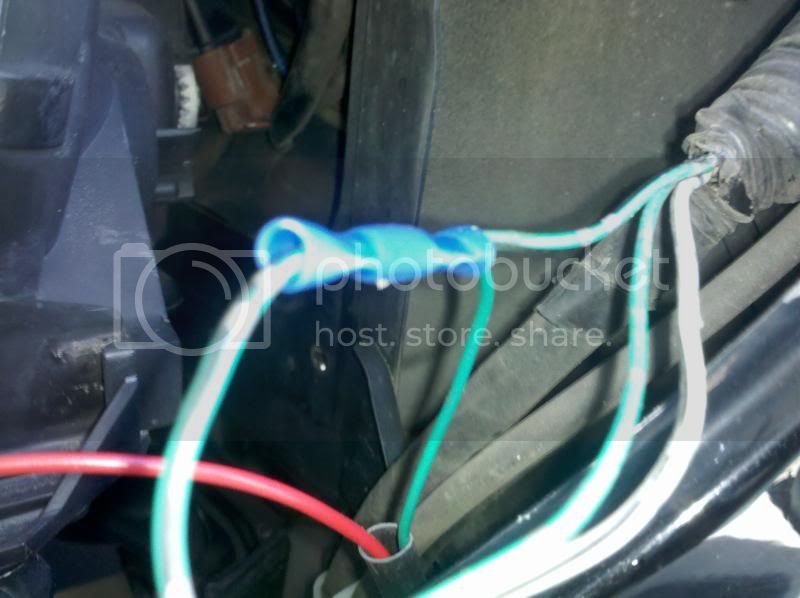
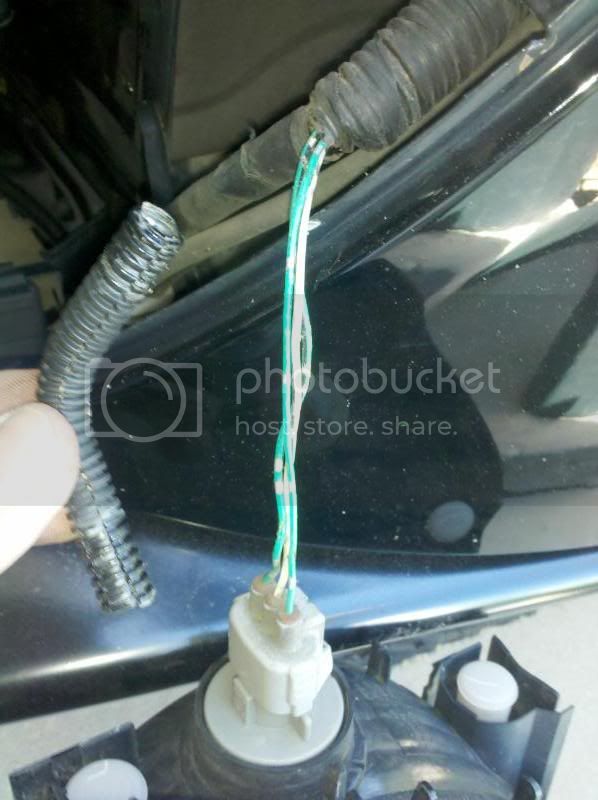
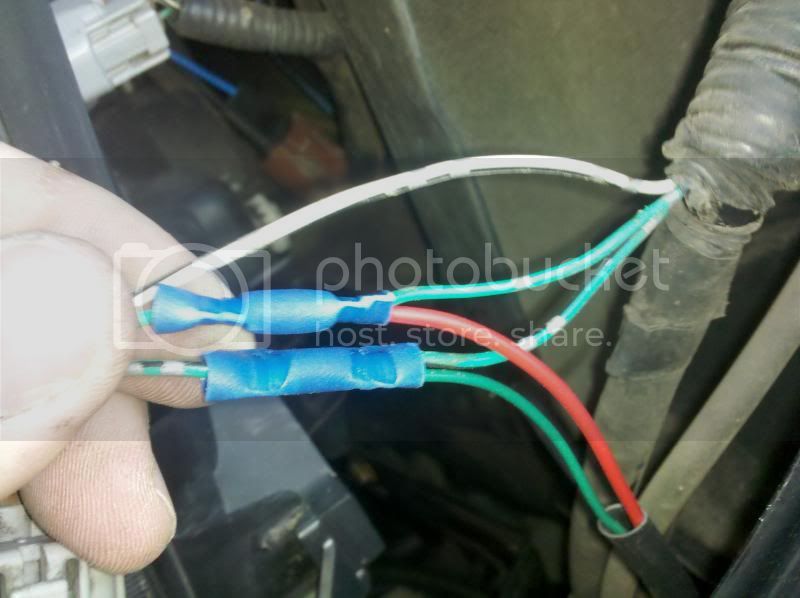
Easy, right? Good. Now, snip the GREEN wire on the OEM harness, and connect the RED wire on the ARB harness using the same process. All told, we should have spliced ARB-green with OEM-green/black, and ARB-red with OEM-green. The ARB-black and OEM-black/white wires are the grounds and shouldn't have been messed with. Finished product should look like this:

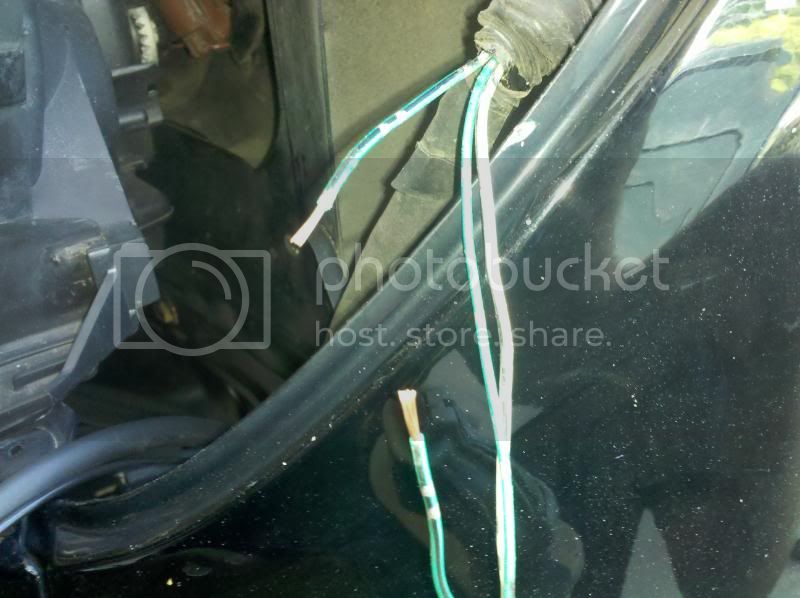
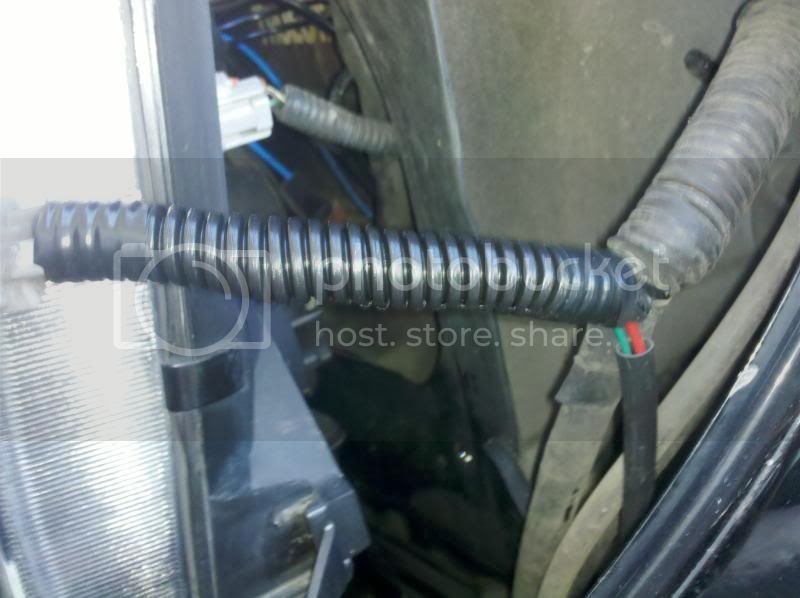
Now, seal up your connections however you want. I just taped the end of each butt connector and neatly tucked them into some larger wire loom, giving it a factory appearance, but something a little more weather resistant might be a good idea if you do a lot of water crossings or live in a particularly rainy or humid environment (dielectric grease, liquid electrical tape, heat shrink tubing, etc). For now, this does the trick for me and looks clean:
Now, for the grounds I used two factory ground points, one by the battery...
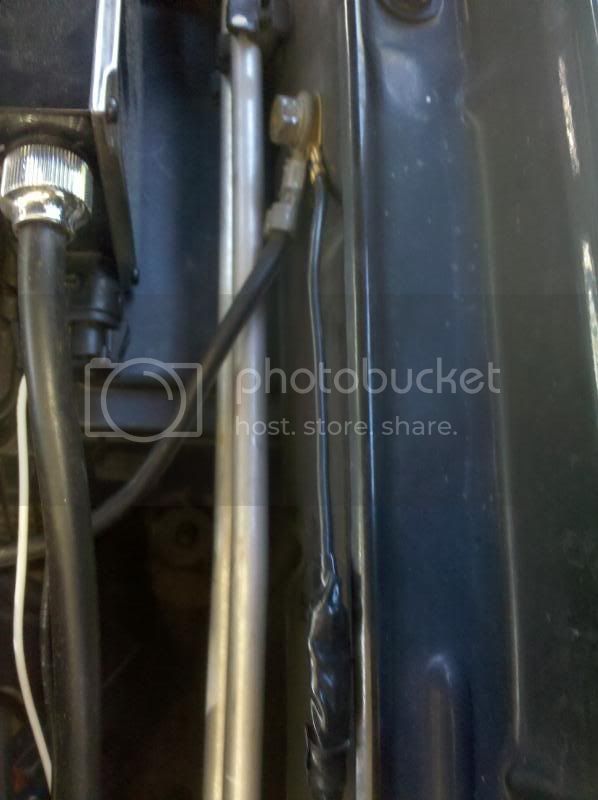
(note that I had to extend the black wire using another butt connector as the ARB wire was juuuuust shy of being long enough)
...and one by the air box:
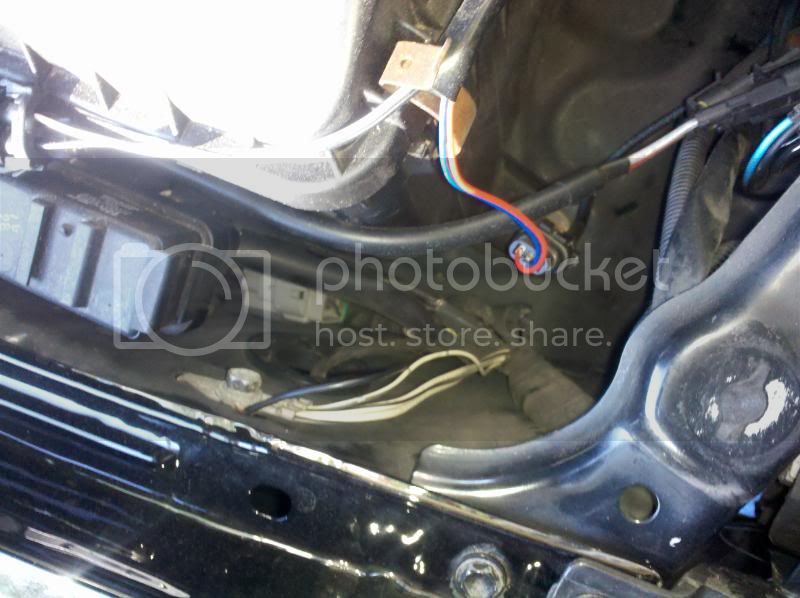
Note that I did NOT cut into the OEM ground wires in the harness - I ran the black ARB wire to a dedicated ground point to eliminate the chance of killing the ground to BOTH of the lights. By running the black wire to it's own ground point, if it comes loose then the only thing you lose is the ARB signal. This is also the reason why I recommend you leave the black wire separate from the other two in the ARB loom - it gives you much more flexibility in routing the wire.
Now, double check your connections and test the signals. If you've done everything correctly, you should have running lights that come on with the parking/head lights:
...and the amber signals will work in tandem with your sidemarkers:

If all is well, zip tie your wires up out of the way, and you're good to go! I also wrapped the white connectors on the ARB harness with a couple layers of tape to keep them firmly seated together and keep a little bit of the moisture away.
Take that, ARB. Your instructions blow!
rolleyes, I decided to write my own for the masses to enjoy. A couple of things:
1. I have an 03-07 ARB Combo Bar on a 2000 100 series. This write up specifically pertains to that setup. This is not for a 98-02 Combo Bar, and it's not for a Sahara Bar (sorry!), but if you own one of those bars, read on. You can probably glean some information about what wire does what (on the LC side of the harness at least), and go from there. I do not know if the wire colors are different for the newer model years, but I suspect that they are the same since I was going off of a 2004 EWD and everything matched up.
2. No making fun of my wiring skills (or lack thereof). I'm no pro, I just do what has worked for me in the past. Everyone has their own way of doing things, so if something works better for you, do it your way. The purpose here is to identify what wires do what and shed some light on the cryptic instructions provided by ARB, which are essentially useless.
3. If you melt your stuff or set your truck on fire, it ain't my fault!
OK, here we go. The 03-07 combo bars have a split-lens signal/running light combo, with two separate bulbs. I wired mine so that the clear outer lens (running light) comes on with the parking lights/headlights, and that the amber portion of the lens activates with the turn signals. To do this, I tapped into the wires coming off of the side marker.
Note: Most of my pictures were taken from the driver's side, so I will be "narrating" this procedure from the perspective of the driver's side. The process is exactly the same for the passenger side, the only difference is the color of the flasher wire which is detailed below.
Here are the wires you'll be working with, coming directly off of the side marker bulb:
Driver's side:
Green: Parking lamp
Green/Black: Flasher wire
Black/White: Ground
Passenger side:
Green: Parking lamp
Green/Yellow: Flasher wire
Black/White: Ground
On the ARB harness, there are also three wires:
Red: Marker light
Green: Signal light
Black: Ground
First, go ahead and plug in your ARB wiring harness to the plug coming off of the indicator lights. Looks like this:
Now, you may want to do things differently but I pulled the black wire out of the nice rubber loom they included and left it separate:
This makes it alot easier to route the black wire to a good ground, and I'll show you what ground points I chose when we get there.
Now, remove your sidemarker lights and pop the bulb free so just the bulb is hanging there (less stress on the wires and more room to work). I know, I know...I have the assembly attached in my picture. I didn't catch that until after I snapped it, so be quiet.
There is some OEM wire loom that is taped at both ends. Remove the tape and take the wire loom off - we're going to replace it with a bigger version of the same stuff to accomodate the wiring and connectors.
Now, do this in whatever order you want as long as you match the wires correctly. I started with the signal wire. Cut the green and black wire (or green and yellow wire on the passenger side), and trim some coating off of each end, how much depends on what you're using to complete the splice. I used butt connectors, so about 1/4" was plenty.
Now, take your GREEN wire from the ARB harness, and twist it together with the driver's side section of the green/black wire you just cut. Crimp on a butt connector...
...then place the bulb-side of the wire in the other end of the butt connector and crimp it down.
Easy, right? Good. Now, snip the GREEN wire on the OEM harness, and connect the RED wire on the ARB harness using the same process. All told, we should have spliced ARB-green with OEM-green/black, and ARB-red with OEM-green. The ARB-black and OEM-black/white wires are the grounds and shouldn't have been messed with. Finished product should look like this:
Now, seal up your connections however you want. I just taped the end of each butt connector and neatly tucked them into some larger wire loom, giving it a factory appearance, but something a little more weather resistant might be a good idea if you do a lot of water crossings or live in a particularly rainy or humid environment (dielectric grease, liquid electrical tape, heat shrink tubing, etc). For now, this does the trick for me and looks clean:
Now, for the grounds I used two factory ground points, one by the battery...
(note that I had to extend the black wire using another butt connector as the ARB wire was juuuuust shy of being long enough)
...and one by the air box:
Note that I did NOT cut into the OEM ground wires in the harness - I ran the black ARB wire to a dedicated ground point to eliminate the chance of killing the ground to BOTH of the lights. By running the black wire to it's own ground point, if it comes loose then the only thing you lose is the ARB signal. This is also the reason why I recommend you leave the black wire separate from the other two in the ARB loom - it gives you much more flexibility in routing the wire.
Now, double check your connections and test the signals. If you've done everything correctly, you should have running lights that come on with the parking/head lights:
...and the amber signals will work in tandem with your sidemarkers:
If all is well, zip tie your wires up out of the way, and you're good to go! I also wrapped the white connectors on the ARB harness with a couple layers of tape to keep them firmly seated together and keep a little bit of the moisture away.
Take that, ARB. Your instructions blow!
Last edited:
