Ford Highboy with a Roar - 4x4 F250 Gets a Godzilla

This site may earn a commission from merchant affiliate
links, including eBay, Amazon, Skimlinks, and others.

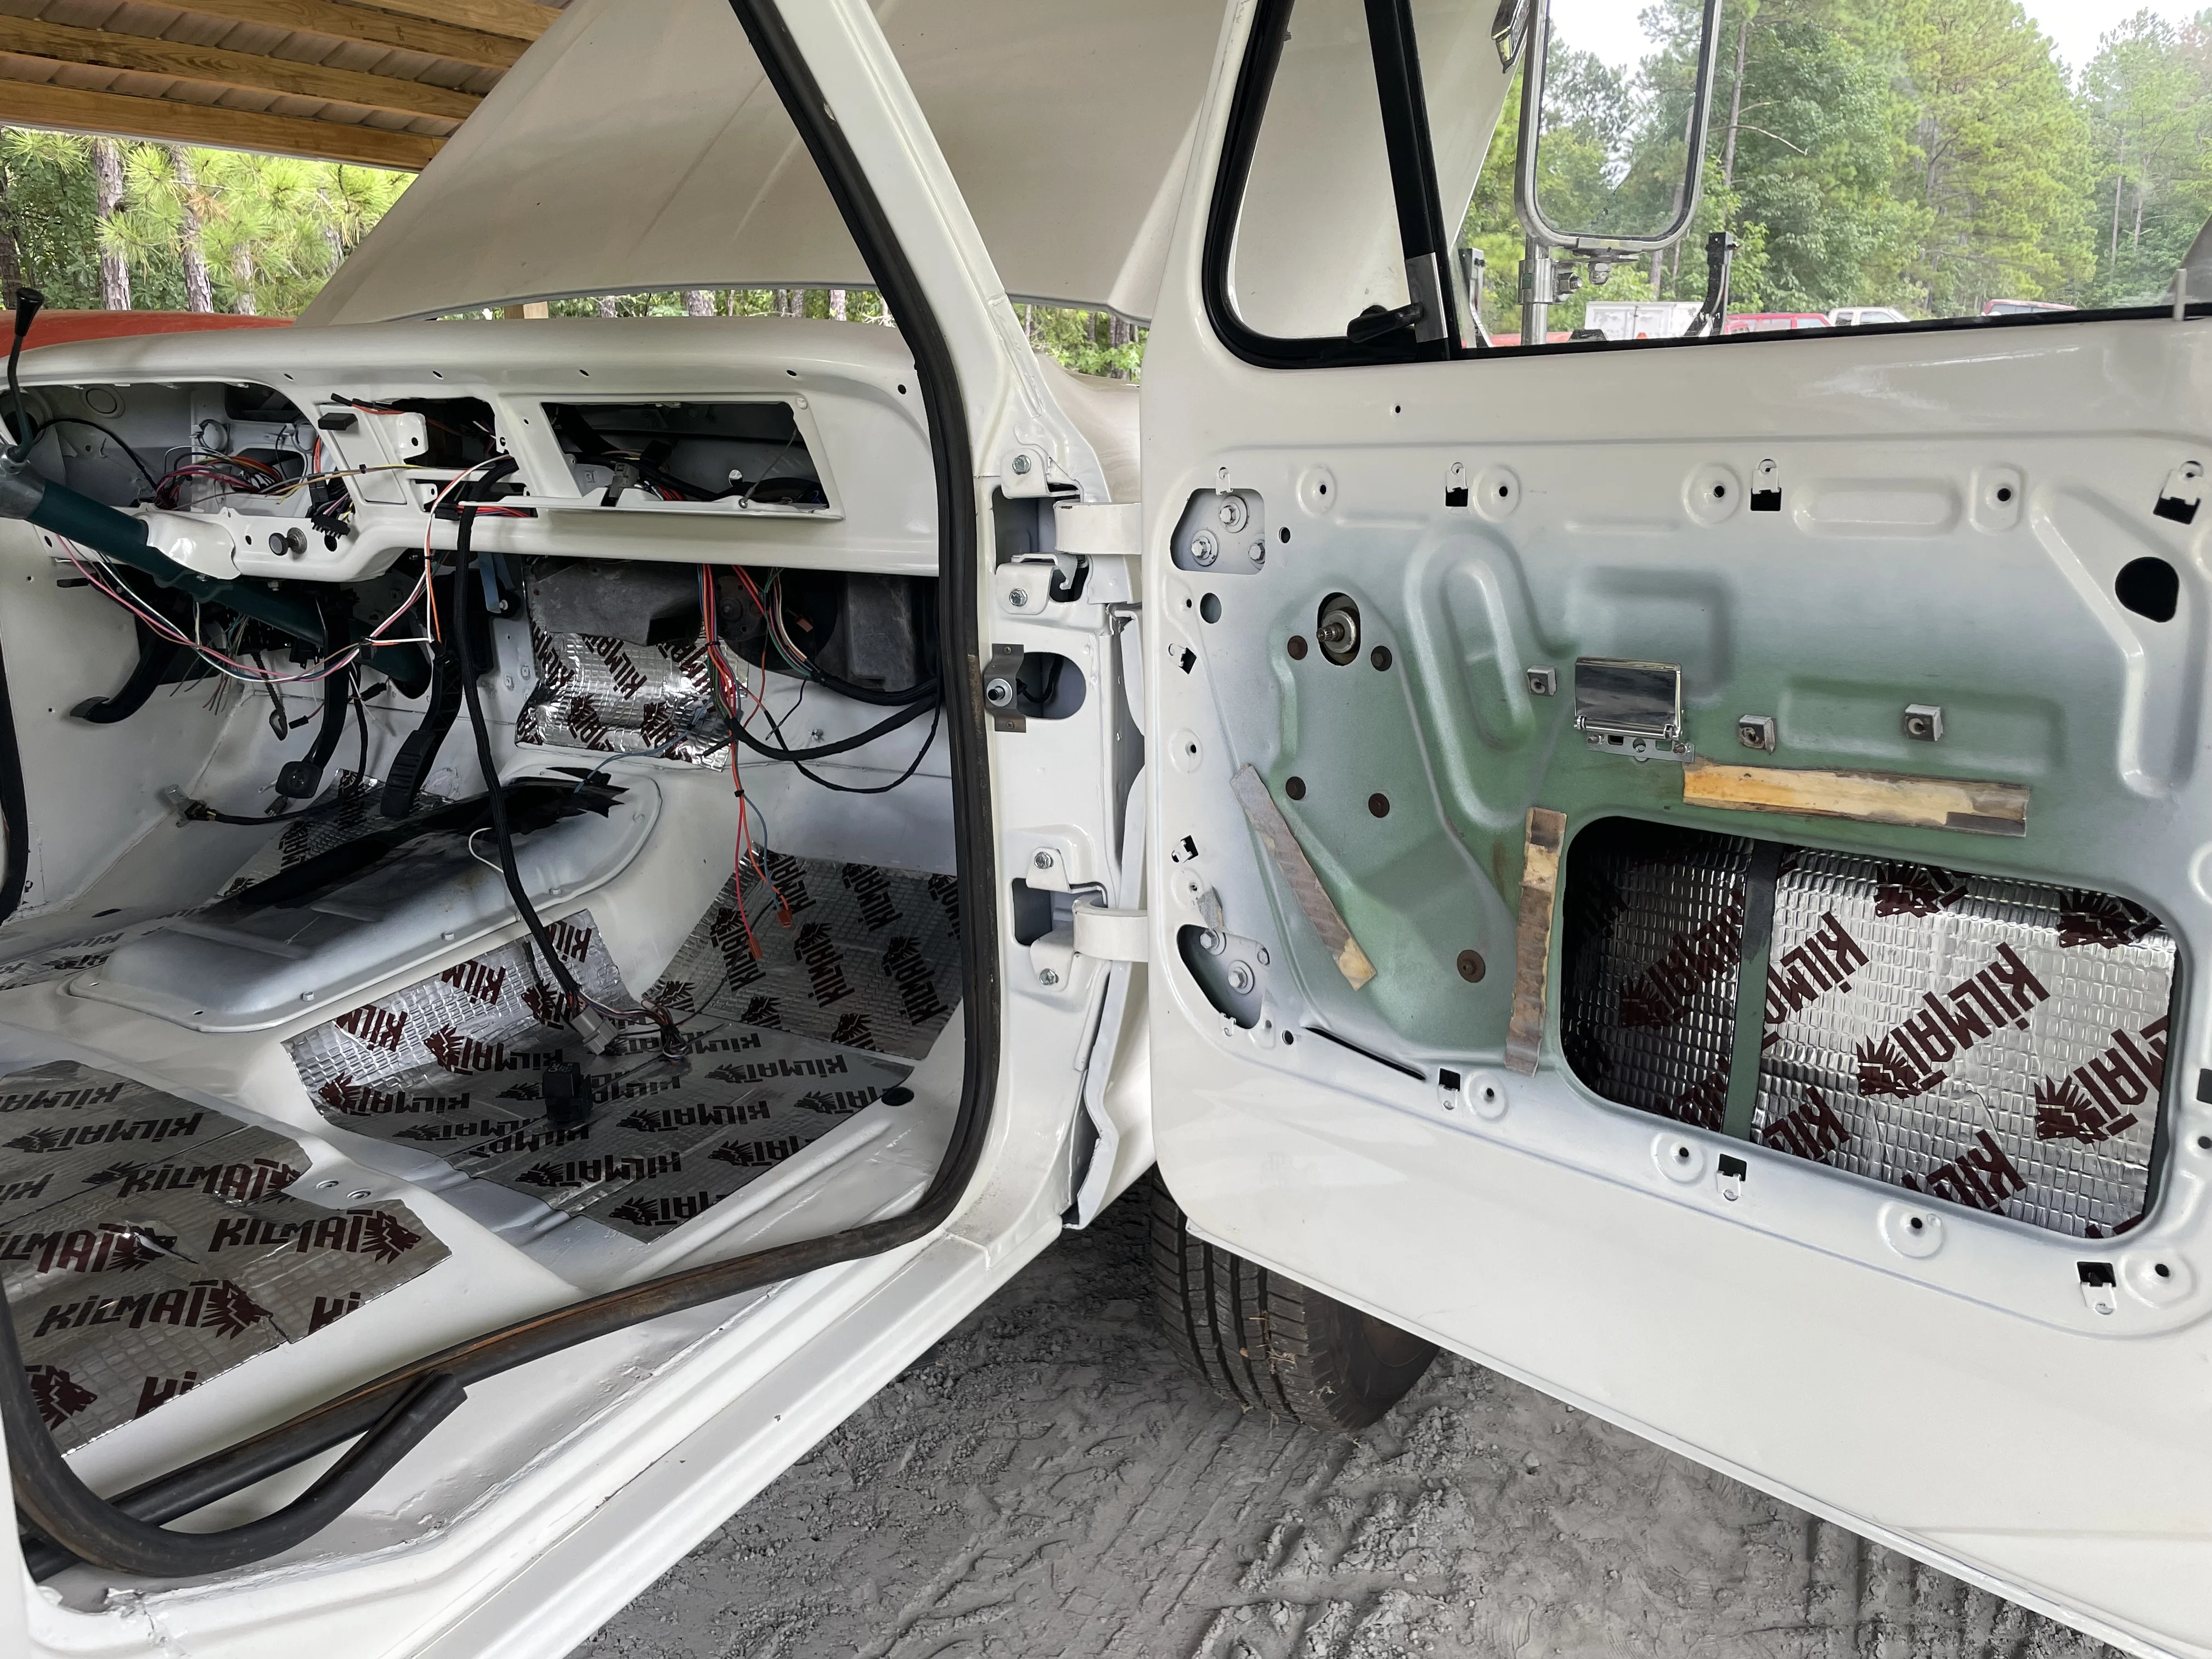
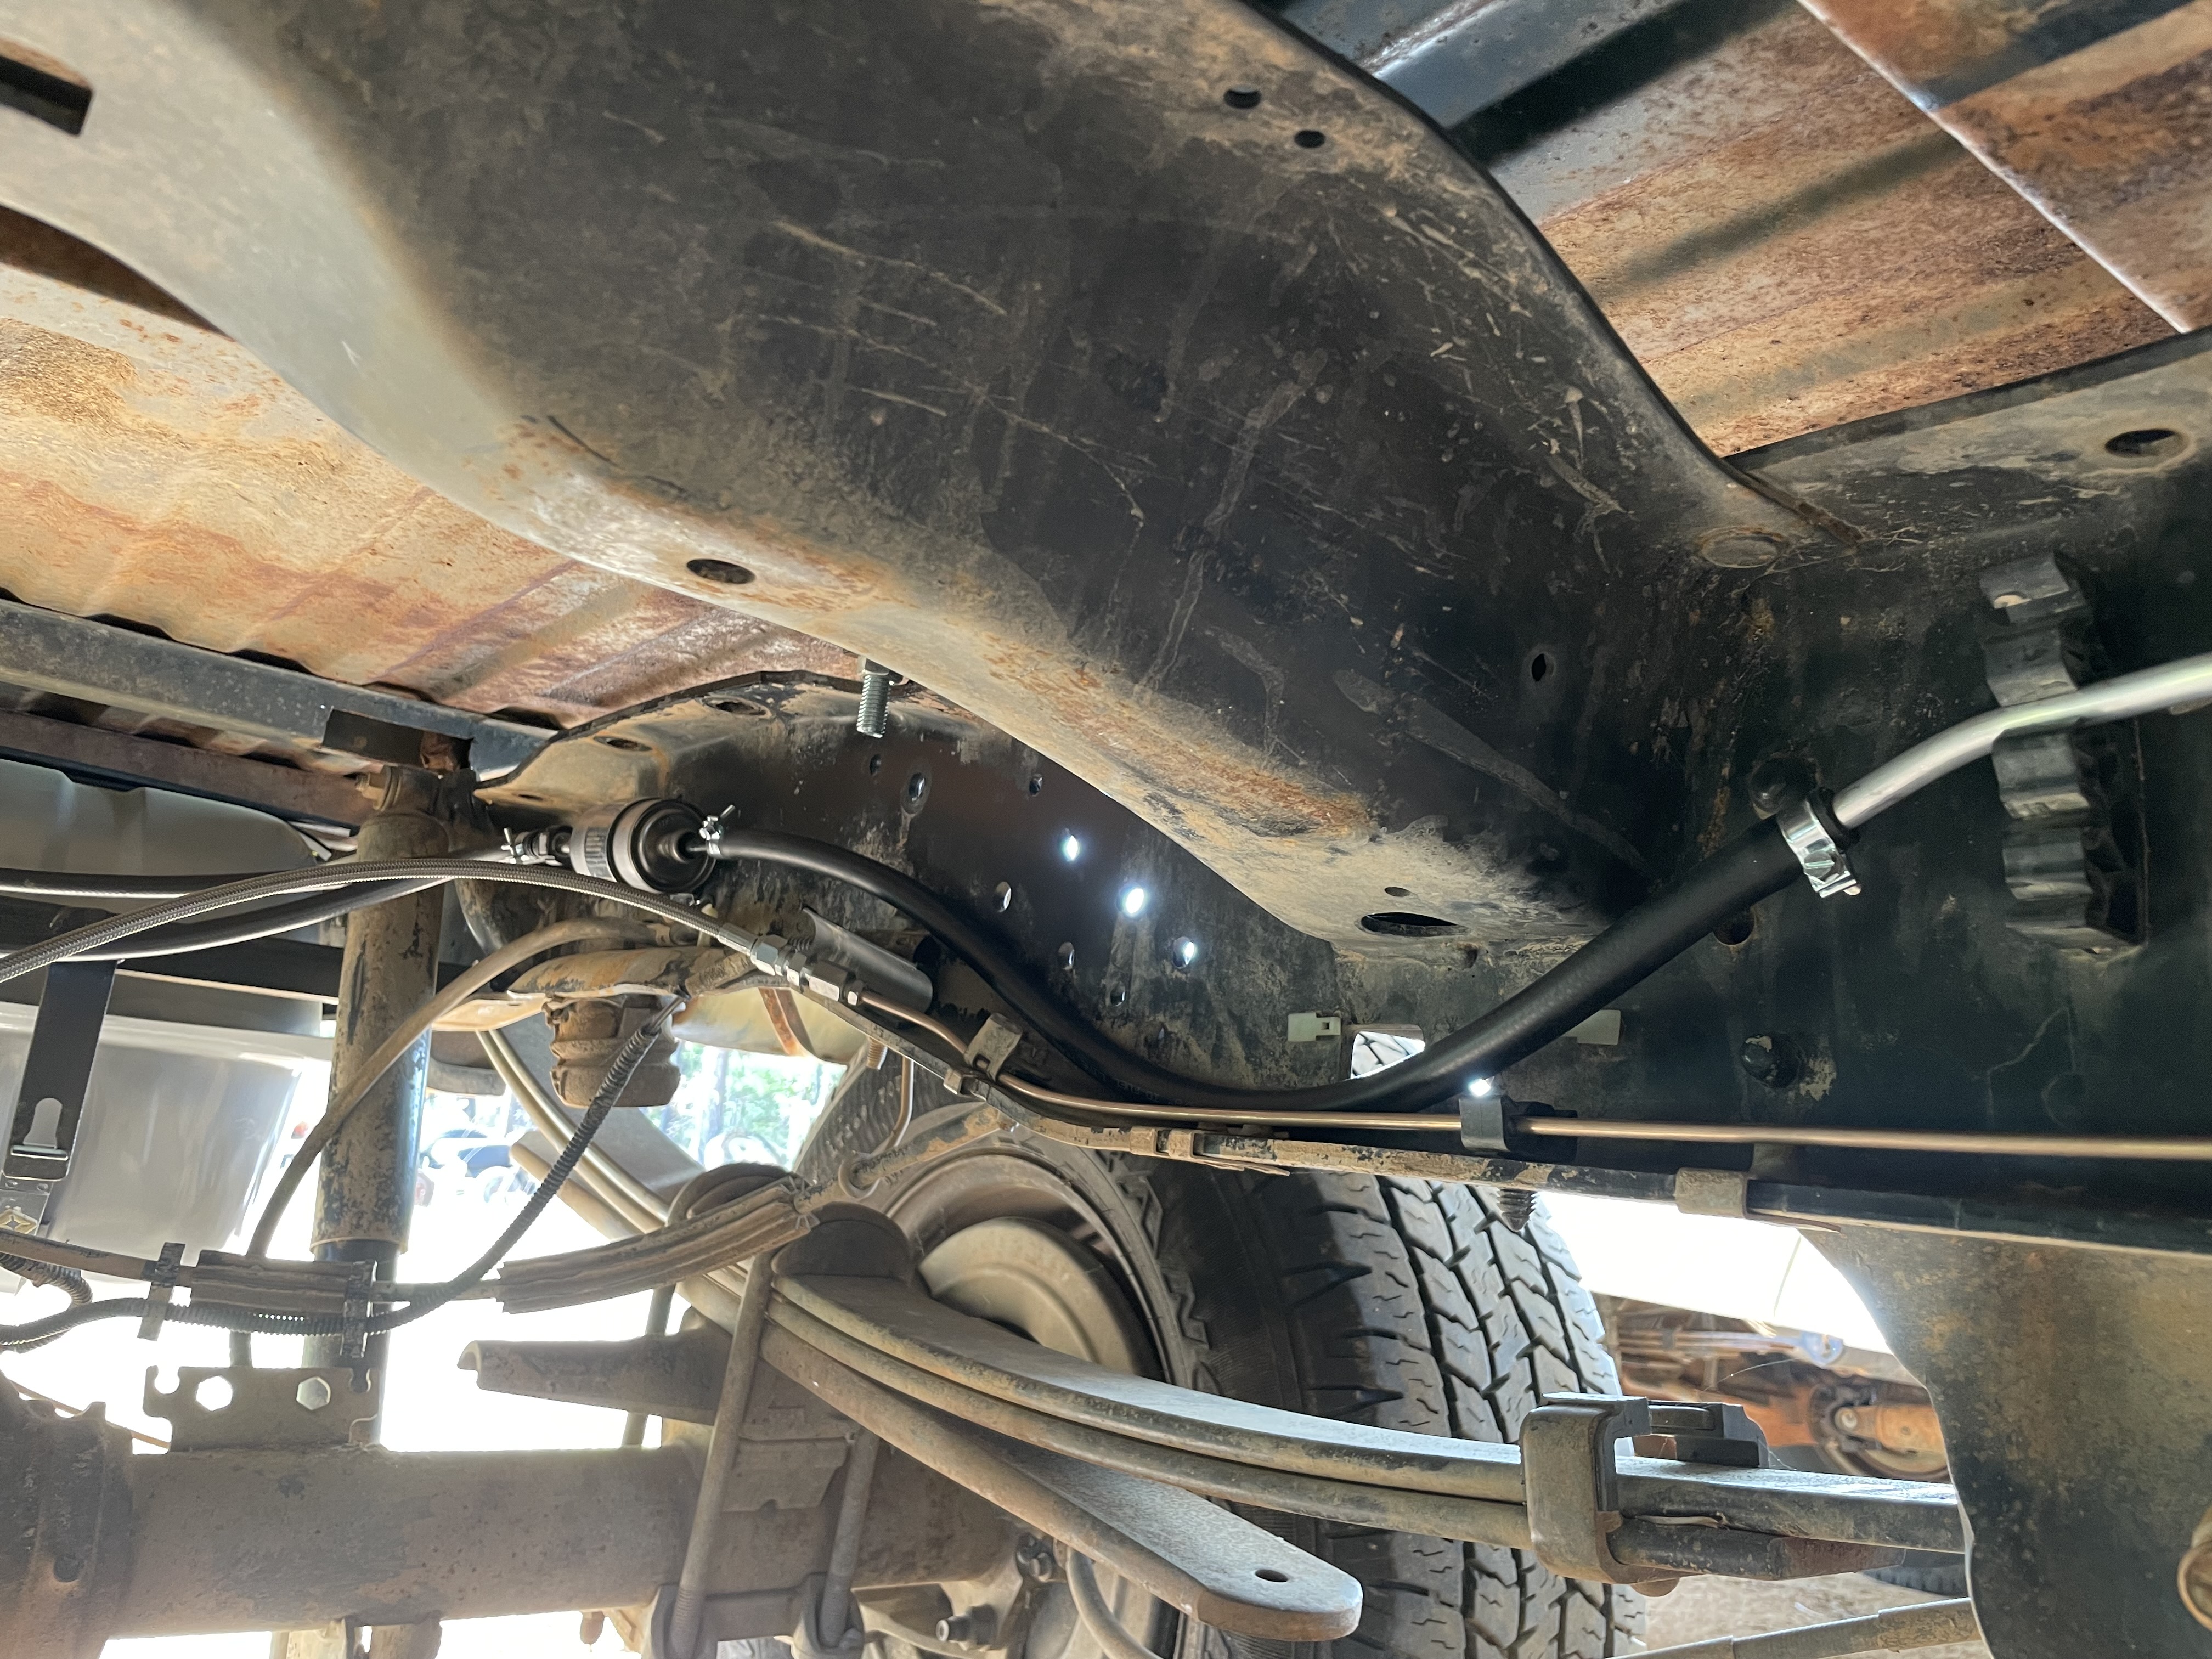
Little more progress but nothing too exciting. Finished up the fuel lines - the C5 Corvette return-less filter/regulator setup really simplifies things. I plan to clean up the lines some more but need to dig through my pile and find some more factory fuel line clamps. I don't like the way parts store P-clamps look.

I did a small bubble flare on the ends of all of my hard lines so the rubber lines won't slide off under pressure.

full


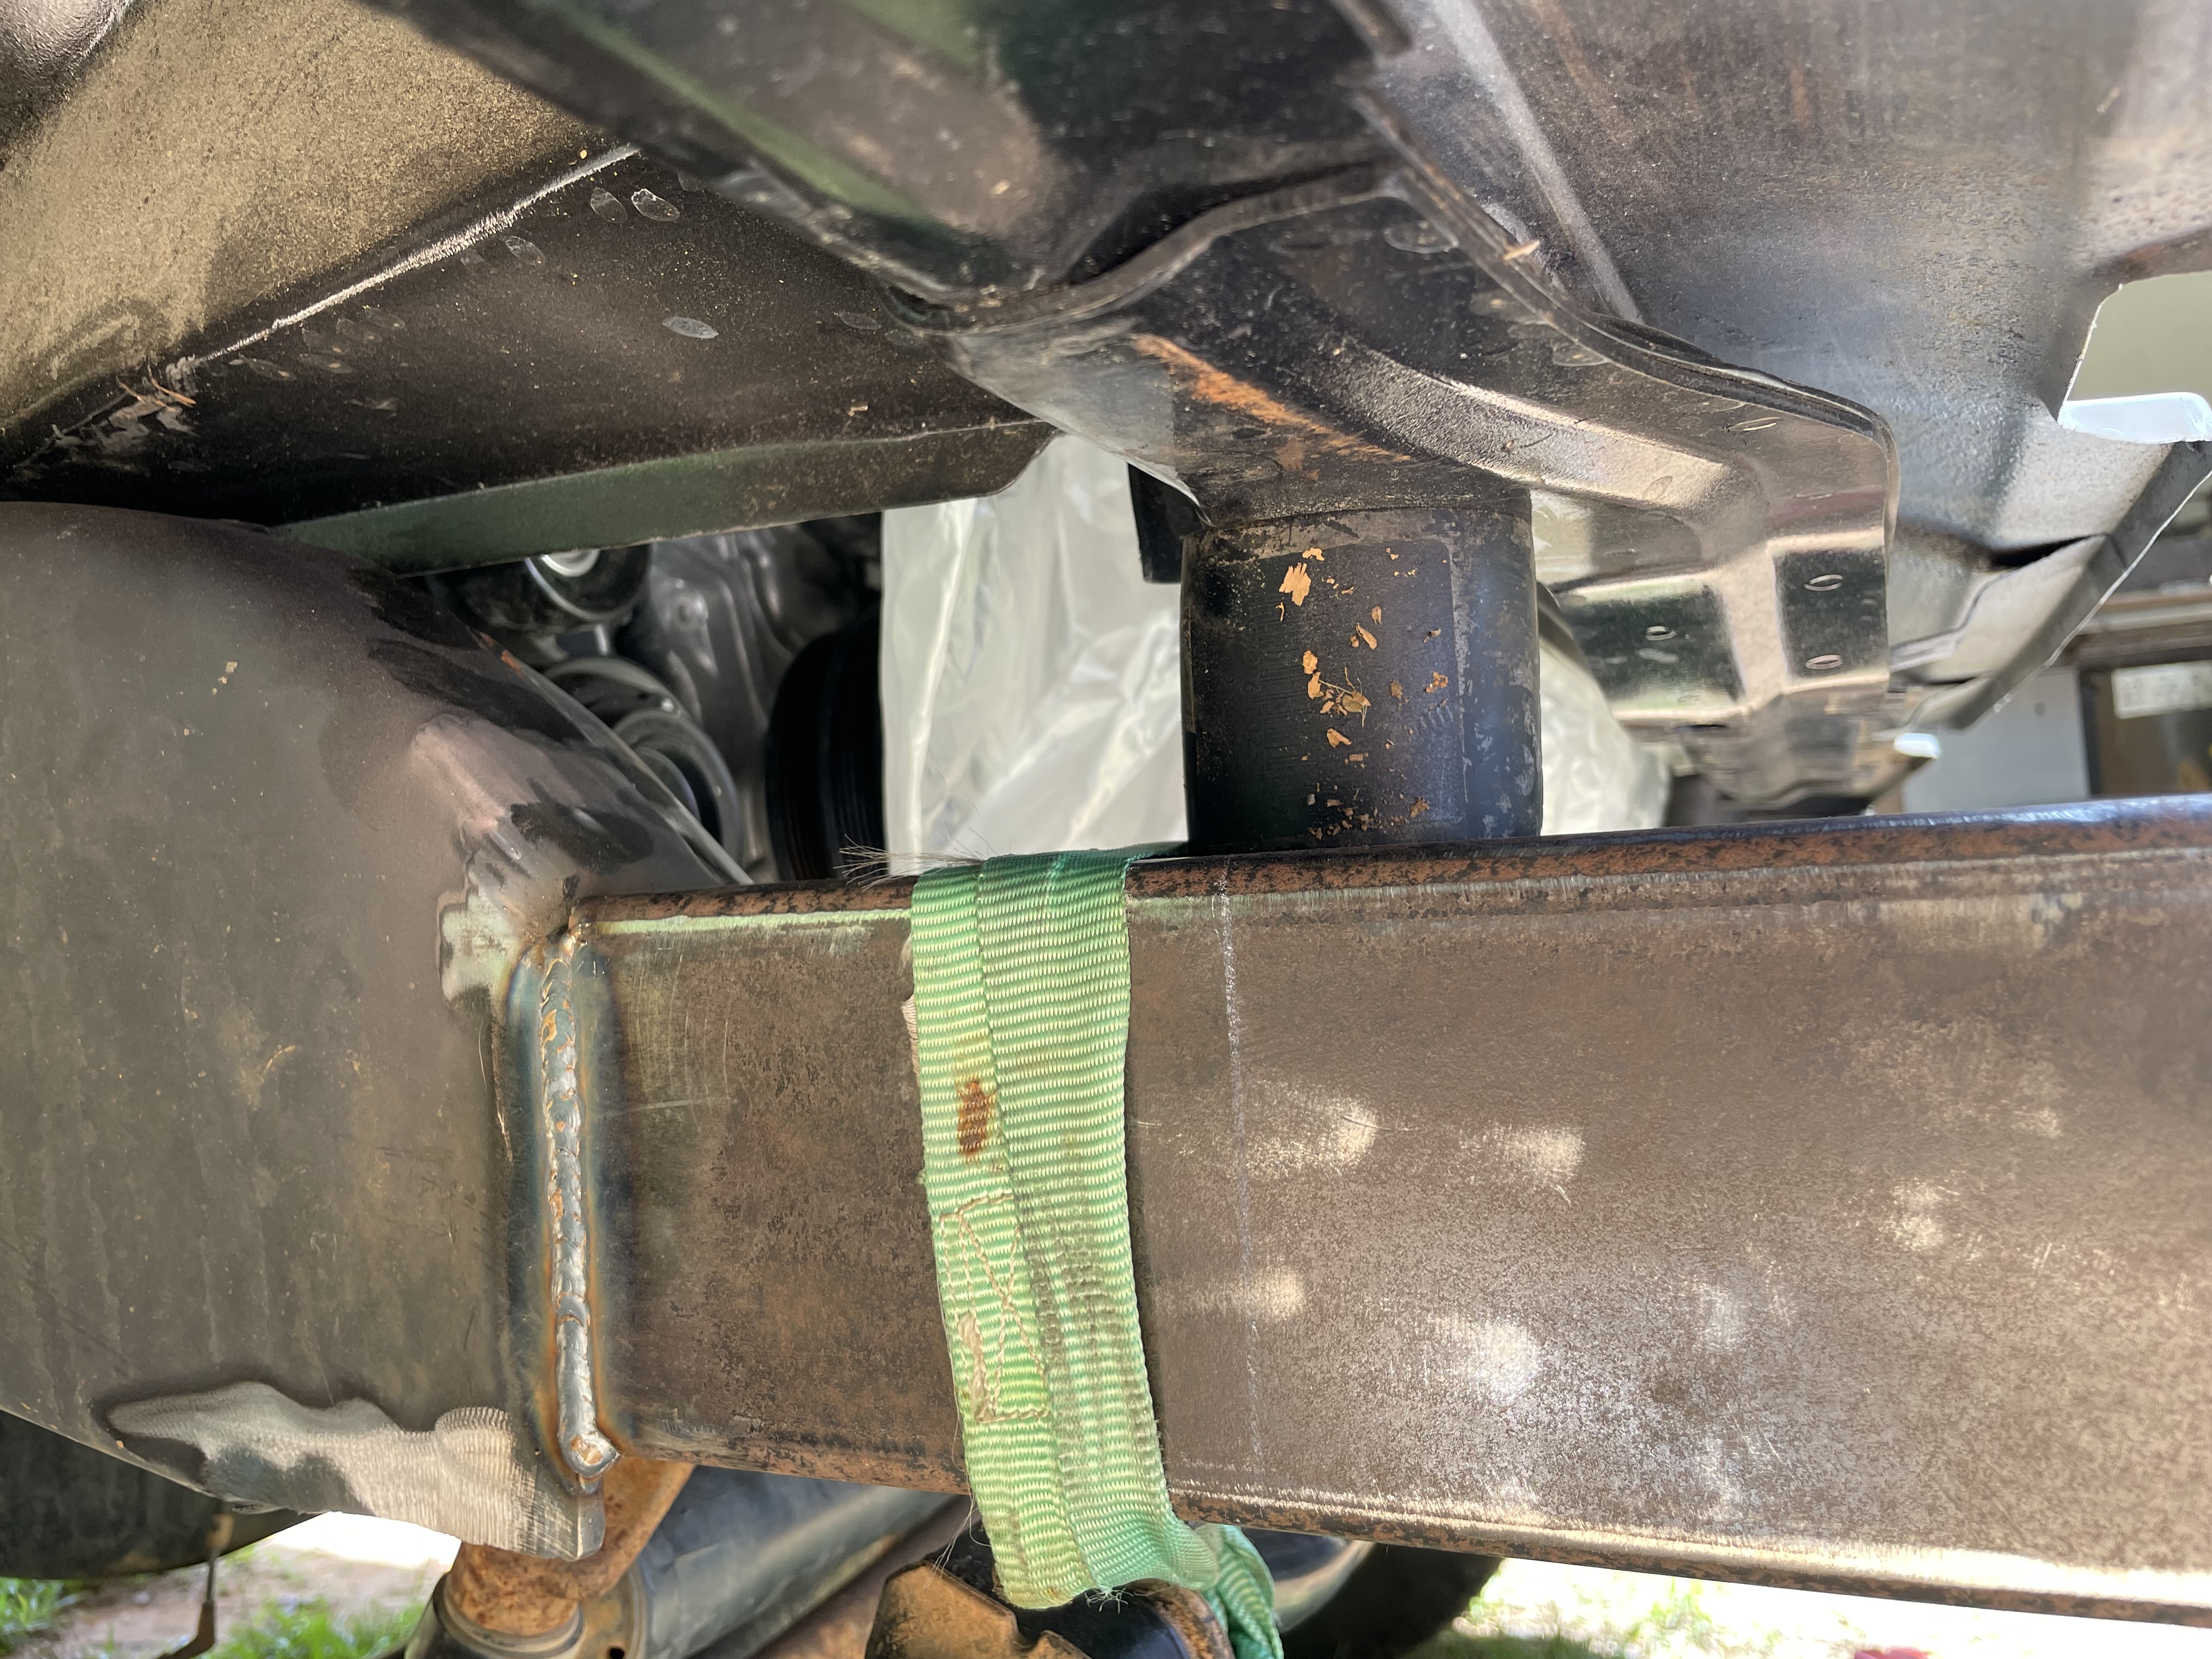
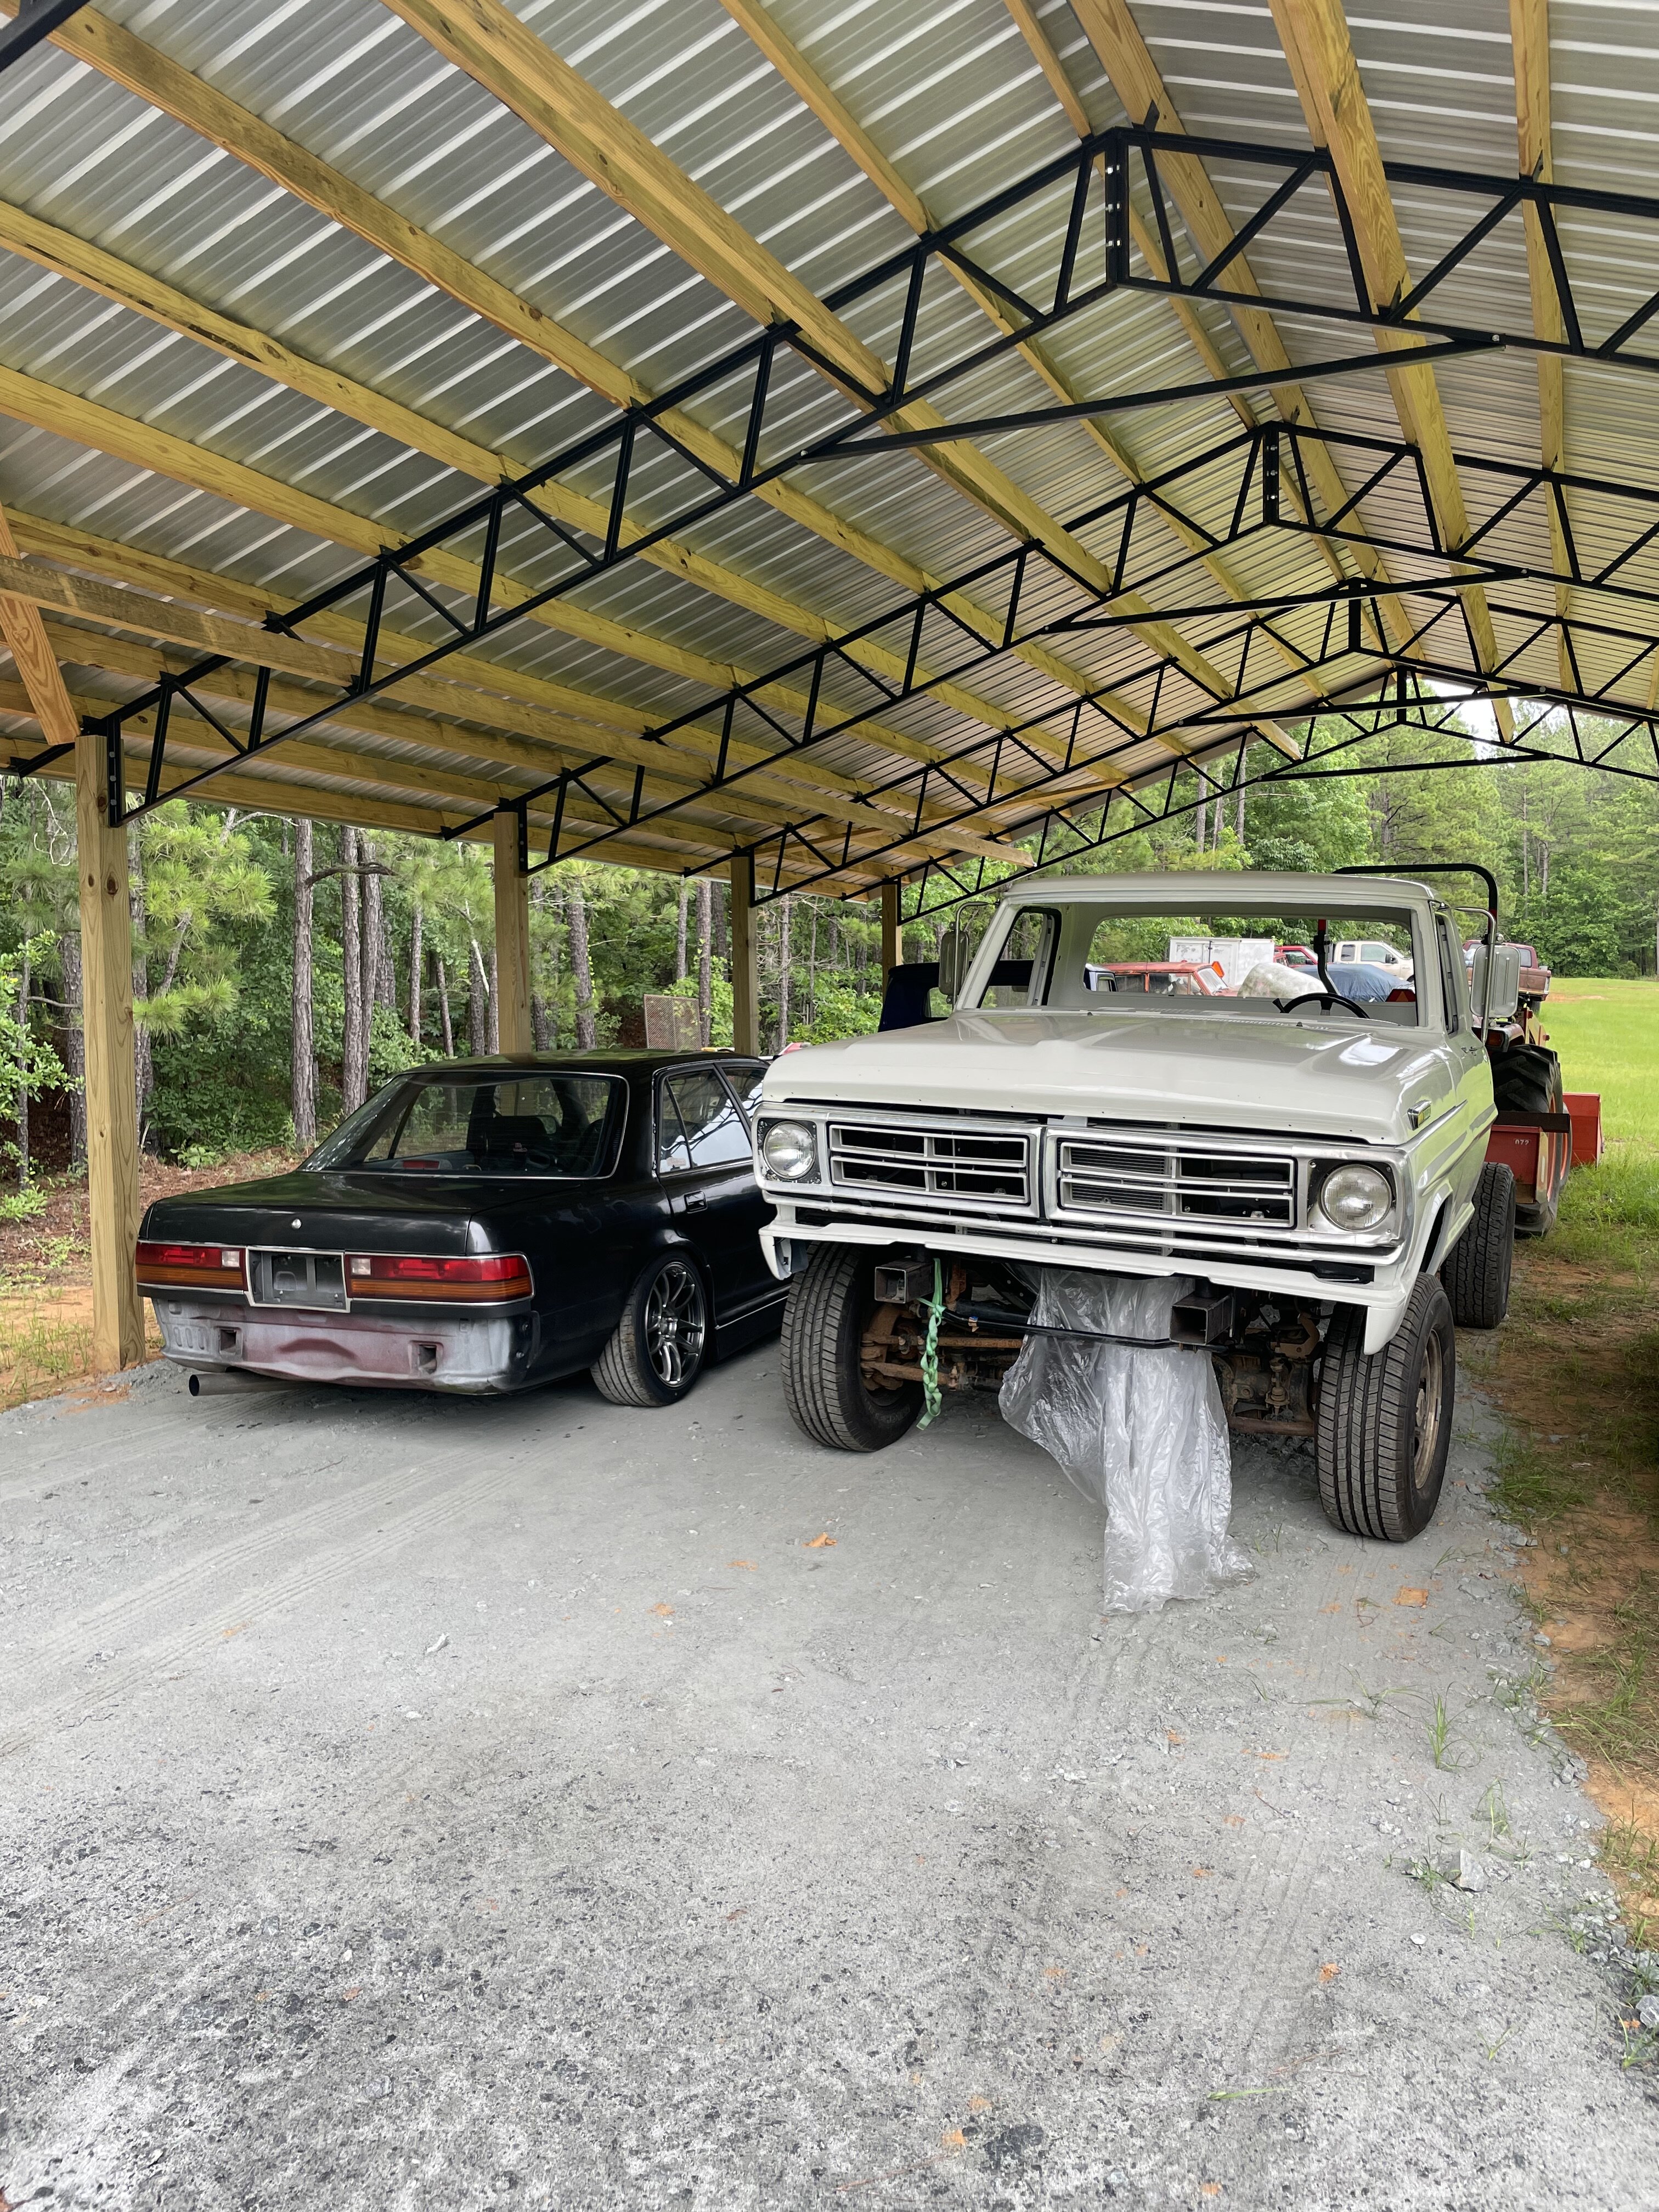
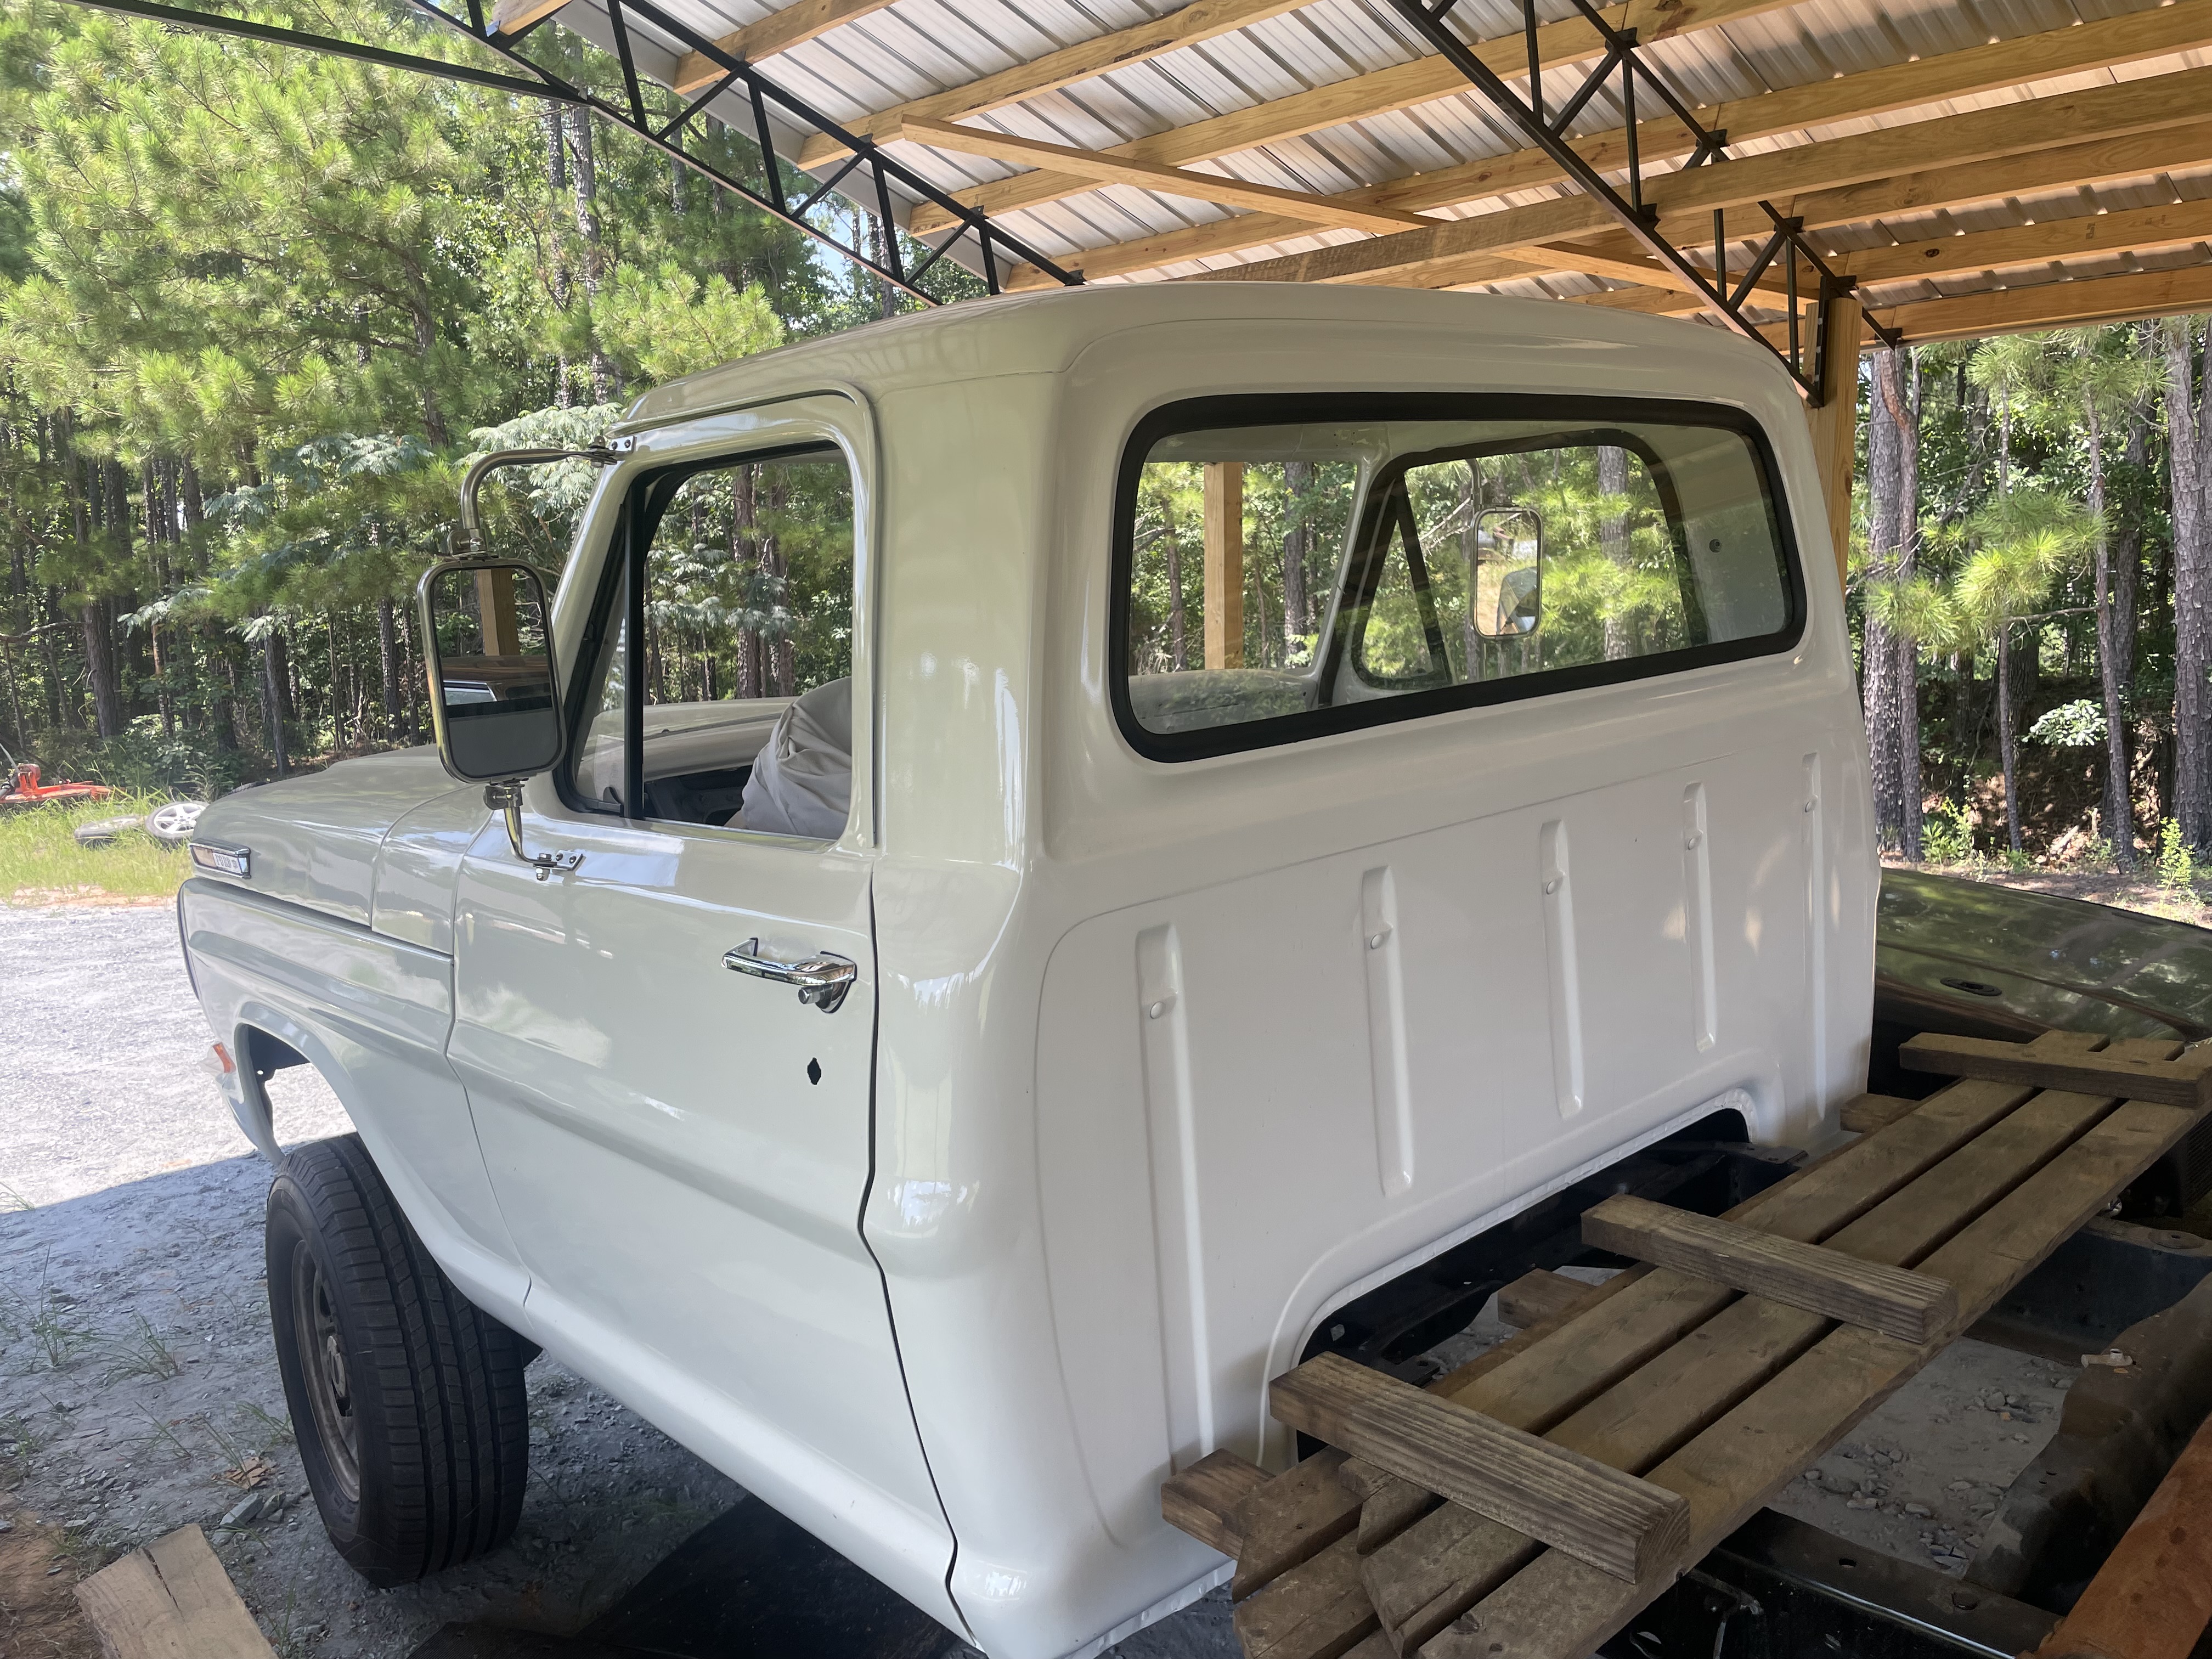
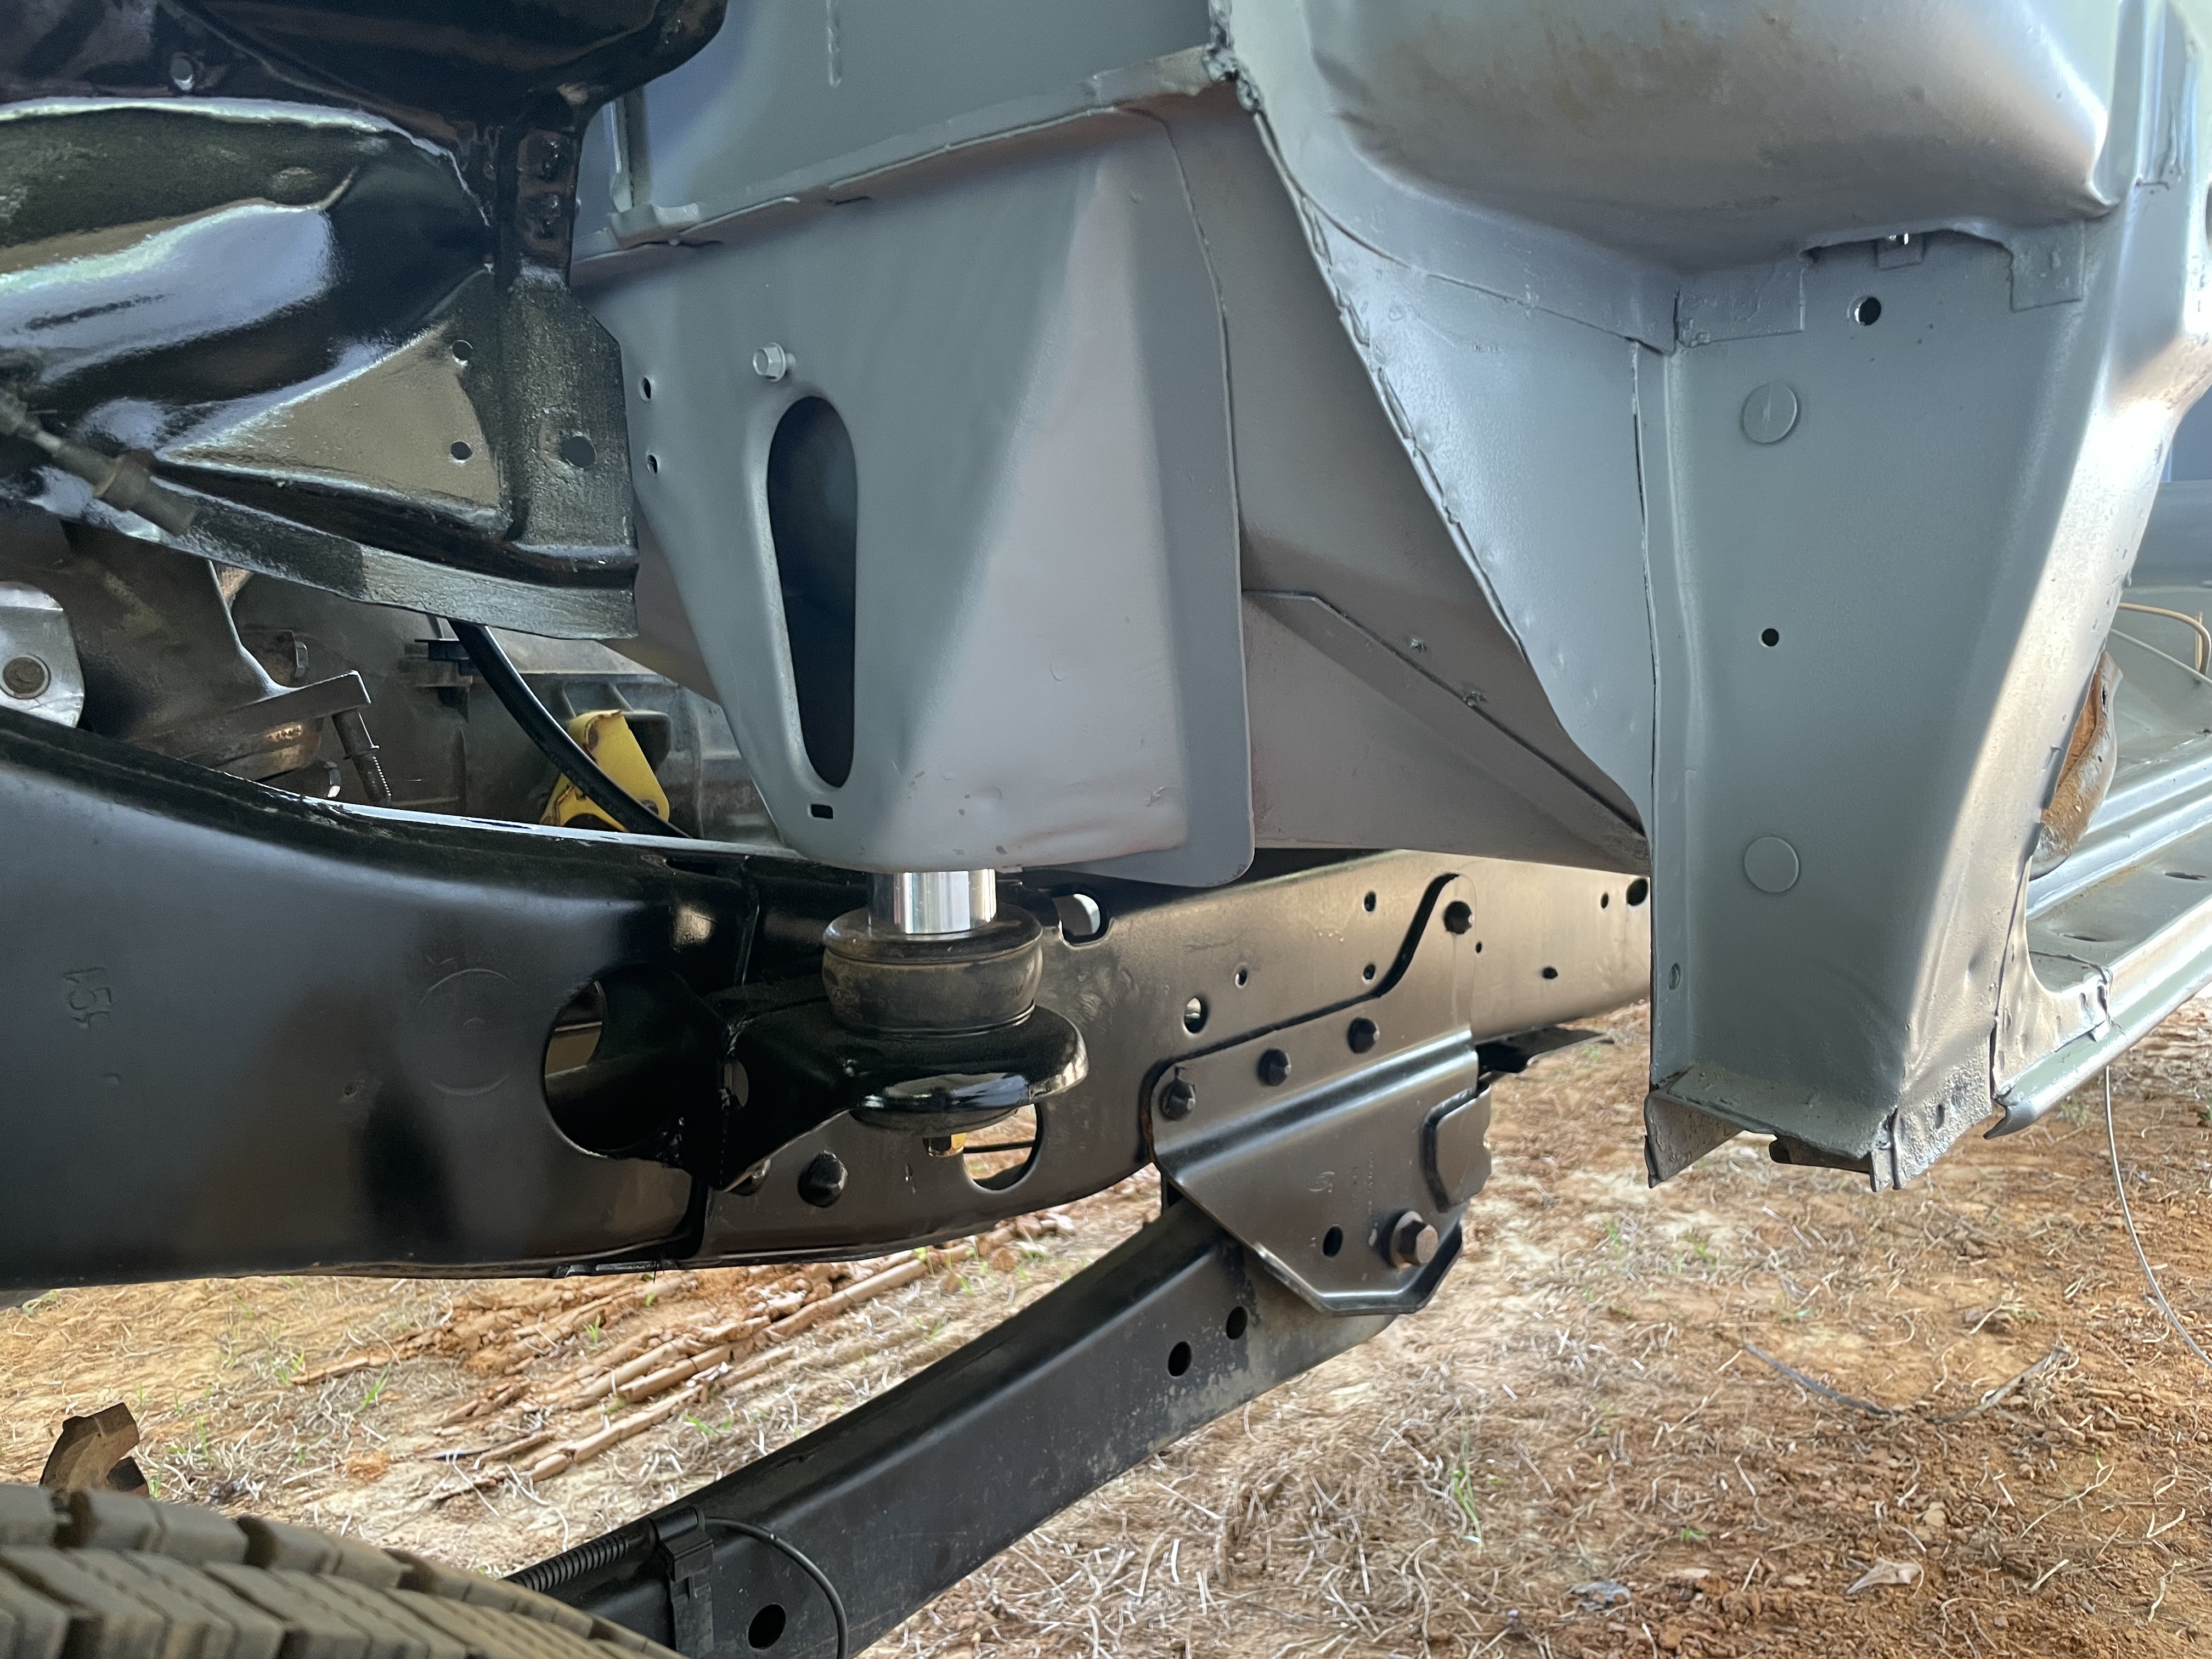
Also got my body lift installed. Just ordered some aluminum spacers from McMaster for like a quarter of the price most retailers wanted for practically the exact same thing. I don't think the truck looks too high at all and it solved all of my drivetrain clearance issues that I was having.

full

full


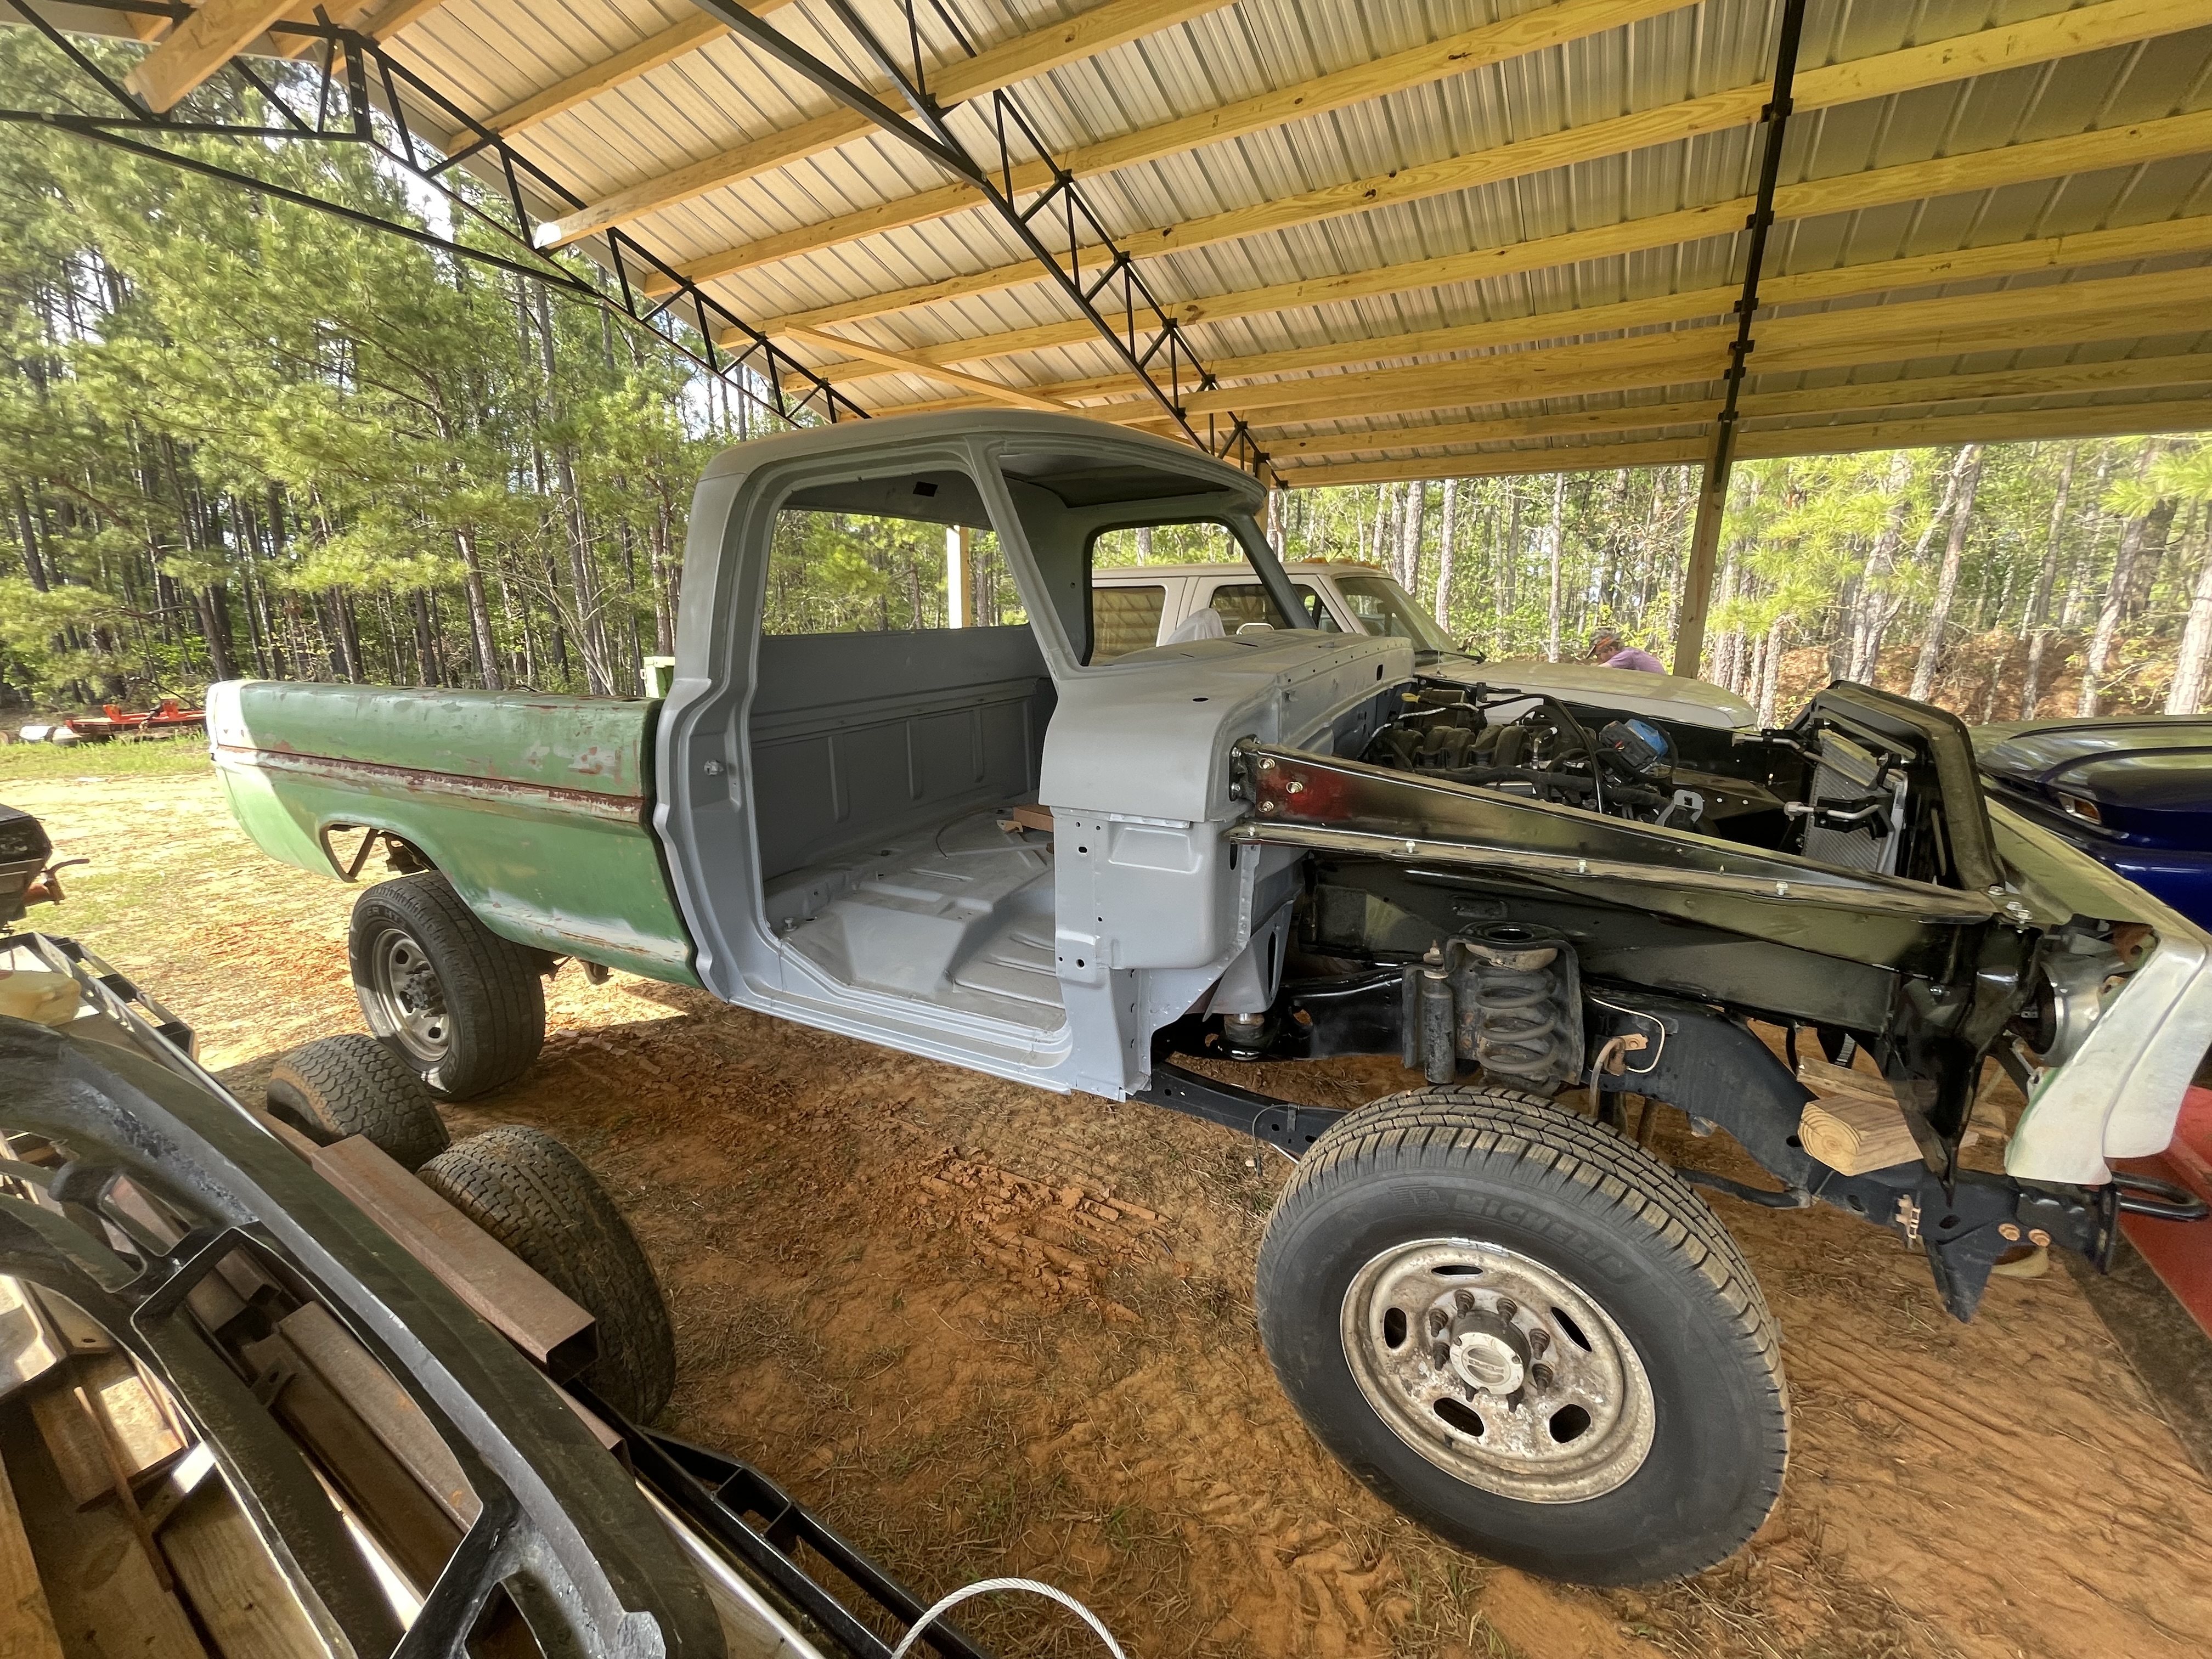
Shimmed rear passenger cab mount to get the body line a little closer. I'll still have to fine tune all of it once panels go on.

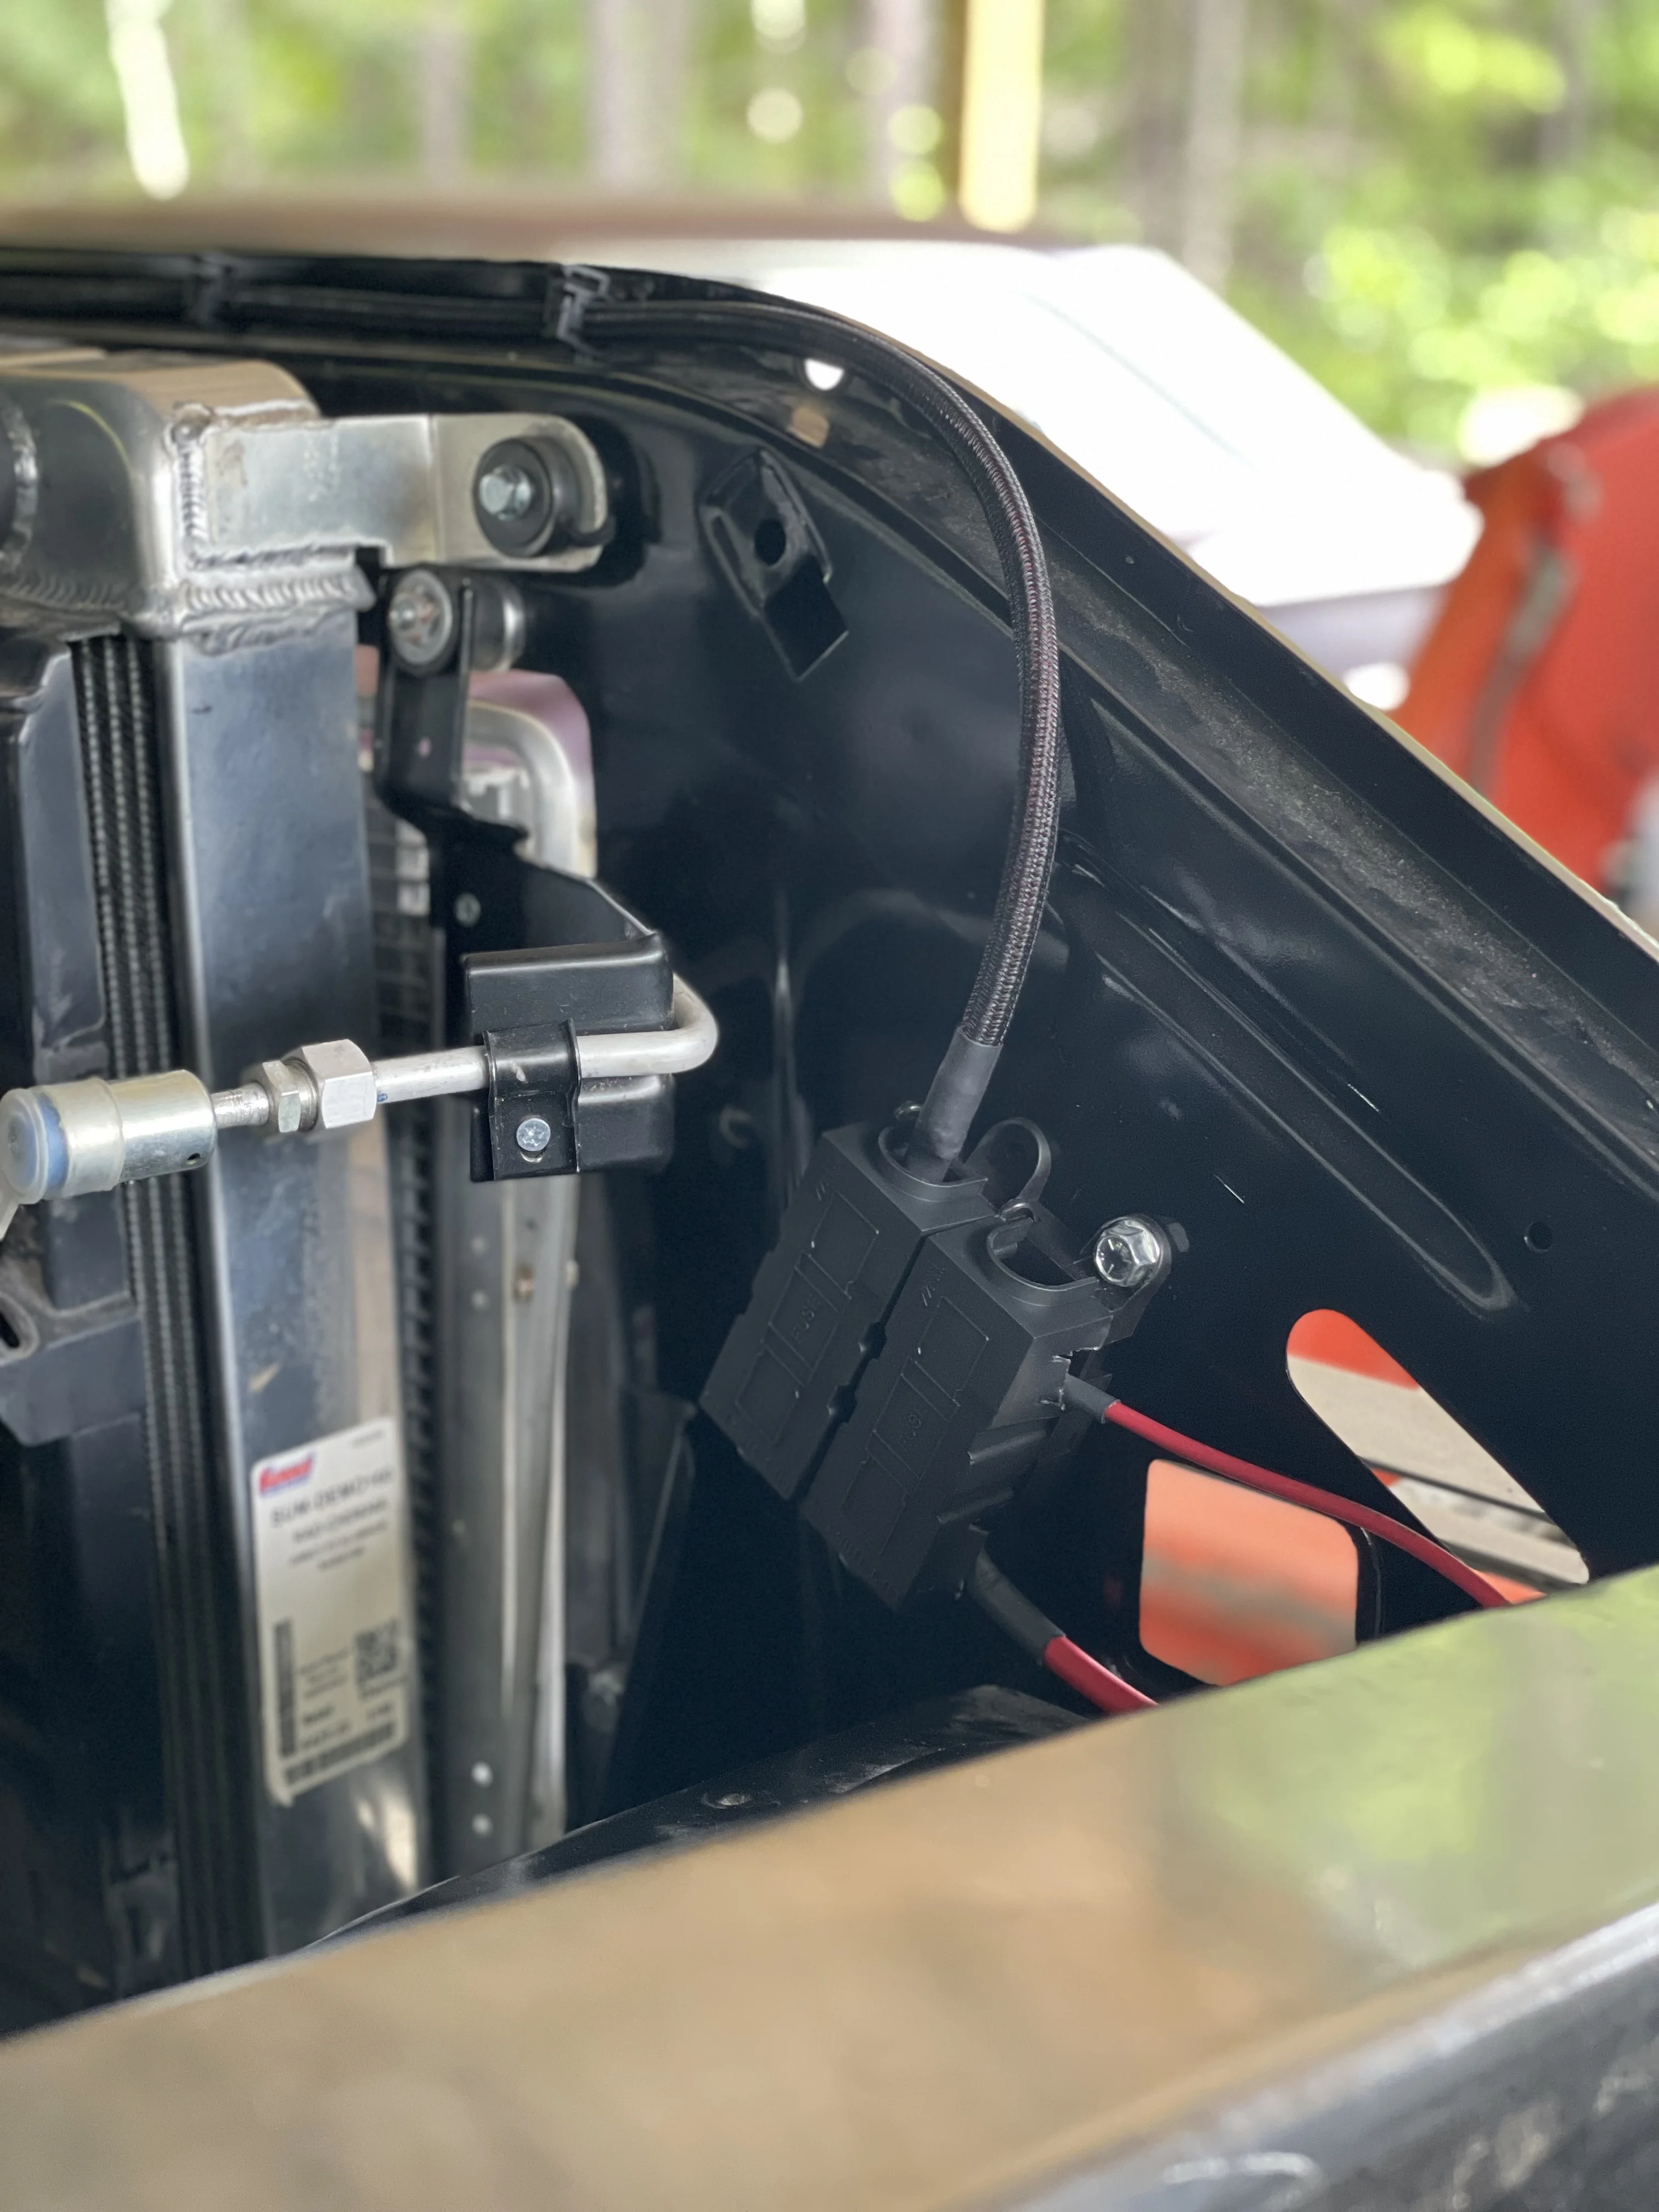
Also finished up all of the brake lines to the master cylinder and finalized the vacuum booster mount so I could theoretically bleed the brakes now haha. Next steps are:
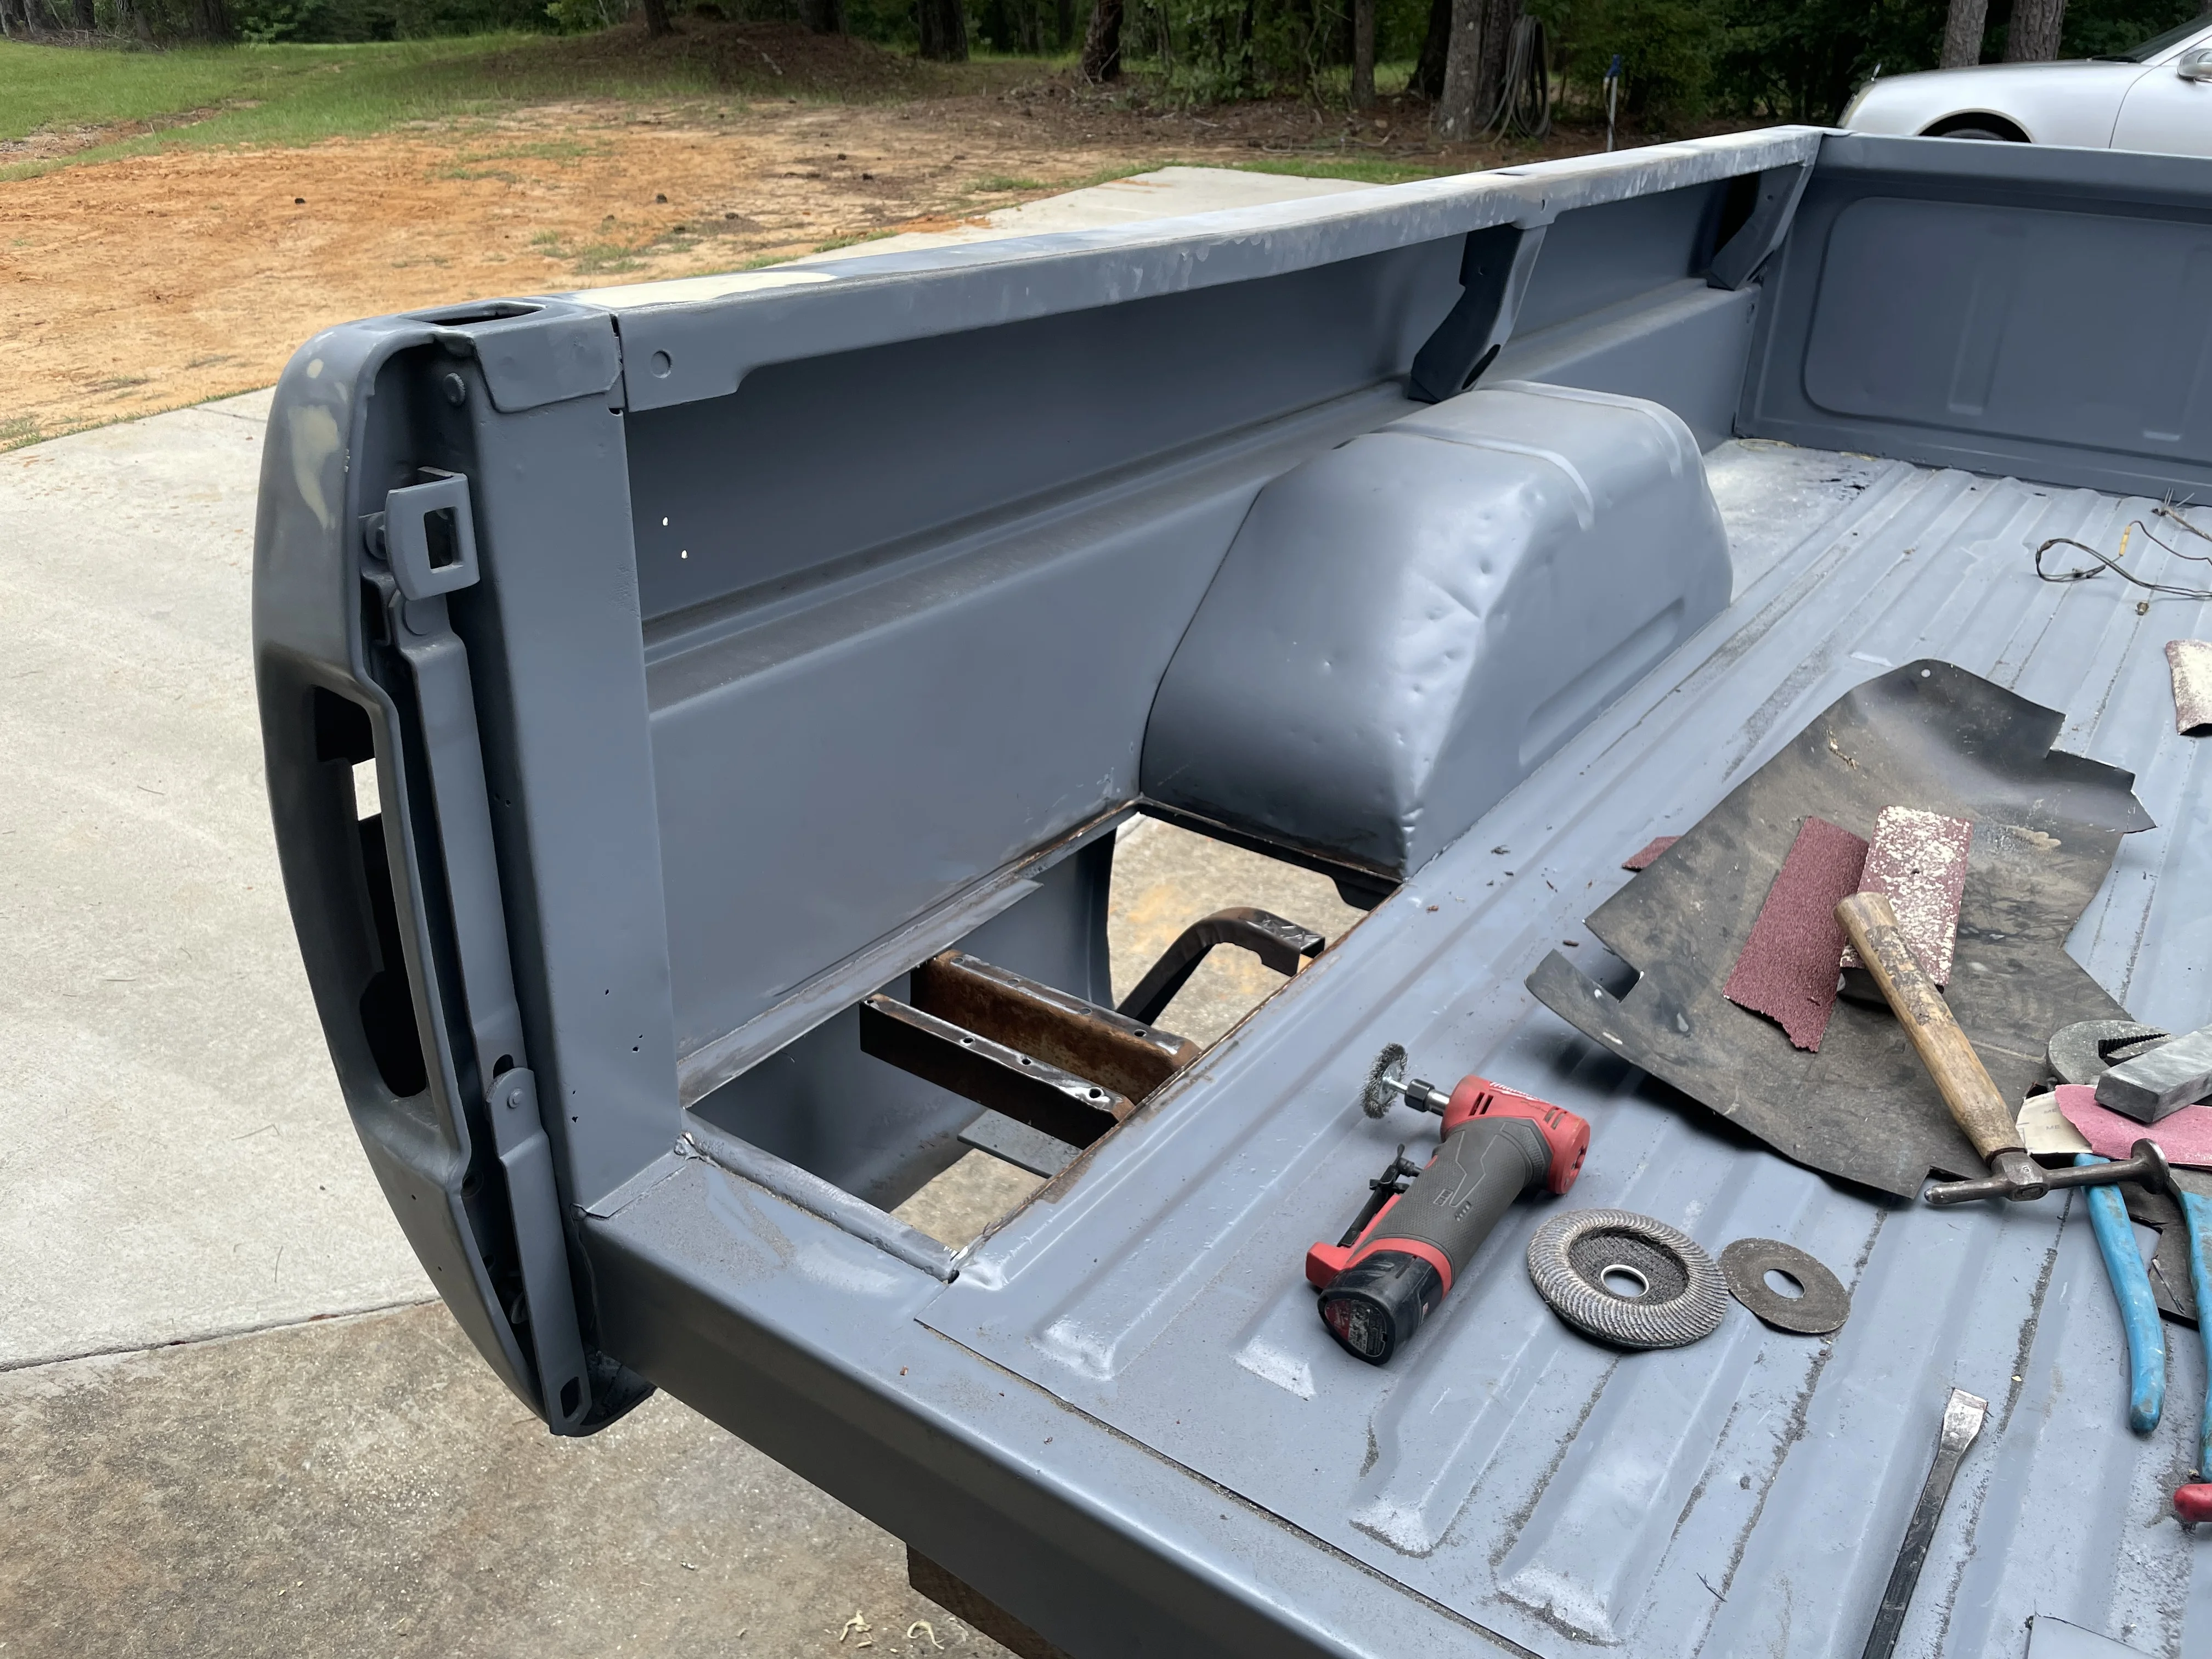
1. Building the front frame sections to mount the front clip/core support.
2. A/C lines - I've already ordered the parts to make up lines and stuff but vendors are taking their sweet time getting things shipped out.
3. Join the steering column to the steering box via a U-joint.
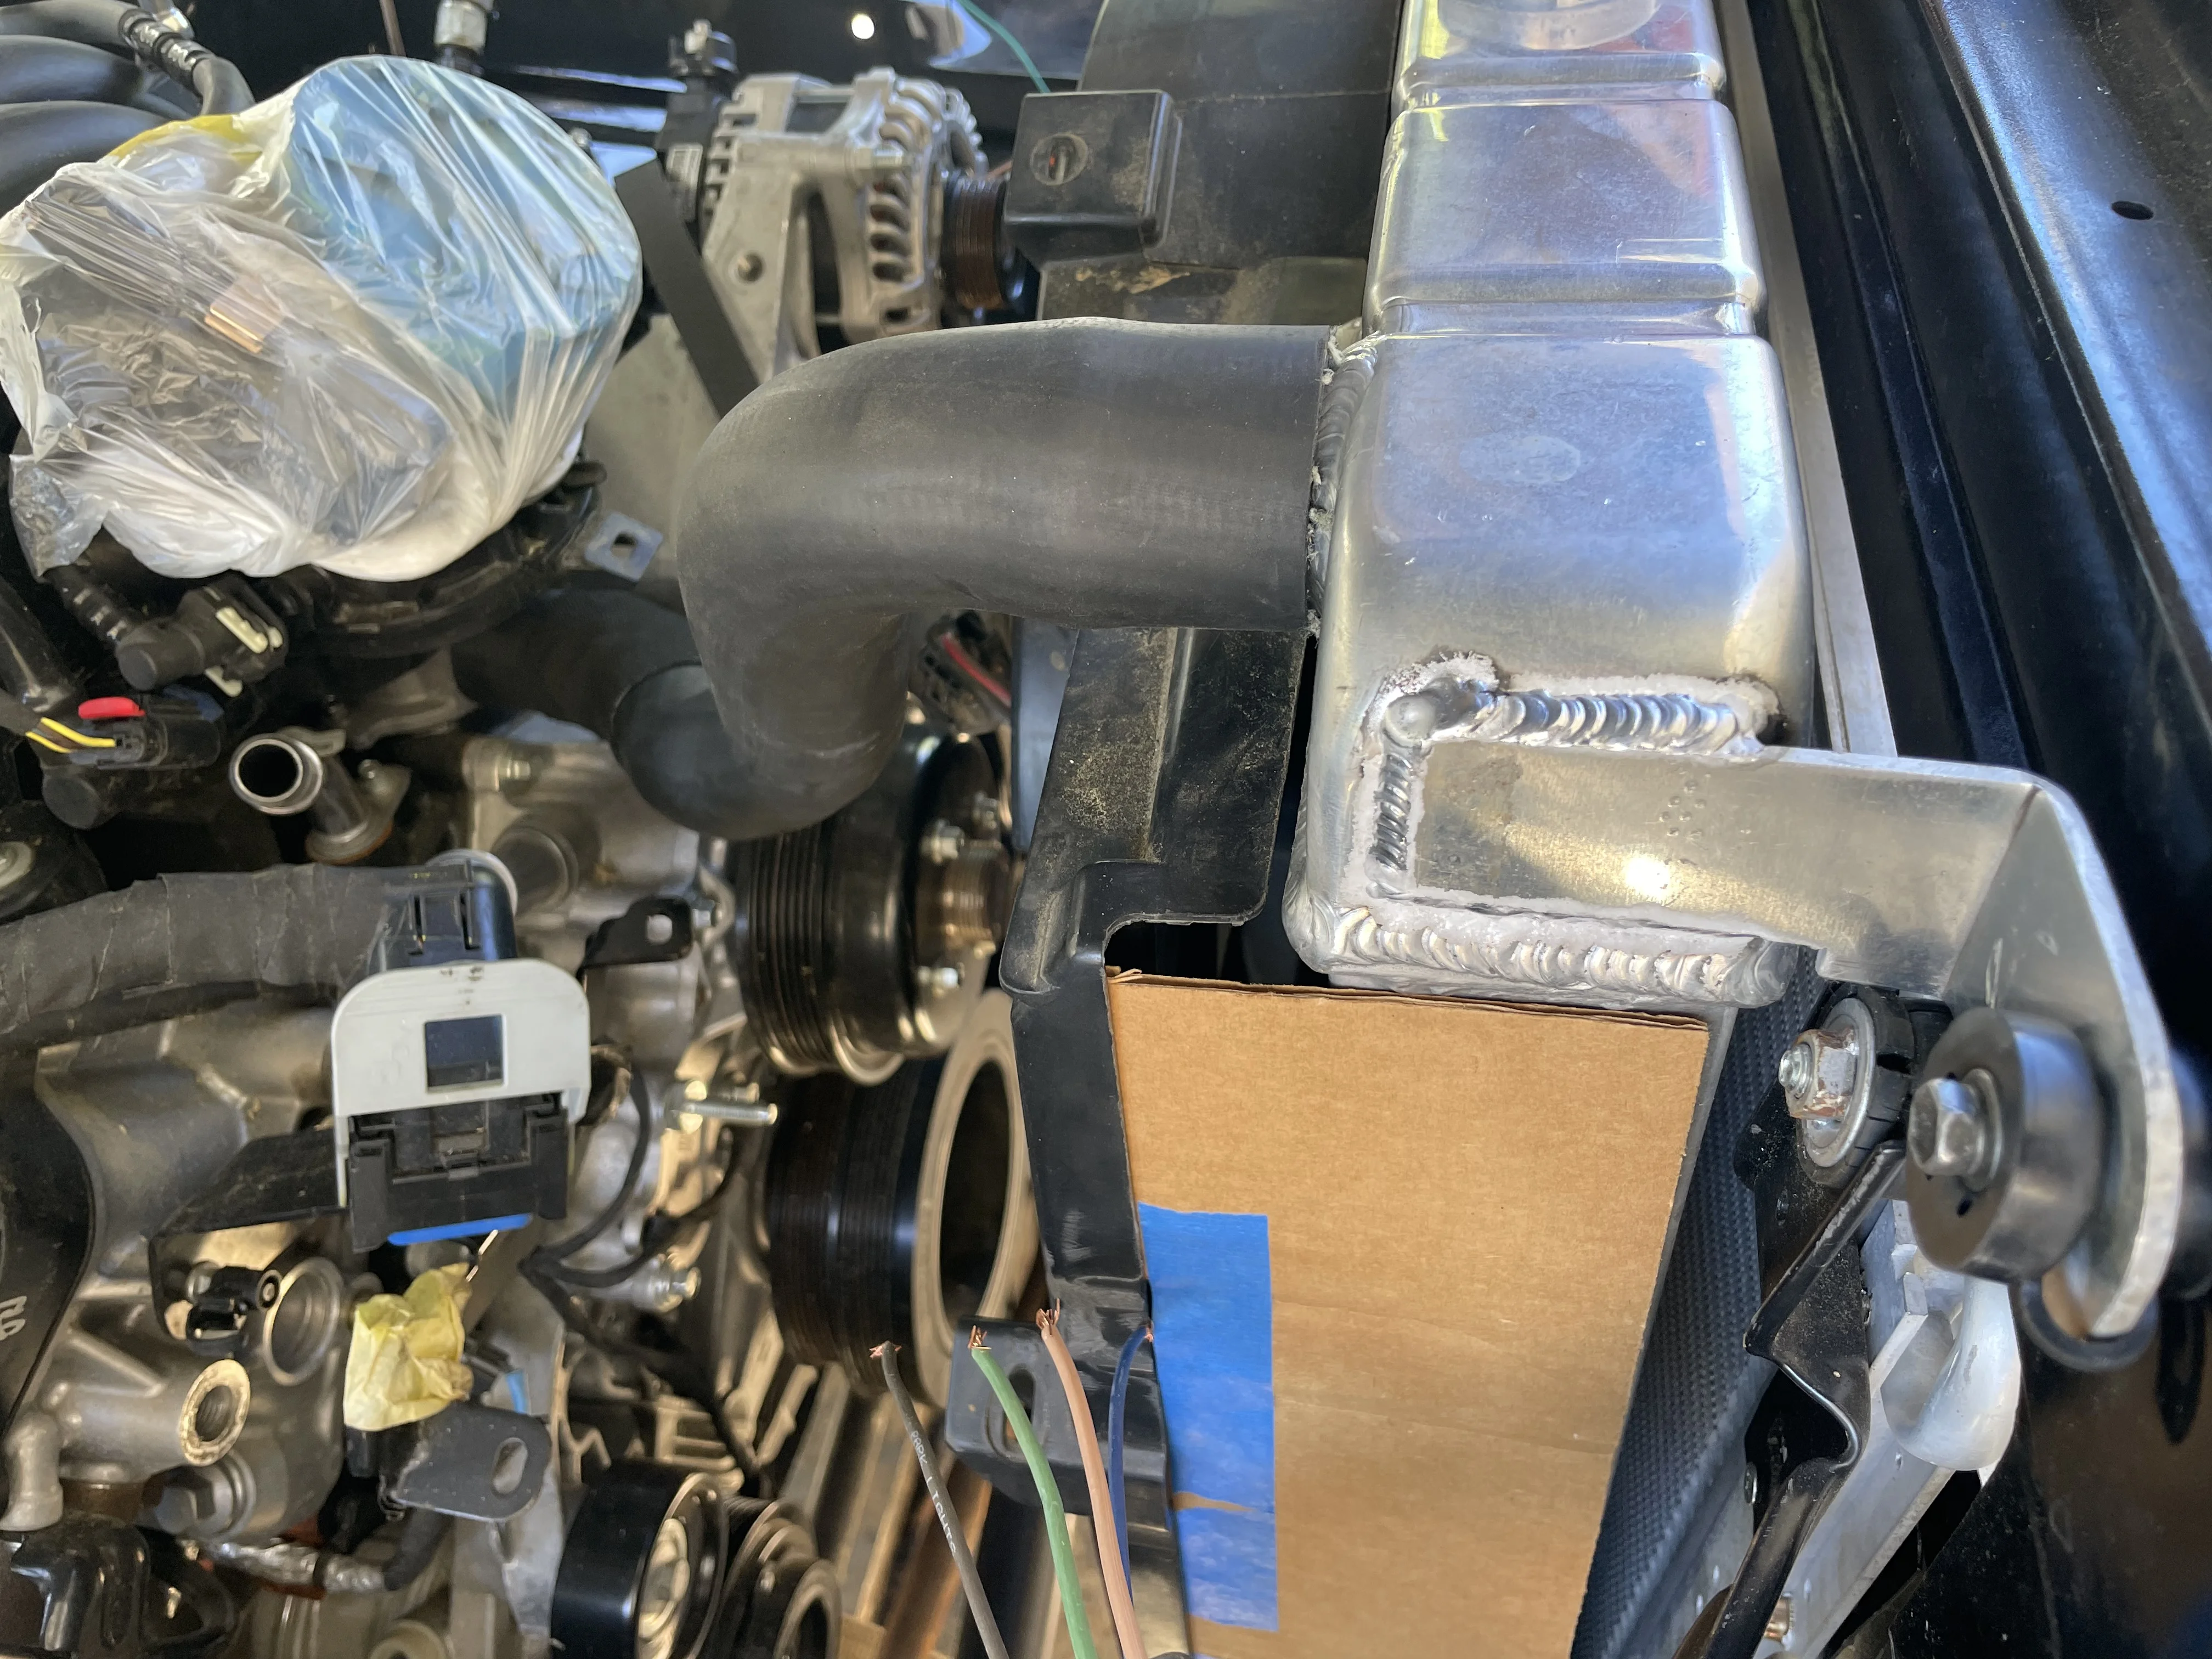
4. Mount the radiator. There's tons more room than I would've thought.
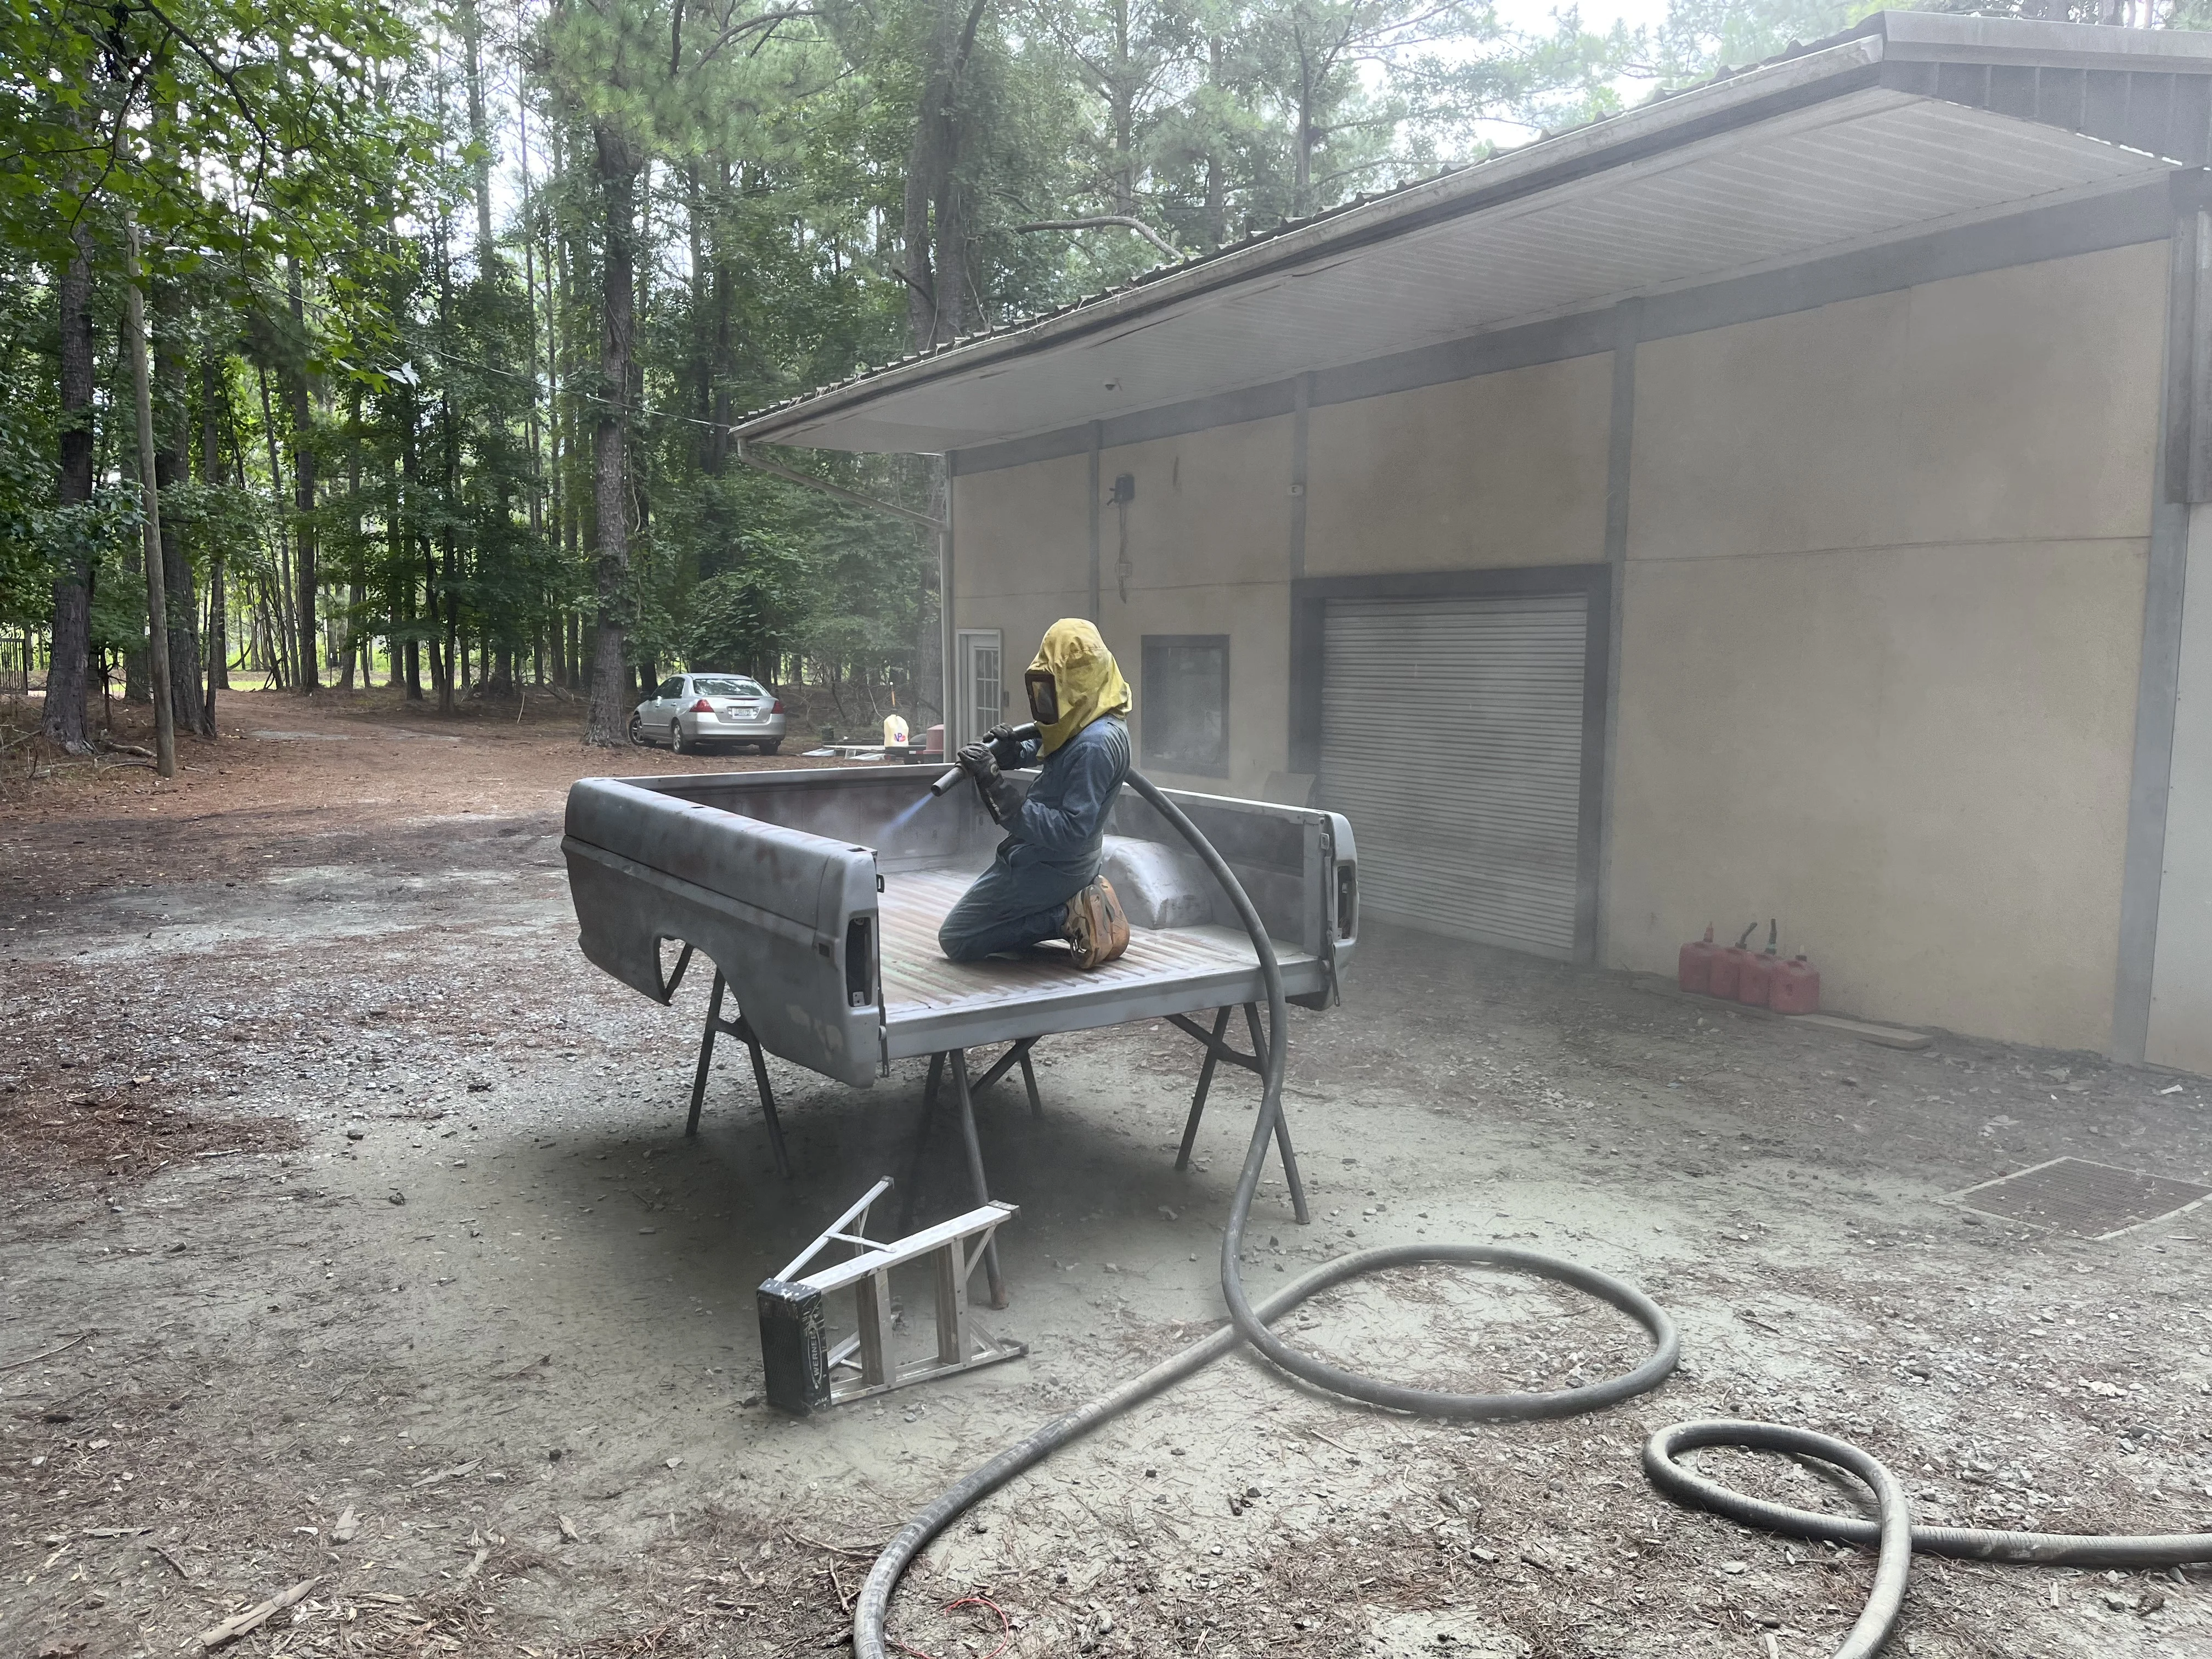
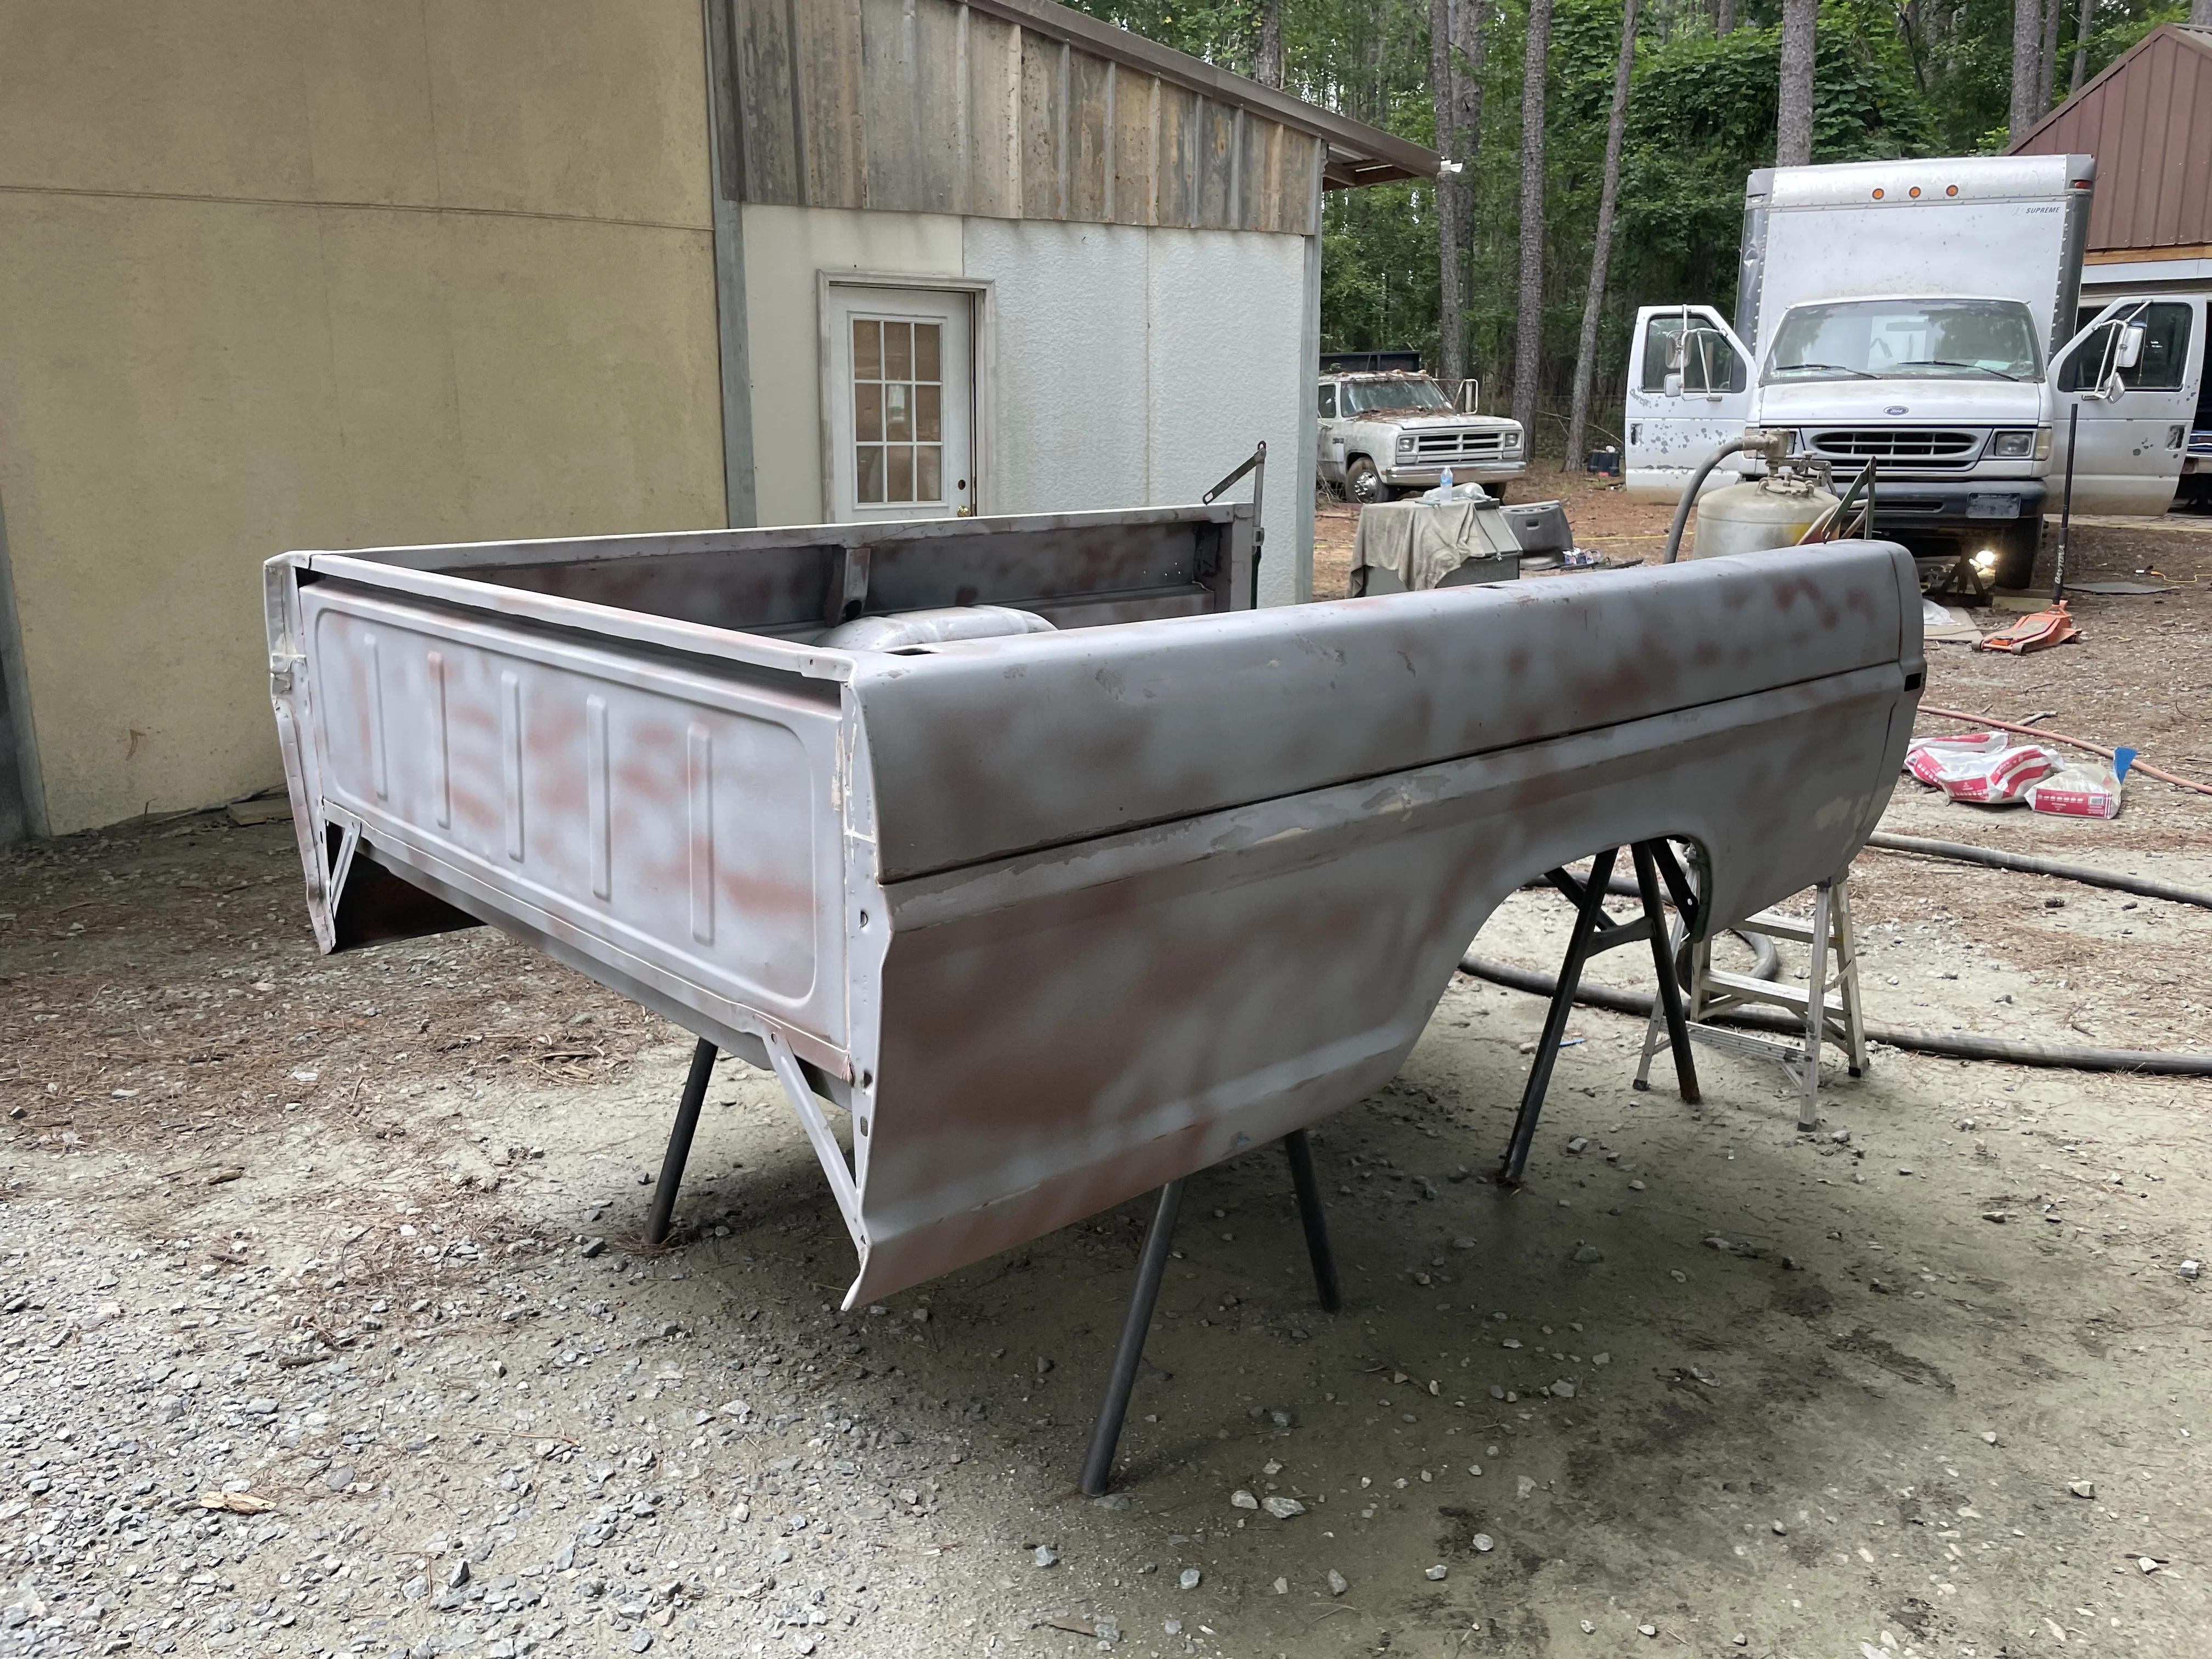
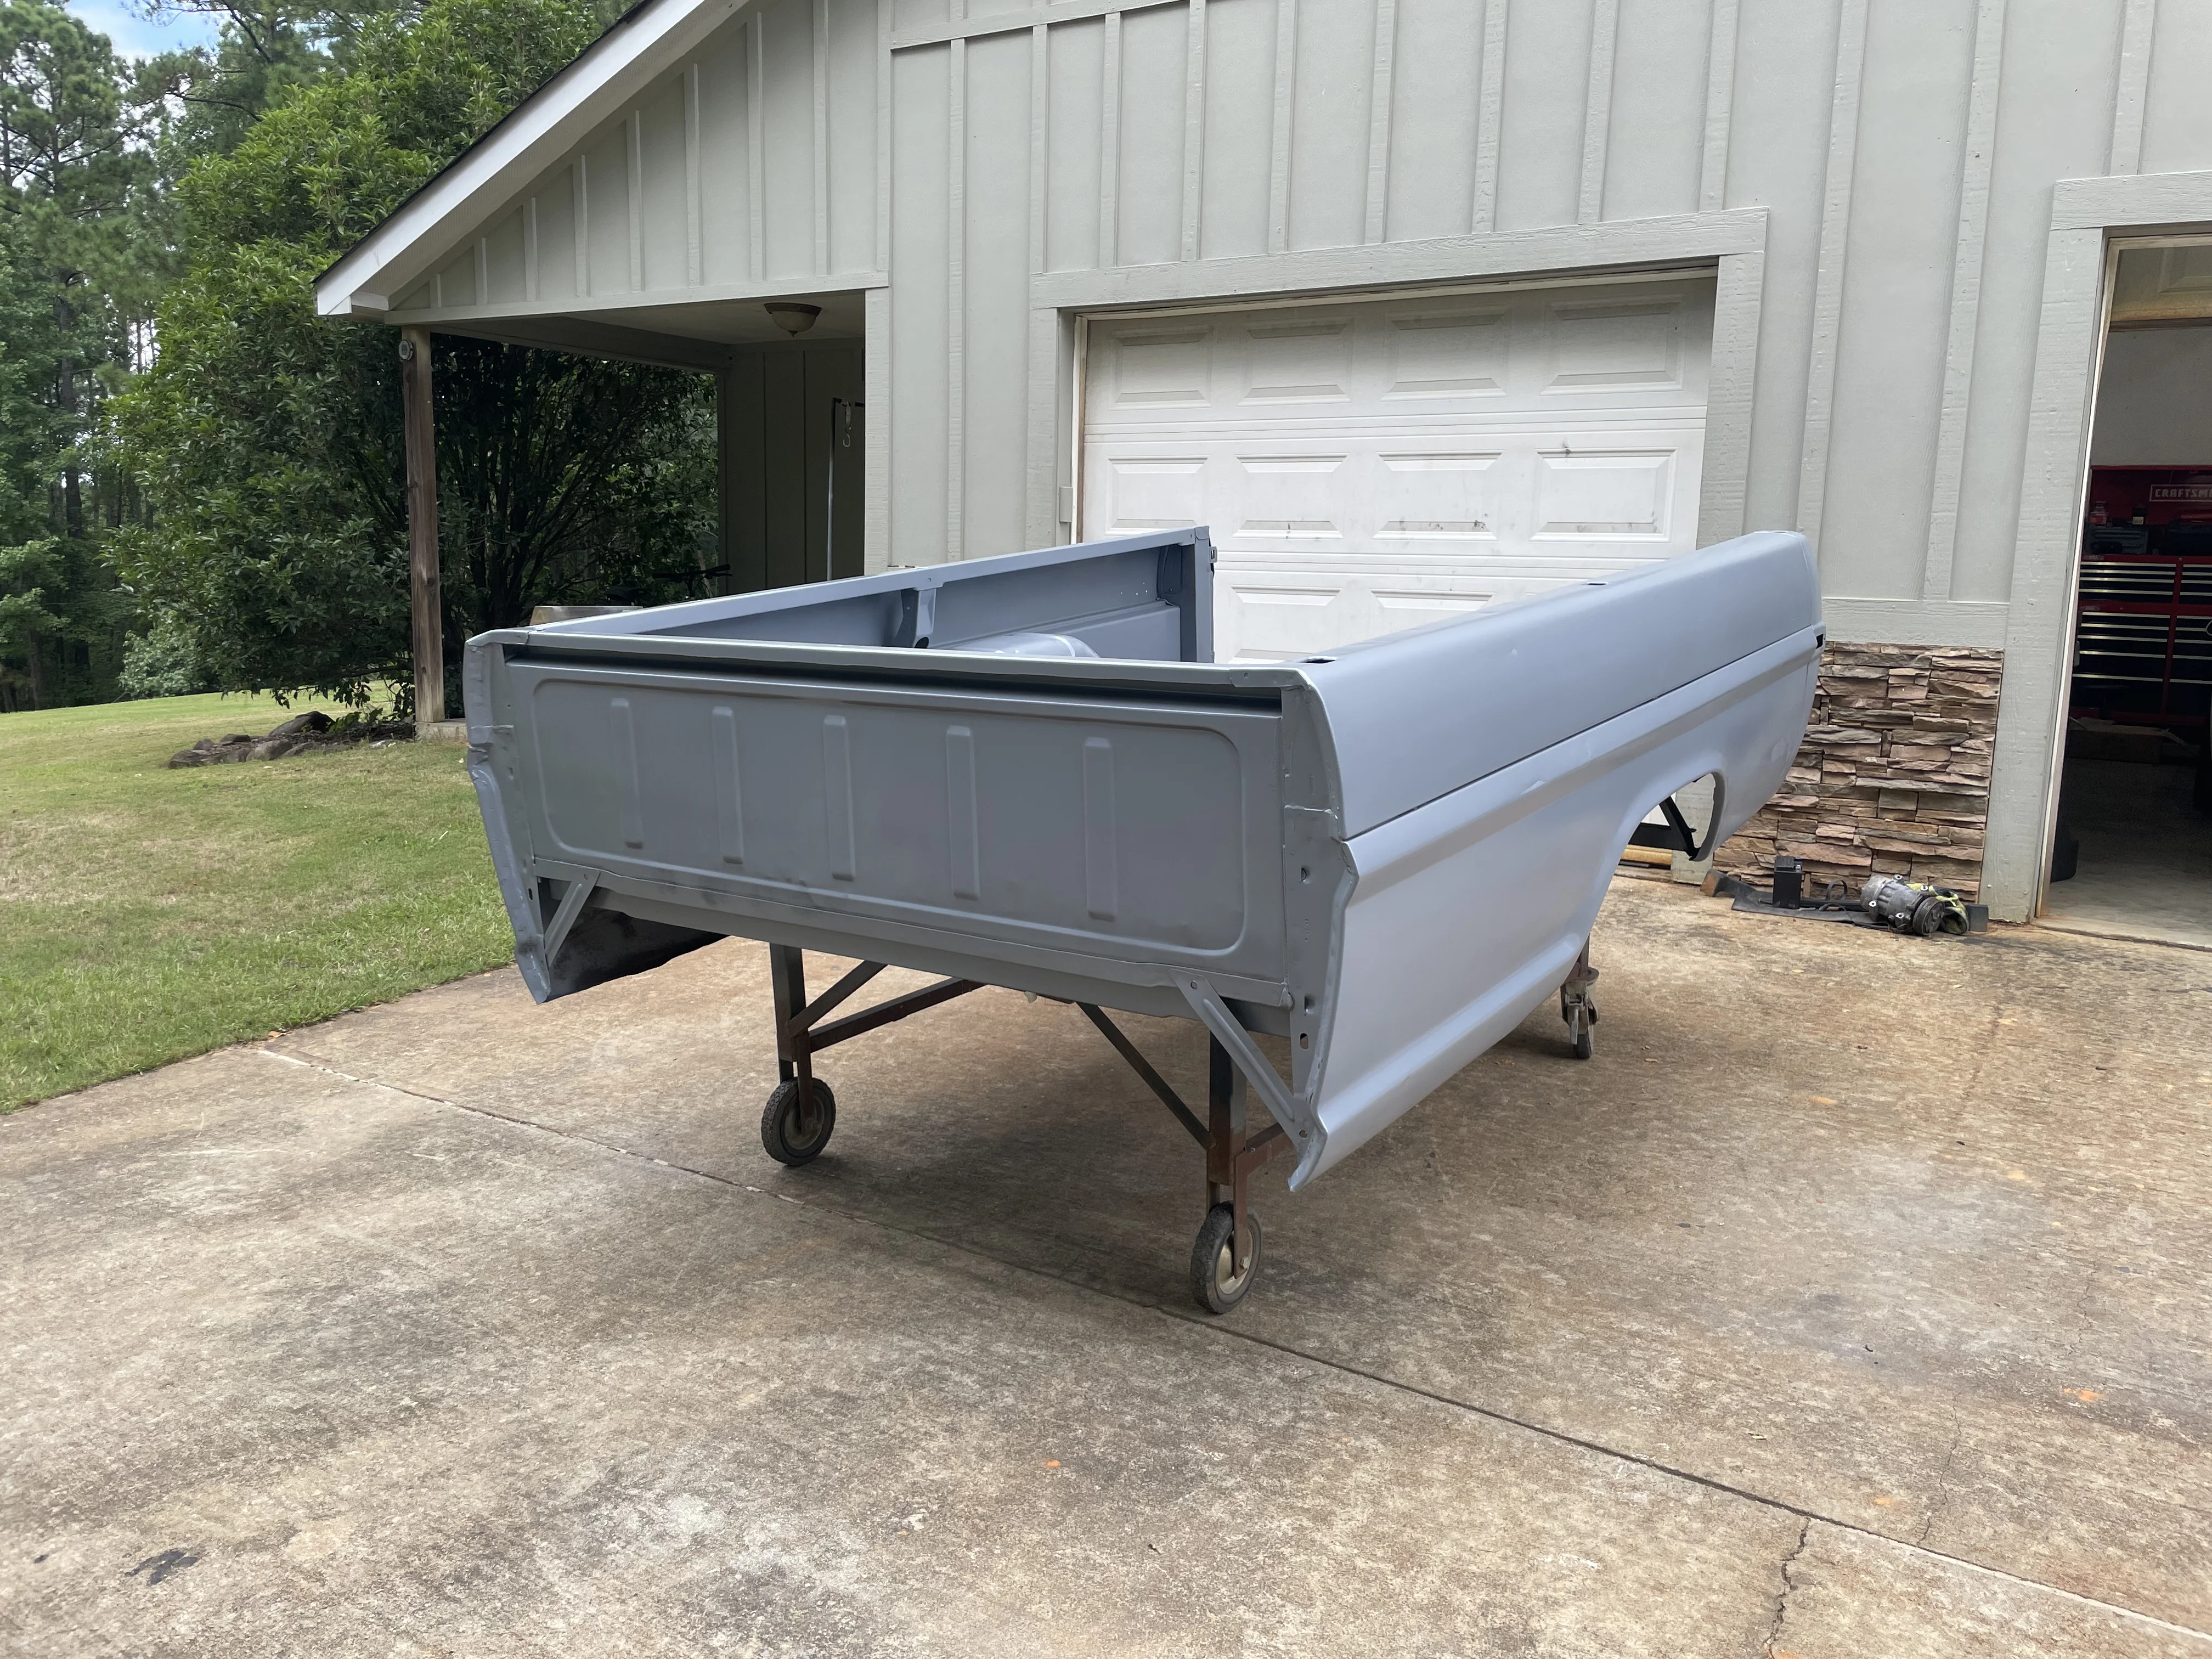
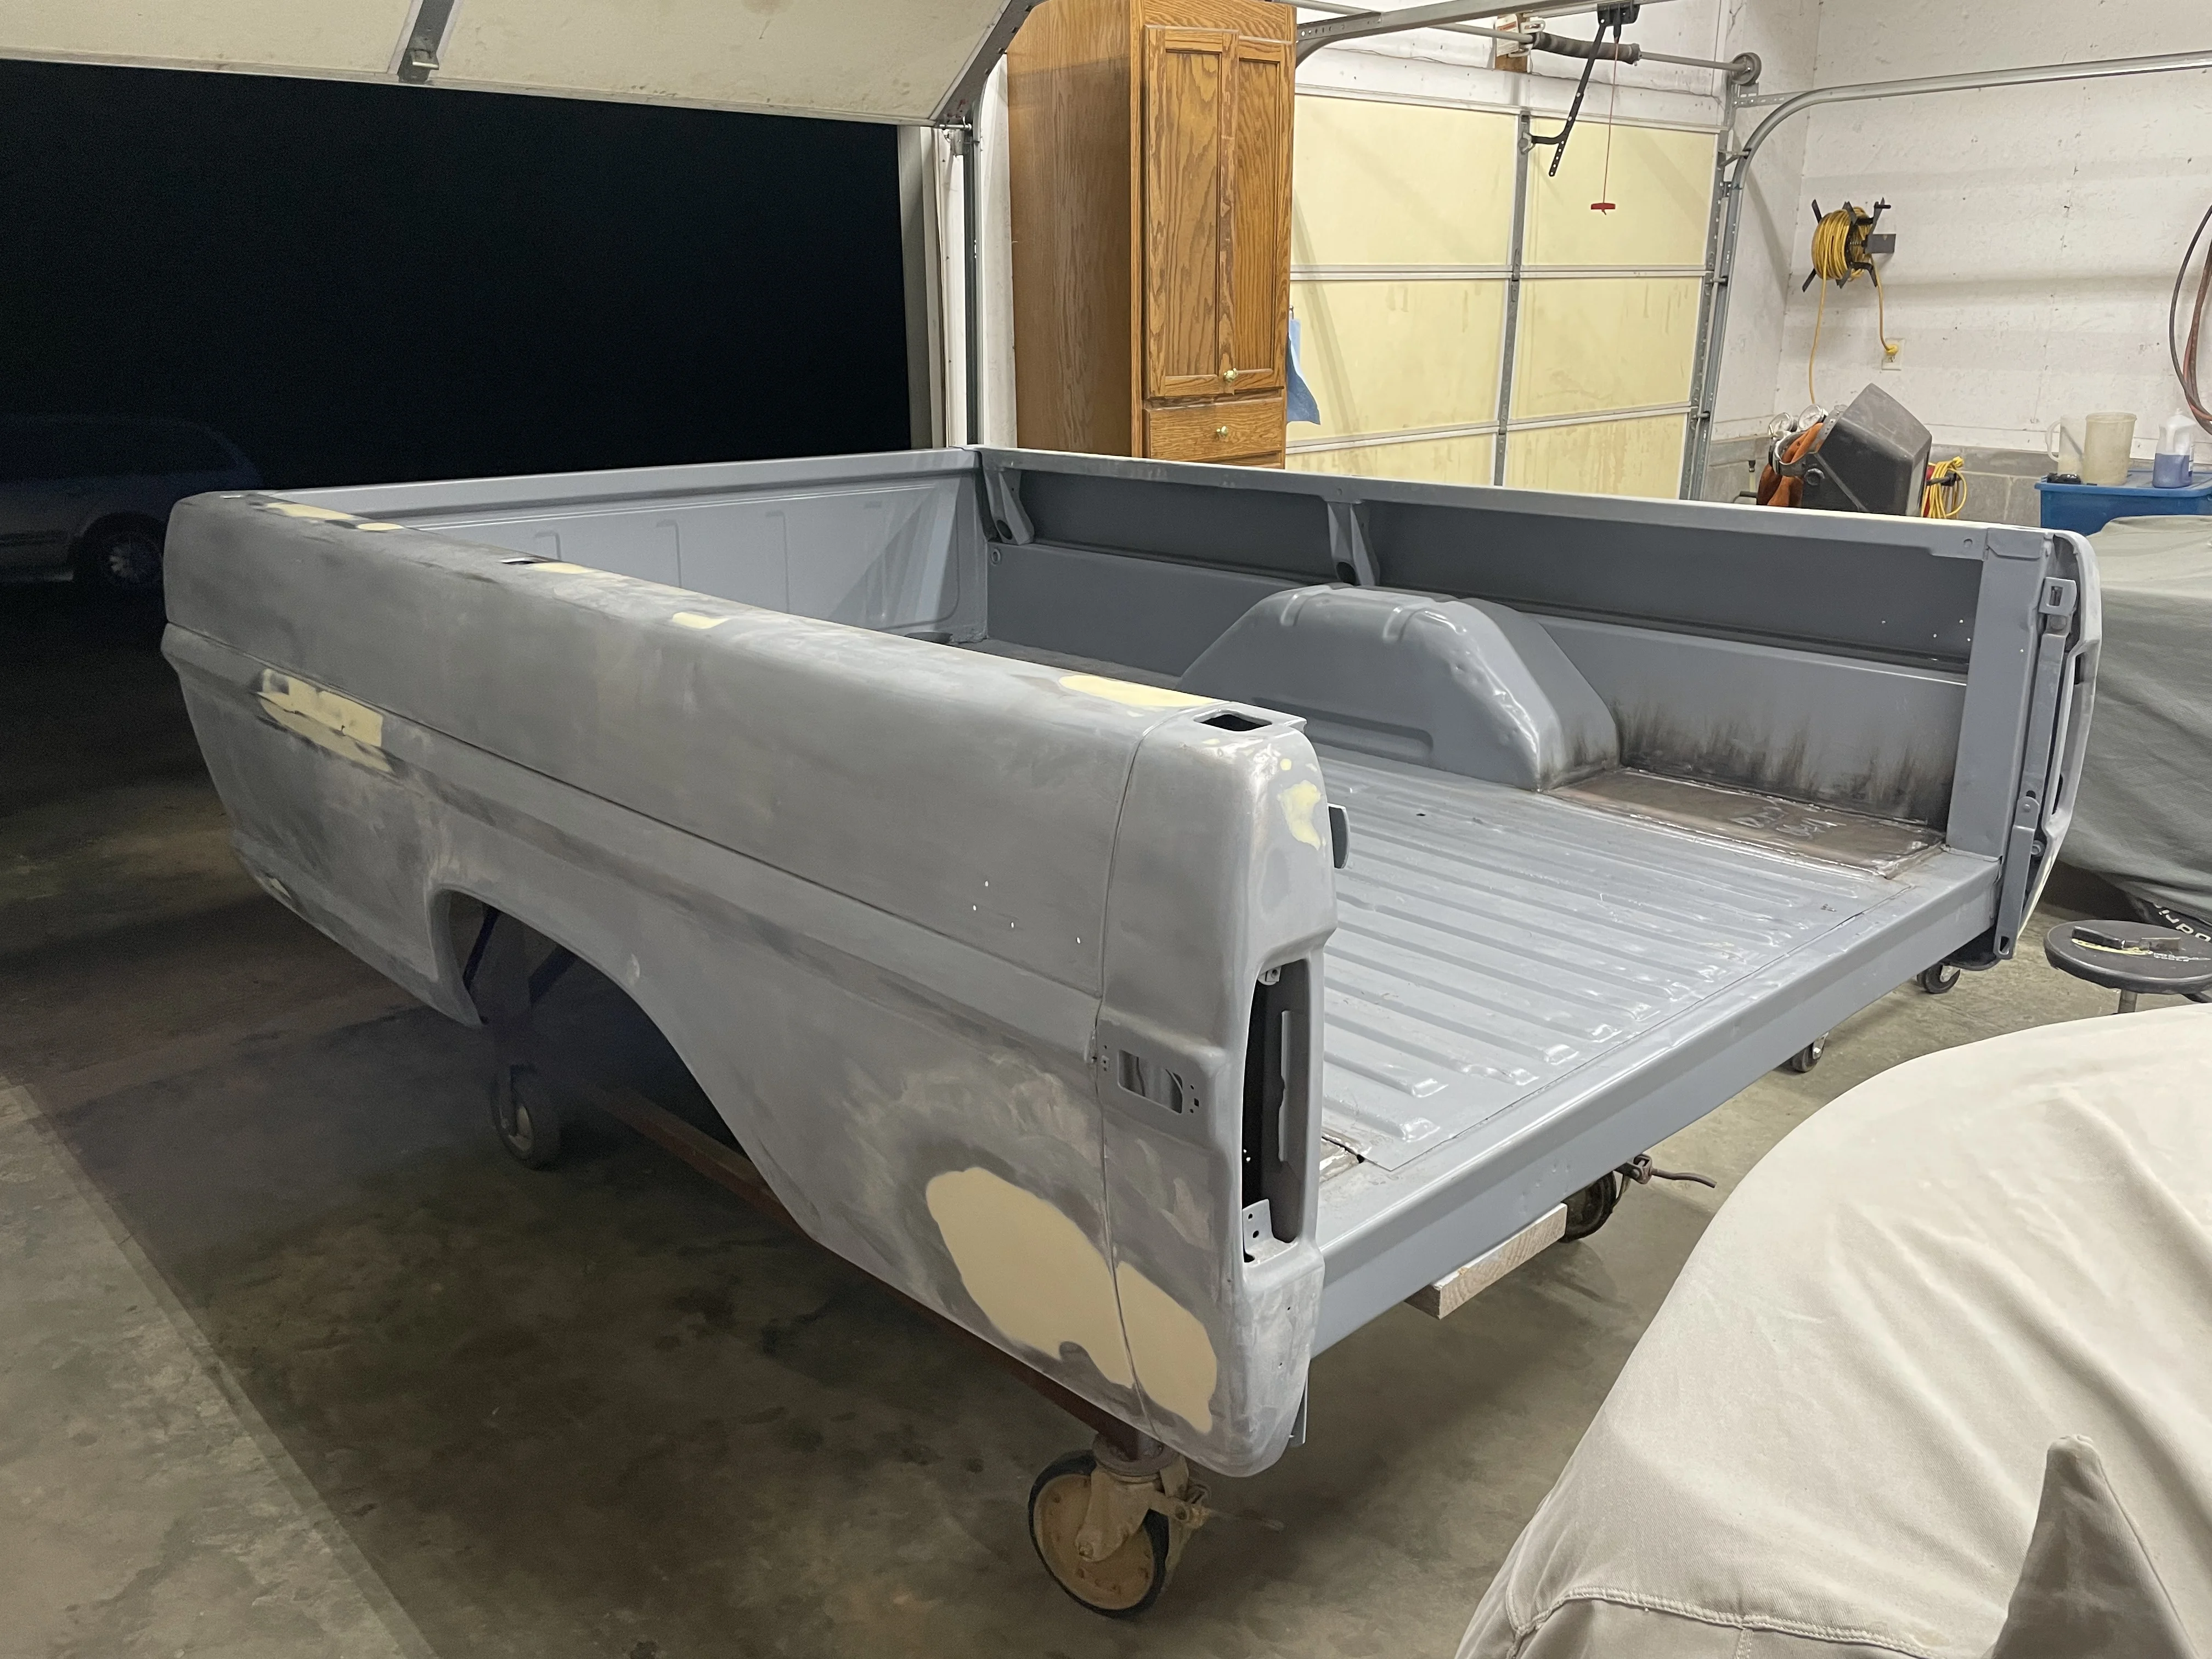
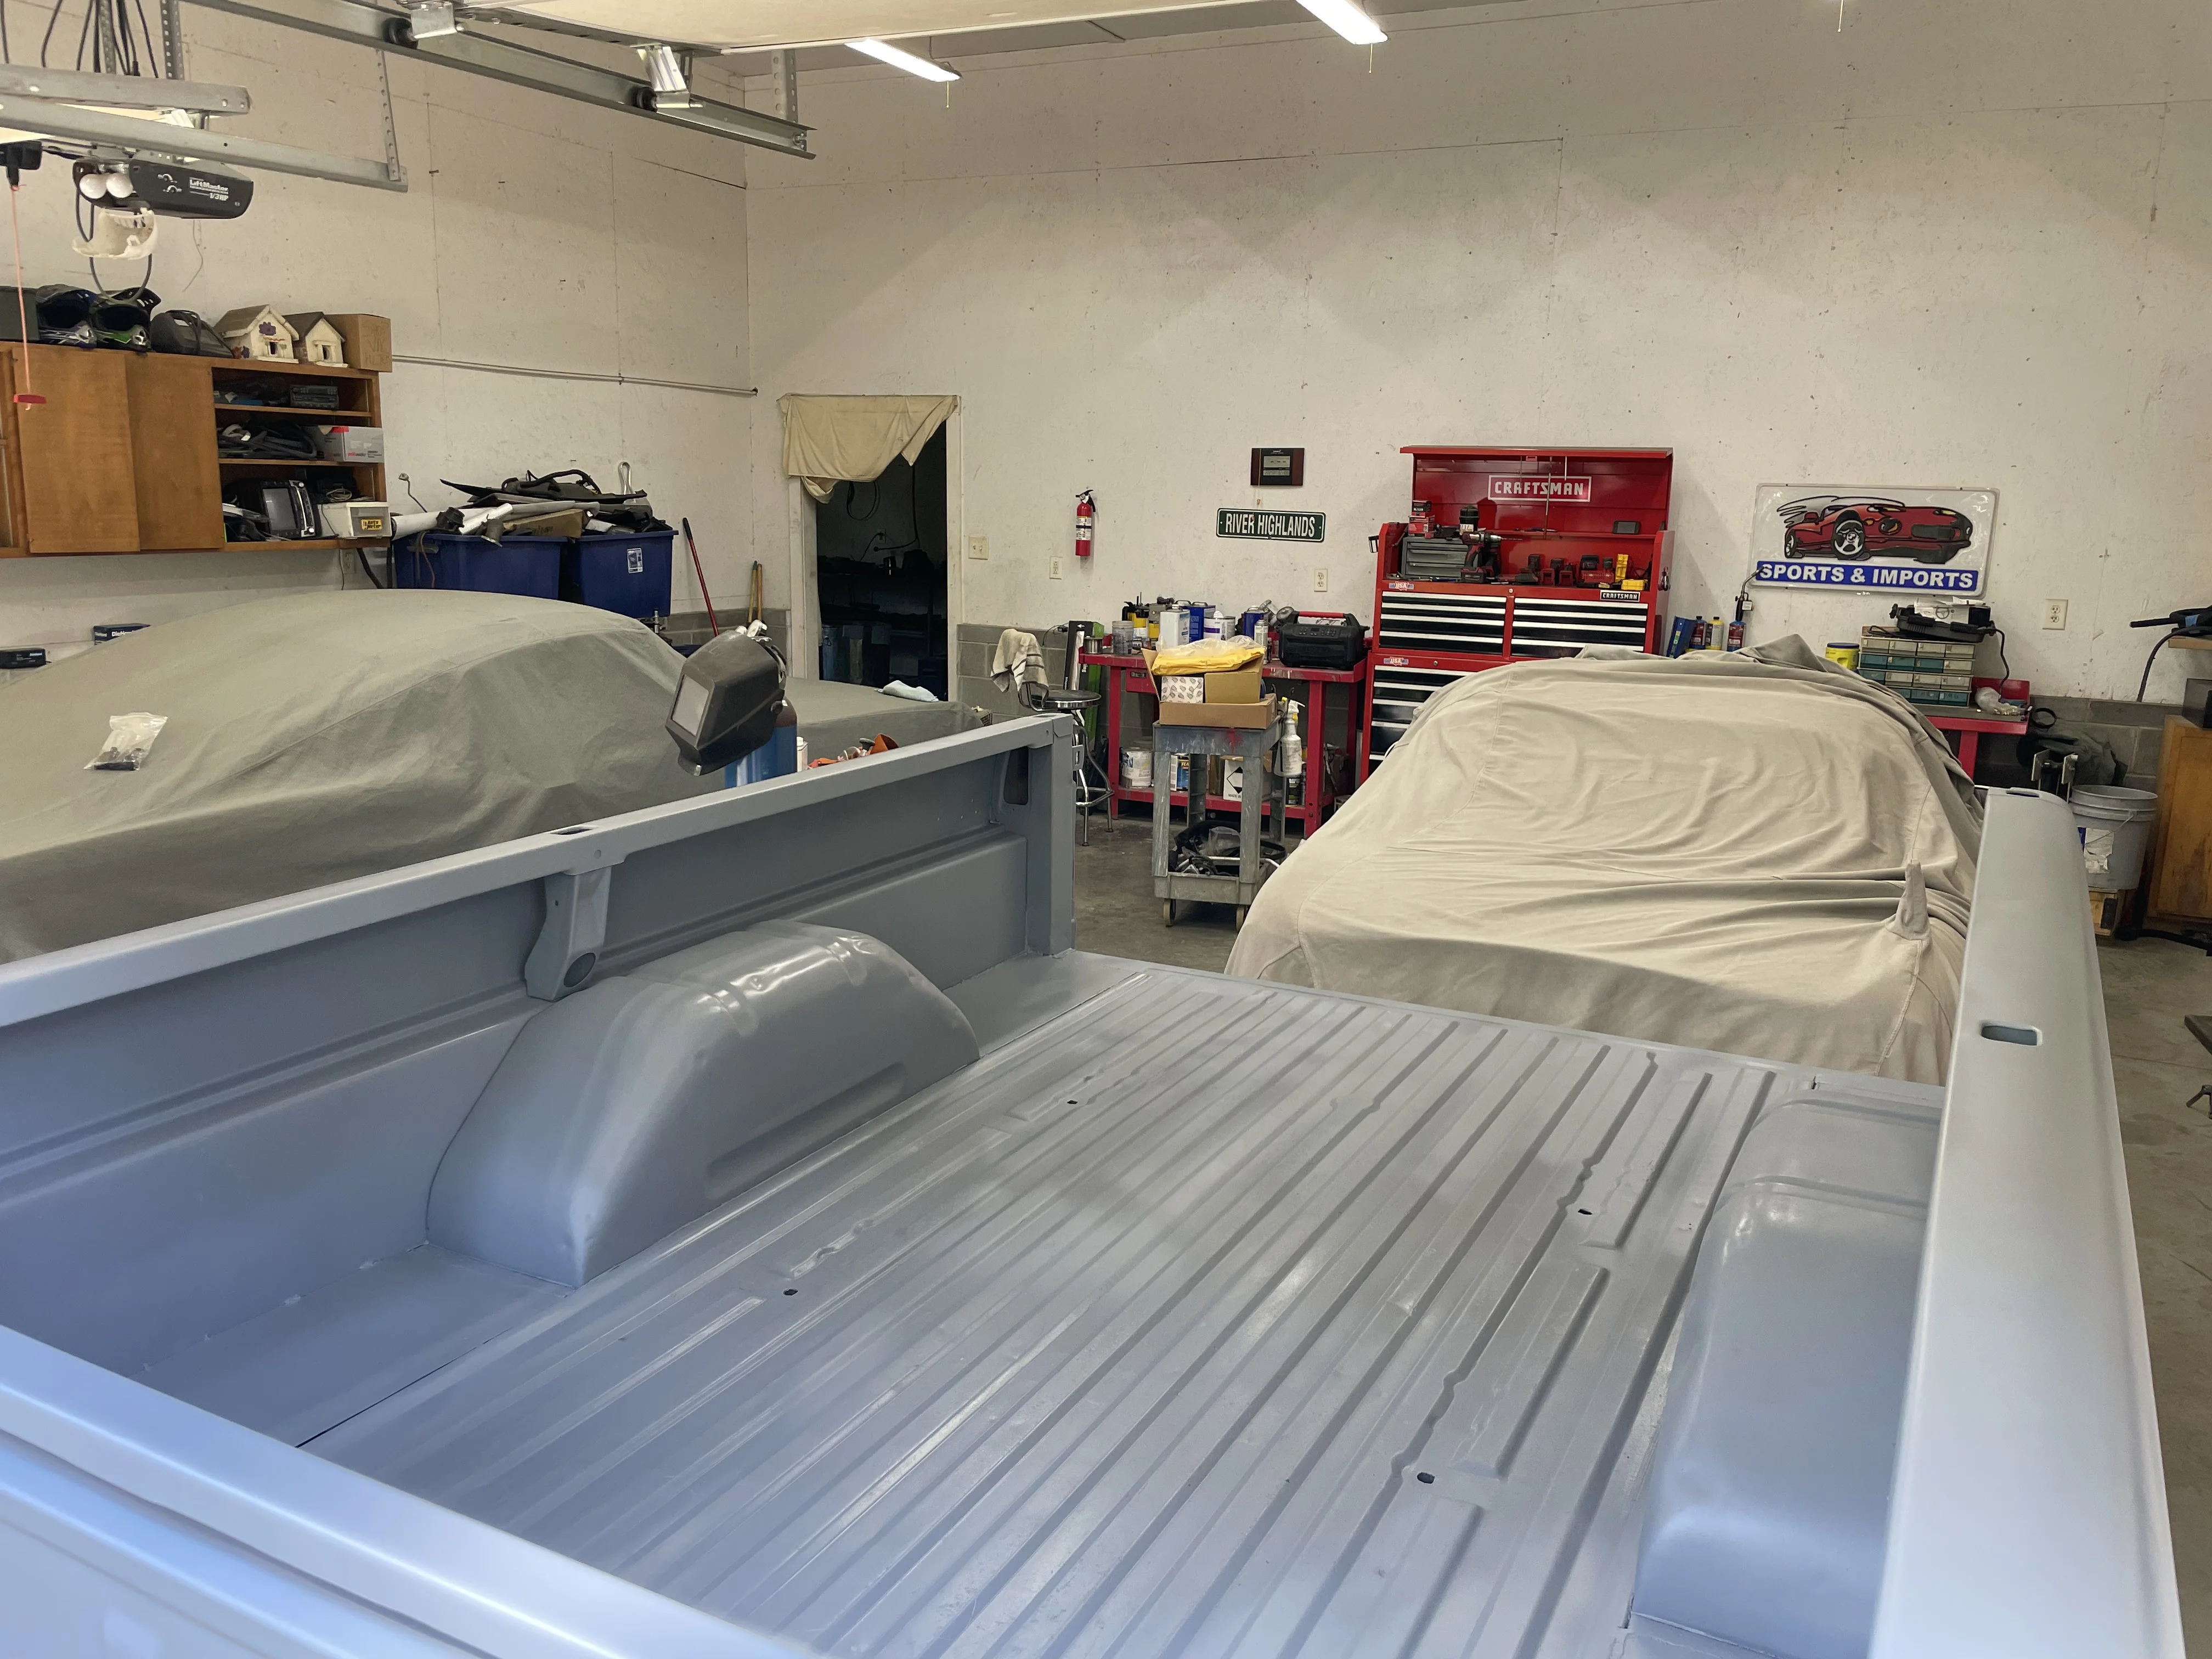
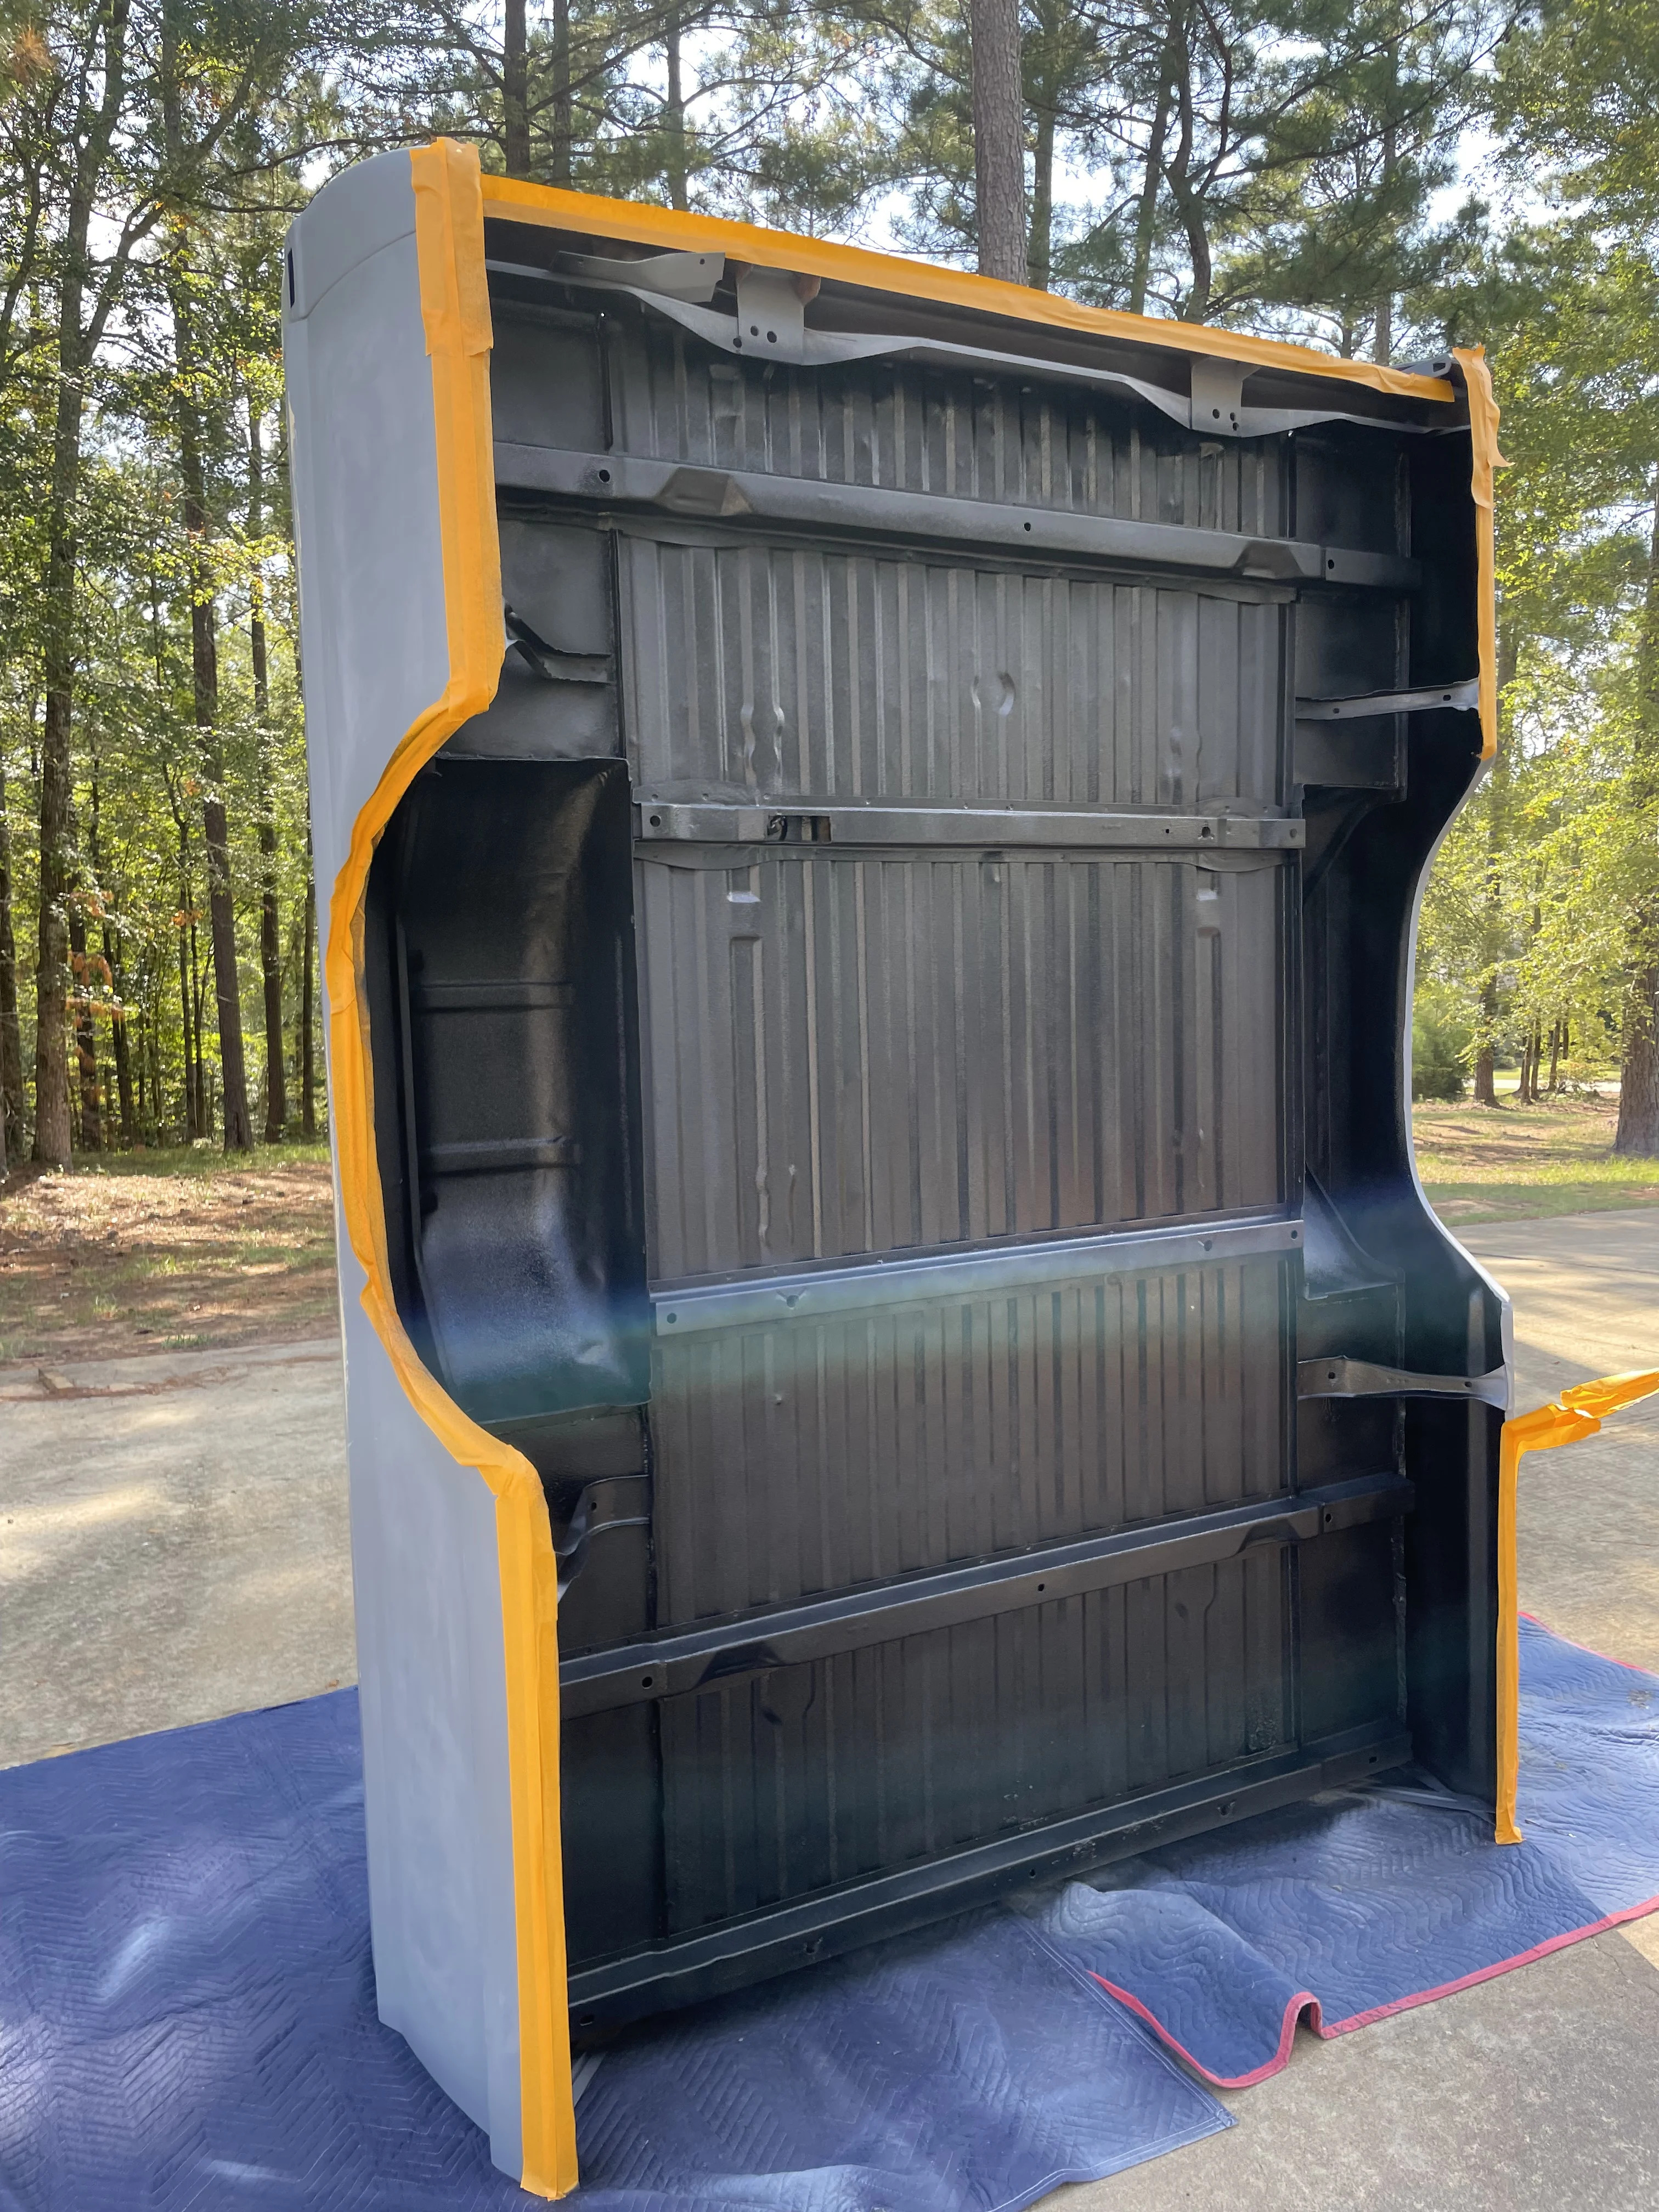
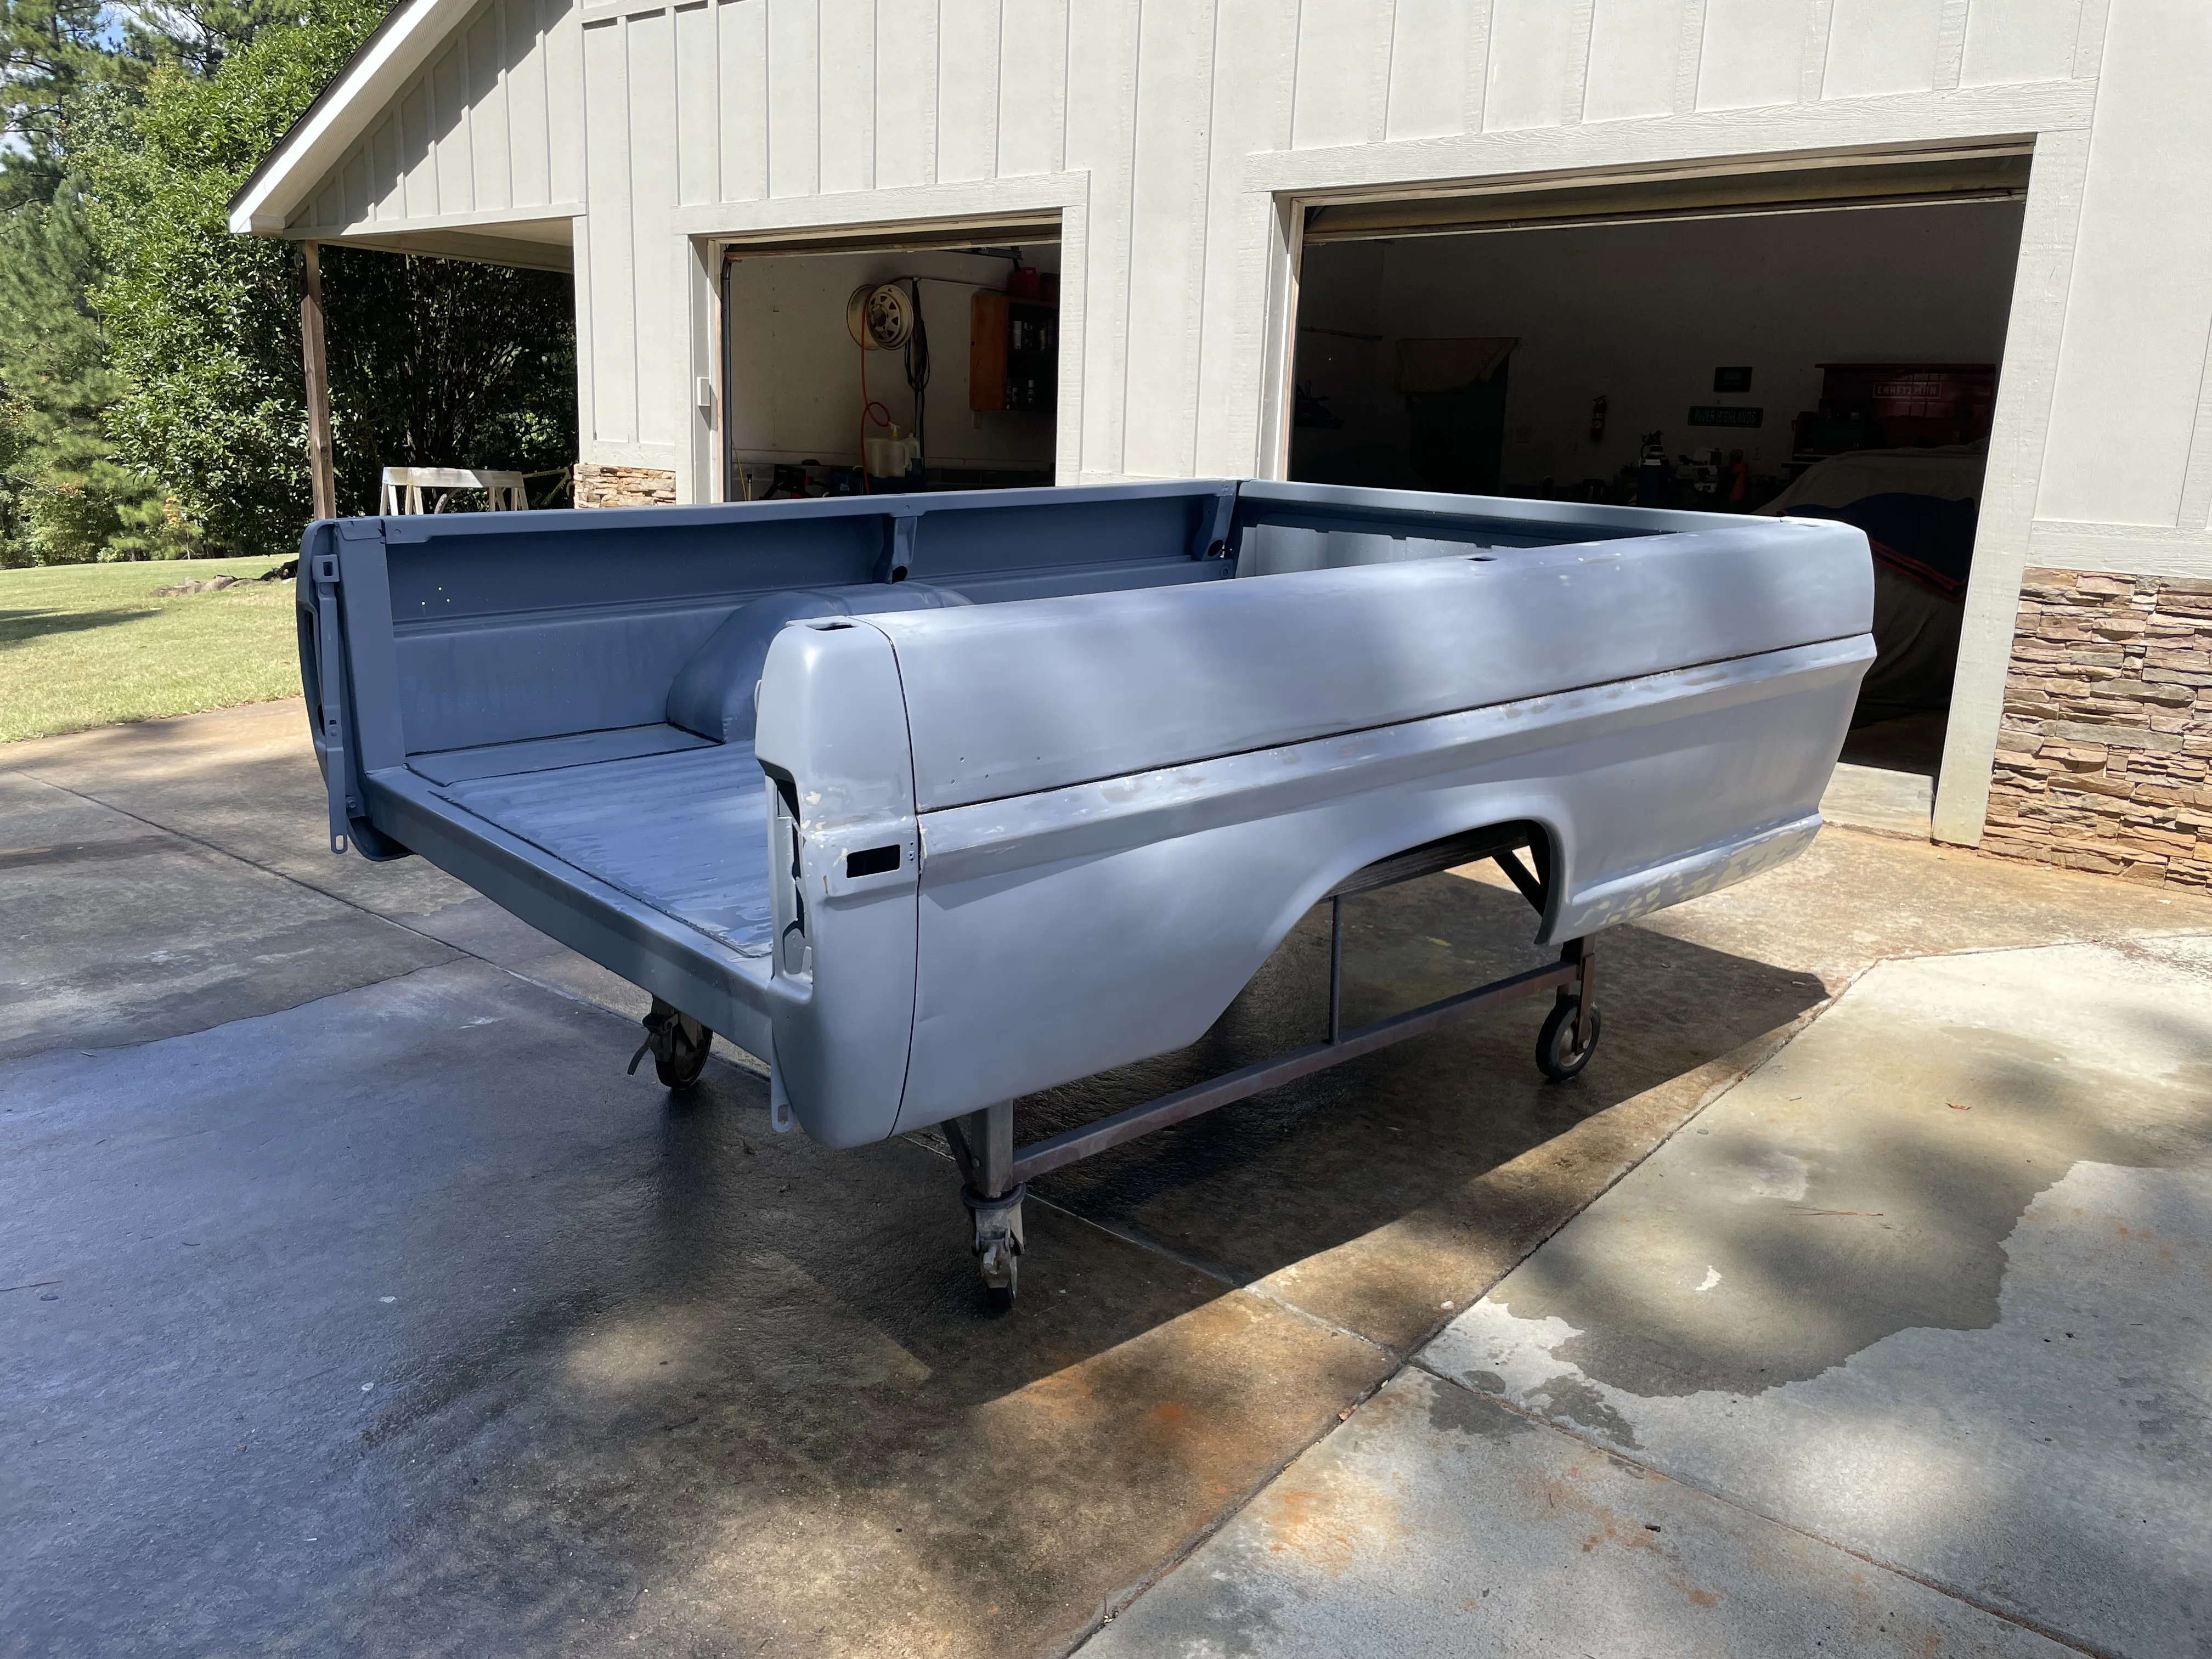
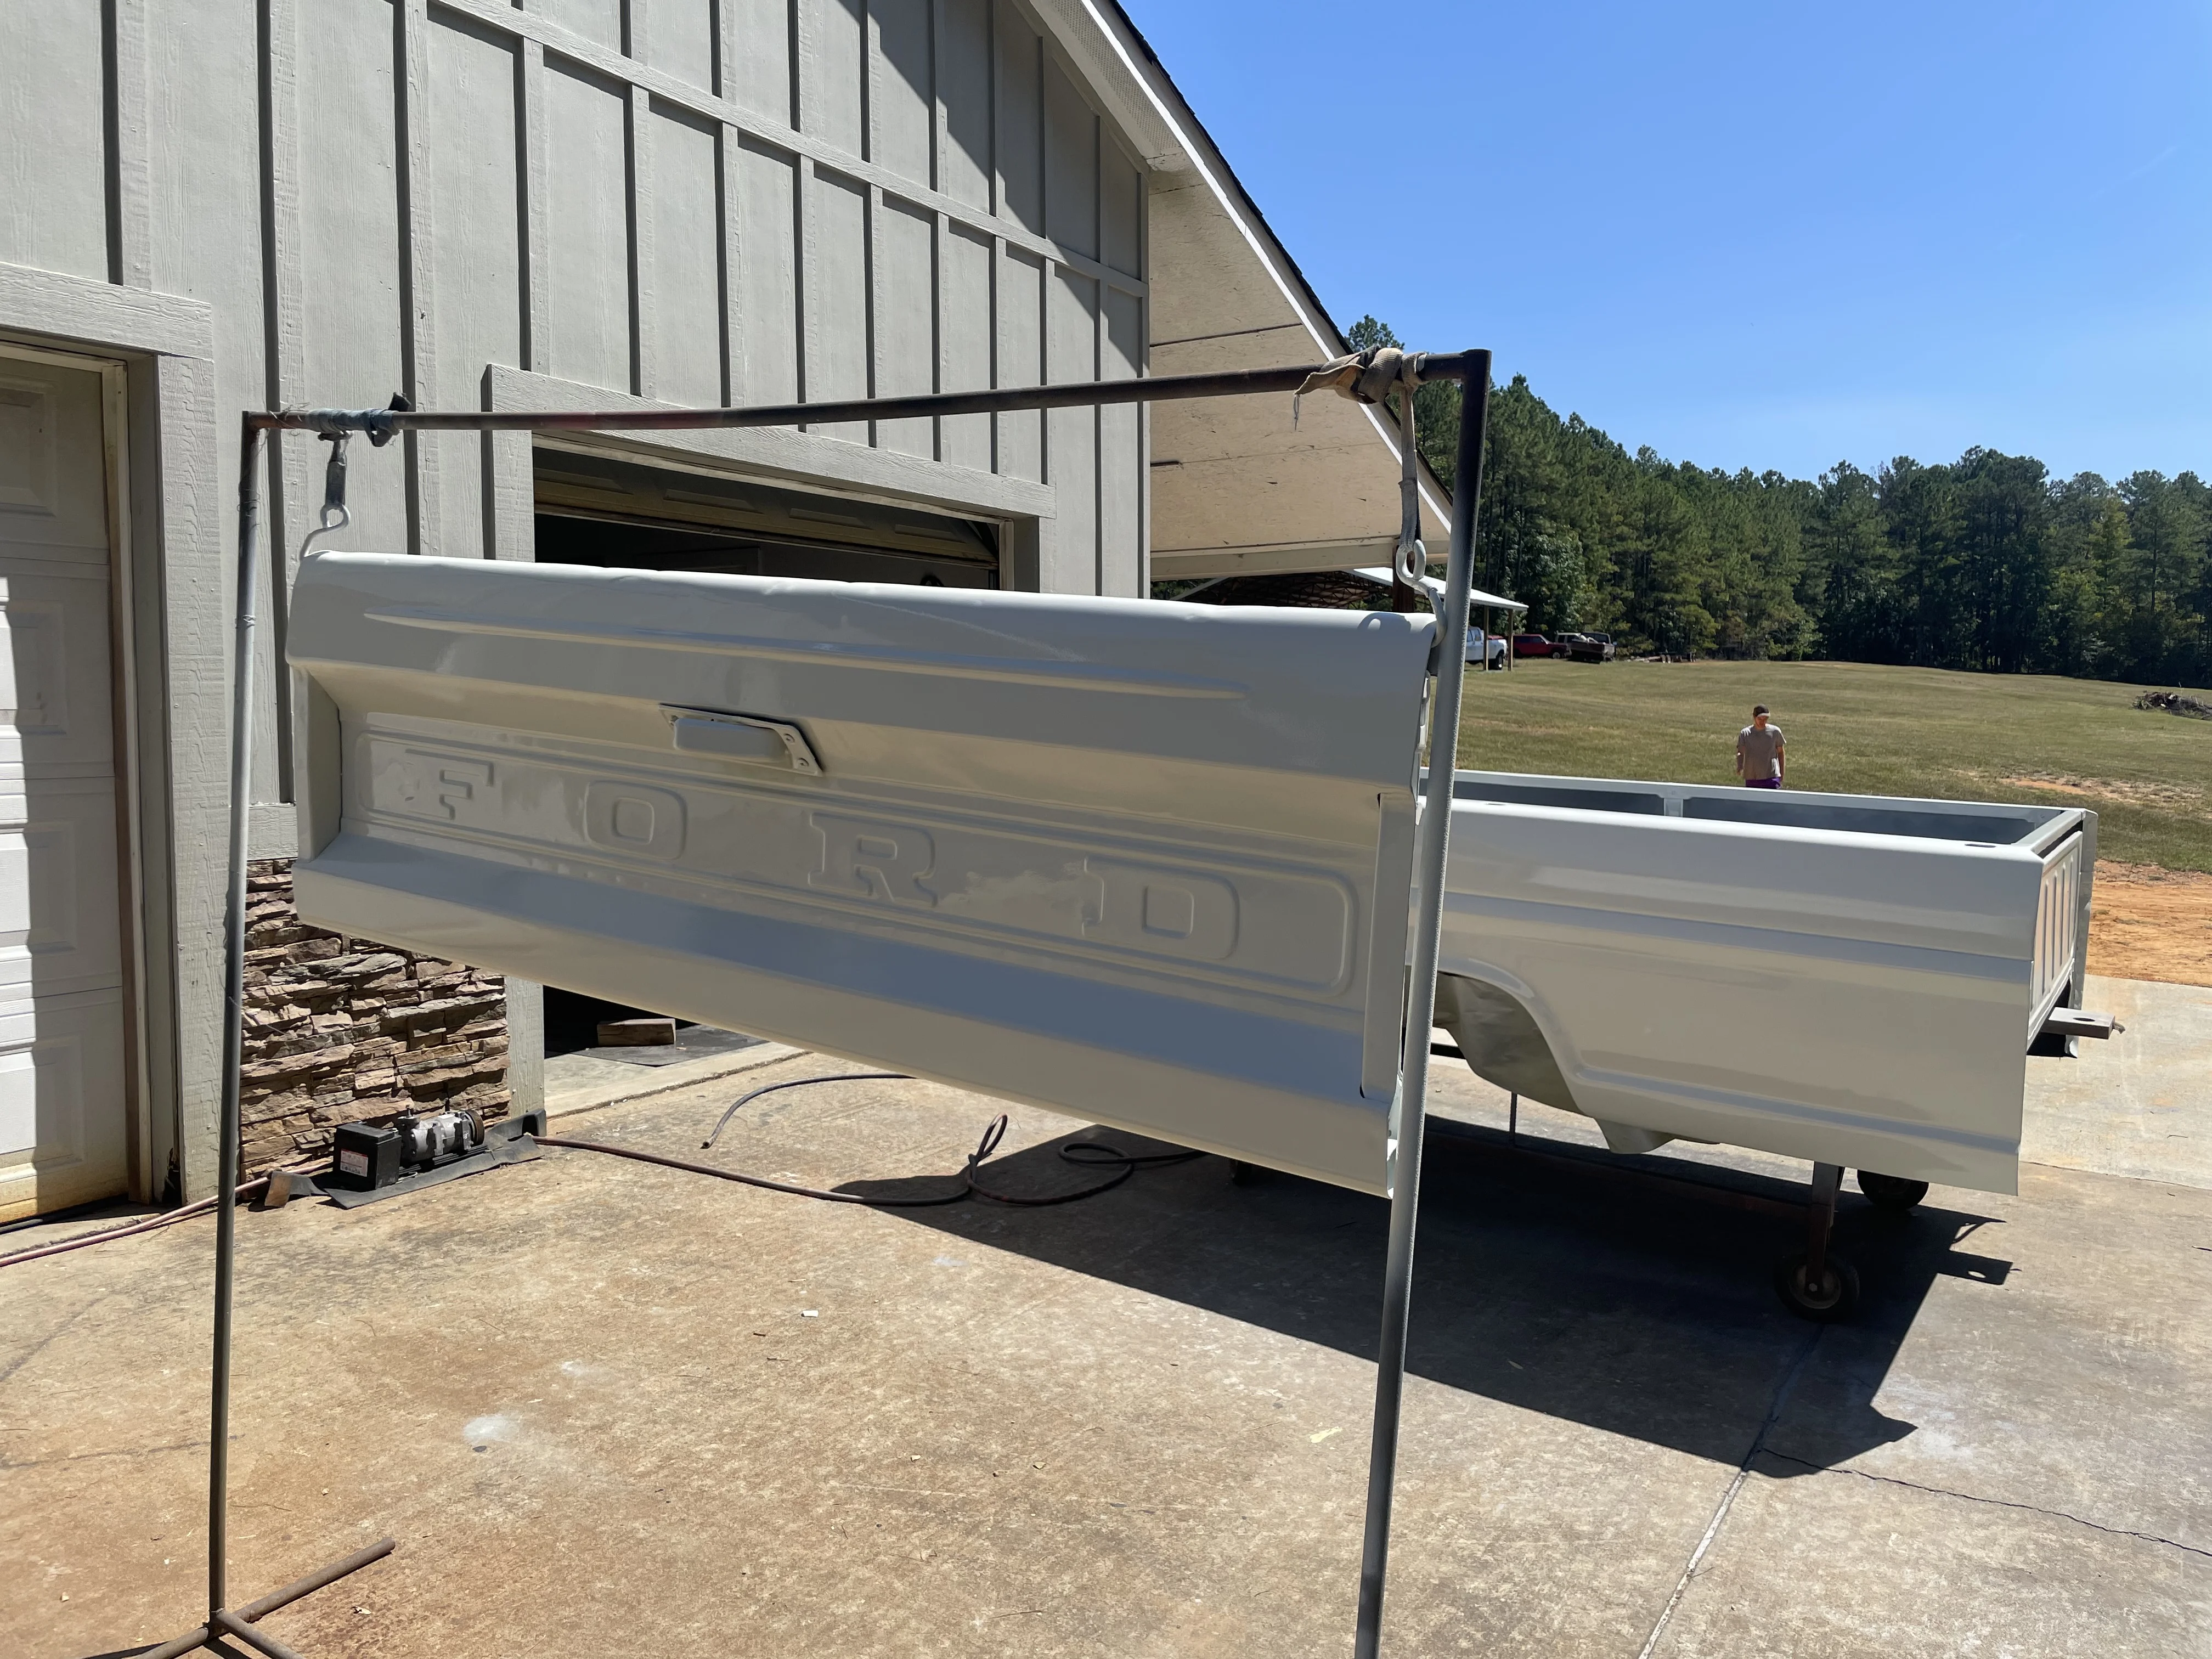
5. Paint? I think we're almost through the worst of the pollen here in GA.

Obviously, this list is an oversimplification, but it would be a good start.
 
Goodness fellas it has been a minute. Been building the nerve to break out the paint gun. Went with wimbledon white in base/clear and couldn't be happier!

IMG_6154.jpg


Interior is also wimbledon white and I'm thinking I may go with a green interior (dash pad, door cards, seat, carpet) but not totally sold. The traditional interior color for wimbledon white would be a dark reddish color.

IMG_6158.jpg


Took the second half of the week off work to make this happen and STILL barely got it done. Pulled the final panels into the shop while they were still wet with clear literal seconds before it started raining.

Also sprayed the underside of the cab/fenders/hood with raptor liner. Wanted to tint it to match body color but the only tintable kit the paint supplier had was too old and had hardened in the box. I think black looks just fine and it's under the truck anyway. Hopefully this was worth the additional monies and actually reduces heat and/or vibration. Still planning on getting after it with other heat/noise insulation products in the future. For now my wallet needs to heal.

IMG_6134.jpg

IMG_6135.jpg
 
Got some doors and the hood on. Was able to get the body line pretty straight. Also polished and rebuilt my mirrors with new hardware since the last guy didn't use stainless hardware. Turned out nice!

IMG_6190.jpg


Went ahead and knocked out the transmission cooler lines too. Making AN lines is low on my list of favorite things. An AN bulkhead would have been cleaner but this'll do for now. I used some grommets to resist fraying and will also probably come up with something to protect/secure the lines where they go through the wheel well.

IMG_6197.jpg

IMG_6198.jpg


Next step is going to be sorting out the front frame section I think.
 
Didn't get too much done this weekend but got the front frame pieces started. Maybe not the most elegant solution but it'll all look better once I finish it up I think.

full


It's just a 12" long piece of 4x4" -3/16" wall box tube. Theres an access hole on the bottom side so you can get at the nut holding the mount bushing once the bumper is installed. I'm planning to plate the bottom with 1/4" plate and clean up the remaining portion of frame. Gotta come up with a new way to mount the sway bar too but it's just metal.

full


Here's a pic of it all sitting under it's own weight! Sway bar is just tied up out of the way for now. Spent most of my spare time this weekend dressing up the Cressida with a new body kit because it needed some love.

full
 
Too hot to make real progress, but got the passenger door glass, back glass, and driver vent window installed. Can't find the driver window regulator so that's on hold for a bit. Not a ton of motivation to get the bed done right now but will hopefully have it blasted, rust repaired, and painted by end of summer. Might start on wiring in the meantime.

full

full
 
Wiring! Lots of it.
full

They give you enough for a loooooong bed. Also unfortunately the truck does not fit in the shop :(
full

Also wired up the locker. There are a handful of things I'm waiting on wiring up because I'll want the ecu to trigger i.e. fuel pump, radiator fan. Also waiting on a lot of wire loom so I only have to get under the truck once.
full

I also got the radiator halfway mounted - was hoping to come up with something a little more elaborate but kinda hard to ignore the simple solutions sometimes. Ignore the bolts holding it on. Awkward length for a M6 bolt and this is the best my bolt bin had to offer.
full

Truck bed has a date with a sand blaster in two weeks! Hoping to get paint wrapped up before it's too cold outside.
 
You are really skilled at this. Thanks for sharing the build out.. I am in awe. Usually someone is good at rough in or finish build, but you seem to be able to do all the things together..
what a joy to read..
 
I'm enjoying the hell outa' this too!
 
Some reflective butyl insulation in this weekend. Will be taking additional measures to make sure this is a comfortable riding truck.
full

full

Also knocked out some more wiring which you wouldn't be able to tell from photos. Finished the start relay which is triggered by the neutral safety circuit from the transmission controller. Lots of backtracking through this harness. The instructions don't include a real wiring diagram but rather just tells you which color goes where (in efforts to be dummy proof perhaps) so there's a lot of tracking down open circuits. Need to get the ECU/engine harness so I can fully plan the integration between TCU, ECU, and body harness before looming up wires.

Side note - I'm stuck on interior color. Was sorta leaning green as homage to the original color scheme but now I'm not so sure. Exterior will be staying the Wimbledon white color so the obvious choice is a red interior? Open to suggestions as long as it's not black.
 
Got the bed media blasted this weekend. A family friend has a sure enough blasting setup. It's like fighting a giant snake but made extremely quick work of the bed. Think I got it all done in an hour and a half.
full

full

Then trailered it home and quickly got it into some epoxy primer so I don't have to deal with any flash rust.
full

full

Bed is in both better and worse shape than I thought. The only rust in the floor is in the really easy to patch areas but you can see there's a lot of work to do on the passenger side. I got around to doing some wiring too. Completed the heavy-gauge wiring like alternator, fuse panel 12v, and starter. Here's a pic of the junction block I used. Should be pretty out of the way once a battery is installed. Still haven't made the lower brackets for the radiator so it looks really crooked in this pic.
full
 

Users who are viewing this thread

Back
Top Bottom