eatSleepWoof's '18 FSR trailer (1 Viewer)

This site may earn a commission from merchant affiliate
links, including eBay, Amazon, Skimlinks, and others.

Had another thought. Rather than running steel cable across the area between the two verticals, (in both directions) what if I run it from the very outer, bottom edge of the FR track, to the bottom of the closest bracket, and then do the same thing on the other side? If I'm picturing this correctly, lateral forces from one side should be limited/stopped by the cable on the other side of the trailer. Is that correct?

This would essentially be the combination of both approaches suggested above. The upside being that it would leave the room between the tent and the trailer empty.
 
If you buy the 1.5" size they come with holes for 5/16 bolts.
6" long:
 
If you buy the 1.5" size they come with holes for 5/16 bolts.
6" long:

McMaster's shipping quote for 4 of those is a shockingly reasonable $21, and that's for overnight delivery! Unfortunately, when it comes to Canada, they only ship to Businesses or Schools. I could probably get my neighbour's business to receive it, if it comes to that. Will keep this as an option.

I think I can get four turnbuckles that will be long enough to go from the outer edge of the FR bars, down to the tracks. One of these in each corner would likely suffice. Will try to source tonight.
 
Turnbuckles solved the swaying problem!

2002540


2002541


The setup is rock solid now. I pushed on the front corner of the tent and moved the entire front of the trailer a foot over. That'll do!
 
Popped the tent open for the first time today and installed bedding.

Took 2:15 to set it up.
Took 6:15 to pack it up (going very slowly, tucking in every last bit of fabric, playing with the cover, etc.).

I'm sure both those times will get faster, especially with a second set of hands.

Overall impression is very good. I'm unexpectedly impressed.

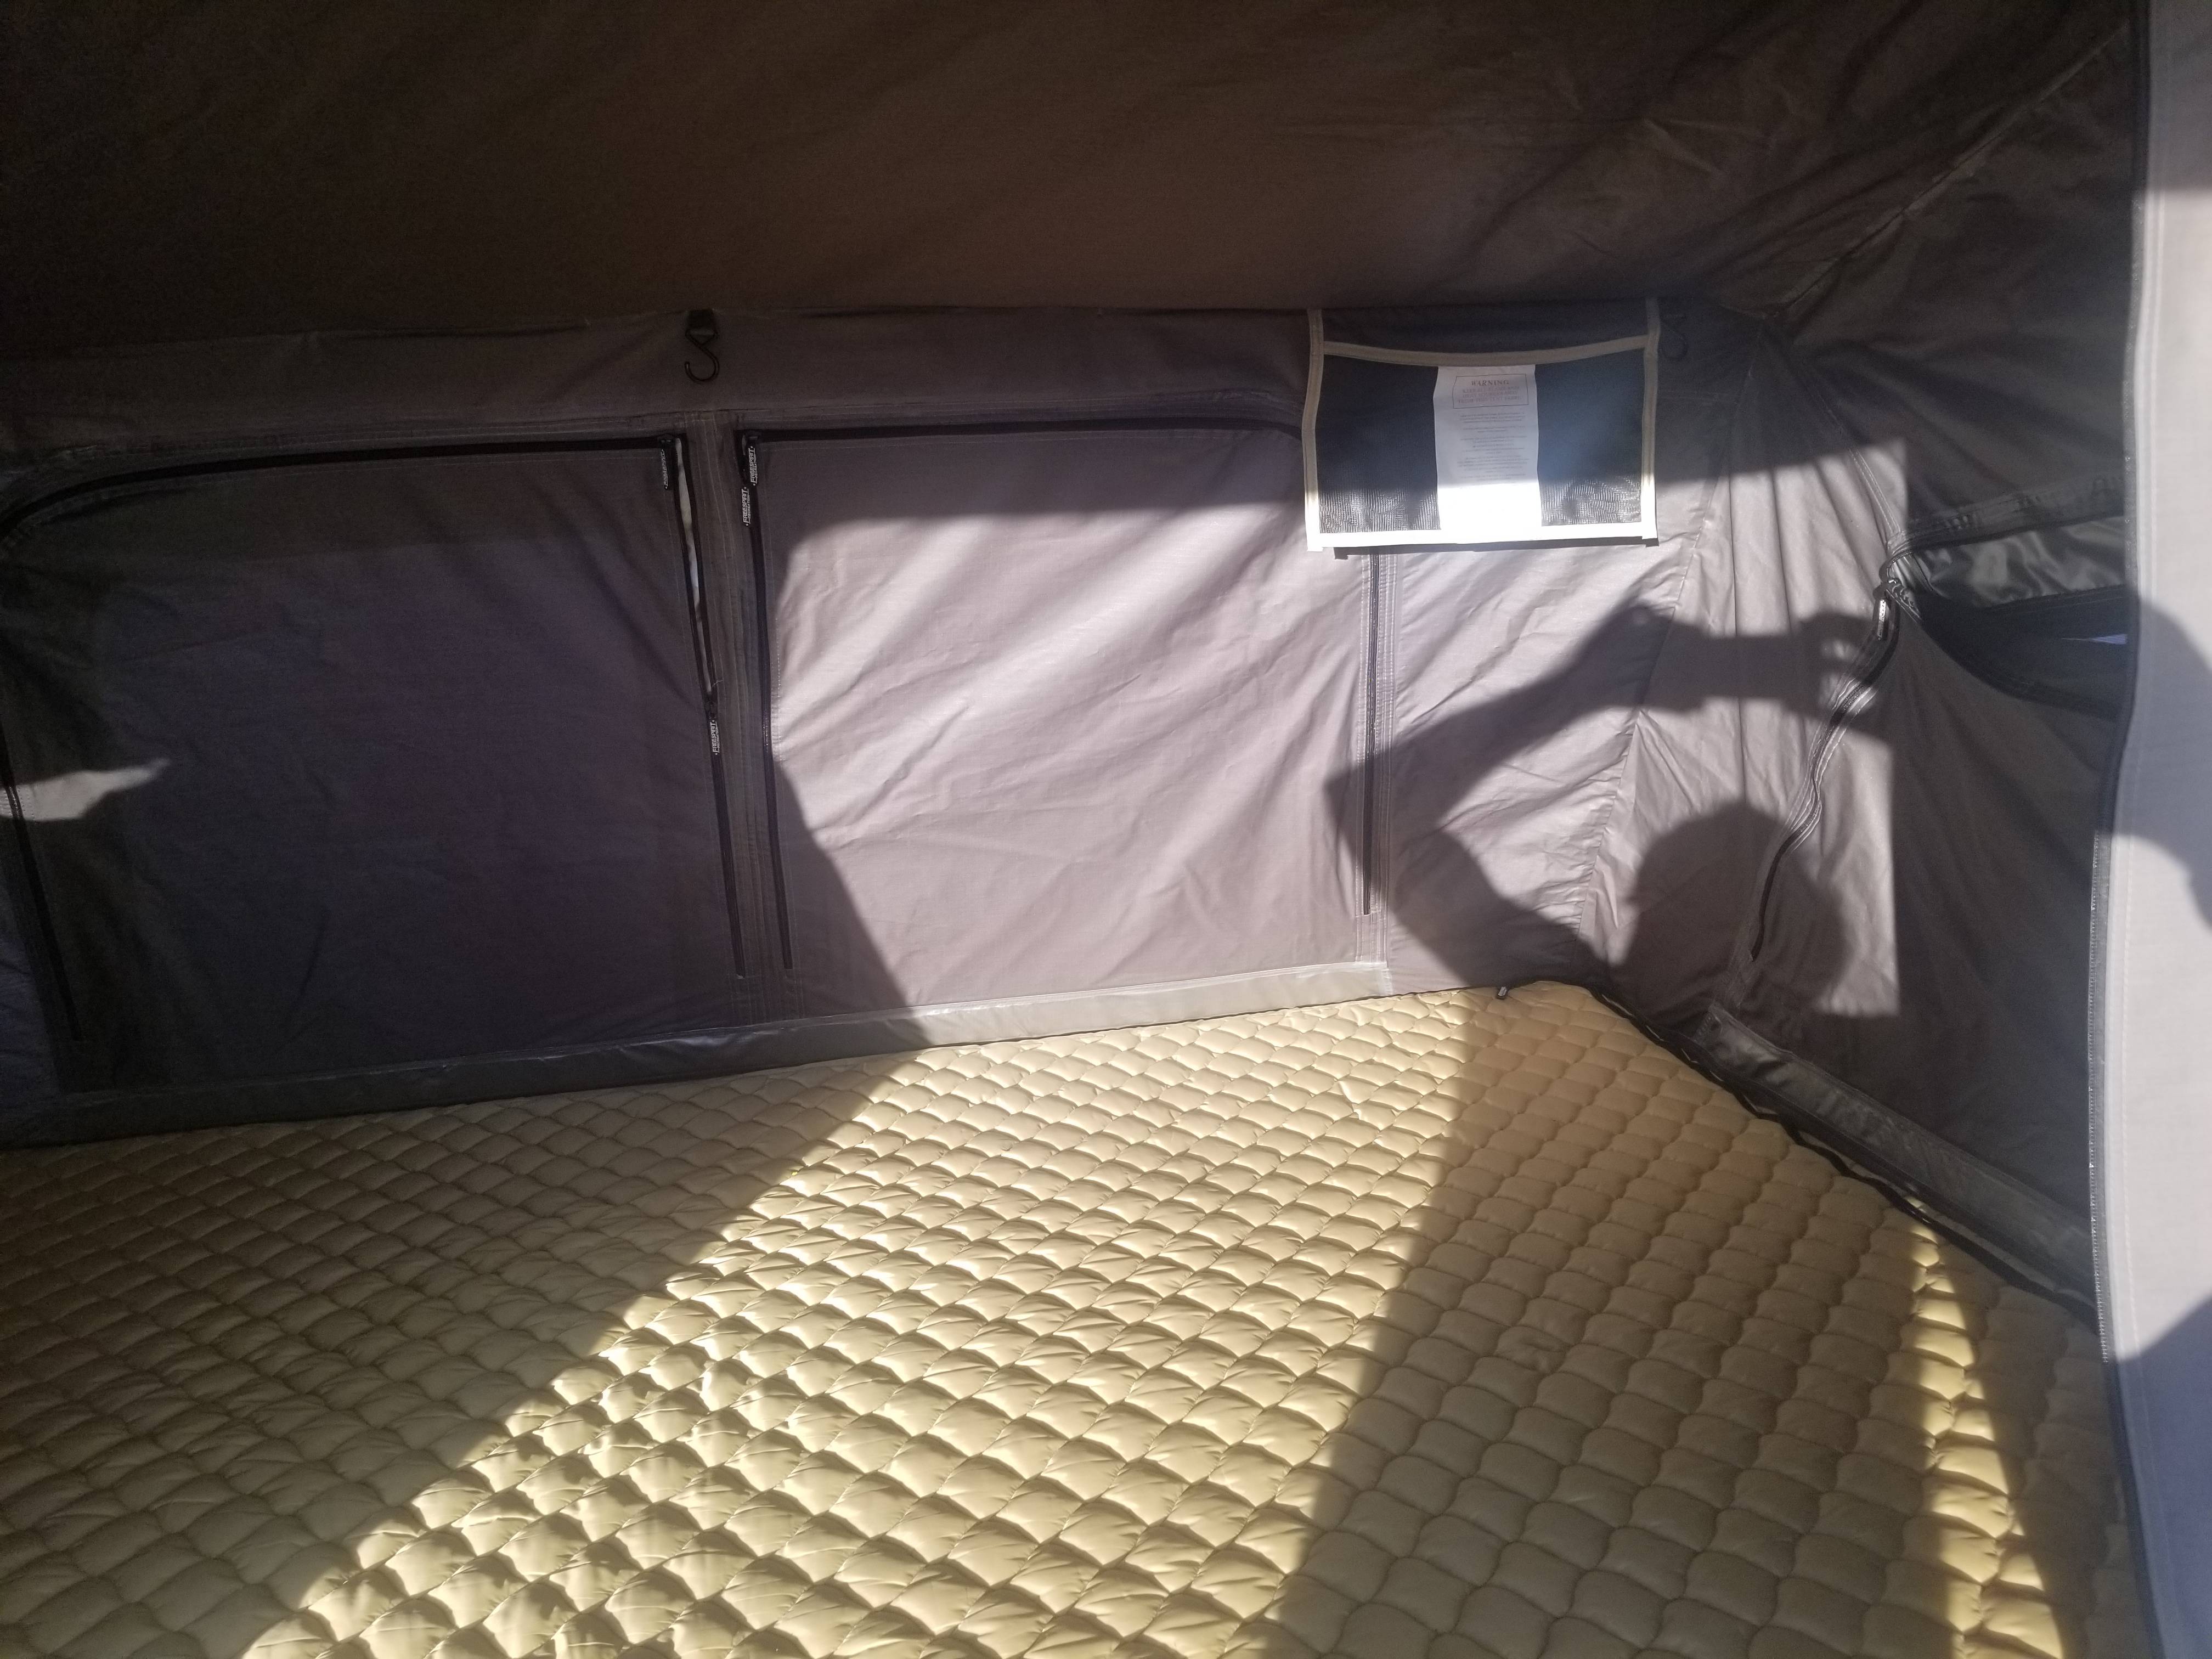
I previously complained about discovering that the tent had no floor and the mattress was exposed at the bottom of the tent. Turns out this is not quite accurate. What's exposed at the bottom, and feels like a mattress, is actually a secondary mattress, and it is fully enclosed in some kind of water-resistant fabric. There are no gaps between this secondary mattress and the actual interior of the tent, which houses the main mattress.

With this double-mattress setup, the tent seems to be very comfortable. Firm, supportive, yet soft at the same time. I'm a side sleeper and have a tough time getting comfortable on most mattresses, but I'm fairly sure I'll be very happy with this setup.

The interior dimensions are also both longer and wider than the James Baroud Explorer (junk) I had before; at my 6'0 height, I can actually lay there fully stretched out and not hit either wall - awesome!

There are a lot of nice details that went into this tent. Sealed seams, bug nets and windows are reasonably set up, have options for being tied up, have nice zippers, overlapping fabric over zippers, numerous interior pockets, numerous interior hooks for hanging items, four shoe pockets (each of which also has a "tool" compartment and a "sock" compartment, along with draw-string closures that are then further sealed by a flap of overlapping fabric), and a surprisingly generous overhang over the entry way.

I would have liked to have seen a velcro/zipped pocket for running exterior wiring/ducting, but that's a very minor nit-pick.

I looked at the tent very briefly when purchasing it, and seriously did not expect to get such a nice impression from it.

Fabric is taught, and all components look to be easily replaceable, should that be needed.

NKH80x3.jpg


SBVa3mF.jpg


dN1vscx.jpg
 
Turnbuckles solved the swaying problem!.......
The setup is rock solid now. I pushed on the front corner of the tent and moved the entire front of the trailer a foot over. That'll do!
Those are beefy turnbuckles and look well sized for your application. They also fullfill the diagonal function to strengthen your tent mount, IMHO. Good solution!
 
Those are beefy turnbuckles and look well sized for your application. They also fullfill the diagonal function to strengthen your tent mount, IMHO. Good solution!

They're not as good as a diagonal gusset would have been, but they do work for the application.

If you picture a right triangle formed by the cross bar, vertical support, and the turnbuckle, the diagonal (turnbuckle) length would increase as force is applied from the opposite side of the trailer and the vertical bends outward; the turnbuckle does not allow that diagonal to increase, which prevents the vertical from bending.

I might still get proper, bolt-on gussets made in the future, but for now I'll stick with this setup and keep an eye on it. There is zero sway/movement right now, and I think that so long as the turnbuckles stay tight, it'll be just fine. Time will tell!

For now, back to the cooler slider part of the project.
 
Drill those jam nuts for safety wire, safety wire tie them to the turnbuckle body, and they'll never come loose.
 
Sliding platform is done, although not yet mounted.

Testing it out in the workshop.

kelPWOH.jpg


Spring latch in place which locks the sliding tray.

HVJNUqW.jpg


Latch from the back.

Qmc5PVz.jpg


Angle bracket on the bottom of the tray which hits the frontmost cross-brace, ensuring the tray doesn't slide out.

jXFVWuV.jpg


Option to lock the tray in the fully-slid-out position.

nSeCi5d.jpg


Lots of clearance to the cooler.

nNRyYIN.jpg


Unfortunately lots of wasted space under the platform. This is due to all trailer doors/openings being a few inches off the floor.

sz1sAFl.jpg


Fair bit of room behind the cooler. Might come in handy for some smaller items.

IMcHNH7.jpg


I'll mount this in the trailer in the next few days. Fairly sure there's no way I'm getting this through the doors fully assembled, and I'll have to take the three cross-braces out, and then re-assemble inside. Not a huge deal.
 
Installed the slider last night. Damn tight, but it works.

Ratchet strap at the front:

zo0FjqD.jpg


And at the back back:

Hf1kuaS.jpg


Fully slid out:

G9B7qW3.jpg


Turnbuckle interferes with opening the lid all the way. Might relocate this turnbuckle to the other vertical support.

VtgMuE2.jpg
 
Looks like with the cooler pulled out that you have access to that space under it. Two Frontrunner camp chairs might fit there?
 
Looks like with the cooler pulled out that you have access to that space under it. Two Frontrunner camp chairs might fit there?

Possibly, and as it happens I have two FrontRunner chairs (which I'm hoping to replace with more comfortable options soon). I'm a little hesitant about storing anything underneath the slider, though. With my luck, whatever I put down there will rattle around and find a way to jam the slider.
 
Basked arrived today. Assembled it, hit it with some spray paint to fix paint defects, and mounted it.

Started off by making two cross bars out of 1-inch 80/20 extrusions I had on hand. The material I had was not long enough to go fully across both tracks, but it was long enough to fit between the two vertical supports, so that's what I went with. Tapped a thread in each end, bolted in with M6 hardware. I also moved the vertical supports closer together; they were originally too far apart to reach each end of the basket.

jrRqjKq.jpg


Mounted the basket:

F3pPGOB.jpg


I cut off a part of the upper tube to give myself more room; this will make loading firewood much easier. Put some silicone on the cuts, and then covered them with rubber caps.

Cwlbcn8.jpg


rypBSkC.jpg


qoltNfw.jpg


li6bQlU.jpg


As it happens, the floor area is a great fit for my FrontRunner table and set of MaxTrax. Don't know whether I'll actually carry either item there, but it's always good to have options.

Ideally I want to mount the table underneath the basket. I have FrontRunner mounts for that (from old setups) and just need to figure out a good way to mount them.

Ibg3SbE.jpg
 
Decided to try to mount my ARB 2000 awning...

Extended the ARB mounting brackets with some 1/4" aluminum, and added a piece of 80/20 on the rear as a brace.
qKmIJOh.jpg


Secured these to the bottom of the FrontRunner cross bars.
4Drony2.jpg


TxRV3U8.jpg


c0tbA0I.jpg


There's a fairly significant amount of leverage on the mounting points, resulting in lots of flex/bounce of the awning. Don't think there's much I can do about it right now. Maybe I should have used longer pieces of 80/20, and bolted them in to the horizontal (bottom) of the ARB brackets. Then again, the original gussets there seem to be doing the trick, and it seems like the flex is at the actual attachment point to the cross bars.

Alternatively, I could always move the awning to the LX, but I'm not crazy about that idea. Don't really want the awning being on the vehicle day to day (noise, weight, fuel economy hit, etc.) and don't want to constantly be un/mounting it, either.
 
Decided to try to mount my ARB 2000 awning...

Extended the ARB mounting brackets with some 1/4" aluminum, and added a piece of 80/20 on the rear as a brace.......
Secured these to the bottom of the FrontRunner cross bars..........
There's a fairly significant amount of leverage on the mounting points, resulting in lots of flex/bounce of the awning. Don't think there's much I can do about it right now. Maybe I should have used longer pieces of 80/20, and bolted them in to the horizontal (bottom) of the ARB brackets. Then again, the original gussets there seem to be doing the trick, and it seems like the flex is at the actual attachment point to the cross bars.

Alternatively, I could always move the awning to the LX, but I'm not crazy about that idea. Don't really want the awning being on the vehicle day to day (noise, weight, fuel economy hit, etc.) and don't want to constantly be un/mounting it, either.
1st impression: Very exposed to being snagged by a branch or other obstacle, especially in lush BC - wouldn't matter so much in the desert. Also, too flexy - if you can see it and the stress results on the mounting points in your garage, imagine the continual g-forces and vibration on the road. One other question: Is it the desired height? Looks low to me. I was thinking, don't know your fab skills, but if you could fab up brackets starting at awning, come down and attach to your cross bars and diagnal down to the risers you fabbed that mount the cross bars to the trailer, you could lose the turnbuckles. I'm thinking, a one piece bracket wouldn't flex as much if a sturdy grade was selected. Plus you could even raise the awning height up, if desired. Tie them together and/or a diagnal between them would add addititional strength. :hmm: Just some thoughts - looks like you trailer's coming together, though.:cheers:
 
1st impression: Very exposed to being snagged by a branch or other obstacle, especially in lush BC - wouldn't matter so much in the desert. Also, too flexy - if you can see it and the stress results on the mounting points in your garage, imagine the continual g-forces and vibration on the road. One other question: Is it the desired height? Looks low to me. I was thinking, don't know your fab skills, but if you could fab up brackets that attach to your cross bars and diagnal down to the risers you fabbed that mount the cross bars to the trailer, you could lose the turnbuckles. A one piece bracket wouldn't flex as much if a sturdy grade was selected. Plus you could even raise the awning height up, if desired. Tie them together and/or a diagnal between them would add addititional strength. :hmm: Just some thoughts - looks like you trailer's coming together, though.:cheers:

That's very much along the lines of what I was thinking of this morning. Unfortunately I have no access to or skills in welding, and don't want to keep paying big money to fab shops.

However, I recently discovered the process of brazing, ordered some rods, and may try exactly what you've described using brazing to secure aluminium together.

The height is just right IMO. I'm 6' and this provides just enough height to clear my head.

I'm not too worried about branches and such, but I suppose it's always possible. I'm trying to avoid tight trails with the LX for now. It's too expensive to get it covered in pin stripes and scratches, so I'm sticking to easier and more open areas.
 
......The height is just right IMO. I'm 6' and this provides just enough height to clear my head..................
Remember, you'll want to slope it to drain moisture, so you'll want the trailer side higher than outside edge. So desired height selected at outside so you don't have to duck your head anywhere under it.
 
Electric brakes are on. Super easy to do, thanks to the kit having the bearing races installed, bearings packed with grease and installed, and seals in place, too. Bolt off/on job, 40 mins per side (first time doing anything of the sort).

Before:

2010296


After:

2010297


Not sure what the deal is with that crappy, silver wheel spacer, but I left it in (on both sides).

Electrical is next.
 
Finished the electrical a few days ago, mounted the brake controller in the LX last night and took it out for a spin. Happy to say report everything is working as it should be!

Also moved the awning to the LX.

Heading out for four days of camping tomorrow. Can't wait!
 
Spent the weekend camping and 'breaking in' the trailer.

Pretty much everything worked out great. Very happy to have the awning on the LX; when positioned at 90 degrees to the trailer, it makes for great cover over the cooking area.

Towed well, no issues.

oqogRHz.jpg


The basket worked great for firewood, as intended.

n9A7ZGv.jpg


RBMJs8j.jpg


Cooler slider also worked well. Ample clearances all around.
bKatwsH.jpg


GWzWaNv.jpg


The tent's mattress did prove to be a lot stiffer than I anticipated. Woke up with a sore back every morning. This was surprising, as it felt super comfy when I laid down on it to test it out at home. Already ordered a 2-inch memory foam topper.

In the short term I need to secure the table mount under the basket. My water tank setup is also taking up too much floor space, and wasting a lot of room above it, so I'll likely be replacing it with a taller tank in short order. Also considering improving water fittings and such.
 

Users who are viewing this thread

Back
Top Bottom