eatSleepWoof gets a 6x12 (1 Viewer)

This site may earn a commission from merchant affiliate
links, including eBay, Amazon, Skimlinks, and others.

Added an access hatch above the side table. This will house a propane quick-disconnect, plus hot and cold water. An identical hatch will eventually go on the other side of the trailer for water fill, as well as hot and cold water for outdoor shower.

X12F3Rk.jpg


ArUhdfr.jpg


As with everything else, it's fully framed in.

8hX4vv7.jpg
 
Finished a good chunk of the passenger-side wall.

Framed, insulated, vapour barrier:

gxKQS3S.jpg


Panelling up:

R1uhAl0.jpg
 
very nice!

how will you be with the weight ratings for the single axle?
 
very nice!

how will you be with the weight ratings for the single axle?
We will find out together! :)

Honestly I doubt I’ll manage to get close to the 3500lb axle rating, but who knows. Weight can add up quickly little by little.

Worst case, new sub frame, dual axles, new fenders.
 
Sounds good. From memory, some of the single axle trailers I looked at that had a 3500 lbs axle had only something like 1000 or 1500 lbs cargo capacity because of the weight of the frame and box. Kinda took me aback because I could see getting there easily with just basic stuff I'd carry for trips, Admittedly, I was including a 400 lbs bike in that count, but I also didn't plan for wood panels etc.
 
When I was setting up my diesel heater I had to cut the exhaust pipe to shorten it, and the cut-off end would no longer fit on the muffler. I visited every muffler shop in town, hoping one of them would be able to slightly expand the end of the pipe, but none had dies small enough, so I ended up ordering this swaging tool. It works like magic, and I expanded the pipe to the perfect diameter in seconds. Very handy thing to have!

apHYqjI.jpg


With the muffler sorted, I added a drip cap above the driver-side window, and installed four, 2ft-long pieces of s-track. The (incoming) shower enclosure will mount to the left two of these tracks, and the remaining tracks will be there for other future use.

ATzyE2Y.jpg


Also framed out the full length of the driver-side wall... phew.

J1kB0v0.jpg
 
A bit more progress...

Both side walls fully framed, insulated, panelled.

RUUxJSY.jpg


SR6ZAav.jpg


Also cleaned up the OEM electrical work in the front two corners...

Before:

MfA12GT.jpg


After:

Wyi1KyK.jpg


Small thing, but it's much easier to fix this now rather than later.
 
Took a break from framing and insulation to install a few fun toys!

LED strip under the awning. It's attached with sticky tape, but I doubt that will hold very long, so I went over the whole thing with silicone to "seal" it in. Wiring runs through the waterproof wire fitting.

Ozx2sKB.jpg


xQGzMhW.jpg


Made a few simple brackets from 1/4" aluminium that I had on hand and mounted the 23Zero shower. Looks like a fantastic little unit; well built and super easy to both deploy and pack away. Pretty big inside, too.

mibs2Lw.jpg


GhhZO3a.jpg


94iyN12.jpg
 
Looks great so far! Your attention to detail is amazing. The waterproof wire fittings under the awning for example, and the heater wiring. Clean, and hopefully easy to inspect/test/troubleshoot. Plus, very smart to redo the fasteners from the beginning, as well as the extra effort framing around openings.
This is definitely giving me plenty of ideas when I go down this road myself
 
Making headway on the front wall...

Framed the wall, made a recessed box for the water heater.

ybAben2.jpg


Installed 10 M6 threaded inserts into the wall of the box, and bolted-in this aluminum diamond plate. The plate is spaced 1/4" off the wall using some oversized nuts as spacers. The spacing is done to have an air gap between the plate and the wall behind it.

GijQUPQ.jpg


I also installed 2 M6 riv-nuts into the plate, and that's how the water heater is mounted.

8bTDoS0.jpg


I then bent and mounted another piece of the same aluminium diamond plate; this one redirects the hot air/exhaust from the heater outwards out of the box.

tJ8xTS8.jpg


2NlEdOZ.jpg


I found a few flexible, stainless hoses that matched the heater's fittings, and then connected those to 3/4" PEX. Two PVC conduits are secured to the studs - one (1 1/2") just to the right of the red tape, and another (3/4") a bit to the right. These will be used to run wiring for all my electrical needs.

Si70dQU.jpg


Ropes are left inside each conduit for ease of running wires.

ayMhFxJ.jpg


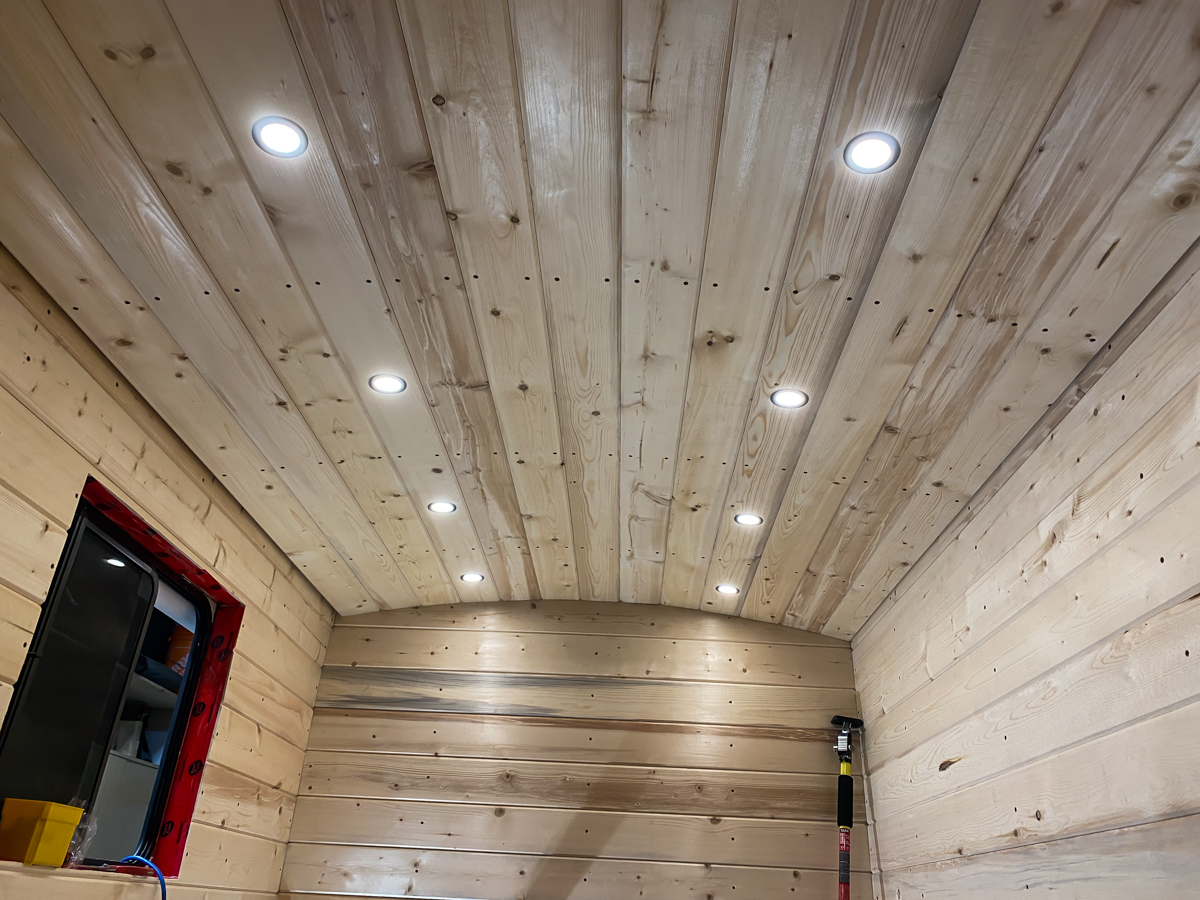
And of course, everything is insulated and covered with vapour barrier. I'll also do 3 runs from the exterior front wall to the inside: one for propane hose, another two for future battery bank charging (DC to DC).

The water heater burns propane and does emit CO as a result. However, the emission will be rather minimal, and certainly no worse than any propane stove being used for interior cooking (as is the case in every RV). CO is lighter than air, and I will also have my MaxxAir fan mounted right above the water heater, so I don't anticipate having any issues with CO buildup. Of course I'll still have CO detectors installed.

I've also decided to not run propane lines through the interior like I previously planned. I'll mount a small, 11lb propane tank on the exterior/rear of the trailer for my exterior cooking needs, and will use a portable, electric stove inside when/as needed (mostly for making coffee in the morning - real cooking will happen outside).

Another change is that I'll be returning the Unique fridge I had bought, and will be looking for a smaller, traditional "overland" type fridge. The Unique fridge is great, but it's simply too tall for my plans and is interfering with the optimal interior layout that I want. An overland fridge will have the benefits of lower power consumption, better durability, and easier mounting options, although at the cost of room, convenience, and expense.
 
Last edited:
I would not be comfortable, personally, with intentionally dumping the heater exhaust into the interior, sorry. Not worth the risk, IMO. And it's not just the CO, you'll also produce lots of CO2, use up inside oxygen, and add moisture and heat.
 
I would not be comfortable, personally, with intentionally dumping the heater exhaust into the interior, sorry. Not worth the risk, IMO. And it's not just the CO, you'll also produce lots of CO2, use up inside oxygen, and add moisture and heat.
I can appreciate that point of view. Risk tolerance is a personal thing, and no risk is certainly always better than some.

Moisture and added heat are probably the biggest downsides for my use case, but just as with exhaust, I don't anticipate either being a noticeable issue for our use case. In practical terms, heater use will be quite minimal, there will be lots of ventilation above and around it, and numerous detectors to alert should something build up. On the off chance that gasses do build up enough to set off a detector, I'll form an exhaust chute that will slip overtop of the heater and vent out the front wall. Basically, I don't anticipate it being a problem, but should it prove to be one, there's room to solve it :).

--

I spent around 7 hours yesterday working on the electrical components for the front wall... mostly building harnesses for the two switch panels and three light dimmers. Ran the completed harnesses yesterday and will hook them up sometime today.
 
Last edited:
All done with electrical work on the front wall. Phew!

I've got the following devices in place:
- Renogy battery monitor
- Two switch panels (each panel has 5 switches and 3 12v sockets/accessories)
- Two dimmers, waiting for the third to arrive (awning light strip, front of trailer interior lights, rear of trailer interior lights)

Everything is hooked up and ran down to where the batteries will be. In addition to the wiring that came with the battery monitor I had to make 3 separate harnesses, with 23 wires between them. Then I made another 6-wire harness and ran it to the ceiling - this is for the two zones of interior lights and the fan. Labeling each wire (on both ends!) took absolutely forever, but I think it was worth doing.

wpIfK35.jpg


wXogUBM.jpg


3SnEZ1i.jpg


YfrTDT8.jpg


All plumbing is left easily accessible, but it'll be hidden from view by the future kitchen cabinets.
 
Made good progress on the ceiling!

Used 1.5" of plywood (two 3/4" pieces screwed together) to create these "trusses" that are bolted into the original truss/frame. This gives me the necessary depth for insulation, and makes it easy to attach ceiling panels.

sZ3yoog.jpg


Installed 1 1/16" rigid insulation for an R5 value.

k75DUsq.jpg


Installed another 1" (two layers of 1/2") of rigid insulation (R6).

21R71oA.jpg


And then two overlapping rolls of Reflectix, each of which is claimed to be R3.7. I'd say about 60% of the ceiling (right in the middle) is overlapped with two layers.

Cumulatively I should have at least R14 worth of insulation in the ceiling, and in parts quite a bit more. We'll have no problems keeping warm in winter camping, that's for sure!

islP7H3.jpg


Started installing ceiling panels, along with the first 8 (of 12 total) ceiling lights. These lights are on one of the dimmers, which works out perfectly. Tons of brightness at max setting, or nightlight-level light at the lowest setting.

I'll have two more of these lights on the same circuit, and then two more lights (at the very front of trailer) on their own circuit, so they can be used to (dimly) light up the kitchen and washroom area without turning on the lights in the entire trailer.

uT3TLcn.jpg


cfsVogw.jpg
 
Are you putting in a vent, either wall or roof mounted? Is that the Maxx fan you mentioned above?

Especially running the heater, plus normal breathing, you're going to have a carbon dioxide issue if you don't.
 
Are you putting in a vent, either wall or roof mounted? Is that the Maxx fan you mentioned above?

Especially running the heater, plus normal breathing, you're going to have a carbon dioxide issue if you don't.
Yes, MaxxFan is going in the front of the trailer. I'll be making the cut-out for it in the near future, but won't do the final install until the trailer is otherwise finished and out of the garage. (Won't be able to fit it through the garage door with the fan in place.)
 
  • Like
Reactions: YMT
Finished installing planks on the rear of the trailer. Some of the pieces were warped (of course they were, it's Home Depot wood) and required McGuyvering to get them in place properly.

foIs6It.jpg


Gzyd0ta.jpg


Installed the same planks on the front, and started working on trim. Used one of the extra planks, cut that piece in the middle of the ceiling, and bent/forced it into place to hide the seam between planks. Not pictured, but did the same thing with two more pieces at the very front and very rear of the trailer. Also framed an opening for the fan, ran wiring, etc.

ApHBqjU.jpg


oMNapuh.jpg


Filled the remaining empty space around the entry way frame with expanding foam, then started trimming it out.

xDlDx3m.jpg


VZWRy3e.jpg


bReEODi.jpg


Doing the final router pass on the top piece of trim, the wood breaks (top right corner), flies off, and sends the router off template/line, ruining that piece. I've taken it off and will re-do it. Frustrating.

W3QOBHC.jpg


Tons more trim work to be done...
 
Last edited:

Users who are viewing this thread

Back
Top Bottom