Clifford, the Big Red Hauler........the Re-Build

This site may earn a commission from merchant affiliate
links, including eBay, Amazon, Skimlinks, and others.

Bang Bang

Age is a state of mind.
Joined
May 31, 2009
Threads
206
Messages
9,087
Location
Mandeville, La......just north of N.O.
Website
www.lalandkrewesers.com
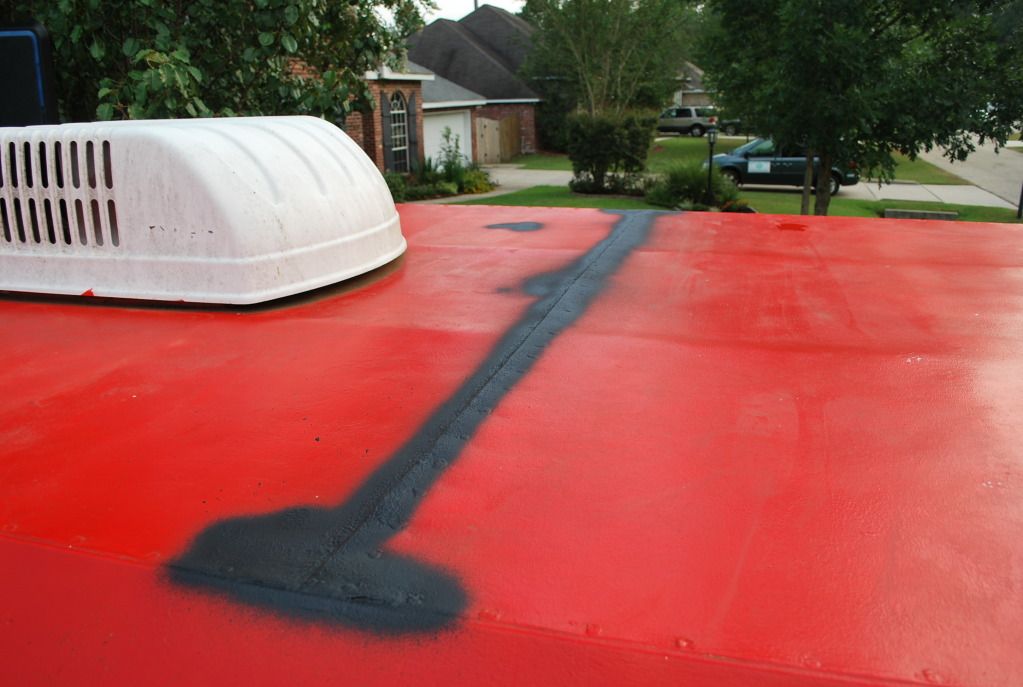
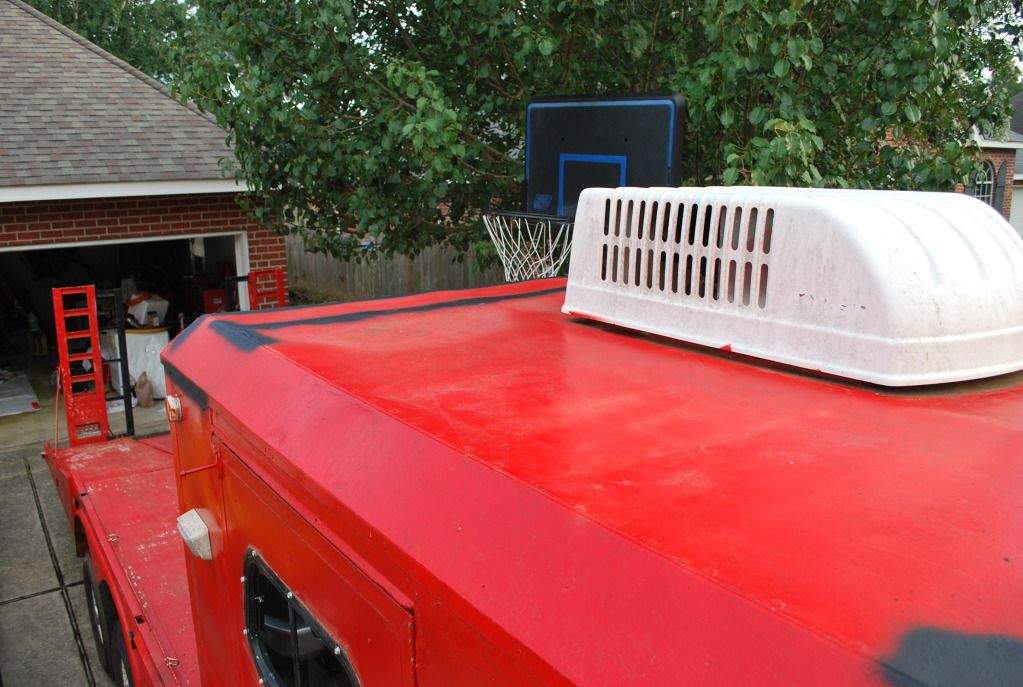
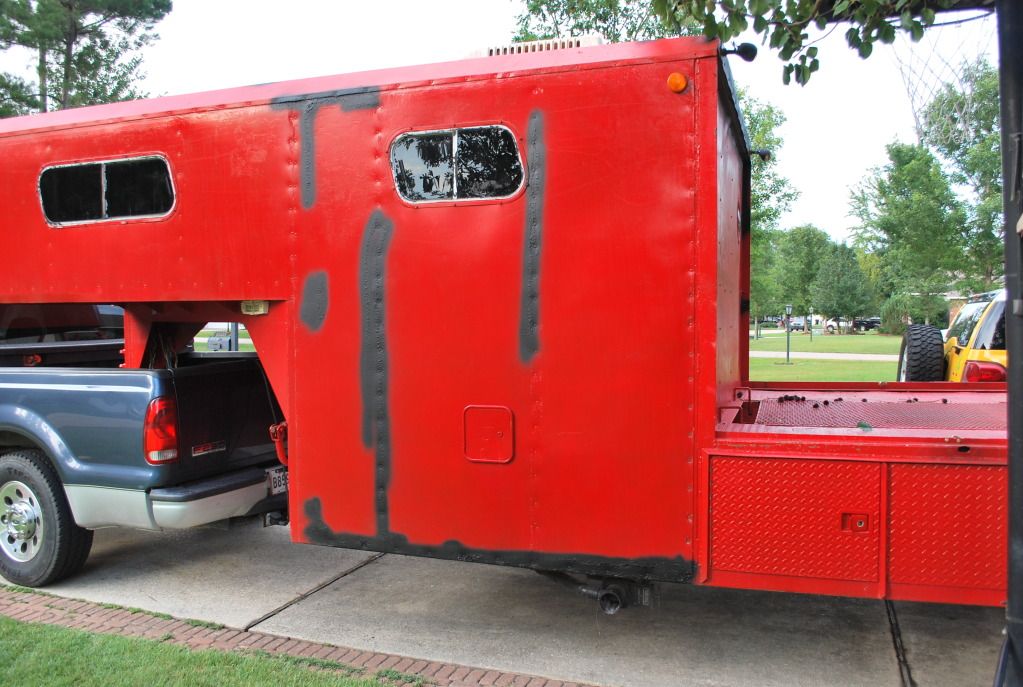
I have wanted a toy hauler since I started wheeling a couple years ago but never really thought it would happen. Well, I came into a small inheritance and after putting most of it in the kids college funds my wife, Sandy, said that I should get something for me. (I should also add that she is the one who bought me my first 40 for an anniversary gift and said that the TV we had was too small and we had to go get one MUCH larger. She is a wonderful woman to put up with me.......anyway). So, I started looking for a toy hauler about 2 months ago. After some searching, I made my purchase. It's a 1991 horse trailer that had been converted to a toy hauler a while back. I guess it is a small world as I understand this trailer started in New Orleans, was sold to a guy in Many, La, then sold to a nice couple in Longview, Tx and I bought it from them. I guess it has come full circle. Anyway, here is what it looked like when I picked it up about 2 weeks ago.

DSC_0247.jpg


DSC_0248.jpg


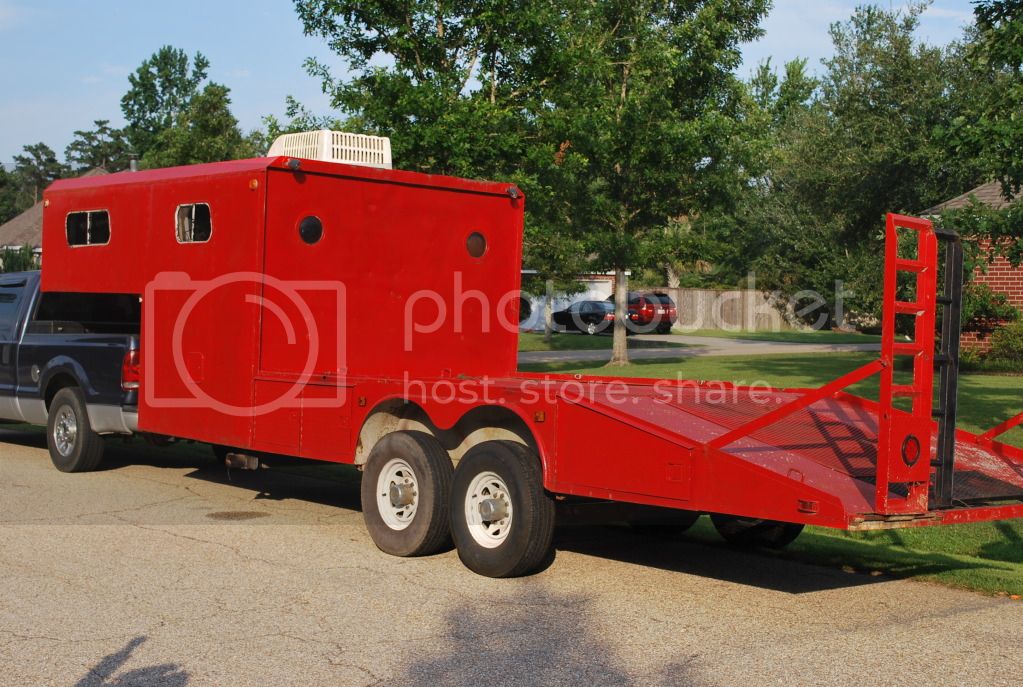
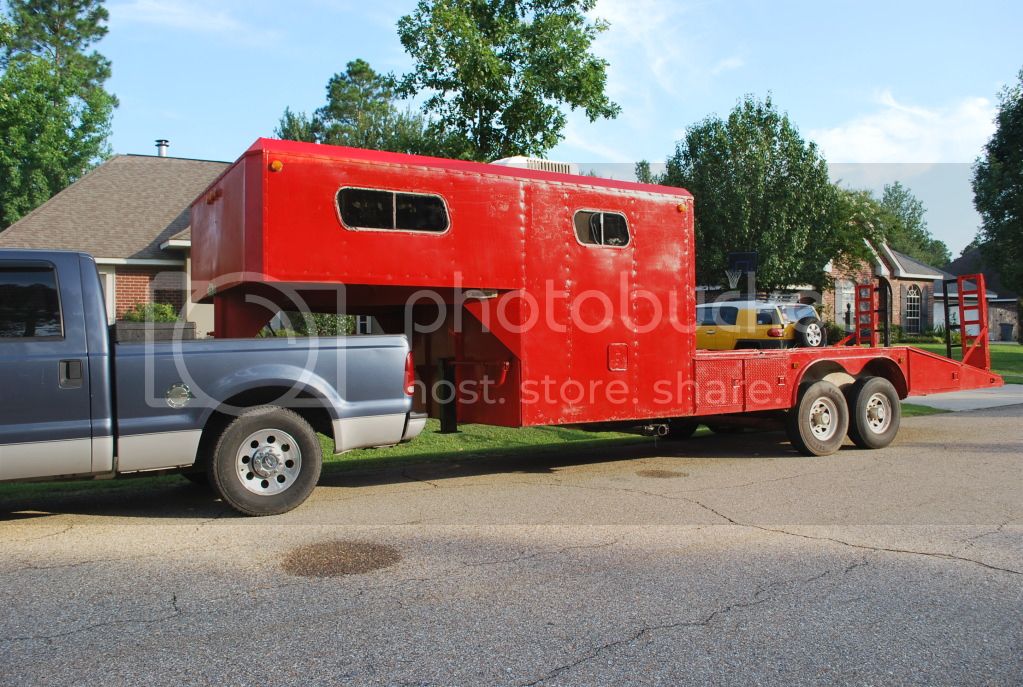
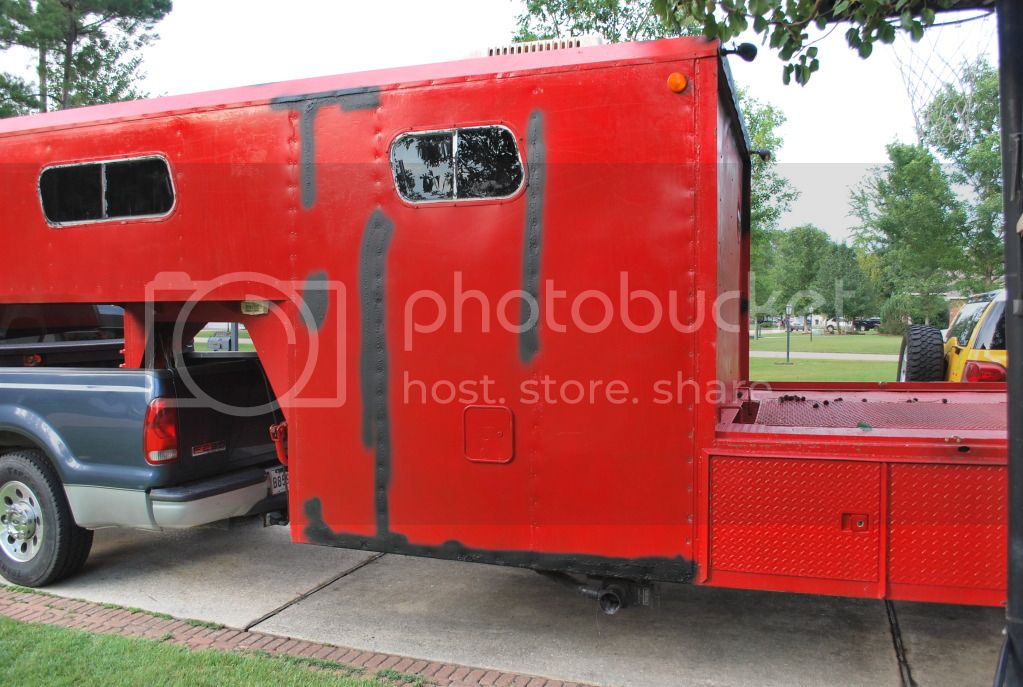
Plenty of storage space as there are 3 storage compartments on each side of the deck and the center of the trailer is all storage.

centerstorage.jpg


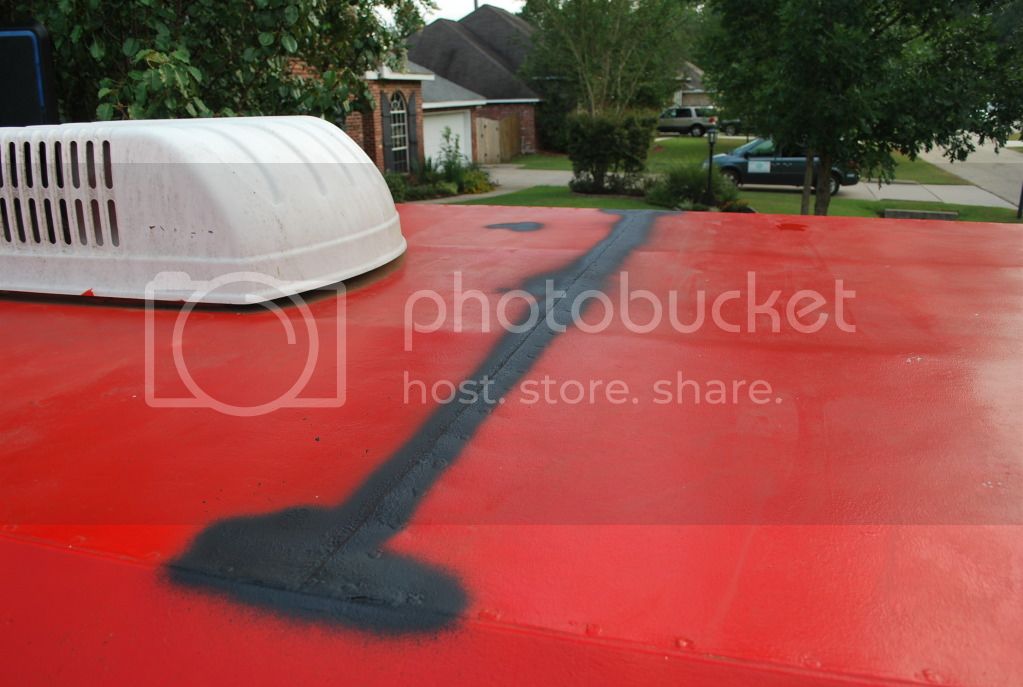
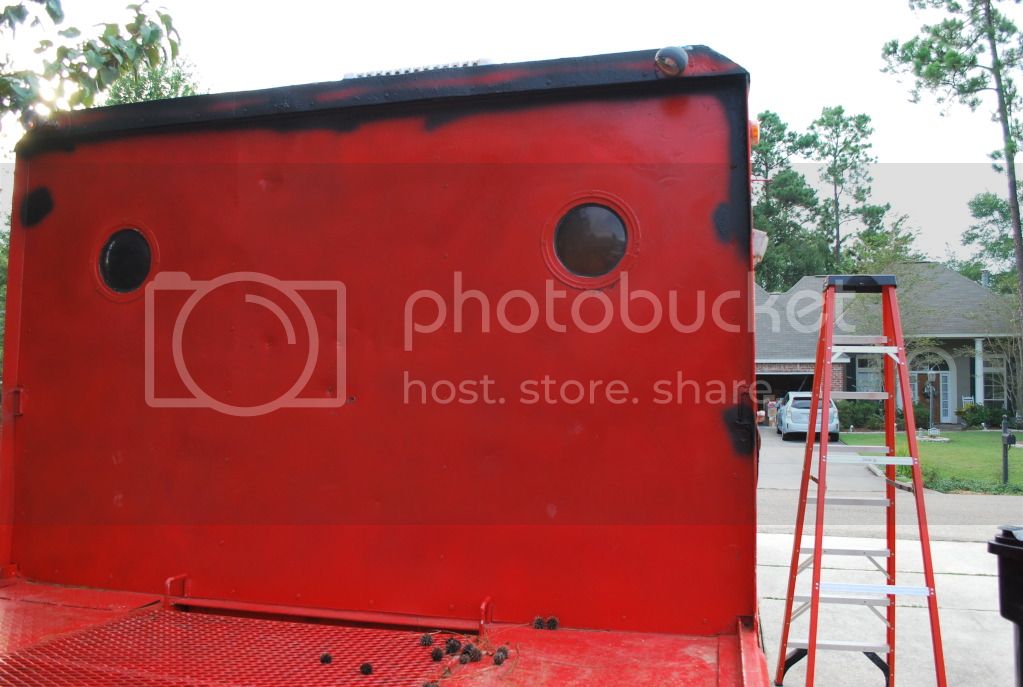
My son said it looks like Clifford the big red dog so that's the trailer's name.

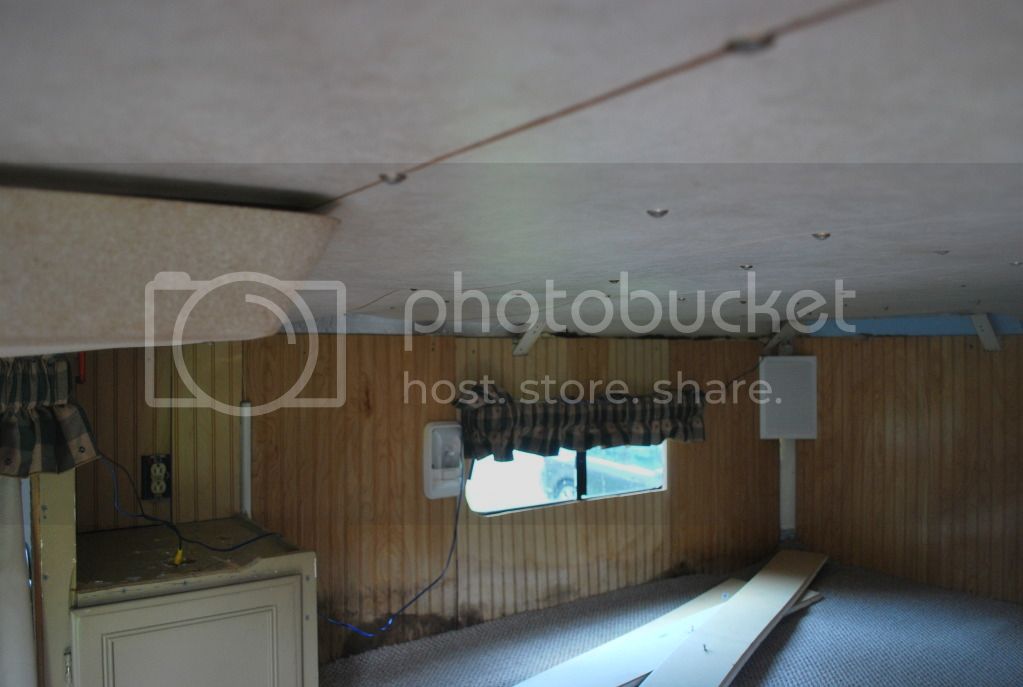
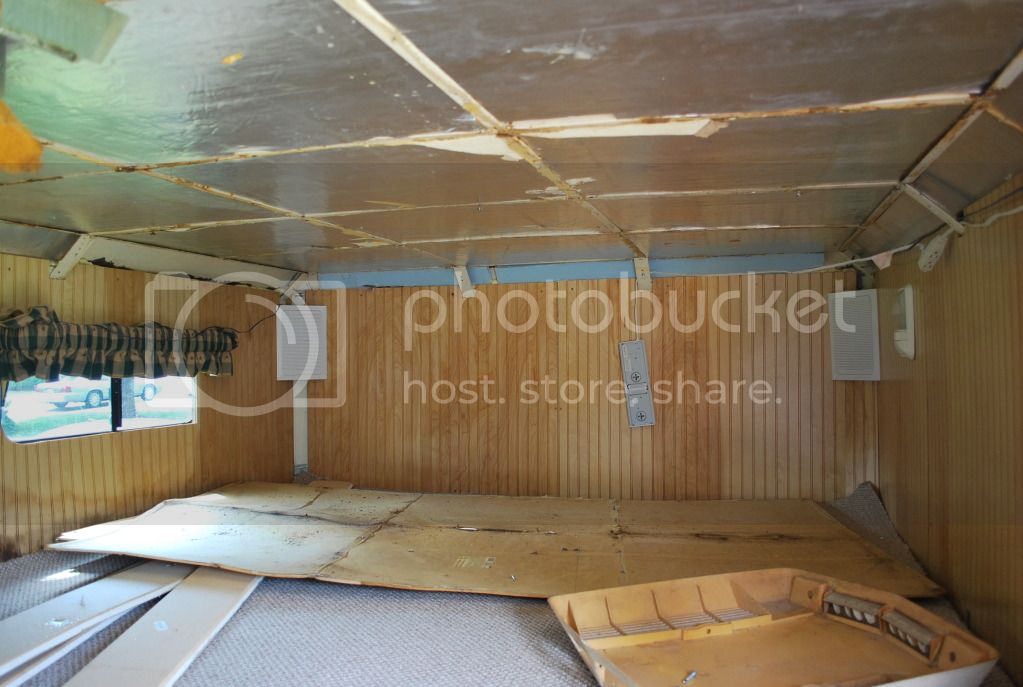
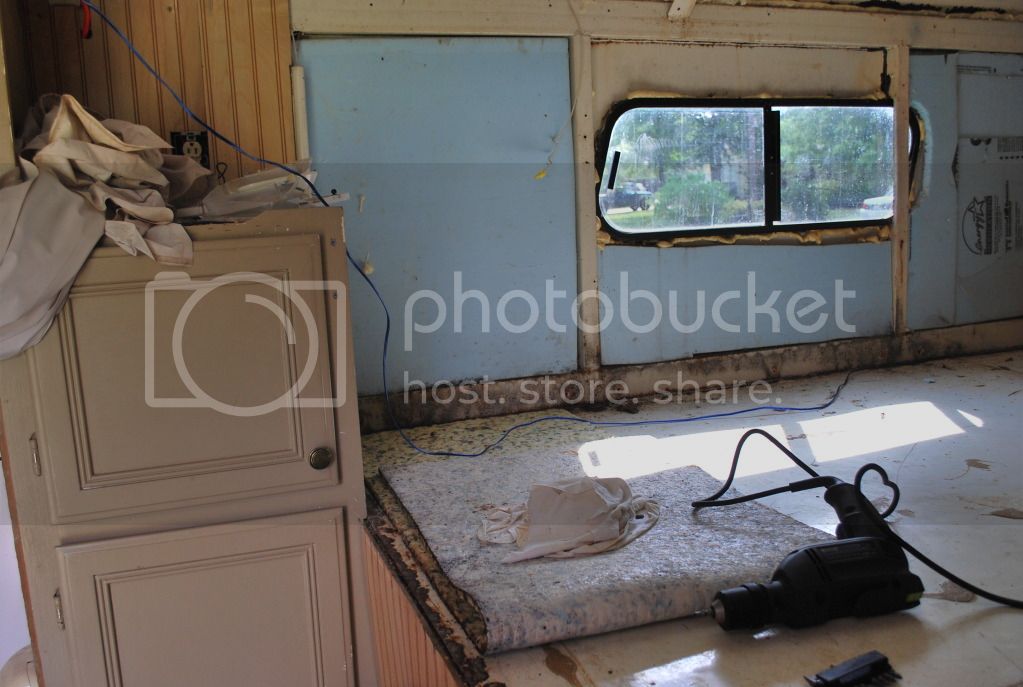
So, for the last 2 weeks I have been thinking about how I wanted to tackle making this hauler more functional and fix the items that needed immediate attention. What I came up with is a 3 stage attack:
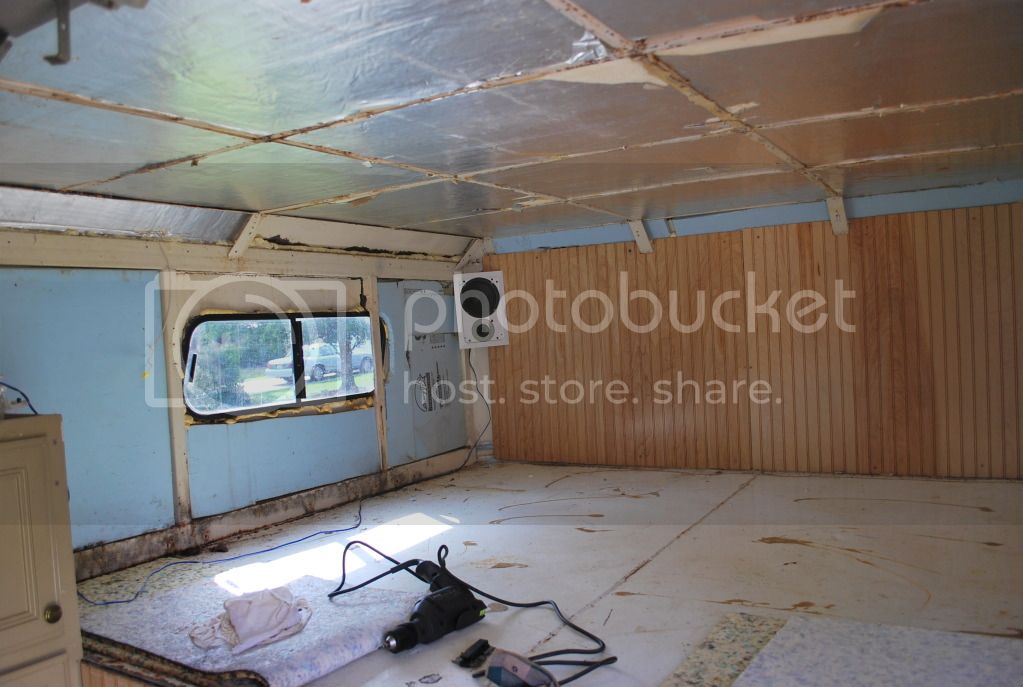
Stage 1: Replace the ceiling and other interior tid bits.
Stage 2: [STRIKE]Move the entrance door from the side to the rear so it opens to the deck.[/STRIKE]Figure out how to add an awning / add-a-room instead of that other crazy idea. :D
Stage 3: Re-skin the entire living quarters.

That's my plan and so I got started on Stage 1 today..........
 
Last edited:
Here is what the ceiling looked like before I got started:

beds.jpg


DSC_0251.jpg


DSC_0252.jpg


As you can see the ceiling was not straight and according to the PO he thought it was because of the a/c and the type of material they used for the ceiling, a non-water resistant wafer board. So, out it came......

DSC_0253.jpg


About 3 minutes after I got the trailer in the driveway to start working, the sky opened up. I was a bit aggravated by this but closed myself in and got to work. The rain also proved to be very valuable. As soon as I got the ceiling down, the leaks started to show themselves. I thought one of the windows was leaking and that was why the bead board on the driver's side was rotting. As it turns out the ceiling was dripping on to the carpet and then the bead board was wicking the water up. So, the bead board had to go.

DSC_0256.jpg


DSC_0255.jpg


Also, when I was taking the ceiling down I had to remove the cover for the a/c. This was a good time to clean it up and paint it.

DSC_0263.jpg
 
So, I now had to address the leaks. The roof has 3 seams: one at either end and one in the center. I got 3 cans of Leak Seal (a flexible rubber spray paint) and put 2 coats on the center seam and the rear seam. The front is in very good shape so I left it alone for now. I also addressed a few "problem" spots on the outside walls.

DSC_0258.jpg


DSC_0259.jpg


DSC_0261.jpg


DSC_0262.jpg


This stuff is pretty cool. I have seen several demos of it at Home Depot and thought this was a great temporary fix until I get to Stage 3. It can be painted over after 24 hours so tomorrow all those black spots will be top coated with Rustoleum Safety Red as it is a pretty close match. Tomorrow I will be going to Home Depot for some FRP panels for the ceiling, bead board for the wall, foam board to fill the places that are missing and the pieces that were behind the rotting bead board, new carpet and pad for the sleeping deck and an ASS load of self tapping screws. :D
 
Looking good. I was wondering about the storage. That's awesome. Already looking 20x better. :)
 
Just a thought, but when I rebuilt a camper I used a 1/8 plywood type stuff for the ceiling. It comes in 4x8 sheets and cost Less then frp. It was smooth and I painted it with semi gloss paint. It is a lot lighter than the frp too.Great build can't wait to see the finish product!
 
Thanks Cody. Unfortunately, today looks like it's going to be a wash due to rain all day. But once again the rain has proved helpful. I still have 2 small leaks that need to be addressed before I put the ceiling back in. 1 is around the a/c that I did not have time to address yesterday and the other is over the bed area. I will have to re-spray the roof seam with Leak Seal to get that one to stop. So, no rain for weeks on end and now the forecast looks like rain for the next 10 days. :mad:
 
Making progress!

That always seems to be the case, dont need to go outside no rain... Need to go outside.. Rains cats & dogs.
But like you said it turned out to be a valuable tool. And probably cooled it off a little too...well Maybe.

Do you plan on using the leak seal on interior along the seams as well? Double layer of seal protection..
 
I don't know that putting the leak seal inside will do any good. With the foam insulation glued to the underside of the roof, I can't get to the actual roof from the inside. And I don't want to try to remove the insulation unless I absolutely have to because I am afraid it will be a huge mess. Also, probably not a good idea to trap the water between the ceiling and the roof. It will find a way out and could cause more problems. I need about 2 hours of dry weather to put another coat of the leak seal on the roof. I guess worst case I will coat the entire roof with leak seal if I can't narrow it down. I could also do cool seal, the stuff used on mobile homes, but it only comes in white and maybe black but I don't think you can paint that stuff.
And you are right about the weather.....it just doesn't seem to cooperate. :frown:
 
Just a thought, but when I rebuilt a camper I used a 1/8 plywood type stuff for the ceiling. It comes in 4x8 sheets and cost Less then frp. It was smooth and I painted it with semi gloss paint. It is a lot lighter than the frp too.Great build can't wait to see the finish product!

Sorry. Didn't see your reply as we were posting at the same time. Anyway, that's a good idea. I was concerned that the FRP would be too flimsy but I am equally concerned about the ceiling material soaking up water if it starts leaking again. I am going to research it a little more now that I have time on my hands.
 
Managed to get some small things done between rain storms. Got the door handle and dead bolt changed out. The original handle was broken and would come off in your hand. Also, caulked the windows and a couple of seams and put a 3rd coat of Flex Seal on the middle seam of the roof. We'll see if that helps to make it more water tight. Forecast does not look good for this week and into the weekend. Maybe I can talk Deryl into letting me use his shop this weekend so I can get some things accomplished no matter what the weather. Might even could use a hand if anyone were so inclined........;)
 
I've been looking for some sort of toy hauler/ enclosed car hauler since I got the 4runner.
I hadn't thought about getting a converted/converting a horse trailer...
 
Thanks guys. I can't wait to get it finished but I am not going to try to rush through it. It will take some time.......especially Stage 2 & 3.

Matt, I have seen several on CL but most didn't have a bathroom / shower and that was one of the things I wanted. They were also much cheaper but that was their only advantage over this one. CL is your friend. :D
 
C why he had 5" crown molding .
 
So, I now had to address the leaks. The roof has 3 seams: one at either end and one in the center. I got 3 cans of Leak Seal (a flexible rubber spray paint) and put 2 coats on the center seam and the rear seam. The front is in very good shape so I left it alone for now. I also addressed a few "problem" spots on the outside walls.


This stuff is pretty cool. I have seen several demos of it at Home Depot and thought this was a great temporary fix until I get to Stage 3. It can be painted over after 24 hours so tomorrow all those black spots will be top coated with Rustoleum Safety Red as it is a pretty close match. Tomorrow I will be going to Home Depot for some FRP panels for the ceiling, bead board for the wall, foam board to fill the places that are missing and the pieces that were behind the rotting bead board, new carpet and pad for the sleeping deck and an ASS load of self tapping screws. :D

RUSTOLEUM!!?? :doh:
 
Mike ya might try this eternabond
 
Very nice Mike.
You have very quickly evolved from driving to events, to tow behind the FJ, to tow truck and small trailer, to full size trailer with a cabin :)

You officially have "The" setup. I like how Paul used one of those pop up tents on his to have a little sitting area in the shade.
 

Users who are viewing this thread

Back
Top Bottom