Builds Build: Too Tall (1 Viewer)

This site may earn a commission from merchant affiliate
links, including eBay, Amazon, Skimlinks, and others.

Joined
Sep 17, 2018
Threads
5
Messages
88
Location
Oregon
I started this build thread over on YT, but that site is pretty slow (of course so is my build.) I figured I would just copy it over here for any input/comments.

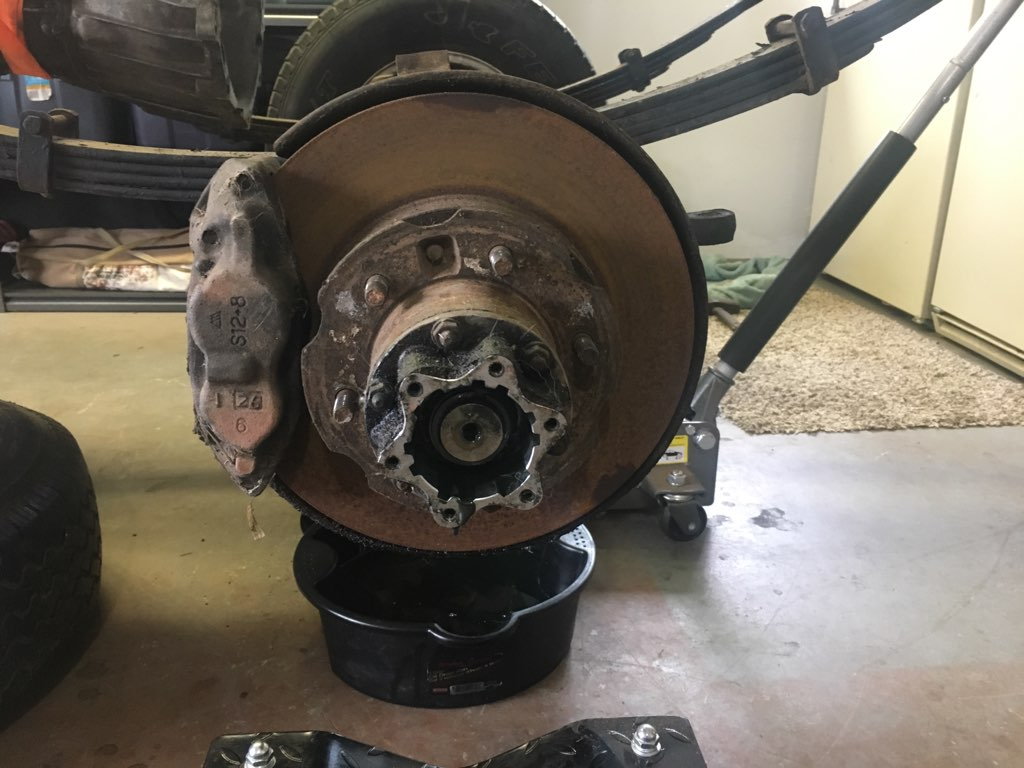
Well now that I've actually got this pickup in my possession I figured I should start a build thread. I've actually owned it for a few years now, got it from a good buddy of mine who initially started a 22RE swap, but life got in the way as it usually does. Its a little rough, mostly due to sitting outside in the Oregon rain for years. This will pretty much just be a hunting/weekend chores rig (at least for now)

To do(in no particular order):
-Swap in 3RZ (after rebuild)
-W56 5 SPD swap to go with the 3rz
-Paint as you can see is a mix of different rattle can jobs
-Lower the suspension, probably a combo of 2nd gen RUFs and the Rancho springs that are in there now, pull the blocks from the rear
-Swap out the 35s for 33s

I'm open to suggestions, thoughts, ideas, links to good references. I didn't get any of the dash/engine harness for the '83, but I have the complete harness from the donor tacoma so I'm going to try and just use it.

And a build thread without pics is no thread at all!

Yota2 (2).jpg


Yota1.jpg
 
Pulled the 35s off and put it on some rollers, and pulled out the half installed 22re wiring. Then brought it out of the garage to power wash the engine bay. Unfortunately the power washer blew an o-ring, so I just ended up pulling off the old bumper, side markers(which desintegrated,) and the tail lights. Also cleaned up the interior a bit but didn't take any pictures. There is one small section of rust under the drivers feet that will need to be taken care of.
27928721699_38586b5d3e_b_0736e5a187fa60fd6647b20587351a06b495eacc.jpg

27928722939_cf1e79230e_b_d50dbaf423bf51e88c923ea2153523ed80ac9f36.jpg

24838541797_f1921dc995_b_768f73602f79c7202e8ac3633ee485adf6c28559.jpg
 
Got a little more accomplished over the weekend. Bed pulled off for better access to swap the tank.
bed_off_e4d474a0dfc4256bc395e9c1cb0b3edc19148b5d.jpg

Engine block painted, ready for some internals. If anyone has pics or a link to a 3rz timing chain/cover job I'd love to see it. I got this motor in pieces so its going to be quite a chore getting it all back together correctly.
block_e7d6b69ab83a885b32ba16faaf4ea8e156ad5548.jpg

With the bed off I was able to get a pretty good idea of the condition of the frame. I still need to powerwash it (just picked up new orings for the wand), but I'm extremely happy with the lack of rust. I think some light scrubbing, marine jelly, and maybe some POR15 and it'll be good to go.
frame_5f02c71f887d3ab209c0a6ede1dcea7b052594a5.jpg


1608656743278.png
 
The PO bought a gasket set with rings, so that's what I'll be putting in. Had the block tanked and decked, the crank was turned and I got a single relacement rod to replace #1, everything else checks out ok.

Still not sure on what I'll do for a fuel tank. I'm currently looking for a 2nd/3rd gen tank, but also found some people were replacing EFI tanks with F150 tanks that go between the frame rails where the spare tire holder was.

Got the cab pulled last night. Found out it wasn't an Oring in the power washer but one of the plastic tubes has a break in it. Going to have to get a replacement so that I can get everything cleaned prior to paint and reassembly.

no_cab_211ee430777a353ae136801d0b7e6525383c85fa.jpg
 
I didn't get a whole lot of garage time this weekend, I was able to roll the frame out and get it cleaned up a little more. I used 3 cans of Dollar Tree oven cleaner and let it soak for about 15 minutes, then power washed off the frame. It did a phenomenal job getting the years if grease and caked on mud off of it. This frame is in great shape considering the age. My plan is to flap disk the worst of it, and then spread a rust encapsulater before applying another coat of paint to it.

oc_frame_0bb48a86b7bb2a2c25164a647537ceee4da5aca9.jpg


Sunday I met up with a guy parting out a '94 2wd and bought the fuel tank off of him. I got it for a steal considering I got the tank, filler neck, sending unit, pump, and was able to cut all of the wiring with at least 12" of pigtails, all I had to do was pull it (bed was already sold off.) I can now confirm that this year tank is a direct bolt in for a 1 gen short bed. Paid $50,

tank_0a145fab9ad8e828f9fa427730ce82aa2ca98fa0.jpg

Oh and the tank had about 8 gallons of good fuel in it, so it didn't cost me anything to drive out and get it.
 
I've been finding a few minutes here and there to get in some wrench time. I got all of the steering components off of the frame and axle (minus arms) to make room for the hy-steer which I still need to purchase.
img_0333_05d3c5c52b6649bd458fe7022c61e8a125e6a5ac.jpg


So then I moved onto the knuckle rebuild (because I already purchased this from Marlin)
img_0334_8b7eb6ba05369eac2884ee74261ec9064e9910ff.jpg


Yumm axle grease gear oil stew
barf.gif

img_0335_c8db7c07291643070b7d4f2f1b8f89eca91992b8.jpg


The large axle nuts are completely marred from years of PO using punches to spin them off. Thinking I'll get some replacements to put it back together.
img_0337_aecc0893fcfe6634e2fe1d38628a050960e00164.jpg


Made it this far last night, decided to let it soak in degreaser to help with clean up.
img_0338_a225d16292d1369f1f71abeaad56ec857016a72f.jpg
 
img_0350_910e57e4854f04be9805694a349ad3b3a6d26fc5.jpg


Pulled the axle out to get it cleaned up painted.
img_0351_7c86d207e3d4958bdc787705afc380703f95d7ee.jpg

img_0352_f2f294e7c74a4f2ae1ad3ab234934dba0b92b6cc.jpg


Dropped it back onto the dollies so that I can still move the frame around. #smallgarageproblems
laugh.gif

img_0353_ef8ebc72a0984fc7ca9e88f1c340d0c2cc4907f8.jpg


Everything was coated in the gear oil grease stew so I pulled apart the hubs and left them to soak
img_0354_a37bdf6cb25740d5d99f66168e4a55f3d136efdf.jpg

img_0355_61aae0b3a8270f60f85a01856f2985ae55bacf5a.jpg

img_0356_8e593183baba9eb693e7b6cc81f85769d63bf078.jpg


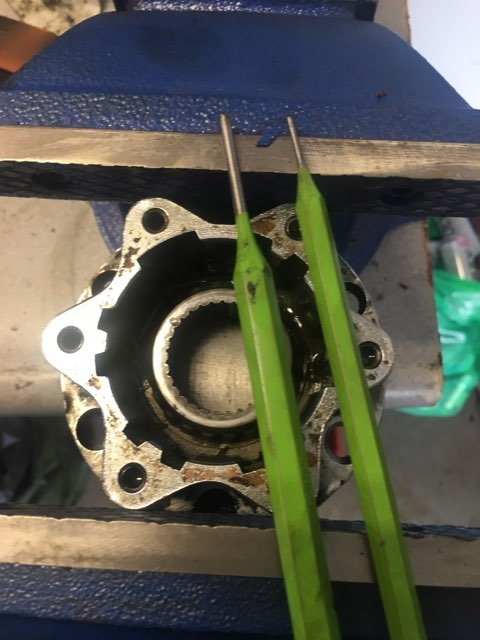
One of the POs snapped off two of the hub dial bolts.
img_0358_05e96b803fd08e9f8cc418bcdc38f959428b3af2.jpg


Luckily there was just enough material left to back them out using some roll punches
img_0359_b3201a8a9b23fe9b8a9f8483d255e44facb9ae85.jpg


I took all of the major parts to the coin op spray n' wash, alot of the parts cleaned up pretty well
img_0357_25008d8d0b5fe0c96366d9c8140d57343a6e1d85.jpg


Except the knuckles themselves, I have a feeling I'll be spending a few hours going after them with misc scrapers
img_0361_ab06b0c7e2bc6a765f04c8ac033afd72d002445e.jpg


The bad news, this is the under side of the passenger spindle, any idea what would cause this? Is it ruined or salvageable? Thanks for looking!
img_0360_63bf8cb1312f2905b1d74b956ecd7dc46d5e4979.jpg

__________________
 
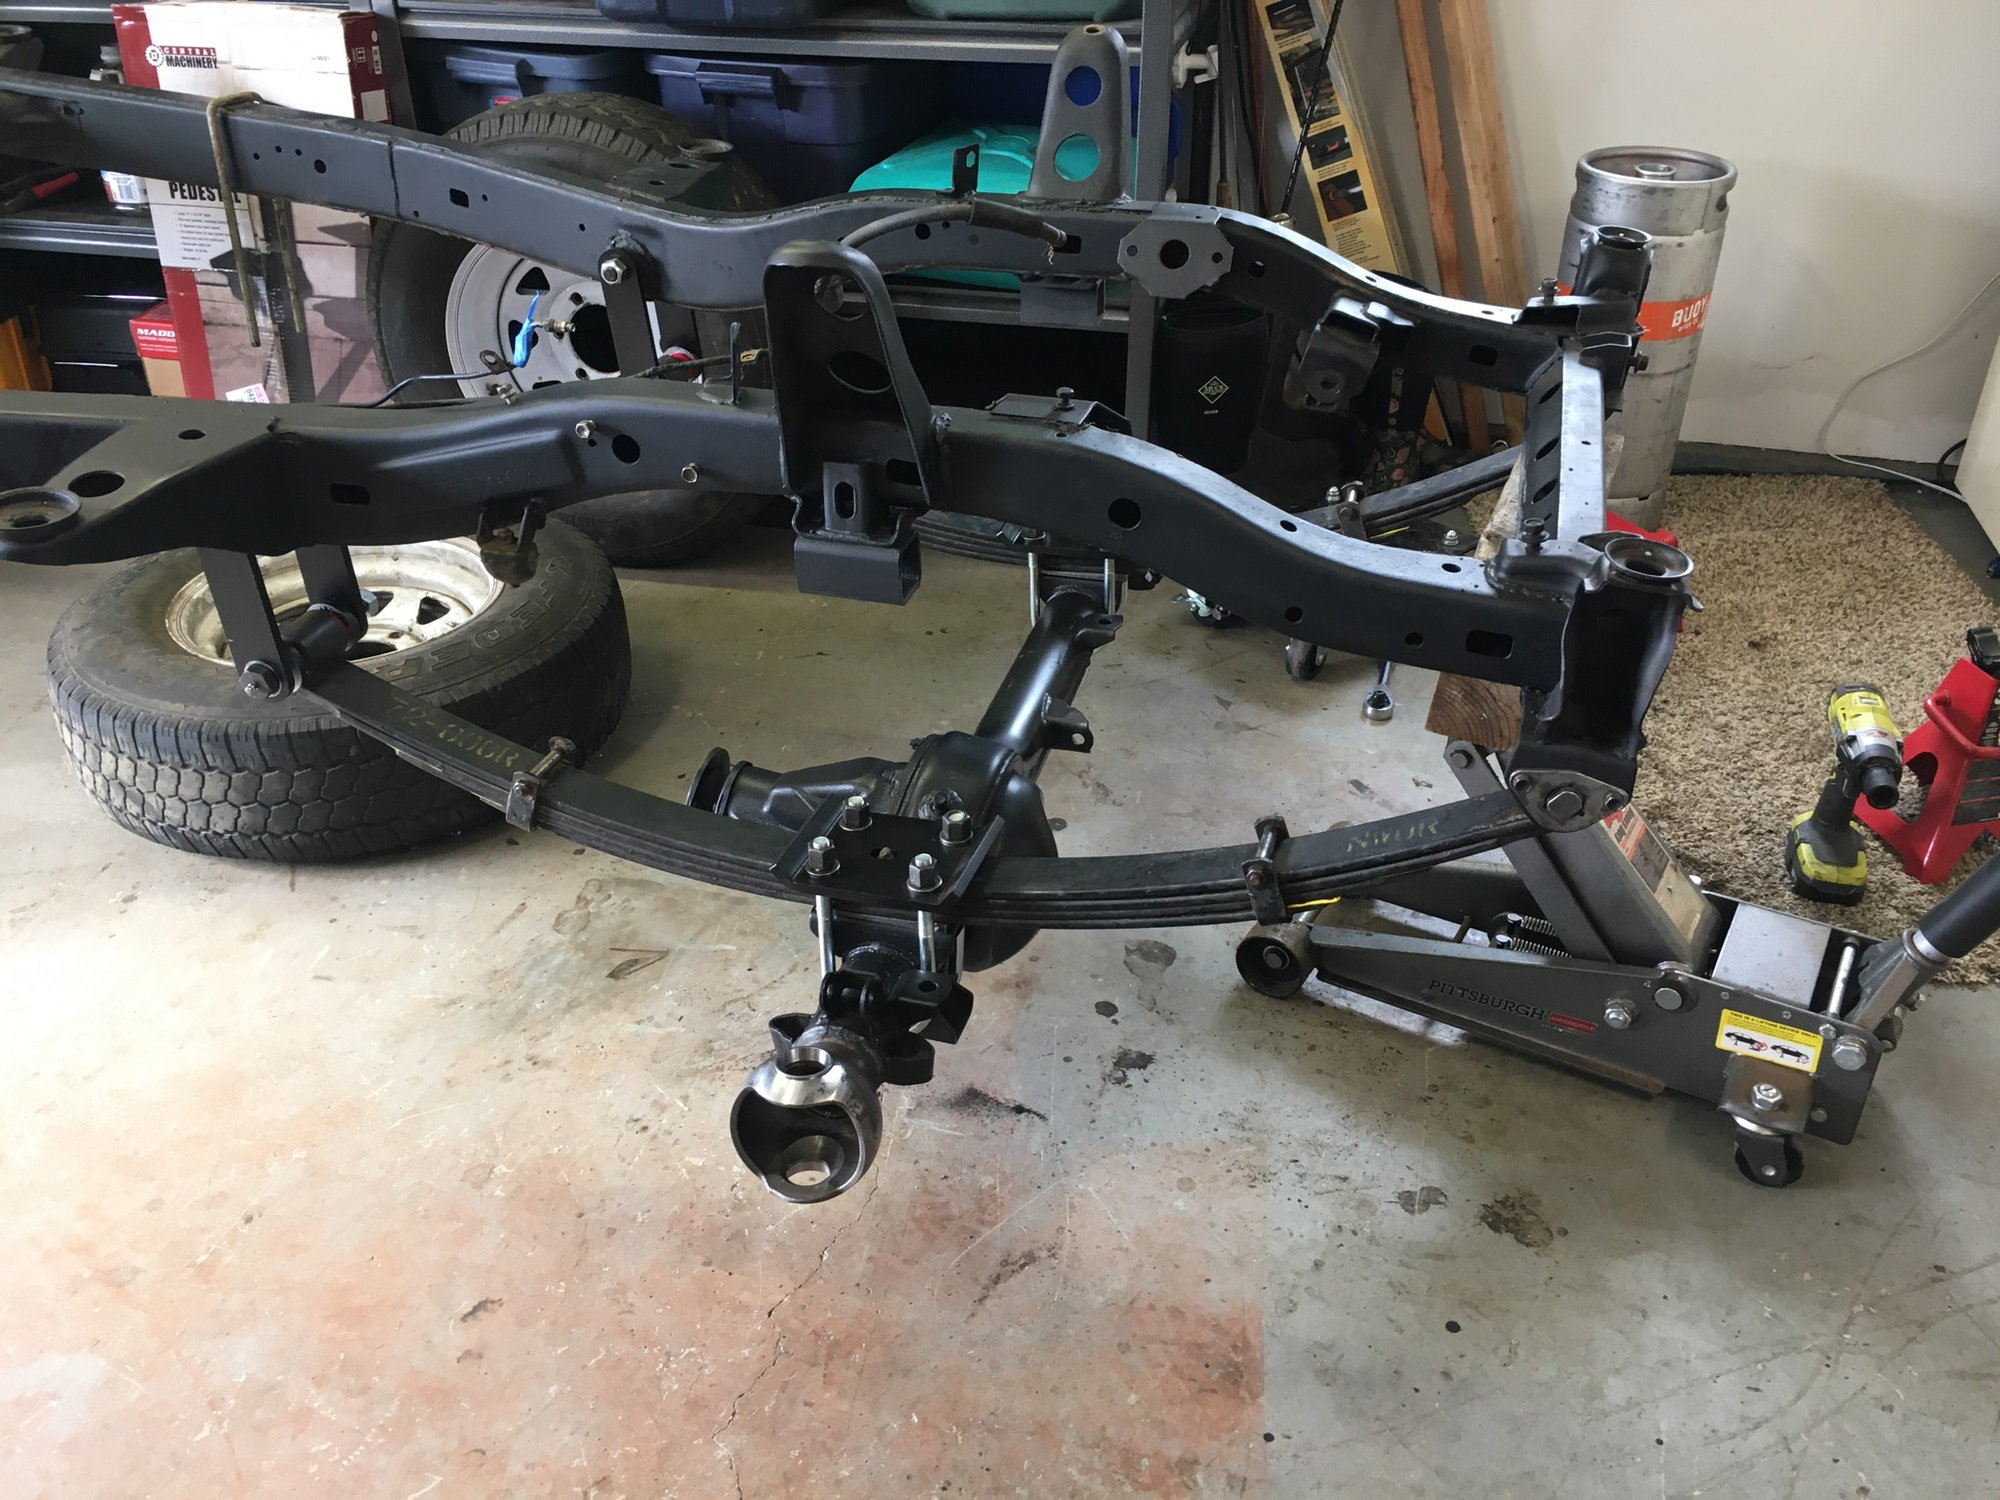
After I pulled the axle I cut off some of the unnecessary brackets and then painted the axle. Bolted it back up using Marlin crawler ubolt flip kit, which did not fit (the spacers they sent aren't large enough to make up the difference between the frame tube, and the leaf spring eye. It's close so I'll probably just throw in a washer to make up the difference.
img_0717_8219101ef18aa20b651120158103f0154501f3ba.jpg

Got the passenger side all back togather using MC rebuild kit, finally something went smoothly
banghead.gif

img_0849_423e4c4f9e93657572c7f21595a92989934b387c.jpg
 
I'm putting on V6 calipers and vented landcruiser rotors, took me a couple of tries to track down the correct rotors. When I was installing I ran into a bit of a hiccup, that stupid LROR backing plate eliminator was rubbing on the back of the rotor. Took me like half an hour to figure out why it was grinding. Couple of seconds with a punch and a hammer and I was able to knock down the bend that it was rubbing on. Silky smooth rotation now.

img_0859_7ed00240b784619b54671c27cbbdfb5adad2400d.jpg
 
I got a few more minutes in the garage last night. The PO had stripped out the first few threads of the caliper mount, I was able to get a slightly longer bolt to snug up the caliper. Installed the hubs that I had previously cleaned, painted, and relubed.

img_0879_3a1f254a35c3a34071b3a32d29e1085ad8d79cfa.jpg
 
I've been able to get out to the garage a few evenings this week (still working full time, I guess I'm "essential" lol.) I've now got the drivers side all but wrapped up. Just need to install the hub. This side went way easier since I figured out how to solve all the hiccups from the passenger side. Next will be to finish installing it under the truck, its in place just not torqued down yet.
img_0924_0d77fcf7add7020a12c8ece5f1fc733d3e4f691b.jpg

After that I still need to cut off the torque rod bracket from the frame. I'll need to take the frame to my father in laws house to get the steering box bracket welded up, so in the meantime I'll start working on the rear axle. I believe the drum brakes were recently (in mileage not time) changed so I'm hoping to be able to skip having to rebuild them. Other than that it'll just be a wire wheel and paint affair.
 
Seeing as I'm not sure what I'm going to do with the suspension at this point (may do an entire OME later) I decided to just replace the shocks with the same ones that came off. Had a gift card from work so these only cost my $13. They're Rancho 5000s. Still need some new extended brake lines, but other than that the axle is in!
img_0940_2220d153b406c28f9009527e286f93007fe206ca.jpg

Next up is the crossover steering, but first this is in the way!
img_0941_1592afe78eb3e66c47fa87002205bb7194fd5a15.jpg

That's better!
img_0950_0a614c48309329534de1eb4f6f45763ee0b65fdb.jpg
 
Life sure has a way of getting in the way of progress! The wife and I are shopping for a place with more land than we have now so that I can build a shop, but the housing market here is going crazy, and we got bid out on a couple places. So we decided we would sell our house and move into a travel trailer so that we don't have to buy on contingency. Which means I need to get this frame so that we can roll it onto a trailer.
I dismantled the rear axle, bought Marlin rebuild kits and repainted.
img_1180_794ac4b1376836ae75211dd33703d914223ac975.jpg

The bell cranks that came off were absolutely shot, so I bought a dorman kit for a Tacoma, everything in it worked great except for the bell crank arms. So I wire wheeled and painted the originals.

img_1177_e4d67cb8471e303838f0c70172cdbc375e935f16.jpg

img_1178_8d78d91cf31fa248367548bff3c2db9358c7584b.jpg

Then I reinstalled all of the drum components, and wrapped up the rear axle.....only to realize I put the bell cranks on the wrong side
banghead.gif

img_1181_7a3474b7fd5e2001b60e26dd4c761d9d065198ce.jpg


So I had to take it all apart again, switch sides, and then reinstall, needless to say, I'm pretty good at doing drum brakes now lol
 
We sold our house to become more competitive in the market around here and moved in with my inlaws. I was how able to get quite a bit more accomplished on this pickup.

I bought an IFS steering box and got it installed.
img_1512_c5197335e3ea682ac6407fc943c1b7d935a705b6.jpg


Then I finished building the motor, and dropped it in the frame for hopefully the last time. I guess I didn't get a good picture but I also installed the transmission/trans case/Bud built crossmember.
img_1511_ccb598d34cb2bafc488f291889d48af9807a9872.jpg


Then we got the cab mated back to the frame!
img_1513_e1cf27169494c58879c54524457e7f11d1908bad.jpg

img_1514_ebd1a67ba14ae1bd96ab9058f4c3d2595b4d1170.jpg


That about catches up to where I am today. Although I do have a few more brake lines installed and the steering hooked up. I've got a starter, fuel filter, clutch master and slave on order.
 
Nice work, Jake! Thanks for bring this over to Mud... Let me know if you need any help spinning wrenches.

Hey Chad! I thought I'd bring it over for some more exposure. I'll definitely keep you in mind.

Subscribed! Nice work! Keep the pictures and the updates coming!

I'm definitely going to try! My wife and I are in the process of buying a place on almost 4 acres so we'll be moving the project once again. I did just order a bunch of parts, exhaust header, fuel line, clutch master/slave/hose, and a starter. I still have to install the wiring as well (IH8wiring.)
 
  • Like
Reactions: SMG
Nice truck and build! Wish my 82 was anywhere near that clean. Wanna sell that bed lol.

Looks like someone took a grinder with cutoff wheel to that spindle - maybe to cut off a bearing race.
 

Users who are viewing this thread

Back
Top Bottom