1981 Pickup Rebuild - SR5 Longbed (1 Viewer)

This site may earn a commission from merchant affiliate
links, including eBay, Amazon, Skimlinks, and others.

The owner just wants to run the Raptor liner and rubber floor mats on each side. Pop a drain plug and rinse out the floor occasionally and vacuum the mat. Since it is intended to be a hunting truck he didn't want carpet.
 
Nothing major gets accomplished but just a lot of little things.

IMG_6565.JPG


IMG_6576.JPG


IMG_6579.JPG


IMG_6564.JPG
 
@WoodsTruck I may have to get a petition started to keep this beautiful little truck from being used as a hunting truck ;)

But really... wow. That looks great.
 
Ok, another summer is fast approaching.

Question on upgrading the anemic alternator to a GM higher output from a Camaro. Any suggestions on how this gets wired up the best?

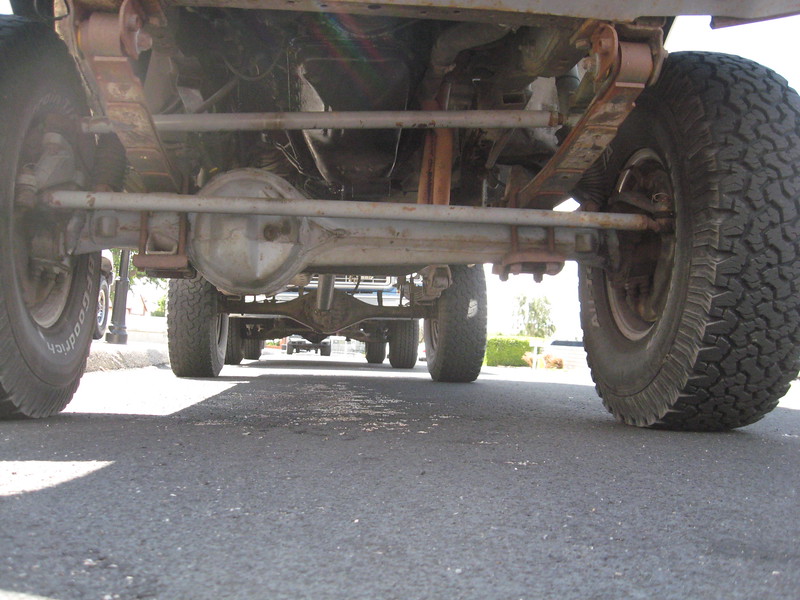
Power Steering: Current set up is stock height with manual box. Owner is interested in PS but may lift/gear/tire the truck sometime. Any options other than factory PS for that age truck, or lift 3-4" and go with a cross over system using a newer IFS box?

Thanks for looking
 
If you're going to lift it anyway, go with Hysteer. But you don't have to. I ran a 3" lift for years with the stock steering. I also had am 82 4x4 for a while with 33s, 3" lift, and manual steering.
 
Nothing current. I rebuilt the kitchen this summer for the wife. Neighbors Yota got sidelined. He is itching to go hunting so it will likely get dusted off next spring.
 
Nothing current. I rebuilt the kitchen this summer for the wife. Neighbors Yota got sidelined. He is itching to go hunting so it will likely get dusted off next spring.
Man I here ya on the hunting thing,,we run into that as well around here,,but I sure do like the work y’all are doing,,I have a 81 long bed as well,,not a hiway queen,,but she will get you there

D6E90473-5515-41D2-898A-964975D187DF.jpeg
 
How is anyone bolting an aftermarket bumper to the front of one of these critters? Looks like the 84 and newer have a flat plate multi-bolt setup the '83 and older don't have much provisions. Weld up a reinforcement and go from there? Sorry, I downloaded pictures a while ago and can't give credit to their owners.

Frontspringmember_zps5827a2c4.jpg


20200606_162220.jpg
 
Ok, Life is still in the way, but this things needs some attention. Pulled the legal pad out and filled one complete column and started a heavy second one. Mostly just installing stuff and cleaning up wiring. Or at least that's my story.
Radiator needs replaced and maybe a hose or two, but overall getting street worthy pretty quick.
Bumper was a DIY from a kit for a Cherokee. I guess that explains why it doesn't just bolt up!

IMG_2056.jpg


IMG_2061.jpg
 
Don't know if you're still noodling on the GM alternator or not. I used a CS130, I think, on Patch. Had to build both brackets to make it fit more or less like stock. I cut the connector off of a dead regulator to make the jumper that goes from the OEM wiring to the GM alternator. Plug and play, and more importantly to me, reversible should that ever be desired. I mostly went GM because I could not find a quality regulator that would last more than a year.

The 22R alt. bracket on my '84 was a complex critter that used some of the engine mount bolts. It took a bit of reverse engineering to make it all bolt on like stock, and to capture the alternator like stock GM brackets do.
i-k56nFNd.jpg


On my '84 the only v-belt w/o a tensioning bolt was the alternator. Of course it was the hardest to adjust, and not just because of the lack of the tensioning bolt. So I added that feature while I was working on the whole system. This is incomplete, but the only picture that I have of it.
i-nrTwNDr.jpg


On steering, I went cross-over without going hi-steer. Going high-steer with off the shelf parts forces a lot of lift and/or reduces up travel. I left the tie-rod in the stock location and built the steering arm. I won't lie, it took several iterations to get exactly the right height for the drag-link on the arm that I built. You can keep the drag-link out of the oil pan with stock bump-stops while also not touching the leaf spring at full droop or fully crossed-up when using the strongly suggested OME std. front springs (pair them with some Bils 5100's for a leaf spring ride that is really hard to beat). I used Marlink tie-rod and drag-link bits for this.
i-dBxsvxw-L.jpg


if he's going to lift it I strongly suggest the OME std front springs combined with a pair of 5100 Bilsteins.
 
It actually came from a different supplier, I guess I was just showing the bracketry more than anything.
 
Mocking up the front bumper and the frame mount. It will go off for a little plasma treatment for a couple holes. Maybe someday I'll be cool enough to own my own plasma cutter. GM CS-130 alternator is bolted in and the wires run but not fully attached yet. Replacement headliner should go in next so the rear slider can be slid into place.

IMG_2201.jpg


IMG_2203.jpg


IMG_2204.jpg
 
Gaining slowly.

Bumper is almost done and ready to get coated.
Replacement headliner installed and back window put in.

IMG_2274.jpg


IMG_2279.jpg


IMG_2281.jpg


IMG_2282.jpg
 

Users who are viewing this thread

Back
Top Bottom