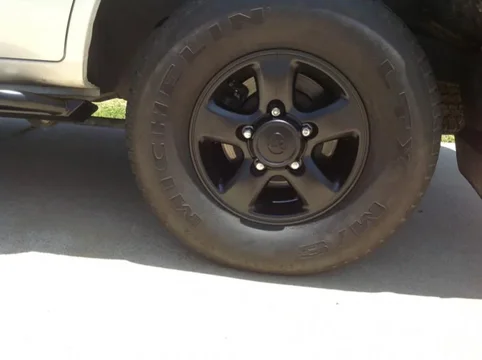
I posted another question (LINK) on how to paint the ugly stripes down the side of a 100 Land Cruiser.
And I got it done...and it looks great. See pics at website below.
http://paint100landcruiser.weebly.com/
Procedures and tips:
1. Order paint and tape from automotivetouchup.com
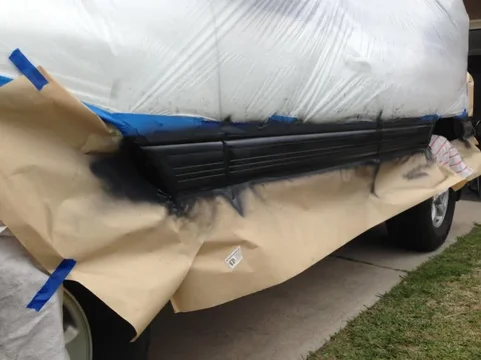
2. Tape off stripe using tape (it barely covers with indents above and below the stripe...one of my pictures shows this).
3. Run your finger nail to push tape into the indents above/below stripe (again...picture shows this).
4. Cut using razor blade. I did not cut exactly where the indent was, but rather pressed the blade toward the part that was going to be painted.
5. Mask, mask, mask. Masking paper bought at Lowes for $2.50. Mask more than I did in the pictures! I got a hint of paint on the body of the car!
6. Paint, let it dry, paint, let it dry, observe your work...take your time...paint more as needed. Don't get any runs...Just let it dry for 10 more minutes before adding more.
More info: I know a guy who got a $1000 quote to paint the stripes! You are really saving money if you do it yourself. Total cost...2-3 hours and $30!
Let me know if you have any questions. Glad to finally contribute to the forum. Thanks to everyone who encouraged me and told me how to get it done.


