The Long Overdue RastaRig Buildup (1 Viewer)

This site may earn a commission from merchant affiliate
links, including eBay, Amazon, Skimlinks, and others.

Joined
Feb 7, 2010
Threads
18
Messages
363
Location
Wally Land
So it's high time I started my own thread for the build up of the RastaRig here ....

I'm still fairly new to the IH8Forum and gotta say that after taking good looks at all the work you guys are doing here....I'm humbled. I can only hope to aspire to the level of craftsmanship many of you show!

I bought this about 12 years ago and needed a commute vehicle. It was pretty stock with literally nothing done to it. Looked nice ran OK but I was soon to find out that the manifold/exhaust configuration on the 2F leaves alot to be desired. LOL! In 1998 I had just moved to the bay area and the congestion of one-way commutes of an hour or more along with the exhaust leak was quite literally killing me after about 6 months.

To make a long story short there, after much beltsander attacks on manifolds, dicking around with shop manual electrical & vac diagrams, quite literally marking every hose and futile attempts to track down all sorts of innocuous, buggy little behaviors----
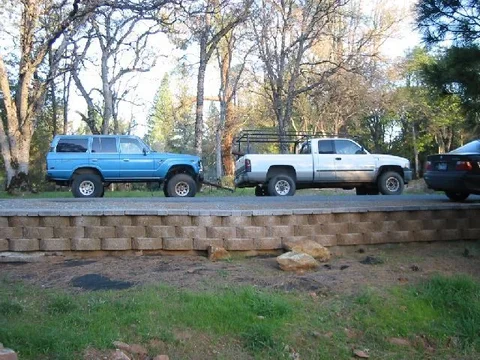
I gave up. Didn't like the engine anymore. Didn't even like driving the thing. It was parked in my driveway. A smog year came around and I knew this was it. So, I decided to do a transplant and so began this journey....2005, five years ago. I did a spring over at some point and then the 2F was pulled out with the tranny ....sold. At this point, the rig was towed and so begins our journey.

I wish in hindsight I had taken more pics back then..... maybe BECAUSE of that I'm kind of a pic whore now and so please know that I'm fighting putting up too many pics here :rolleyes: I'll try not to be wordy too. I have a problem with that.

------------------------------------

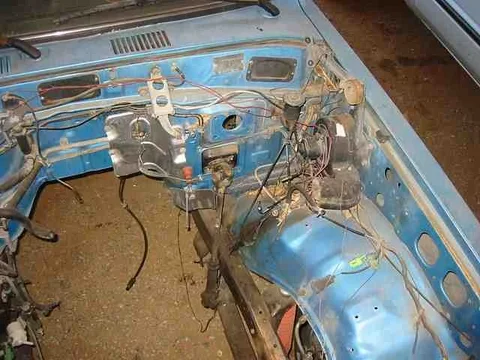
These are a couple of views sans engine and how that start initially looked:
1bodysidefnt.jpg
IMG_0101-1.JPG
1bodysidefnt.jpg
IMG_0101-1.JPG
 
Last edited:
Wa gwan mon !!
Ah sey one !!!

About time eh !!!
 
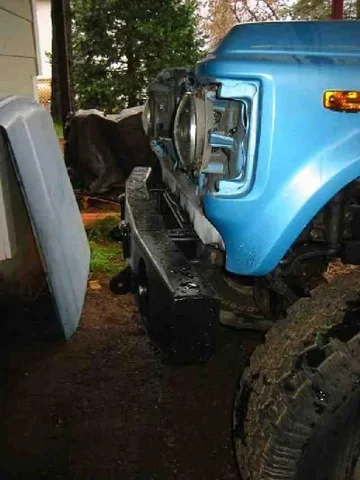
... then of course the next important thing was the bumper. (I do have issues with priorities---but hey, I had someone Frank, who just HAD to try making a bumper that would double as an Air Tank... as they say, when opportunity comes knocking....)

Before:

3bodyfntoldbmpr.jpg

And afters:

33bmpnewprofilte.jpg

33bmpnew1.JPG

...and as fate would have it...it made a great step.

Frank Fidler (fidlerfrank@yahoo.com) did the sweet bumper work. It's all enclosed and I'll probably try using it as a spare, albeit small, air tank. Frank is a welding god, I am not.
3bodyfntoldbmpr.jpg
33bmpnewprofilte.jpg
33bmpnew1.JPG
 
Last edited:
Well, this was after all a transplant and so same buddy who was hosting the garage all these years....had had alot of success with his Cummins 6BT. One became available from a barge of the Sacramento River ... and voila.

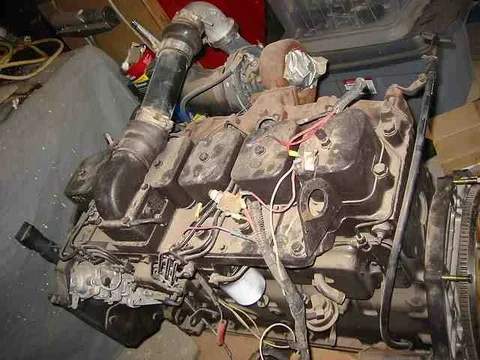
She's not pretty, but here she was:
5-6bttoprt.JPG

Yeah, I'm also having to learn alot about diesel. This was the makeshift arrangement on crossover tubing for the turbo; I believe this was actually an intercooled 6BT but the barge owner rigged it to this setup. Maybe. Maybe not.
6bttop.JPG


... and just under 1000# I believe
5-6bttoprt.JPG
6bttop.JPG
 
Last edited:
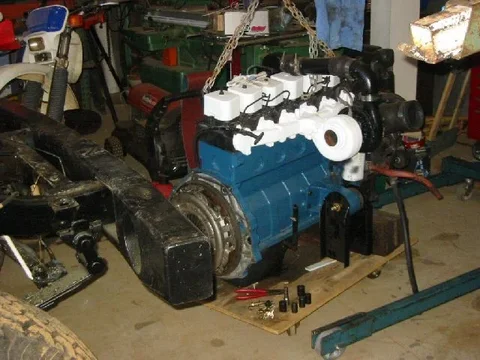
Then the tranny and transfer case stuff ---- I threw out the old Toy one and opted to go with the NV4500 Dodge 5sp while still keeping the tried and true Toy transfer case.

Advanced Adapters provides the piece which mates the whole thing together (going between the Dodge tranny and the Toy transfer case)

Here are the three pieces (NV4500->A/A->Toy Txfr):

4tranny1.JPG

This pic is after having done a pseudo-rebuild on the transfer case. An Advanced Adapter bell housing would be used to mate the 6BT to Dodge NV4500 (left)
4tranny1.JPG
 
Its looking good man! That 6bt should be tons of power for your 60!
 
As I'm an amateur and haven't been down this road before, I learned really quick that there is a difference between "restoration" and, say, "rehabilitation"----get the thing just drivable. As time went on, the crap I would see like leaves stuck between body piece seams, rust in places I hadn't even noticed before but which was always staring right at me ... the general condition of the barge 6BT....

Starts wearing on you and you start thinking, "well, let me just clean this part up a bit...let's get this fit-up between these pieces a little nicer" And, there you go. This is why I absolutely respect you guys out there who strip down the whole vehicle down to a frame sitting on tree stumps and begin from there.

Anyway, I tried to choose the middle ground saying this was some sort of "Phase I Rehab"....get the obvious stuff cleaned up and made newer looking, functionally sound .... but get 'er done.

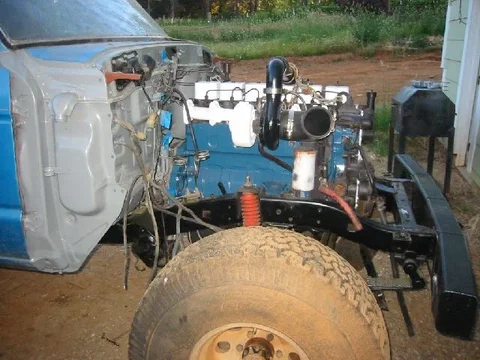
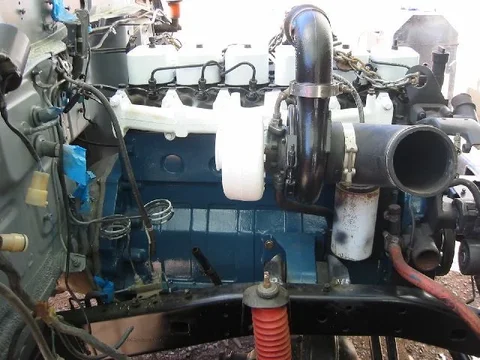
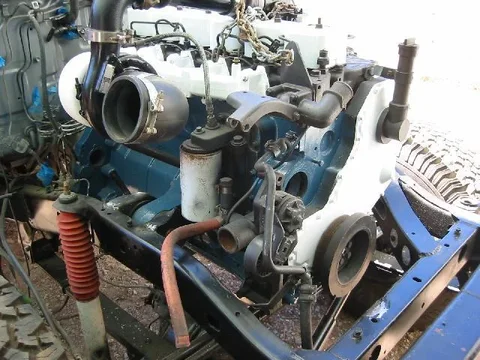
The engine here is was obviously jerry-rigged (sp?) but she's what I got to work with.

The 6BT didn't have a water pump, power steering/vac assembly, the turbo intake and crossover tubing were all moved around to bypass the intercooler that would have sat front/behind the radiator---it was a powerplant driving a crane in the Sacto River so this stuff wasn't necessary. I would have to get all of that...

IMG_0164.JPG

This was a 1991 6BT engine and so the injector pump you see here preceeded the P7100 (one that looks like a mini-diesel). It's the Bosch VE. Note the plate below the injector pump---that's got to be taken off and exposes the gearing to drive the power steering pump:

IMG_0171.JPG
IMG_0171.JPG
IMG_0164.JPG
 
Last edited:
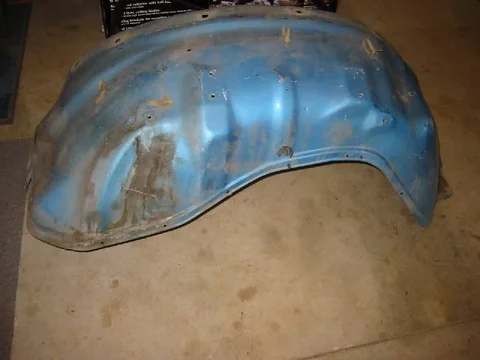
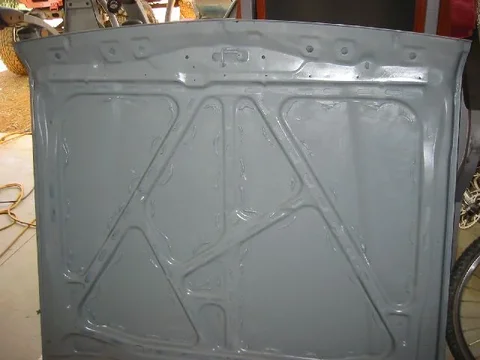
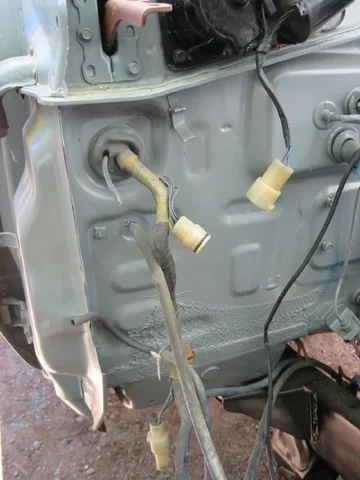
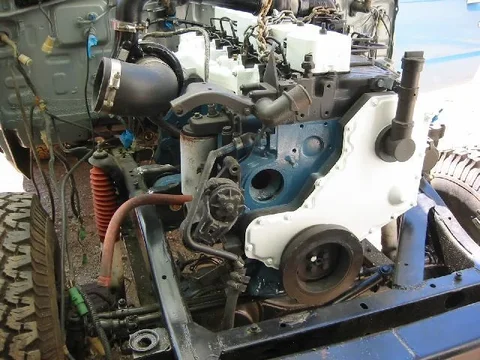
To make putting the engine easier, I dismantled the fender and surrounding pieces down to frame. Wow, alot of bolts. Then the pieces just looked more in need of attention. The hood was always a rattler as the butyl adhesive used between the cross-supports and top sheet metal had crystallized and separated long ago

IMG_0463.JPG

IMG_0505.JPG

IMG_0514.JPG
IMG_0505.JPG
IMG_0463.JPG
IMG_0514.JPG
 
Last edited:
If time allowed, I would have painted this stuff after prepping and be done with it...but couldn't. Rain was coming and, again, getting it drivable was the priority. Phase II Rehab would have to get those things done---even if I'd have to take things apart again.

Note: when I fastened the hood cross-member seams to the top hood sheet, I used rocks to weight things down. The butyl worked so good that it mucked up the contour of the hood top. There actually is supposed to be a gap between the frame members and the sheet that the butyle takes up even while providing adhesion I guess. Push those together and your hood will have a nice dip in middle about 3ft in diameter. Don't do that.

IMG_0634.JPG

img_0803.jpg

img_0804.jpg
IMG_0634.JPG
img_0803.jpg
img_0804.jpg
 
Yes, I did it. I just stripped, prepped and painted the engine-compartment frame. Didn't have time/logistical ability to actually paint the thing. That would have to wait. That's piecemeal for ya. Anyway, the NV4500, Toy transfer case along with the Advanced Adapter custom bell-housing was placed and secured.

This is point just before engine installation

img_0411.jpg

img_0233.jpg

img_0232.jpg
img_0232.jpg
img_0233.jpg
img_0411.jpg
 
Last edited:
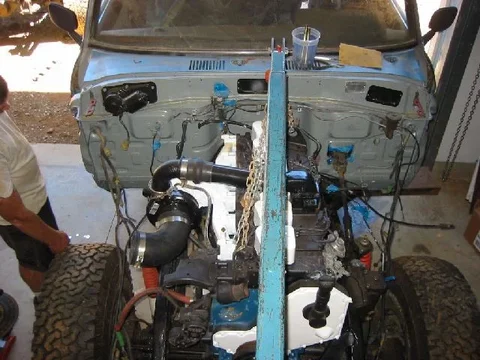
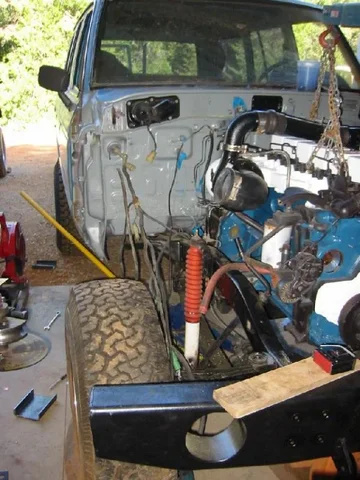
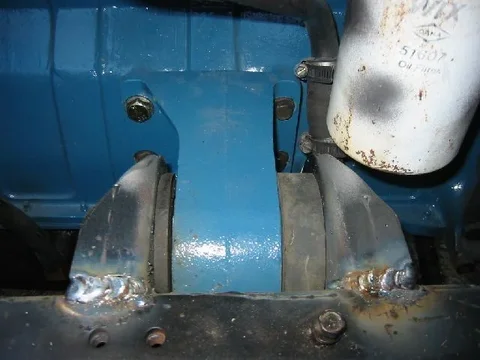
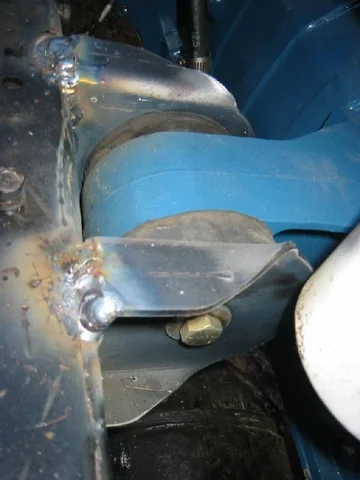
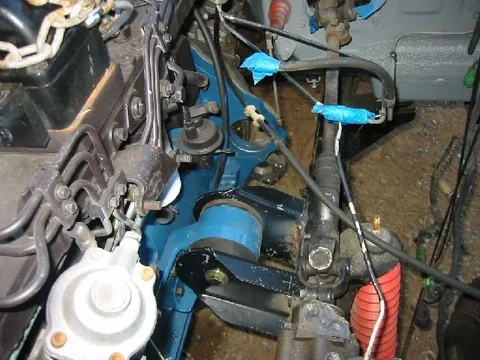
Engine hoisted, positioned and then loaded. The engine brackets were laser cut and bent to a much longer length then needed and the idea was that with the hoist holding engine, we would place it and then cut the mounts to correct length.

Then they would be bolted down to engine block and welded while engine still suspended.

img_0231.jpg

img_0237.jpg

img_0239.jpg
img_0231.jpg
img_0237.jpg
img_0239.jpg
 
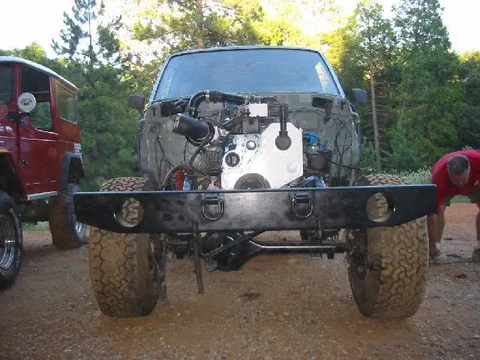
A buddy and I took a good amount of time one day making sure the alignment and positioning of the tranny and transfer case assembly was dead-on. That alignment was crucial I think in allowing the engine hoisting in and bolt-on to bell-housing be pulled off in a span of 30 minutes. A little prep does go along way.

More views of placement:
img_0243.jpg

img_0246.jpg

img_0247.jpg
img_0243.jpg
img_0246.jpg
img_0247.jpg
 

Users who are viewing this thread

Back
Top Bottom