As far as replacing the hinges goes, my upper drivers side hinge had a bad bushing. Since it is just as much work to replace 1 hinge as 2, I did both of them. It is detailed out somewhere on this forum but here is how I did it.
Before starting, paint the hinges with some matching touch up paint. Its not a super visible location, so close enough is close enough. Replacement hinges come in black e-coat from Toyota-san and I was concerned about rust long term.
- Open door, remove kick panel cover to get access to door wiring harness.
- Roll down window to protect glass and give you a good place to hold the door, then unplug the wiring.
- Pull the wiring out of the body, leave it attached to the door.
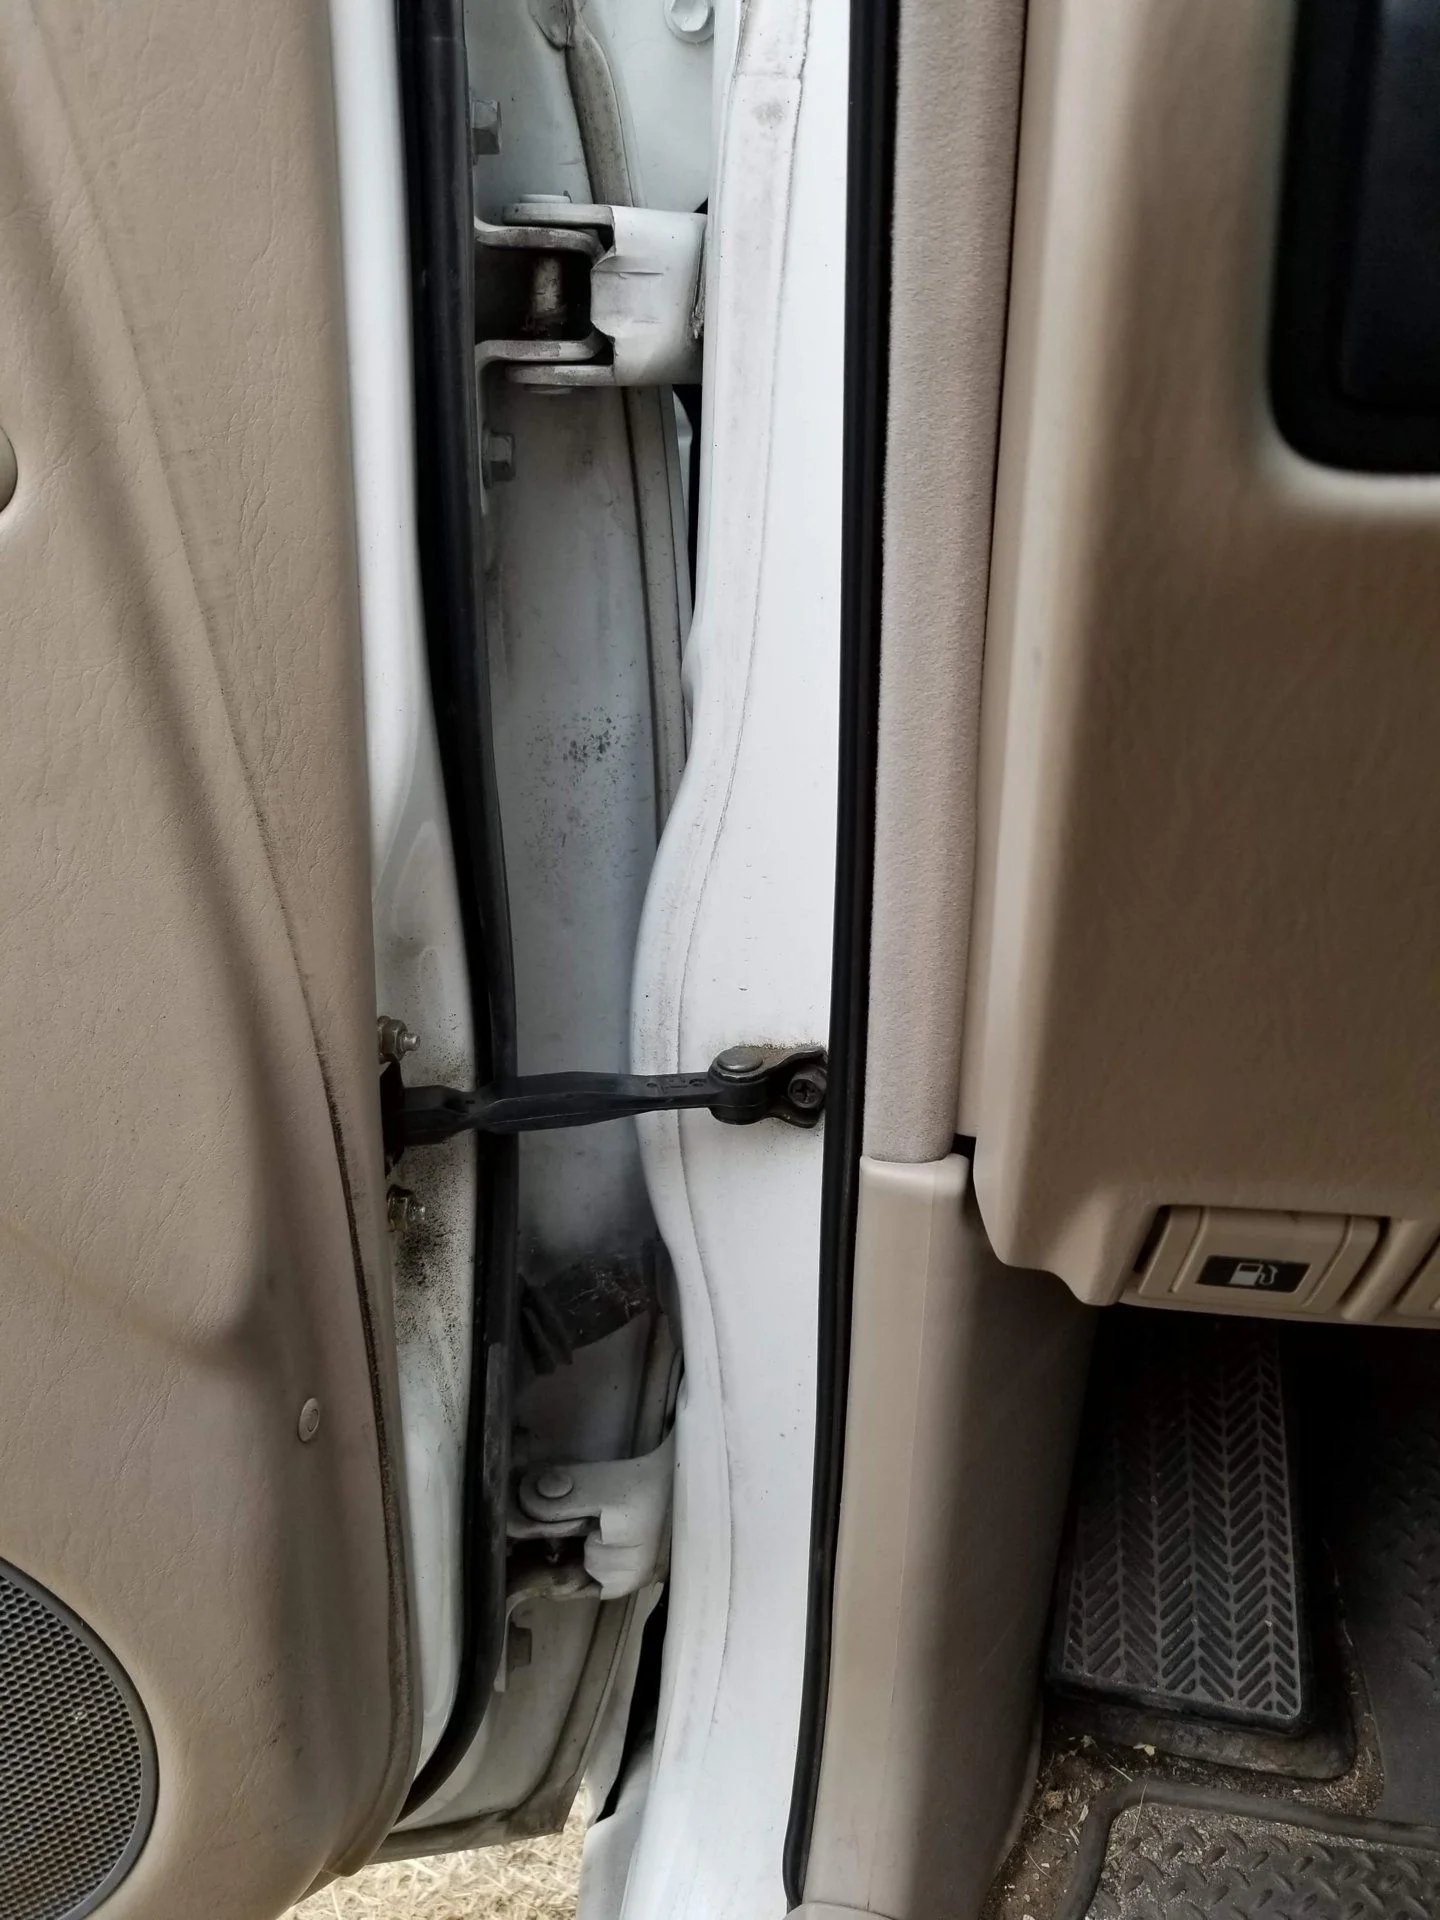
- Disconnect the door limit strap from the body. Do this when the door is not fully open so it can be slid back into the door shell easily.
- Tape up all the edges on the door frame and body with blue painters tape to prevent scratches.
- Get a heavy wool moving blanket and set it in a close area that will not be in the way.
- Get a transmission jack or similar and place it under the door. Jack the transmission jack so it touches the door but does not put any load on the door.
- Get a helper monkey to hold the door upright.
- Unbolt the lower hinge from the door
- Unbolt the upper hinge from the door
- Remove the door from the vehicle and set aside.
- *no need to mark the location of the hinge on the door, all the adjustment is on the body*
- **the bolts that fasten the door to the hinges are special shoulder bolts. Do not lose them or replace with alternate hardware**
- Two options for the next part. Use the factory seam sealer to locate the new hinge OR mark the location of the hinge.
- I used the factory seam sealer.
- Unbolt the old hinge and very carefully separate the seam sealer from the door hinge using a putty knife. Leave the seam sealer on the door jam to help you locate the new hinge
- Position the new hinge against the old factory seam sealer and tighten it down. Do the same for the other hinge.
- Get your helper monkey to help reinstall the door. Wheel it in on the jack, have them hold it upright while you bolt the door to the hinges.
- Fish the wires through the jam (no need to connect at this point) and reinstall the limiting strap.
- Check the door operation and fit. Gap should be even all the way around. If you have to adjust the door, do it by either removing the door or using the special tool noted above.
- CLOSE THE DOOR SLOWLY AND CAREFULLY. Someone may have adjusted the striker to compensate for a loose door. If you feel anything trying to push the door up or down when closing on the latch, stop and adjust the striker so the door closes smoothly.
- If everything is to your liking, plug the wiring in, verify operation of electrical features, remove the blue painters tape, and reinstall the kick panel cover.
- Take your helper monkey out to dinner to thank her for the help.
A few other things of note:
- Driver and passenger front door hintes are the same but the locations are flipped top to bottom. IE a top hinge on the drivers side is a bottom hinge on the passenger side. Passenger side hinges rarely have significant wear and you could get used ones from a yard if you were trying to save pennies.
- Similar era RAV-4s use the same front door hinges, but they do it differently. A RAV4 top front door hinge is the same as the SAME SIDE DOOR Top hinge and OPPOSITE SIDE DOOR bottom hinge. IE a drivers door top hinge from a RAV4 is the same as the drivers door top hinge on an LC. The passenger door top hinge on a RAV4 is the same as the drivers door bottom hinge OR passenger door top hinge on an LC.
- My top hinge was worn but my bottom hinge was serviceable. Since it is the same amount of work to replace both and only an additional $40 for parts I replaced both for peace of mind. If you are on a McBudget, you could probably get away with just replacing the top hinge as that is what sees the most wear from short, rotund former owners using the door as a ladder to get in.