rear upper hatch badge [sombrero]removal (1 Viewer)

This site may earn a commission from merchant affiliate
links, including eBay, Amazon, Skimlinks, and others.

Joined
Jul 14, 2003
Threads
37
Messages
627
Location
CHARLESTON WV
1996 FZJ80

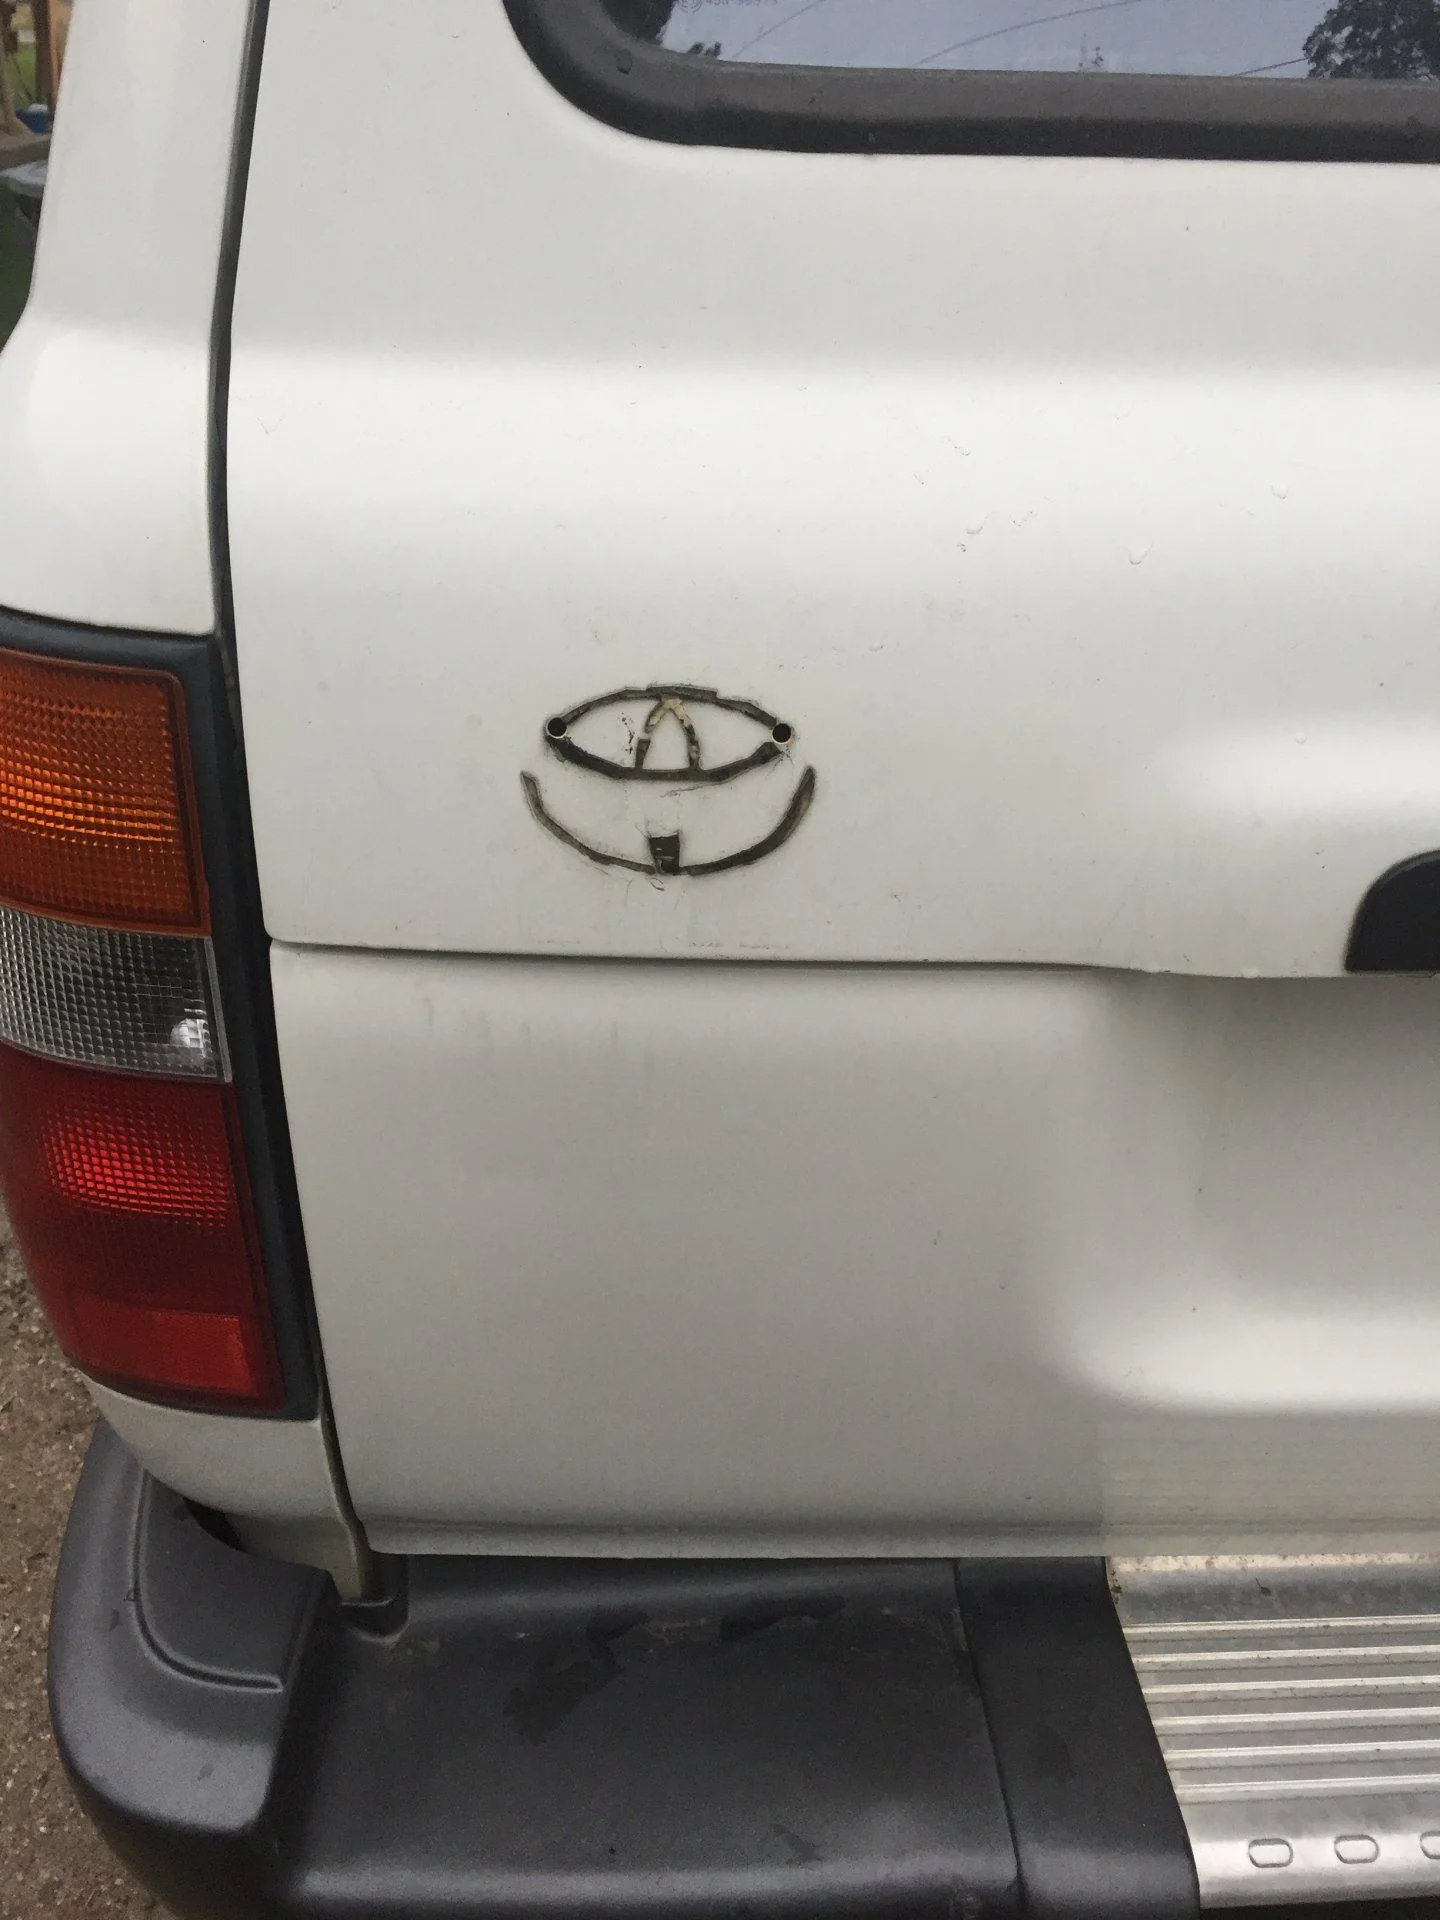
tried a search, found one thread mentioning locating pins.....is there a fastener behind the badge attached to the pins? or??? going to do the black/black chrome thing [mine are yukky gold] while some places getting fixed at the body shop and need to remove it.....lower 4wd badge already prepped but couldnt quite figure out the upper badges mounting/removal, haven't tried removing the upper hatches trim yet....thought I would ask the experts.......

thanks
 
hatch has 2 ~1/4" holes
 
The badge has a small alignment pin or two in it. Just slide heavy fishing line or strong dental floss behind the emblem and use a sawing motion to cut the two sided tape holding it on. If you encounter resistance from the plastic pins, move the string. Some use heat to soften the adhesive and make it easier to cut/remove. Good luck. HTH.
 
X2. Confirming there is no fastener on the inside, just plastic alignment pins that will pull out easily once you break the adhesive. I bought some clear adhesive designed for mounting these emblems from my local auto paint store. Works well
 
There are no screws, but you'll end up with two small hoes in the hatch. It's a little ugly unless you cover then somehow IMHO.
 
thanks everyone
 
Sounds like you got your answer, but here is the picture.
I just removed mine this evening as the paint from 4 years ago has begun to peel. I am going to try to figure out what I am gonna put in its place. I also removed the center hatch emblem as well but it broke off... I may get an old style emblem and retrofit it to fit where the sombrero goes.
 
Grizzly, it kind of looks like you now have a smiling "Egyptian Eye of Ra" on your truck
 
Old (seriously old) thread. But, I’d like to replace the sombrero on my 92 with a different, adhesive-only badge. How can I address the guide holes?
 
Any suggestions on how to plug the holes? I don't want any leakage. I purchased a stick on badge that I want to replace it with; it looks something like this.

1572836282077.png
 
I ran into this same issue when removing my Toyota Sombrero badge. Once the adhesive residue was removed with Goo Gone after getting off the majority of it with a heat gun I gave both the sombrero and 4wd badge areas a light sand with 1500 grit to smooth the clear coat which had some ridges where the badge interfaced with the paint.

20220208_151846.jpg
20220208_151857.jpg


The area under the 4wd badge cleaned up nicely but the paint under the sombrero was a but thin and there was the issue of the mounting/locating holes. Not wanting to go through the process of welding and painting I decided to make a new badge to cover it. I modeled up some ideas using the Toyota font from the FJ40 grill with an oval that is 2mm larger than the original sombrero to ensure that I would cover the old badge footprint entirely.

20220217_094731.jpg
Badge Model.JPG


Placing the font within the oval left a bit too much negative space so I decided to add a rising sun. I played with the sun being centered or offset and eventually decided to go with the offset version. The badge is slightly concave on the back and convex on the front to match the originals profile. You could use a company to 3D print this out of metal (www.rapidmade.com ~$100) or mill it on a CNC machine. I went the CNC route as I have access to one and we commonly mill brass and aluminum. I decided to make the badge out of brass that will tarnish and darken over time but aluminum could be used if you wanted silver.

Here it is fresh off the milling machine.
20220216_203927.jpg
 
Here is a closeup detail shot showing the tooling marks, the black is a bit of sharpie marker that I tested.

20220216_204013.jpg


After milling I sandblasted it which gave it a really nice finish that could easily be considered the final product.

20220216_205313.jpg

20220216_205336.jpg

I wanted a bit more contrast and to tie in the black on the vehicle so I covered the edge and shot it with Rust oleum high gloss black and sanded with face to remove the excess paint. I hit it with an orbital then finished with 1500 grit. I don't have a polishing wheel but you could easily polish the face to a mirror finish if desired.

20220217_093327.jpg


Added some high strength double sided tape and stuck it on.

20220217_100852.jpg


You can access the print/milling model file here: Toyota Custom Badge by AmericanWest - https://www.thingiverse.com/thing:5251414
 

Users who are viewing this thread

Back
Top Bottom