40Habits
Sure... why not
Your numbers are very close to what I did. You have a little more lower triangulation and a little less upper then I have but our numbers are alomost the same. Looking forward to see what comes next.
Follow along with the video below to see how to install our site as a web app on your home screen.
Note: This feature may not be available in some browsers.
This site may earn a commission from merchant affiliate
links, including eBay, Amazon, Skimlinks, and others.
Your numbers are very close to what I did. You have a little more lower triangulation and a little less upper then I have but our numbers are alomost the same. Looking forward to see what comes next.
I have pictures under my avatar in my garage. Just click the link. No, I would not change my numbers. My only recommendation would be stick with the numbers. So many guys say they play with the calculator and then just build what fits but moving brackets an inch will affect things greatly.


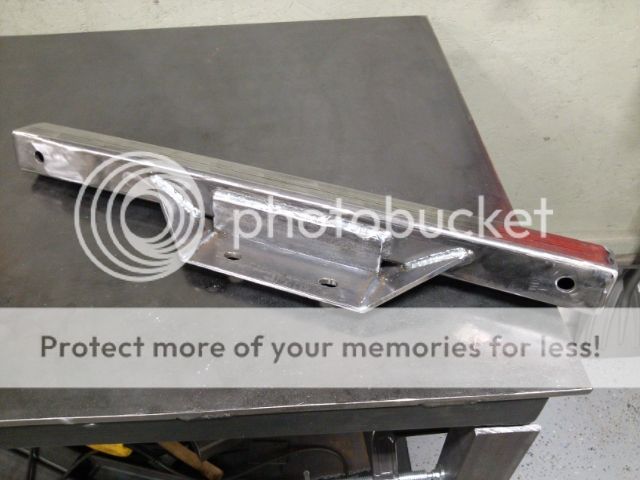


Wow - Nice lookin' work!
Can't wait to see the frame completed.


nice fab work
This thread is awesome

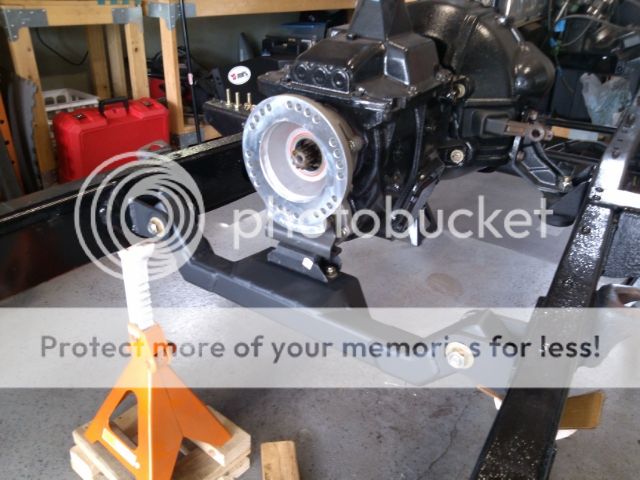
I like your jackstand mod you got going there with the big plate. How is that plate attached to the jackstand? Thanks for the great pics.