Our 1976 FJ40 - "Tonto"

This site may earn a commission from merchant affiliate
links, including eBay, Amazon, Skimlinks, and others.

Kelsey, Rockford is looking spiffy after the 36 quarter wash, great job!

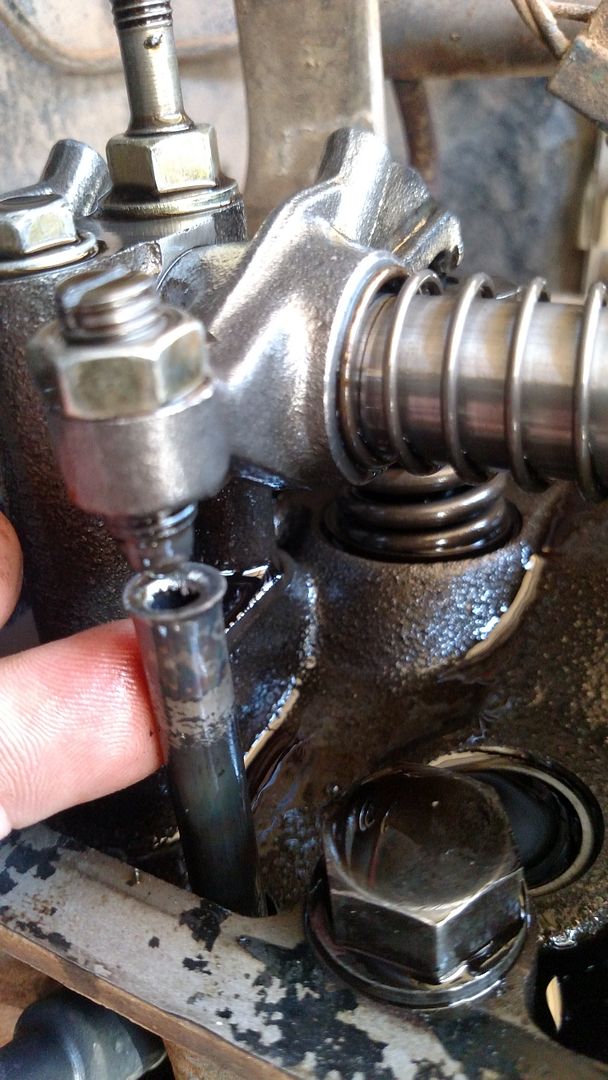
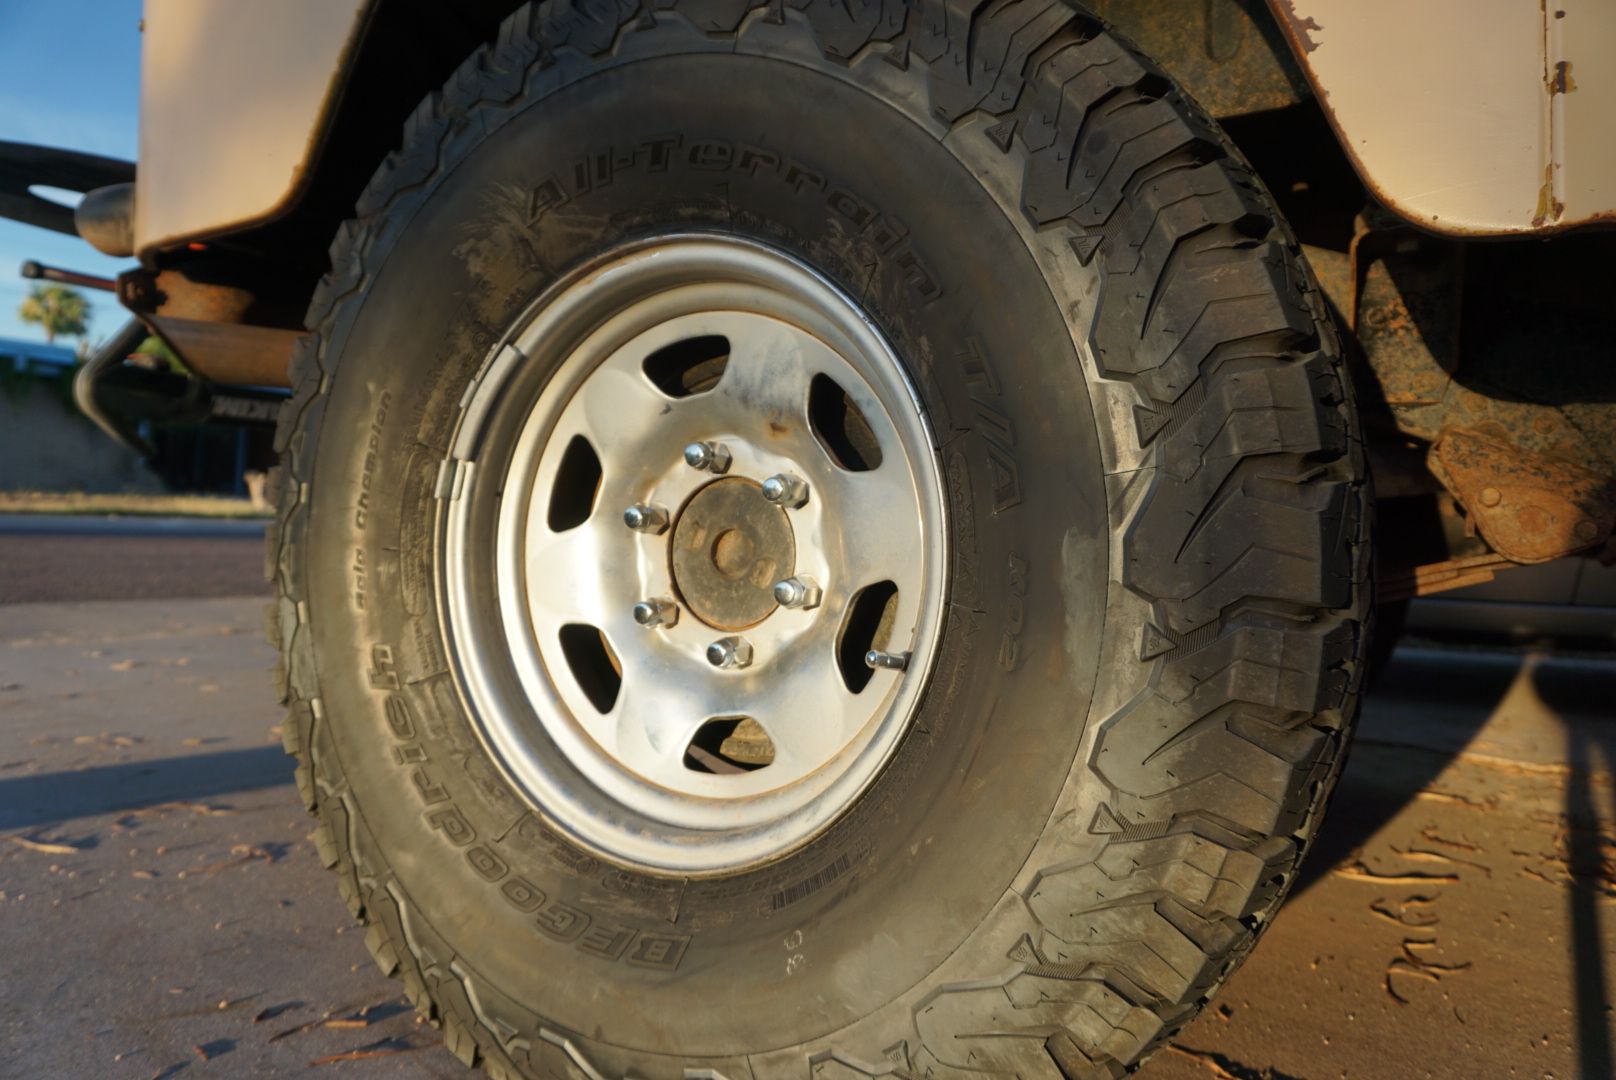
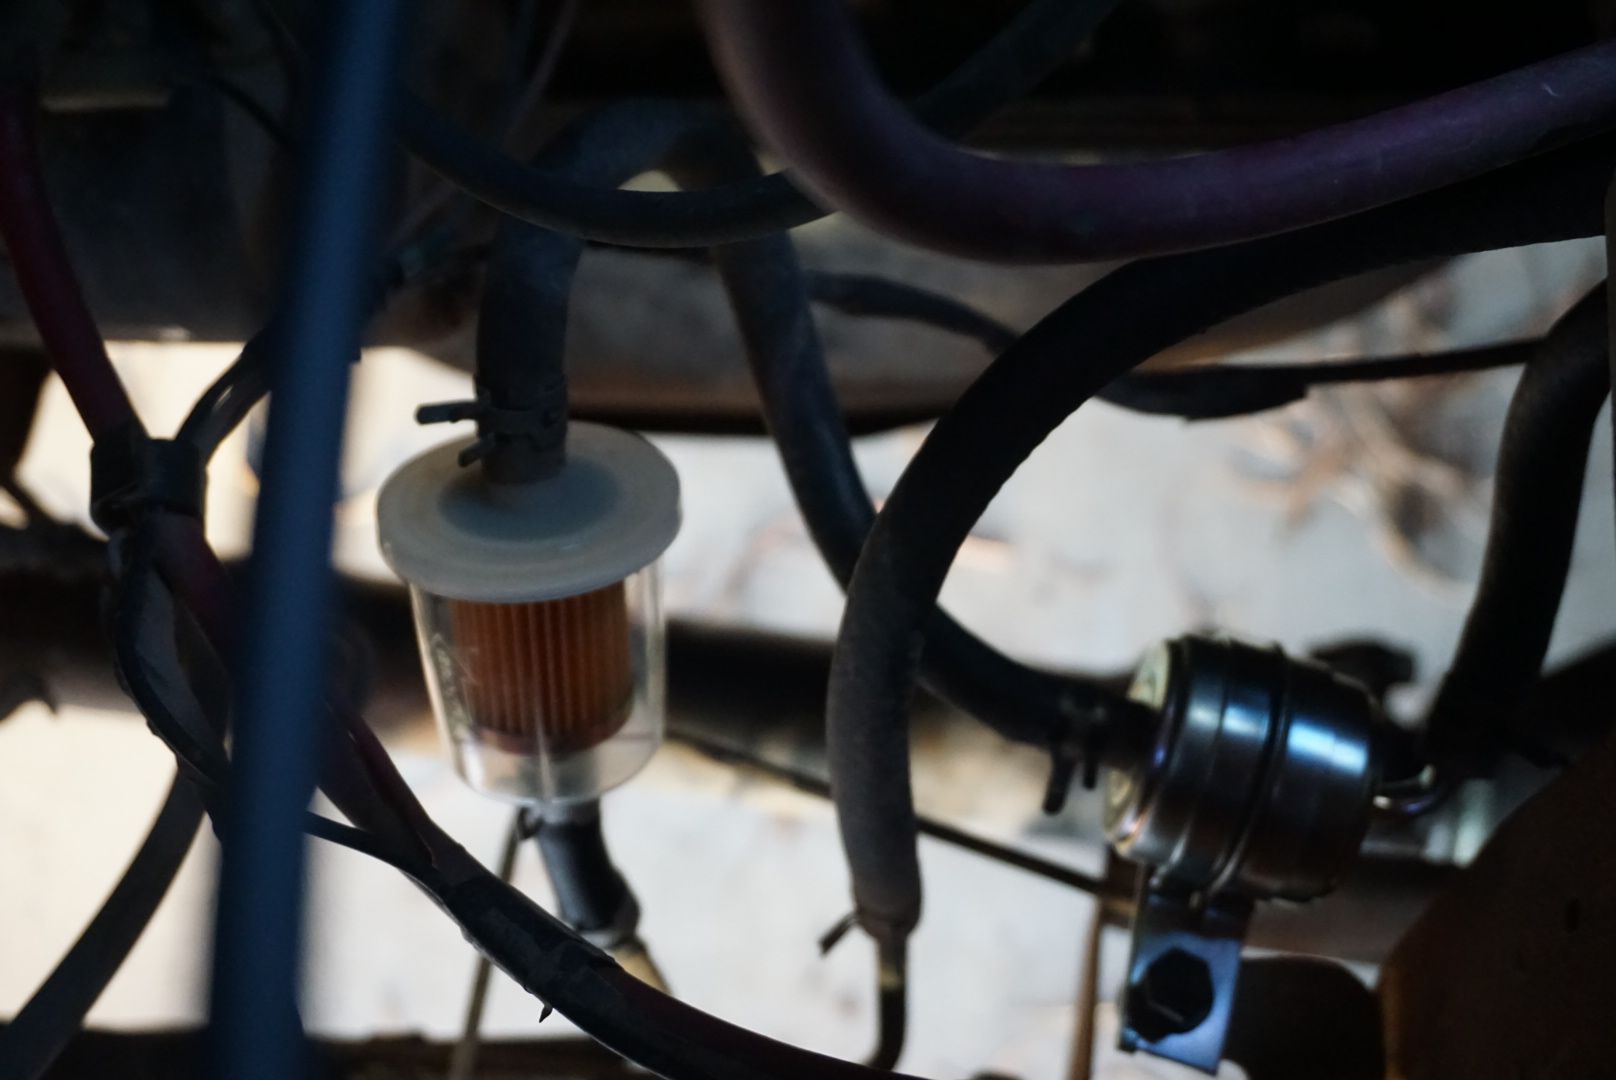
Tim (the rampant mouse killer), I agree the old spark plugs look great after sitting for such a long time, you may want to also check the fuel and air filters as well, since fuel tank sedimentation may have partially clogged the fuel filter during Rockford’s wait for you to come along to love him, it's better to replace it now rather later. BTW, Rockford stands tall now with his new shoes, nice transformation guys!

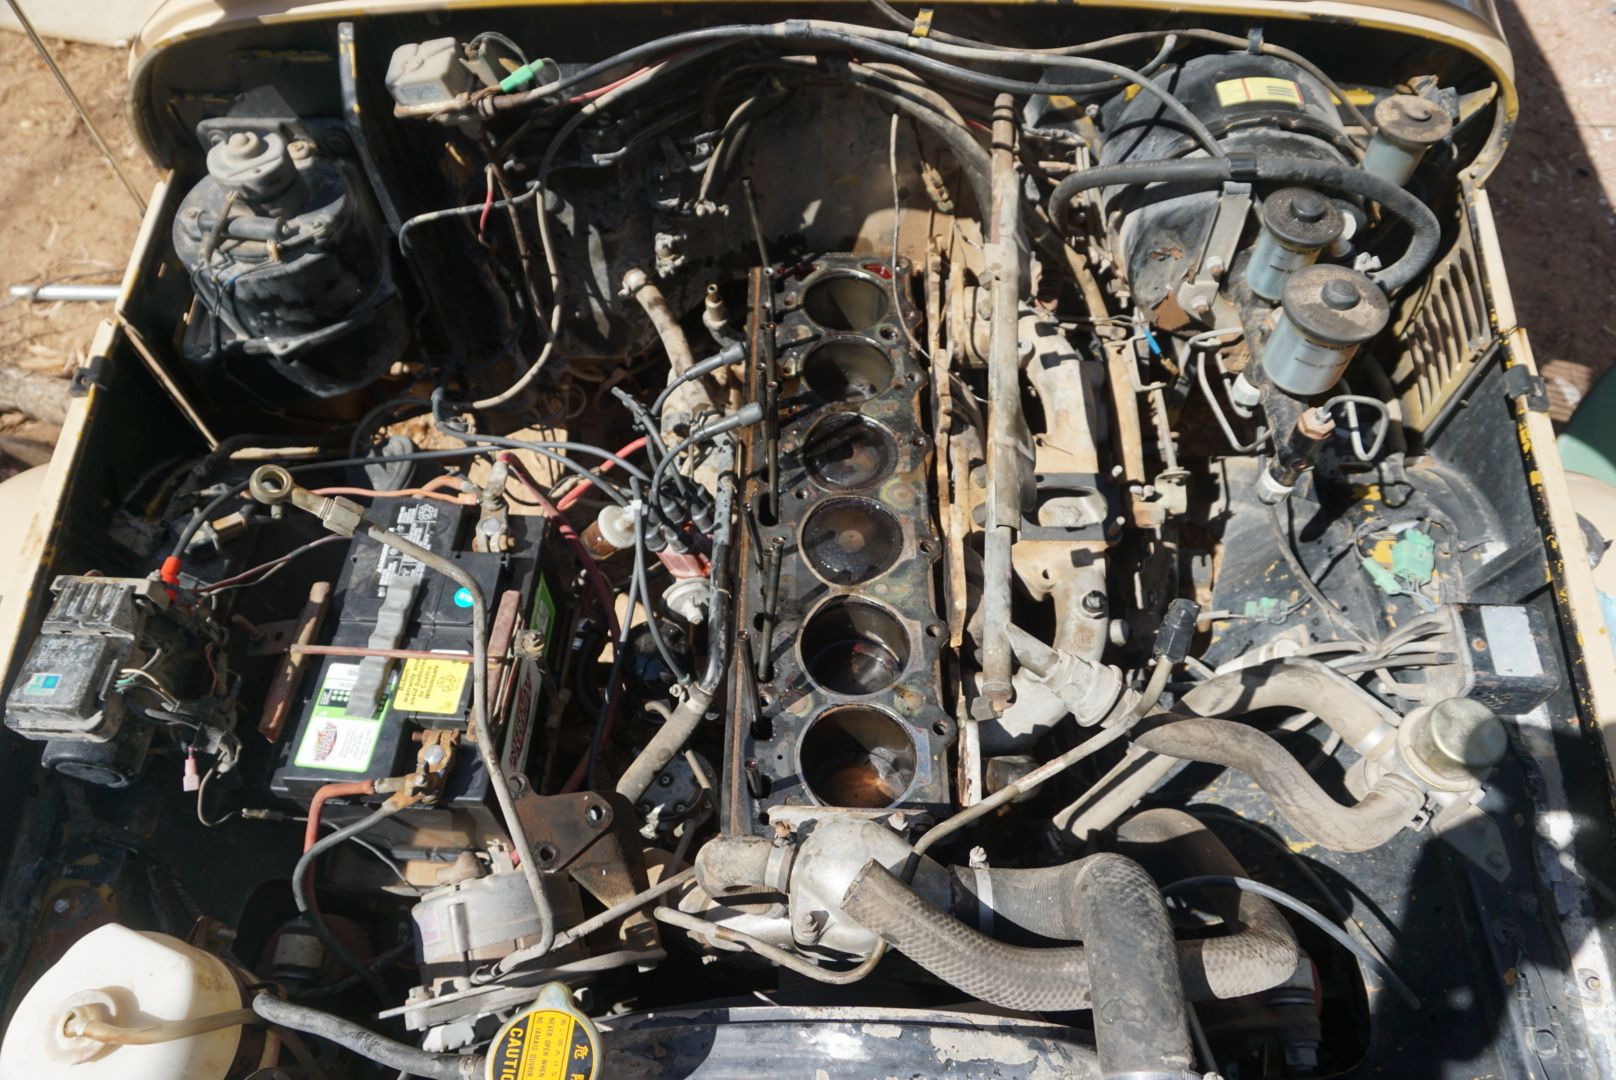
I'm very impressed with the both of you for your enthusiasm and dedication to bring Rockford back to life upon arrival to your home is very refreshing, keep up the good work and the story and pics coming! :hillbilly:
Haha, I just hope the mice don't move into another car, IF there are more! Traps are set all over!
Fuel and Air filter were done before we left Cascabel. Until I get a chance to drop the tank I have a feeling I'll go through a couple more fuel filters. I got a handful of them just in case. I REALLY want to get that AUX tank working too. (I think I will find some interesting gunk in there) I just put a fire extinguisher in the truck just in case the electrical feast causes some smoke!
Thanks for the encouragement!! Cheers!
 
Nice 40 and excellent story. Subscribed!
 
Well, these things happen with an old truck that's been sitting. Maybe I convinced myself that with each passing day of driving around that I was clearing out the carbon and junk with each mile. I just had to keep improving little things here and there and it would all be okay. Or, Rockford was putting on a good show, but just wasn't up for being used almost every day. So, he let me know.
I tried to start it early Saturday morning. It was having trouble which it'd never had before. Then there was a loud clicking noise as it ran. I could pinpoint it to the rear of the engine.
Valve cover removed it was fairly easy to spot the problem.
IMG_20160910_123021649.jpg

With the top of the pushrod missing and beaten down I am hoping it was just a stuck valve. Time to dig in. Yesterday the wife and I pulled the head. She would label bags with nuts and bolts and hand me tools as needed. In the end she helped me lift the head off too. Heavy bitch that thing!
DSC06560.jpg

So, now we're a bit out of our depth. Ordering a desmog kit from Jim at TLC Performance Land Cruiser FJ40 FJ60 repair shop Lancaster Ohio.

Tonight I remove the distributor and side cover to see about finding that broken off bit of Pushrod... Then, I look for a machine shop I guess. It's all part of the adventure!
 
Well, on the topic of what I'll now call relatively "insignificant improvements" I was doing a couple little things to the truck after work last week. The lug nuts were a mix and match of different sizes so I ordered a new set and installed them. It felt good to know if I have a flat I can change it with 1 lug wrench and not need my whole tool bag to hunt through.
DSC06501.jpg

Next up in the category of "bling" I went ahead and ordered this missing Toyota badge for the right rear quarter panel. It looked good to have it back in place again.
DSC06504.jpg

I also decided that with any old truck the lack of an upper rear brake light often means I catch site of someone slamming on their brakes at the last minute as they finished up their most recent text and didn't see the dim lights of my old car or truck. Because of this I decided to install a set of brighter LED brake lights, but I went ahead and did the whole set (not the headlights) of surrounding lights.
DSC06508.jpg
DSC06511.jpg


Back to thinking of more practical issues I went ahead and installed a new fuel filter (this will be the second new one, but I don't know how nasty the tank is). I don't know if it's overkill or just plain useless, but I also installed a plastic see through fuel filter before the Toyota one. This way I can monitor how the fuel looks and how much junk is in it over these first few thousand miles of driving. Once I trust it I'll remove the plastic one and just run the proper Toyota unit.
DSC06499.jpg


So, that was going to be my update until the pushrod broke. The wife and I will spend as many hours as it takes to make Rockford well enough for adventure again...
 
Sorry to hear about the pushrod, but I would be Rockwell will be rolling again soon! I have been wanting to get LED bulbs for my interior instrument cluster-very dim with stock bulbs.............
 
Good to see another Cruiser back on the road in AZ. Nice work so far.
Thanks JackA!

Sorry to hear about the pushrod, but I would be Rockwell will be rolling again soon! I have been wanting to get LED bulbs for my interior instrument cluster-very dim with stock bulbs.............
Thanks tls3601! I need to install a resistor to get the blinkers working properly with the LED's, but otherwise it's great. The interior "dome" light next to the driver seat is actually bright enough to use now. I still need to do the dash lights, not to mention fix the speedometer.

I am pretty sure I'll never be short of projects on this truck!
 
They take time, www.superbrightleds.com is where I will probably source mine. Who did you use? Where in AZ are you?
 
I am down there frequently, I am friends with murf at Camleback Toyota. We should get together for beers some time:):beer: Will send you a PM
 
You can also make a significant improvement in brightness in the cluster by doing the mods in Rudi's gauge cluster thread (I think). Basically you remove 2 of the shields around the stock cluster illumination lights and paint the inside of the cluster backing white. This alone made a huge difference in the brightness in mine. So much so that I haven't bothered with LED's in the cluster yet, although I will at some point. Just make sure you don't paint the grounding area where the fuel gauge makes it's ground.
 
Tim which temperature LED's did you use for you gauge cluster and how did they work out??
 
Also Tim, wondering what your opinion is on the AT KO2 vs same size MT KM2?? I am not a mud guy-as you know most of our stuff here in AZ is rocks!!
 
You can also make a significant improvement in brightness in the cluster by doing the mods in Rudi's gauge cluster thread (I think). Basically you remove 2 of the shields around the stock cluster illumination lights and paint the inside of the cluster backing white. This alone made a huge difference in the brightness in mine. So much so that I haven't bothered with LED's in the cluster yet, although I will at some point. Just make sure you don't paint the grounding area where the fuel gauge makes it's ground.
I like it, good idea!

Tim which temperature LED's did you use for you gauge cluster and how did they work out??
The gauge cluster is the one thing I haven't done yet. I figure I'll trouble shoot fixing the speedo because I may have to dig into the gauge cluster anyway and do it all at once. I do hate pure white or blue white lights so I tend to go with warm white.

Also Tim, wondering what your opinion is on the AT KO2 vs same size MT KM2?? I am not a mud guy-as you know most of our stuff here in AZ is rocks!!
ATK02 all the way for me. I always loved my KM2's look and performance offroad, but now that the ATK02 has the same carcass as the KM2 there isn't really a "toughness" advantage to get the KM2. Also, the new K02 appears to have solved the chunking problem that was rampant on the K0's. I have done okay in soupy mud with the KO's and KO2's. It's the clay stuff where they really suck, but then the KM2 isn't really a great mud tire for that stuff either. I do notice that I get significantly better mileage than my buddy's 80 series with KM2's. So many other factors play into that, but I think the AT vs MT is 1 factor. (same tire size, almost the same build on these 2 trucks)
 
Thanks Tim, now I am leaning back towards the KO2's and I am sure they are much more practical on pavement!! Something about the looks of the MT's though..................;)
 
Nice write up and congrats! If you have more mice to battle, my 2 cents, try throwing some packets of mouse deterrent in the tub and cab. You can do the same in your 80. Works great and smells good. I use them in our travel trailer and 80 that sit parked on some land we own in the high desert. Works great in enclosed spaces for 2 to 3 months. Doesn't work very well in open spaces though.
 
Great meeting you today and thanks for the help with my 4X carrier-all on now, just took some wiggling!!
Gray Steeling.webp
 
Well, on the topic of what I'll now call relatively "insignificant improvements" I was doing a couple little things to the truck after work last week. The lug nuts were a mix and match of different sizes so I ordered a new set and installed them. It felt good to know if I have a flat I can change it with 1 lug wrench and not need my whole tool bag to hunt through.
DSC06501.jpg

Next up in the category of "bling" I went ahead and ordered this missing Toyota badge for the right rear quarter panel. It looked good to have it back in place again.
DSC06504.jpg

I also decided that with any old truck the lack of an upper rear brake light often means I catch site of someone slamming on their brakes at the last minute as they finished up their most recent text and didn't see the dim lights of my old car or truck. Because of this I decided to install a set of brighter LED brake lights, but I went ahead and did the whole set (not the headlights) of surrounding lights.
DSC06508.jpg
DSC06511.jpg


Back to thinking of more practical issues I went ahead and installed a new fuel filter (this will be the second new one, but I don't know how nasty the tank is). I don't know if it's overkill or just plain useless, but I also installed a plastic see through fuel filter before the Toyota one. This way I can monitor how the fuel looks and how much junk is in it over these first few thousand miles of driving. Once I trust it I'll remove the plastic one and just run the proper Toyota unit.
DSC06499.jpg


So, that was going to be my update until the pushrod broke. The wife and I will spend as many hours as it takes to make Rockford well enough for adventure again...
What a trip! and the wife is in! Think about the cross country relay--we need folks and rigs like this!
Well, on the topic of what I'll now call relatively "insignificant improvements" I was doing a couple little things to the truck after work last week. The lug nuts were a mix and match of different sizes so I ordered a new set and installed them. It felt good to know if I have a flat I can change it with 1 lug wrench and not need my whole tool bag to hunt through.
DSC06501.jpg

Next up in the category of "bling" I went ahead and ordered this missing Toyota badge for the right rear quarter panel. It looked good to have it back in place again.
DSC06504.jpg

I also decided that with any old truck the lack of an upper rear brake light often means I catch site of someone slamming on their brakes at the last minute as they finished up their most recent text and didn't see the dim lights of my old car or truck. Because of this I decided to install a set of brighter LED brake lights, but I went ahead and did the whole set (not the headlights) of surrounding lights.
DSC06508.jpg
DSC06511.jpg


Back to thinking of more practical issues I went ahead and installed a new fuel filter (this will be the second new one, but I don't know how nasty the tank is). I don't know if it's overkill or just plain useless, but I also installed a plastic see through fuel filter before the Toyota one. This way I can monitor how the fuel looks and how much junk is in it over these first few thousand miles of driving. Once I trust it I'll remove the plastic one and just run the proper Toyota unit.
DSC06499.jpg


So, that was going to be my update until the pushrod broke. The wife and I will spend as many hours as it takes to make Rockford well enough for adventure again...
 
Back
Top Bottom