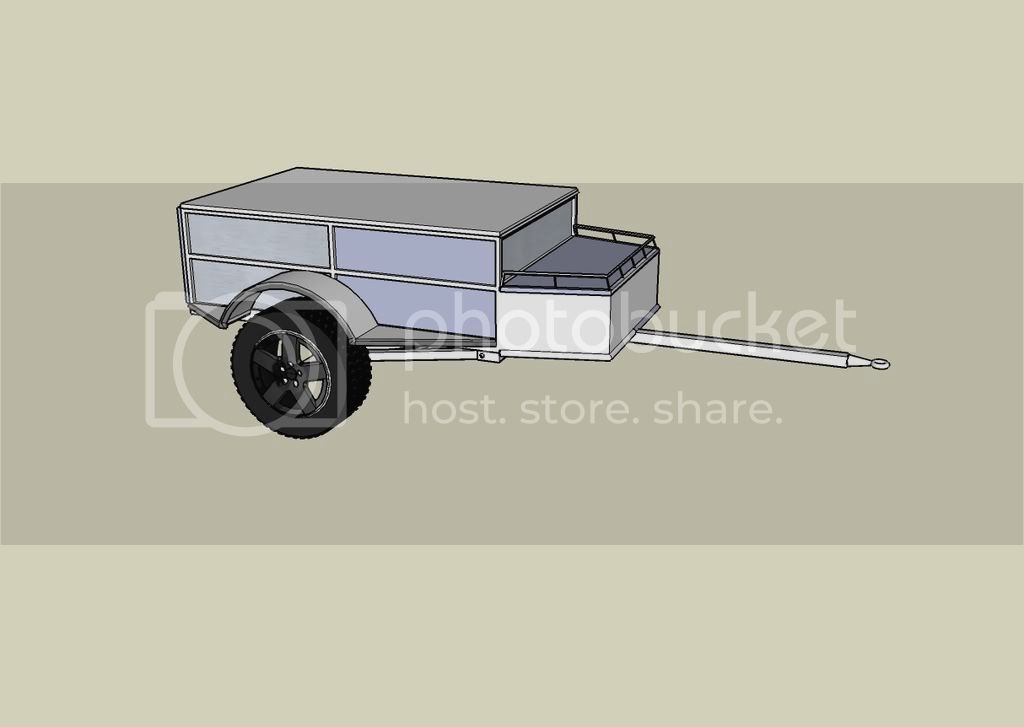
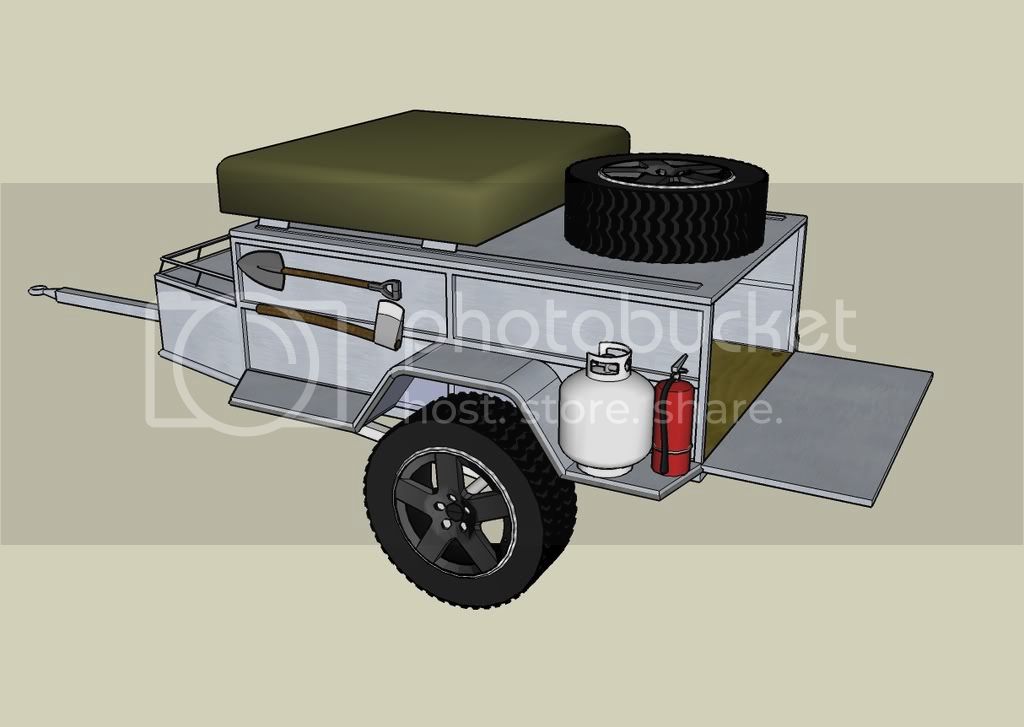
I changed a few things, fenders, rear tailgate, and added a few accessories. Tire, Roof top tent, ax and shovel, and propane & extinguisher.
Very nice!
I would mount the tire underneath on a Land Cruiser spare tire winch, if there is room. That will eliminate UV damage and free up LOTS of space for cargo. It won't look as cool tho. I think an easily accessible spare isn't a necessity, tho it's "nice". In six years, I've never had to change a flat tire on either my trailer or my LX450. Since you are engineering the suspension and axles, you might be able to "build around" a central spare located between, or a little aft of, the wheels.
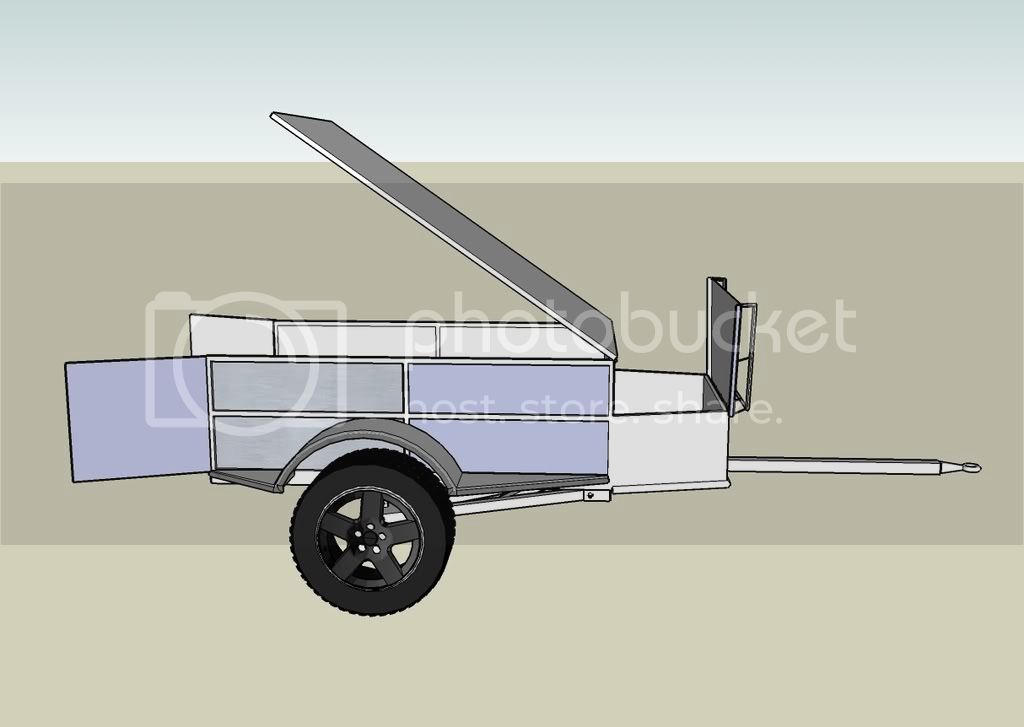
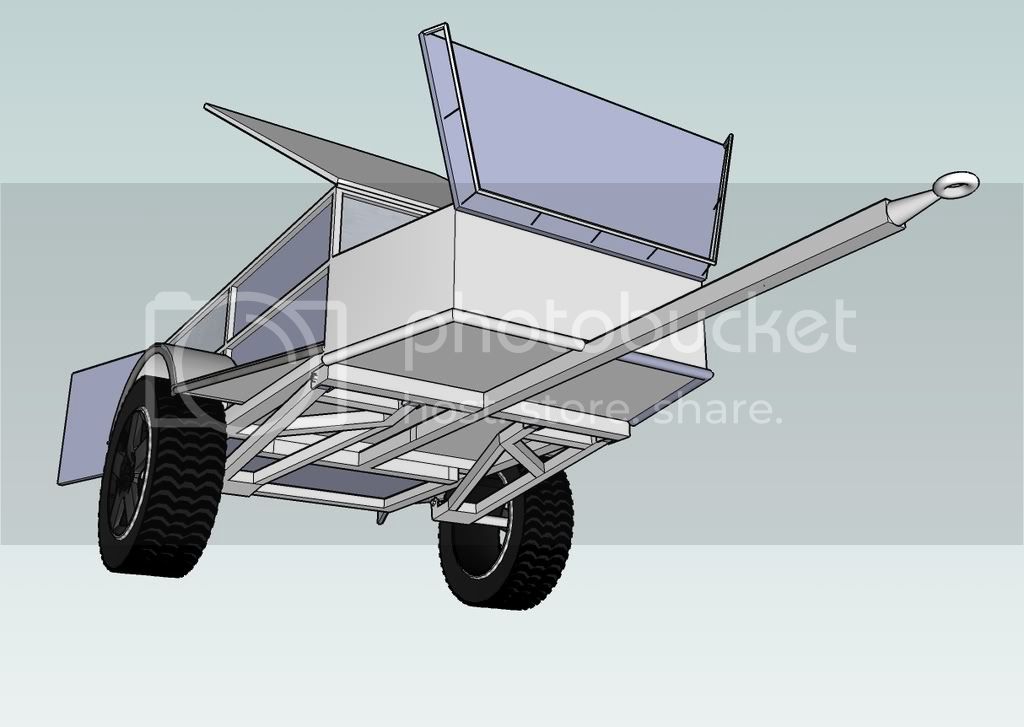
The lid is going to be real heavy - make sure you can get stout enough gas struts, and that the structure is really strong at both attach points. Make sure the rail goes around all four sides for tie down convenience and to secure a shifting load.
You could mount a gas can bracket in front of each wheel if there is enough width to allow access to the axe and shovel. If not, move the tools inside the bed, out of sight (more secure too, and they won't rust). Consider extending the rear running boards back enough to allow room for bottle/ gas cans AND have room for high mounted rear lights, boxed in for protection.
The tailgate is great - you will end up cooking there often (and extra stuff can sit on the fenders). Make sure it will come off easily without tools so you can carry a long load. Most tailgates aren't strong enough to tolerate a load when down. You'll need quick detach support cables or steel tailgate bars at each end.
Add a stout rear bumper/ slider so when you are backing you won't cave in the back of the trailer. Make sure it extends out to protect the running boards, and it must extend out past any other trailer parts. If you have a 10 foot or higher garage ceiling, and you build a removable tongue, you can then store the trailer off season resting on the bumper at an angle or even vertically, using a block and tackle or a 110 volt utility winch to lift the front.
Where are the lights????!! Flush mounted LEDs everywhere! When it's pitch black you will really appreciate this!
Make sure the side marker lights are set back so that they are not in the line of fire of gravel coming off the truck's back tires (this is illegal, so you may have to temporarily mount them outboard to pass inspection). Add LED backup lights if there is room. They can double as camp/ work lights if you wire in a switch from a constant 12 volt source (the battery charge circuit or positive post of battery). Uhmm... you do have a battery, right? Consider an extra white LED backup on each side, with protected switch for work lights. Use a white LED plate light, or "Lite In Bolts". Then there should be at least one small LED work light inside each box.
Be aware of clearance requirements for the lid! If you have front hinges, any protruding cargo on the lid will drop down onto the front storage area as the lid is opened. If you have side hinges, the lid or cargo may contact a gas can or propane bottle. Design the clearances in now, so you aren't surprised when you start to build!
What are the bed dimensions? If you have room with your track requirements, make sure you can lay a 4x8 flat on the floor. You will thank me later! Carrying a sheet of plywood at an angle sucks. My trailer is nice but I screwed up a couple of critical dimensions, and it's far from perfect. I recommend a minimum inside height of 20 inches, and 24 would be better. The big 16 inch tall Rubbermaid bins fit nicely into my 18 inch bed, but I can't carry anything across the top of them, like a canopy or soft packs. I would kill for an extra 6 inches of height.
You should add rubber mud flaps, which are required in most states and are a necessity with a high lift and All Terrain tires.
Have you thought really hard about trailer balance? Once the rig is built you are stuck with the weight distribution! It might be best to leave off the entire fender/ running board structure until you can do a test load on the basic box and lid. If you design in extra mount holes for the suspension, you can shift the wheels fore or aft to get better balance before finalizing the design of the side stuff. Or you can plan on shifting the location of the propane bottle forward, or the gas cans back, or whatever. You might even be able to use a large gel battery as ballast on one of the running board locations, in a vented plastic marine battery box. It's always better to build stuff once, not twice!
I don't like a fixed tongue. I modified mine so it slides into a 2 inch receiver and can extend 30 inches with the removal of a pin and bolt. The extendable tongue allows me to decrease the coupler load on the highway or when hauling a ton of gravel, and to retract the tongue for normal on/ off road use. This also allows me to remove the tongue completely for winter storage, or to slide in a complete replacement tongue with a ball coupler. It also makes tongue repair simpler, since you can just carry it off to the bench or a welding shop. It's most important to engineer clearance under the trailer to allow for the extra tongue length when retracted! Here's the raised Treg coupler/ tongue for my LX450, fully retracted in normal position:

Here's the dropped, extended 2 inch ball coupler/ tongue for my RAV4 V6 4WD. I had to allow clearance for the rear swing door. It tows great behind this trucklet. Behind both tow vehicles, despite the radically different hitch heights, the trailer sits perfectly flat.
It's obvious from the pics, but be sure to allow lots of extra slack in the trailer wiring. Then add another 6 inches to allow for future replacement of the plug if it gets damaged. The excess can be coiled and secured under the tongue or wherever is convenient. Run all the wires to a marine terminal strip under the front triangle - try to keep the number of wire splices to a bare minimum. Run additional ground wires from all lights direct to the terminal strip:
If you are going to carry an ATV, then you need a place to store a folding ramp. Where is that going to go? On top of the Cruiser on a roof rack? Inside the bed on its side, or under the ATV? Plan now!
I would really like to see this trailer when complete. I'm sure it will be a great looking, functional trail tool. If it works out, and you get the inevitable bugs corrected, please consider selling the plans. Count me in for a set!
John Davies
Spokane WA