Builds My Backwoods Overland built URJ200 “Jolene”--- (1 Viewer)

This site may earn a commission from merchant affiliate
links, including eBay, Amazon, Skimlinks, and others.

Joined
Mar 6, 2017
Threads
4
Messages
177
Location
Virginia
Website
forum.ih8mud.com
DSC_3314 (2).jpg


To follow other member’s protocol with an overview of their rig build, I thought now was as good of time as any to post a comprehensive write-up detailing the modifications I’ve made to this outstanding truck. First off, to give a bit of background on myself. I’ve been a Jeep guy/family over the last 20 years and while I still own my AEV JKU Wrangler that is a great rig for East Coast trails, I realized after completing the Ghost Divide Expedition in 2016 that I needed something more comfortable and reliable. A few months later my long-time friend, Mark Farage, picked up a 100 series with over 200k miles on it. I didn’t know what to expect but it was the first time I had been in a Land Cruiser and I was blown away that a truck with already a 15 year life span was so comfortable and mechanically sound. I was sold!

From an off-road/overlanding perspective, the size and capability of the 200 Series was everything I could ask for surrounding extended trips from Virginia (will I be taking it on tight, bolder strew trails on the East Coast?...not likely, but if I do encounter an obstacle I want a truck built to overcome said obstacle with minimal or no lasting issues (i.e. body or mechanical damage). In the last several years, I’ve been blessed to have the ability to compete in the Vermont Overland Trophy (twice), take extended overland trips to Michigan’s Upper Peninsula, New Mexico, Arizona, New Hampshire, Vermont and some other spots. The Wrangler was great, but the longer trips presented challenges with comfort and overall stamina behind the wheel and thus it was decided that the 200 would be our next rig. For this truck, it will carry us to Colorado, Utah and Arizona this summer while setting our sights on Newfoundland/Labrador in 2019 or 2020 (need to fit in a trip to Europe with the family at some point). Thus, I put a lot of emphasis on quality products, quality upgrades that many of you have either already installed or provided feedback on via these forums. To that, I say thank you for sharing your insight and experiences as it’s generally assisted a great deal in figuring out how this build would transpire.

On the Saturday after Thanksgiving 2016, I ordered my 2017 Magnetic Gray with Black Interior URJ200 Series Land Cruiser from Miller Toyota in Manassas, VA. The process was simple, and the truck was delivered in late February 2017. I remember Mark specifically stating, wait a year to feel out the truck and build your plan before you start throwing money at modifications. Thus in the first 12 months the only modification made to the vehicle was the installation of a RedArc Tow Pro Elite that I needed to assist with the transportation of a horse trailer (for my wife and daughter) and later on rusted out 1stGeneration Nissan Patrol for a friend.

In January of this year, I started my conversations with Nick Atwell at Backwoods Overland in Mt. Airy, MD. Nick has been working on Toyotas for 15 years, is an electrical engineer by trade, and operates his own shop. From the first conversation we had about what I was looking to accomplish with the truck, I knew this was the right guy for the job. Nick was meticulous about wanting to understand what I wanted the truck to do, how I would use it in order to guide my thought process on the build. My initial strategy was to focus on building the truck in stages: Phase 1-Electrical; Phase 2: Suspension/Tires; Phase 3: Bumpers/Protection/Recovery. I can’t thank Nick enough for his patience and overall focus on this build, it’s been an exceptional experience and I highly recommend you check him out if you’re here in the Mid-Atlantic. As a side note: If you want to check out Nick’s 4Runner, watch the SwellRunner Walk Around from Overland Expo West 2018—this will showcase the attention to detail and thought process Nick puts into his rigs.

The following lays out how the build went down over the last 5 months (February-June) and what is will happen over the coming months with the truck when we return from Colorado here in July 2018.

DSC_3561.jpg
 
Last edited:
Suspension:

The most expensive and possibly the most important component of the entire build, we went full retard with an Icon Vehicle Dynamics Stage 6 Suspension system. This includes the 3.0 Coilovers for the front, 2.5 Rear Shocks. With the expectation of adding the Slee Rear Bumper and towing a Turtleback Trailer, we opted to go with a set of Old Man Emu Heavy Springs for the rear.

Why Icon vs. BP51s? After finding extensive feedback on the “clunking” that the BP51s were experiencing, I just didn’t want to take the chance on finding out 8 months into the life of a set of BP51s that I would have the same issue. I wanted a platform that was proven, and I could have serviced/supported relatively easily and the Icon’s provided that. I’m looking forward to putting this suspension through its paces and zeroing in the individual shock settings.
B0128B90-5606-45AD-968E-29AD741C3FD2.jpeg
 
Last edited:
Wheels/Tires/Air:

Probably one of the more interesting aspects of the build was trying to figure out my path with wheels and tires. For the wheels, I looked at a number of options such as going with the OE 18”, 17” Evo Corse via Mainline Overland, and Icon’s but none of them really “did it for me”. It just so happened that one night in February I was checking out a post by Mountain State Overland where they featured OK4WD’s Tacoma and I zeroed in on the wheels. After asking a few questions, I had found my wheel, the Braid Winrace T in a 17” x 7.5” wide.

Here are the specs on the wheel:
Model: WINRACE T
Size: 17x7.5
Offset: -5 (about 4” backspacing)
Color: FLAT BLACK
Hub Bore: 110MM
Bolt Pattern: 5X150
Lug Style: CONE M14 steel inserts.
Weight: 33.06 lbs

145428D7-9DFF-4571-BB10-D5CDD326B4E9.jpeg


For the tires, I was dead-set on going with the BFGoodrich KO2 All-Terrains in a 285/70R17 as they’ve been utilized and proven by a number of 200 series owners over the last several years. Previously, I had the KO2 on my wife’s 2014 Grand Cherokee and they performed admirably on a number of occasions in deep snow, mud, and dirt roads. However, as the install of various components kept moving around and the wheels being delayed by OK4WD, I suddenly found myself considering the new BFGoodrich KM3 Mud-Terrain. I’ve had the KM2 on my Wrangler for years and have never really had any issues with the performance of the tire or really noticed the road noise that people complain about (it probably helps that I’m a bit hard of hearing). With BFG promising modest gains in capabilities on a number of fronts and a quieter tire, I jumped at the chance to throw the KM3 on the truck and I couldn’t be happier.

This wheel/tire combo provides significant functionality over a KO2 and really sets off the look/demeanor of the truck, I couldn’t be happier with these two components. From an install perspective, the Winrace T’s profile pushes the tire out a touch beyond the edge of the fender—approximately 3/4ths of an inch. Note: If you decide to go with this set of wheels, they have a very tight bead and I would only recommend a shop that is going to take extra care not to scratch the outer finish of the wheels.

Under the hood, we placed an ARB Dual Compressor mated to a Slee Mount on the driver’s side of the engine bay. For the better part of the last 12 years, I’ve constantly had a PowerTank in my trucks. Going wth the compressor, I’m okay with giving up a bit of time to gain a substantial amount of space within the rig and leave the PowerTank at home.
DSC_3181.jpg
 
Last edited:
Bumpers:

We spared no expense when it came to the bumpers for this 200. For the front, we went with the ARB Summit Bar for a couple reasons. 1) I wanted a front bumper that offered extensive front end protection in the event of a collision with an animal or another vehicle. 2) The front bumper needed to integrate with all of the safety platforms that come standard with the 200. I have to admit, I was a bit leery about the overall look and feel of the ARB prior to putting it on the 200. I was worried it would feel too big, to dynamic for the truck but after having it installed I’m overly impressed with the look, feel, and functionality of the bumper. Very bad-ass product.

DSC_3570.jpg


For the rear bumper, we’re going with the Slee 200 Series bumper and swingouts. We had these installed at Slee in early July and I couldn’t be happier. The bumper takes a touch to get used to (I frequently would shut the driver’s side swing out only to realize that the top hatch was still open), but overall is outstanding. I'm looking forward to attaching some fuel canisters for extended range driving.

DSC_3320.jpg
 
Skids/Slliders:

BudBuilt….enough said. We went with the Stage 4 Overland Protection package from BudBuilt for this truck. Within the Stage 4 Package, we went with the ¼” Aluminum from front to back in an unfinished/no paint. These skid plates are absolutely over the top quality, fit and finish. The truck now has pretty much a completely flat bottom from the front to rear differentials. Additionally, the BudBuilt skids integrated seamlessly with the ARB bumper.
2B4F114C-BD04-4E27-955D-9A297EB77EF4.jpeg
 
Last edited:
Recovery:

We installed the Warn Zeon 12 Platinum Series winch with synthetic line on the front of the truck. I haven’t had a lot of time to mess with this component of the build but do like it’s low profile within the bumper and will provide a more extensive review at a later time. Additionally, we added the ARB Recovery Points in the front with a Factory55 Receiver Recovery Point in the rear.
 
Roof Rack:

One of the first things I decided on was the roof rack. I was torn between the Rhino Rack and the Prinsu. I ended up going with Prinsu as I really appreciated the low profile of the rack, it’s overall integrated look into the roofline of the truck and it’s versatility. More so, I mated a 40” Baja Designs Lightbar into the rack which seemed like a bit of chore to accomplish with the Rhino Rack. I think my only gripe about the Prinsu is that it seems to interfere with the Satellite Radio Antenna at the rear. I have adjusted the last bar a bit to try to provide more clearance but that doesn’t seem to help. Will continue to work through that issue and hopefully will have a resolution soon enough.
DSC_3187.jpg

A0CE2553-E1CA-45C6-8961-E22B79A926AE.jpeg
 
Last edited:
Cargo Management:

We went the tried and true route with a set of ARB drawers for the rear cargo area to help organize equipment and set the base for the ARB 63Qt Freezer/Fridge. The two standard height drawers will be enough to manage cargo and provide ease of access for my wife and I. On the right side of the drawers, we added a set of aluminum VersaTie--Track Kit-Surface Mounts from Macs Customer Tie Downs. I like them for their low profile, ease of use and the options they provide for different size pieces of gear.
09C3F325-8EB2-489F-BCF3-818A63699FE9.jpeg


E4DDD53F-205E-4860-8B25-C5975AF38558.jpeg
 
Last edited:
Electrical:

In my mind, this was probably the most insane portion of the entire build from the standpoint of “don’t screw up the truck” and electrical not all the way thought through can have a lasting impact on the overall function of the vehicle but also your accessories. I always knew that I would be going with a Dual Battery Set-up, so the selection of Slee’s battery trays was extremely easy. However, figuring out how I would control accessories and battery management was another.


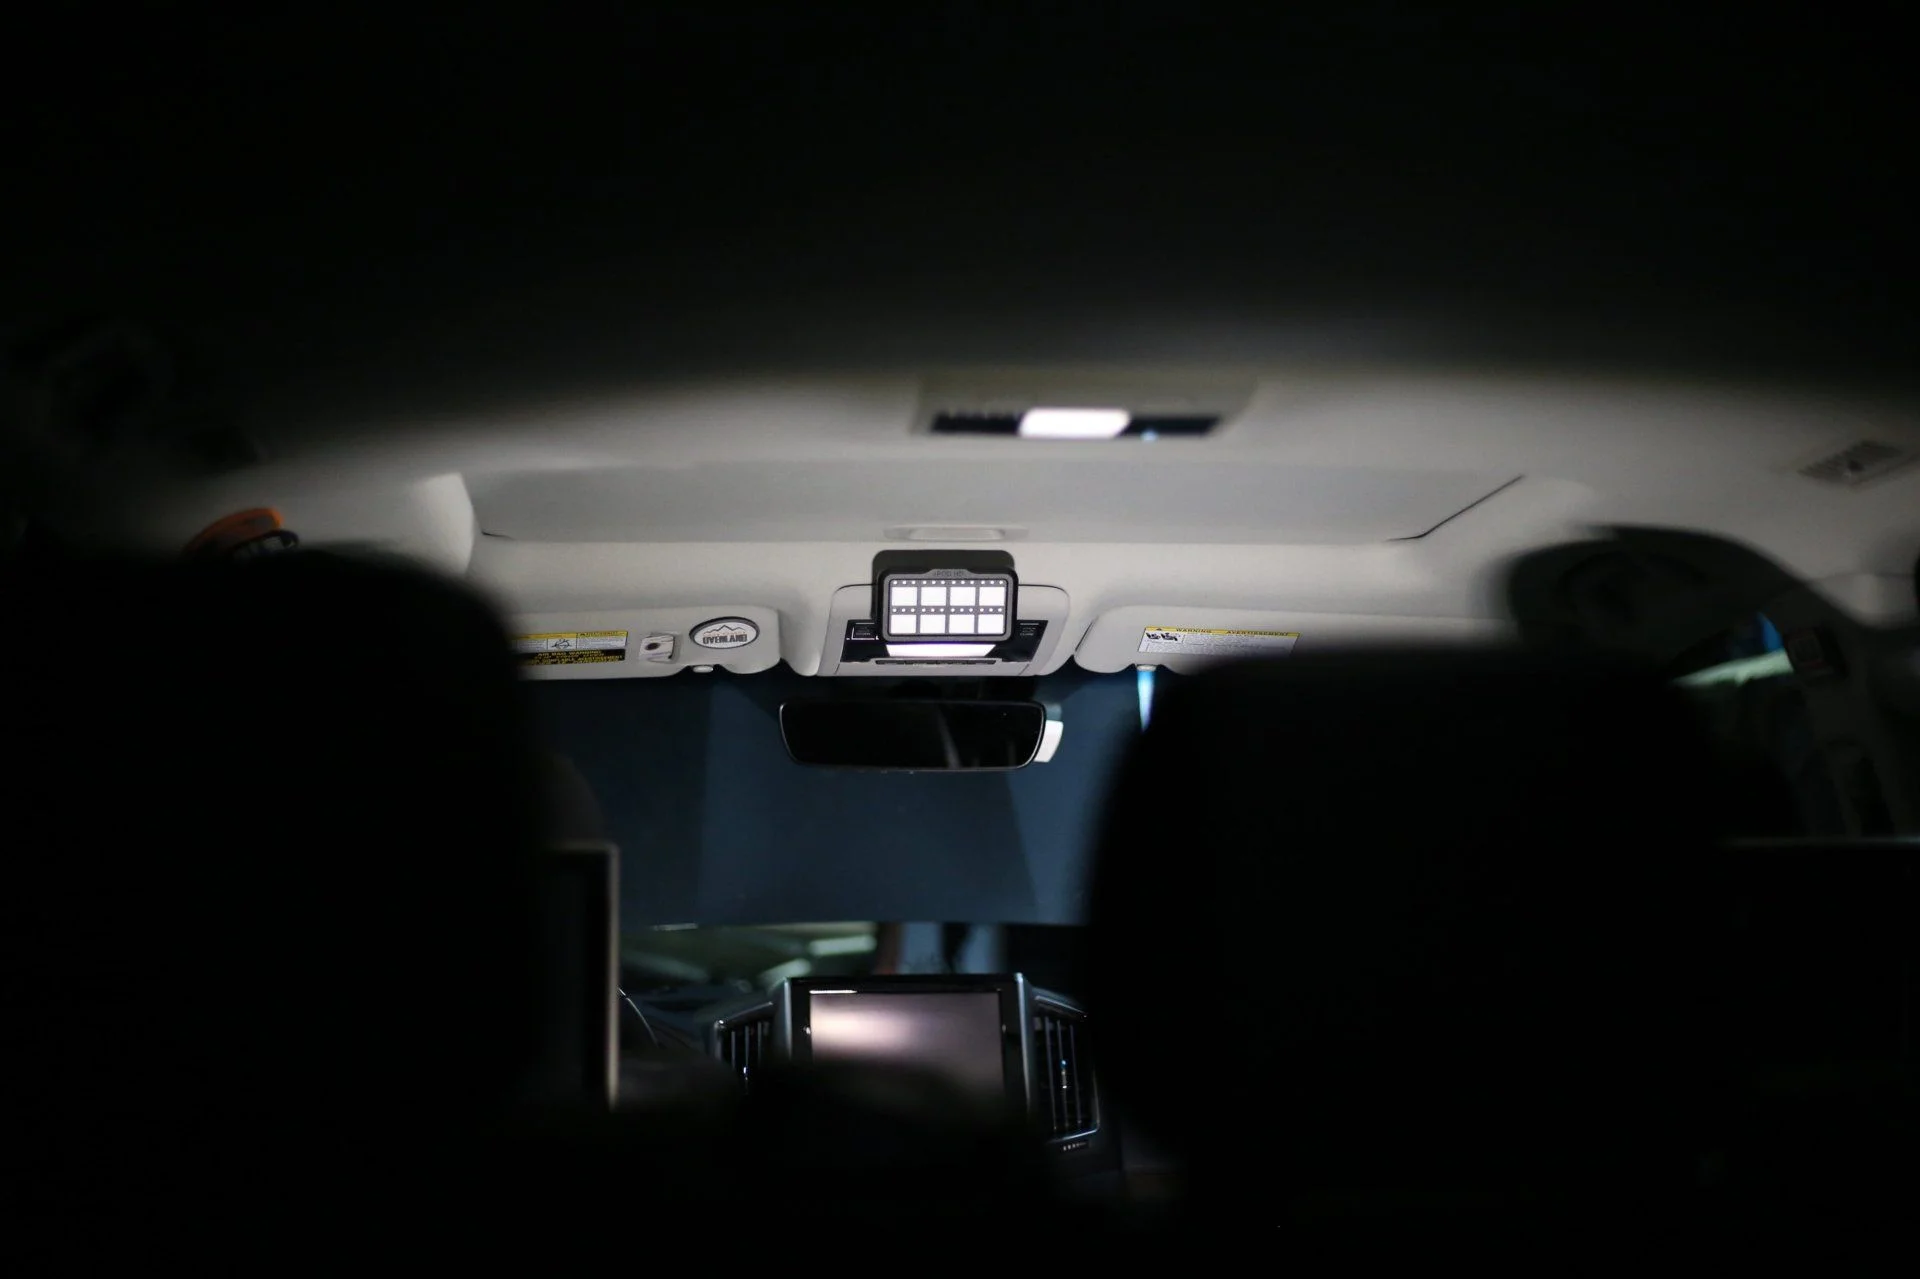
From an accessories perspective, I’ve used SPOD products in my Jeeps and generally they’ve been painless to install and use on a regular basis. Nick and I considered Switch-Pro, but when it came down to it I wanted something that I was familiar with. The only caveat, we ended up going with the SPOD Bantam Controller verses the traditional SPOD fuse controller—the Bantam fuse controller is about half the size of the traditional controller and provided us with more options for install (location wise). With the added bonus of connecting and controlling accessories via my phone (Bluetooth), it was a win-win all the way around.

For the dual batteries, we went with a set of Odyssey XPower Batteries. I'll pull the information down on these shortly and will repost the model information (the truck is at the shop getting maintenance as I post this).
DSC_3177.jpg


For Battery Management, Nick and I juggled some ideas around National Luna, Painless, and a few other options before deciding to go with the RedArc Dual Input 40 Amp in-vehicle DC to DC battery charger. This platform is compact and distributes charging to both batteries easily. Additionally, I have the option of adding a plug and play Solar Panel at a later date that can be wired up in minutes with this unit. For the installation of the RedArc, Nick is having a custom mount produced that allows the unit to sit on top of the primary battery on the driver’s side. This mount will be available exclusively via Backwoods Overland. For the time being, we've reluctantly used a few zip ties to hold it in place...this is in no way a permanent mount solution.
DSC_3183.jpg


Lighting: For lighting, I wanted something that was well balanced, consistent and provided an extensive warranty if in the event of a cracked lens or a deceased LED. For my Wrangler, I went Rigid and ARB Intensity Lights and for the most part, I liked them but I found that I lost multiple LEDs within several of the Rigids. While the ARB’s constantly had housing issues—the plastic trim rings were constantly dry rotting and breaking.


Thus, I took a note out of, my friend, Mark Farage’s playbook and went with Baja Designs Lights all around (for exterior lighting). I placed a 40” S8 Lightbar on the Prinsu for forward direction lighting, while placing an S2 Pro Light on each side of the Prinsu for driver/passenger side camp or side trail lighting. When powering up the S8 Lightbar, I’m pretty happy with the light spread and general distance that this light reaches to. The S2 Pros are pretty much blazing suns strapped to each side of the truck—absolutely a great product for area lighting at Camp or illuminating the woods/trail system on either direction.


For the bumper, I wanted a set of lights that fit the truck from an appearance perspective while also making sure that their profile didn’t affect the radar embedded behind the Toyota Logo. The Baja Designs LP9 fit that description while providing both a spot and driving light capability. I’m excited to see these lights on the light night empty highways of West Virginia or blazing along a set of trails out west this summer.


For the interior, we added two National Luna 18+12 Touch Lights to the rear hatch (Sourced from Equipt). By far, this is one of my favorite mods of the truck. I’m not sure why Toyota doesn’t have some embedded light from the factory, but the addition of this light is an outstanding tool for managing the cargo hold or ARB Fridge during late night hours. One of the interesting features we went with concerning these lights is the secondary color option. One light is White + Yellow while the other light is White + Red. Both lights strobe which I’m excited to have in the event I’m pulled over on the side of the highway and need to bring attention to my vehicle.
 
What’s Next:

We actually still have a little way to go before finishing up this build, but our trip to Colorado allows us to “kick the tires” a bit and see if there are any changes we should make to what we’ve already completed. As for additional equipment we’ll be adding the following: A Safari Snorkel for clean air intake, ARB Front/Rear Lockers, ARB Diff. breathers, a Midland MXT275 Micromobile 2-way Radio, and likely a roof rack mounted solar panel.

We're hoping to have have the communications completed in time for the Mid-Atlantic Overland Festival in Pennsylvania in August. Additionally, we have some work to do in order to get the truck organized with the Turtleback Trailer as well. I hope you enjoy this labor of love, it's been a journey so far and I'm excited to see where this truck takes us.
 
What an impressive build!...a lot of inspiration there :D
 
The 200 tows the Turtleback like a champ. If you’re doing lockers please consider doing 4.88 gears. The guys at Nitro claim a good amount of MPG’s will return and you’ll experience less gear changes. Their 200 is also supercharged though so I’m not sure which mod helps more. I just got back from Ouray CO myself, ran Ophir twice.

73140804-215A-4C92-B1D5-D74D2B0B52BD.jpeg
 
Truck looks awesome and nice meeting you at Slee’s!
 

Users who are viewing this thread

Back
Top Bottom