- Thread starter
- #21
This is one of those things that will forever annoy you, but probably no one else will notice.Yeah mine fits perfect on the driver side, and the passenger side wing sticks out about 1/4" because of warping....drives me nuts
Follow along with the video below to see how to install our site as a web app on your home screen.
Note: This feature may not be available in some browsers.
This site may earn a commission from merchant affiliate
links, including eBay, Amazon, Skimlinks, and others.
This is one of those things that will forever annoy you, but probably no one else will notice.Yeah mine fits perfect on the driver side, and the passenger side wing sticks out about 1/4" because of warping....drives me nuts
@J1000 did something like this for his resonator. I don't know if he posted those details on mud or not. Maybe we can get him to throw the details on this thread.I just did this build yesterday. I have a friend that is an excellent welder, but has never done a bumper before. So it was basically me doing the fitting/cutting while I told him when and where to weld. Everything went great, my only mistake was that I tacked the top hoops onto the top of the side plates while we tacked the shell into place. It fit PERFECT when we tacked them on, but once we pulled the bumper and then finish welded everything...when we put it back on, the driver side sat higher and at a different angle. Bummer. I'm going to loosen the bolts and try to pull it down to a better angle. Worst-case scenario I'll just cut the welds off and re-adjust that tube.
Other than my user-error....everything went smooth. just a ton of welding haha.
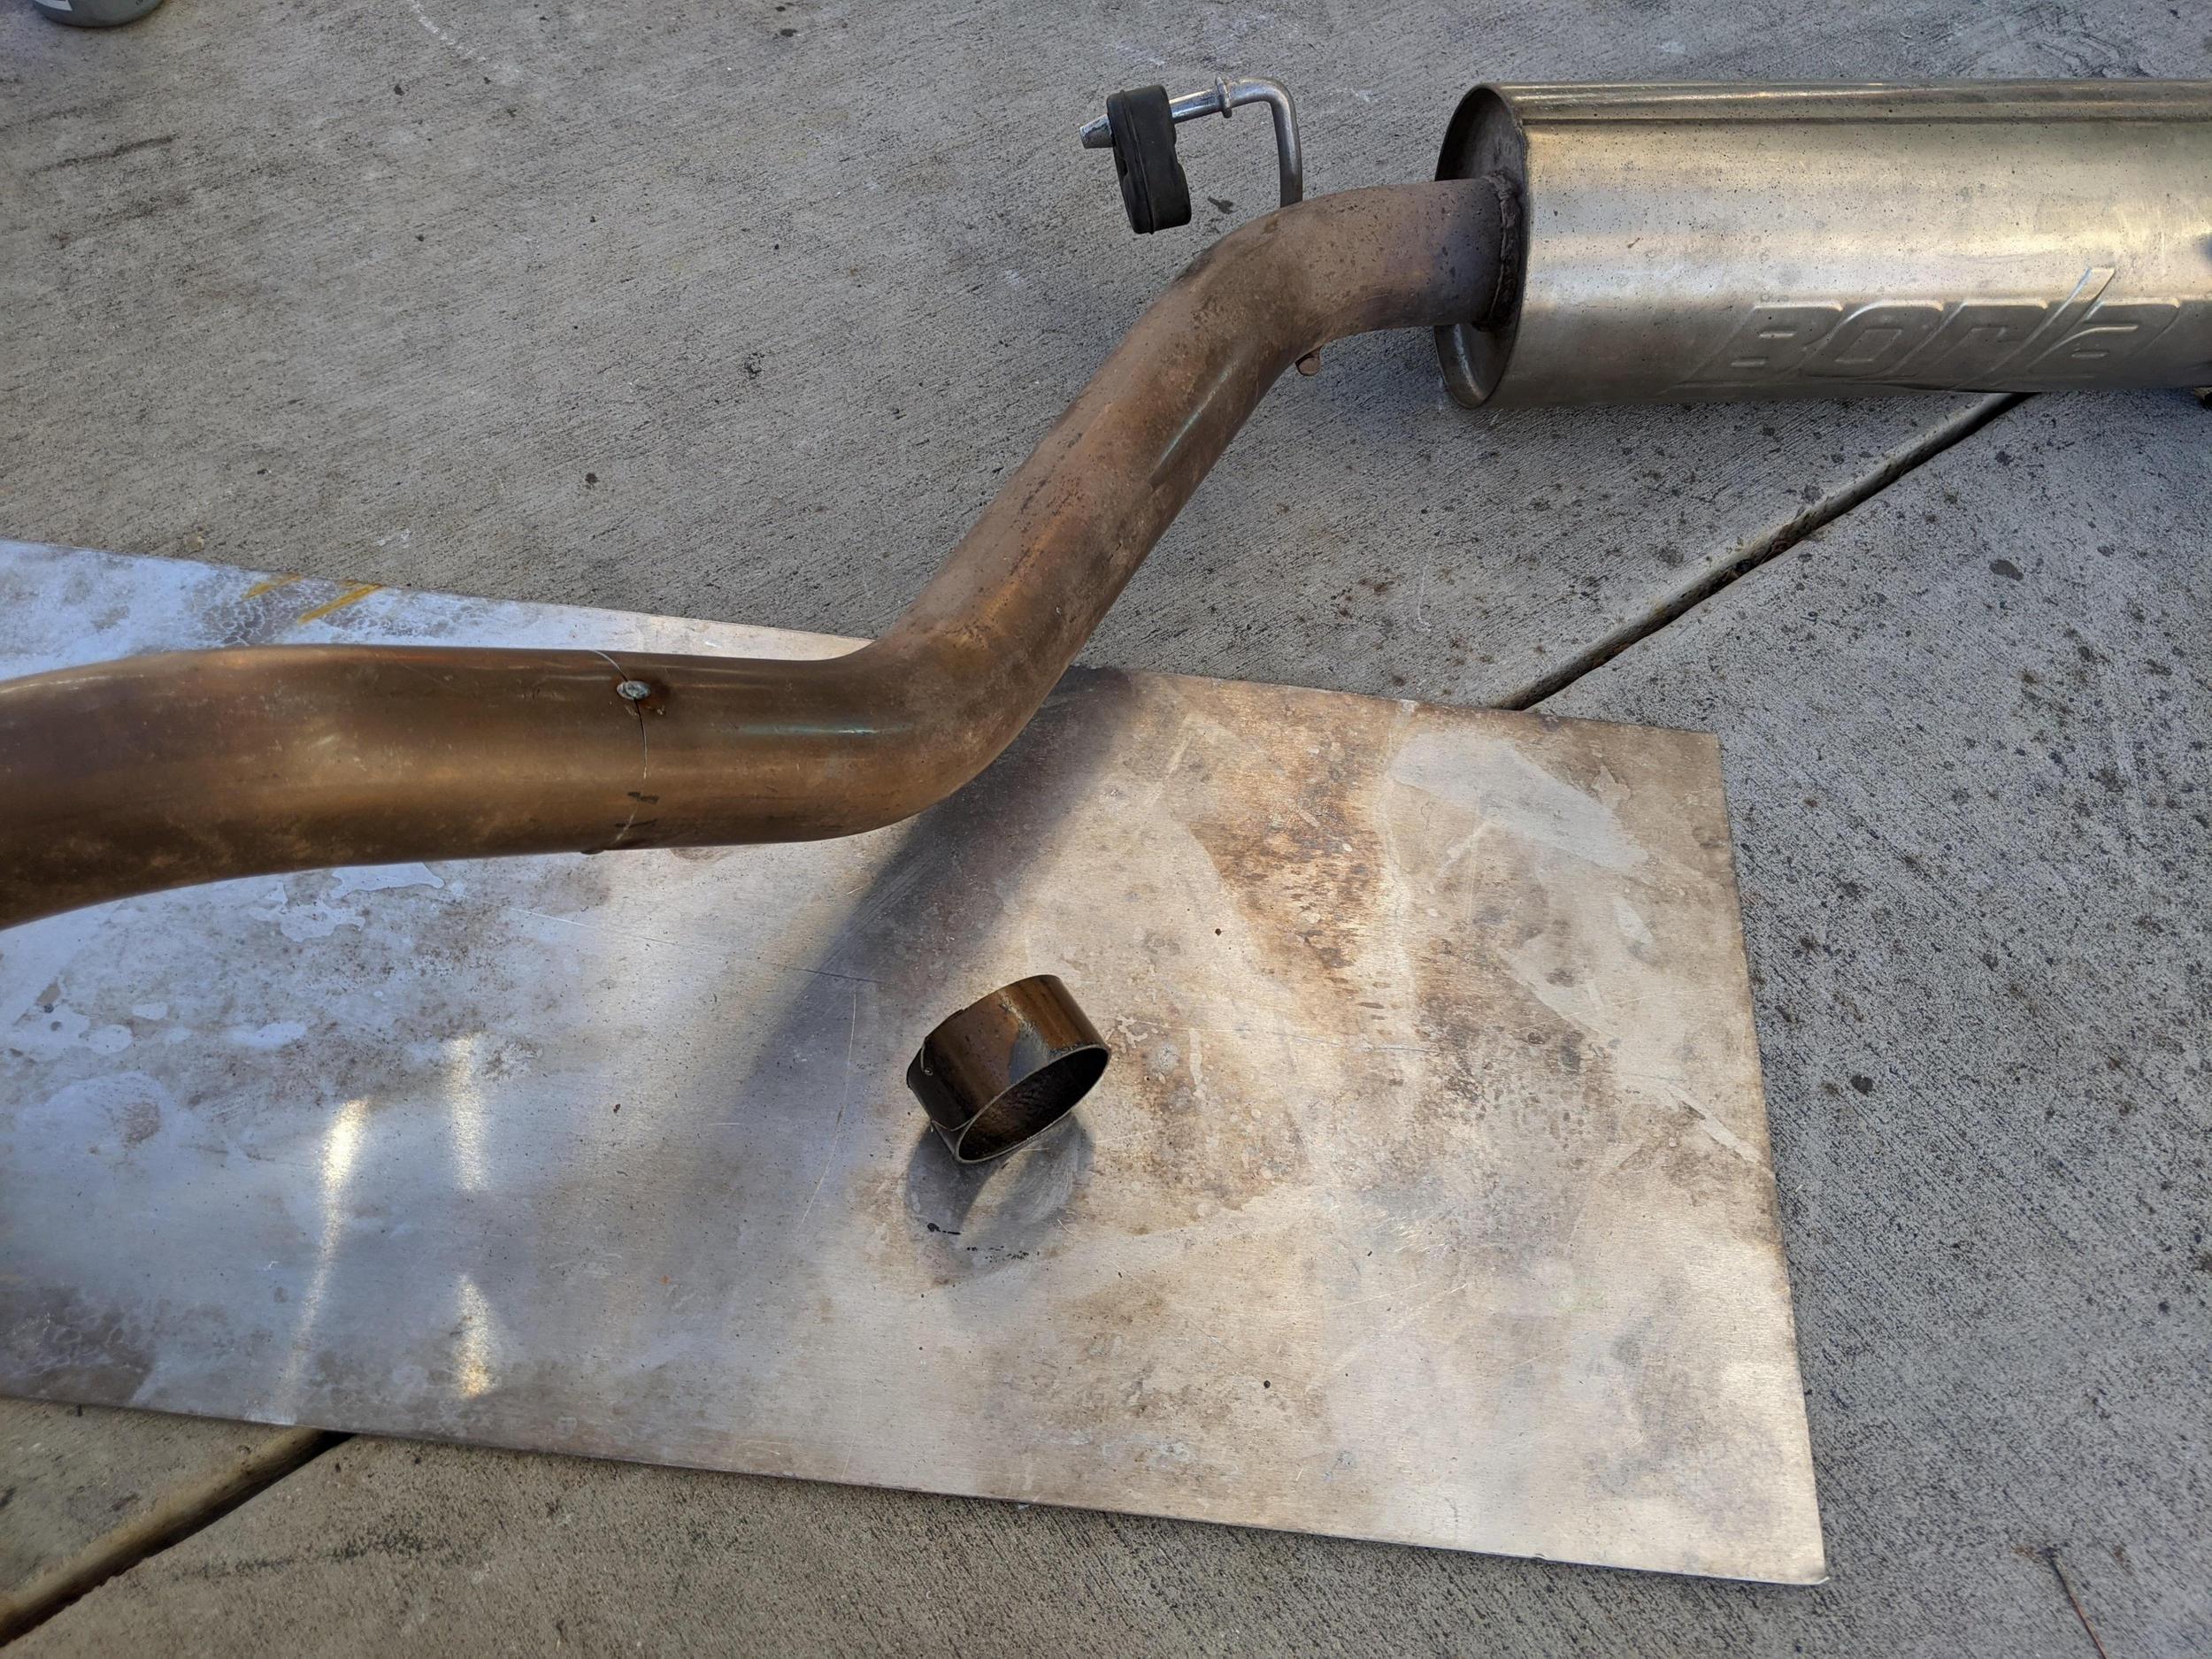
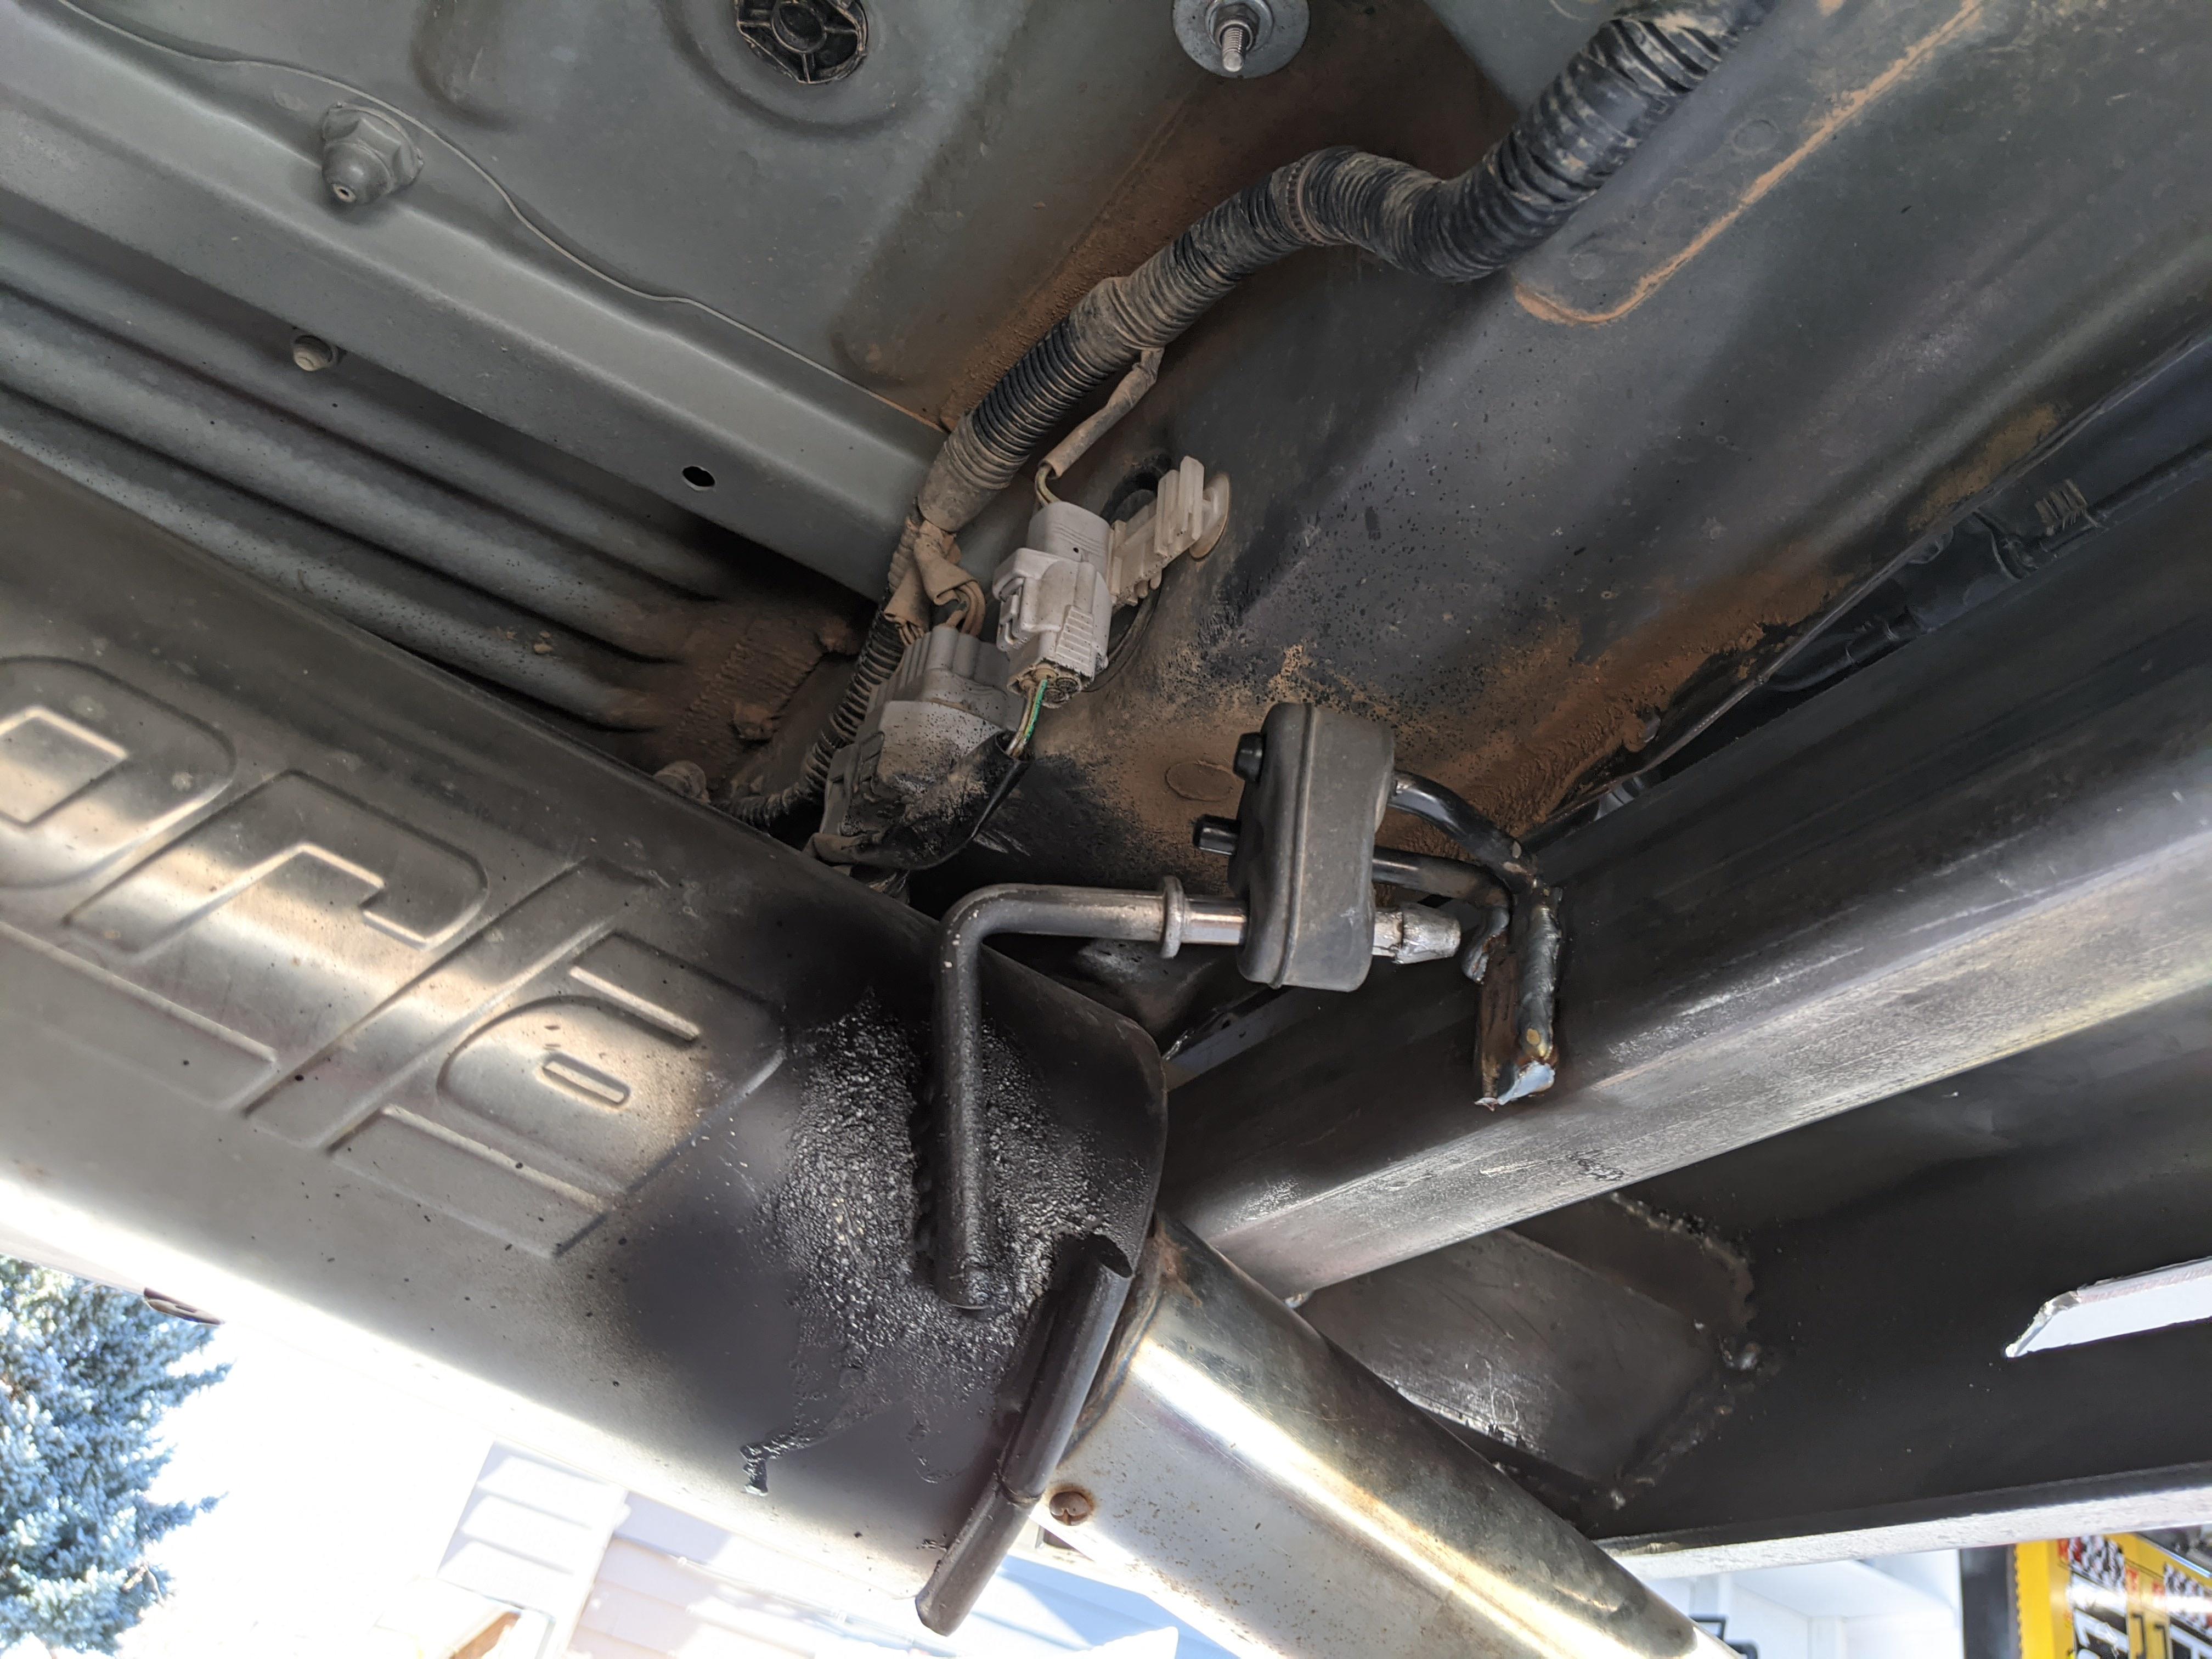
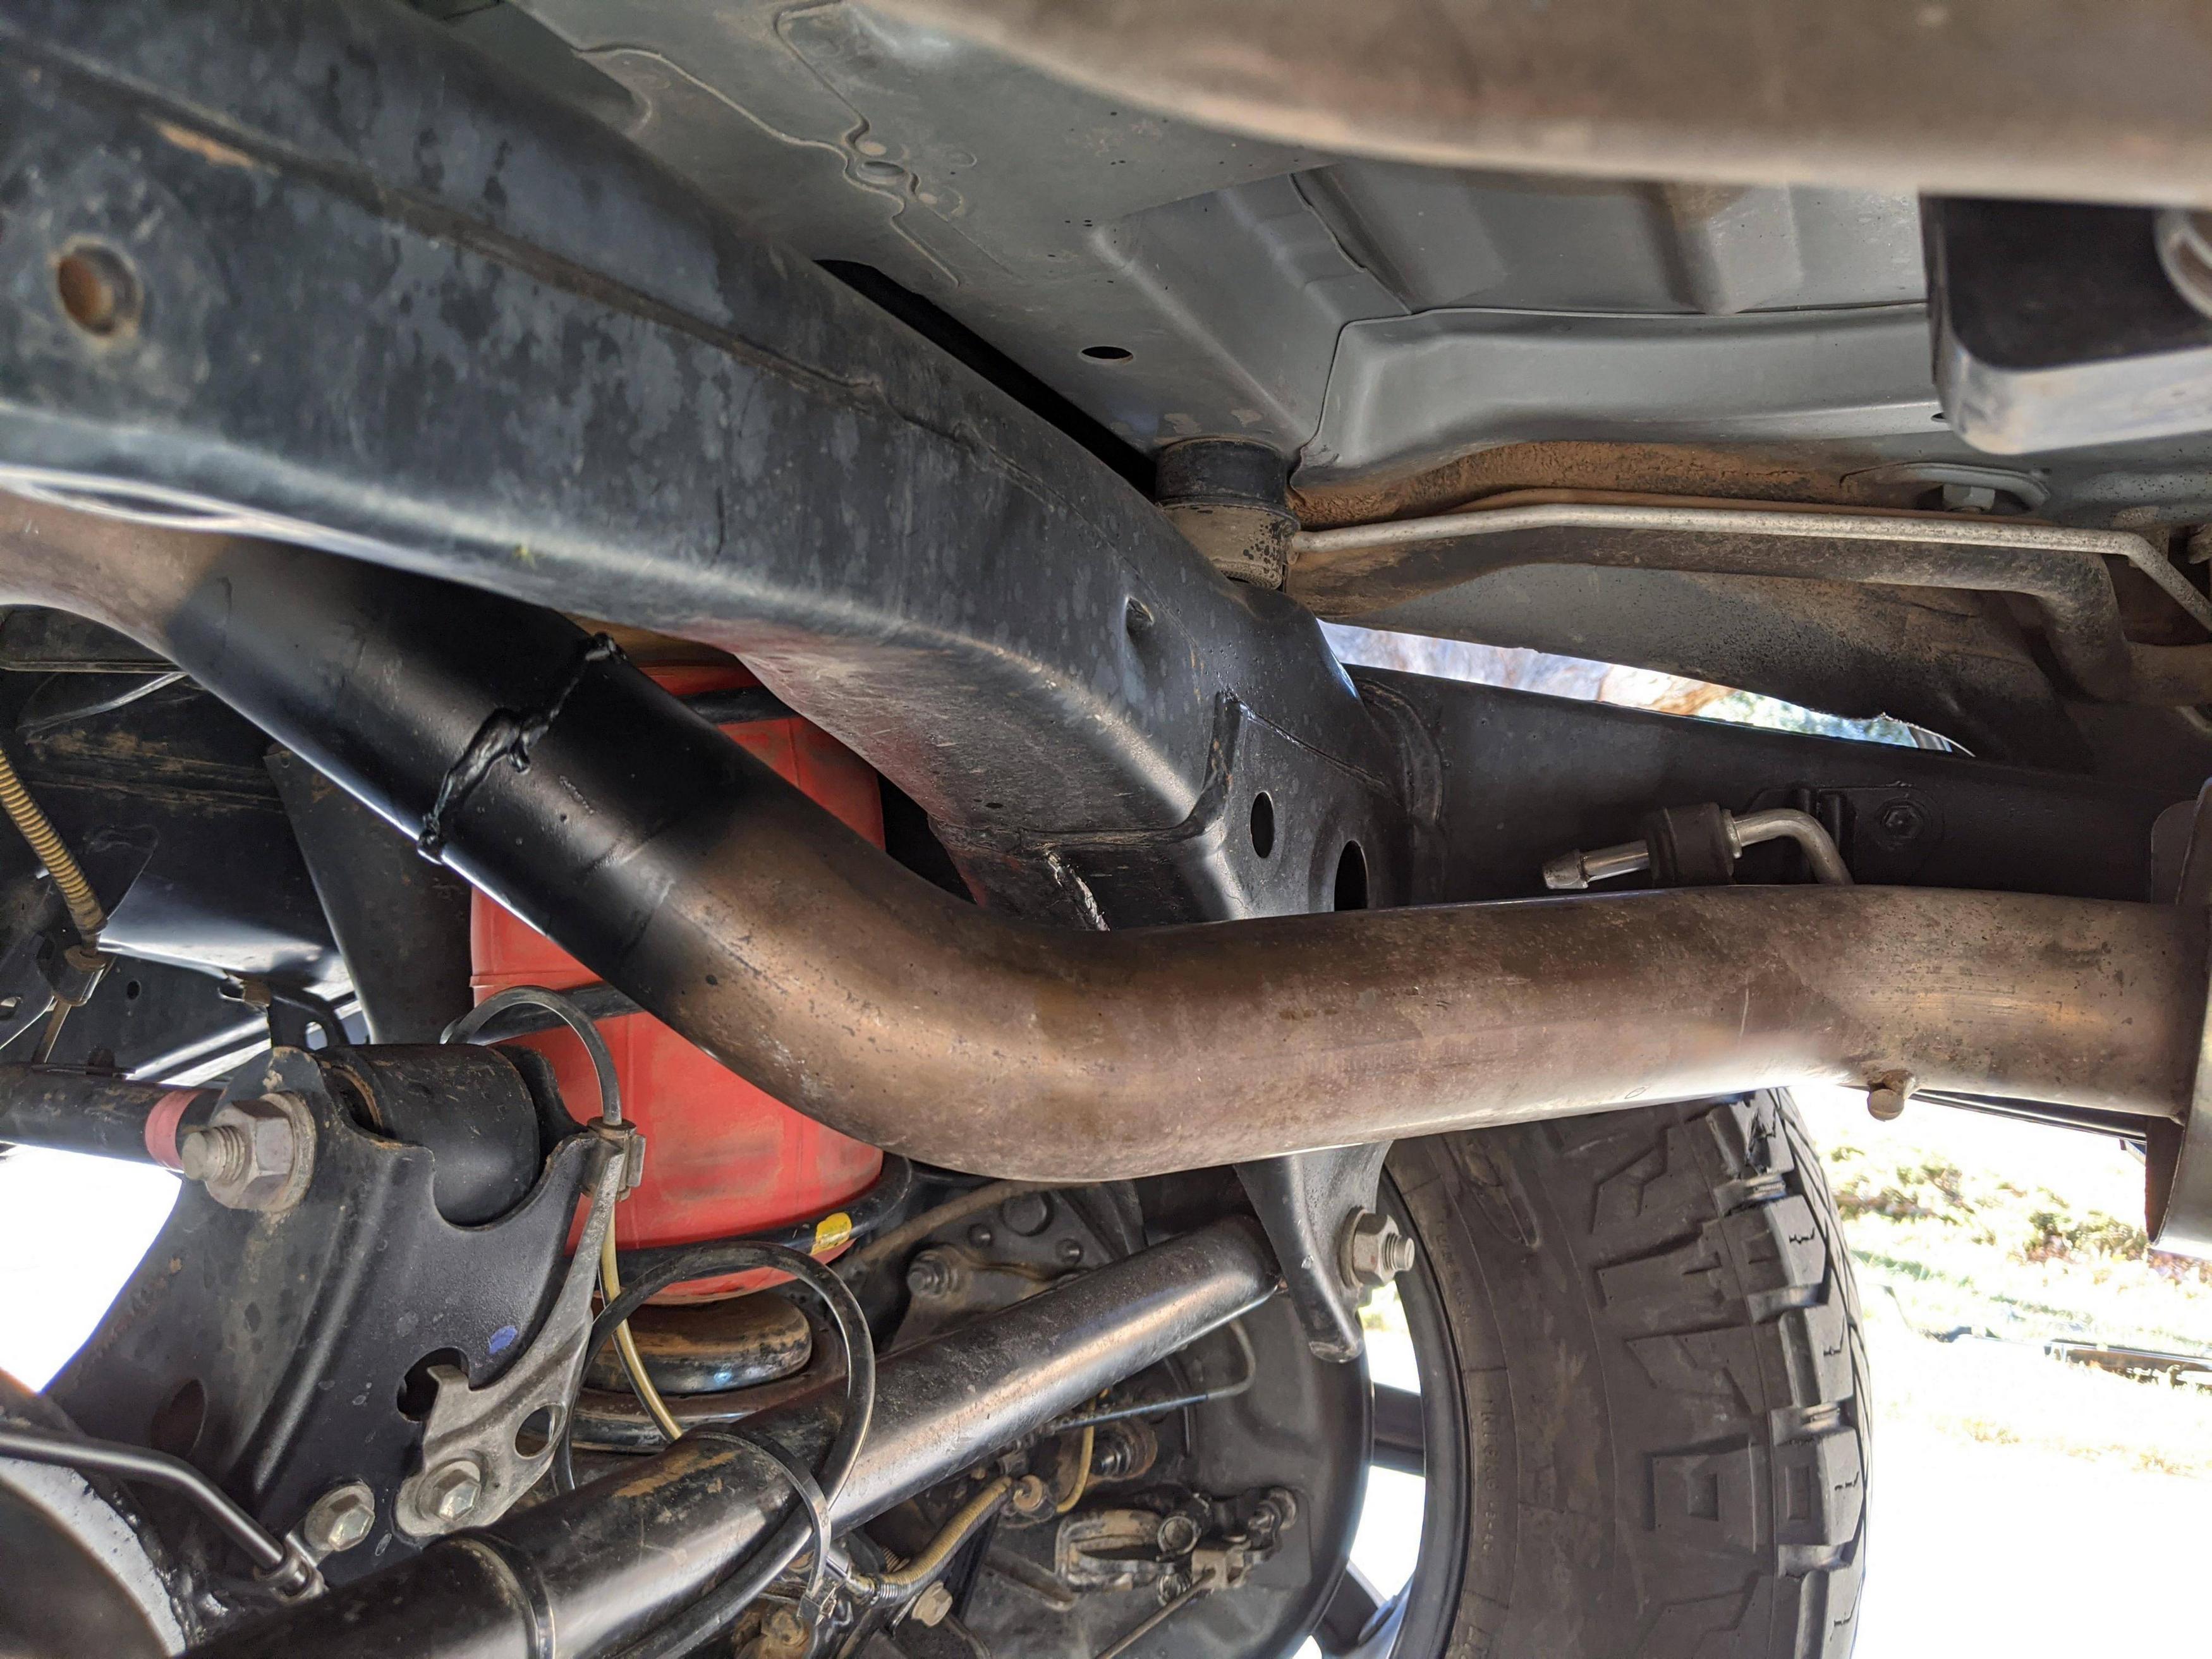
One last thing...I did not cut my rear resonator off. Currently working on just fabbing up a quick post onto the bumper crossbar and mount the hanger at the very end of the muffler.
View attachment 2600525
Here you go:@J1000 did something like this for his resonator. I don't know if he posted those details on mud or not. Maybe we can get him to throw the details on this thread.


If it were my hydraulic table and I wasn't borrowing it I would let you use it. I think a full weekend will get you pretty far. It took me 4-5 days, but that was a bit here and there, my OE hitch took a bit extra to get off, I didn't have the table/help for the first parts. FYI the tire carrier was pretty quick. The basket takes a bit more time, but still just 1-2 hours.I'm glad I got held up finishing my son's 4runner bumper, before starting on my 4x4Labs kit. Now I have these nice pictures to reference! I just wish the hydraulic lift table weren't so much $, and that I had more space to store things in my shop. No matter, I'll figure something out. Am I correct in my guess that a very full weekend will get the bones of this done? I can assemble the tire carrier and can basket another time, but I need to be back to work using my vehicle pretty quickly.
Thanks for the thought. I'll cruise CL and see what I can come up with. As for driving around, I need to tow, so have to get the main structure wrapped up so that I can use it the next weekend. But my tow bar, resonator, spare tire carrier, are all gone already, so that'll save me some time.If it were my hydraulic table and I wasn't borrowing it I would let you use it. I think a full weekend will get you pretty far. It took me 4-5 days, but that was a bit here and there, my OE hitch took a bit extra to get off, I didn't have the table/help for the first parts. FYI the tire carrier was pretty quick. The basket takes a bit more time, but still just 1-2 hours.
I did drive my vehicle without the rear x member, but basically just to the shop and back (8-10 min). I think others have noted you could bolt the tow hitch back up as a rear stiffener if needed.
2 days is a bit rushed. I did get the main portion finished in a weekend but everything seemed to go smoothly without any issues. They were long days.Thanks for the thought. I'll cruise CL and see what I can come up with. As for driving around, I need to tow, so have to get the main structure wrapped up so that I can use it the next weekend. But my tow bar, resonator, spare tire carrier, are all gone already, so that'll save me some time.
You can retain it there by welding (or bolting with longer bolts like a trailer jack) the factory tire winch onto the 4x4 labs cross member.To follow up on an earlier post. There is no way to retain the ability to carry a spare underneath in the stock location? (33" spare) This bumper seems like a great option, but I don't want to have to deal with a swing out spare tire.