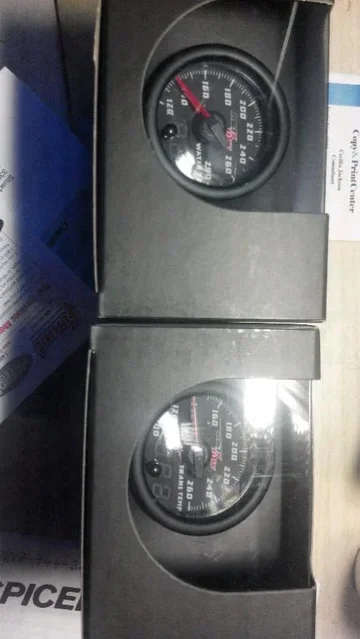
After reading Jcardona1 install of these gauges (#924) I decided that these were the gauges I was looking for to monitor Water Temp & Trans Temp.
https://forum.ih8mud.com/80-series-tech/586191-what-did-you-do-your-80-weekend-47.html
I went to http://www.glowshiftdirect.com to order the Gauges and Adapter
Water Temp: MT-DV06
40mm Water Temp Sensor Adapter: GS-AW40
Tans Temp: MT-DV12
I ordered a 3/8" to m10x1.5 adapter, which has a tiny hole in the center, in hopes of putting the sensor in trans pan. I had to enlarge to hole in the center of adapter but is turn out that 1. it wasn't bored straight in the 1st place and 2. the new hole left the thread area thin. I was not confident the once I screwed it in that it would tighten properly.
So I decided to follow Jcardona1's lead and go to Home Depot to make a T adapter for the cooler lines.
3/8" Brass "T" : A-758
3/8" Barb ends (2): A-294
1/8" to 3/8" adapter: A-776
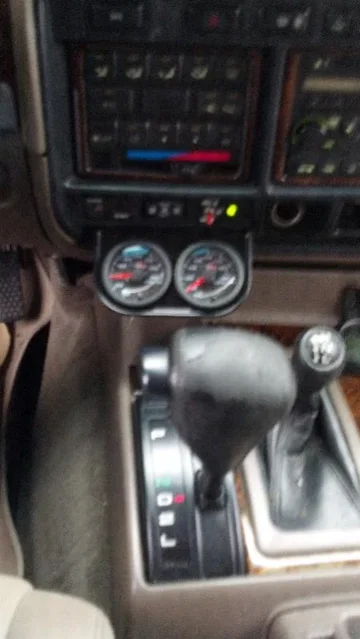
I hit up Summit Racing for an aluminum 2 gauge panel to mount them below the cigarette lighter.
Panel: GBE-63002
So this weekend I will install and wire them up..


