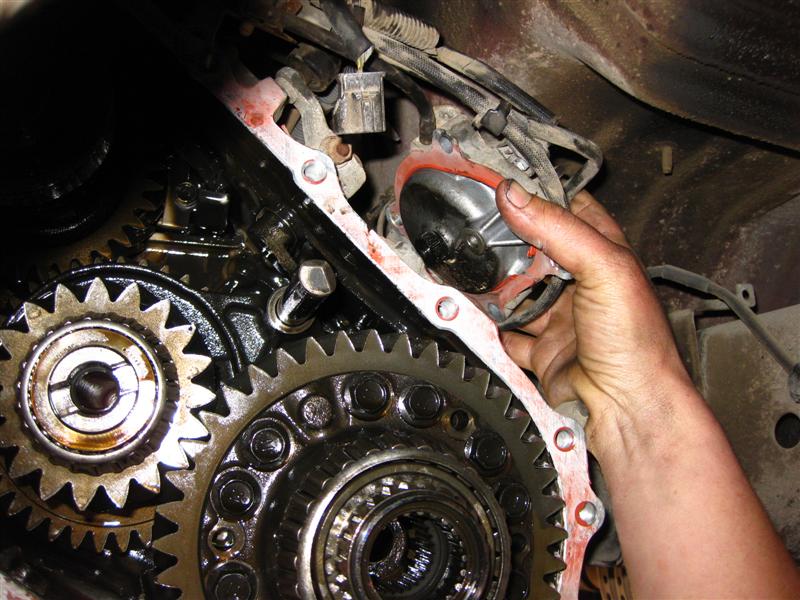
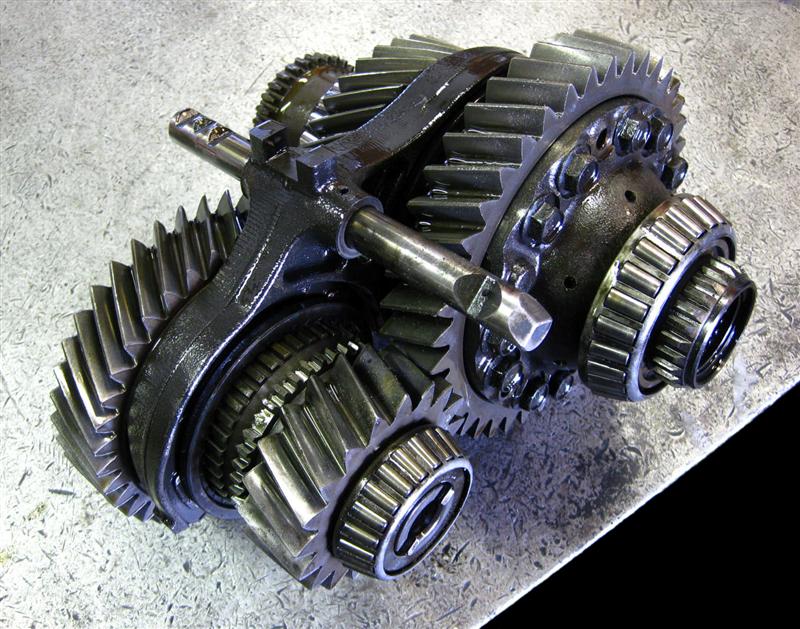
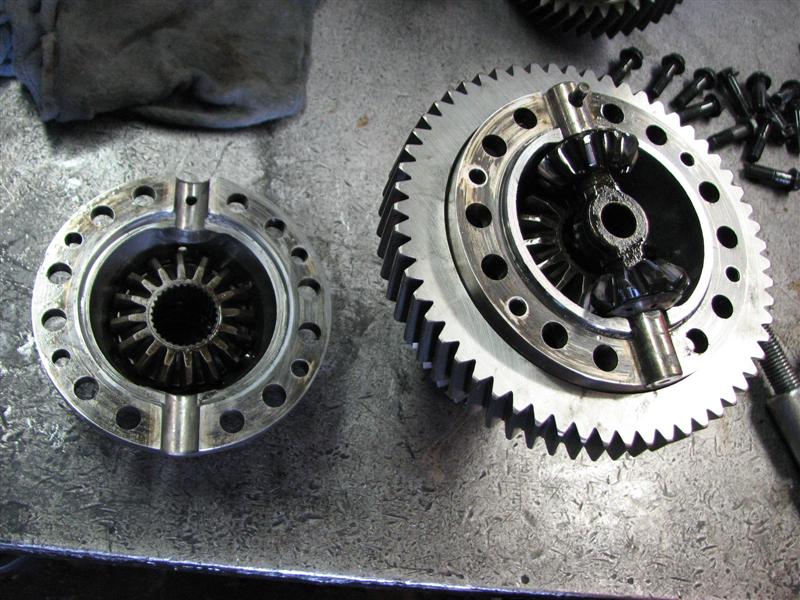
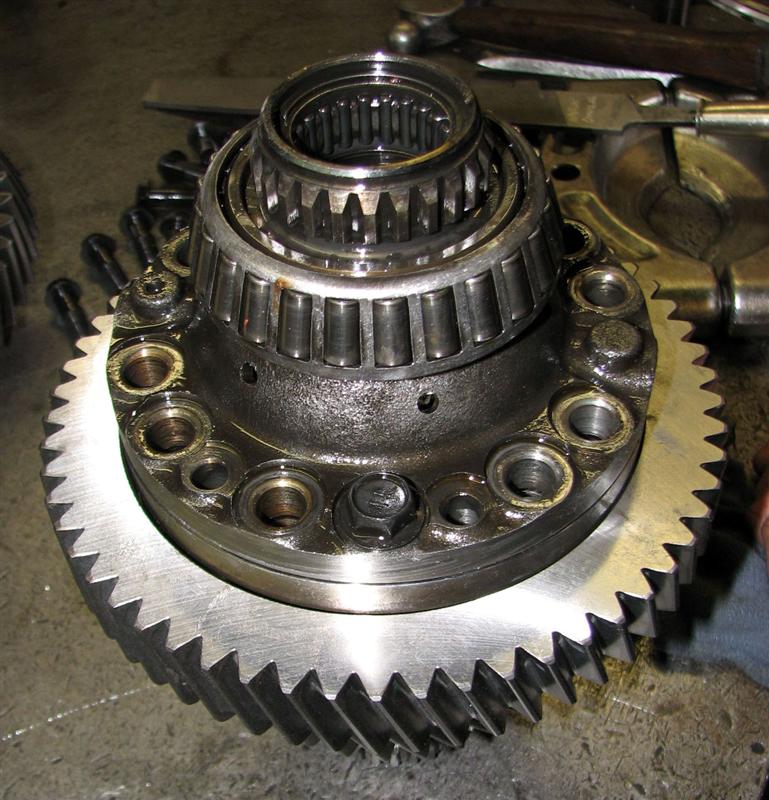
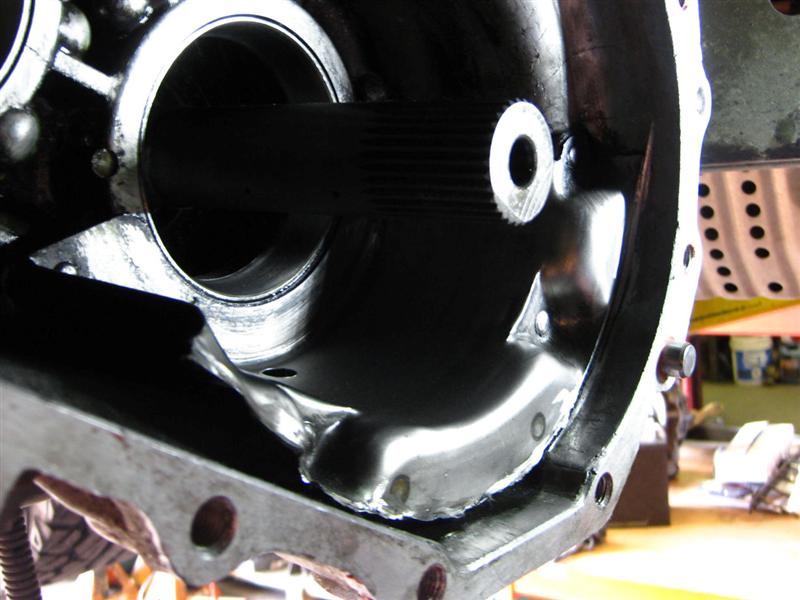
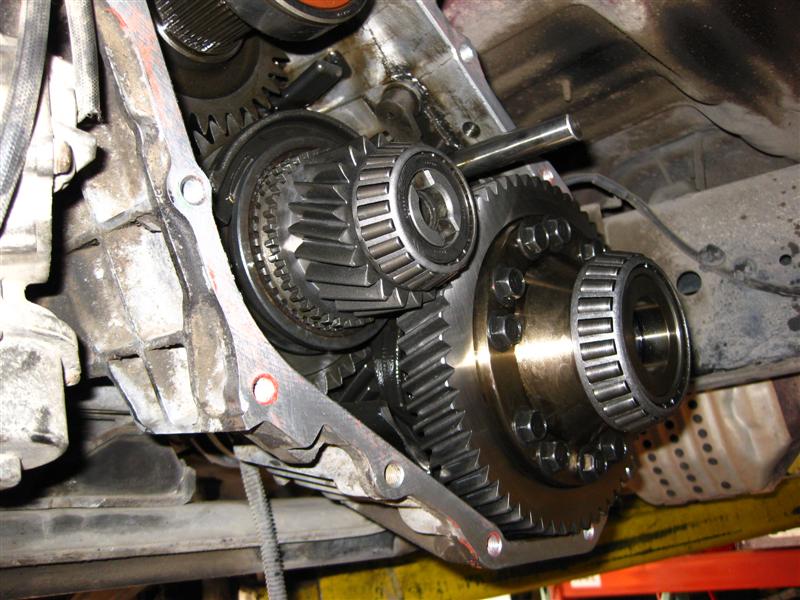
Before installing the low range and differential assembly, degrease the flange sealing surface of the front case (housing #1). You'll have more room to clean and prepare the surfaces at this time. Also, add grease to the exposed rollers of all four tapered roller bearings. Tip: We chose to only grease the two forward-facing bearings so we wouldn't get grease all over our hands while inserting the assembly into the case. If you do this, be sure to add grease to the rear tapered bearings before installing the rear case (housing #2).
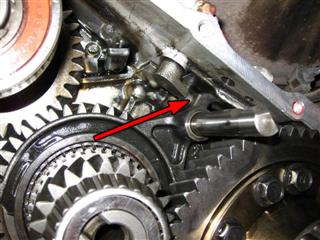
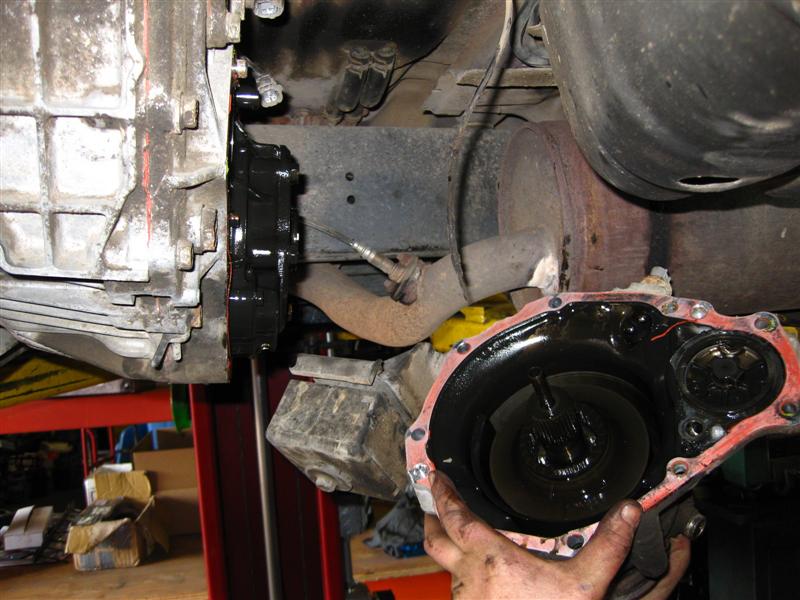
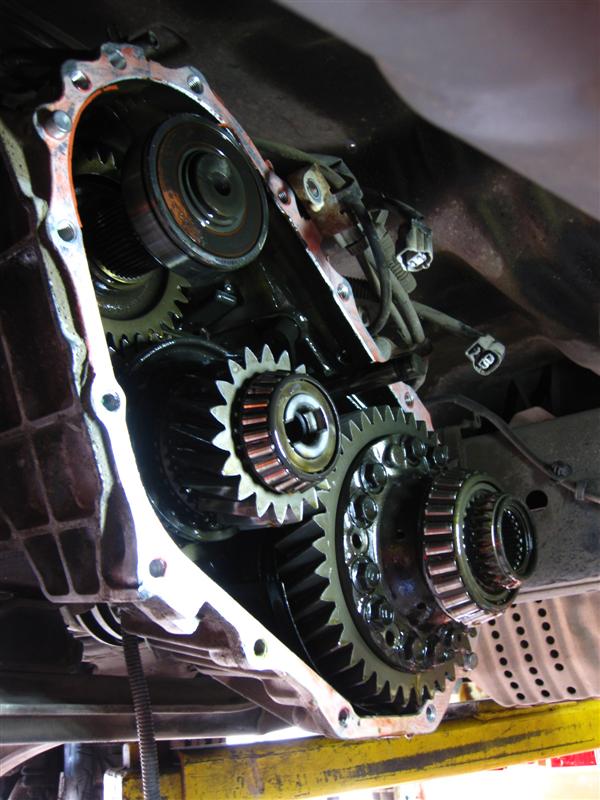
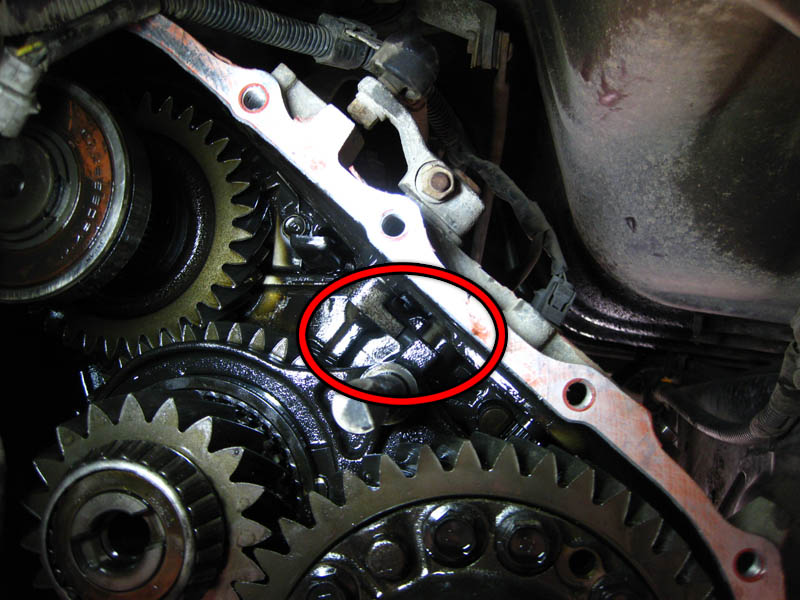
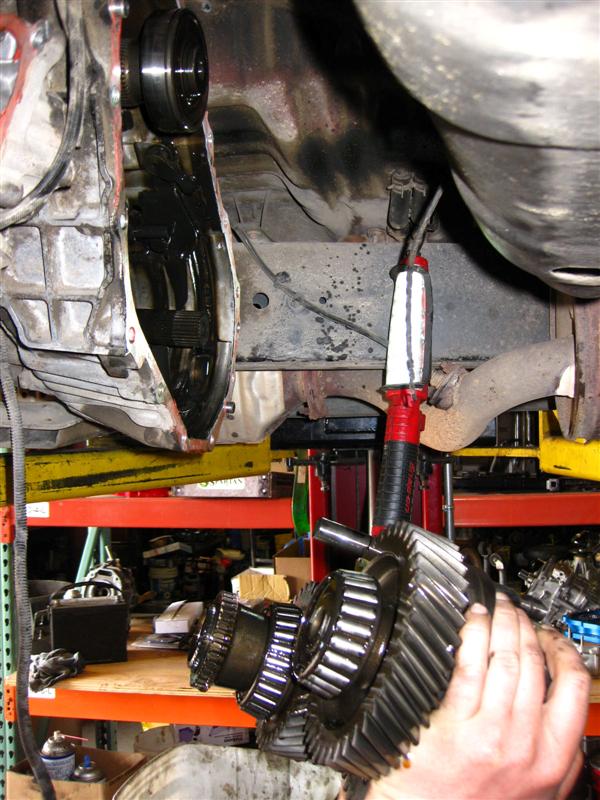
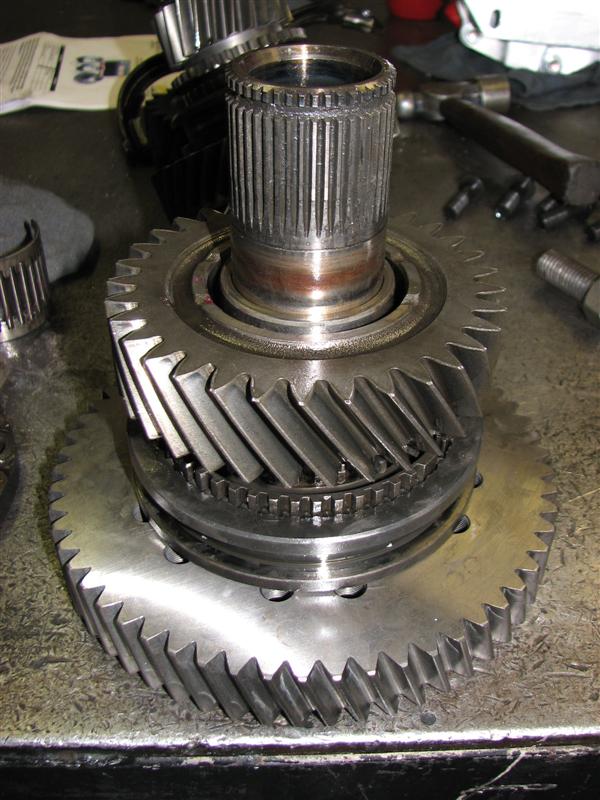
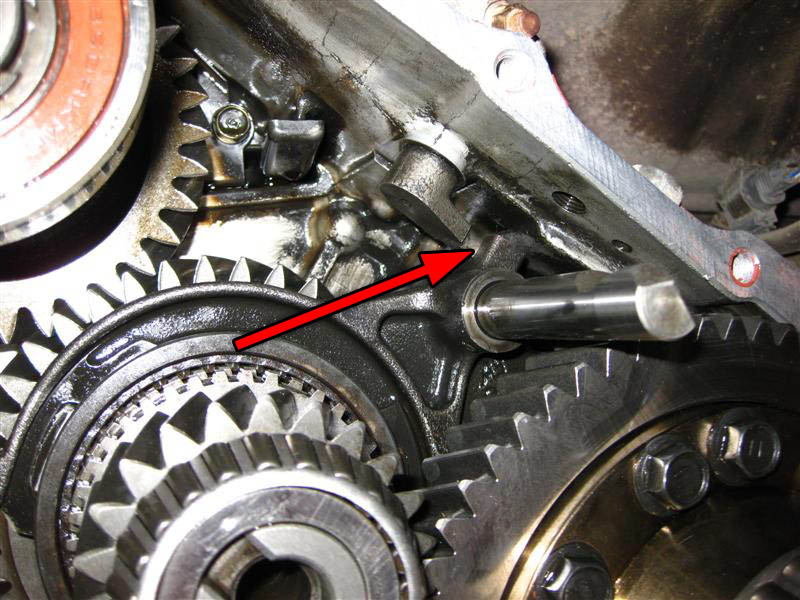
Holding the assembly together, install it back into the front transfer case housing. Remember any difficulties experienced during the extraction process to prepare for reassembly. If you take your time to ensure the assembly is held together properly, then the insertion process will be a breeze. Tip: As mentioned before, you may find the assembly heavy, so take care not to drop any components. Insert the front differential case over the front output shaft, and pay extra attention to the shift fork-to-inner-shift lever connection: The inner lever must be rotated into position to accept the shift fork, and then slowly rotated along with the insertion motion of the shift rail.

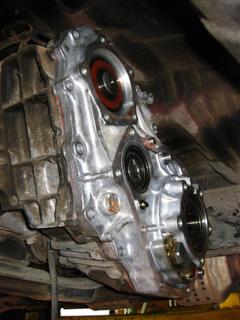
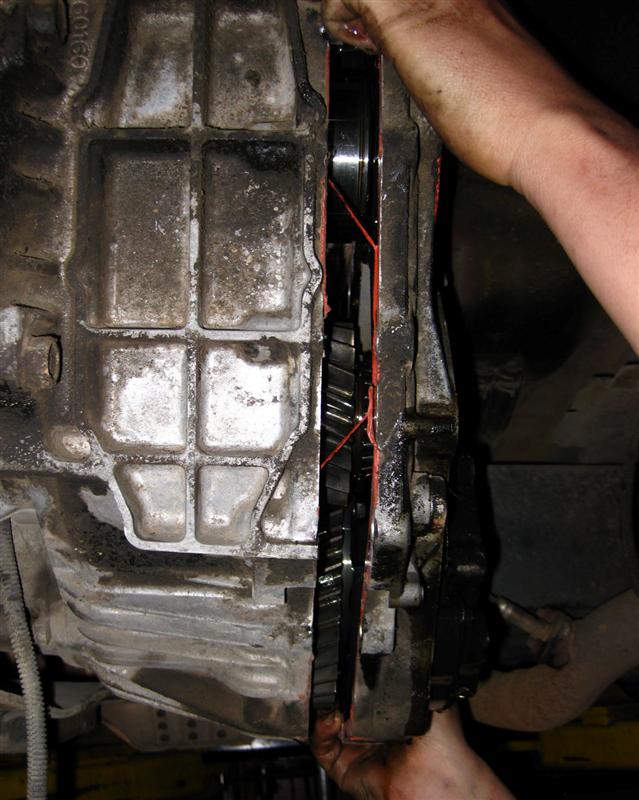
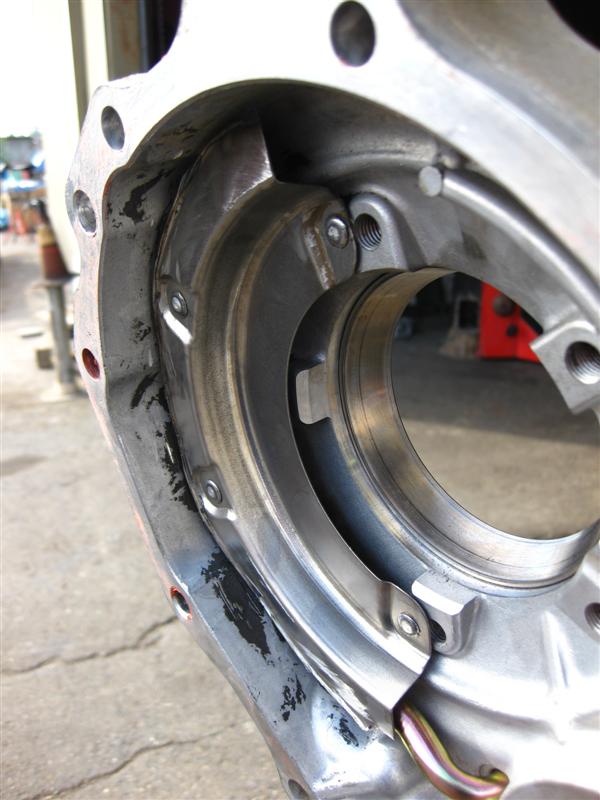
With the cases clearanced & mating surfaces degreased, we will do a dry test fit. Without using any sealant, attach the rear case (housing #2) to the front case. If you are able to mount it flush against the front case, then things are looking good. Install a few bolts around the case perimeter by hand. Don't force the cases together with the bolts; if the housings don't mount up effortlessly, then its likely you have not performed enough clearancing. (If this happens, it can be difficult to determine where interference is occurring. One method you may try is to apply a dab of grease where you've performed clearance modifications, and see where the grease is transferring across to the rear case. Then simply do more clearancing where the grease is being transferred.)
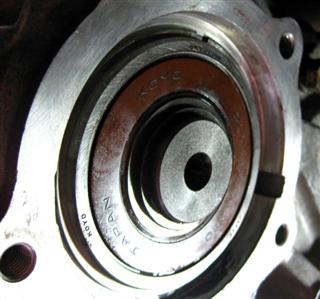
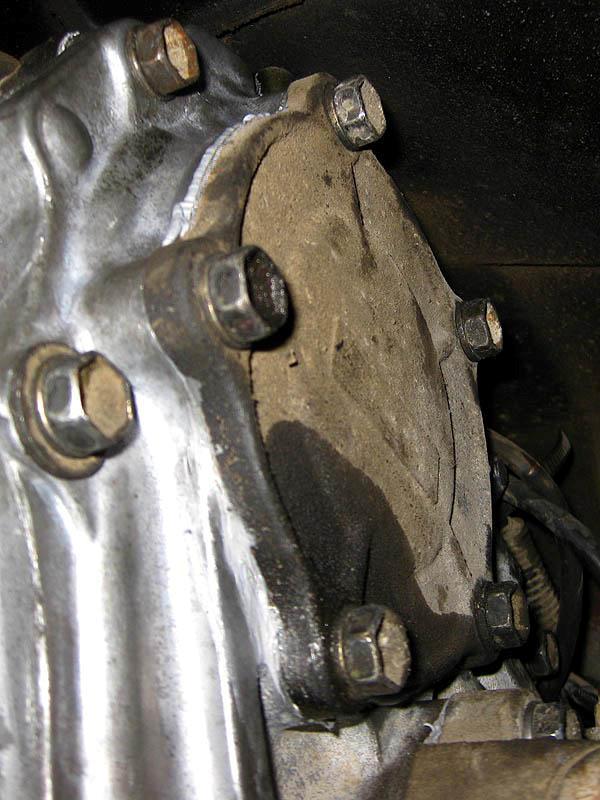
At this point, try to rotate the front drive line. You should know right away if the gears are interfering with the cases or not. If things are rotating freely, then reinstall the 5-bolt retainer plate with shim (this is the larger diameter shim). If you are still able to rotate the front drive line at this point, then congratulations, you've done sufficient clearancing! Remove the retainer plate, shims, and the rear case. If necessary, double check & degrease the mating surfaces of the cases, and then apply silicone to the rear case mating flange and install the rear case. Torque these bolts to 27 ft-lbs. (We recommend
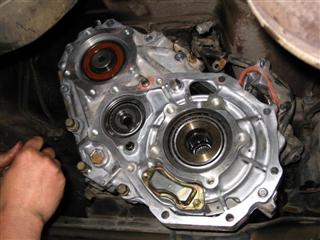
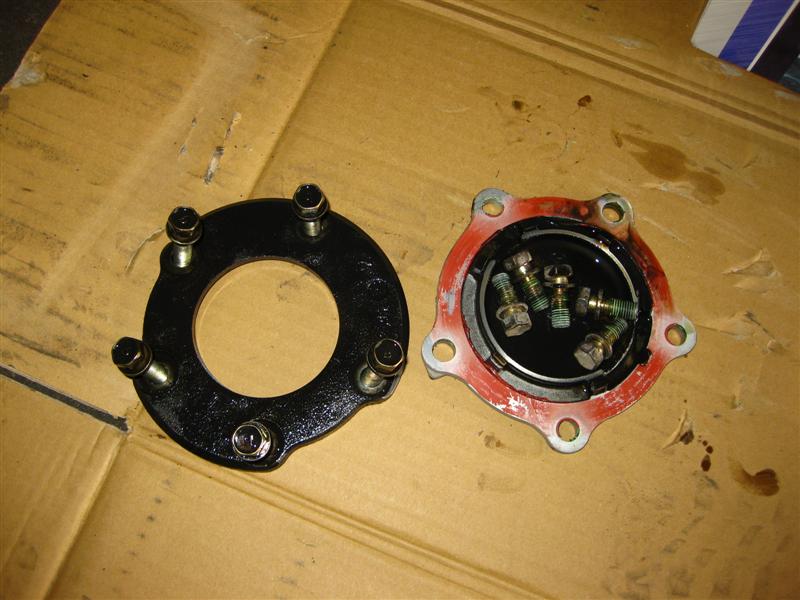
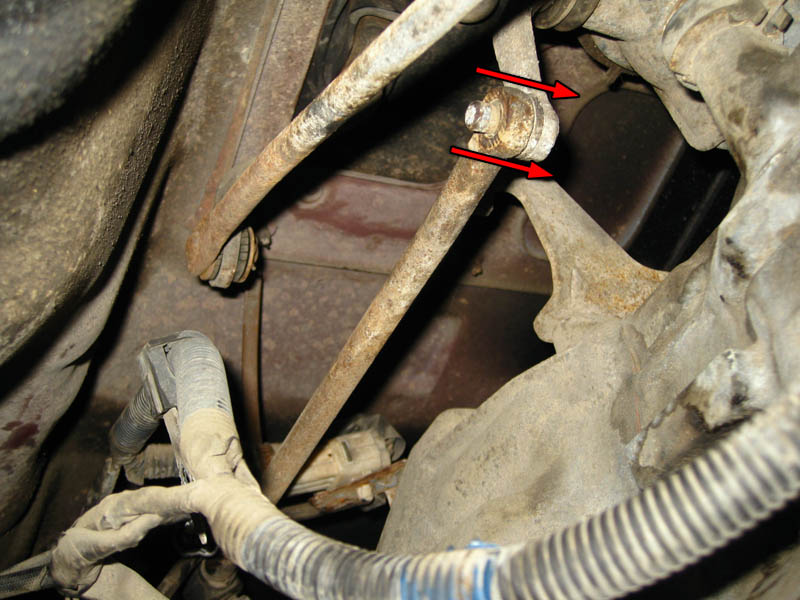
Ultra Gray Silicone) Pull or pry the input shaft assembly to expose the bearing snap ring groove, and install the snap ring. Tip: It is easiest to install this snap ring before tightening the housings together, which may make it difficult for the input shaft assembly to move. Reinstall the large diameter shim and the 5-bolt retainer plate. Torque these bolts to 28 ft-lbs. In the following image, the two bolts circled green have large washers, and the two bolt holes circled red are the two through-holes whose bolts will require thread sealer in the upcoming step.
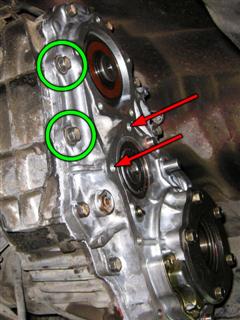


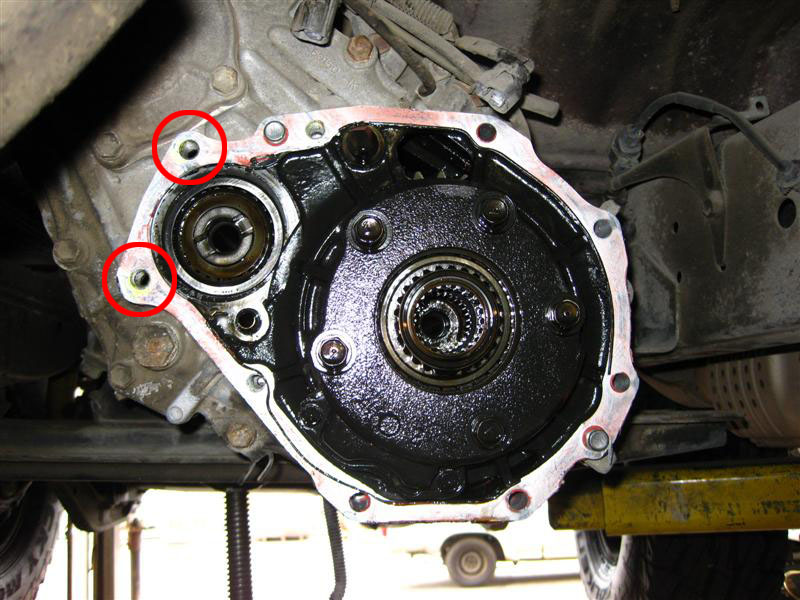


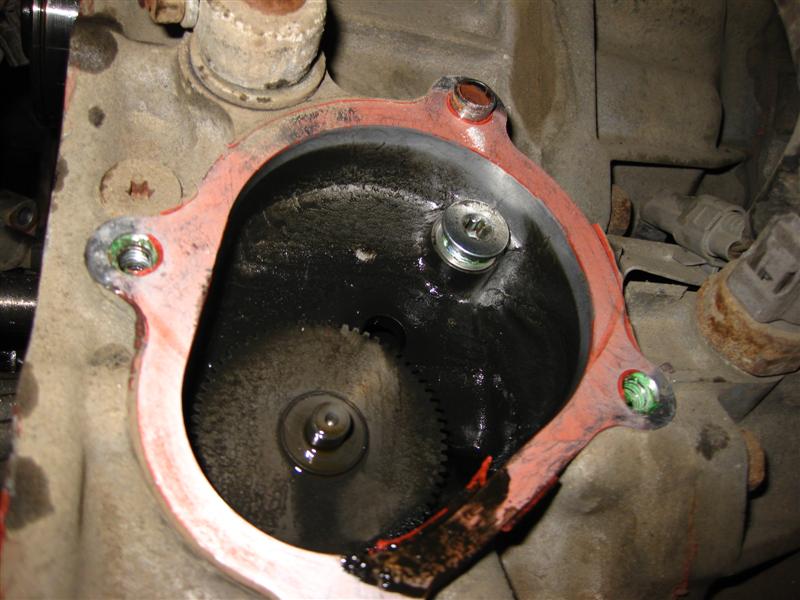


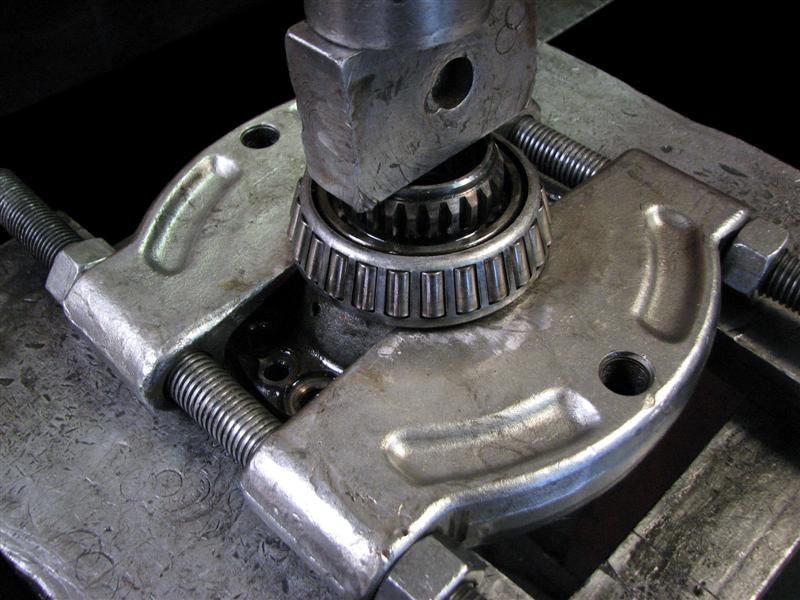

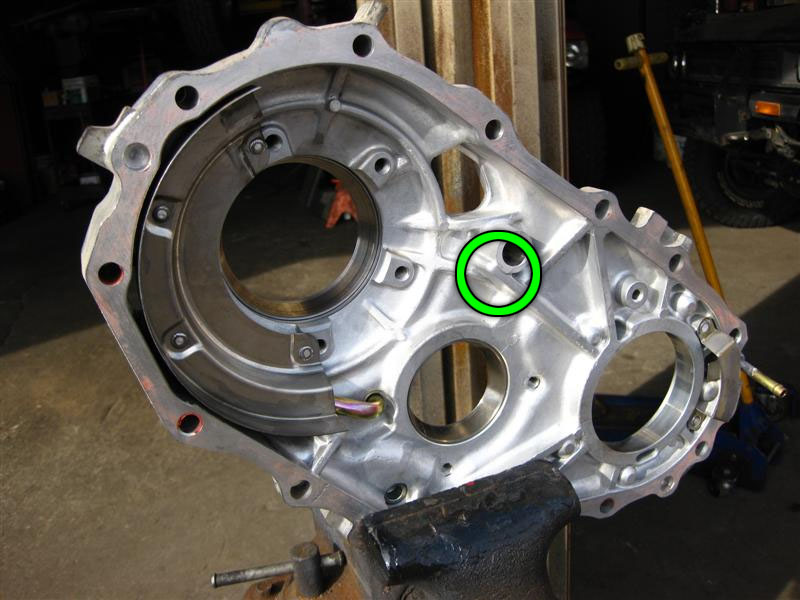

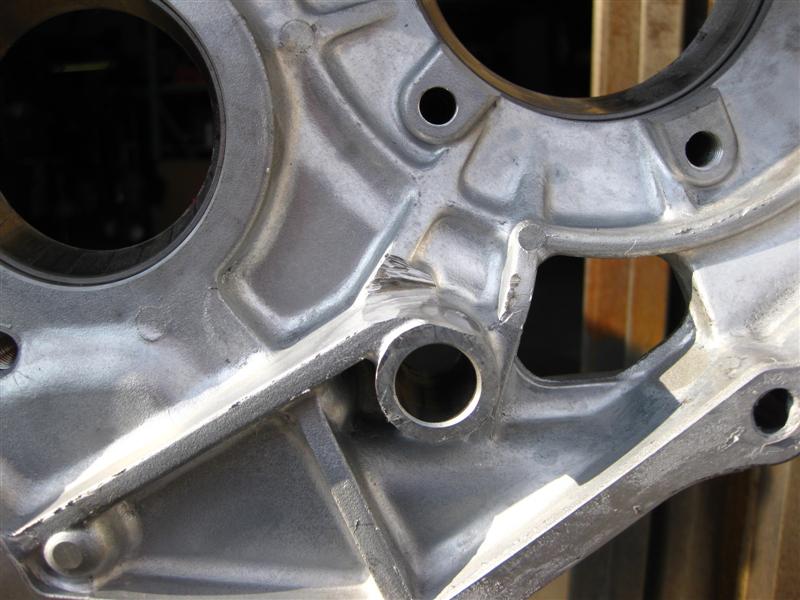


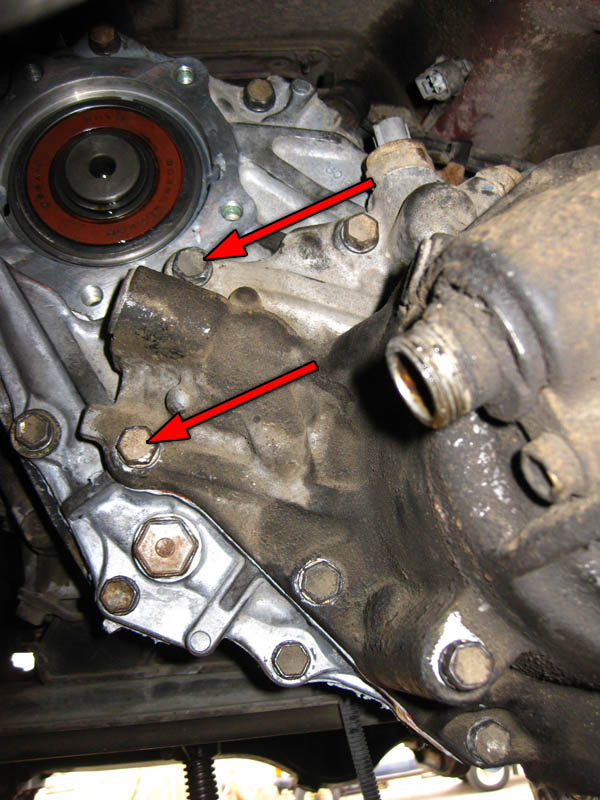


")


