Hi folks. I can't believe how long its been since I visited this site. I'm seriously stupid for not looking things up here. The amount of good work and knowledge recorded here is just stunning.
I spent a year trying to treat/stabilize rust chemically: por15 (too toxic!), zero rust, rust dissolver, jb weld, rage filler, fluidfilm, etc. And after a few years it was clearly not the right approach. I went at my truck with a mallet and just hammered all the loose stuff free (almost all was bad fixing from previous owner.) Pounds of sodden stinky chucks of rusty bondo falling out onto the driveway.
I splurged to get the rear of the truck partially media blasted and epoxy primered, and then it was clear what a bad spot I was in, or really how many holes the truck had that needed filling. Quarterpanels and rear wheelwell. I started learning to weld with my friends mig, then bought my own mig from craigslist for $200. I'm really happy with how empowered that mig has made me.
I guess that's my advice to people with rust issues: buy a cheap mig and go to town. Its fun and even a terrible bad job is very satisfying and stronger than you can believe. I think I've spent $400 on welding stuff including welder and all safety gear and materials - not even on the radar compared to what local body shops charge for their work. Makes me sad that I didn't look at all the great mig work on this site before I started on my own. I would have done a better job if I'd known what that meant before I started. I had to redo the worst of my work.
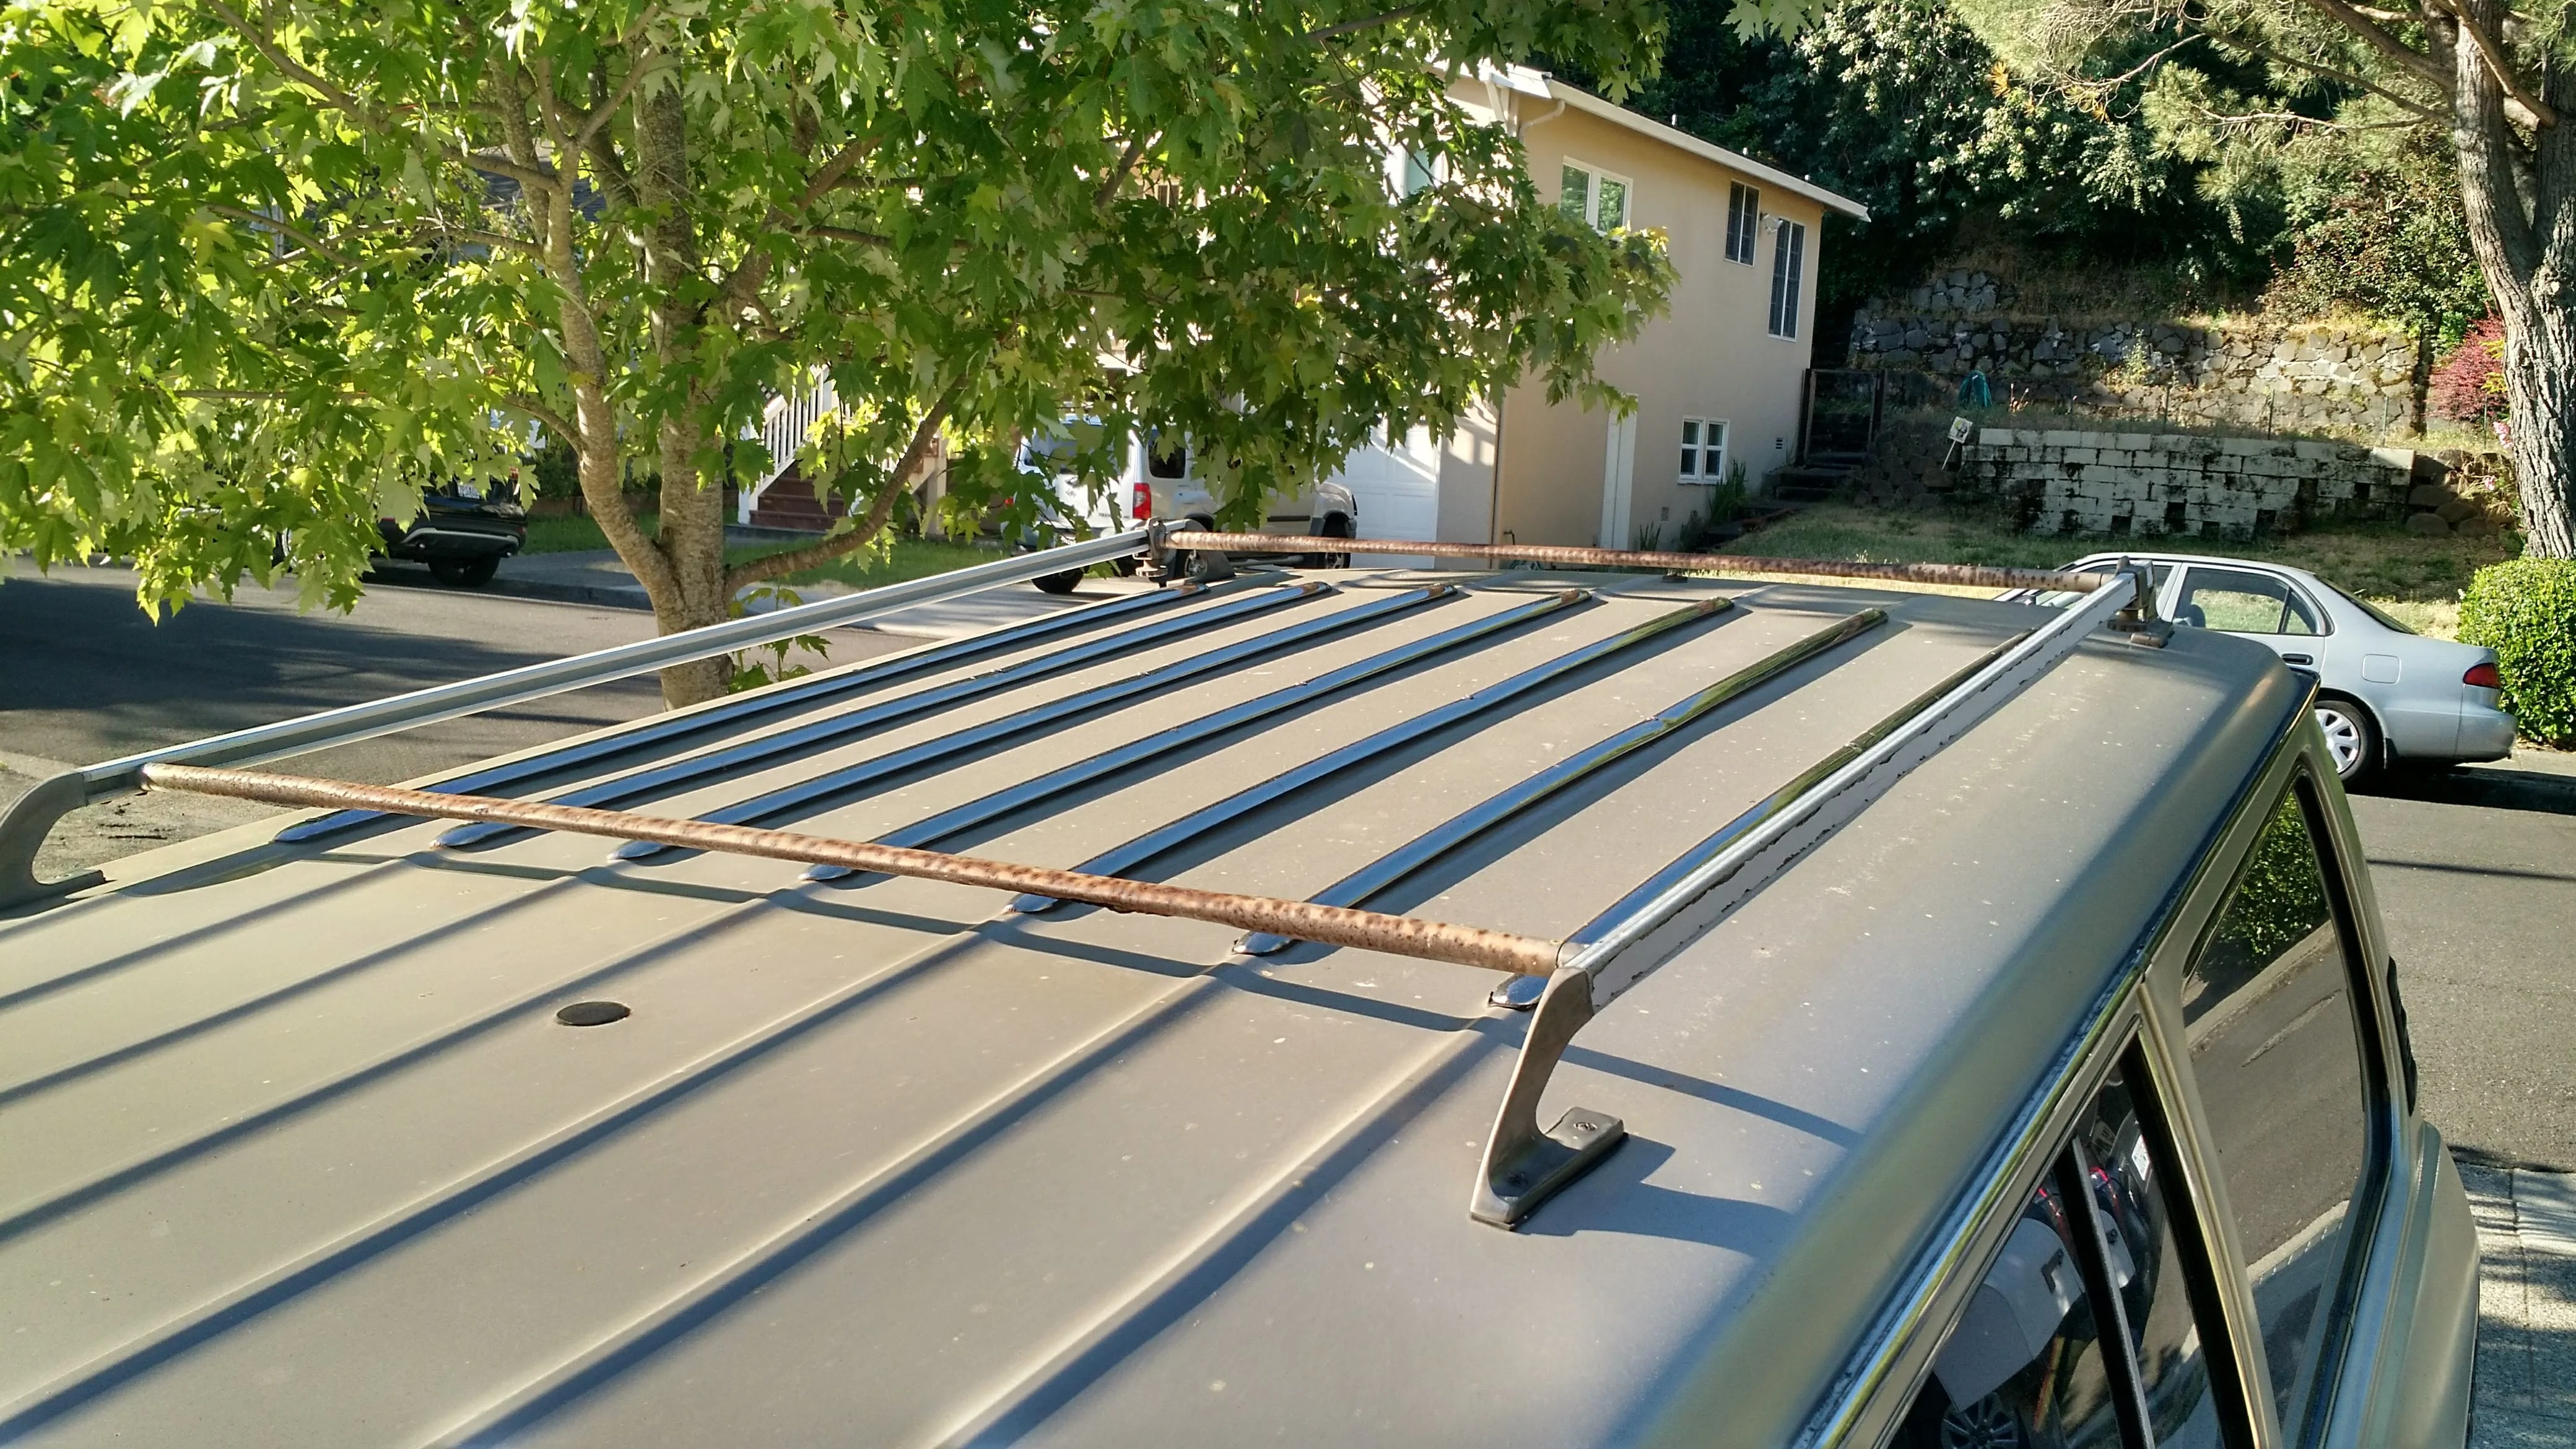
So anyway. My a-pillar:

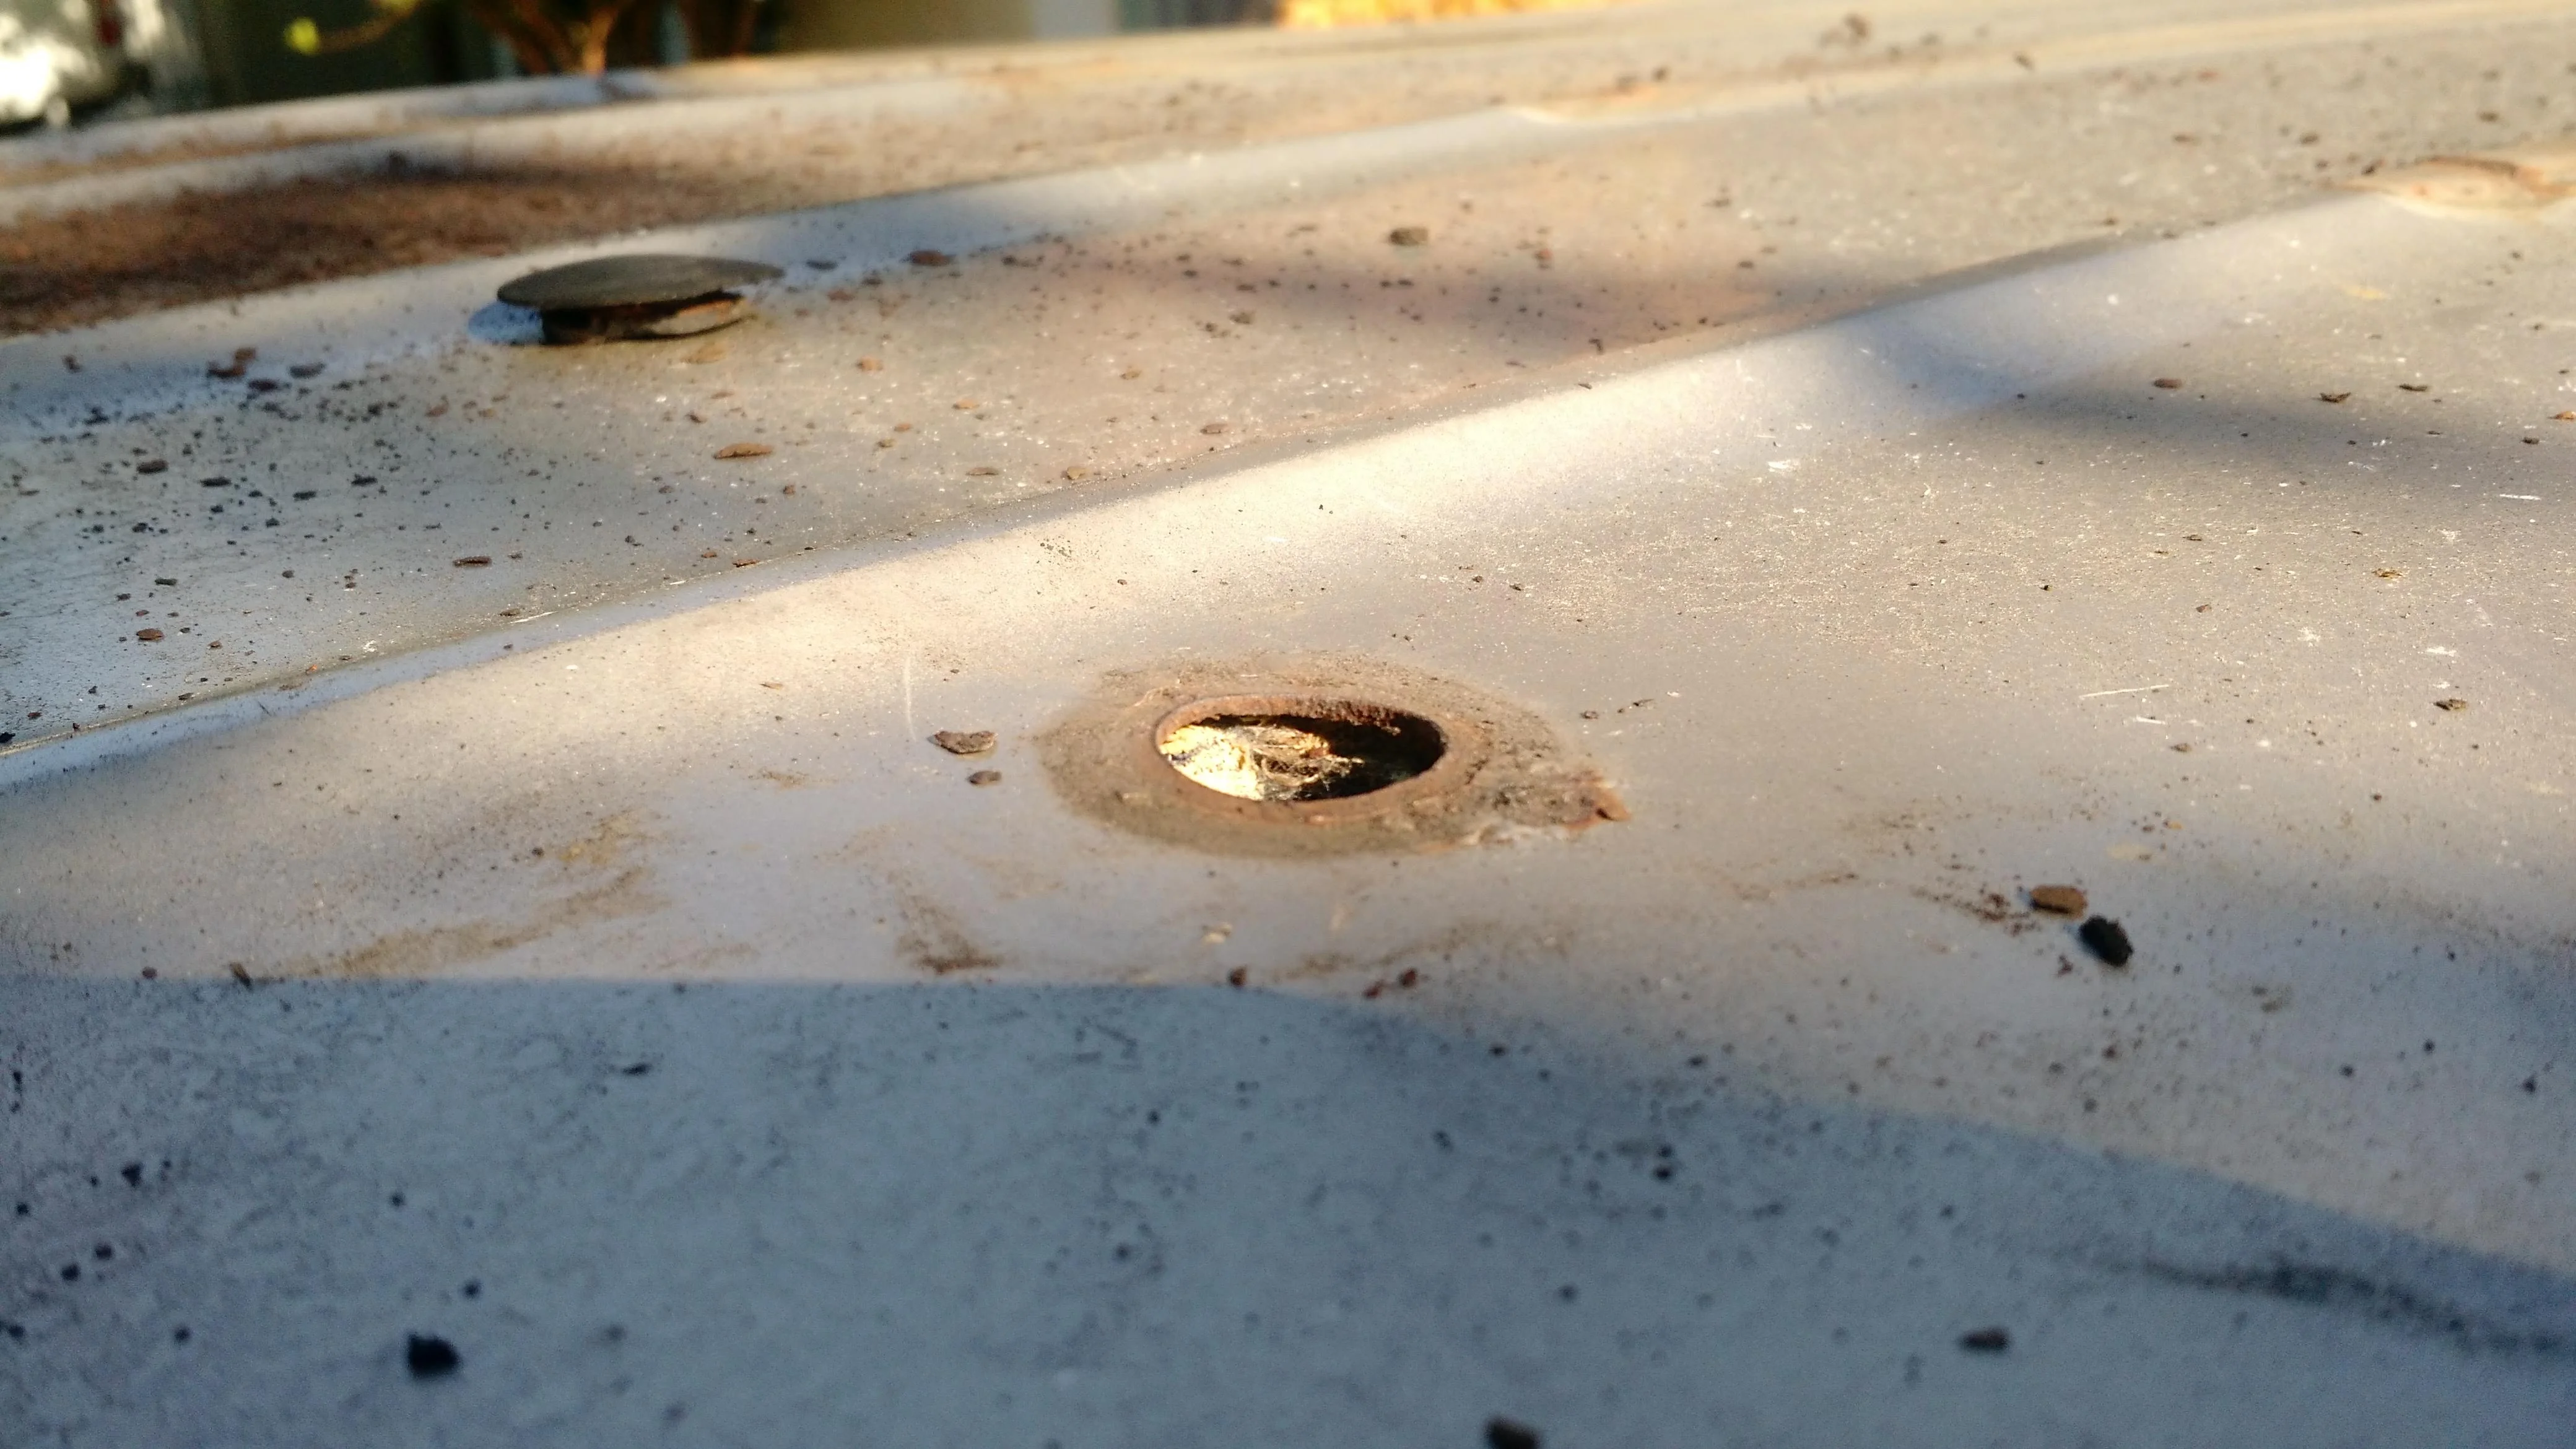
I had some other bubbles on the roof that I scraped with screwdriver, ground to shiny metal, splayed in some zinc primer and then filled the holes with the mig. No problem.
So with this bigger hole I did the same and ended up following the rust under that seal, like it goes farther than I can reach. So now mig is out of the question.
I went in to Eastlake Auto Glass (they did a really good 3+ hour windshield replacement for my other 60.) today to see about taking the windshield out and they recommended I not take it out, that it would almost certainly break because of the existing chips and because a new windshield and install would be ~$400.
I've taken out all the bad metal I can reach and have a gaping hole there now about 1.5 inches wide. I blobbed some zero rust in there, was thinking to now jet a bunch of grease in and then mig up what I can, but I'm sort of stuck with how to seal under that rubber seal. I can remove the chrome strips and pull the rubber back a bit to apply some sort of chemical...
What do people recommend I do here for a temp fix?
At some point the windshield will crack and I can cut out and replace the bad metal, but I want something to hold me over for a few years living outside in the seattle area. One option is a big blob of jb weld. Another is to fill it with all-metal? I can mig up quite a bit of that hole so long as I stay far enough from that rubber seal. Thinking to insulate the rubber from the welder with steel wool and some sheet metal.
Thanks people. I really really appreciate the brain trust here.
PS: Here's my 'fixed' tailgate, this is 3 hours with a mig, grinder and some handy scraps of 16g sheet if you don't care how factory it looks. (All those scraps are useful for something right?) That 16g will take years to rust back to its previous state. And tailgate is super solid now where before it had all sorts of flex because the entire bottom seam was gone. I think this is totally acceptable for basically zero money and relatively little effort.


I spent a year trying to treat/stabilize rust chemically: por15 (too toxic!), zero rust, rust dissolver, jb weld, rage filler, fluidfilm, etc. And after a few years it was clearly not the right approach. I went at my truck with a mallet and just hammered all the loose stuff free (almost all was bad fixing from previous owner.) Pounds of sodden stinky chucks of rusty bondo falling out onto the driveway.
I splurged to get the rear of the truck partially media blasted and epoxy primered, and then it was clear what a bad spot I was in, or really how many holes the truck had that needed filling. Quarterpanels and rear wheelwell. I started learning to weld with my friends mig, then bought my own mig from craigslist for $200. I'm really happy with how empowered that mig has made me.
I guess that's my advice to people with rust issues: buy a cheap mig and go to town. Its fun and even a terrible bad job is very satisfying and stronger than you can believe. I think I've spent $400 on welding stuff including welder and all safety gear and materials - not even on the radar compared to what local body shops charge for their work. Makes me sad that I didn't look at all the great mig work on this site before I started on my own. I would have done a better job if I'd known what that meant before I started. I had to redo the worst of my work.
So anyway. My a-pillar:
I had some other bubbles on the roof that I scraped with screwdriver, ground to shiny metal, splayed in some zinc primer and then filled the holes with the mig. No problem.
So with this bigger hole I did the same and ended up following the rust under that seal, like it goes farther than I can reach. So now mig is out of the question.
I went in to Eastlake Auto Glass (they did a really good 3+ hour windshield replacement for my other 60.) today to see about taking the windshield out and they recommended I not take it out, that it would almost certainly break because of the existing chips and because a new windshield and install would be ~$400.
I've taken out all the bad metal I can reach and have a gaping hole there now about 1.5 inches wide. I blobbed some zero rust in there, was thinking to now jet a bunch of grease in and then mig up what I can, but I'm sort of stuck with how to seal under that rubber seal. I can remove the chrome strips and pull the rubber back a bit to apply some sort of chemical...
What do people recommend I do here for a temp fix?
At some point the windshield will crack and I can cut out and replace the bad metal, but I want something to hold me over for a few years living outside in the seattle area. One option is a big blob of jb weld. Another is to fill it with all-metal? I can mig up quite a bit of that hole so long as I stay far enough from that rubber seal. Thinking to insulate the rubber from the welder with steel wool and some sheet metal.
Thanks people. I really really appreciate the brain trust here.
PS: Here's my 'fixed' tailgate, this is 3 hours with a mig, grinder and some handy scraps of 16g sheet if you don't care how factory it looks. (All those scraps are useful for something right?) That 16g will take years to rust back to its previous state. And tailgate is super solid now where before it had all sorts of flex because the entire bottom seam was gone. I think this is totally acceptable for basically zero money and relatively little effort.