Heat/AC/Mixer HVAC Tech Info (1 Viewer)

This site may earn a commission from merchant affiliate
links, including eBay, Amazon, Skimlinks, and others.

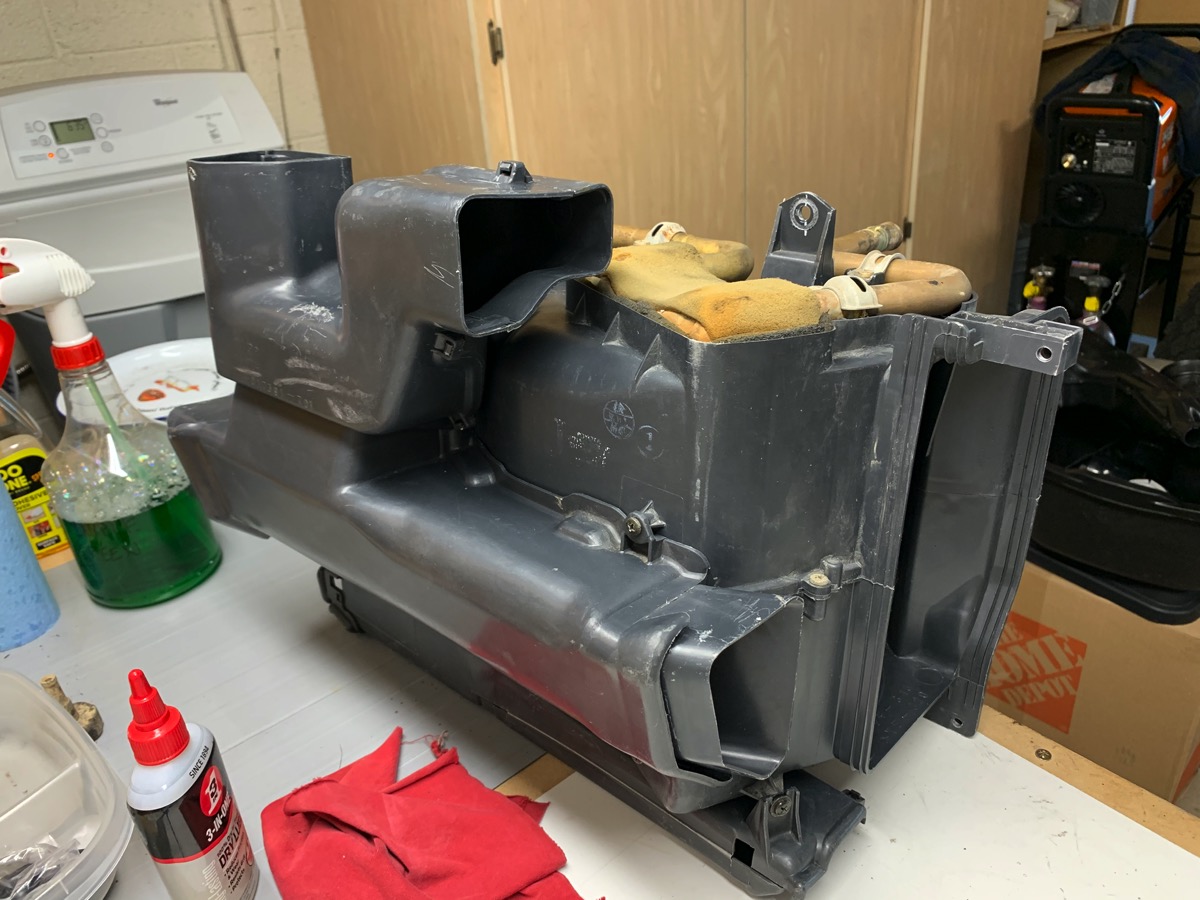
@svsisu and I were chatting in DM and he asked me about the materials I used to replace the old foam.

Most of the items I got from Home Depot.

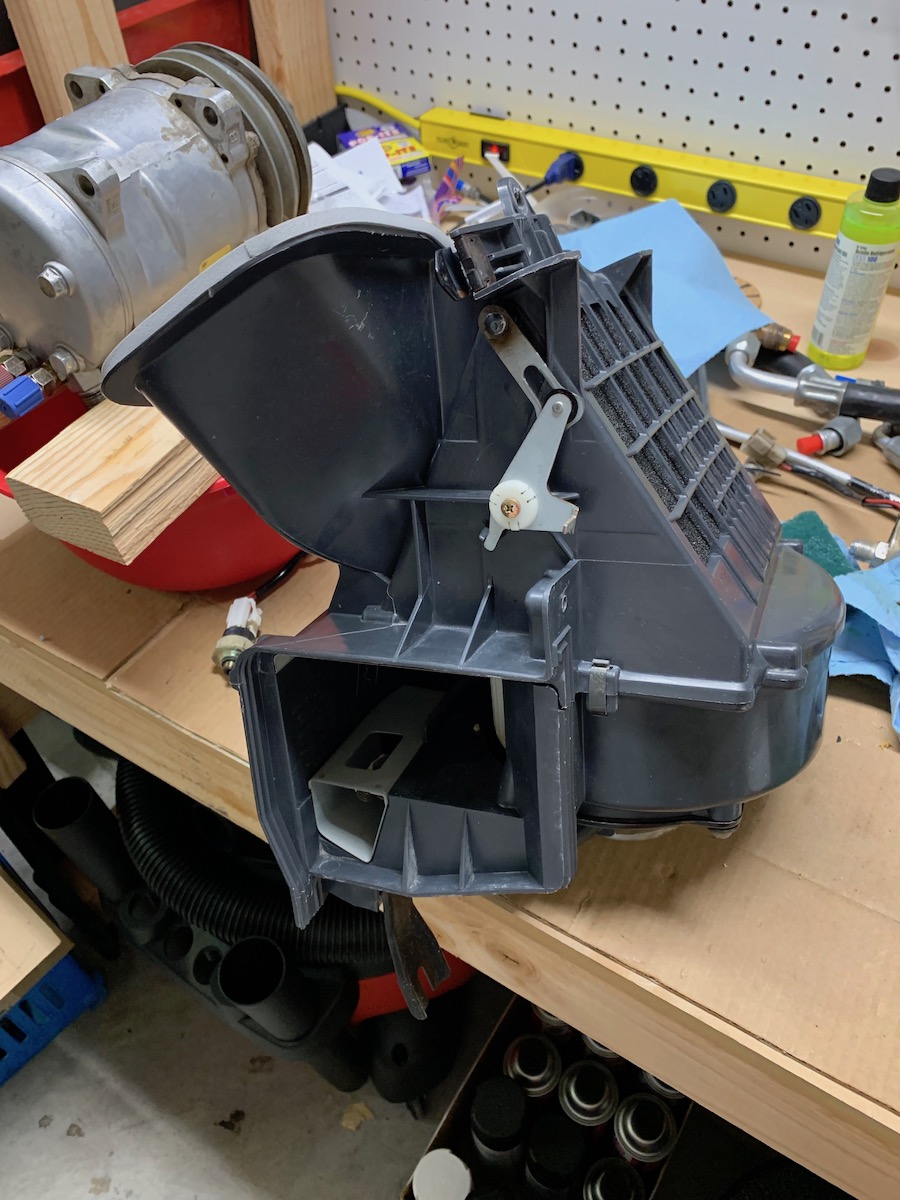
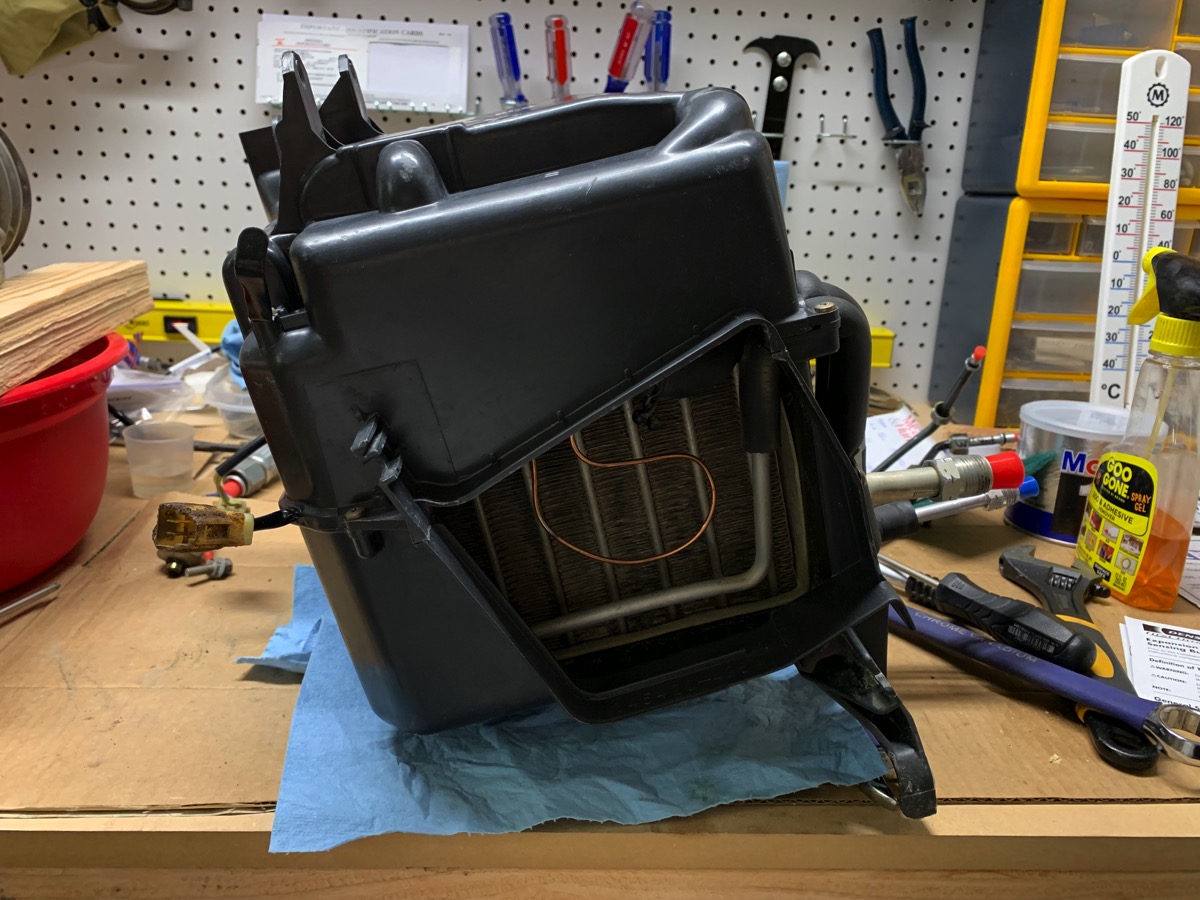
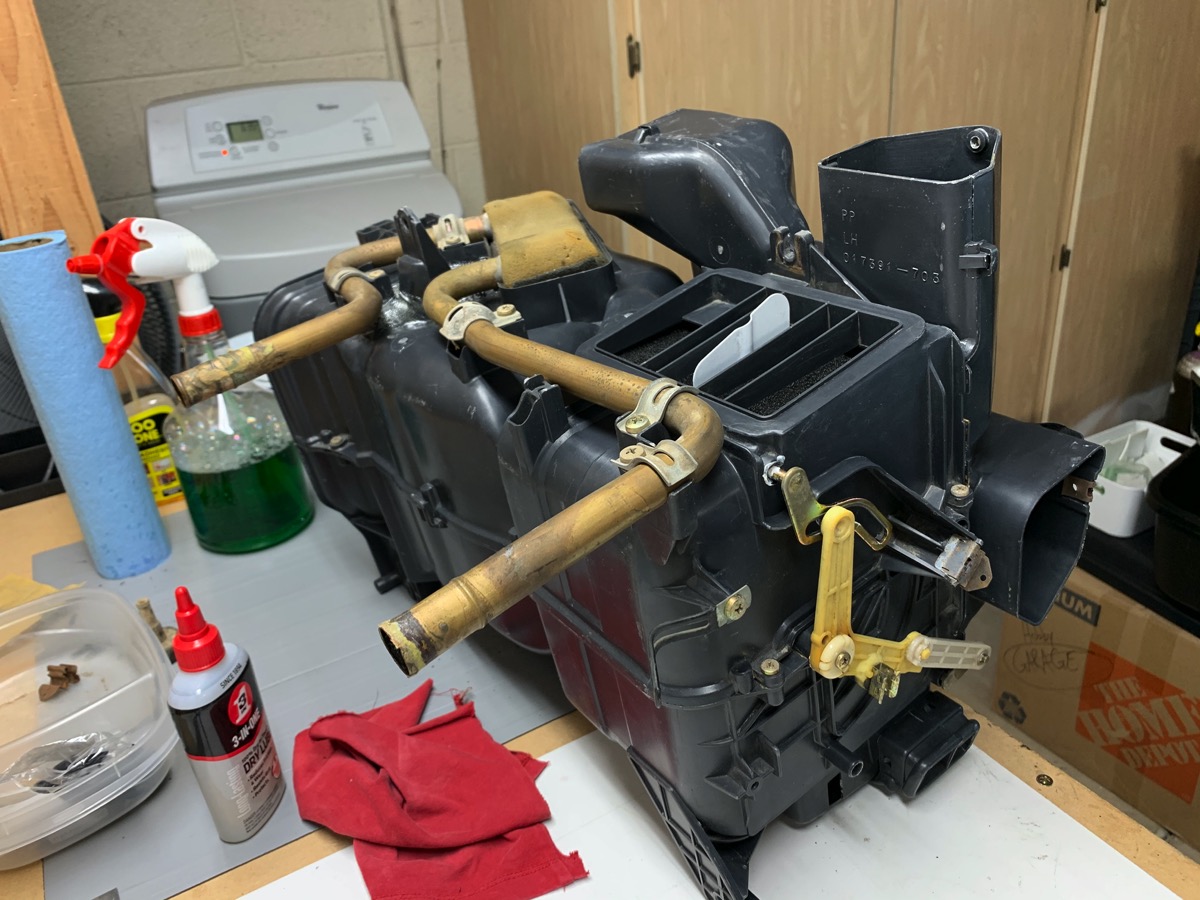
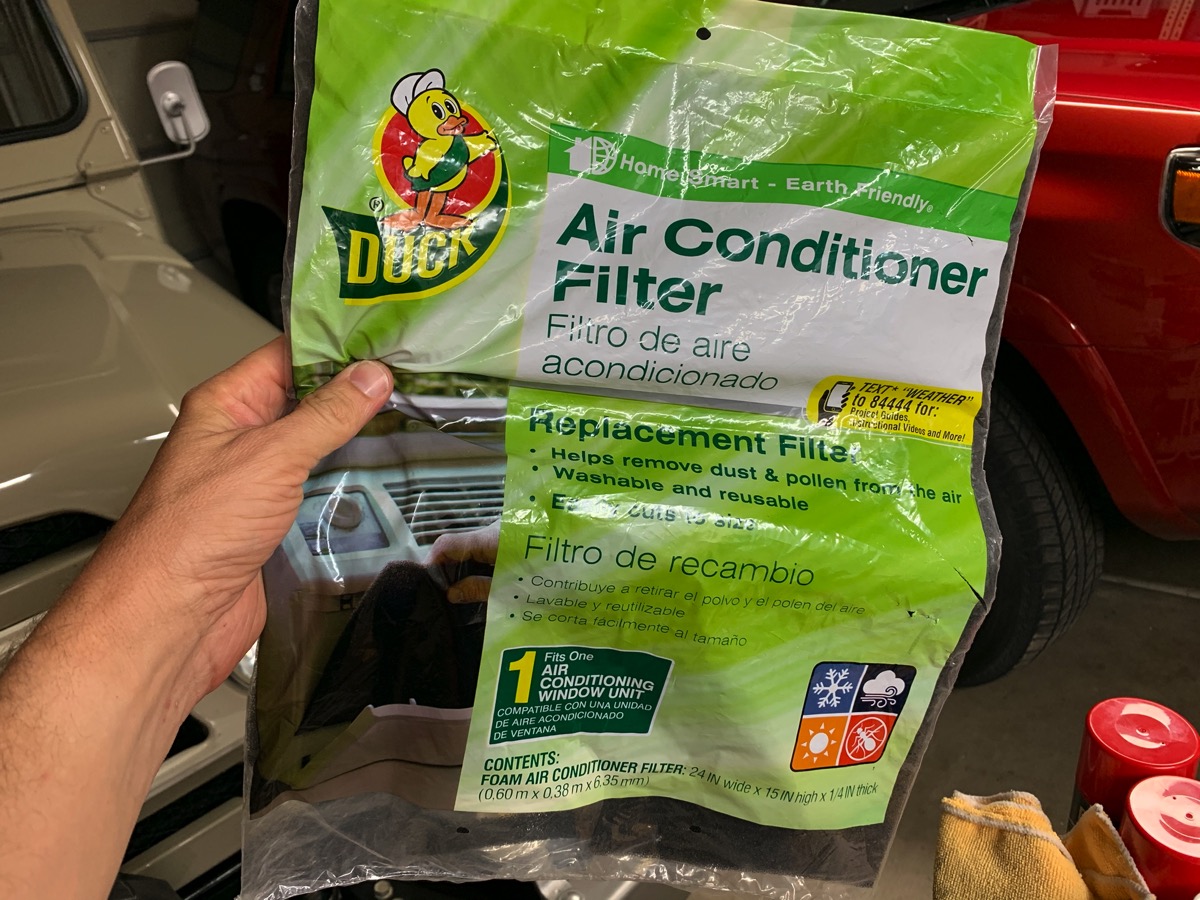
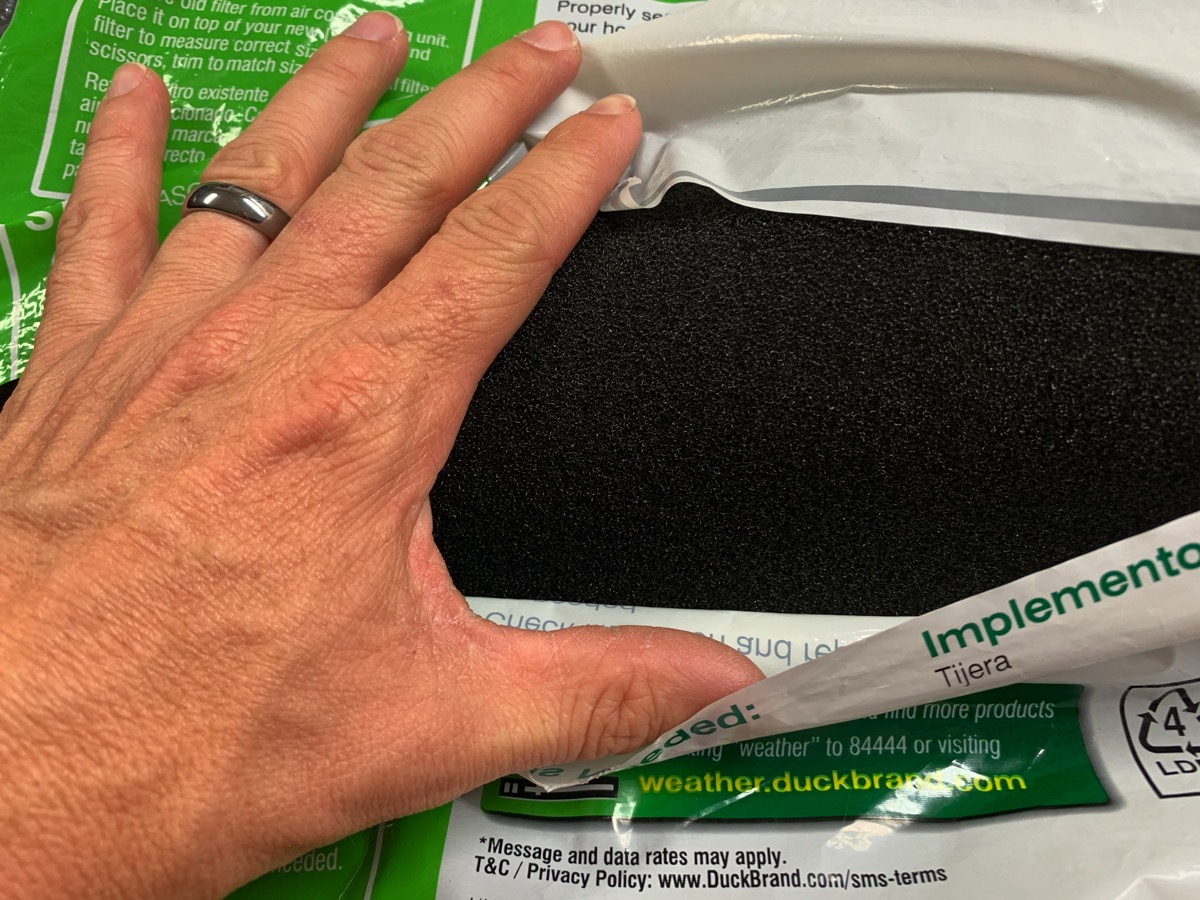
For the foam that covers that flaps and helps make a seal when the flap engages in closed/open positions, I went with this AC filter fabric that was 1/4" thick. I cut it to shape and used cyanoacrylate (superglue) to glue the foam to the flaps. This filter fabric may have come from Amazon now that I think about it...
MUD_HVAC_20flapfilter.jpg

MUD_HVAC_21flapfilter.jpg


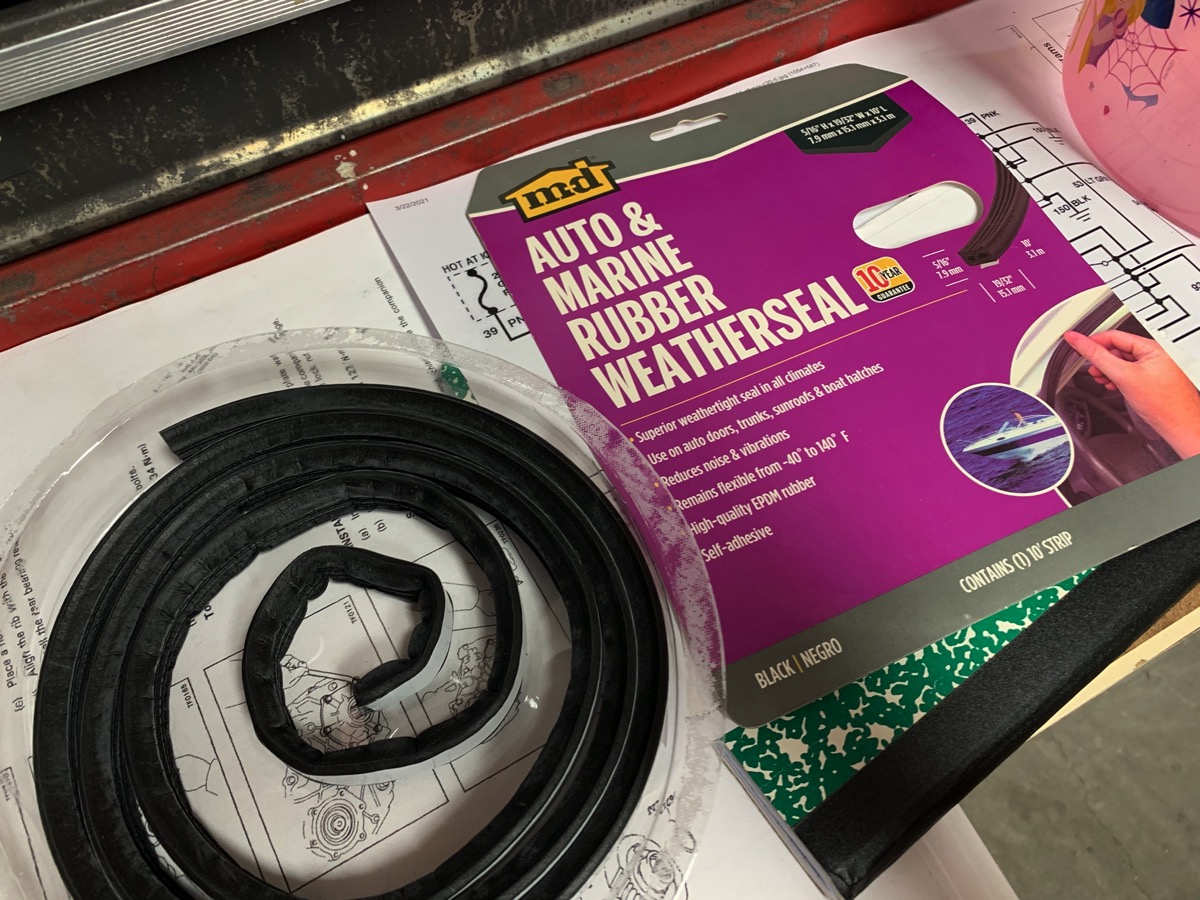
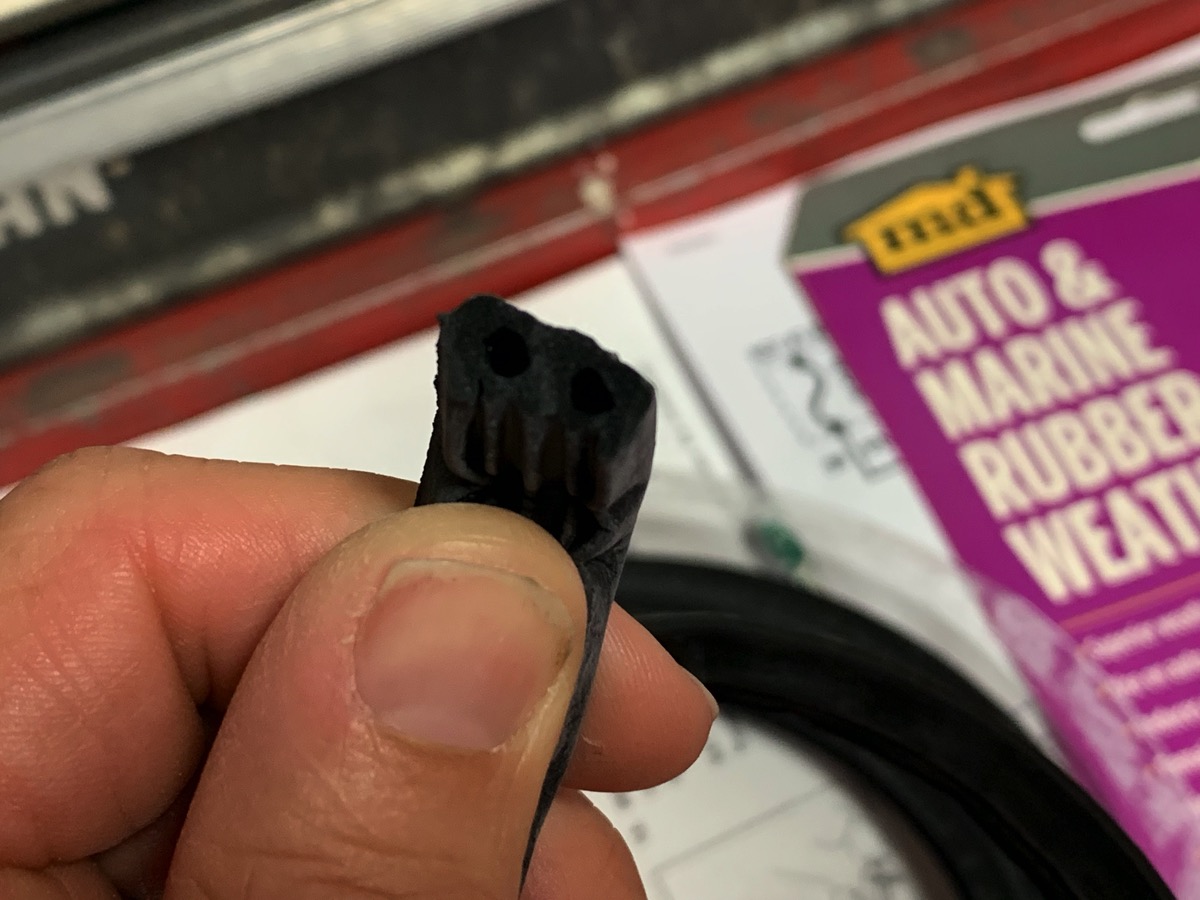
The AC unit seals up to the blower and heater with foam seal that pushes against the other housings as you secure it in to the firewall. I went with this rubber marine weather seal. This worked out great. Upon removing the AC for the heater install I found this stuff still in good condition.
MUD_HVAC_22acseal.jpg

MUD_HVAC_23acseal.jpg


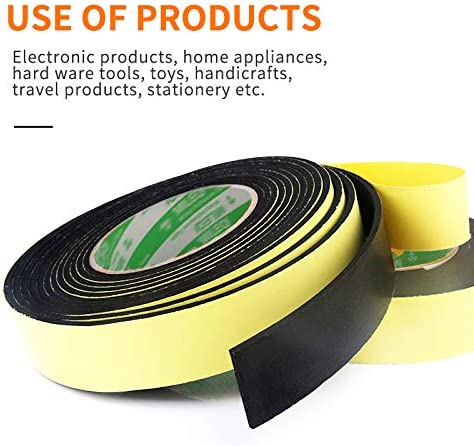
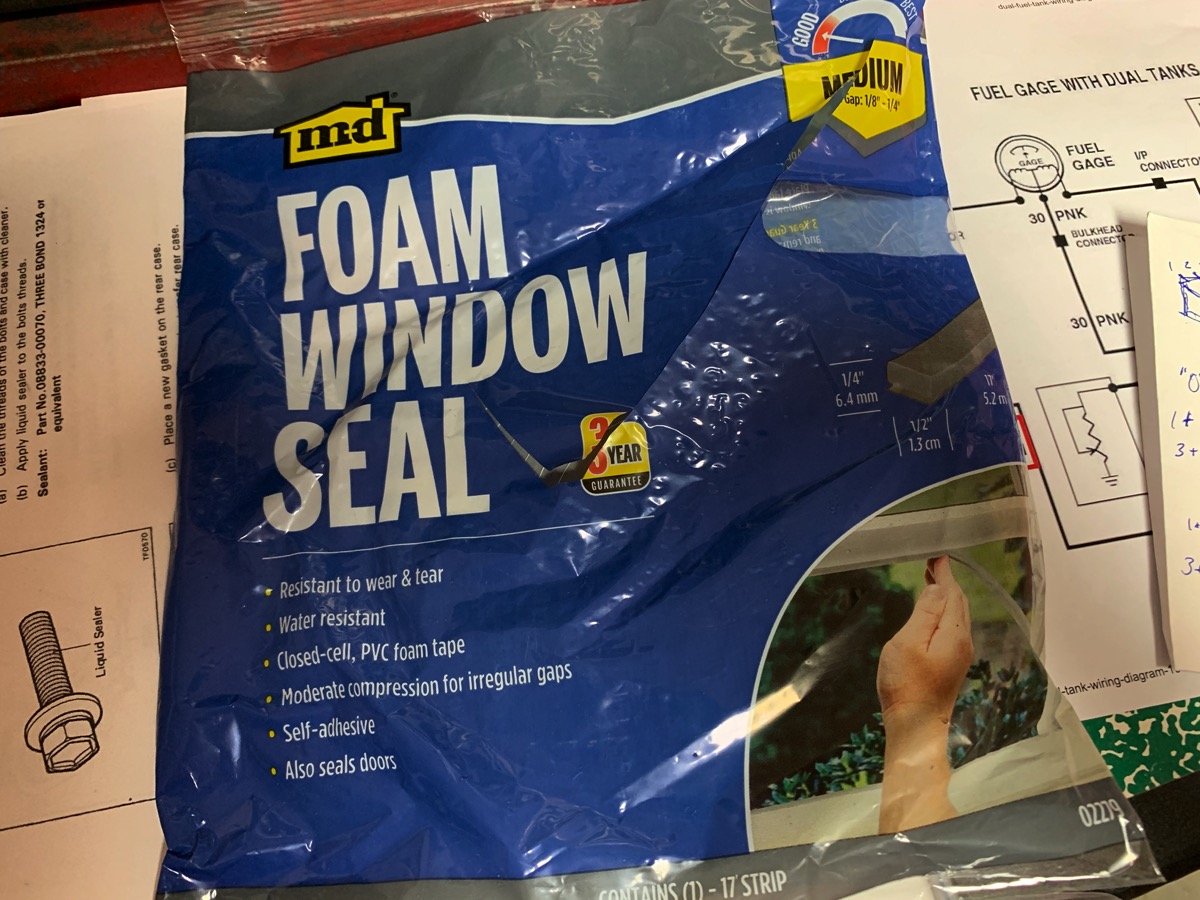
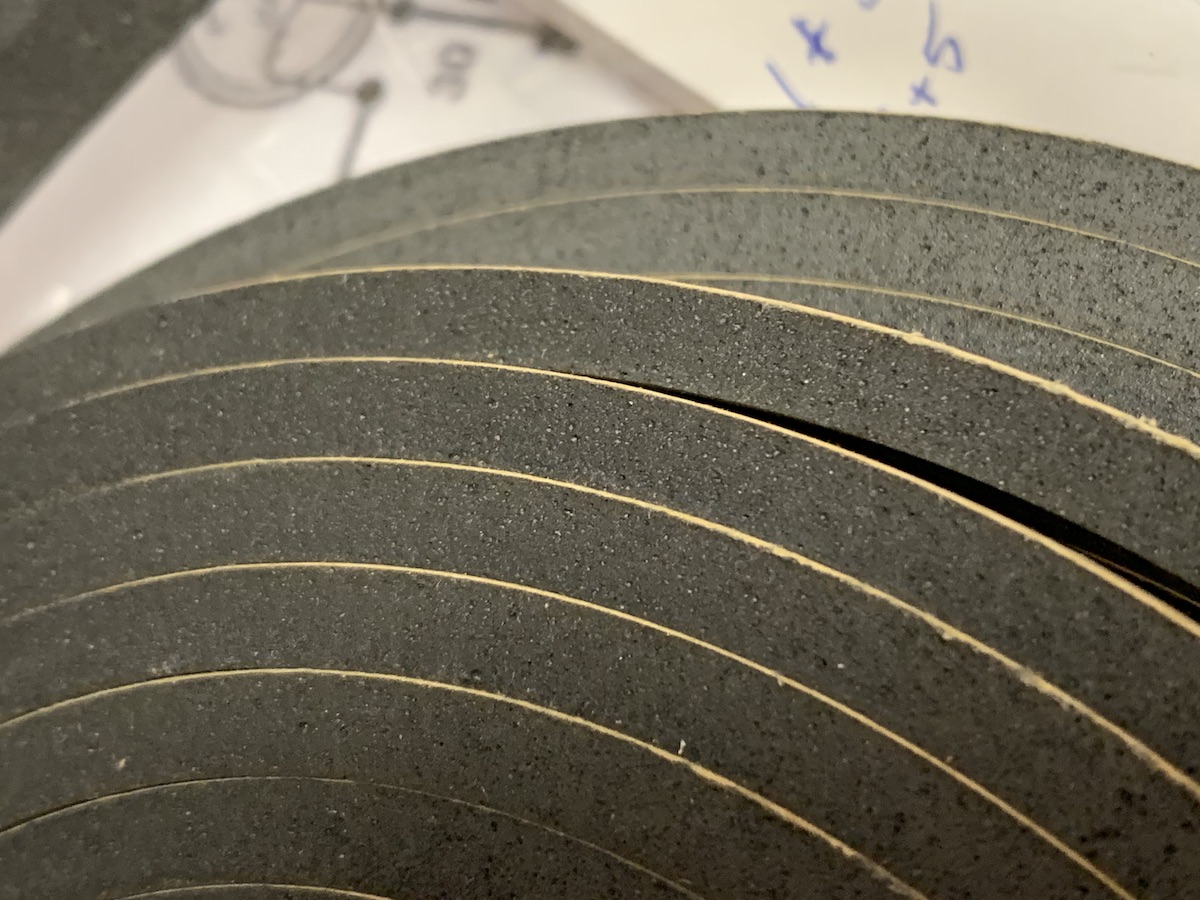
The duct work for the vents and connections generally relied on a piece of foam tape that gave the male/female duct connections a nice compressed seal. I initially went with this door/window seal stuff.
MUD_HVAC_24ductseal.jpg

MUD_HVAC_25ductseal.jpg


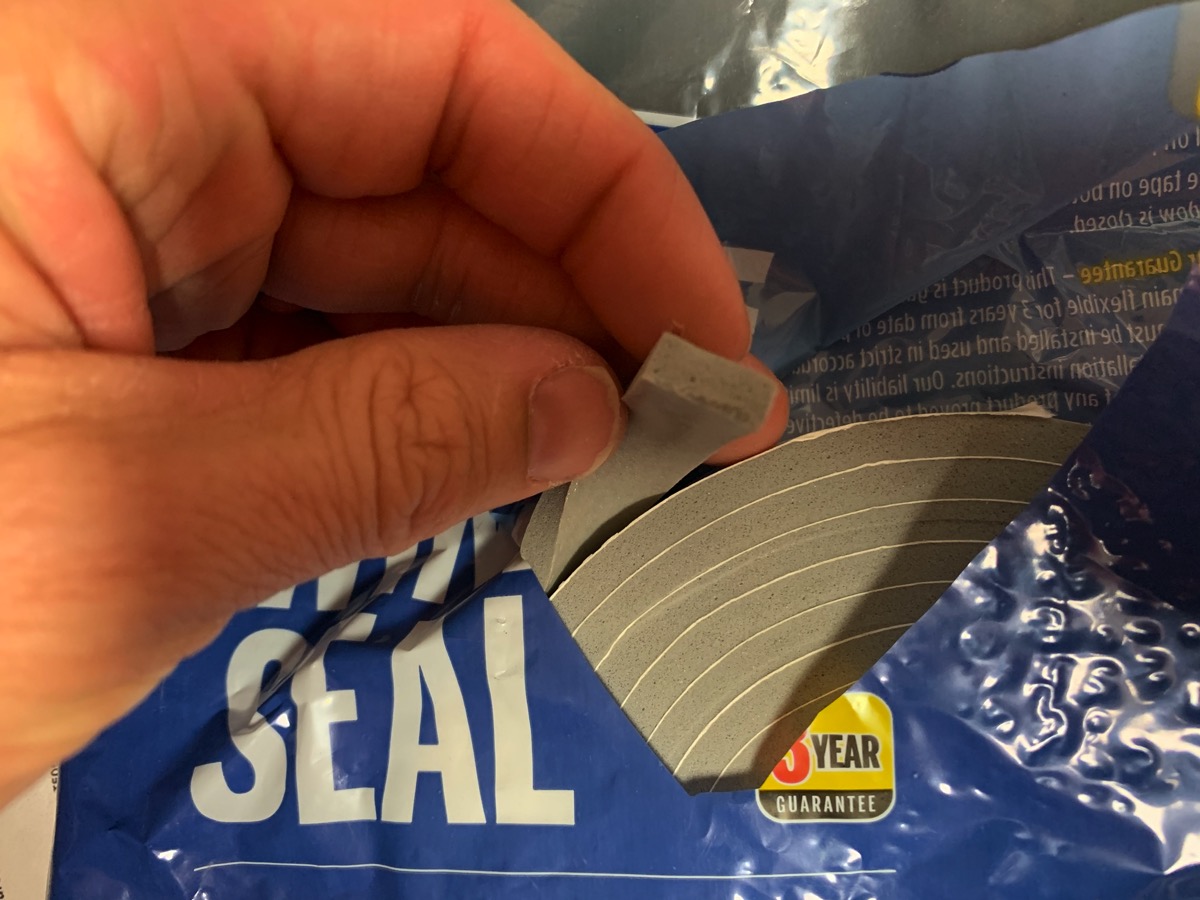
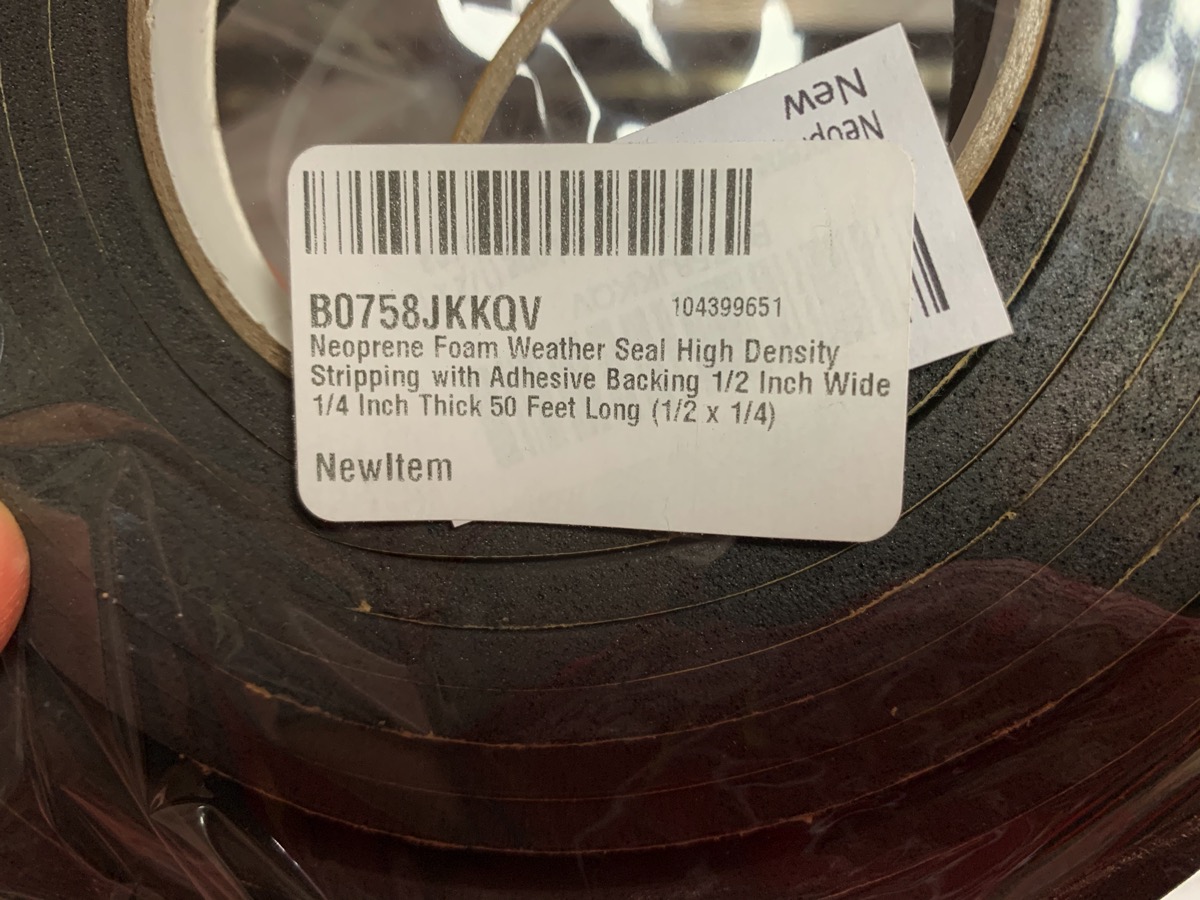
But ended up also grabbing this stuff off of Amazon which allowed the snugger connecting pieces to fit. The grey stuff above didn't always compress as much as I needed it to.
MUD_HVAC_26ductseal.jpg

MUD_HVAC_27ductseal.jpg
 
I should also point out that there is an OEM kit of foam for rebuilding the HVAC system. 08231-00801

The price point on that part made me go "cheap". I may rue the day in a few years if it all needs to be redone.

You can see quite a bit more good tech photos and part numbers related to the HVAC in @Onur's 3B rebuild thread. Click here to get to the relevant post. His info is RHD specific, so a bit more helpful to many of you.
 
Last edited:
I'm pretty sure I have 2 new, skinny white ones. I'm out of town for a couple of weeks but when I get home I'll look. Happy to pass them on to you, or maybe trade for your "fat" ones if you no longer need them.


It took a little longer than a couple of weeks, but this what I have. They are yours if you still need them.

skinny 01.jpg


skinny 02.jpg
 
Updating this thread with a laundry list of parts needed for plumbing in heat on my 3F FJ75. Some of this will be relevant to other engine types, some not. But here it is FWIW.

Here it is installed:
625rearplumbing.jpg

626oilcooler.jpg

627frontplumbing.jpg


A rundown of the parts I used:
Straight length OEM hose in 500mm length for various connection.
628hosepart.jpg

The OEM valve number
629valvepart.jpg

OEM clamps
630clamppart.jpg

Hoses for connecting the new heater pipe
631hosepart.jpg

632hosepart.jpg

633plugpart.jpg

Bolts for the heater pipe
634boltpart.jpg

The gates hoses/coupler I used
635gatespart.jpg

636gatespart.jpg

637gatespart.jpg
 
Not to hijack a thread, but this is an HVAC refresh question. Does anyone know where to get the little U-shaped plastic clip that holds the hot/cold heater line into the heater? Looks like you have to replace the entire unit for the clamp. But I thought I would ask. 1st gen 4runners, 2nd gen pickups, and a few others use the same clips too. Anyone have a spare laying around, or a source for one?

Untitled.jpg
 
Not to hijack a thread, but this is an HVAC refresh question. Does anyone know where to get the little U-shaped plastic clip that holds the hot/cold heater line into the heater? Looks like you have to replace the entire unit for the clamp. But I thought I would ask. 1st gen 4runners, 2nd gen pickups, and a few others use the same clips too. Anyone have a spare laying around, or a source for one?

View attachment 3116505
Looks like I have a few spare… I stripped down the little bits from a spare control assembly.

277582CC-6751-467F-8E95-5A4B021D1E65.jpeg


Shoot me a DM with a mailing address, I’ll get one in the mail to you.
 
As an alternative I have used 2" self-adhesive foam tape that I put in strips to match the OEM and trim. I've done it with a few HVAC boxes and it is convenient not to have to glue.
51358OgEASL._AC_.jpg
 
Some questions in my build thread about more details on the HVAC controls spurred me to do a tech thread of sorts.

The whole HVAC is comprised of three primary parts. The intake and blower motor are on the far right (for a LHD vehicle) and includes the diverter for fresh/recirculated air supply. It also includes your blower motor and blower motor resistor. It fastens to the firewall and mates up to the fresh air intake that opens into the area behind the hood. Here's a shot of mine after clean-up and new foam/seals prior to install.
144blower.jpg


There's an AC housing which sits in the middle of the whole setup. It sits to the left of the blower motor and fastens to the firewall as well as to the blower motor housing AND "mixer" housing. For non-AC units this is essentially just a pass through duct. For AC trucks this has your evaporator, pressure switch, and a drain. The evaporator has two lines that pass through the firewall to be plumbed to the balance of the AC equipment in the engine bay. Here's an end-view of mine after clean-up and new foam/seals/pressure switch.
143housing.jpg


Finally, there's a heater and "mixer" unit that sits in the center of your dash. It sits to the left of the AC housing and fastens to the firewall. This houses a heater coil (on trucks with heat) as well as multiple foam-covered flaps that divert air between different diffusers (defrost, floor, front vents, side vents). This unit has two lines that pass through the firewall to be plumbed to the appropriate coolant lines for heat. Here's the heater-featured unit I rebuilt for my truck recently.
MUD_HVAC_04heaterrestored.jpg

MUD_HVAC_05heaterrestored.jpg
Hi Honger
Would you still have the label or part number for the new foam seal kit you used as I need to do the same
Regards
 
Hi Honger
Would you still have the label or part number for the new foam seal kit you used as I need to do the same
Regards
Post 21 tells you what I used… post 22 gives the OEM kit number.
 
Very nice! This is on my list.
 

Users who are viewing this thread

Back
Top Bottom