While shopping for a carpet kit and headliner for the 3FE40, I came across the one offered by Cruiser Solutions.com. I also could not find any info on IH8mud about it. I spoke with Ted Brown, the owner, and he was very helpful and easy to deal with. He told me the headliner was made from the same material as the carpet kit they sell, and it was a type of carpet that if one fiber was pulled, you would not have a run. (Hell... I can't remember the name. ") ) It was also a large piece, so that you won't have any seams.
) It was also a large piece, so that you won't have any seams.
So here is a write up on how I installed it, Iam very happy on how it came out, and the quality of the carpet and headliner kit I bought. Iam not affiliated with him, just a happy customer. As soon as I install the carpet, I'll post that up here also.
Here are a few tips I found.
Cleaning:
1. to clean you fiberglass cap of the old glue - use one of those square 3m green brillo pads.
2. Then scrub it down with 3m Adhesive remover
Installing:
3. Use a small pair of scissors.
4. use a carpet hook blade on your knife (see photo)
The most important step is doing it in three sections!
1. First I laded out the headliner on the fiberglass top, and peeled half of it back.
2. Then I glued the middle third of the headliner to the top....
1. I applied three coat of 3m adhesive on the top and carpet - wait 5 minutes before pressing the headliner to the top.
2. Working from the middle out, lay the carpet out and smooth it with your hands.
Now the middle is done - you can repeat the process on the two ends of the top.
When I did the ends of the top- I would cover the section that was done with masking paper, so I would not get glue on the finished part.
Then, drink a beer - take your time, and start to trim the edges.
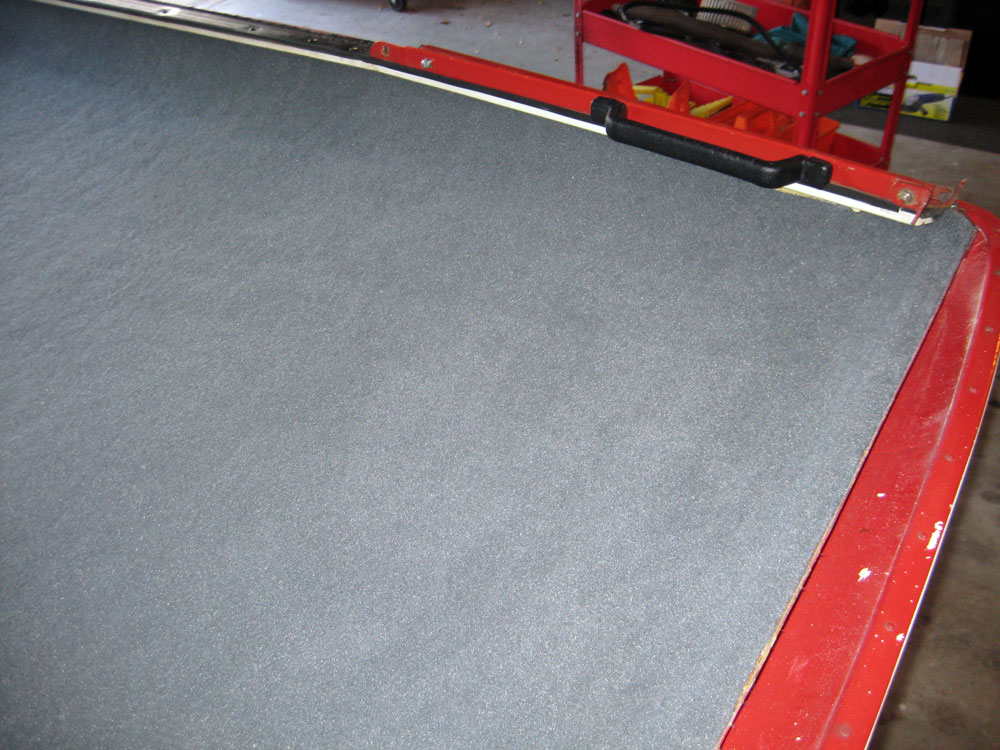
I had to apply a little more glue on the ends. You can tuck the carpet in on three sides of the cap. Make sure you trim it enough of the headliner back so you don't cover up your bolt holes. As for the front edge, that has no place to tuck the headliner - you just glue it over the lip, and it will be sandwiched between the windshield frame and top cap.


) It was also a large piece, so that you won't have any seams. So here is a write up on how I installed it, Iam very happy on how it came out, and the quality of the carpet and headliner kit I bought. Iam not affiliated with him, just a happy customer. As soon as I install the carpet, I'll post that up here also.
Here are a few tips I found.
Cleaning:
1. to clean you fiberglass cap of the old glue - use one of those square 3m green brillo pads.
2. Then scrub it down with 3m Adhesive remover
Installing:
3. Use a small pair of scissors.
4. use a carpet hook blade on your knife (see photo)
The most important step is doing it in three sections!
1. First I laded out the headliner on the fiberglass top, and peeled half of it back.
2. Then I glued the middle third of the headliner to the top....
1. I applied three coat of 3m adhesive on the top and carpet - wait 5 minutes before pressing the headliner to the top.
2. Working from the middle out, lay the carpet out and smooth it with your hands.
Now the middle is done - you can repeat the process on the two ends of the top.
When I did the ends of the top- I would cover the section that was done with masking paper, so I would not get glue on the finished part.
Then, drink a beer
- take your time, and start to trim the edges. I had to apply a little more glue on the ends. You can tuck the carpet in on three sides of the cap. Make sure you trim it enough of the headliner back so you don't cover up your bolt holes. As for the front edge, that has no place to tuck the headliner - you just glue it over the lip, and it will be sandwiched between the windshield frame and top cap.


")
