Edit:
This is a link for the factory instructions in PDF format..
(Right-Click & Save As)
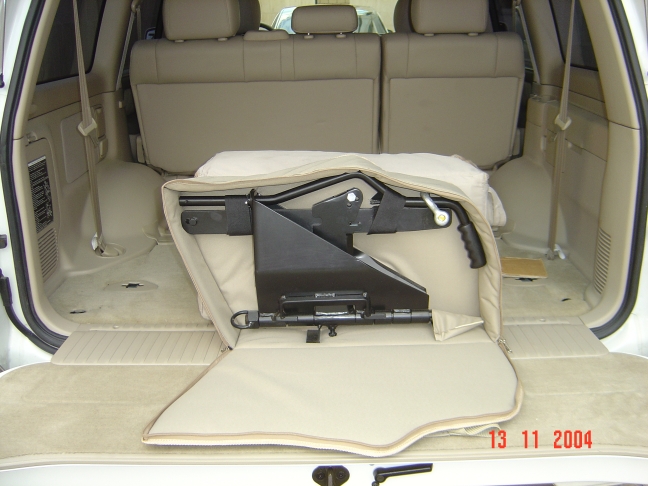
pictures below are not meant to replace the factory instructions but rather visualize the install process
")
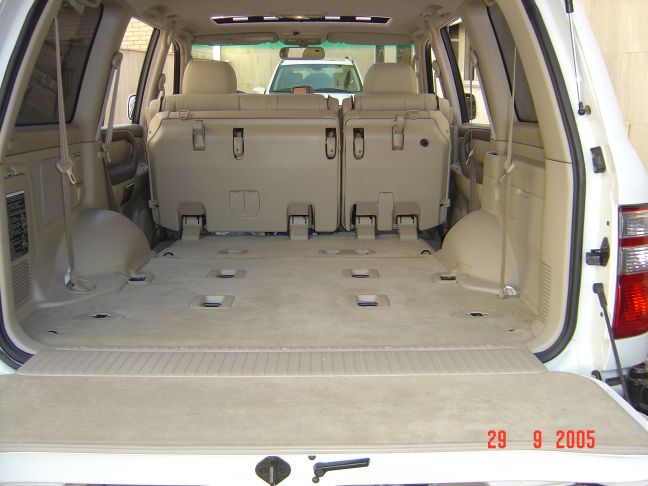
These steps are for LCs fitted with 3rd row seats.. for vehicles not fitted with third row seats some drilling might be required depending on whether there are holes underneath the carpet or not..
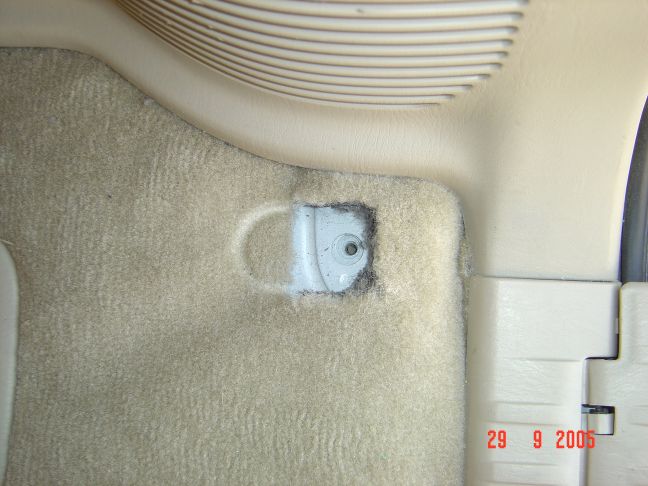
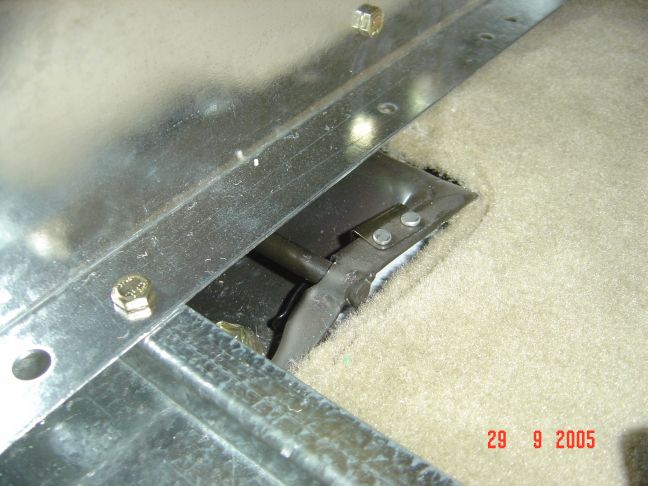
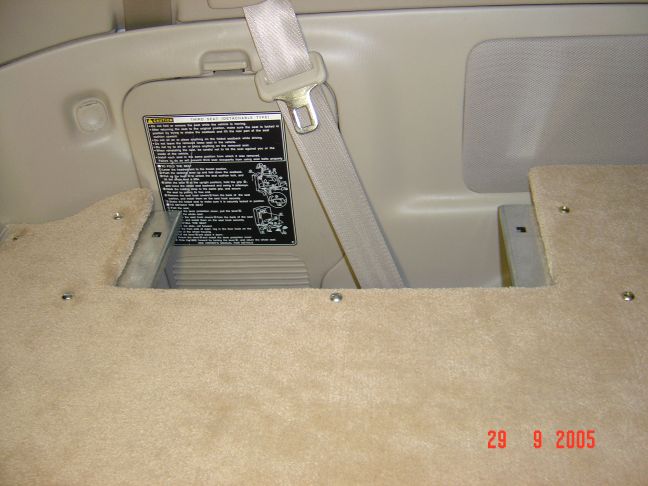
pic 1) cut a small square in the carpet to reveal the rear tie down bolt and remove the rear tie downs..
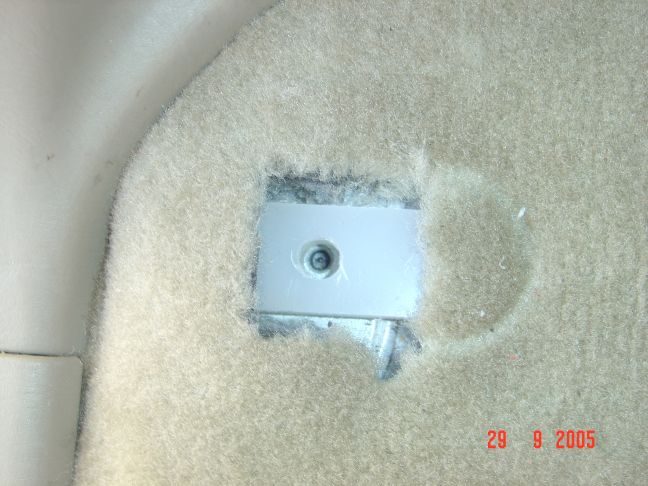
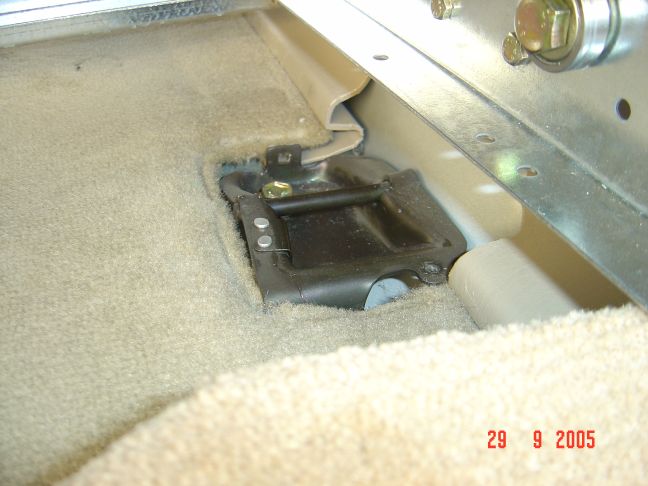
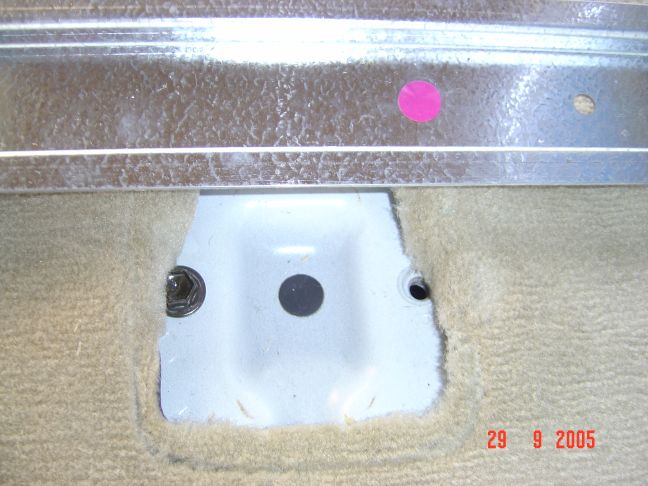
pic 2) Place the plastic block underneath the carpet like shown
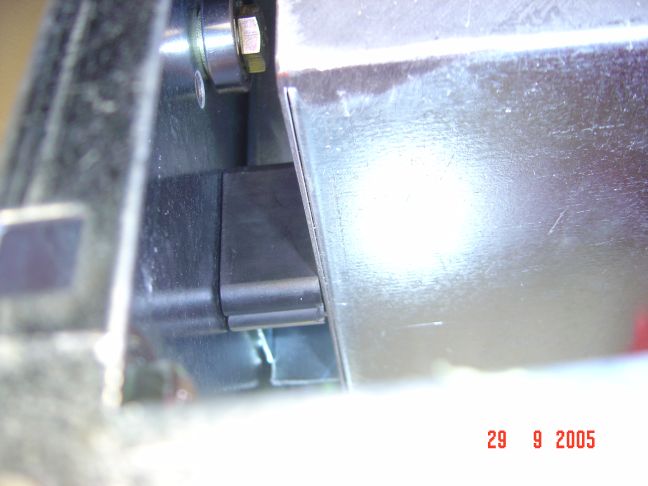
pic 3) before placing the frame you might want to remove the locking plates and plastic covers shown in pictures 6 through 9..
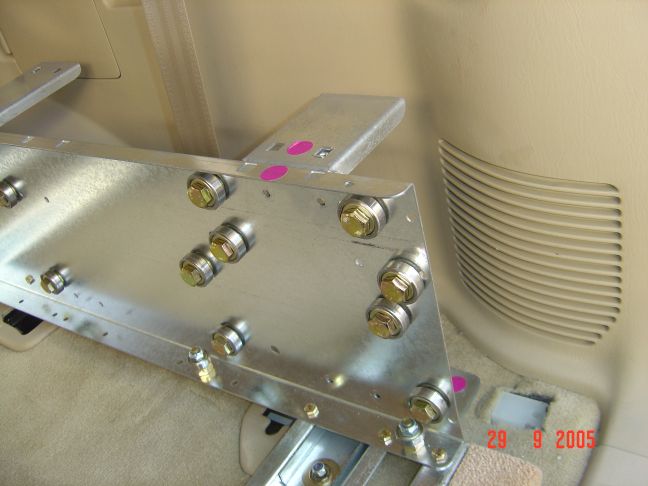
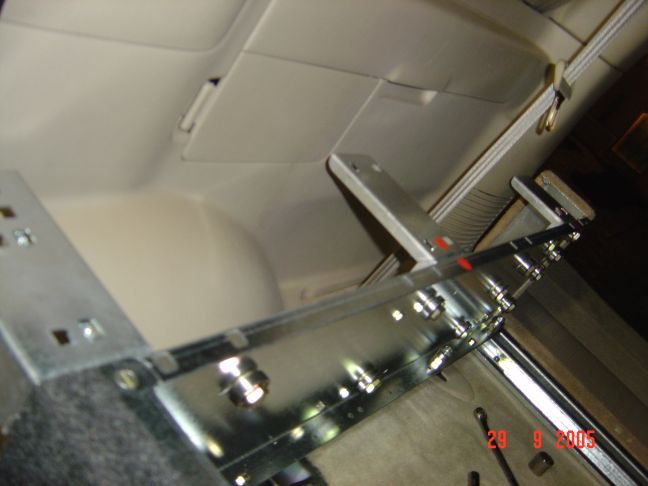
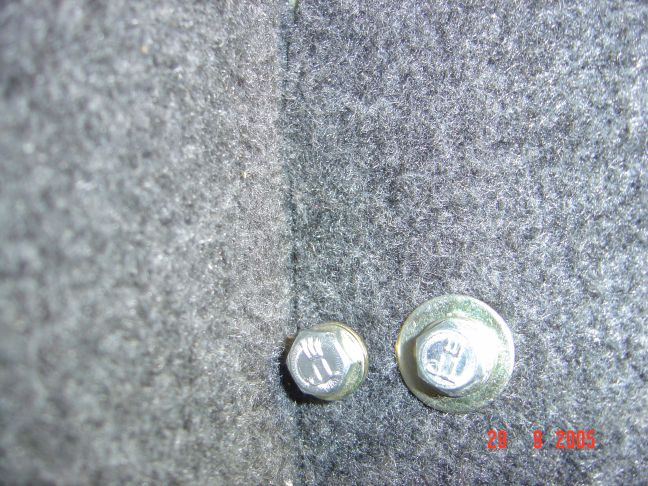
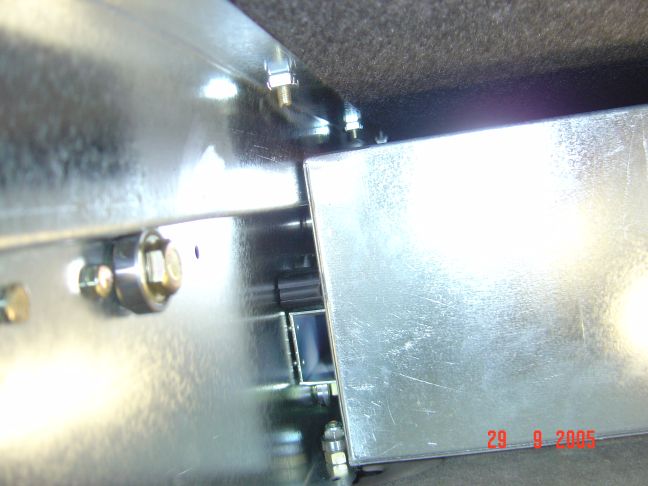
pic 4) secure right hand side brackets using 4 m6x12 nuts for each.. make sure all nuts are facing outwards.. the rear right bracket is also secured to the front cross panel as shown.. to fit the front right bracket (or ear as per the manual) a bearing needs to be removed..
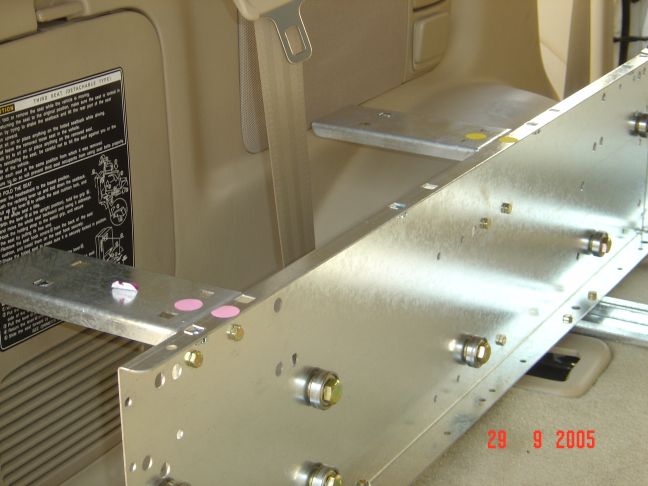
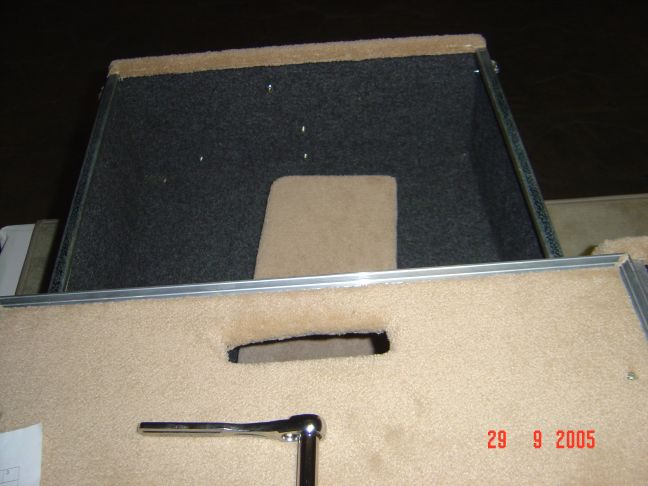
pic 5) brackets are color coded so fitting them is quite simple
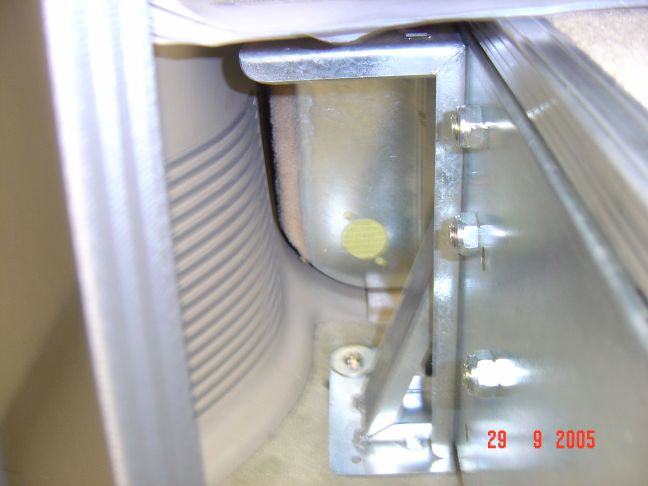
pic 6) I found removing the plastic cover of the side locking plates makes the rails flush with the floor.. removing it all together would probably be a good idea but I was too lazy especially after I banged my knee against the frame a couple of times to remove the stupid plastic cover..

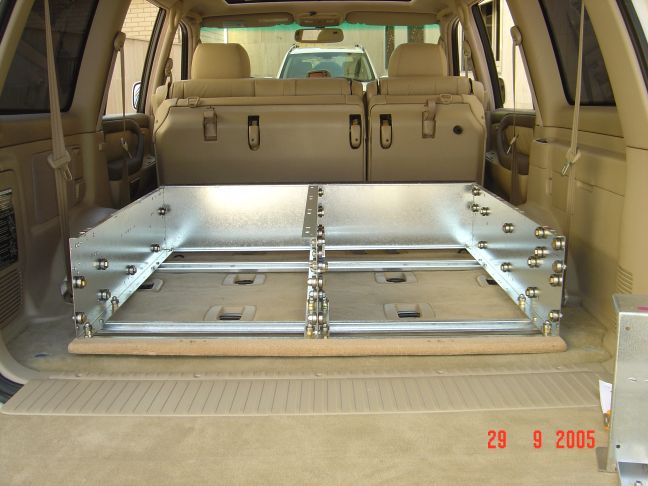
pic 7) the frame is placed flush on the floor
pic 8) remove the plastic covers to expose the center locking plates..
pic 9) remove the center locking plates and refit the bolts near the center of the vehicle.. the sticker is covering the hole were the bolt to fit the frame to the floor should go..
pic 10) bolt down the frame to the floor using the vacated rear tie down and center locking holes..
pic 11) at this stage insure that all bolts securing the frame to the floor are tightened and all bolts securing the side brackets are tightened with the nuts facing outwards..
pic 12) slide in the drawers and place the drawer stops on the drawer rail as shown.. make sure the orientation of the drawer stop is correct..
pic 13) bolt down the drawer stop using appropriate washers and spring washers as shown..
pic 14) fit the left hand side floor at this stage but do not tighten the screws all the way down.. make sure you don't apply too much down force while tightening the screws or the factory fitted nut on the rails below would fall down (it's a PITA to get the out and fit it again if it falls down)
pic 15) fit the fridge slide and fridge slide stop.. ensure that the orientation of the stop matches the diagram in the manual.. after the fridge slide is installed, fit the right hand side floor pieces and tighten all screws securing all floor pieces..
pic 16) underneath view of drawer stop and floor installed..
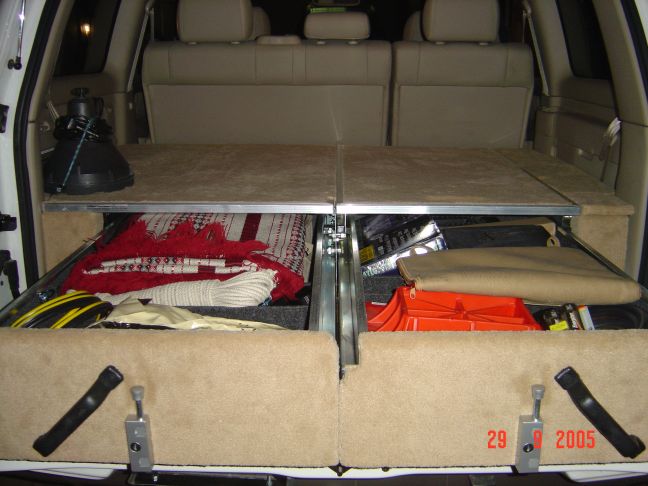
pic 17) now the fun part.. load all your gear


")