- Thread starter
- #21
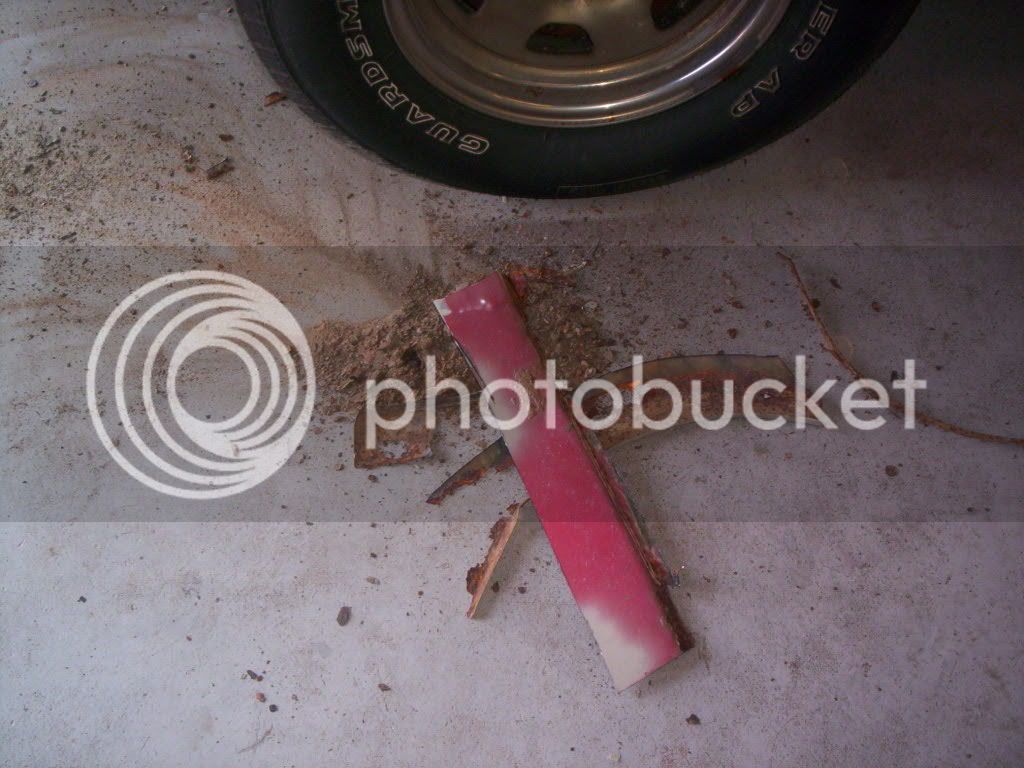
I have some cutting and patching to do on both my cruisers. I keep thinking I need to read up on this process as much as possible before I start so I don't screw it up. Sounds like I just need to get er done as they say. Just seems like a scary thing to do to a vehicle. It is more scary thinking about what is happening if I don't do it. So what are some of the dos and don'ts to the process?